This post may contain affiliate links. Please read our disclosure policy.
When you make bon bons it’s important to temper the chocolate. This seems intimidating but there are many methods and not all of them use a thermometer (but seriously, get a thermometer, you’ll start using it all the time!) I used the seeding method where you basically melt some of the chocolate and then stir in some cold chocolate. This forced the chocolate to form the correct structures that give it that nice snap and glossy surface! I made a milk chocolate ganache and flavored some with a bit of brandy and another batch with some amazing Luxxardo cherries, the last batch was just plain delicious milk chocolate. These were so great and made great presents!
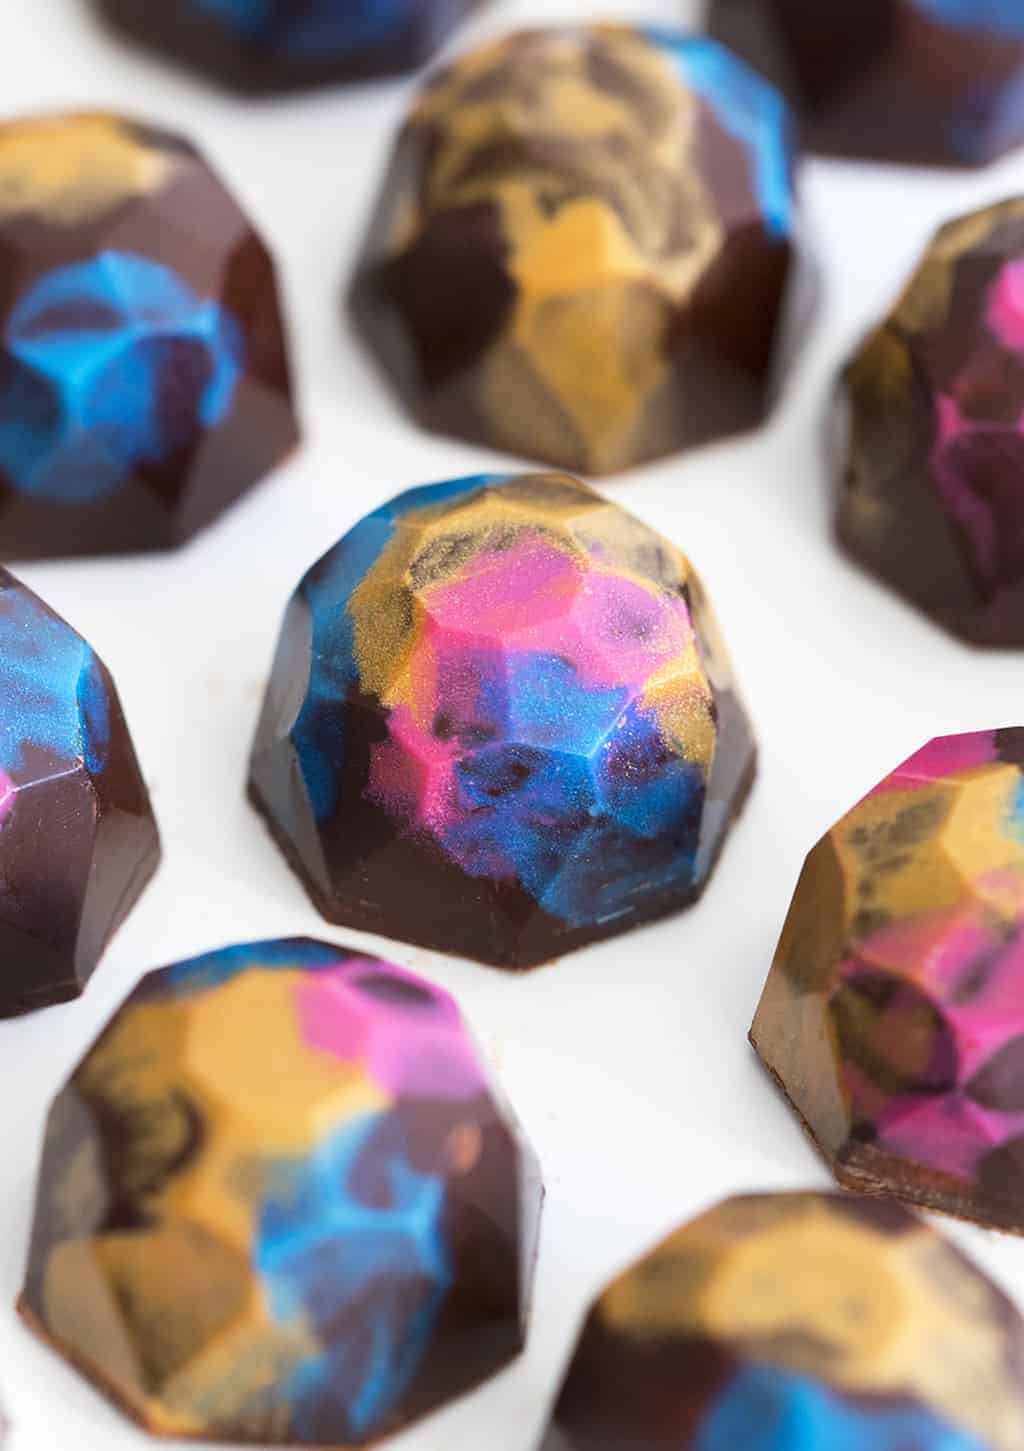
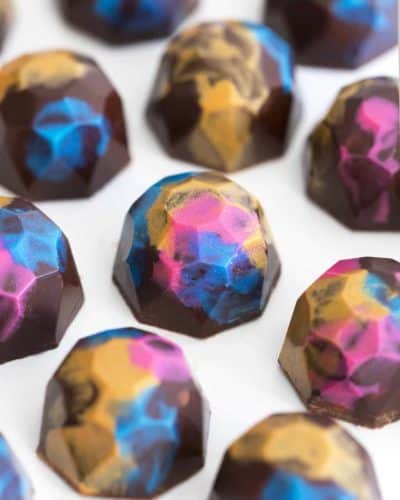
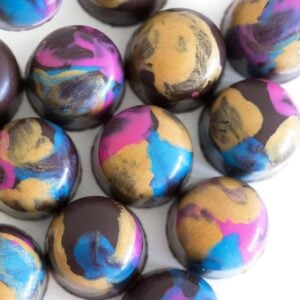
I love a good bon bon! The snap of that thin chocolate coating over a silky center . I honestly would not have thought to make them myself if my husband hadn’t expressed an interest (and bought a ton of chocolate for me to play with!) You can make them with a mold or do them freehand. Either way is great but they look too beautiful with a mold so I really recommend buying one like this or this! If you’ve wondered how the professionals get those beautiful colors on their bon bons the secret is cocoa butter and the right coloring! Food grade organic cocoa butter is so amazing, it smells like amazing chocolate and the taste has a note of chocolate but there isn’t much flavor. I’ve been using some of the extra as lip balm btw. Anyhow, you melt that in the microwave and add in oil-based food coloring and or luster dust; this will give you color and sparkle making your treats look beautiful! You can apply the color with a small brush to even a clean finger if desired.
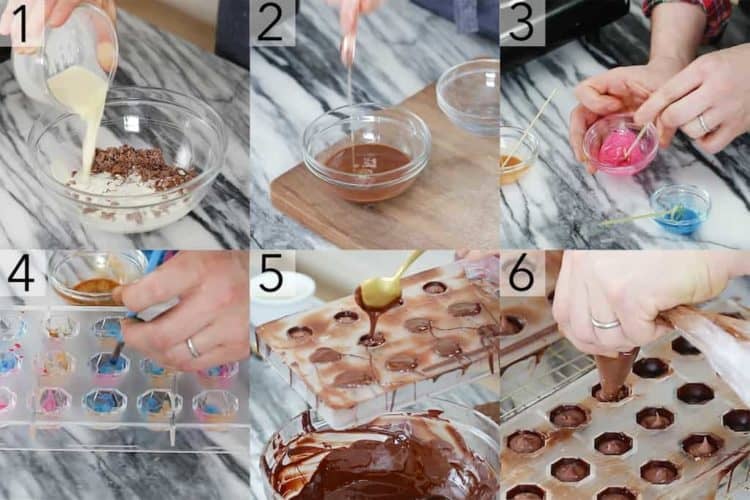
- Roughly chop the milk chocolate. Heat cream in the microwave. Transfer chocolate to a heat proof bowl. Pour the heated cream over the chocolate and let it sit for a few minutes. Cover with a lid. Give it a whisk to help it melt. Divide chocolate into 3 bowls.
- Add brandy to one bowl. Whisk the combine. Add cherry juice to the second. Whisk together. Leave the last bowl plain. Cover and transfer to the fridge to chill. Roughly chop the entire 225 grams of chocolate. Put 75 grams into the fridge to chill. Place 150 grams of chocolate in a heat proof bowl. Transfer to a bain-marie with simmering water. Melt the chocolate to 114-118°F. Take it off of the bain-marie and cool to about 95-100F. Add in the 75 grams of chilled chocolate and stir until all the chocolate has melted. Your chocolate is now tempered and ready to use. Transfer back to the bain-marie to a low simmer or use a heat gun of hair dryer to warm to bring it back to a workable consistency if needed. Workable temp is about 88F.
- Heat cocoa butter in 15 second intervals in the microwave until melted. Pour into 3 small bowls. Add a few drops of oil based food coloring and/or luster dust to each bowl until you reach a desired color.
- Paint the colors into the bon bon molds using a small brush. You can add layers of paint for more color, just allow the first coat to harden before adding the next.
- Pour tempered chocolate into each mold. Tap the mold until all the air bubbles are out. Give the mold a wipe. Invert over the bowl, let the chocolate drizzle out. Let the chocolate sit in the mold for a minute, then invert the mold onto a wire rack so that the chocolate coats the upper edge of the mold. Move to the fridge. Transfer ganaches into piping bags.
- Pipe into each well. Don’t overfill or get ganache on the edges of the mold. You need to seal the bob bon with more dark chocolate so the filling can’t poke out. For the cherry flavored bon bons I quartered a preserved cherry and added a piece into the center of Add in one cherry at a time to a few wells. Fill the molds with another layer of chocolate. Tap to get any air bubbles out. Transfer to the fridge. The chocolate will pull away from the mold once it has set. Tap it onto the counter and you’re done!
IF YOU LOVE THESE COOKIES TRY SOME OF THESE RECIPES OUT!
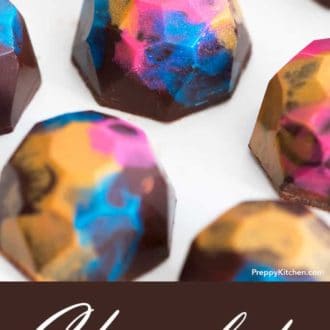
Chocolate Bon Bons
Ingredients
INGREDIENTS
For the Ganache:
- 1 cup milk chocolate
- ½ cup heavy cream hot
- 1 tsp brandy
- 2 tsp maraschino cherry juice
For the Bon Bons:
- 225 grams dark chocolate
- ¼ cup cocoa butter
- 3 colors of food coloring oil based
- 3 colors of luster dust
Instructions
INSTRUCTIONS
For the Ganache:
- Roughly chop the milk chocolate.
- Heat cream in the microwave. Transfer chocolate to a heat proof bowl. Pour the heated cream over the chocolate and let it sit for a few minutes. Cover with a lid.
- Give it a whisk to help it melt.
- Divide chocolate into 3 bowls.
- Add brandy to one bowl. Whisk the combine. Add cherry juice to the second. Whisk together. Leave the last bowl plain. Cover and transfer to the fridge to chill.
- Roughly chop the entire 225 grams of chocolate. Put 75 grams into the fridge to chill.
- Place 150 grams of chocolate in a heat proof bowl. Transfer to a bain-marie with simmering water. Melt the chocolate to 114-118°F.
- Take it off of the bain-marie and cool to about 95-100F. Add in the 75 grams of chilled chocolate and stir until all the chocolate has melted. Your chocolate is now tempered and ready to use.
- Transfer back to the bain-marie to a low simmer or use a heat gun of hair dryer to warm to bring it back to a workable consistency if needed. Workable temp is about 88F.
For the Paint:
- Heat cocoa butter in 15 second intervals in the microwave until melted. Pour into 3 small bowls. Add a few drops of oil based food coloring and/or luster dust to each bowl until you reach a desired color.
- Paint the colors into the bon bon molds using a small brush. You can add layers of paint for more color, just allow the first coat to harden before adding the next.
For the Assembly:
- Pour tempered chocolate into each mold. Tap the mold until all the air bubbles are out. Give the mold a wipe. Invert over the bowl, let the chocolate drizzle out.
- Let the chocolate sit in the mold for a minute, then invert the mold onto a wire rack so that the chocolate coats the upper edge of the mold. Move to the fridge.
- Transfer ganaches into piping bags.
- Pipe into each well. Don’t overfill or get ganache on the edges of the mold. You need to seal the bob bon with more dark chocolate so the filling can't poke out.
- For the cherry flavored bon bons I quartered a preserved cherry and added a piece into the center of Add in one cherry at a time to a few wells.
- Fill the molds with another layer of chocolate. Tap to get any air bubbles out. Transfer to the fridge.
- The chocolate will pull away from the mold once it has set. Tap it onto the counter and you're done!
Nutrition
Have you tried this recipe? Tag me today!
Mention @preppykitchen and tag #preppykitchen!