
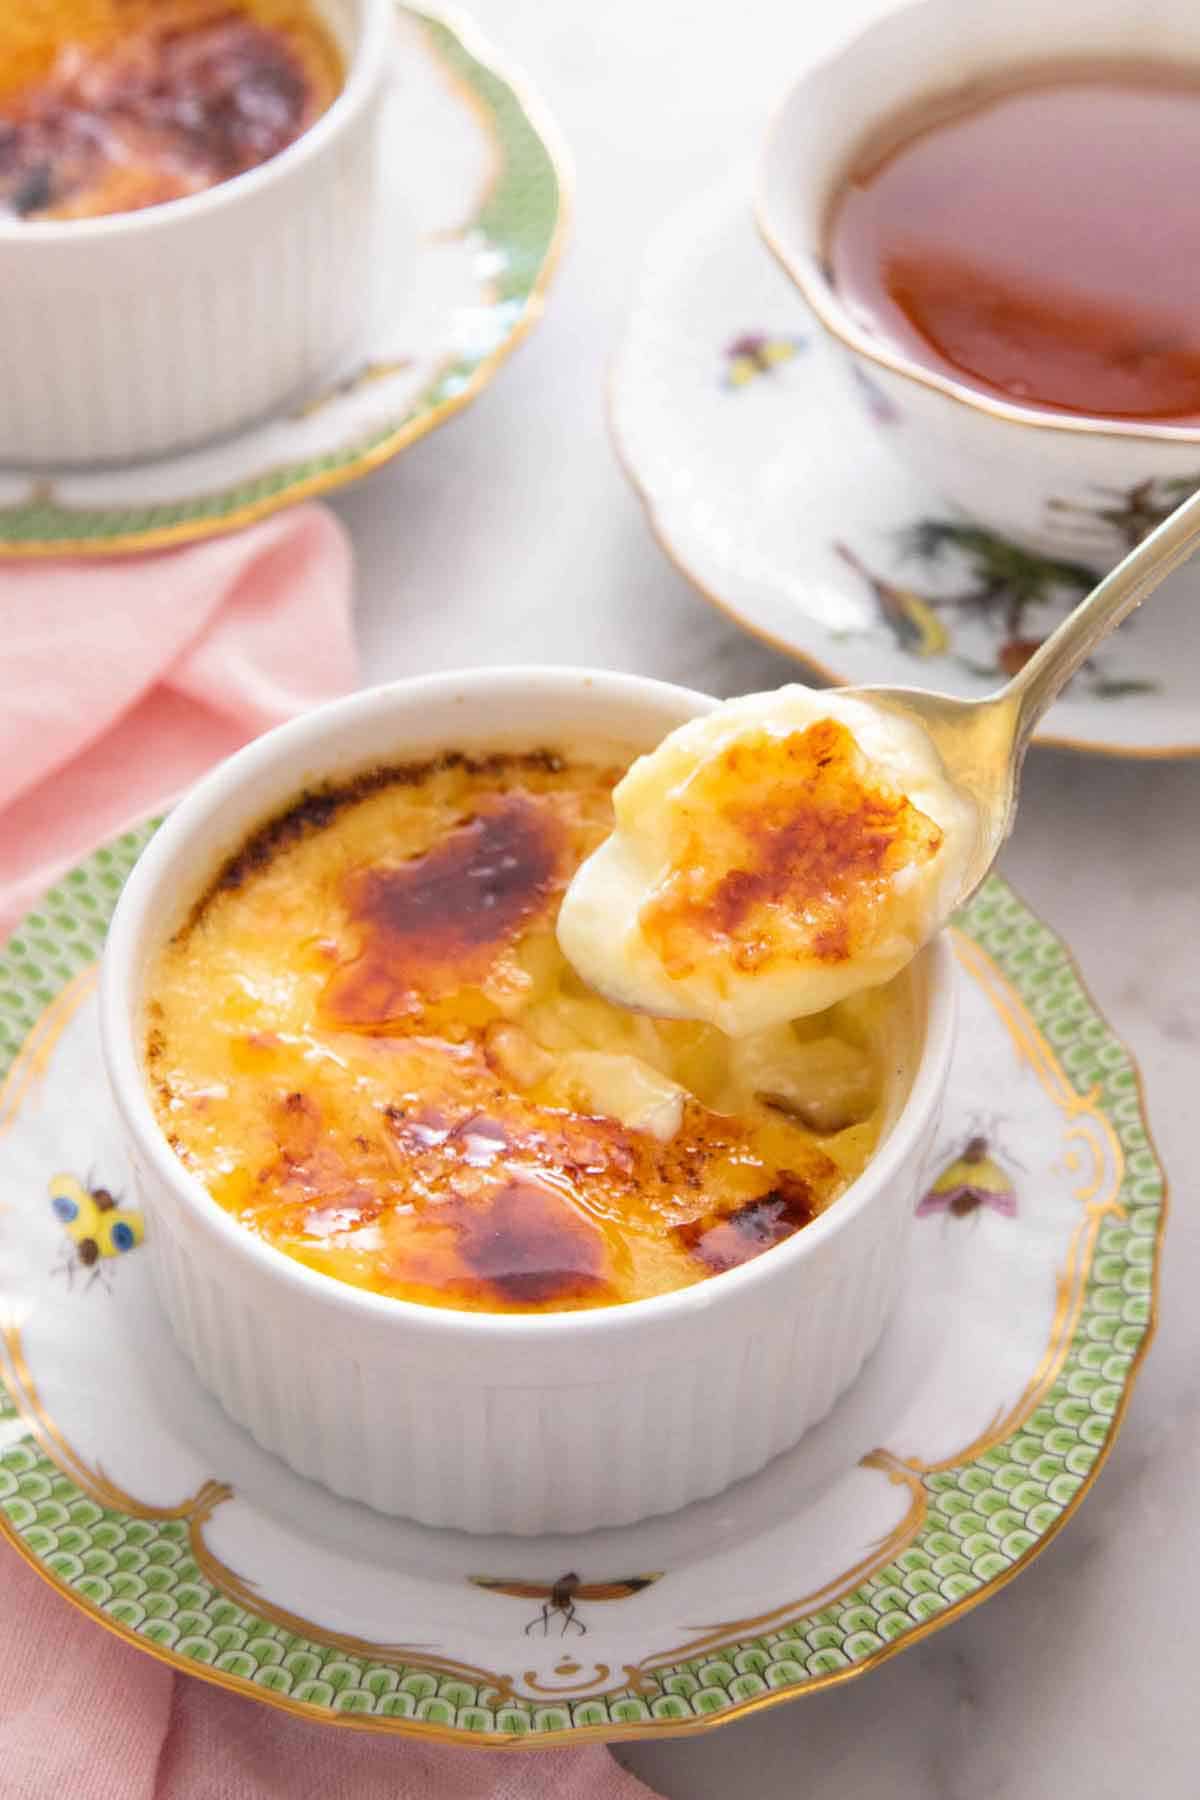


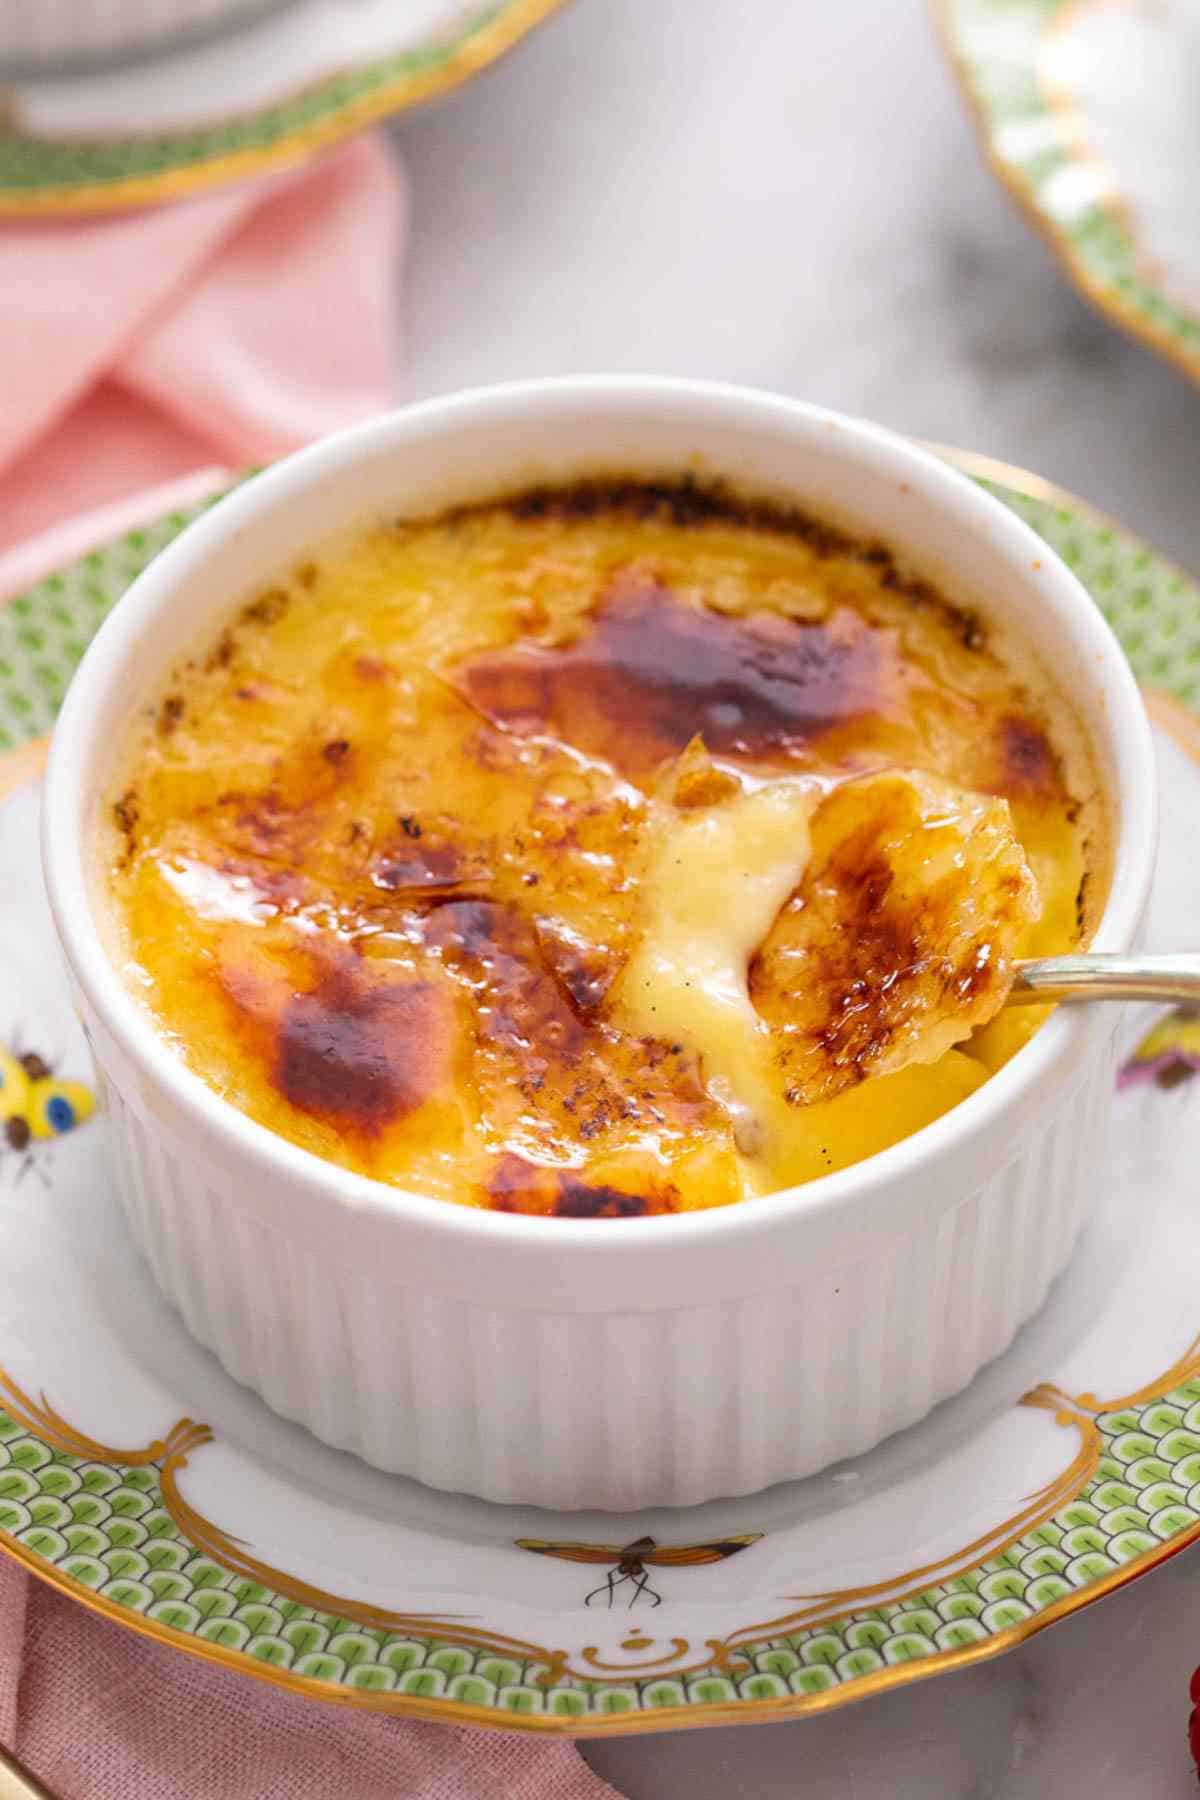
Creme brulee -or burnt cream- can feel like an intimidating dessert that you only enjoy in a restaurant, but I developed this recipe to be easy to make at home! The rich vanilla custard comes together in a flash because you don’t have to temper the eggs. Instead of pouring hot liquid into the egg yolks, you’ll let the cream cool while the vanilla steeps so it’s warm when you combine it with the eggs — virtually eliminating the risk of scrambling them!
In my homemade crème brûlée recipe, I also share tips for baking a silky, velvety custard every time. It really comes down to one simple trick: baking the ramekins of custard in a water bath. This method gently and evenly cooks the custard and prevents it from curdling.
A reader, Dianna, says: “First time success – wow! Great instructions and so much better to simmer the milk and just let it cool, so you don’t risk scrambling the eggs during tempering. No kitchen torch (yet), so I sprinkled nutmeg on top. It honestly got better after a day in the fridge, too.” ★★★★★
Table of contents
Key Ingredients
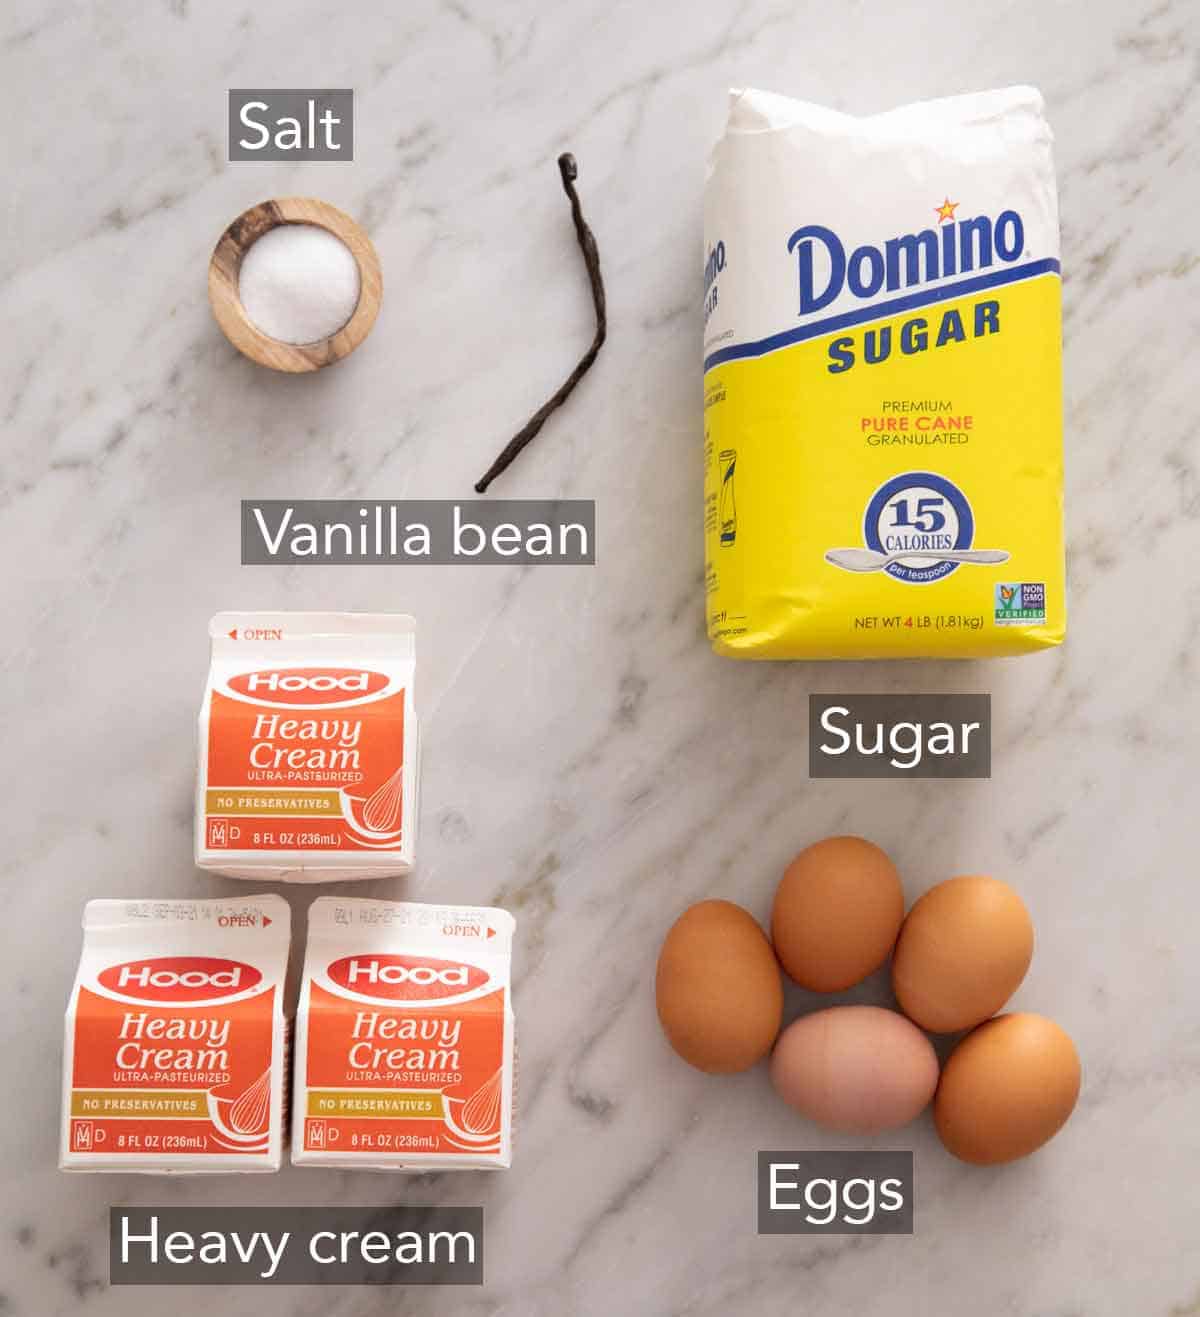
These are the four main ingredients you need to make this easy crème brûlée. You can find the full list of ingredients and measurements in the recipe card below.
Heavy cream — heavy cream forms the rich base of the vanilla custard. I don’t recommend using milk or a lighter cream—you need the fat content in heavy cream for the velvety, decadent custard to set properly and have the proper texture.
Vanilla bean — to maximize the vanilla flavor and so you get the distinct vanilla bean specks in your custard, use the tip of a sharp knife to split the bean in half and then scrape the seeds from the inside. If you can’t find a vanilla bean, substitute 2 teaspoons of pure vanilla extract or vanilla bean paste.
Egg yolks — egg yolks help the custard set as the proteins coagulate while it bakes. Separate the eggs when they’re still cold; it is much easier that way! And save the egg whites to make coconut macaroons. You can also freeze them for later use.
Sugar — sugar sweetens the egg custard and also stabilizes the yolks, helping to prevent them from scrambling when you add the warm cream. It is also what you’ll use to create the crisp, crackly top of caramelized sugar that is the signature feature of creme brulee.
Essential Tools Needed
To make the best creme brulee, you need a few specific tools. They are fairly basic items, but they will help you achieve the best results.
Fine mesh sieve — you will strain the custard twice: Once very early on, and again when the custard is almost complete. Having a fine mesh strainer is essential to catch any solids that will detract from a silky, completely smooth custard. It also helps break apart any air bubbles from whisking the custard, so you don’t end up with a foamy top.
6-ounce ramekins — I developed this recipe for 6-ounce ramekins. If you use bigger or smaller ramekins, you will need to adjust the bake time to account for the different sizes (bigger = thinner and less time; smaller = thicker and more time). Perform the jiggle test or use an instant-read thermometer to make sure the creme brulees are cooked through.
Roasting pan or large baking dish — the ramekins will sit in a large baking tray or roasting pan filled with water, so choose a dish with fairly tall sides.
Why Do You Cook Crème Brûlée in a Water Bath?
Cooking the crème brûlée in a water bath ensures gentle, even cooking for a smooth and delicate custard.
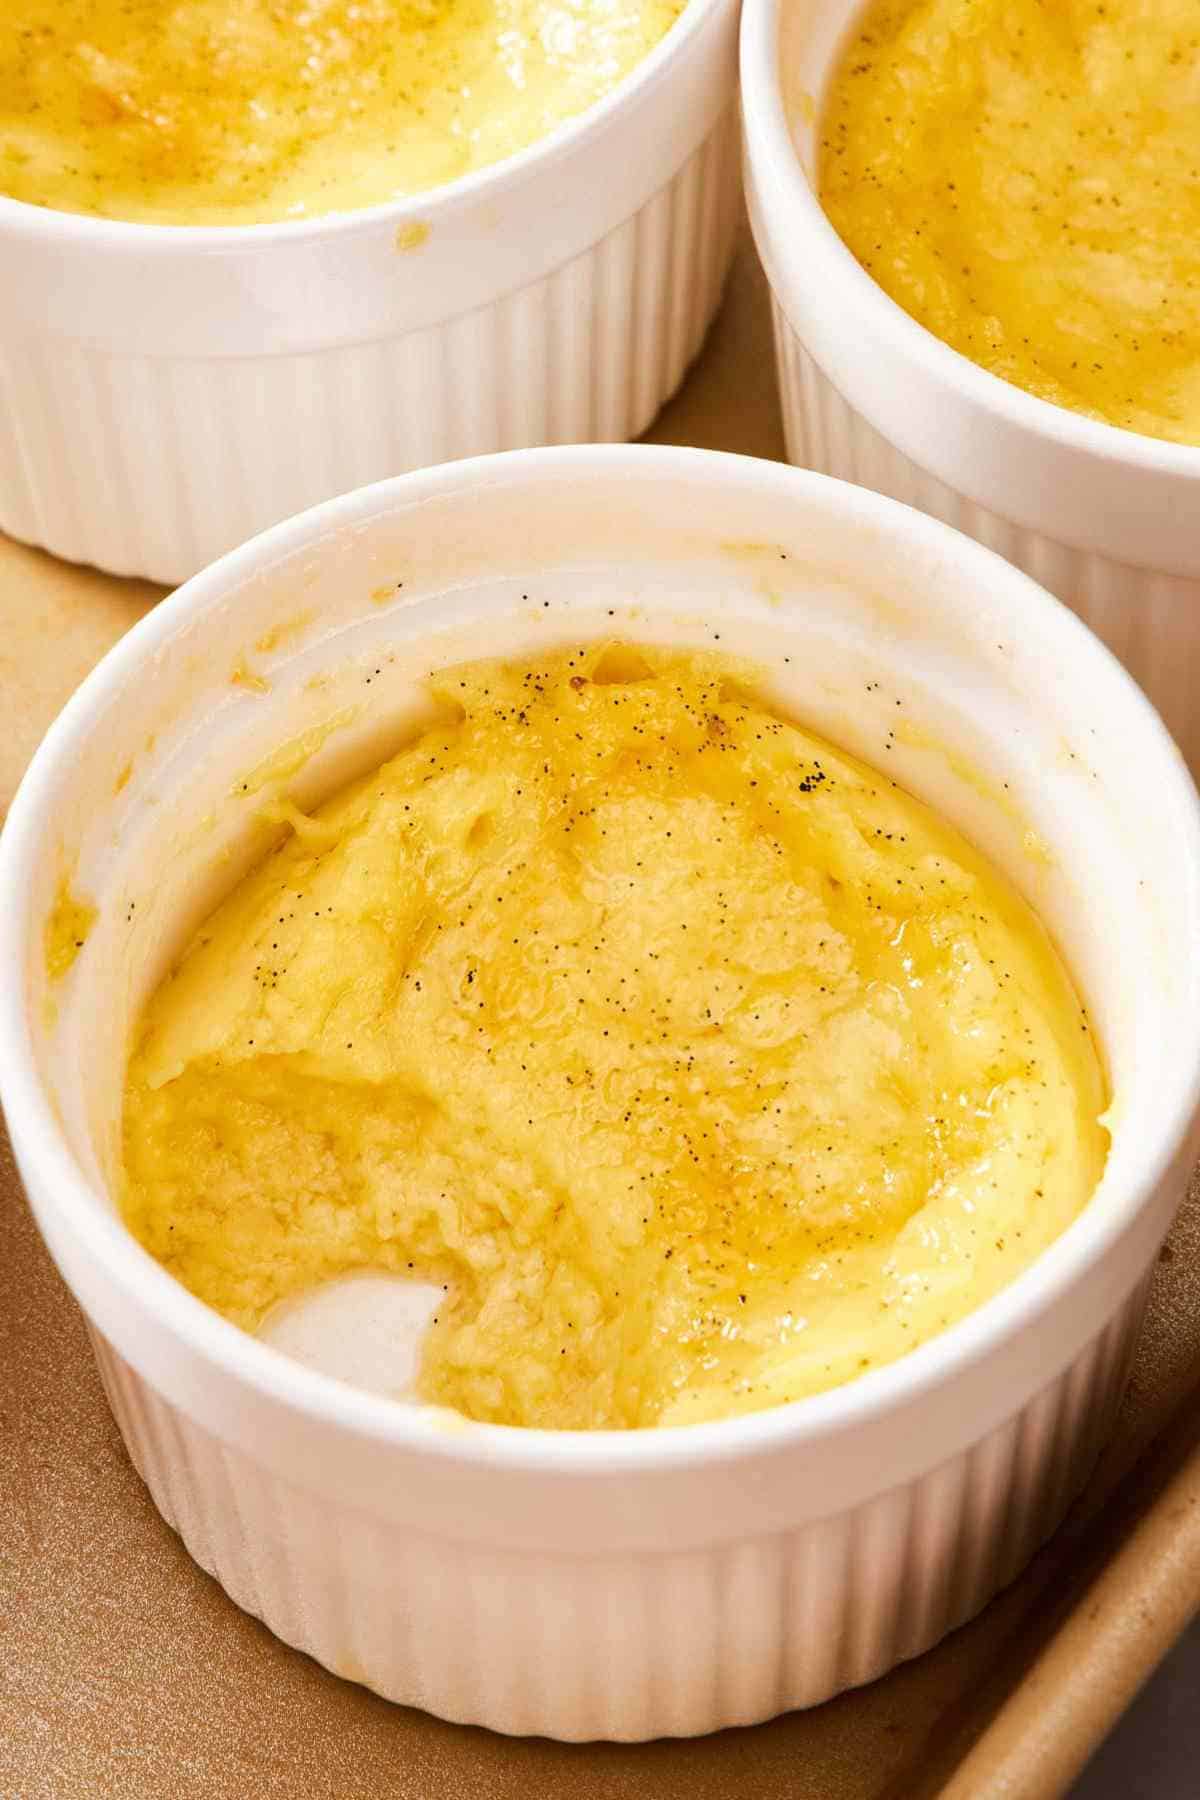
My team tested this crème brûlée recipe without adding water to the pan to show you what happens. Without a water bath, the custard gets too hot, puffs up, and curdles, turning into an eggy mixture with a clumpy, split consistency.
Do I Have To Bake This In Ramekins?
While I developed this recipe to be baked in ramekins, you can also bake it in a pie pan, if you prefer! One reader, Cindy, commented that this is how she always makes my recipe for her mom. What a fun idea— one big scoopable creme brûlée!
Pour the custard into a glass or ceramic 9-inch pie plate and bake it in a water bath. The bake time may vary a bit based on your pie dish, so do the jiggle test or check the internal temperature (170°F-180°F) for doneness. Once it’s done, chill it, then sprinkle the top all over with sugar and brulee!
Brulee The Topping Like A Pro
Here are some simple tips for a stress-free, flawless caramelized topping:
- Blot any moisture or condensation off the top of the custard if any has formed after cooling. Moisture will dissolve the sugar topping, so it will not be able to melt and crisp up.
- Sprinkle the sugar over the surface as evenly as possible without any exposed areas of custard. Gently swirl or shake the ramekin to help even it out.
- Use a torch for the best caramelized top in the shortest amount of time. Keep the torch flame moving across the surface so you don’t burn the sugar too deeply.
- Don’t have a torch? Use the broiler of your oven. Place your oven rack on the highest rung and set the broiler to High. Broil the creme brulees for 2 to 3 minutes, but watch them very closely—it’s easier to burn the sugar or melt the custard under a broiler because of the intense heat.
What’s the best sugar for the topping?
Regular granulated sugar (also known as white sugar) is the best sugar for the topping. It caramelizes quickly, reducing the risk of accidentally burning the custard. If you have superfine or caster sugar, you can use that as well. It will melt and caramelize a little bit faster than regular granulated sugar.
Pro Tips For Making The Best Crème Brûlée
Strain the custard with a mesh sieve for the smoothest texture. Strain the vanilla bean and cream mixture before adding it to the egg mixture to remove the vanilla bean pod and any larger fibers. You should also strain the custard mixture before transferring it to the ramekins to pop any air bubbles produced from whisking. These two straining steps will result in the smoothest velvet-like custard.
To easily fill the ramekins, transfer the custard to a measuring cup with a spout. Use a large measuring cup or a mixing bowl with a spout to easily pour the custard into the ramekins for baking. This will prevent spilling and assist with evenly distributing the custard.
Add the boiling water to the pan slowly. Slowly and carefully pour the boiling water into the baking dish until it comes halfway up the side of the ramekins. Be careful not to splash any water into the custard, which will affect its consistency.
How To Make Crème Brûlée
Below, I’ve highlighted portions of the recipe in step-by-step process images along with instructions for making homemade crème brûlée. You can find the full set of instructions in the recipe card below.
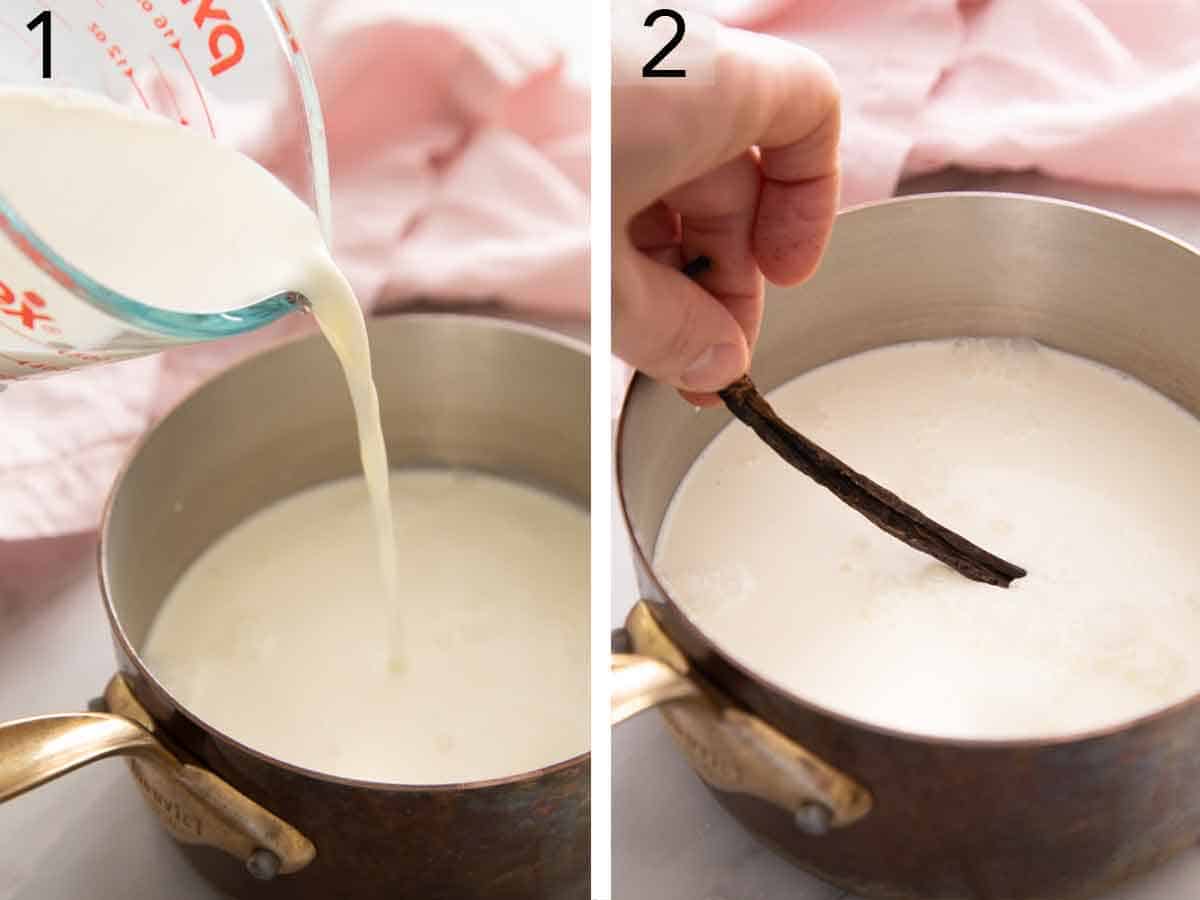
1. Pour the heavy cream into a small saucepan.
2. Add the vanilla bean and scraped seeds to the cream and bring it to a simmer over medium heat. Remove the pot from the heat and let it stand for 15 minutes to cool, and let the vanilla steep in the cream.
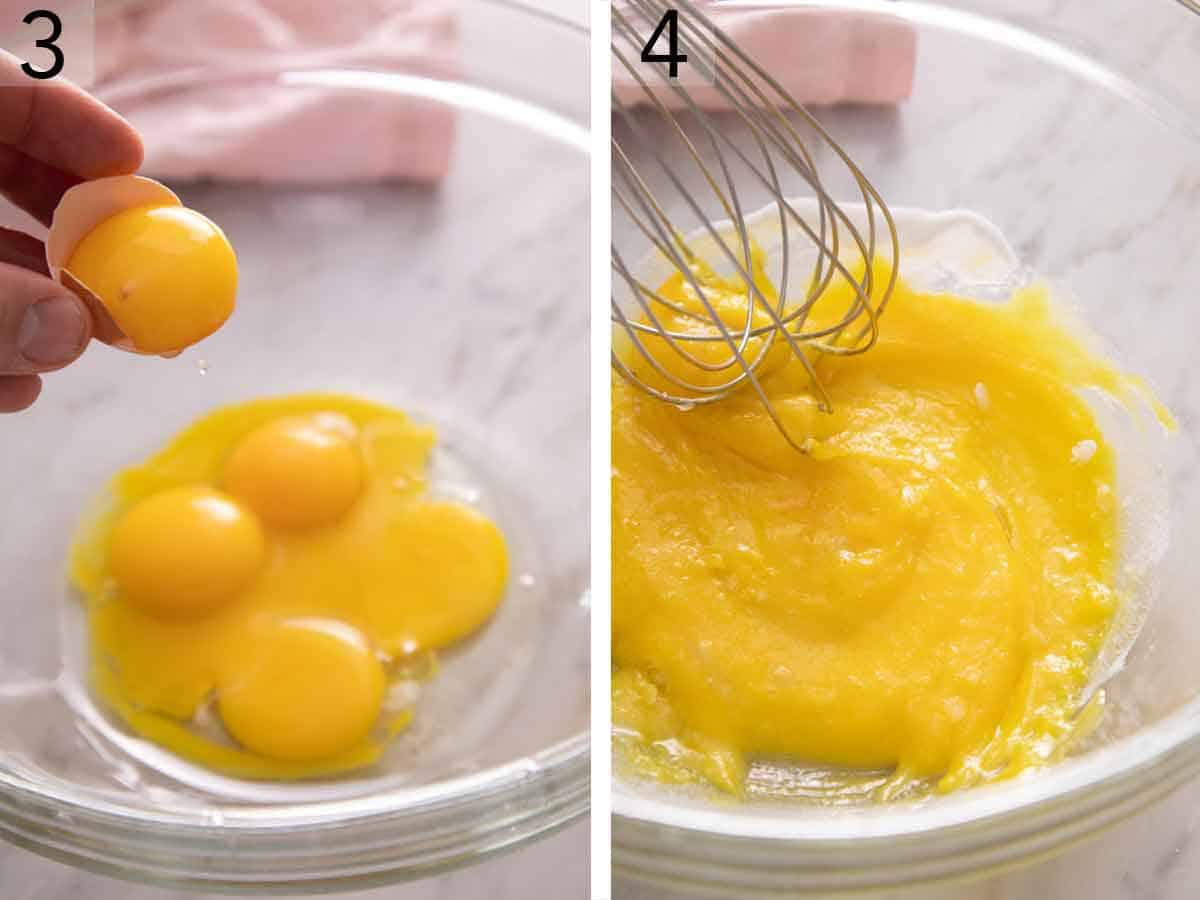
3. Separate the eggs and place the yolks in a large bowl. Save the egg whites for use in a different recipe, freeze them for later, or discard.
4. Whisk together the egg yolks, granulated sugar, and salt.
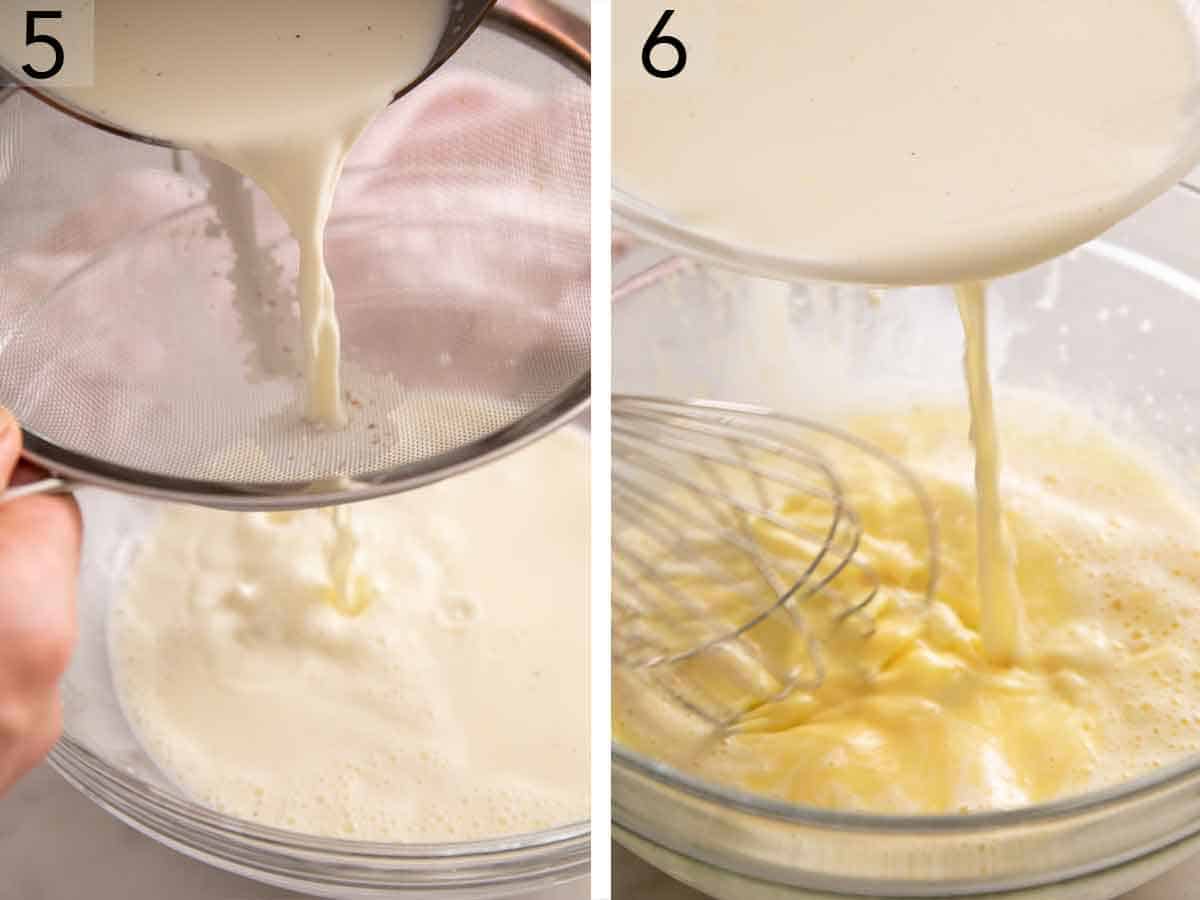
5. Strain the heavy cream and vanilla mixture through a fine mesh sieve into a bowl. Discard any solids as well as the vanilla pod.
6. Slowly whisk the warm vanilla-infused cream into the egg yolks. Then strain the custard through a fine mesh sieve and discard any solids.
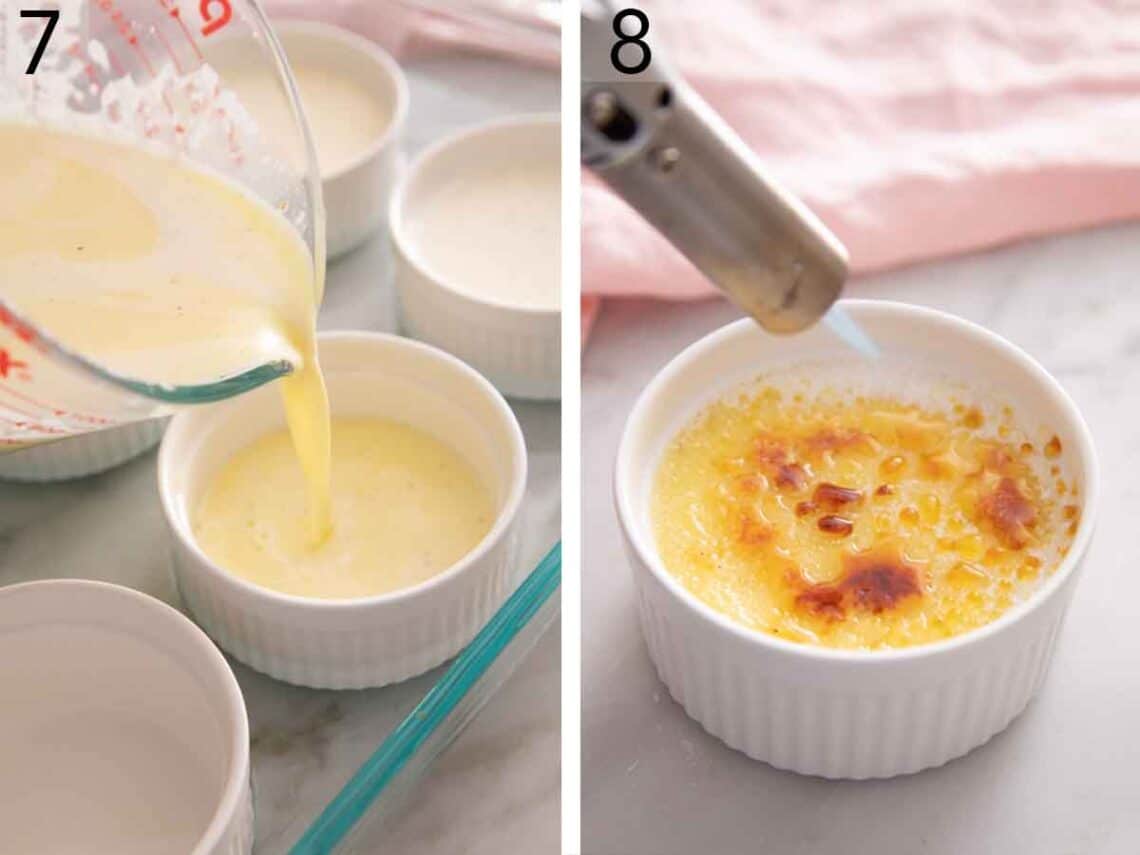
7. Place the ramekins in a large baking dish or roasting pan and divide the custard mixture among them equally. Carefully pour boiling water into the baking dish so it reaches about halfway up the sides of the ramekins. Bake the creme brulees at 325°F for 30 to 40 minutes. Remove from the oven and let the custard cool completely in the water bath. Then remove the ramekins from the baking dish and refrigerate for several hours.
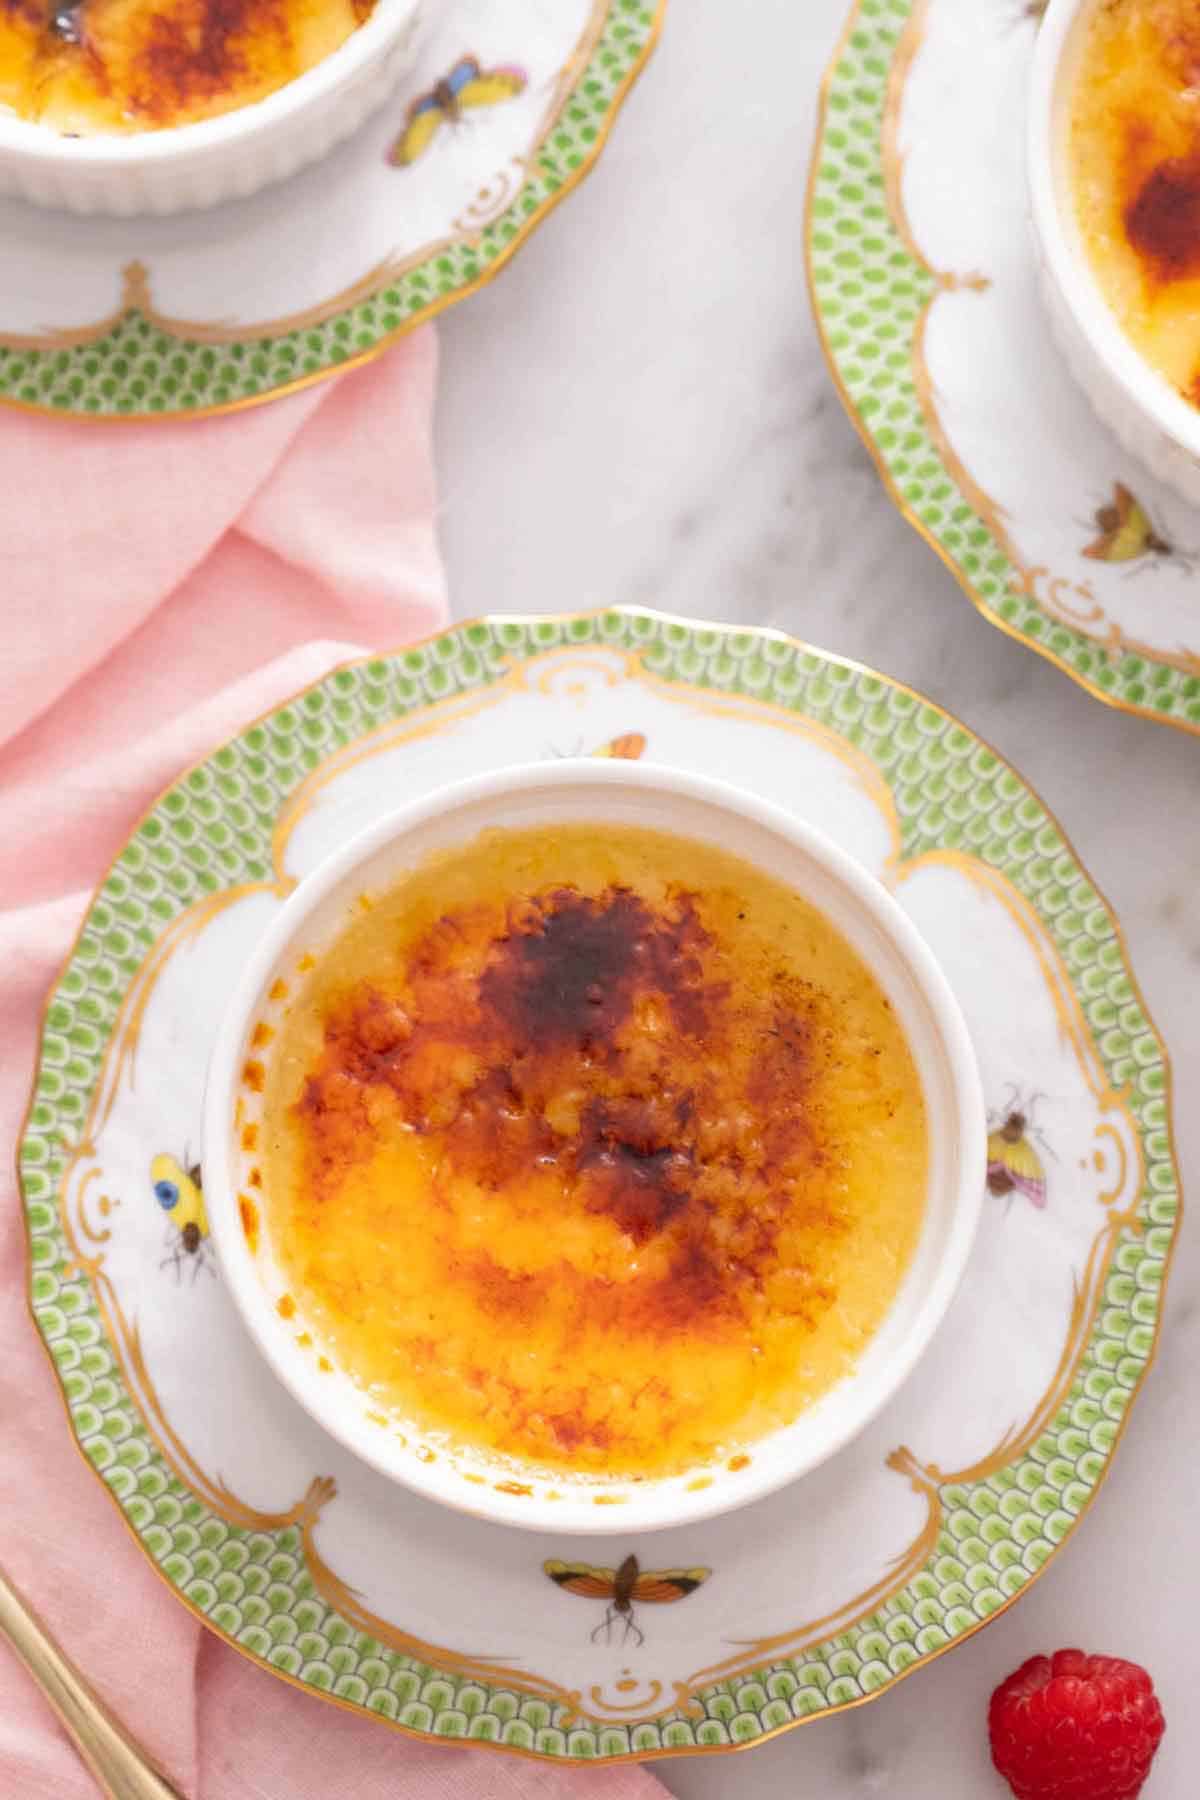
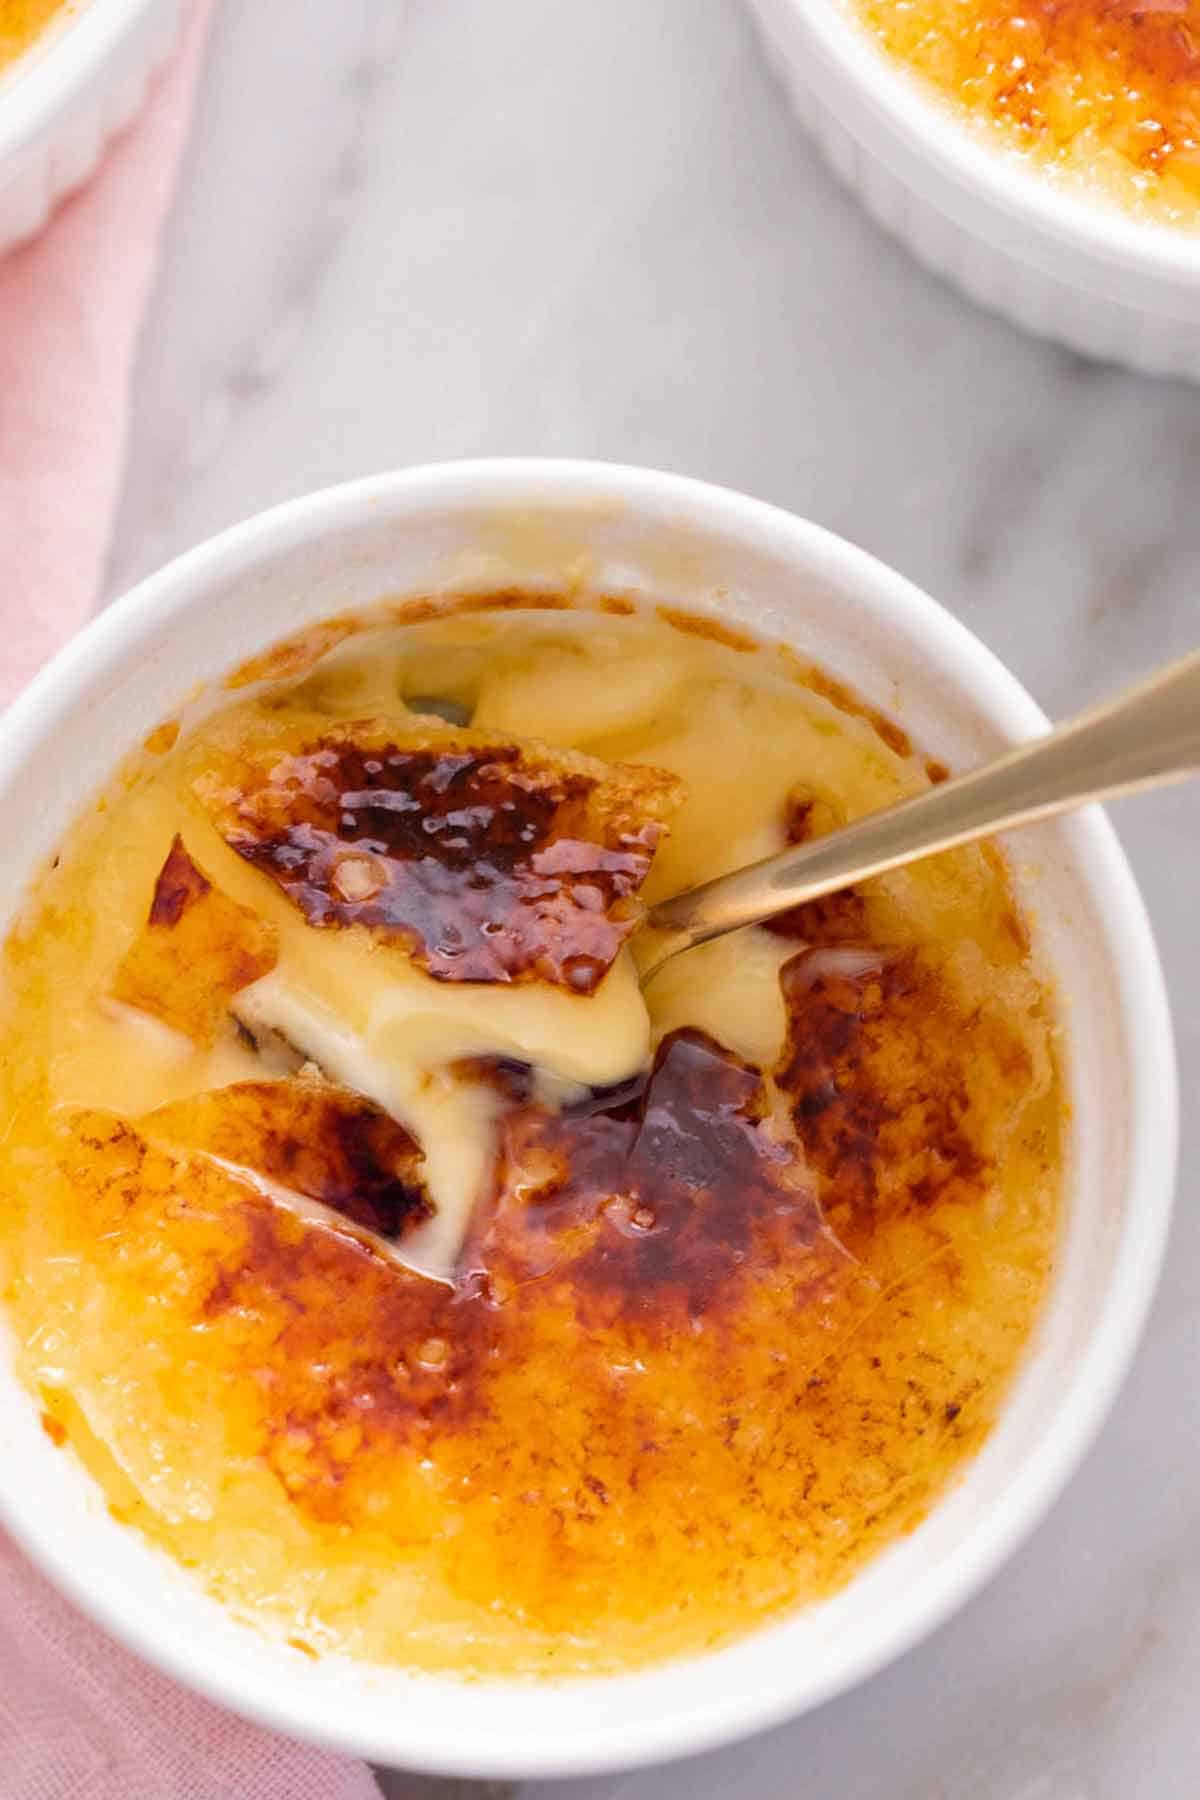
8. When you’re ready to serve the crème brûlée, sprinkle white sugar evenly over the surface of the custard, making sure to completely cover each custard with sugar. Using a kitchen torch, torch it until the sugar melts, caramelizes, and turns golden brown with dark amber areas. Serve immediately for the maximum crispness of the topping.

Crème Brûlée Recipe
Video
Ingredients
- 3 cups heavy cream (720mL)
- 1 vanilla bean split and seeds scraped
- 5 large egg yolks
- ½ cup granulated sugar plus more for topping (100g)
- ⅛ teaspoon salt
Instructions
- Preheat the oven to 325°F.
- In a small saucepan, bring the cream and vanilla bean pod and seeds to a simmer over medium heat. Remove from heat and let stand for 15 minutes.
- Strain through a fine mesh sieve into a bowl. Discard any solids and the vanilla bean pod.
- In a large bowl, whisk together egg yolks, sugar, and salt. Slowly whisk the warm cream into the egg yolks. Strain the custard through a fine mesh sieve and discard any solids caught by the sieve.
- Place 6 (6-ounce) ramekins in a large baking dish and divide the custard among them. Very carefully pour boiling water into the baking dish until it comes about halfway up the sides of the ramekins. (Go slow and take care not to splash water into the custard. See notes for an alternative method.)
- Bake for 30 to 40 minutes or until the custard edges are set, but the center wobbles slightly when gently shaken. Remove from the oven and let cool completely in the water bath. Remove the ramekins from the water and chill for several hours. The custards can also be loosely covered and refrigerated for up to 2 days before topping and serving.
- When ready to serve, sprinkle sugar evenly over the top of each chilled custard (about 1 to 1½ teaspoons each). Using a blow torch, caramelize the sugar until dark amber and bubbling. Serve immediately to ensure the sugar is still crispy and cracks when spooned into it.
Notes
- Use 6-ounce ramekins. This recipe works best with 6-ounce ramekins. If you use larger or smaller ramekins, adjust the cooking time and cook until the edges are set but the center wobbles slightly when gently shaken. If you use a shallow ramekin, you’ll have more surface area for the sugar topping, but be sure to check on them sooner, as they will cook a bit faster.
- Alternate water bath option. Typically, you pour the hot water into the baking dish after the filled ramekins are already placed in it. If you find this difficult, or your baking dish is a tight fit with the ramekins, you can fill the dish first with enough water to cover the bottom by ½ inch, then carefully add the empty ramekins and fill them with custard.
- If you’re not sure if the creme brulees are finished cooking, you can insert an instant-read thermometer in the center of each custard. They are finished when the internal temperature falls between 170-180°F.
Nutrition
Creme Brulee Flavor Variations
I love a classic vanilla crème brûlée, but there are a few simple ways to add extra flavor to this tasty dessert:
- Add 2 teaspoons of citrus zest to the cream with the vanilla bean, then strain it out. Orange and lemon are wonderful options.
- Add spices such as cinnamon, cloves, and nutmeg to the cream mixture and strain it out. You can use a few whole spices or ¼ teaspoon ground spices.
- For a coffee-flavored crème brûlée, dissolve 1 to 2 teaspoons of instant espresso powder in the hot cream.
- To add a boozy kick, stir 1 to 2 tablespoons of Grand Marnier, brandy, spiced rum, or bourbon into the custard before straining it.
Frequently Asked Questions
Yes! This is a great dessert to make ahead. Cover cooked and cooled creme brulees without the sugar with plastic wrap and store them in the refrigerator for up to 3 days. When you’re ready to serve, add the sugar and brulee the top since it’s best to serve immediately when the sugar is crispy.
A grainy custard is often caused by the eggs overcooking. Be sure to pull the custards from the oven at the right time so you don’t over-bake them. If they get over 180°F, the eggs will start to get too firm and can create a scrambled or grainy texture. Not straining the custard both times in the preparation process can also lead to a grainy custard due to vanilla bean pod particles or too much air in the custard.
If you swap the heavy cream for milk or whipping cream, your custard will turn out runny due to the lower fat content. Not baking the creme brulees for long enough also yields a runny custard (as it hasn’t been given enough time for the eggs to set). The internal temperature should be between 170-180°F.
Baked crème brûlée can be stored in the refrigerator for up to 3 days. Allow the custard to cool to room temperature, then cover with plastic wrap and refrigerate. Add and torch the sugar right before serving. If there is moisture on the top of the custard after storing, use a paper towel to blot it dry before adding the sugar topping.
If you have bruleed leftovers, cover and refrigerate them for up to 3 days. The burnt-sugar crust will soften, losing its crisp consistency and turning more syrupy. However, the flavor will still be delicious!
More Dessert Recipes To Try
Here are more dessert recipes you can try, which, like crème brûlée, are so much easier to make than they look!
You need just 2 simple ingredients and about 15 minutes to make palmiers, a sweet, crunchy treat. You can also change them up to make them savory!
French macarons are dainty, delicate sandwich cookies filled with buttercream. They’re naturally gluten-free, making them ideal for those who avoid gluten in their diets. (Please always double-check ingredient labels to be certain!)
Mille feuille is composed of puff pastry filled with vanilla pastry cream and topped with chocolate and vanilla icing. Some variations are filled with diplomat cream, stabilized whipped cream, or instant custard.
Angel food cupcakes are light as air and so soft. Top them with simple whipped cream and berries for a beyond delicious dessert.
My tender, pillowy angel food cake is so easy to make from scratch with 6 ingredients! It’s a great recipe to use the egg whites you’ll have left over from this creme brulee recipe!
If you’ve tried this creme brulee recipe, then don’t forget to rate it and let me know how you got on in the comments below. I love hearing from you!
Gráinne says
Delicious! So tasty and easy to make. Thank you for this fabulous recipe.
Valentina says
Loved it! just use less sugar per my taste
Erin says
My husband is always asking me to make creme brulee and I use this recipe everytime! Its soooo good!!! 100/10
LD says
Better than one I had in a restaurant
Harun says
Perfect taste and consistency!
Karen Campbell says
So easy to make! Was absolutely delicious! Thank you again. !! Perfect directions 🍮