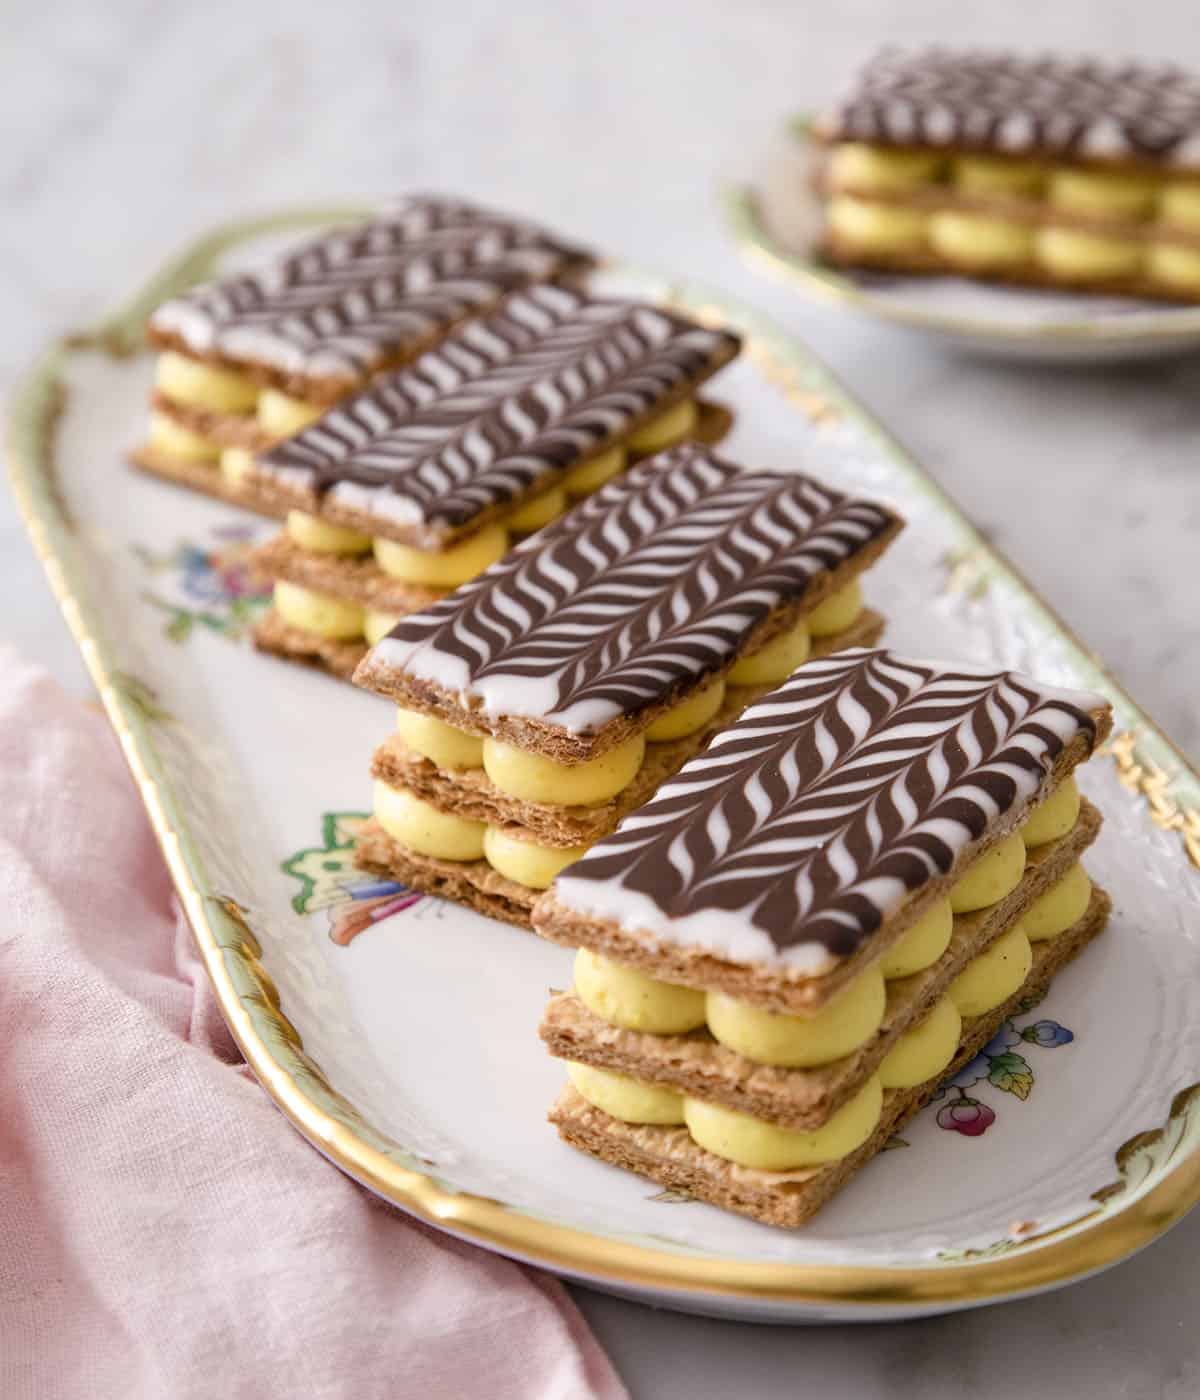
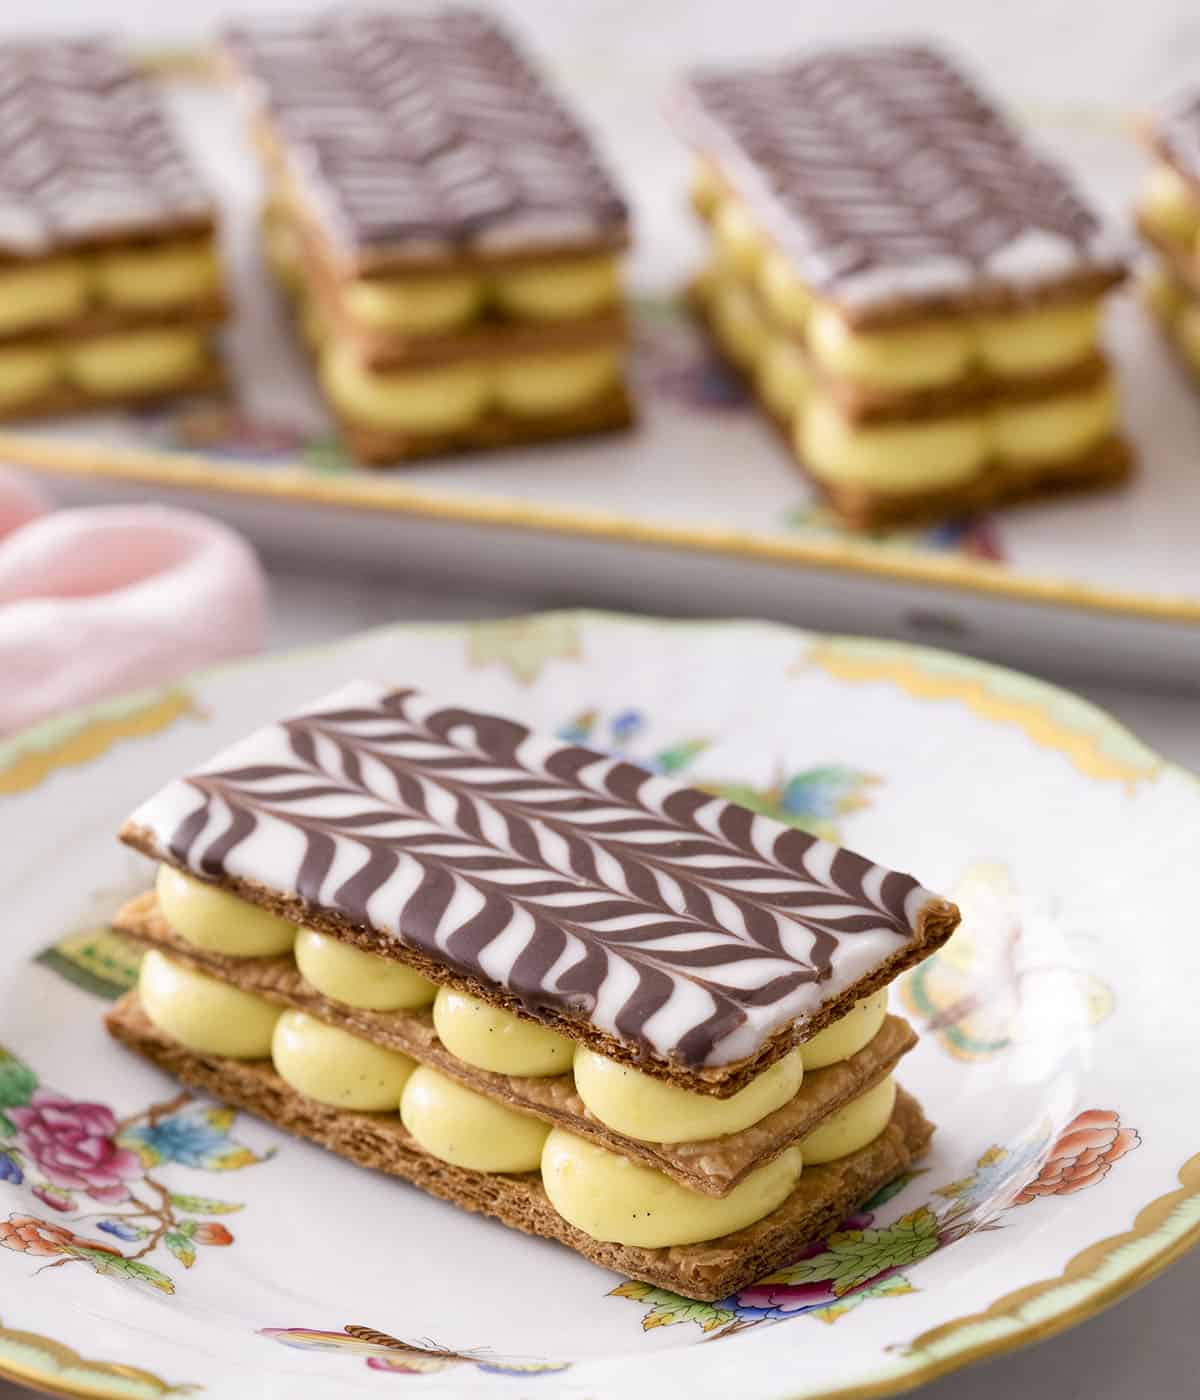
These delicate pastries are a stunning addition to any table. The light and airy puff pastry is a perfect accompaniment to that rich creamy pastry cream.
What You’ll Need for This Recipe
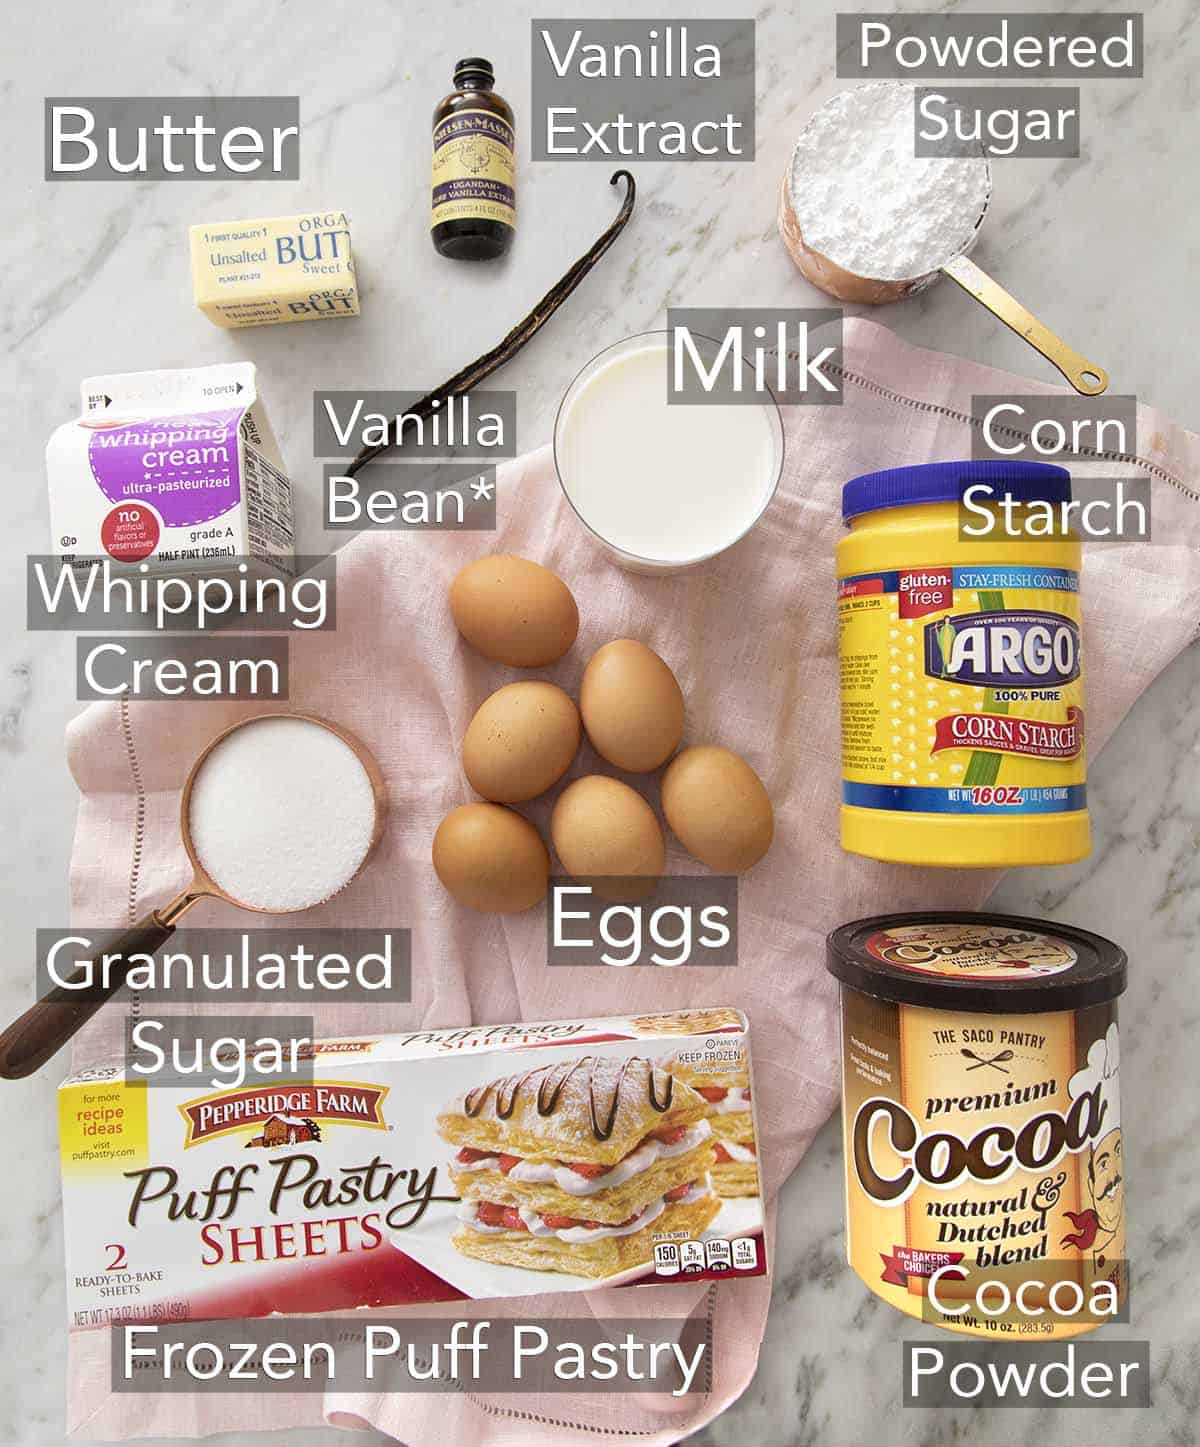
Vanilla Bean: You can use two tablespoons of vanilla bean paste or vanilla extract in the pastry cream if you don’t want to use a bean.
Frozen Puff Pastry: Use a square or rectangular sheets, not round ones.
How to Make Mille Feuille
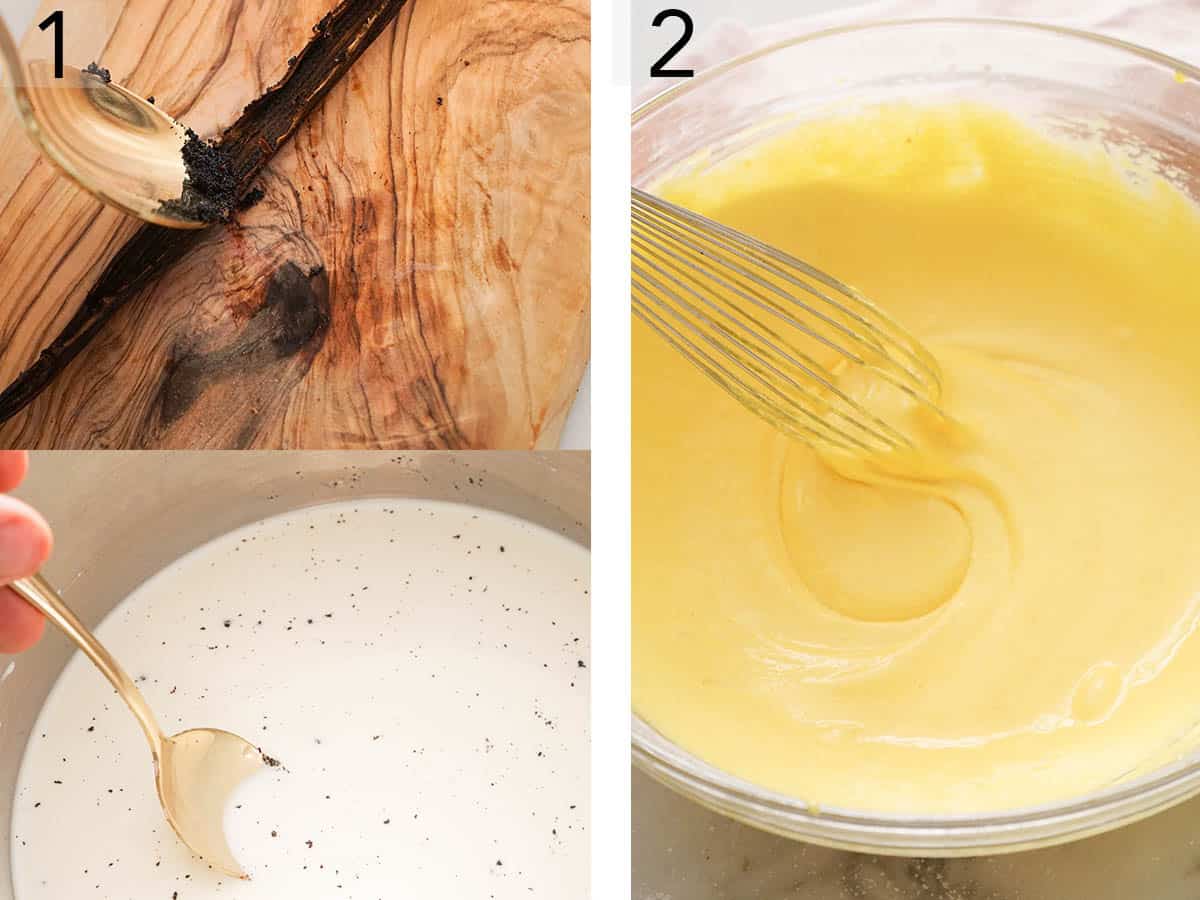
1. Run a knife down your vanilla pod to open it up then use a spoon to scoop the seeds out. Add the milk and vanilla seeds to a medium pot and place over medium-high heat. Give it a whisk to break the clusters of seeds up and bring to a boil, then remove from heat and set aside.
2. Whisk the sugar and cornstarch in a large bowl then add the egg yolks and whisk until smooth and a light yellow color.
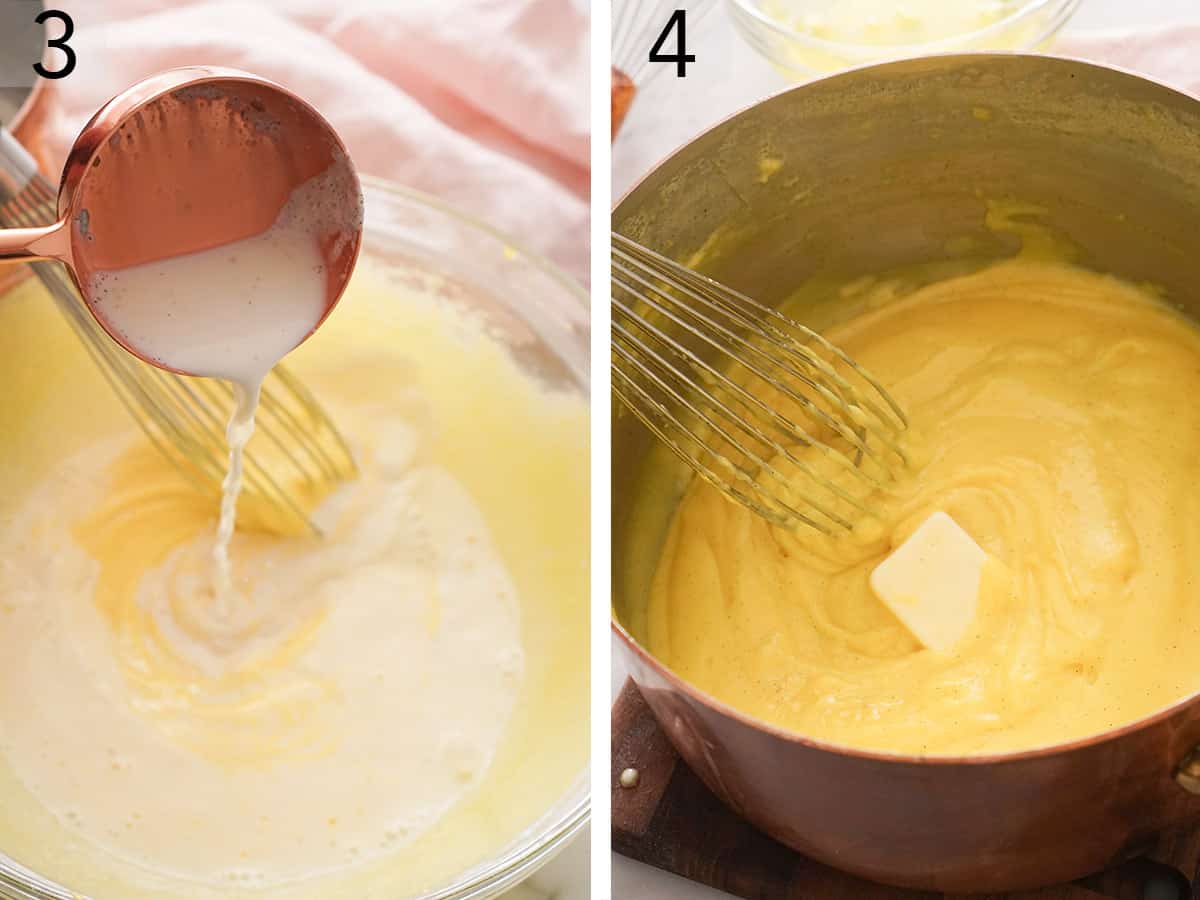
3. Temper the mixture by drizzling in about 1/4 cup of the hot milk while whisking. Whisk in the remaining milk then strain back into your pot and place over medium heat.
4. Whisk over heat until thickened and bubbling then remove from heat and mix in the butter. Transfer to a bowl and press plastic wrap against the surface. Chill for about two hours.
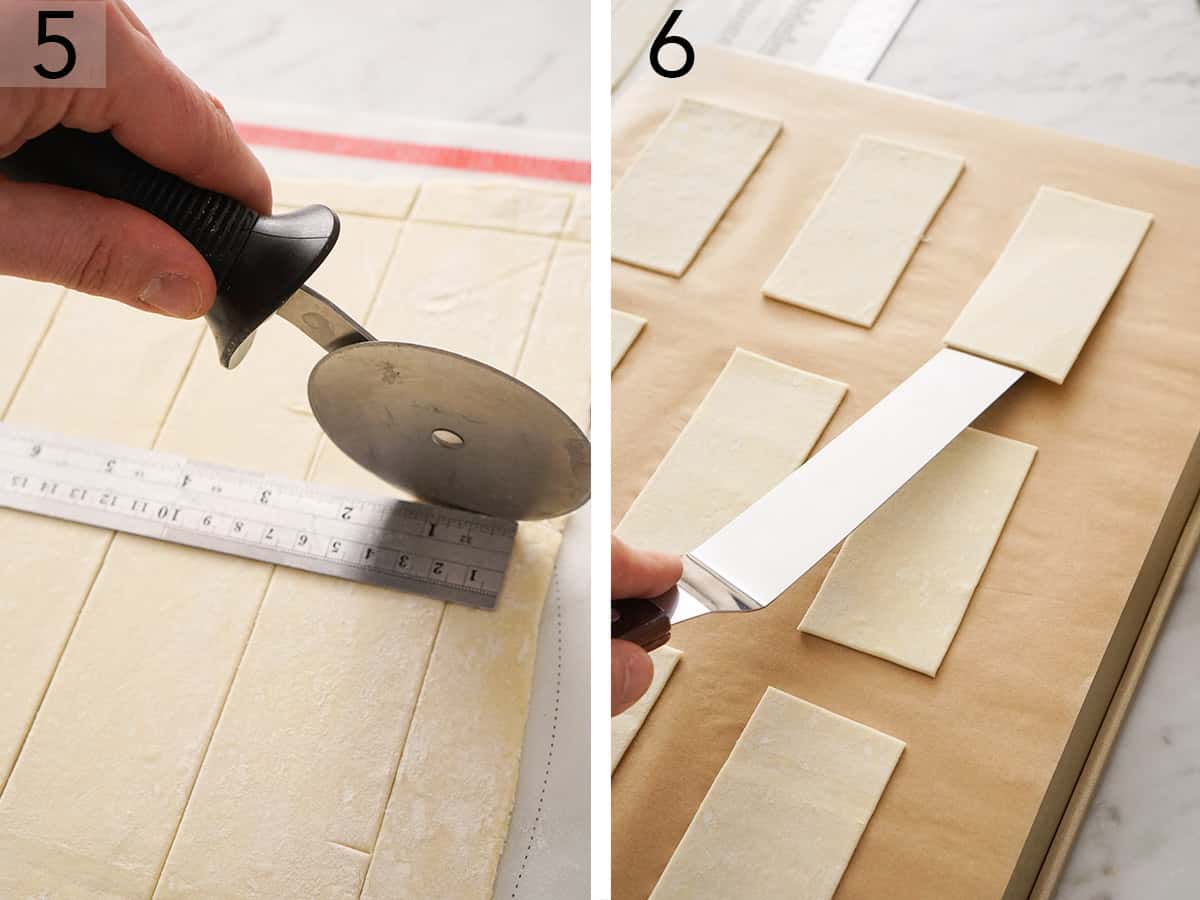
5. Set oven to 400F. Thaw your pastry dough then roll on a lightly floured surface to about 1/16 an inch. Cut into rectangles. I’m making 2×4 inch individual pastries but you can make one or two larger mille feuilles which can be cut after assembly. The directions are the same. Just increase the size of the pastry you cut.
6. Transfer the rectangles onto a parchment-lined baking sheet then cover with another sheet of paper and a heavy baking tray or a baking sheet. You can weight the top down with pastry weights if it’s a super-light tray, we don’t want the pastry to puff up much in the oven.
Bake for about 11 minutes at 400F rotating the pan halfway through. You’ll need to bake a few batches; either stage the cutting out or cut everything at once and have it ready to go into the oven when the first batch comes out. Transfer to a wire rack to cool completely. You can use a sharp knife to square the edges off after baking for a perfect edge.
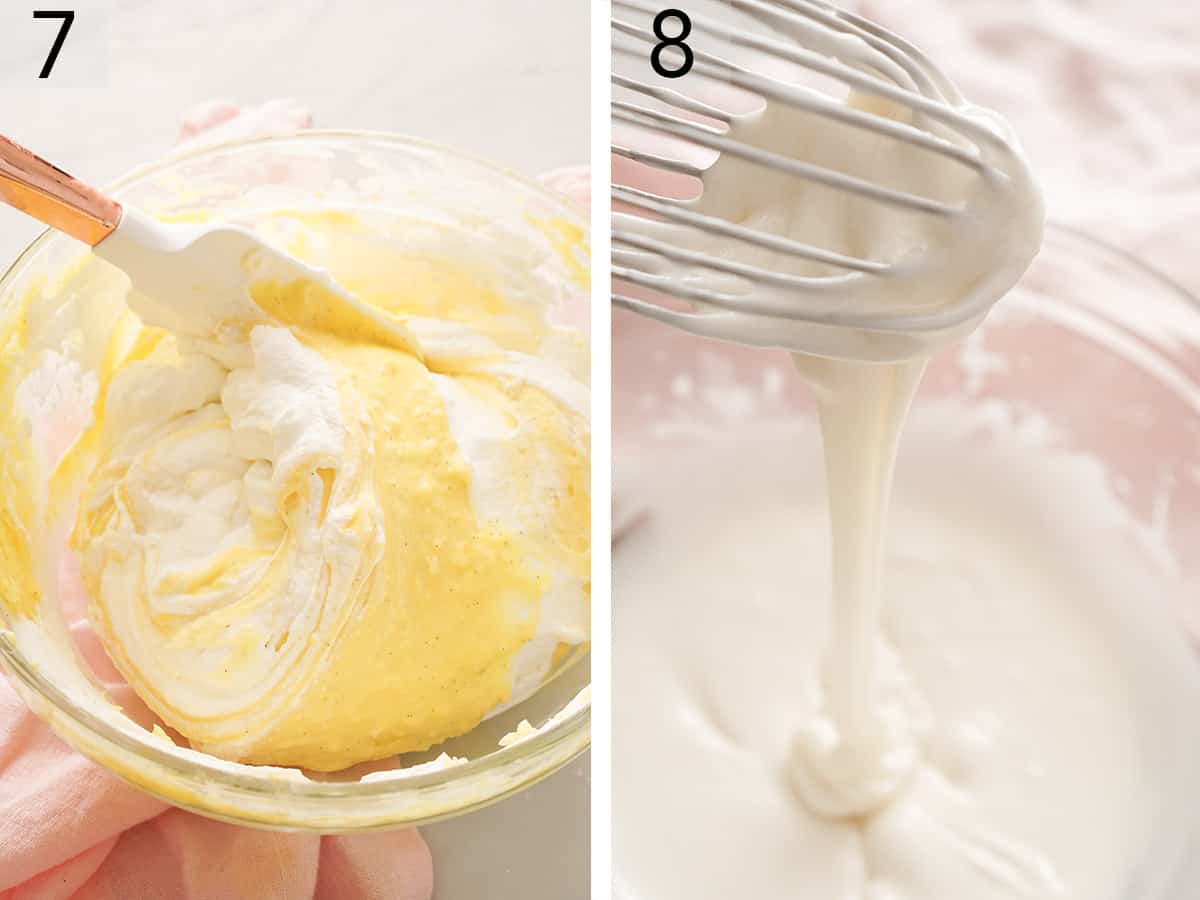
7. I like to lighten the pastry cream with whipped cream but you can skip this step if desired. Whip the cold cream and sugar to almost stiff peaks. Whisk up your pastry cream to break it up then mix in about 1/2 cup of the whipped cream. Fold the remaining whipped cream in then return to the fridge while you make the glaze.
8. To make the glaze add the powdered sugar to a bowl then add the vanilla and a few tablespoons of milk. Whisk together then add more milk as needed until you get a thick, spreadable consistency.
Transfer about 1/3 cup of the glaze to another bowl then whisk in the cocoa powder and add milk as needed until you get a smooth consistency similar to the vanilla batch. Transfer each batch to a piping bag. You can use a smaller round tip for the chocolate or just snip the tip off.
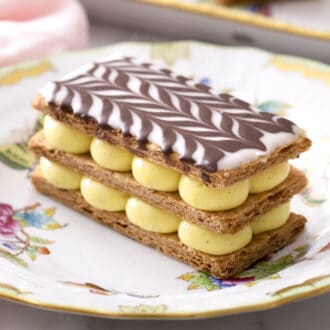
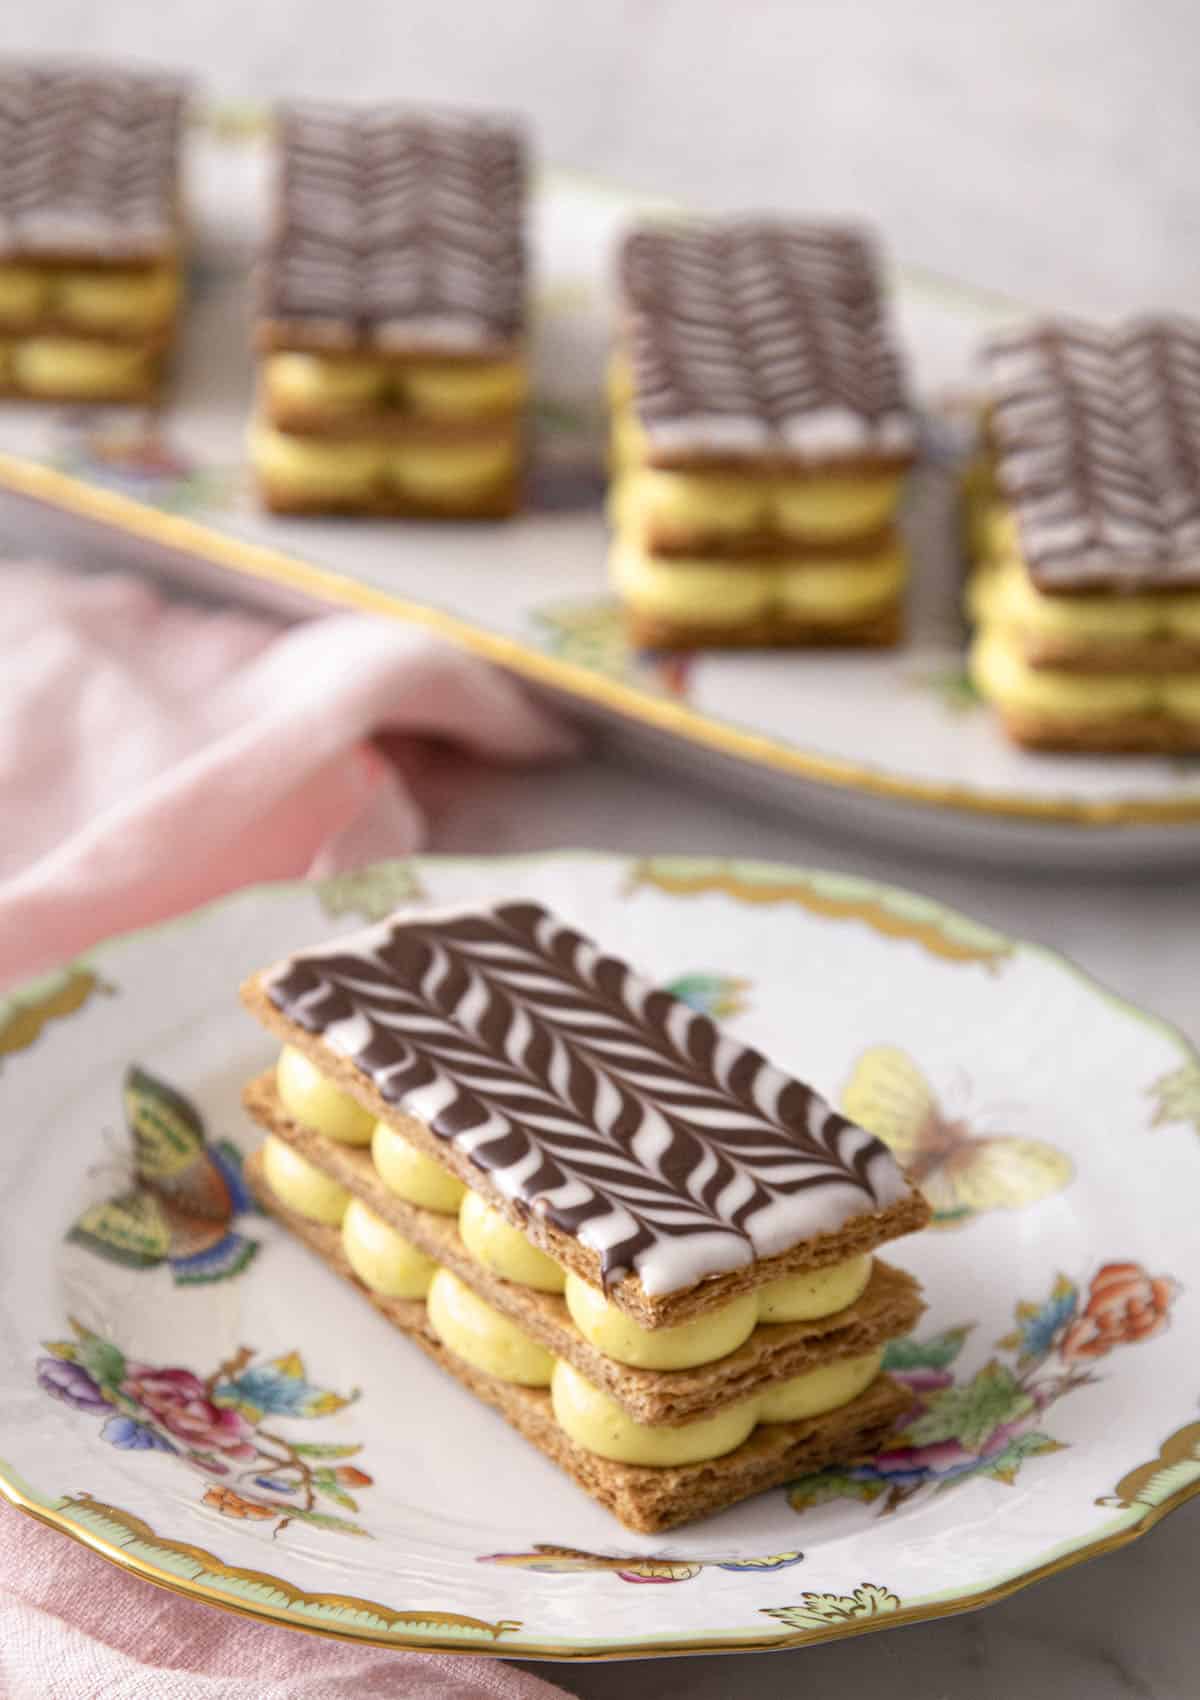
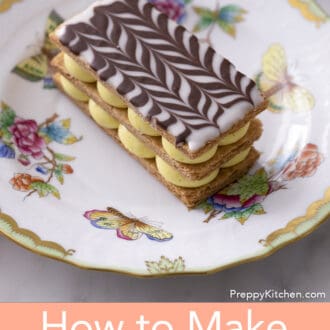
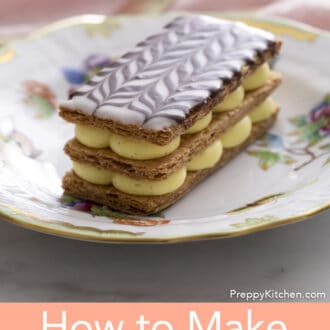
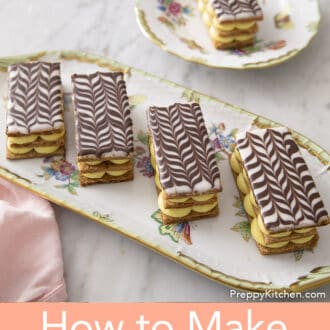
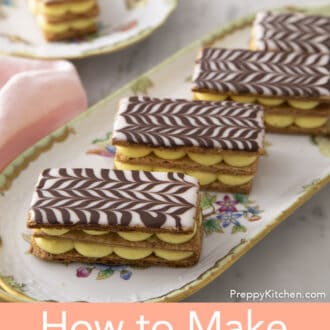
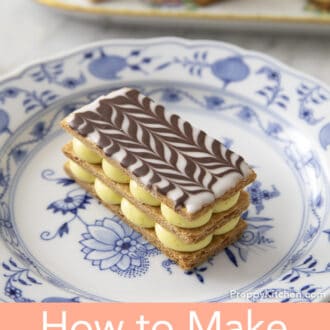
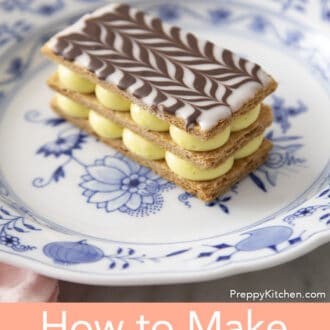
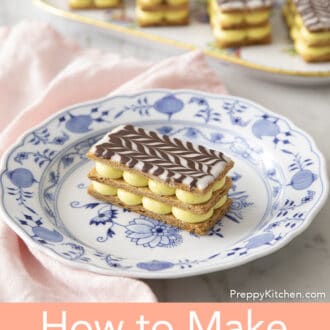
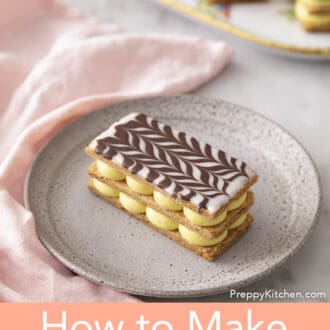
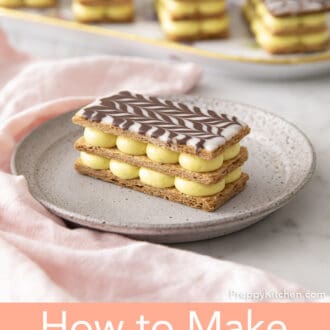
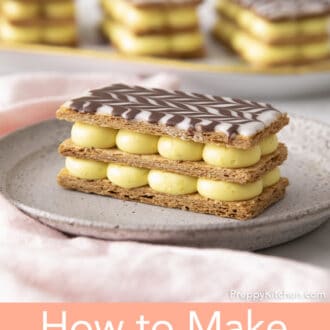
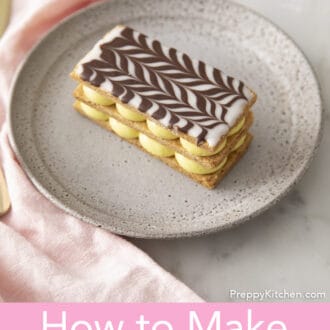
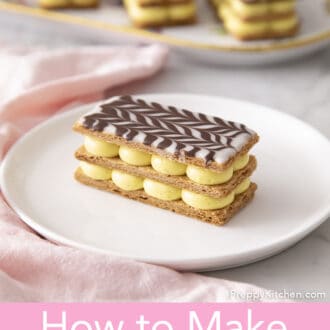
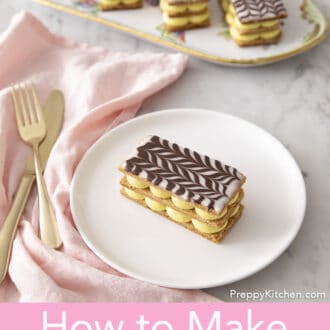
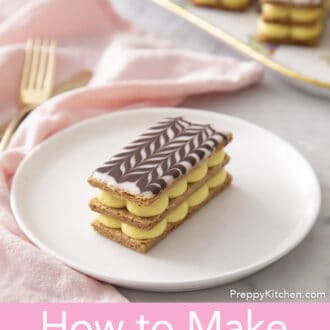
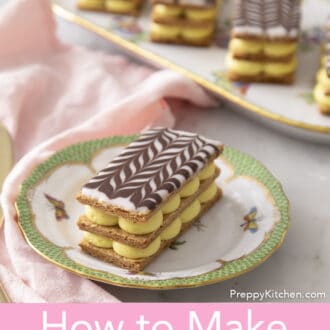
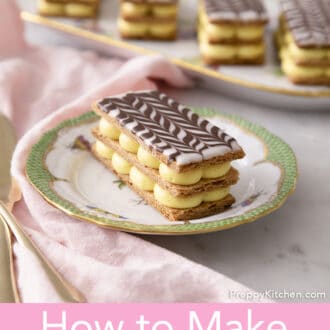
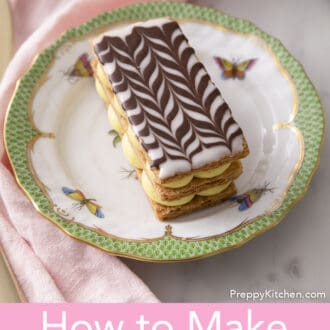
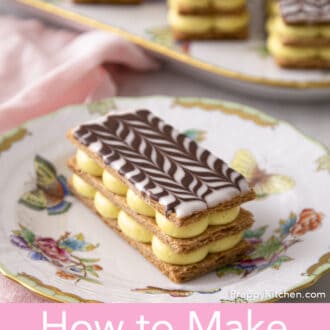
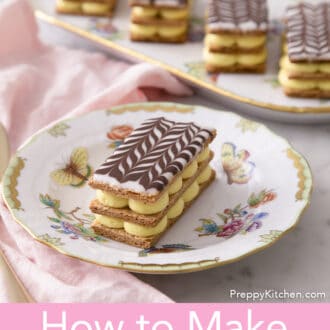
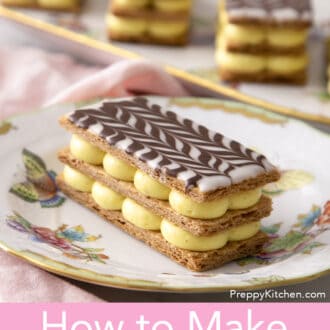
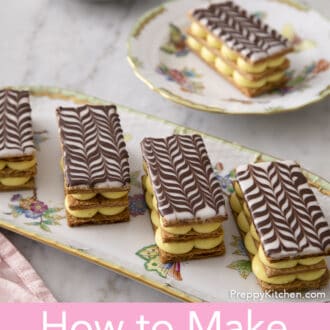
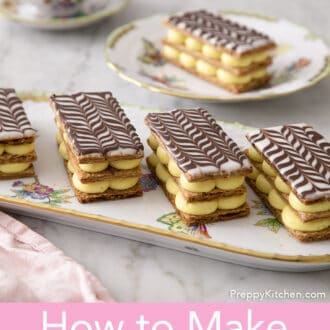
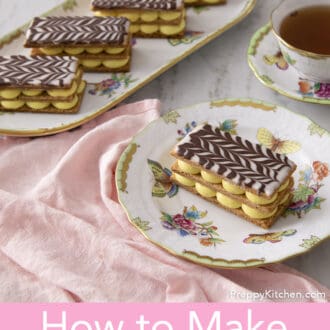
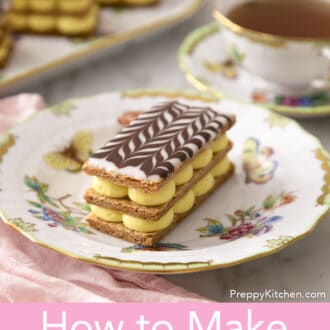
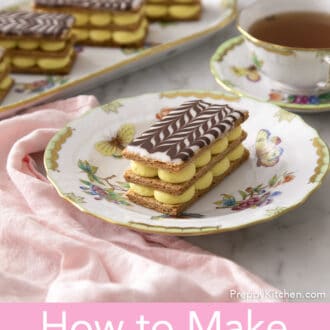
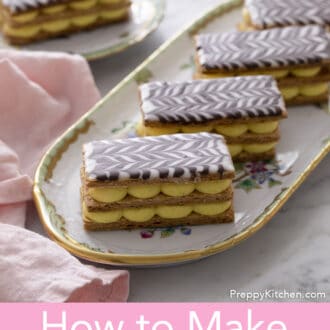
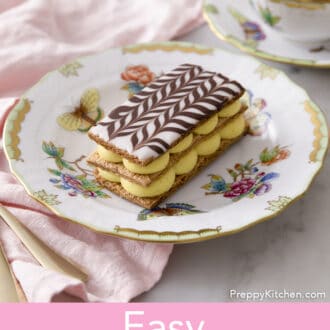
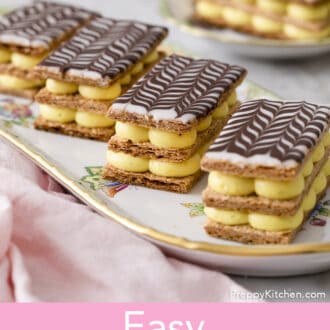
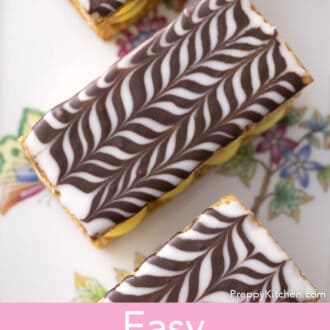
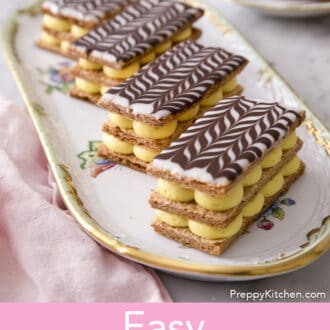
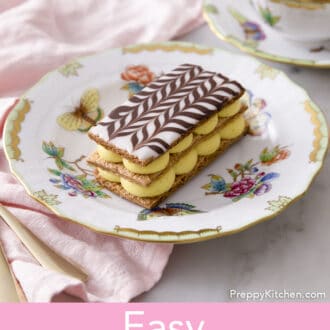
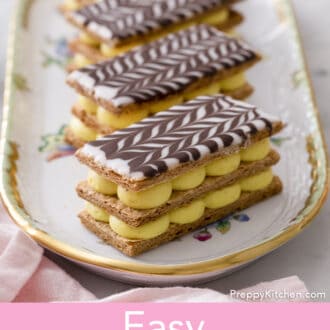
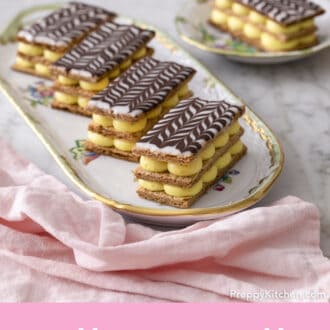
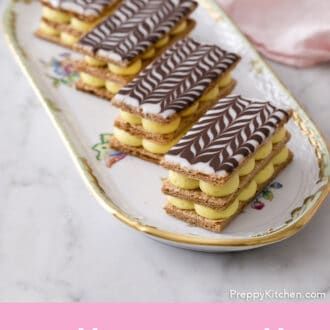
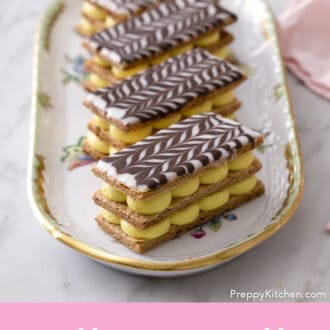
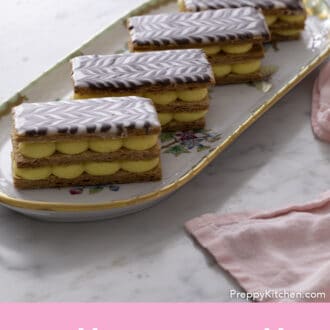
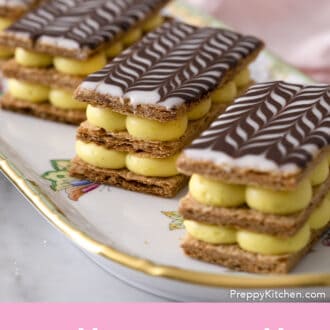
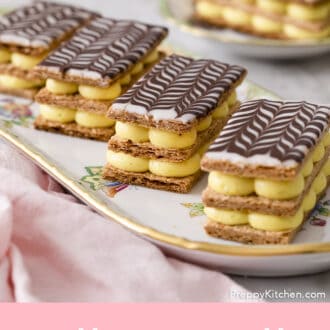
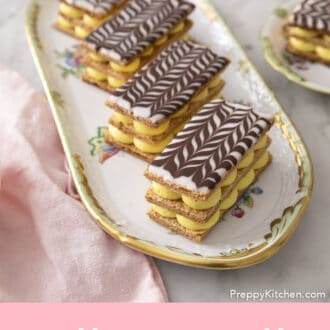
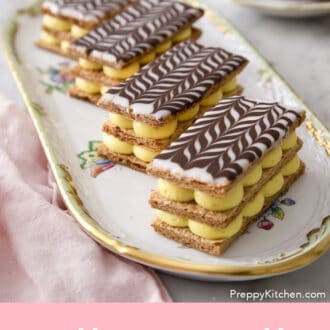
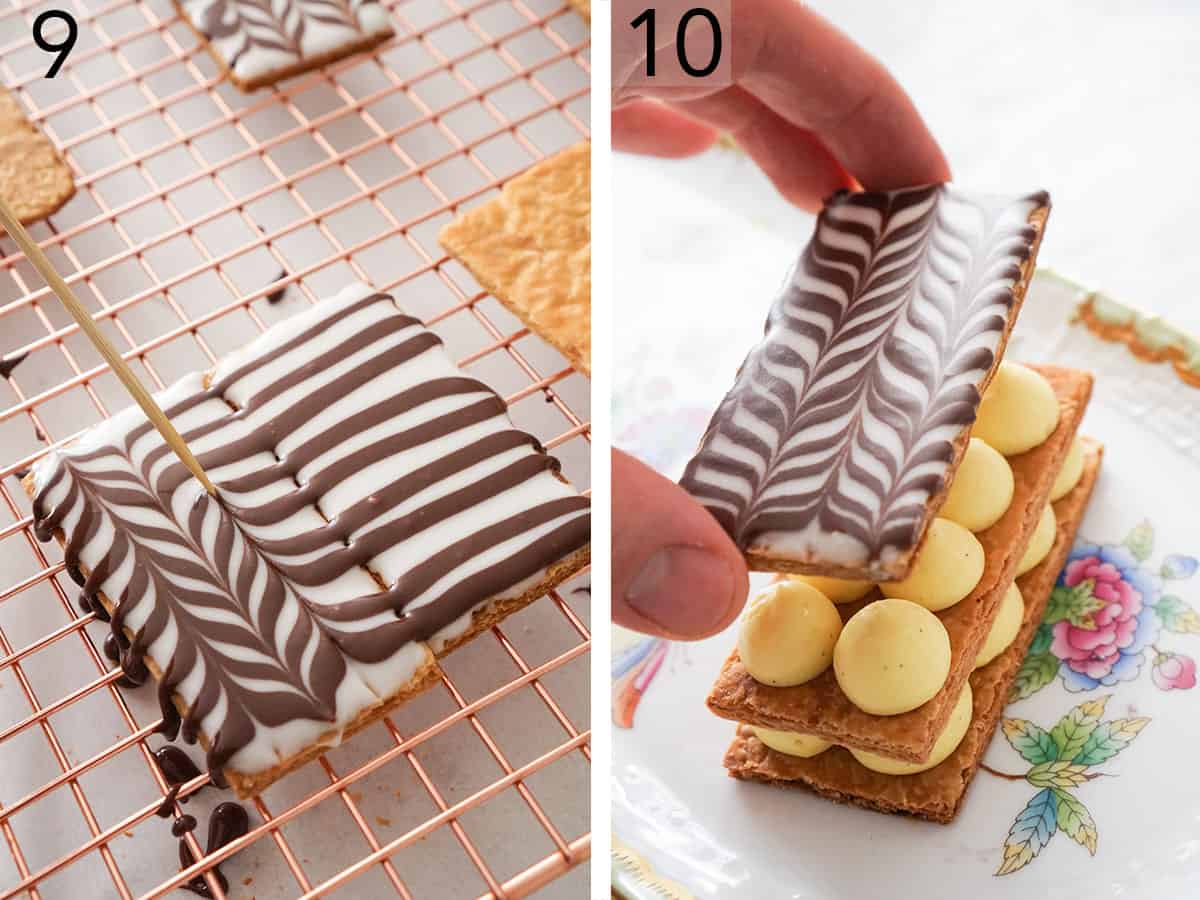
9. Spread the vanilla icing onto the tops, preferably just to the edge but not oozing over. Pipe chocolate stripes across the surface then use a skewer or toothpick to rake across the chocolate stripes in alternating directions to create a chevron pattern.
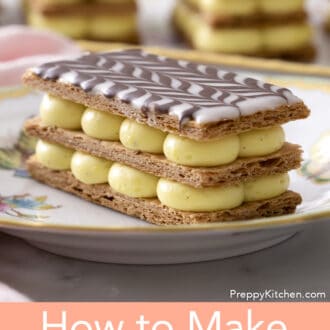
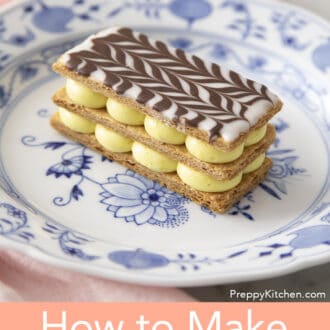
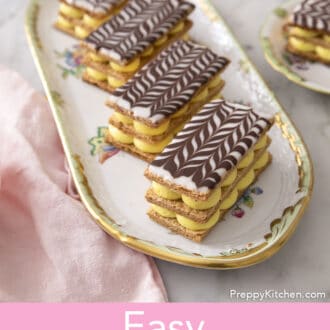
10. Transfer the pastry cream to a piping bag fitted with a larger round tip like a 1A or 803 and pipe dollops onto one of the pastry pieces. Place a second pastry piece on top then repeat the process and place one of the iced pastry pieces on top.
Frequently Asked Questions
What is the difference between Mille Feuille and Napoleon?
A Napoleon is usually made with almond cream while a mille feuille is filled with vanilla pastry cream. This distinction is being muddied as the two desserts are tagged with both names online.
How can I make this as one big pastry?
Instead of making the individual pastries you can just cut three large pieces of pastry and bake with the same steps. Instead of piping the pastry cream you’ll spread it on with a spatula. Chill then use a long SHARP knife to cut the dessert into pieces before serving.
How do you eat a them?
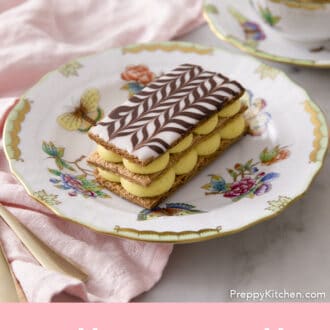
In my humble opinion these desserts are best eaten with a fork and knife. If they’re chilled the cream firms up a bit making cutting into them without squashing the layers a bit easier.
What is mille feuille cream?
These desserts are filled with either pastry cream, a delicious custard made with egg yolks, sugar and milk, or diplomat cream, pastry cream lightened with whipped cream. Some are just filled with a stabilized whipped cream, or an instant custard.
How can I store these?
Mille feuille will keep in the refrigerator for 2 days in an airtight container but the pastry will absorb liquid from the filling and lose it’s crispness. I prefer to serve them just after being assembled.
Pro Tips for this Recipe
- You can make a BIG pastry and cut it to serve. Just cut three 12×6 inch rectangles and follow the same steps to assemble your giant pastry. Cut with a very sharp knife before serving.
- This custard can be made up to 24 hours in advance. Refrigerate until 1 hour before using.
- Don’t worry if your pastry cream is a bit of a blob after chilling. Whisking it up by hand or in the mixer will fix that right up.
- You can ice the tops with royal icing, a thin chocolate ganache, or a dusting of powdered sugar if preferred.
- If you want to make these in advance or just stage it out then bake the pastry, decorate the tops, make the pastry cream and assemble before serving.
If you’ve tried this Mille Feuille recipe then don’t forget to leave a rating and let me know how you got on in the comments below, I love hearing from you!
Mille Feuille
Video
Equipment
- Baking Sheets
- Parchment paper
- Whisk
- Medium pot
Ingredients
For the Pastry Cream
- 2 cups whole milk 473mL
- 1/2 vanilla bean split lengthwise
- 6 egg yolks
- 2/3 cup sugar 135g
- 1/4 cup cornstarch 37g
- 1 tbsp unsalted butter 15g, cold
For the Dough
- 1 package frozen puff pastry
For the Icing
- 3 cups powdered sugar
- 2 tsp vanilla
- 1/4 cup milk
- 1/4 cup cocoa powder
For the Whipped Cream
- 1/2 cup whipping cream
- 3 tbsp powdered sugar
Instructions
For the Pastry Cream
- Slice a vanilla bean down the middle and use a spoon to scrape out the seeds.
- Transfer the milk and vanilla seeds to a medium pot and place over medium-high heat.
- Bring to a boil whisking occasionally then immediately turn off the heat and set aside to infuse for 15 minutes.
- In a bowl, whisk the sugar and corn starch together then add the egg yolks and whisk until light and fluffy.
- Whisk in 1/4 cup of the hot milk mixture until incorporated. Whisk in the remaining hot milk mixture, reserving the saucepan.
- Pour the mixture through a strainer back into the saucepan. Cook over medium-high heat, whisking constantly, until thickened and slowly boiling.
- Remove from the heat and stir in the butter. Let cool slightly.
- Cover with plastic wrap, lightly pressing the plastic against the surface to prevent a skin from forming.
- Chill at least 2 hours or until cooled.
For the Pastry Layers
- Thaw your puff pastry on the counter for about 45 minutes then unfold one sheet onto a lightly floured surface. Preheat oven to 400F.
- Roll out to about 1/16 an inch then use a knife or pizza cutter to cut 2x4 inch rectangles.
- Line a baking sheet with parchment paper then place the first batch of rectangles about 2 inches apart. Place another sheet of parchment on top then cover with another baking sheet. Bake for about 11 minutes rotating tray halfway through. Remove from oven and transfer to a wire rack to cool. Repeat process with 1/2 of the remaining sheet of puff pastry for the additional rectangles. You can clean up the edges with a sharp knife if desired.
For the Glaze
- Add the powdered sugar to a large bowl then pour in the vanilla extract and 3 tablespoons of milk whisk together and add more milk as needed. You want a spreadable consistency but not a watery "flooding" consistency.
- Transfer about 1/3 cup of the glaze to a different bowl and add the cocoa powder an another tablespoon of milk. Whisk together until smooth. Add more milk as needed so the chocolate glaze matches the vanilla glaze in consistency. Transfer each batch of icing to a piping bag. You can use a small round tip like a #4 for the chocolate or just snip the tip off.
For the Assembly
- Lay out 9 rectangles onto a wire rack over a piece of paper. Spread the vanilla icing onto each rectangle then pipe stripes of chocolate onto each one. Use a toothpick, skewer, or knife to create the chevron pattern by dragging the tool across the chocolate stripes in alternating directions. Set aside to set.You can speed things up by arranging the tops in a grid where they're all touching then pipe the chocolate and create the chevrons.
- Whip the cream and powdered sugar together until somewhat stiff peaks form. Whip the chilled pastry cream to break it up and smooth it out Add half a cup of the whipped cream to the pastry cream then whisk together. Fold in the remaining whipped cream then transfer to a piping bag fitted with a large rough tip like a 1a or 803. You DON'T have to add whipped cream to your pastry cream but it does lighten things up and increase the volume of your filling.
- Pipe 8 dollops of pastry cream onto the first piece of puff pastry. Place another piece of pastry on top then pipe eight more dollops and add the top on.
Notes
- This recipe makes a good amount of custard but you can make it go further and lighten it up by folding in whipped cream. The whipped cream can be sweetened or just plain. This dreamy combination is called diplomat cream and it's quite lovely.
- Try incorporating melted and cooled chocolate for an indulgent variation.
- You can also add passion fruit juice for an amazing tropical flavor, or you can add in some other fruit reduction.
- This custard can be made up to 24 hours in advance. Refrigerate until 1 hour before using. I whipped some cream up and folded it into my chilled custard to lighten the filling up, this is now called diplomat cream.



Shauna says
Absolutely amazing! The addition of the whipped cream to the custard was *chef’s kiss*. Thank you for the video guide, as that helped tremendously! New to the site, and immediately a dedicated fan!!
John Kanell says
Thank you Shauna!
Sally says
This recipe is absolutely amazing. Was fun to make, and even better to eat.
Nicole Jess says
The Best vanilla pastry cream I have ever made, and it taste delicious!!! I have tried so many difference recipe, but too be honest not quite right. I am so glad I found yours, I will keep it and use it every time. Thank you very much for sharing.
Maha says
Absolutely delicious! I can eat that pastry cream with a spoon, so good. I recommend eating the mille feuille when it’s fresh, otherwise the puff pastry layers get a little soggy within a few hours.
Sally Trefftzs says
Coming from the sewing world I find scissors a lot easier than a sharp knife for things like squashable mille feuille. Snip through the crisp layers, one at a time, and the filling just follows along as each piece is served.