


Make-your-own pita chips are a breeze to throw together, and will have you ditching store-bought pita chips for good. With fuss-free prep, a short ingredient list, and a quick bake time, this is a great appetizer to serve alongside a few dips and cheeses. Crispy pita chips are an easy way to use up leftover pita (slightly dry, stale pita bread bakes up crunchier!), and you can flavor them in a variety of ways to suit your tastes and to complement the dip they’re next to.
I tested this pita chips recipe with both pocket-style pitas and thick Greek-style pitas, and both work beautifully, but produce different results. Middle Eastern pocket pitas turn out crunchier than Greek pita chips, and both types taste delicious. I give cooking instructions for both varieties of pita in this recipe.
A reader, Caitlin, says: “These baked pita chips were super easy to make! I made two flavors: Greek and ranch. They were perfect served along with a veggie tray at our party.” ★★★★★
Table of Contents
Key Ingredients
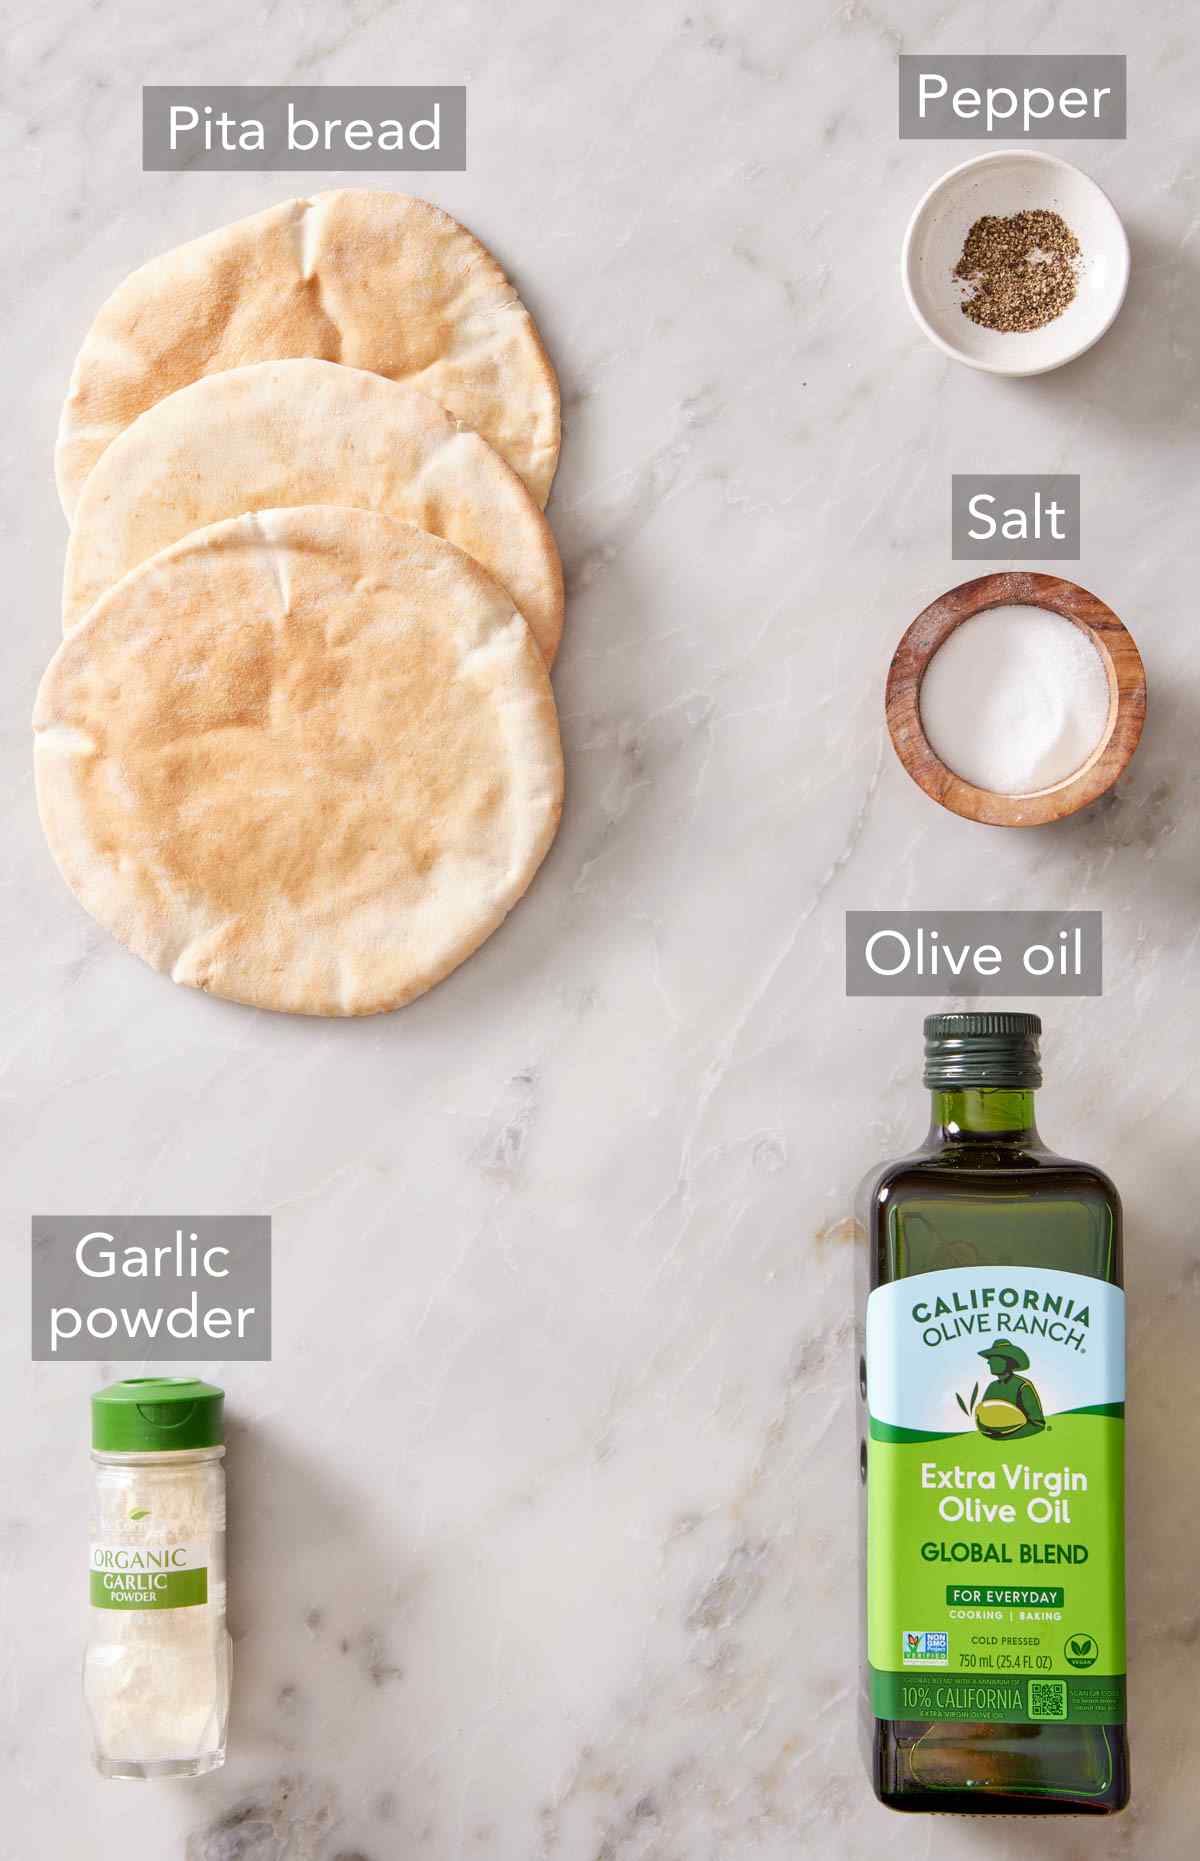
These are the main ingredients you need to make homemade pita chips. You can find the full list of ingredients and measurements in the recipe card below.
Pita bread — you can use homemade or grocery store-bought pita bread. White and whole wheat pitas both work very well to make crispy chips.
Oil — extra virgin olive oil coats the cut-up pita so the seasonings can stick to the bread. It also helps the pita chips crisp up and brown in the oven.
Seasonings — I often go for a simple blend of salt, black pepper, and garlic powder. But these pita chips are so easy to jazz up with a variety of seasonings and dried herbs, like basil, thyme, oregano, or za’atar. I have plenty of ideas for you, below!
Can I use thick Greek pitas to make chips?
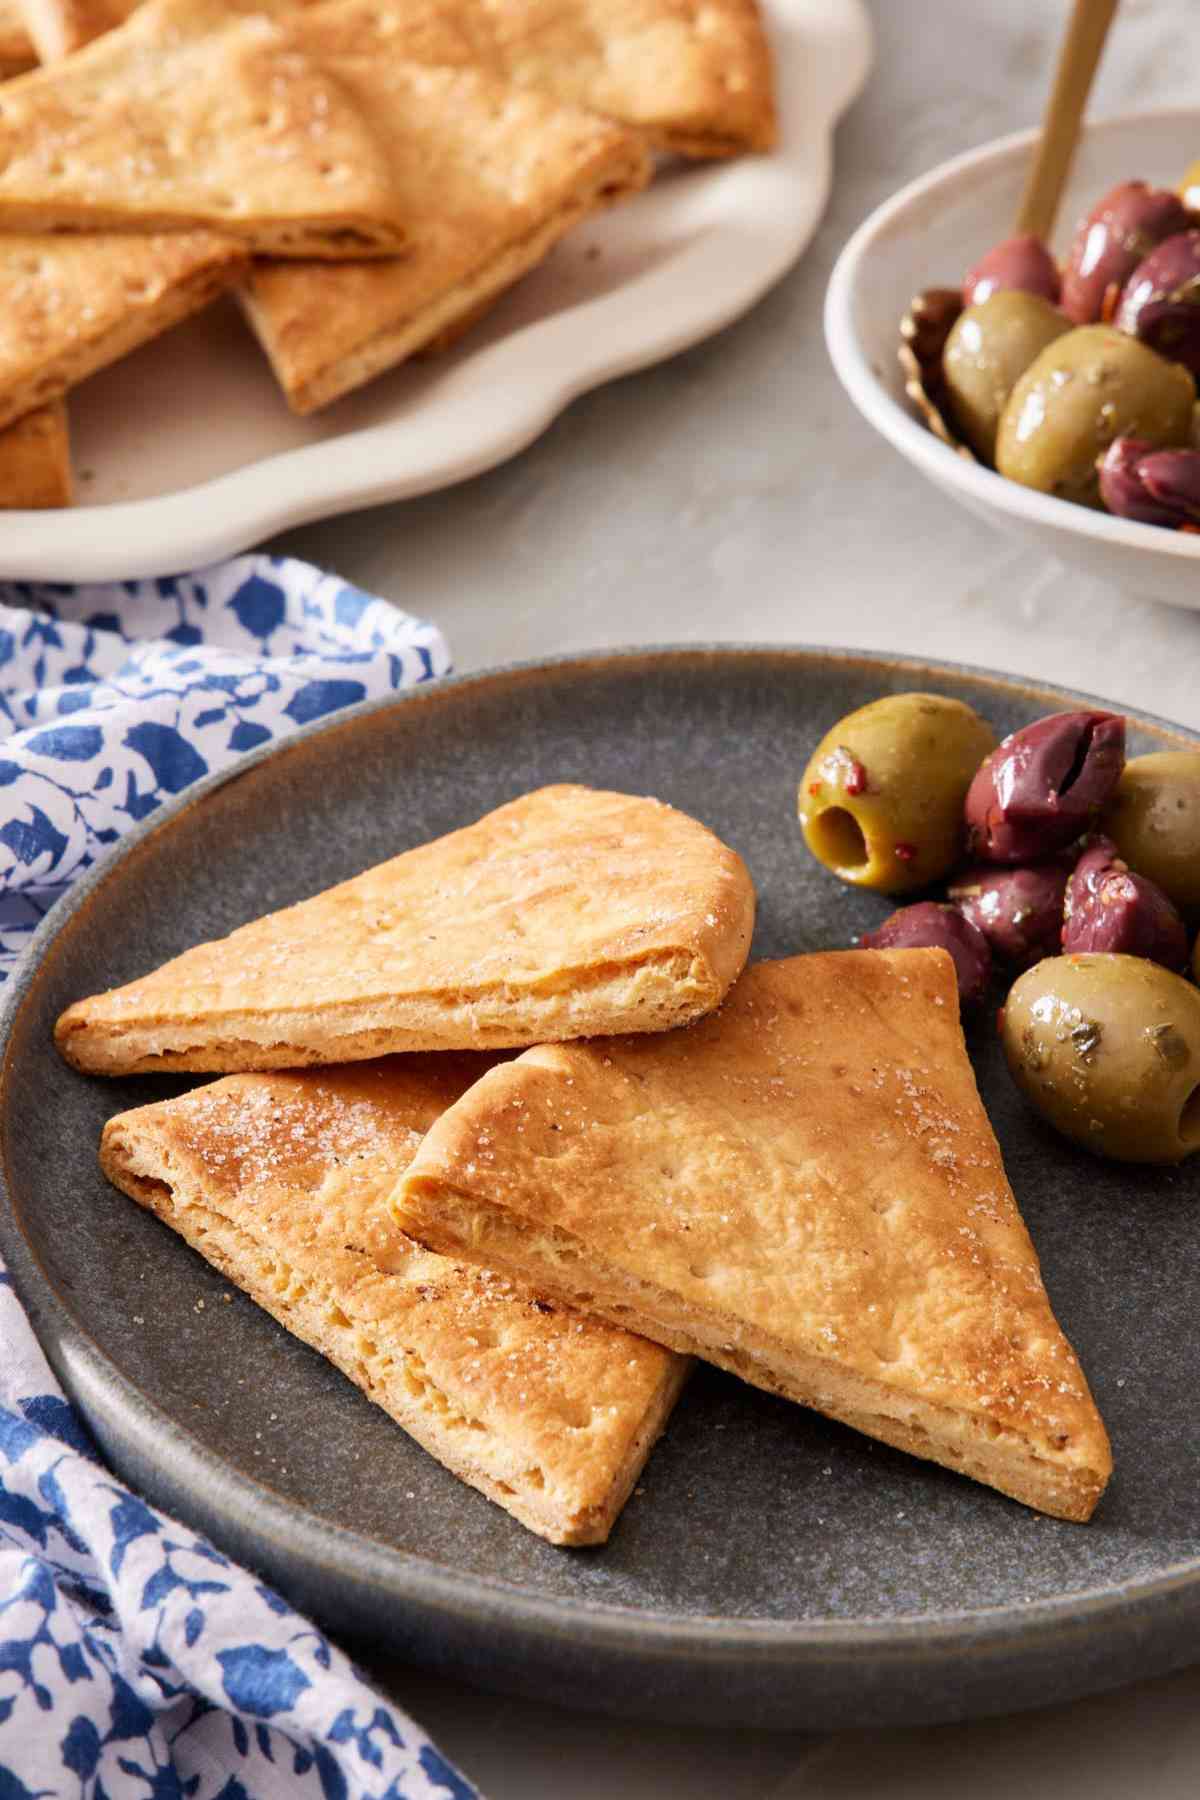
Yes. Greek pita is thicker and softer than Middle Eastern pita, and it doesn’t have a pocket! So Greek pita will yield a thicker chip that’s slightly soft and chewy in the center after baking, instead of crunchy. They are delicious, but just keep in mind that the texture will be a bit different. When my team tested this variation, we decided the Greek pita chips needed to bake at a lower temperature than pocket pita chips to dry out without burning on the edges. I have all the instructions for both kinds in the recipe card, a few sections below.
Flavor Variations
Plain pita is such a great blank canvas to make your own! Whether you choose to go for a more classic flavor, add a blend of savory seasonings, or go for a sweeter option, there are so many delicious ways to flavor these pita chips.
- Classic: Use a blend of garlic powder, salt, and pepper. (as written in the base recipe!)
- Mediterranean: Add za’atar, dried oregano, Italian seasoning, or Greek seasoning.
- Parmesan-Herb: Add any dried herbs or blends you like; sprinkle with grated parmesan after 6 minutes of baking.
- Cinnamon-Sugar: Skip the savory seasonings and sprinkle with cinnamon sugar instead.
Can I Make These In An Air Fryer?
Yes, but you will need to cook the chips in batches. Spread as many as you can in a single layer in the basket and air fry at 325°F for 4 to 5 minutes, until the edges start to brown. Flip each chip and air fryer for another 5 minutes or until the chips are golden brown throughout.
Pro Tips For Crispy Pita Chips
Split thicker pita pockets. If your pita pocket bread is very thick, split each piece first so you have two thinner halves to work with. This will yield crispier, crunchier baked pita chips.
Spread the pita chips in a single layer for even browning. This also helps the pita chips crisp up properly. Layering them will cause the chips to bake unevenly, as some will turn out less crunchy than others since they won’t be equally exposed to the oven heat.
Keep an eye on them in the oven. Once it’s close to the end of the bake time, the chips can go from lightly browned to dark or burnt fairly quickly. So, check them at the lower end of the time frame and then watch them to pull them out when they are perfectly browned!
Let them cool to turn crisp. The pita chips will feel a bit soft right after baking. After about 5 minutes of cooling, they will crisp up perfectly!
How To Make Pita Chips
Below, I’ve highlighted portions of the recipe in step-by-step process images along with instructions for making baked pita chips. You can find the full set of instructions in the recipe card below.
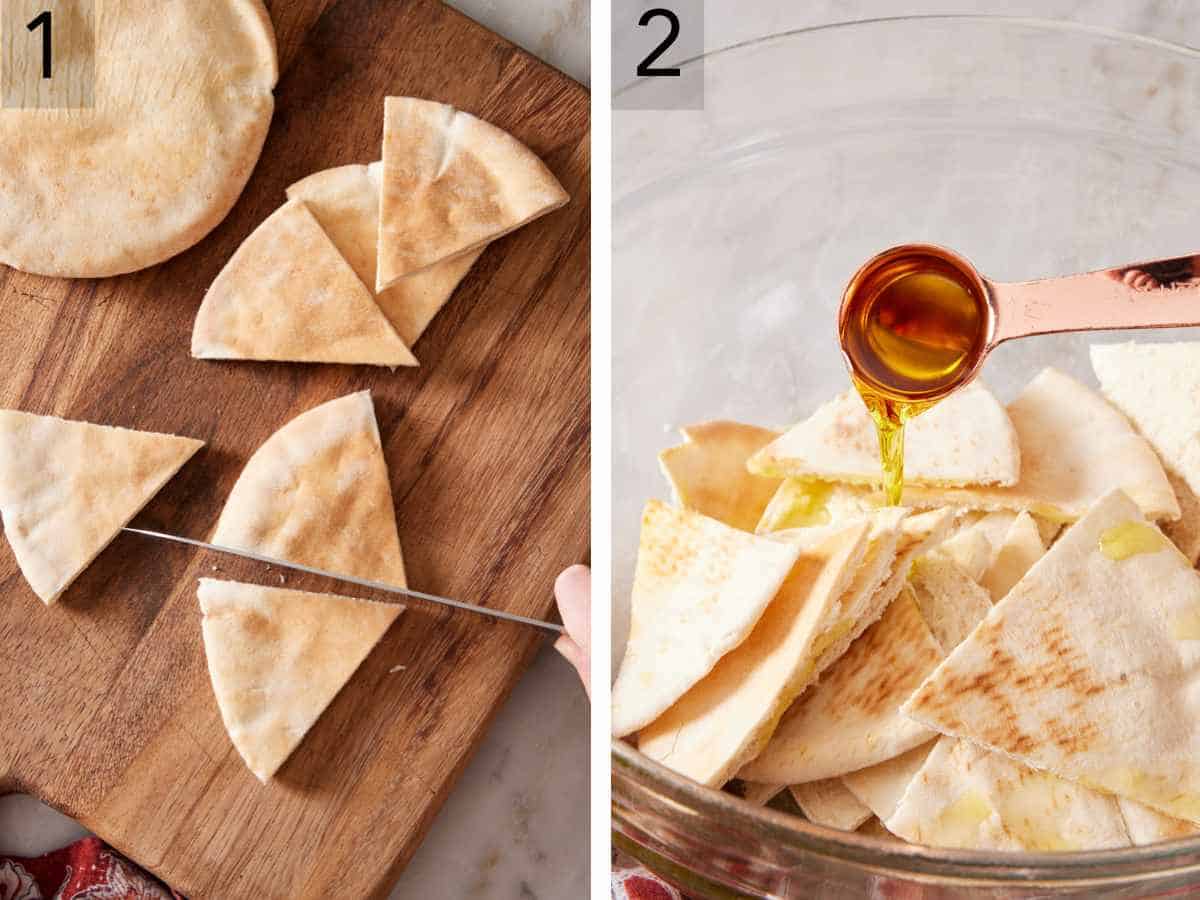
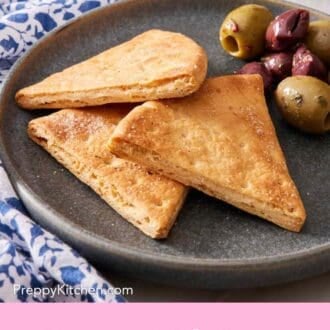
1. Cut each pita bread into 6 triangles with kitchen shears or a sharp knife. If your pita pockets are thick, you can split them open before cutting. Each split pita will then give you 12 triangles.
2. Place the pita triangles in a large bowl and drizzle the olive oil over them in 1-tablespoon increments. Toss the pita between each addition of oil.
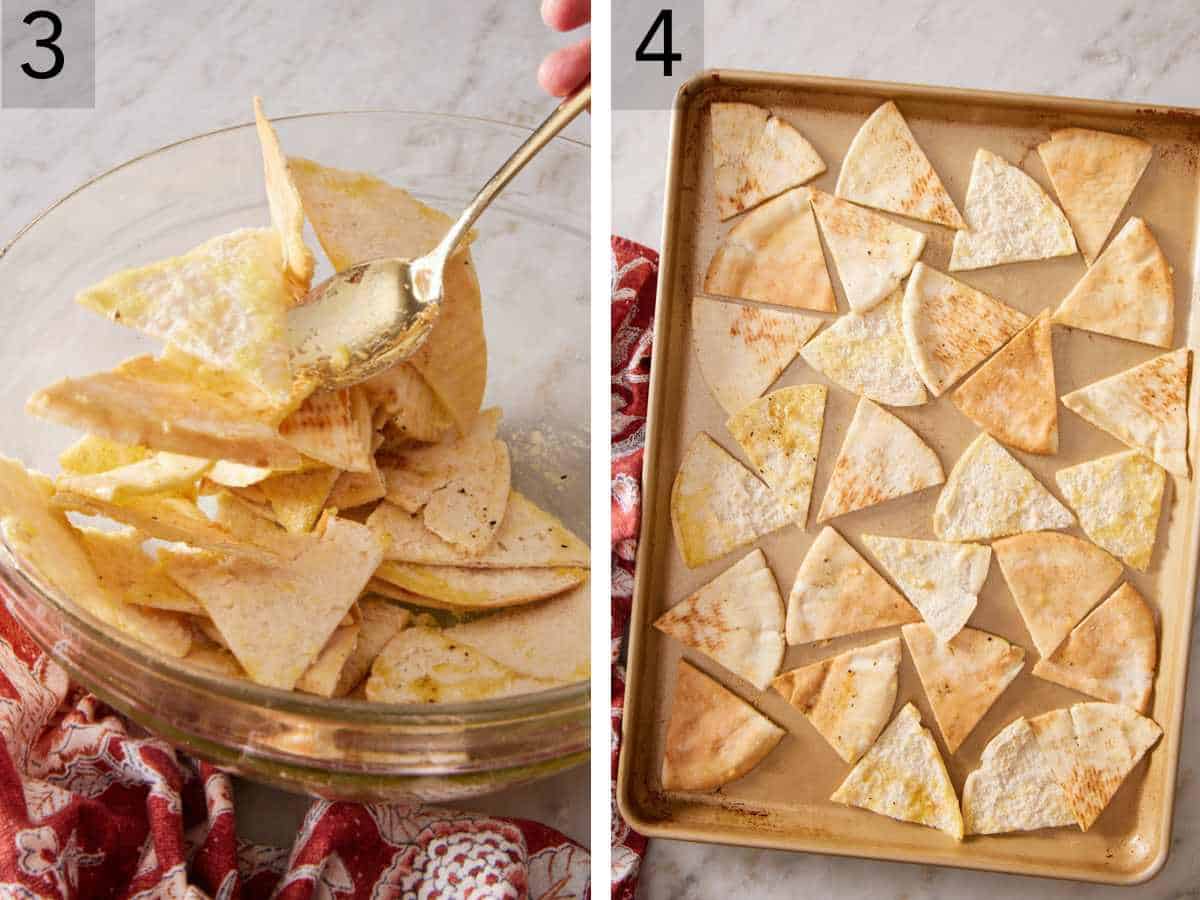
3. Add the seasonings and mix well so the pita triangles are evenly coated in oil and seasoning.
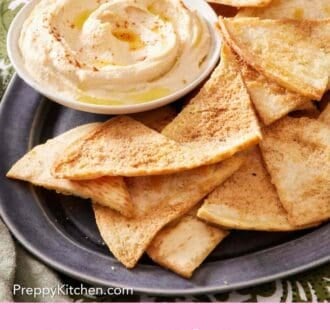
4. Arrange the pita triangles on a rimmed baking sheet in a single layer. Bake the pita chips at 375°F for 8 to 12 minutes, after which time they should be golden brown in color. You can sprinkle additional flaky sea salt on the oven-baked pita chips when they are still hot. Then let them cool for about 5 minutes or so to give them time to crisp up perfectly. Serve and enjoy!
Pita Chips Recipe
Equipment
- Large rimmed baking sheet
- Kitchen shears or pizza cutter for cutting pitas
Ingredients
- 3 pita breads (180g)
- 3 tablespoons olive oil
- ½ teaspoon salt
- ¼ teaspoon garlic powder
- ¼ teaspoon ground black pepper
- Optional seasonings of choice: dried basil, thyme, oregano, or za’atar
Instructions
- Preheat the oven to 375°F.
- With kitchen shears or a sharp knife, cut each pita bread into 6 triangles. (If your pitas are thick, you can split them open first, making two rounds. If they are super thin, leave them whole).
- Place the pitas in a large bowl. Drizzle the olive oil over the pitas, 1 tablespoon at a time, tossing the pita triangles between each addition. Sprinkle with salt, garlic powder, and pepper, and additional seasonings of your choice. Mix well to combine.
- On a large, rimmed baking sheet, arrange the pita in a single layer. Bake for 8 to 12 minutes or until they are golden brown all over. Sprinkle with additional flaky sea salt to taste when they are hot from the oven.
- Let the pita chips cool for a few minutes so that they crisp up completely before serving.
Notes
- For thick, Greek-style pita chips: Preheat the oven to 350°F. (Thicker pita requires a longer bake time at a lower temperature in order to dry out before browning too quickly.) Cut and season the pitas the same way and bake for about 20 minutes, flipping each pita triangle after 10 minutes. The pita chips will be crispy on the outside and a little bit chewy on the inside when baked.
Nutrition
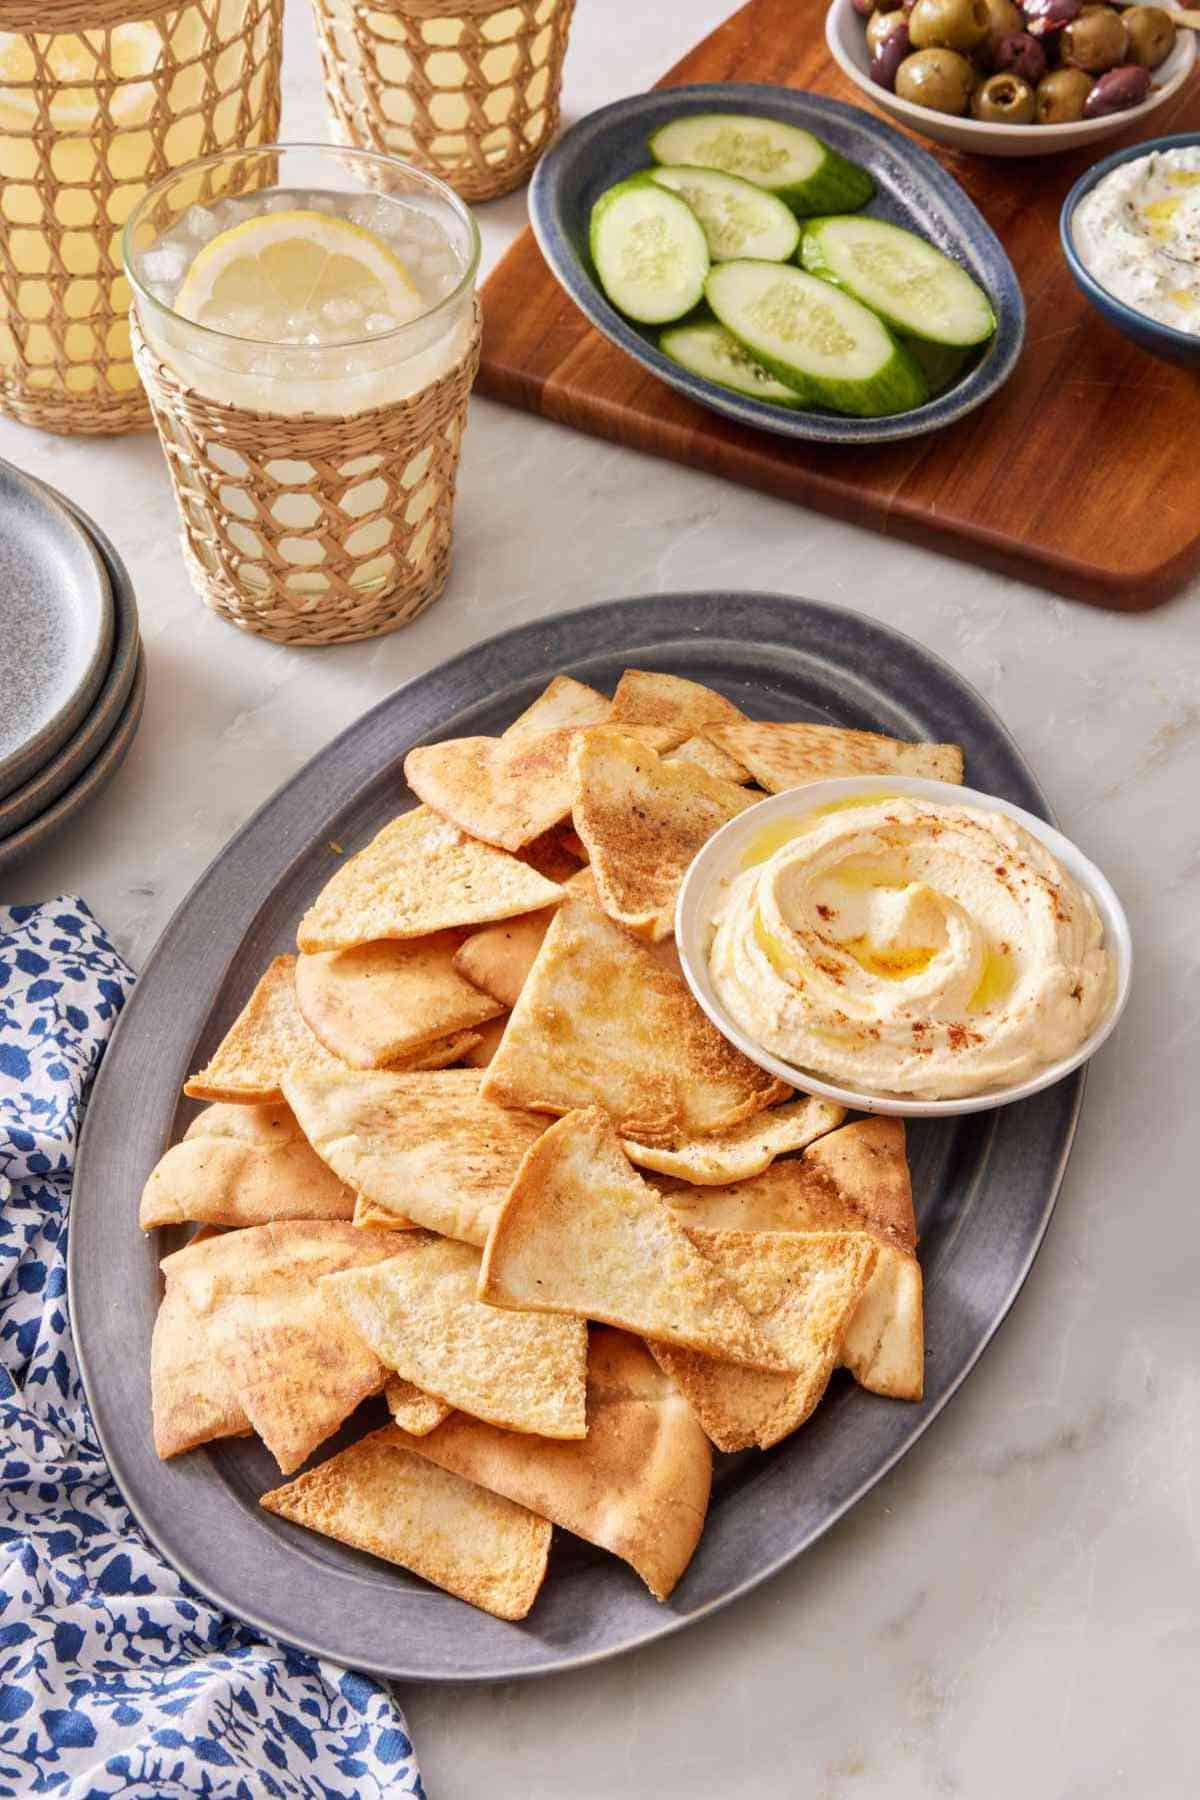
How To Serve Homemade Pita Chips
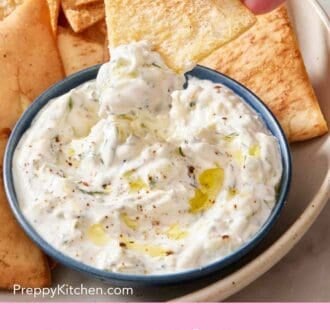
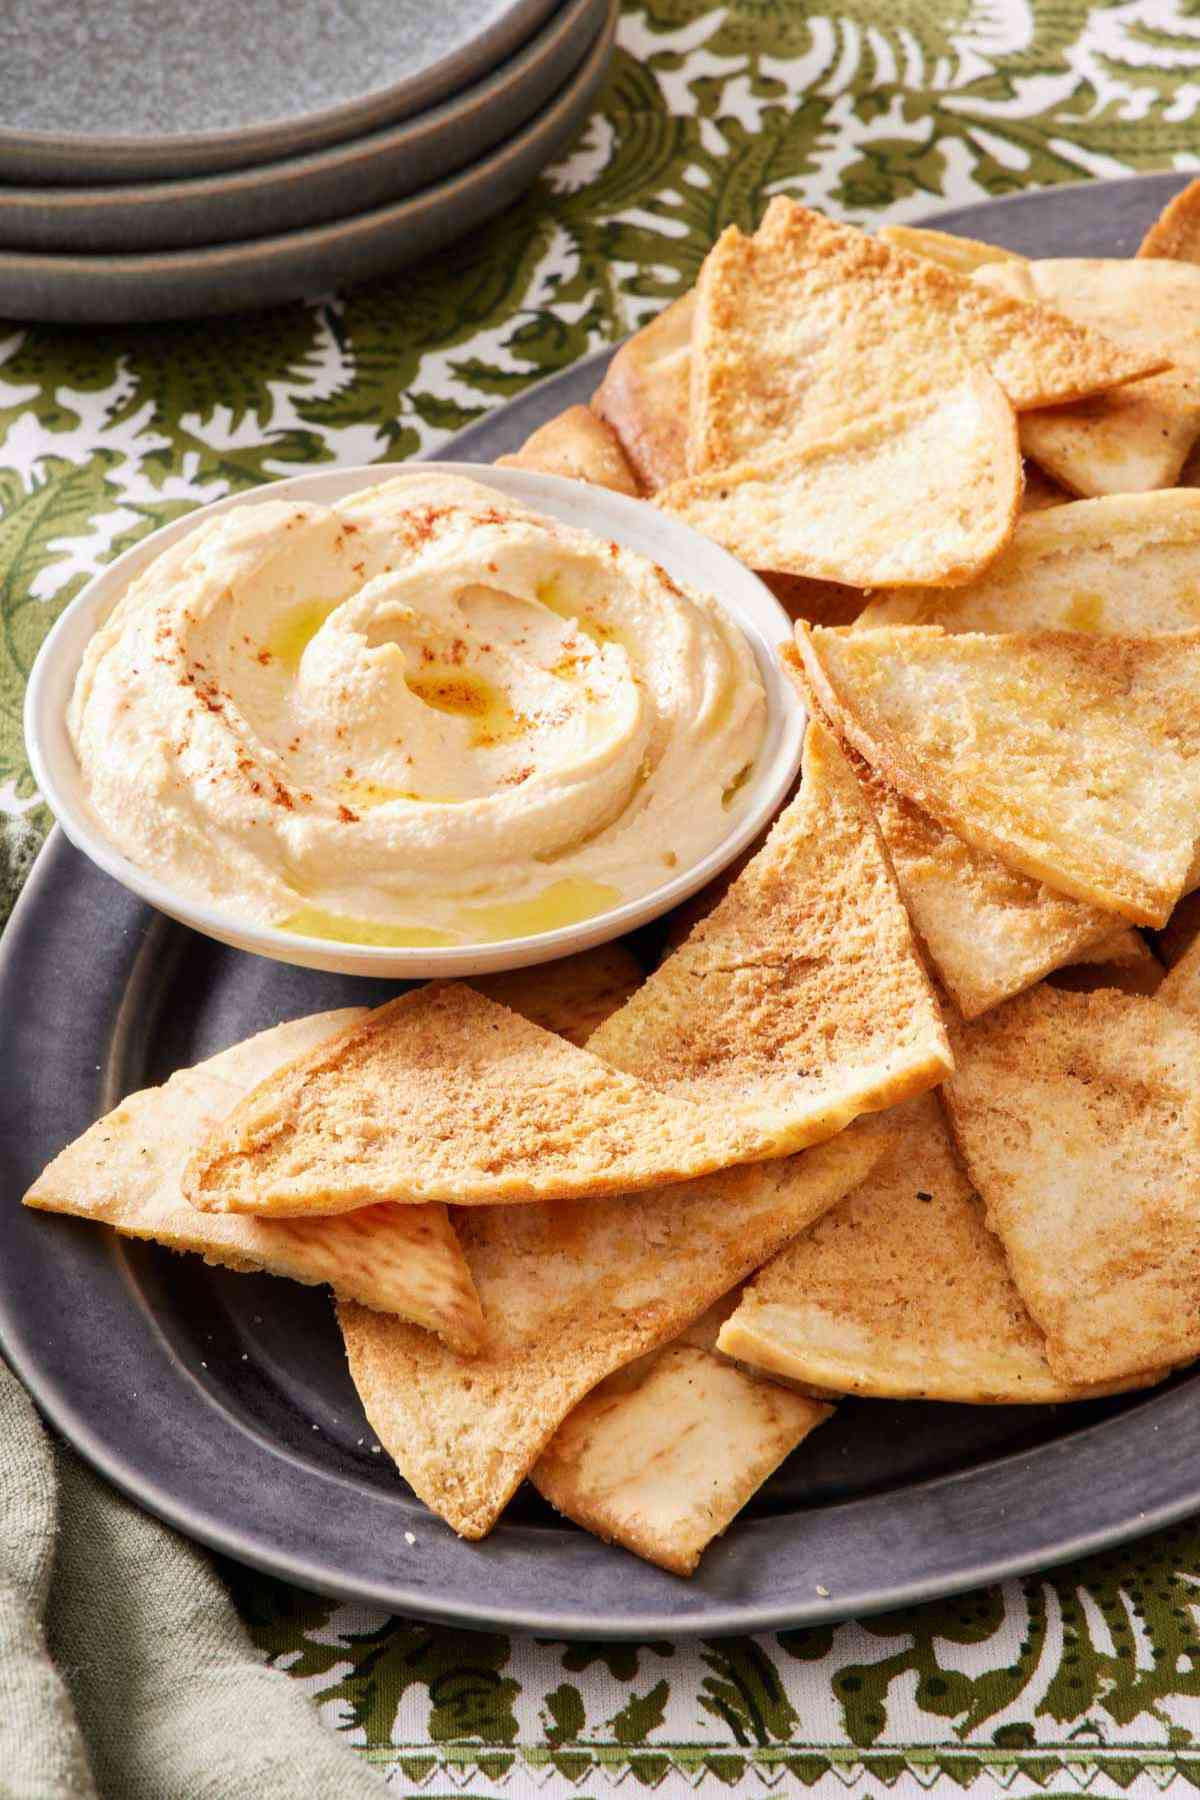
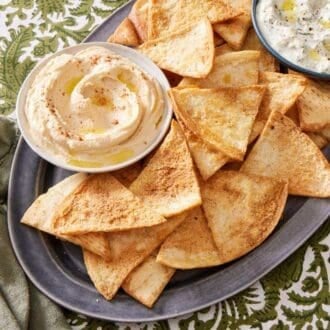
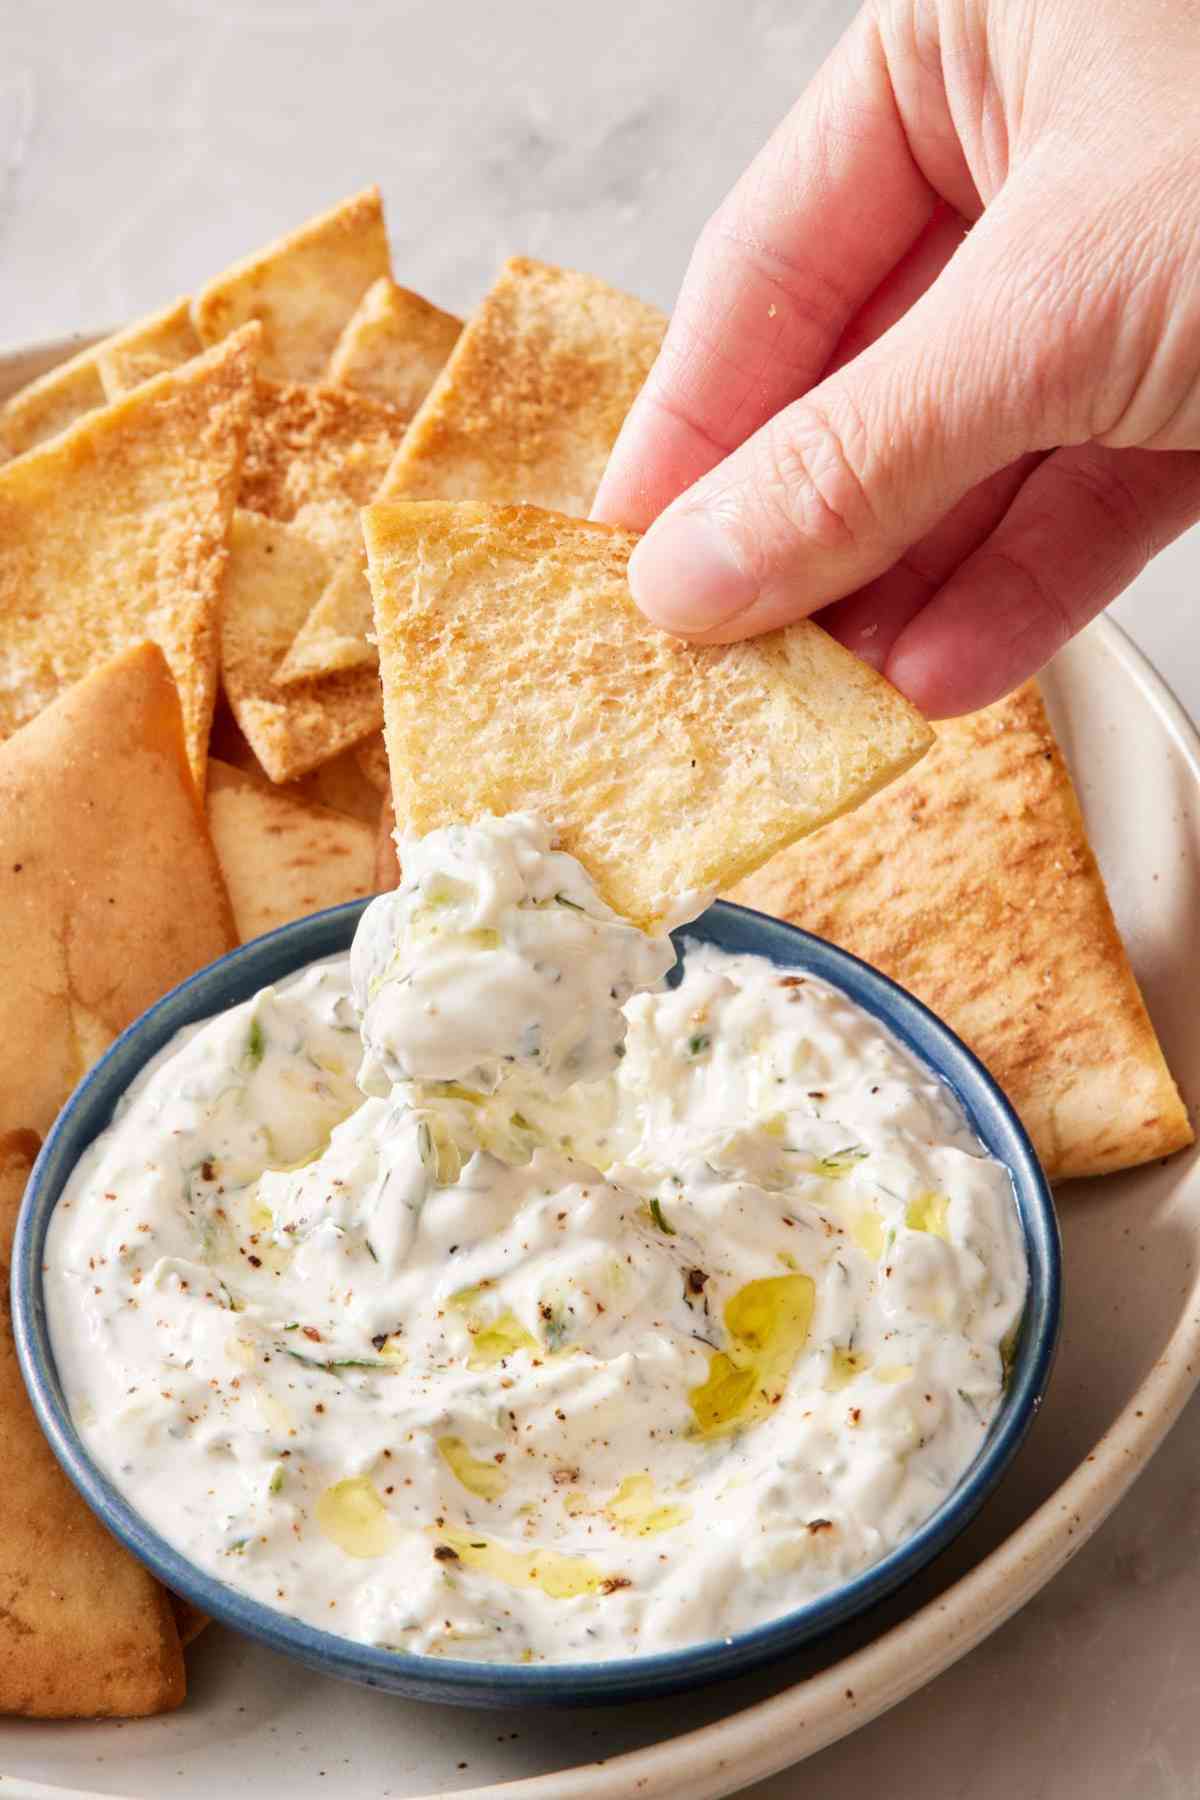
Homemade pita chips are a wonderful crunchy snack for a gathering alongside dips. They’re particularly tasty with hummus, tzatziki, spinach artichoke dip, pimento cheese, and smoked salmon dip. Pita chips also work great as part of a cheese platter with fruit and vegetables.
Storage & Make-Ahead
Storage: Once completely cool, store baked pita chips in an airtight container at room temperature for up to 4 days. While they will be good for up to a week, they start to lose their crisp texture after 3 to 4 days.
Make-ahead: Since pita chips will stay crunchy for a few days, you can bake them a day or so in advance and store them in an airtight container. If you want to serve them fresh but would like to save some prep time, cut the pita in advance, and pop them into a zip-top bag or airtight container. Store at room temperature for a few days, then when you are ready to bake them, drizzle the cut pita with oil, season them, and bake as directed in the recipe.
More Appetizer Recipes To Try
Try one of these crowd-pleasing appetizer recipes next! They’re perfect for special dinners, game day watch parties, or any gathering!
Crispy homemade potato chips are so much easier to make than you think, and you only need potatoes, oil, and salt to make them! Use starchy potatoes like russets for the best texture.
Think of cowboy caviar as a cross between a bean dip and loaded bean salad. It works as a dip alongside chips or as a tangy side dish.
Tomato bruschetta is a fresh, delicious summertime appetizer. Just marinate tomatoes and scoop them onto crunchy, toasted bread.
Salty-sweet bacon-wrapped dates are so easy to make! Stuff pitted dates with creamy goat cheese, wrap each one with bacon, and bake.
If you’re looking for a showstopping appetizer recipe, my cheese ball is a must-try! It’s so visually impressive, but deceptively easy to prepare. You can also make it ahead of time!
If you’ve tried this pita chip recipe, then don’t forget to rate it and let me know how you got on in the comments below. I love hearing from you!
Leave a Reply