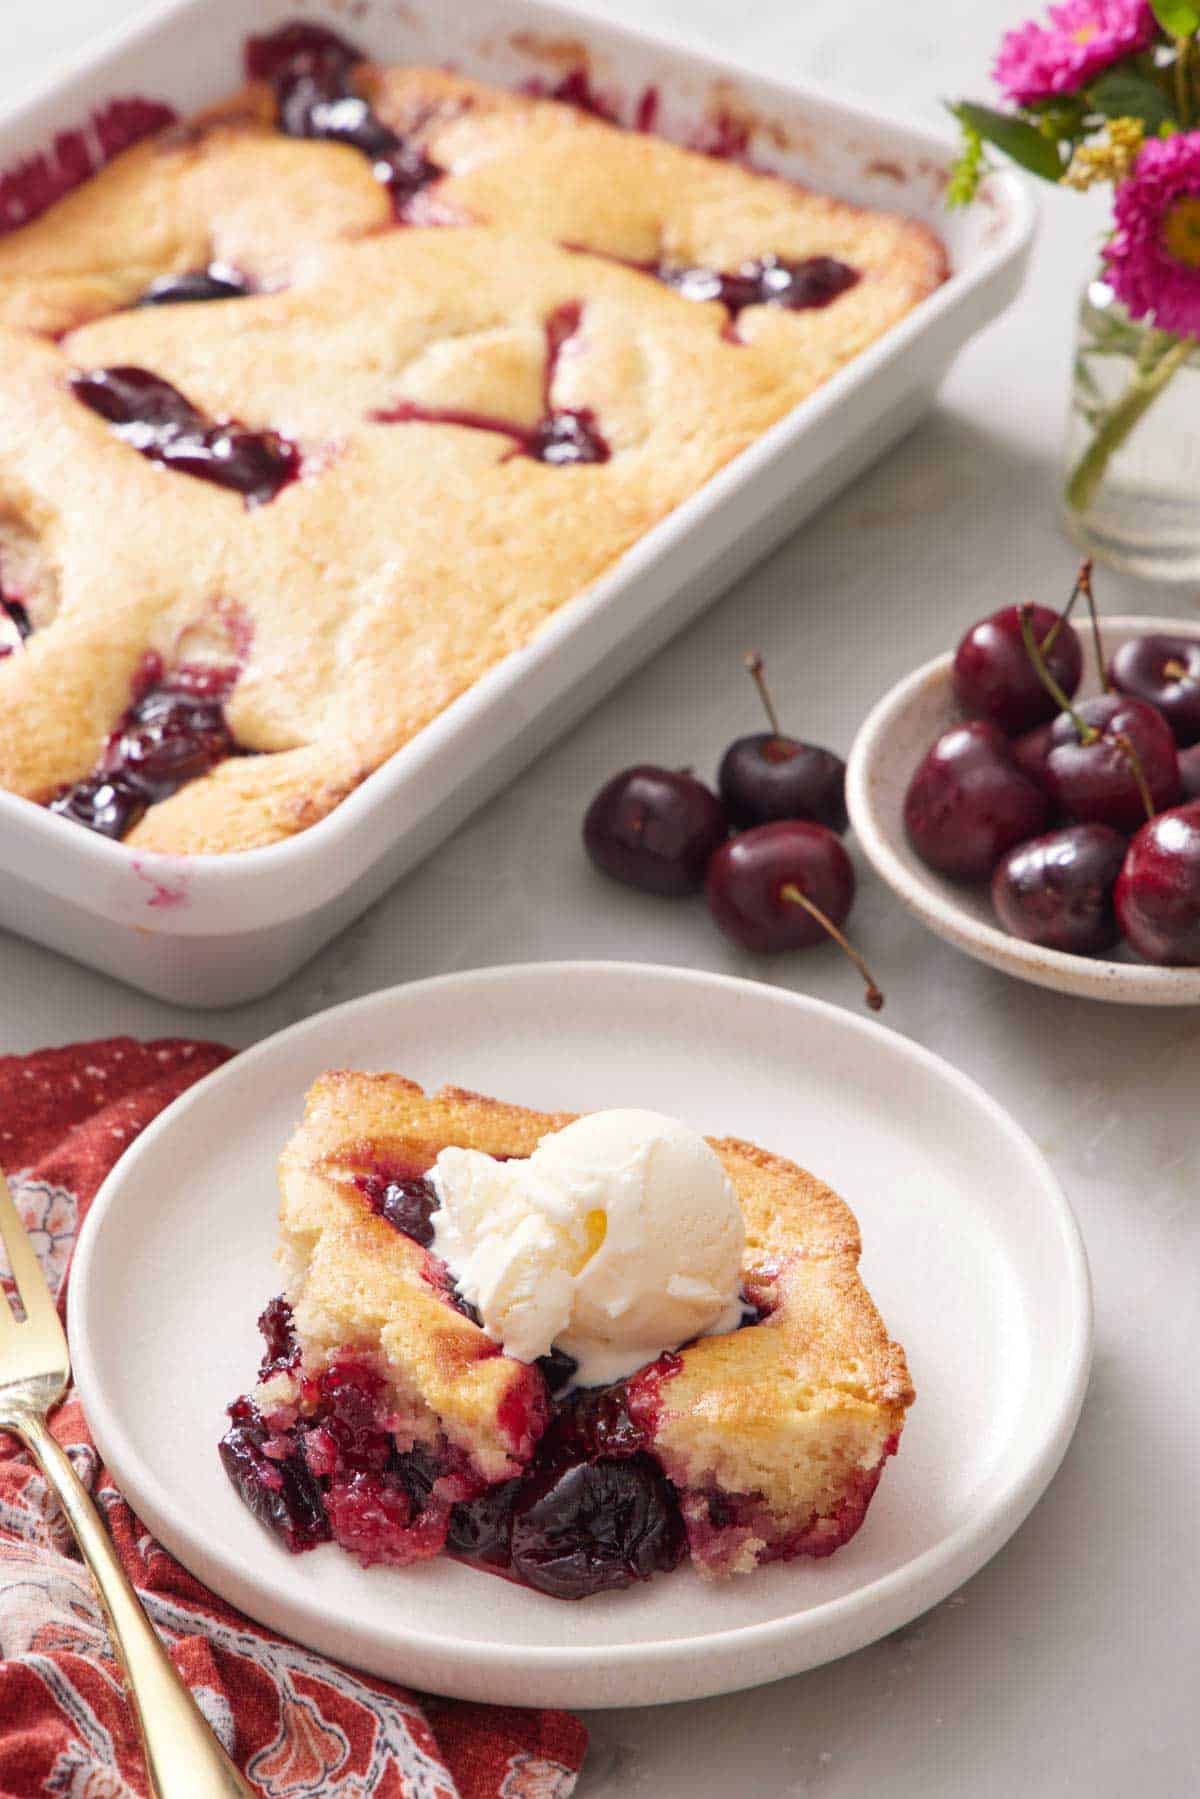
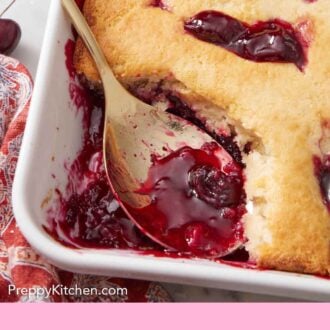
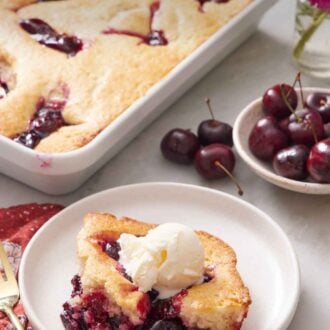
With a few simple ingredients and steps, my fresh cherry cobbler is an easy dessert that always causes a stir. The sweet, slightly jammy cherries and fluffy, buttery, cake-like batter make a mouthwatering pair.
The best part about cherry cobbler is that you can make it year-round, not just when cherries are in season! Simply use your favorite frozen sweet cherries, and be sure to thaw and drain them beforehand. For more cobbler recipes, try my peach cobbler, blueberry cobbler, and strawberry cobbler.
Ingredients for Cherry Cobbler
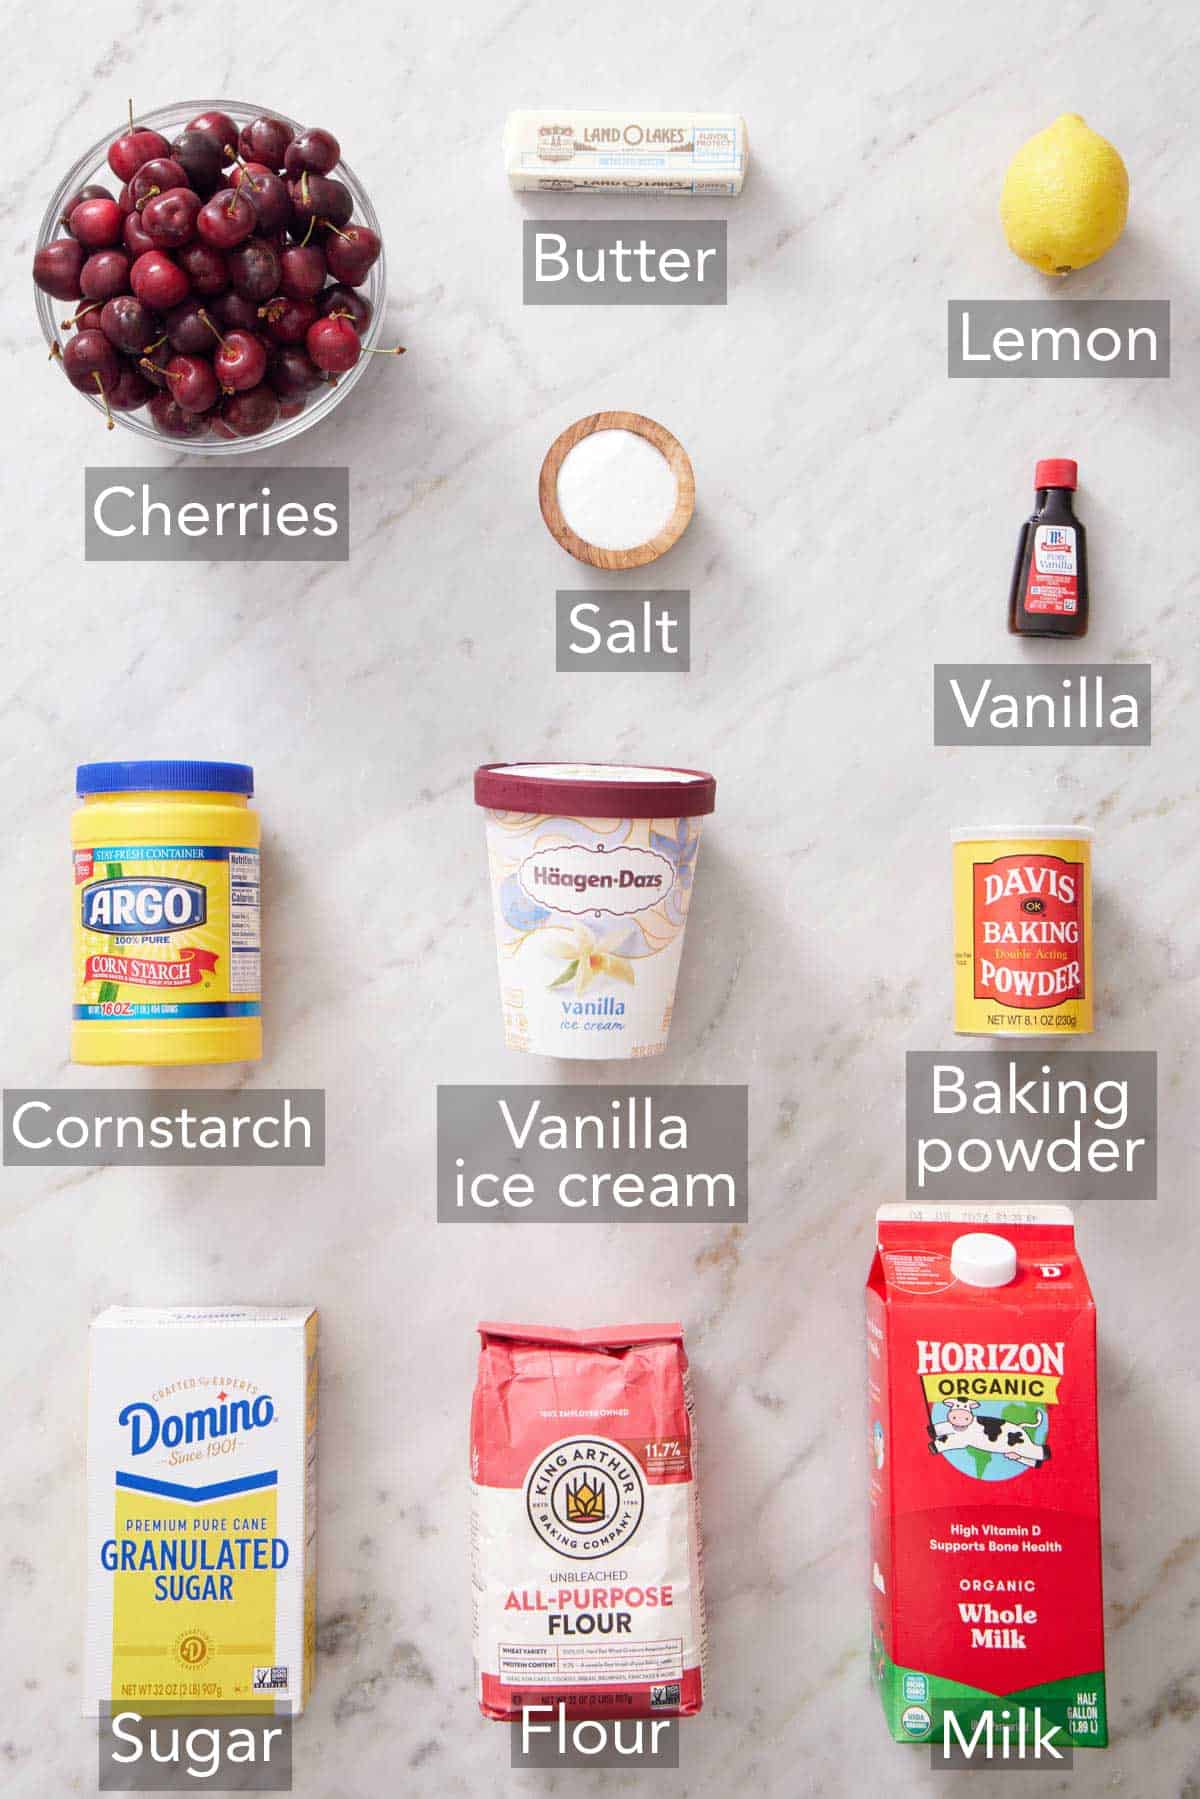
Cherries — you need 5 cups of pitted cherries. See my tips below for how to pit fresh cherries. Use frozen cherries
Sugar — granulated sugar sweetens the cherries and the cobbler batter.
Cornstarch — cornstarch is an important thickening agent that will also make the cherry filling gorgeously glossy.
Lemon juice — lemon juice adds a bright flavor that complements the cherries so well.
Butter — butter makes the batter rich and flavorful and creates a golden crust. Opt for unsalted butter.
Flour — I use all-purpose flour. If you need to make a gluten-free cherry cobbler, use your favorite gluten-free flour blend.
Baking powder — this helps the batter rise and surround the cherries. Make sure it is fresh and has not expired.
Milk — whole milk is added to the dry ingredients to create the cobbler batter.
Vanilla — use good vanilla extract, not the artificial kind, for the best flavor.
How To Make Cherry Cobbler
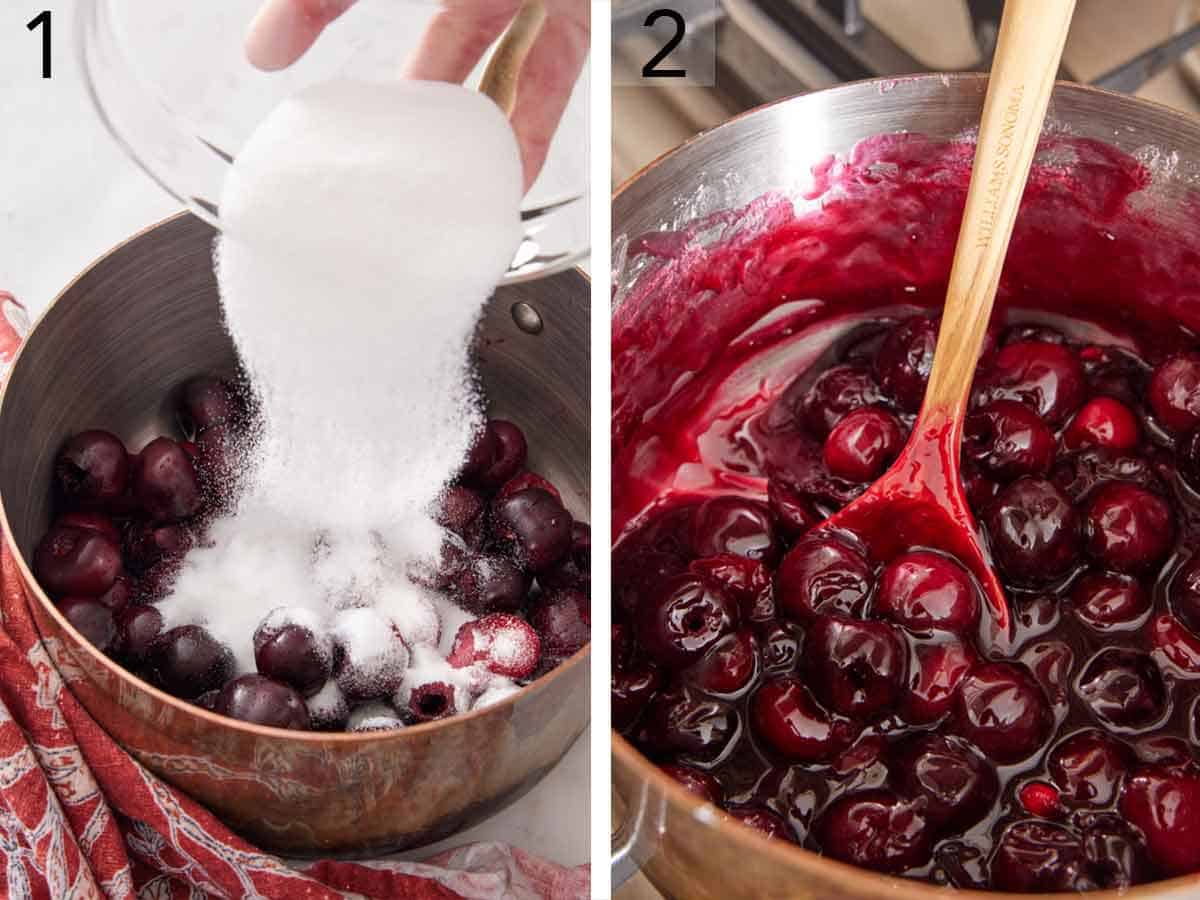
1. Combine the fresh cherries, sugar, cornstarch, and lemon juice in a medium bowl.
2. Cook the cherry mixture over medium heat for 8 to 10 minutes, stirring occasionally, until the juices thicken and it looks glossy. Remove from the heat and set aside for the moment. Place the butter in a 9×13-inch baking dish. Pop the baking dish into a preheated oven at 350°F for about 10 minutes so the butter melts. Carefully remove the dish from the oven.
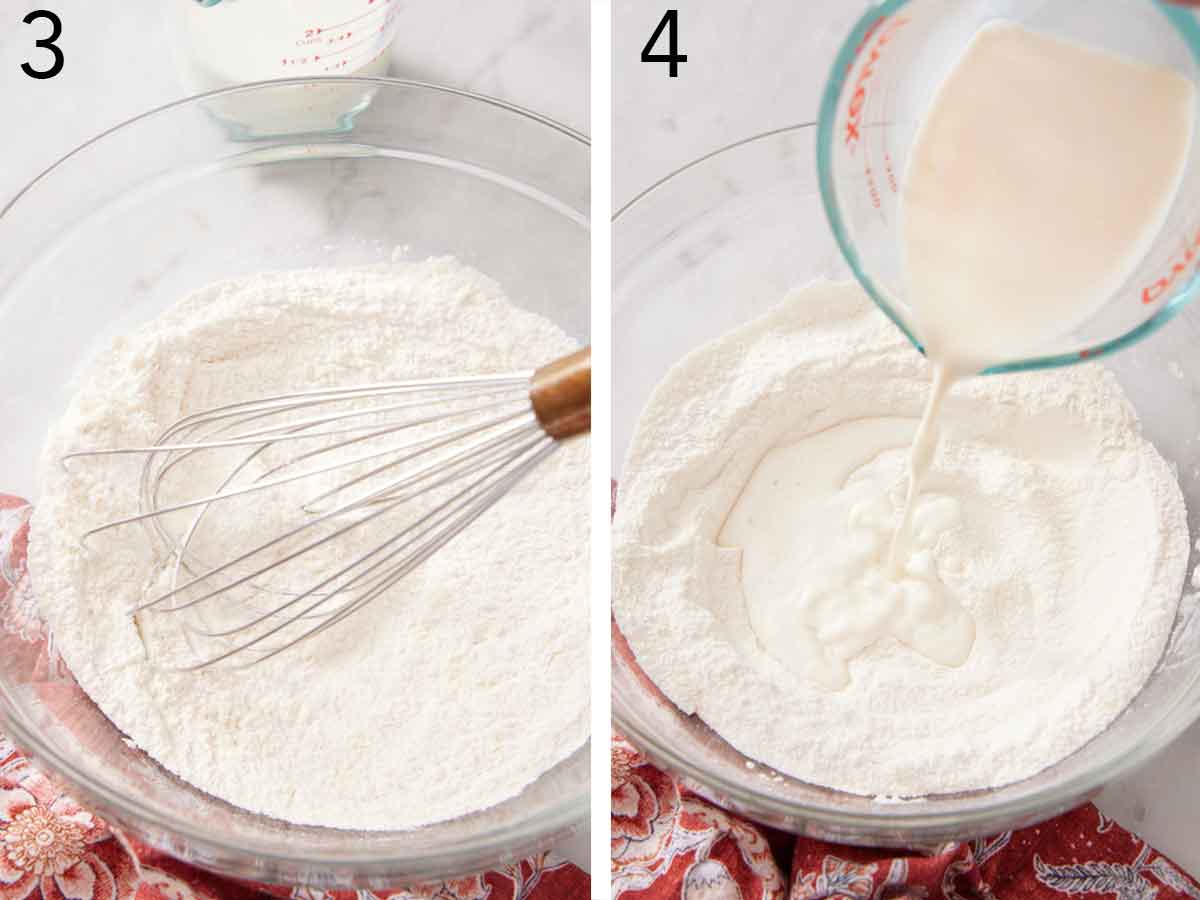
3. While the butter melts in the oven, work on the batter. In a medium bowl, whisk together the dry ingredients.
4. Make a well in the flour mixture and add the milk and vanilla extract. Whisk until no dry streaks of flour remain.
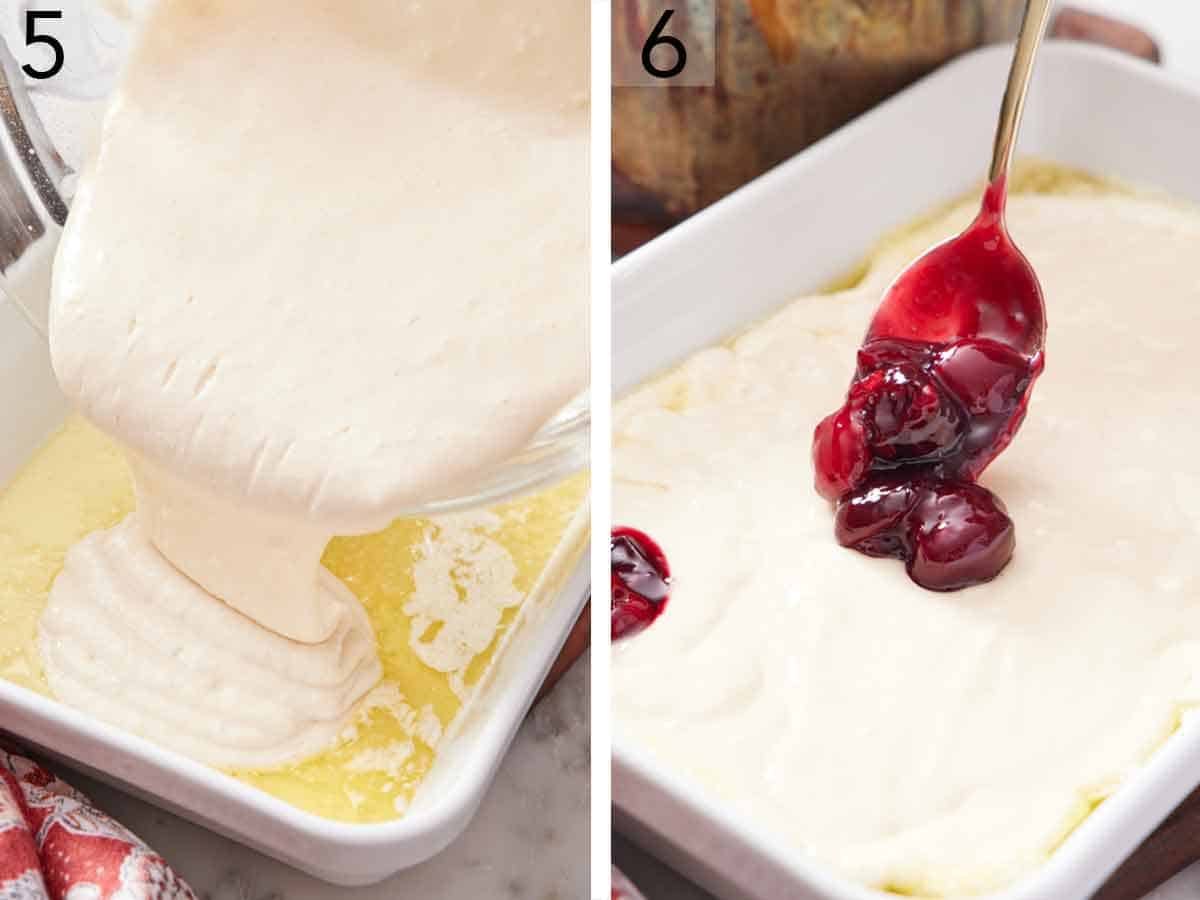
5. Pour the batter into the hot baking dish over the melted butter. Tilt the pan to allow the batter and butter to settle evenly. Do not stir.
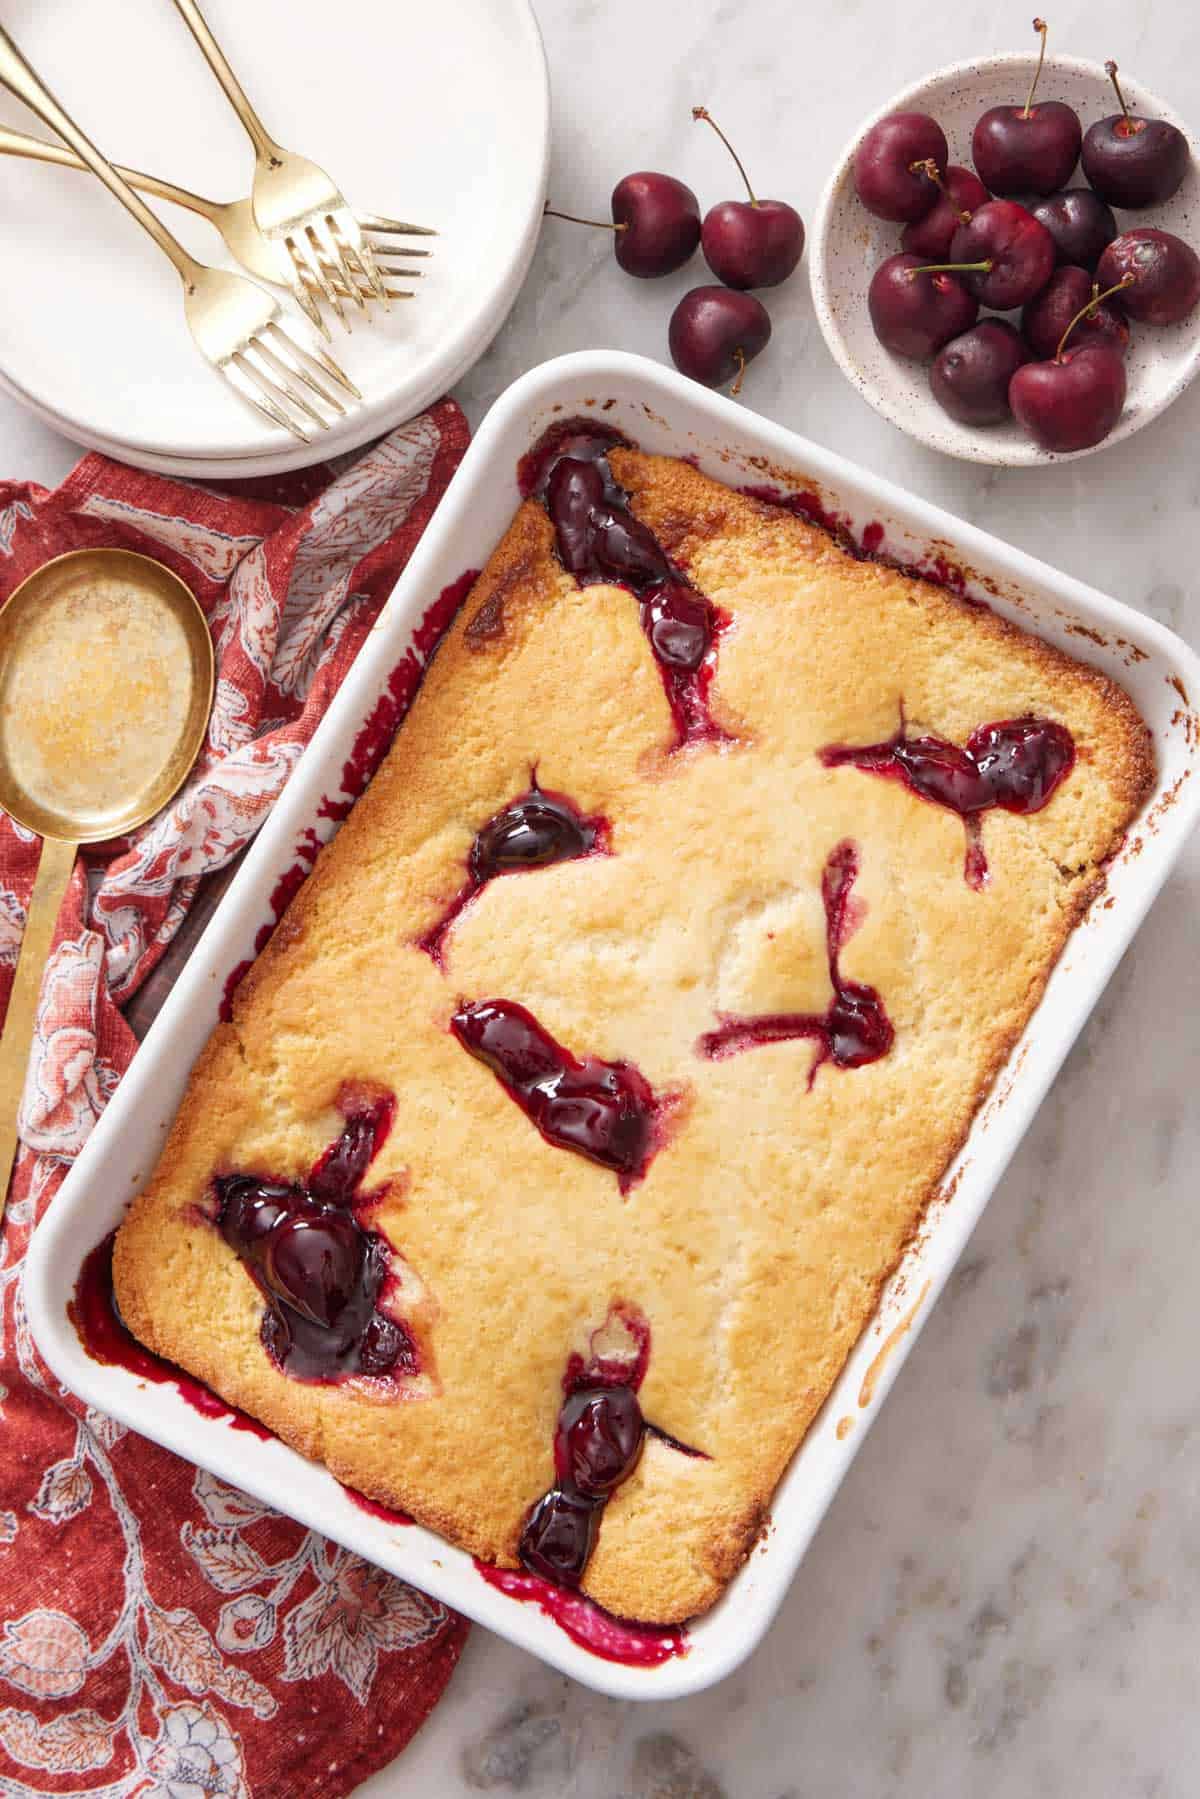
6. Spoon the cherry filling all over the top. Bake for 35 to 40 minutes, until the filling is bubbling and the topping is golden brown. Let it cool for 10 minutes before serving warm with a scoop of vanilla ice cream or a dollop of whipped cream.
What Types Of Cherries Work Best For Cobbler?
I usually use sweet cherries (like Bing cherries) in cobbler because it should be a sweeter dessert. You can use tart cherries (also called sour cherries), but you will need to add additional sugar to the cherry mixture so the dessert does not turn out too sour. Taste the cooked cherries and add more sugar to suit your preferences.
How To Pit Cherries
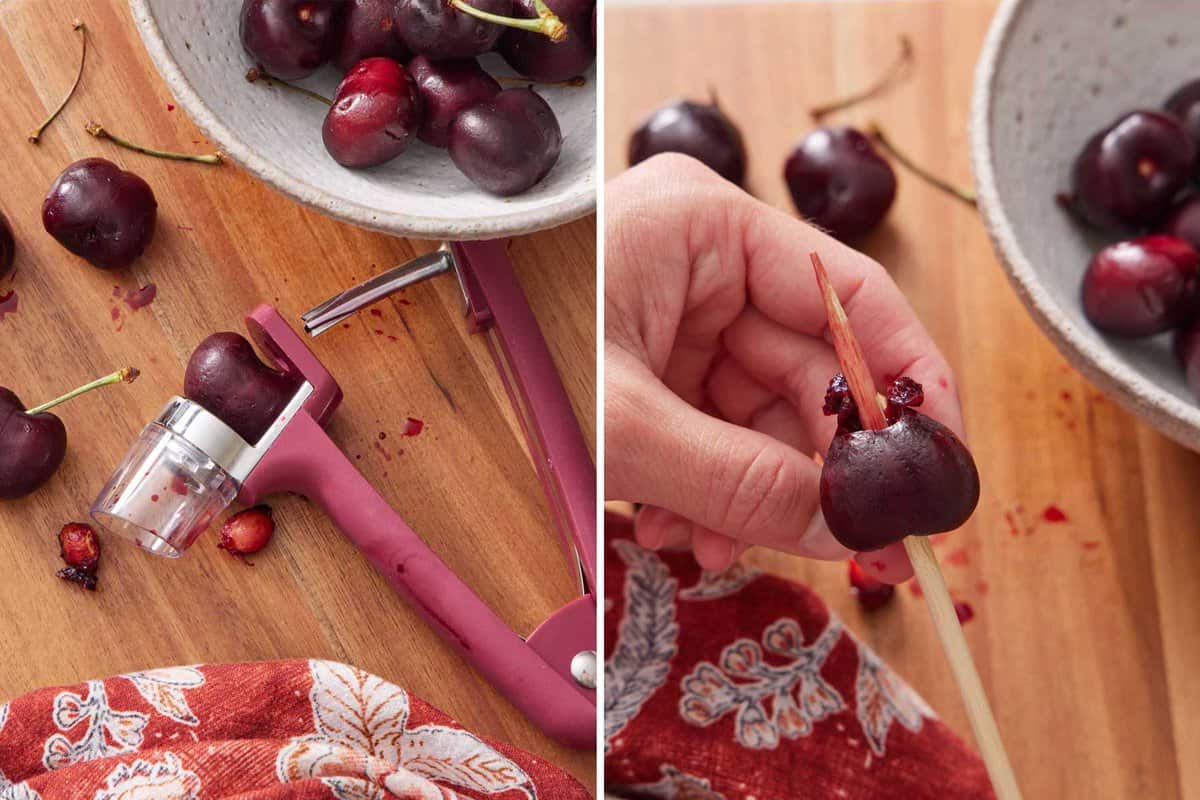
There are three great techniques for pitting cherries. Using a cherry pitter is by far the easiest, but if you don’t want to purchase a single-task tool, I have two other great methods you can use!
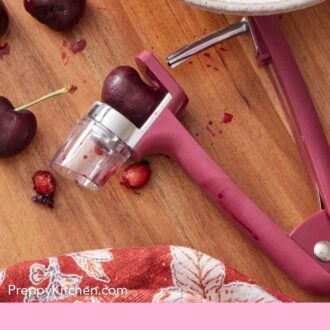
- Cherry pitter: Remove the cherry stems and place one cherry in the pitter’s cradle with the stem end up. Squeeze the handles of the pitter together so the pitter rod pushes through the cherry and ejects the pit out the other side. Remove the pitted cherry and repeat with the remaining cherries. Cherries tend to splatter a little bit when the pit gets pushed out, so I like to squeeze the pitting into a tall container to catch the pits but also guard against cherry juices spraying everywhere.
- Skewer or chopstick: Remove the cherry stems. Hold one cherry with the cherry stem end facing out. Place the tip of the skewer or chopstick in the divet where the stem was, then push the skewer or chopstick straight through the cherry until it comes out the opposite end, removing the pit with it. (Make sure your hand is clear of the end of the cherry!)
- Piping tip: Hold and pit the cherry the same way as you would with the skewer, but use the point of an open round piping tip to push the pit out of the cherry.
Can I Use Frozen Cherries?
Yes, you can make this homemade cherry cobbler recipe with frozen cherries. Thaw the cherries for several hours or overnight in the refrigerator. Drain any liquid that collects in the bowl. Follow the rest of the recipe as written.
How To Use Cherry Pie Filling For Cobbler
It’s so easy to make my cherry cobbler recipe with pie filling. When cooking the cherries with the other ingredients, you are essentially making a fresh cherry pie filling. So skip the Filling ingredients and steps 2 and 3 of the recipe below, and use one 21-ounce can of cherry pie filling instead, dolloping it over the batter as directed in the recipe.
Pro Tips For Making This Recipe
- Add almond extract. The flavor of almond extract pairs well with cherries. Add up to ½ teaspoon to the cherry mixture before cooking.
- For added texture: Sprinkle 2 tablespoons of coarse turbinado sugar, granulated sugar, or even cinnamon sugar over the top of the cobbler before baking for a little crunch and extra sweetness.
- Let the cobbler cool slightly. Don’t ignore the 10 minutes of cooling time! Not only will the cobbler be a better temperature to eat, the juices will also thicken in this time, becoming more syrupy and less runny. Don’t worry, it will still be deliciously warm after 10 minutes!
Frequently Asked Questions
I don’t recommend assembling the full cobbler until you are ready to bake it. However, you can make components ahead of time to make the assembly faster. Cook the filling, let it cool, and refrigerate it for up to 3 days. Just warm it back up on the stove or in the microwave when you’re ready to use it. You can mix the dry ingredients together several days in advance and stir in the milk and vanilla when you’re ready to assemble. Then, heat your oven and pan, pour in the batter, and dollop the filling on top.
You can use other fruit for this cobbler! Substitute 4 cups of sliced peaches, blueberries, or strawberries. Cook the fruit just until the fruit juices release and thicken.
Once leftovers have cooled completely to room temperature, wrap the baking dish tightly with plastic wrap and refrigerate for up to 4 days. To reheat the cherry cobbler, place it in a 350°F oven for 10 to 15 minutes, just until warm.
If you’ve tried this cherry cobbler recipe, then don’t forget to rate it and let me know how you got on in the comments below. I love hearing from you!
Cherry Cobbler Recipe
Equipment
- 9×13-inch or 2½-quart baking dish
- Cherry pitter
Ingredients
For the Filling:
- 5 cups pitted cherries (720g)
- ⅔ cup granulated sugar (133g)
- 2 tablespoons cornstarch
- 1 tablespoon lemon juice
For the Cobbler:
- 6 tablespoons unsalted butter (83g)
- 1¼ cup all-purpose flour (150g)
- ½ cup granulated sugar (100g)
- 2 teaspoons baking powder
- ¼ teaspoon salt
- 1 cup whole milk (240mL)
- 2 teaspoons vanilla extract
- Vanilla ice cream to serve
Instructions
- Preheat the oven to 350°F.
For the Filling:
- In a medium saucepan, combine the cherry, sugar, cornstarch, and lemon juice. Stir well.
- Cook over medium heat for 8 to 10 minutes, stirring occasionally, until the juices thicken. Remove from the heat and set aside.
For the Cobbler:
- Set the butter in a 9×13-inch baking dish. Place the baking dish in the oven for about 10 minutes to melt the butter. Remove from the oven and set aside.
- Meanwhile, in a medium bowl, whisk together the flour, sugar, baking powder and salt. Make a well in the mixture and add the milk and vanilla. Stir until no dry streaks of flour remain.
- Pour the batter into the baking dish over the melted butter. Tilt the pan to allow the batter and butter to settle evenly. Dollop the cherry mixture all over the top.
- Bake for 35 to 40 minutes, until the filling is bubbling and the topping is golden brown all over. Let it cool for 10 minutes before serving with a vanilla ice cream.
Notes
- Add almond extract. The flavor of almond extract pairs well with cherries. Add up to ½ teaspoon to the cherry mixture before cooking.
- For added texture: Sprinkle 2 tablespoons of coarse turbinado sugar, granulated sugar, or even cinnamon sugar over the top of the cobbler before baking for a little crunch and extra sweetness.
- Let the cobbler cool slightly. Don’t ignore the 10 minutes of cooling time! Not only will the cobbler be a better temperature to eat, the juices will also thicken in this time, becoming more syrupy and less runny. Don’t worry, it will still be deliciously warm after 10 minutes!


Leave a Reply