

This post may contain affiliate links. Please read our disclosure policy.




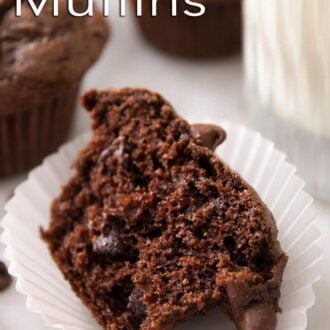




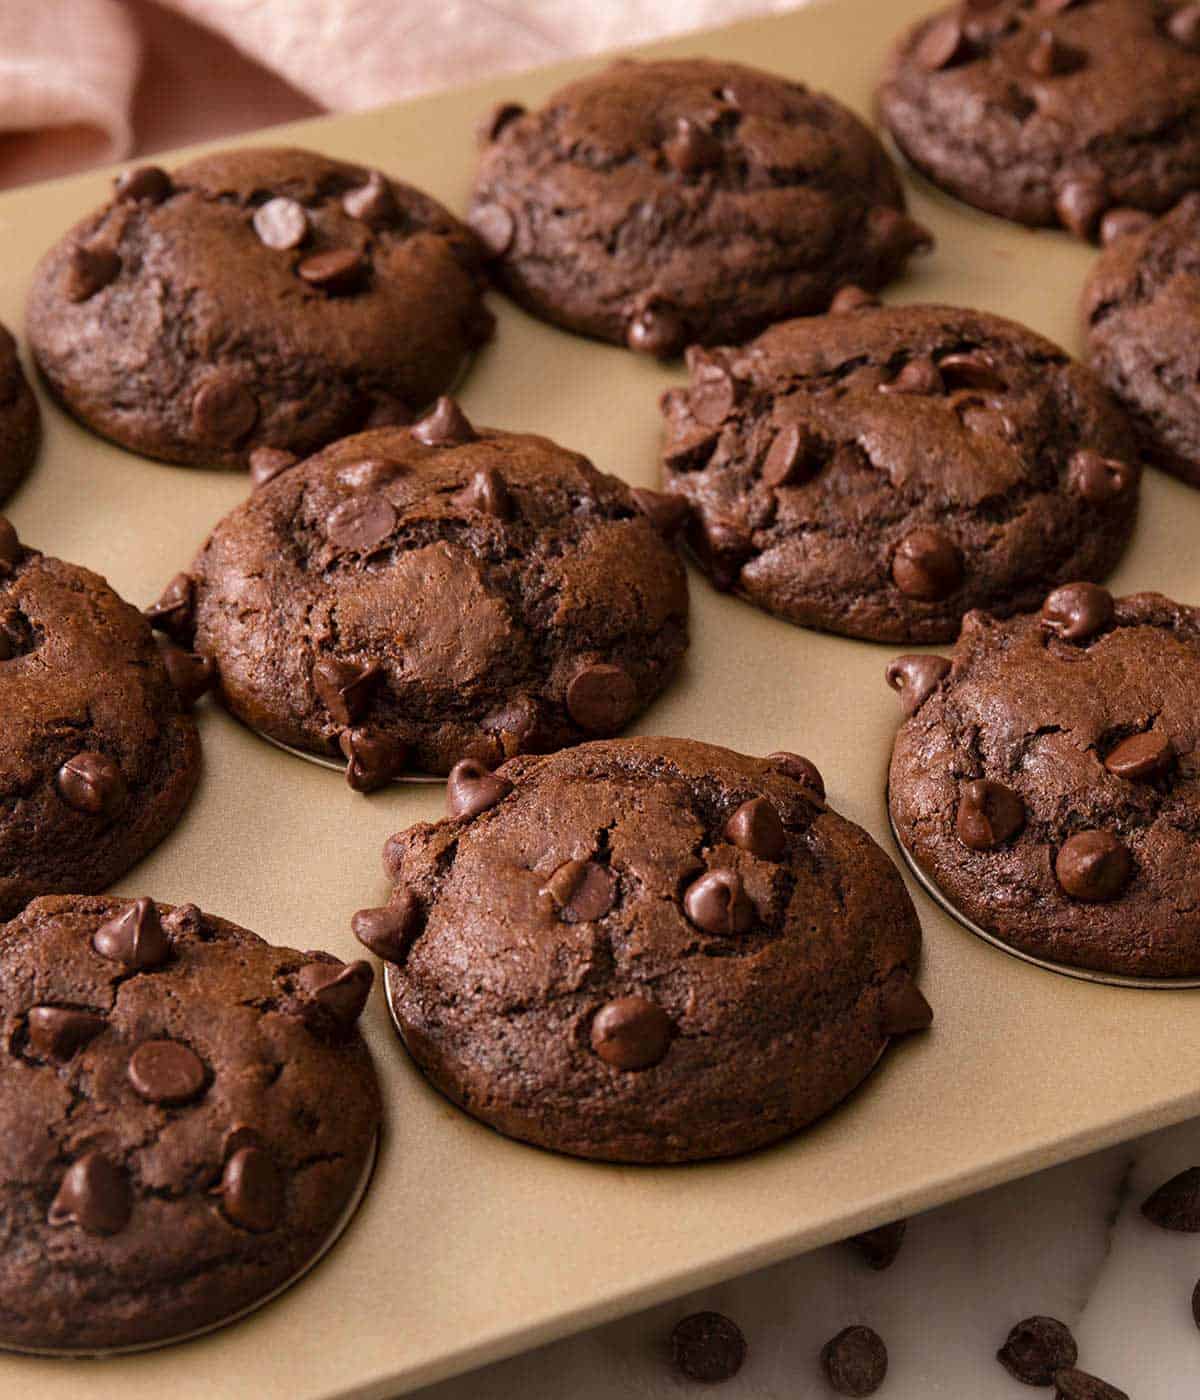
These chocolate muffins are moist with a deep cocoa flavor, are packed with chocolate chips, and mix together in just 10 minutes without a mixer. Get my one simple trick for tall bakery-style domes, too!
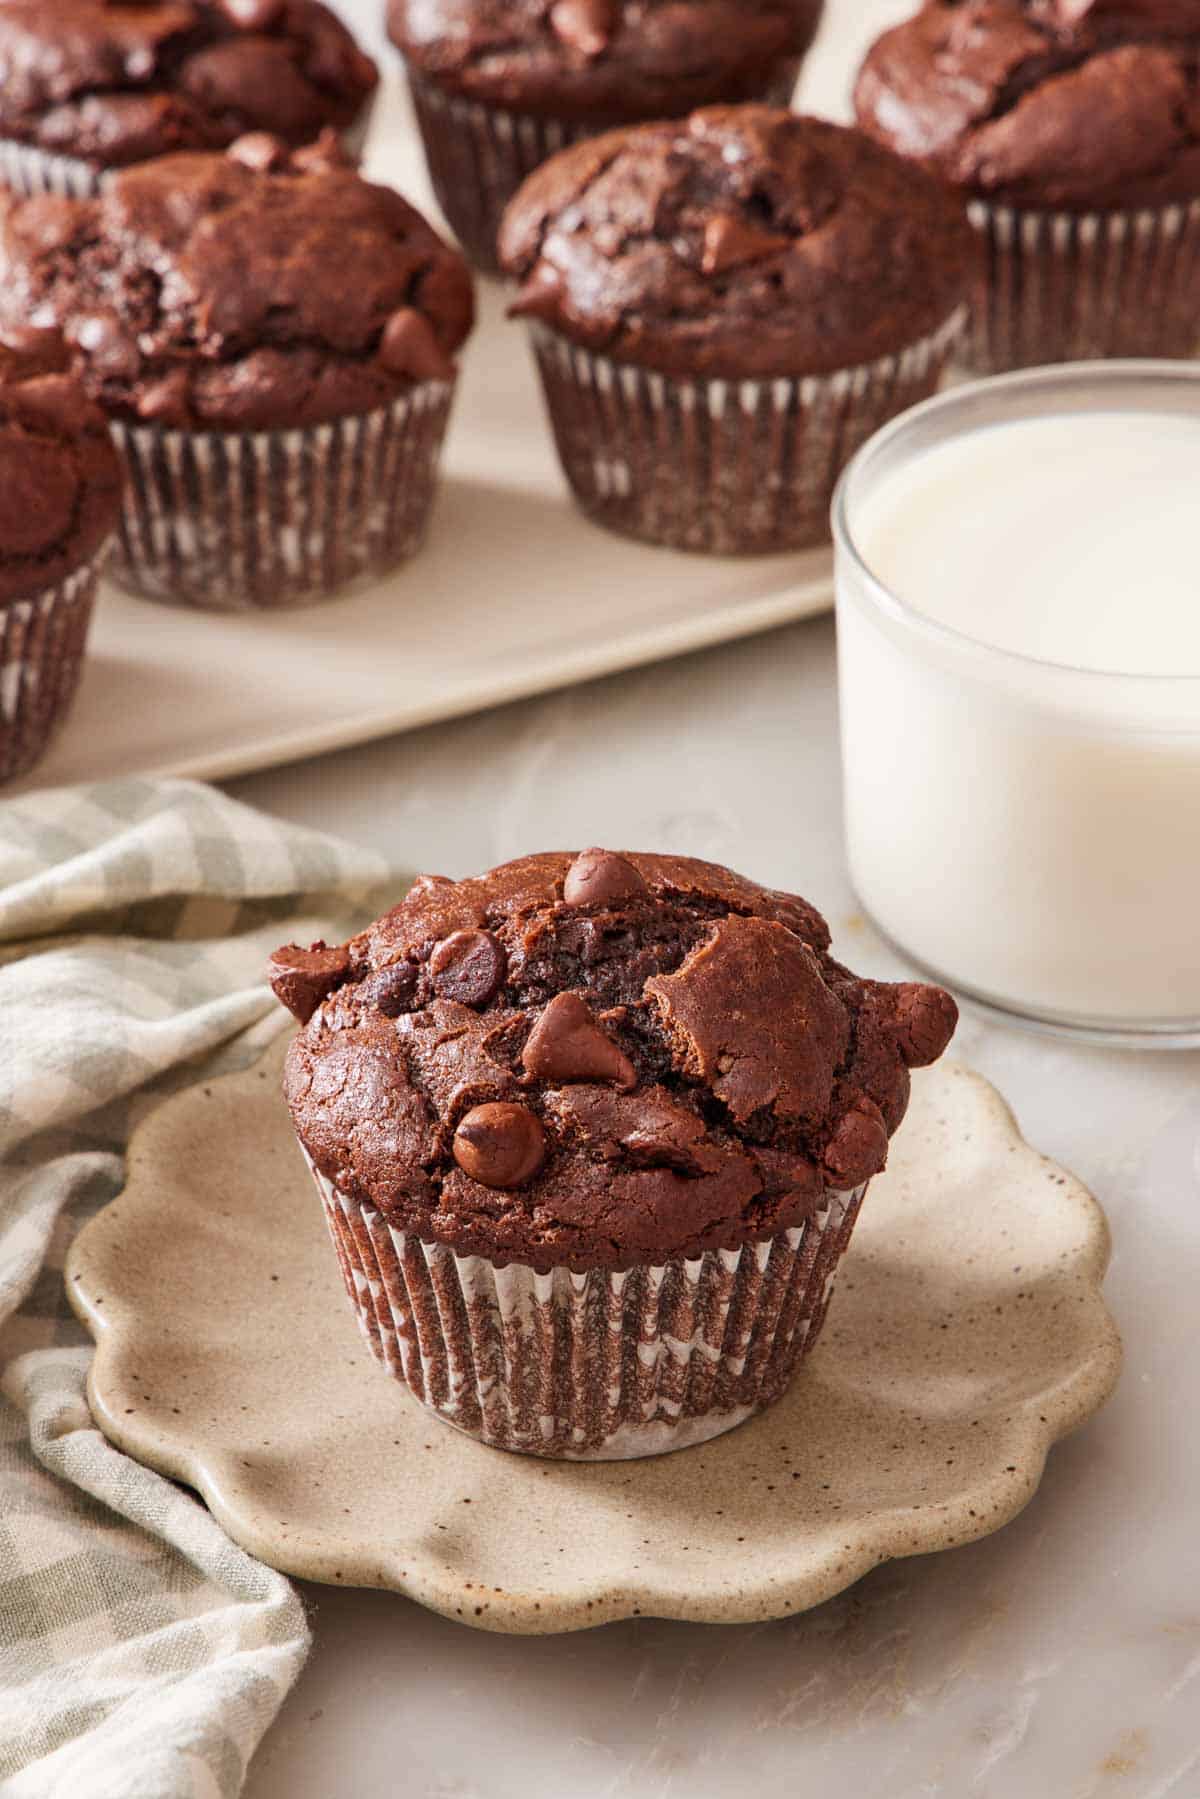
These are double chocolate muffins in the truest sense: cocoa powder flavors the batter, and two full cups of chocolate chips are folded through it and sprinkled on top. They bake up rich, moist, and tall, with the kind of high, crackly dome you get from a bakery case, not the flat tops most homemade muffins have. The secret to those domes isn’t a special pan or a mixer; it’s a simple two-temperature bake I’ll walk you through below.
One thing worth saying up front: these are muffins, not chocolate cupcakes in disguise. The crumb is denser and tighter, with a satisfying bite—there’s no hot water or creamed butter making them spongy. I tested this recipe several times to get just the right texture by adjusting the amount of baking powder and baking soda. My original test was fluffier and airier, and they felt like cake. Once I dropped the amount by 1 teaspoon, they turned out dense enough to feel like a muffin without being gummy. The best part? They come together with a whisk and a spatula, which makes them a realistic weekday breakfast and not just a weekend project.
“These came out amazing! I was concerned about the oven temp being so high at first, but the muffins were not dry at all. I was a little low on sour cream, so I used Greek yogurt to have enough dairy for the recipe, and it turned out great.”
Alexis
Two Secrets To The Perfect Muffin Texture
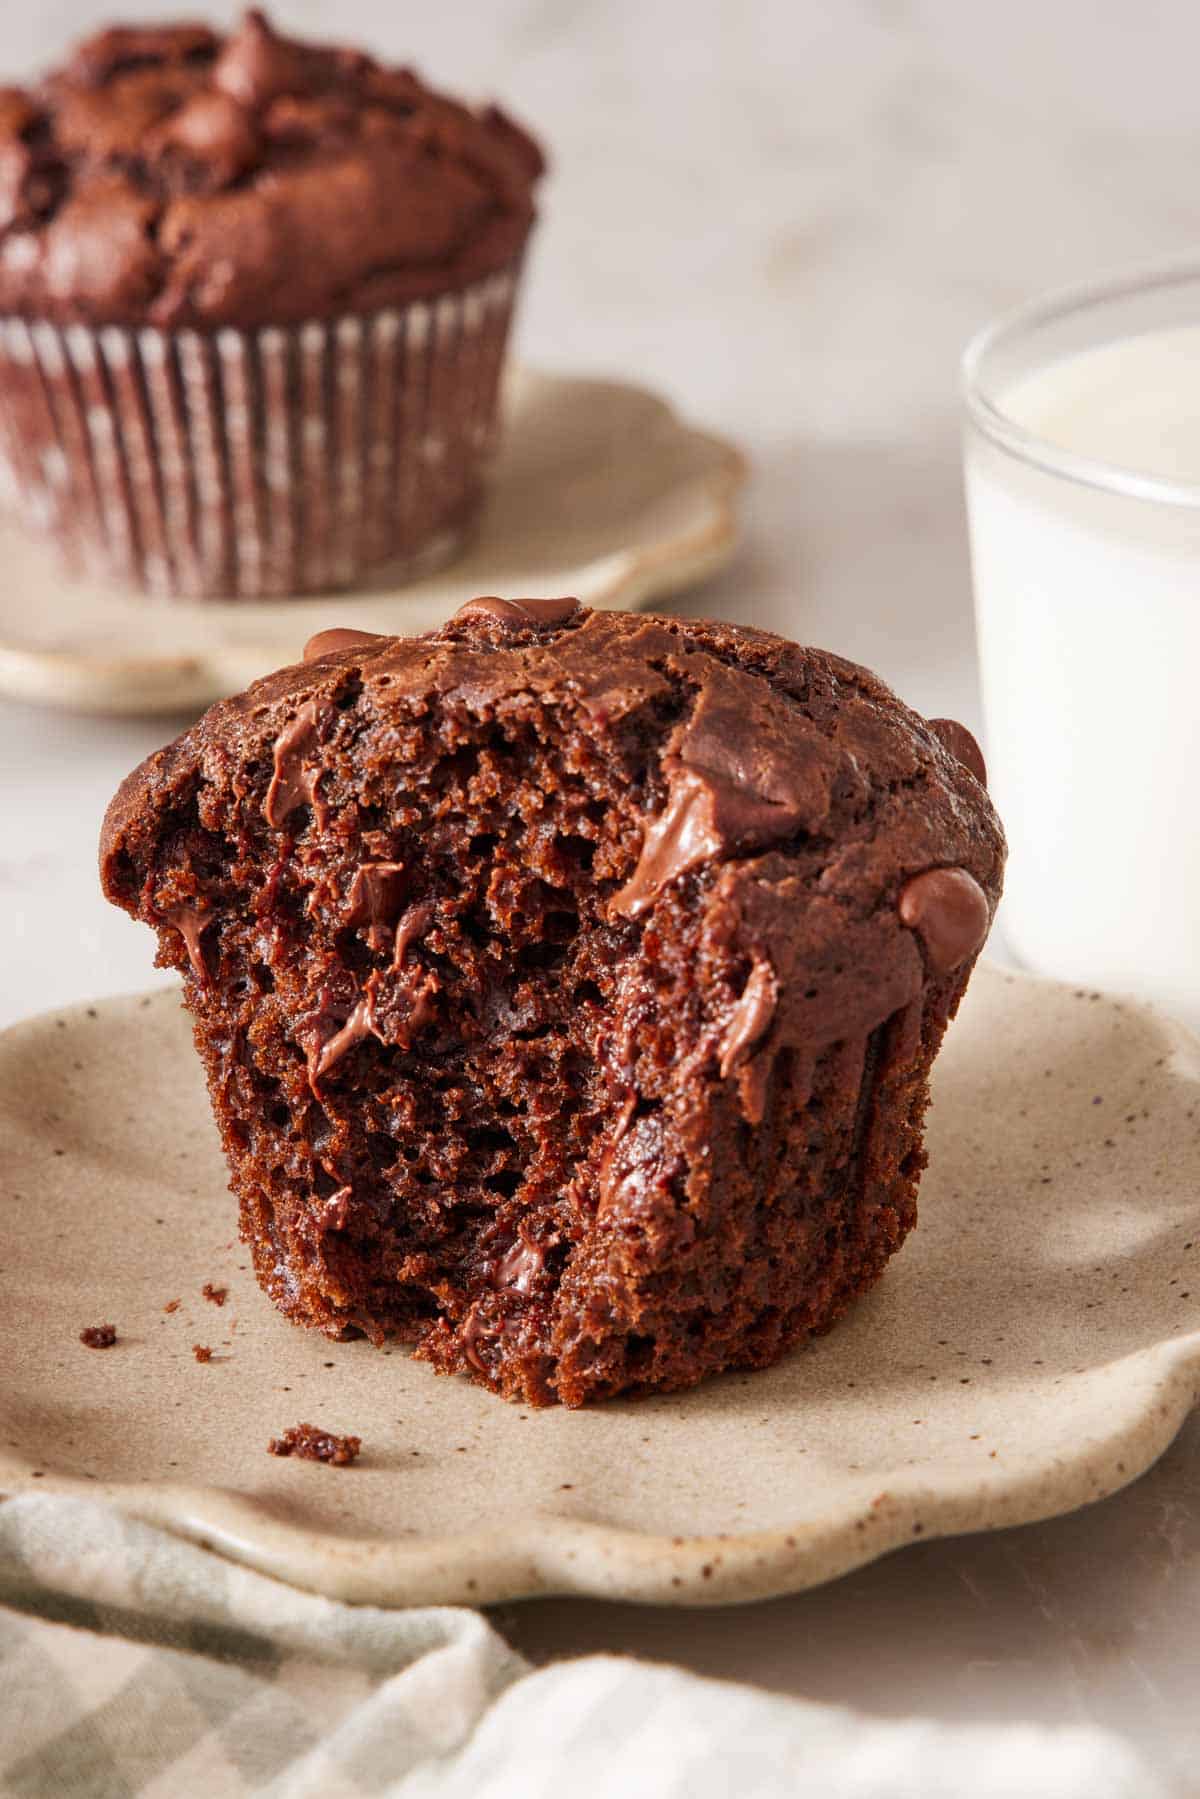
Muffins should be fluffy and denser than cake, but not so dense that they feel gummy or dry. This comes by forming just the right amount of gluten structure, and not too much. You need some gluten to hold up the muffin’s structure for the tall domes and tiny pockets throughout the batter formed by the baking powder and baking soda. But too much and the muffins go very dense, hard, and can feel dry.
The secret to getting just the right muffin texture comes from two things: not overmixing the batter and using sour cream.
Overmixing the batter is the fastest way to dense, tough, tunnel-y muffins—the more you work the batter, the more gluten develops. A spatula and a light hand are all you want. I overmixed these one time in recipe testing, stirring the batter until it was totally smooth and free from any dry bits of flour. Then I added the chocolate chips and mixed the batter even more to distribute them. The baked muffins came out tasting delicious, but the texture was very dense and almost chewy. Don’t make my mistake—fold the batter together just until the dry spots disappear, and the chips are well distributed.
Sour cream’s acidity helps keep the gluten formation in check. The acid helps prevent the proteins in the flour that form gluten from developing a super-strong bond. While overmixing can still produce a dense muffin, even with sour cream, it gives you an insurance policy to help prevent it. When mixed properly, the addition of sour cream produces a muffin that is tender, and the added dairy fat keeps the muffins moist, as a bonus!
Ingredient Notes & Substitutions
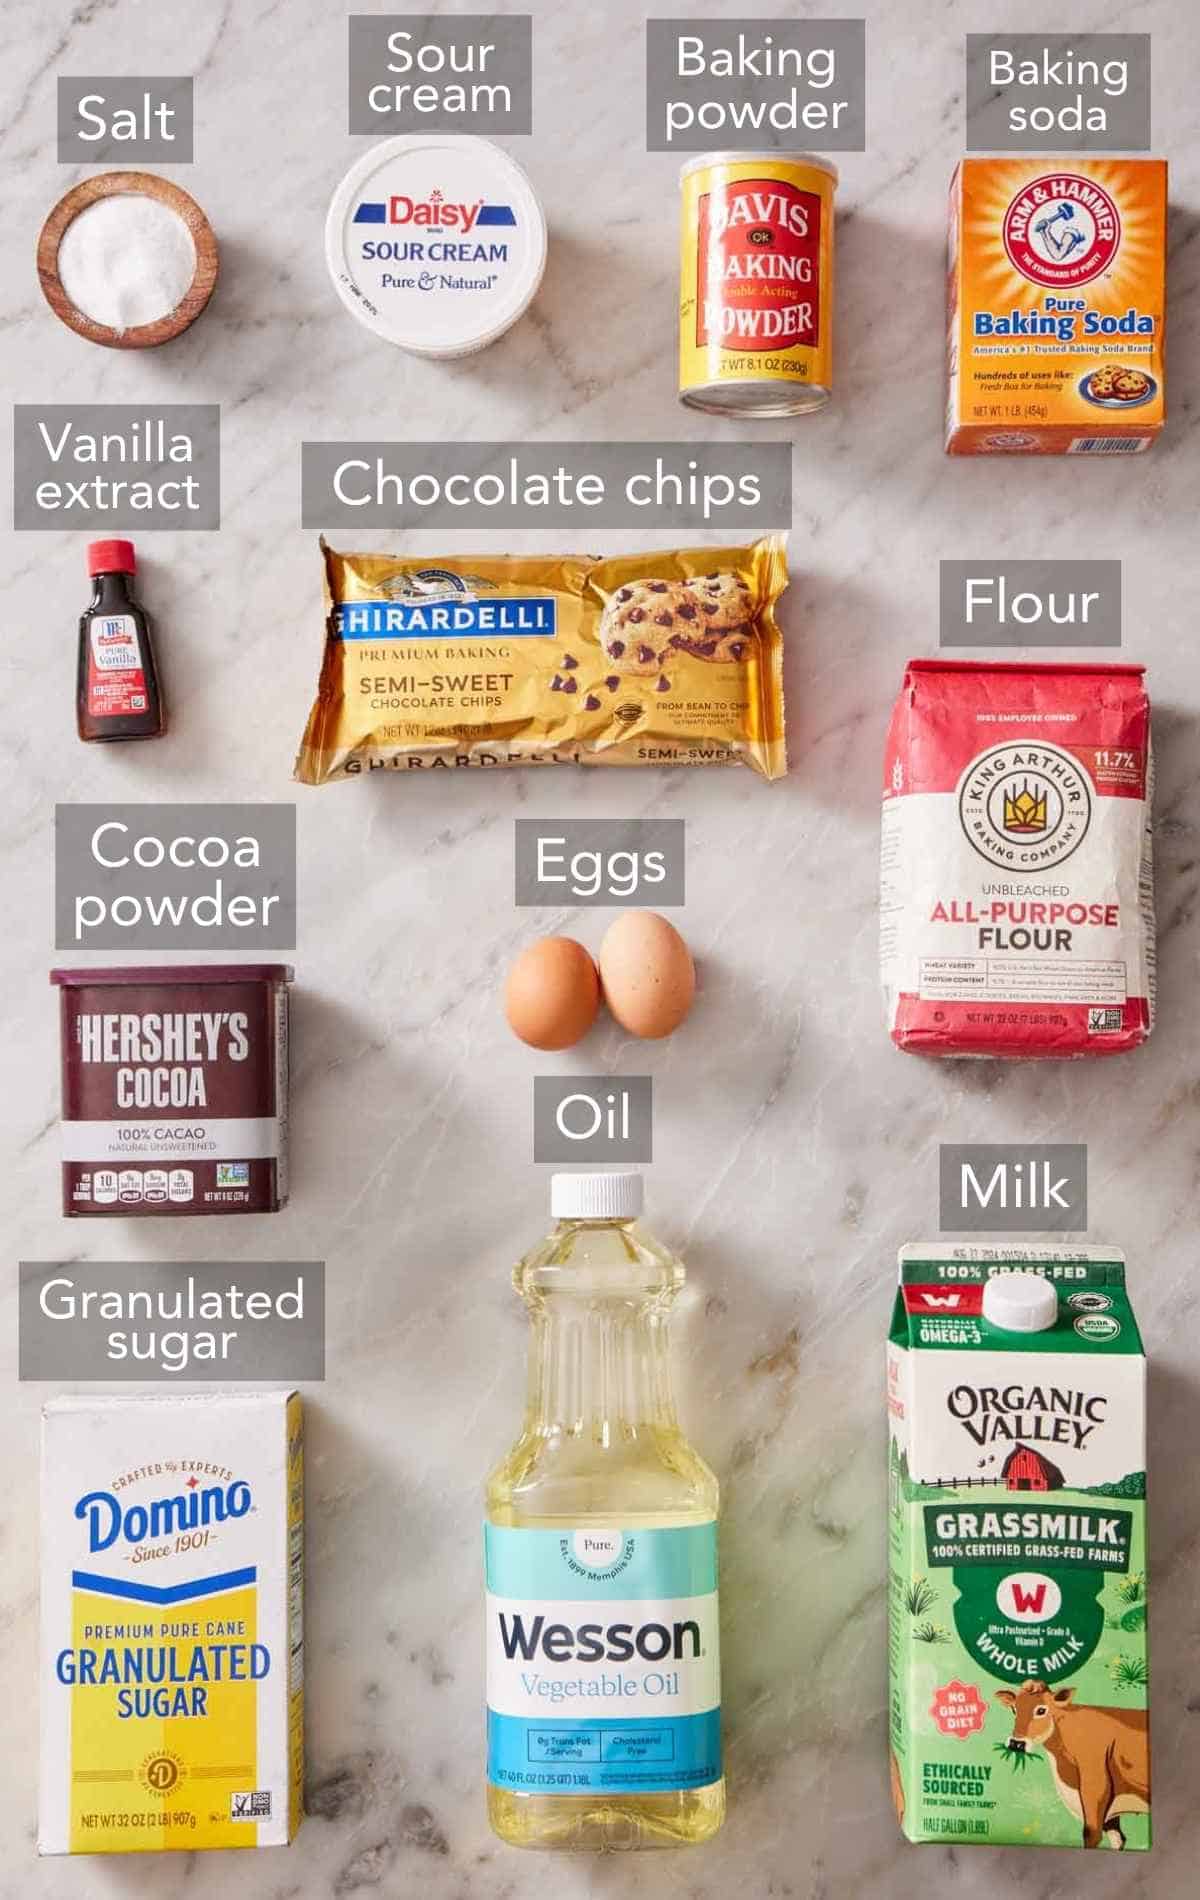
These are the main ingredients you need to make chocolate muffins. The full list of ingredients and measurements is in the recipe card below.
Cocoa powder — use natural unsweetened cocoa, not Dutch-process, for this recipe. This matters here because natural cocoa is acidic, and that acidity reacts with the baking soda to give the muffins their lift. Dutch-process cocoa is alkalized, so it won’t react the same way, and you’ll lose some rise. If that’s all you have, add an extra ¼ teaspoon of baking powder to give your batter the extra lift it needs.
Chocolate chips — packing the batter with chocolate chips results in tiny pockets of gooey melted chocolate all throughout the muffins. Most of the chips go into the batter, while the rest get sprinkled on top before baking, so every muffin bakes up with that studded, bakery-case-worthy crown. Semisweet or bittersweet gives the richest flavor. I recommend you use a chocolate chip you’d happily eat on its own, so you enjoy your muffins the most!
Sour cream — this is the moisture engine, and it keeps the crumb tender and rich. Greek yogurt with some fat (2-5%) works as a 1:1 swap if you are out (a few readers have told me they use it and can’t tell the difference).
Oil — using a liquid fat keeps muffins softer and moister for longer than butter does. Vegetable oil, canola oil, or grapeseed oil all work. You can even use a light olive oil labeled for baking.
Milk — make sure the whole milk is at room temperature so it doesn’t firm up the eggs and sour cream, making them hard to whisk together. Pop it in the microwave for 20 seconds if you don’t have time to set it out.
Baking powder and baking soda — you need both leaveners for a strong, even rise. The baking soda reacts with the acidity in the sour cream and natural cocoa powder, and the baking powder gives another lift in the oven once the batter heats up.
The Two-Temperature Bake
Here’s my trick for bakery-style muffins: start baking them at 425°F for 6 minutes, then, without opening the door, drop the oven to 350°F and bake for another 14-16 minutes. The initial blast of high heat sets the outside edges fast and forces a quick, dramatic rise at the center, which is what gives you that tall, domed top. Dropping the temperature then lets the centers bake through gently without the edges drying out or burning.
I tested this with the same chocolate muffin batter, baking half of the batch starting at 425°F, then dropping it to 350°F, and baking the other half at 350°F the whole time.
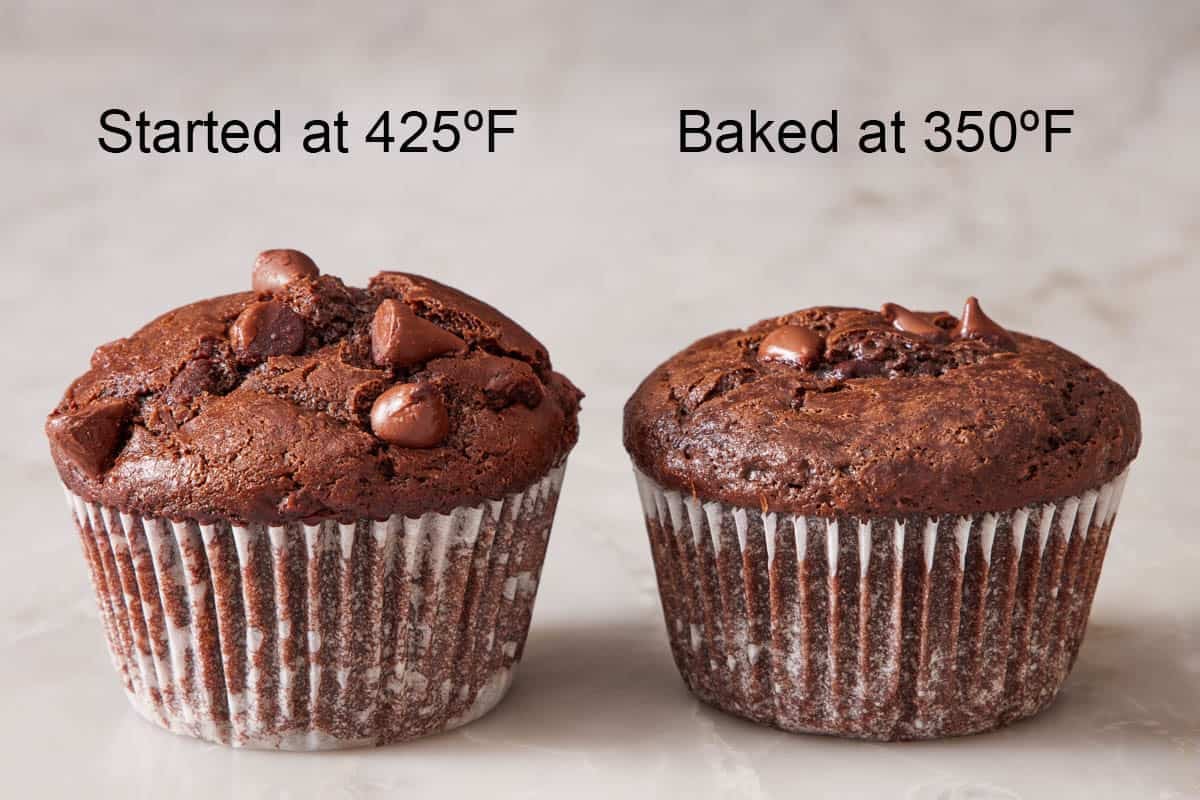
You can see in the test that the muffin baked at 350°F the whole time had a flatter top. It’s not that this is wrong, but it’s not as impressive! This simple oven trick makes a lovely, bakery-tall dome, setting your homemade muffins apart from others.
How To Make Chocolate Muffins
Below, I’ve highlighted portions of the recipe in step-by-step process images along with instructions for making the best chocolate muffins. You can find the full set of instructions in the recipe card below.
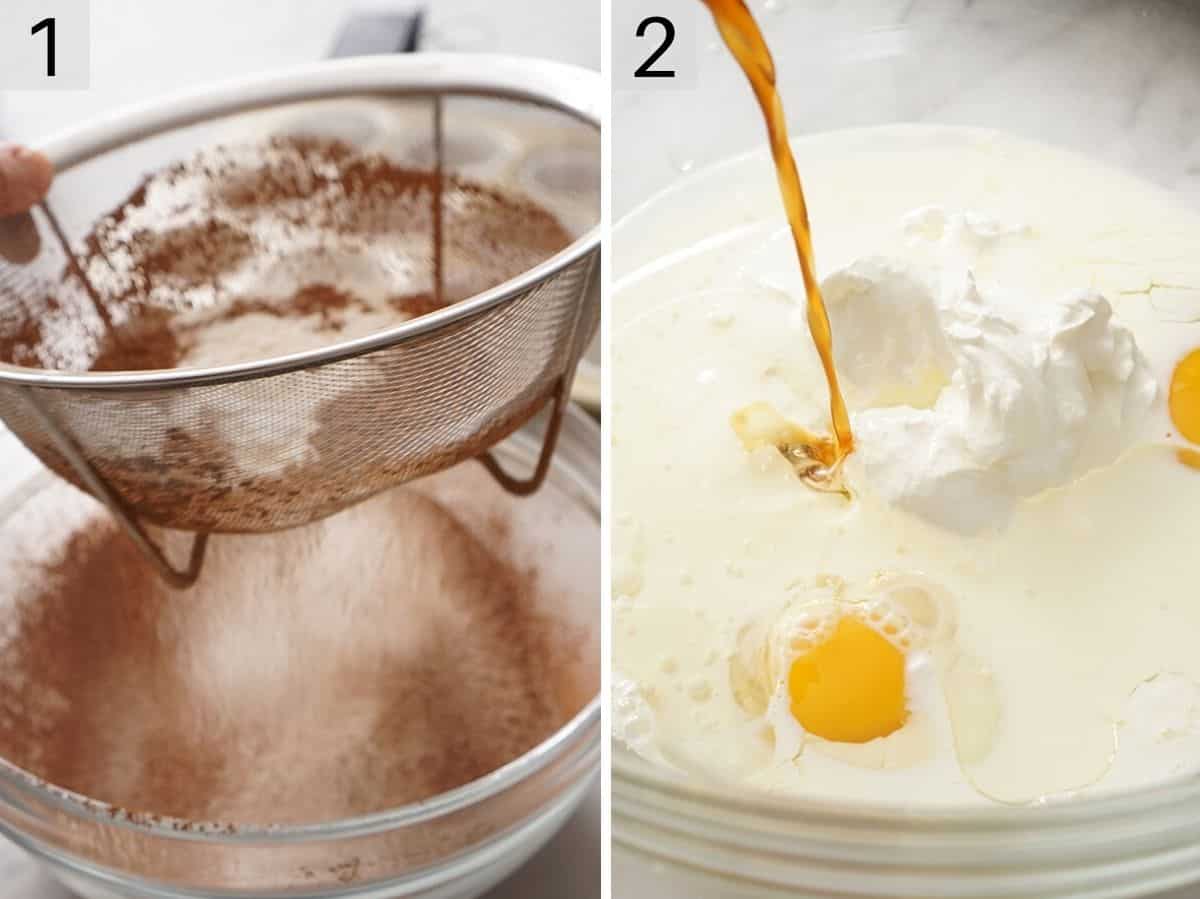
1. Combine the dry ingredients. Sift the all-purpose flour, cocoa, sugar, baking powder, baking soda, and salt together. Cocoa powder is notorious for clumping, so don’t skip sifting! (If you don’t have a large sieve or sifter, you can sift just the cocoa and whisk it into the rest of the ingredients.)
2. Whisk the wet ingredients. In a second bowl, whisk the eggs, sour cream, milk, oil, and vanilla until smooth. Make sure the sour cream is at room temperature, or it can stay clumpy.
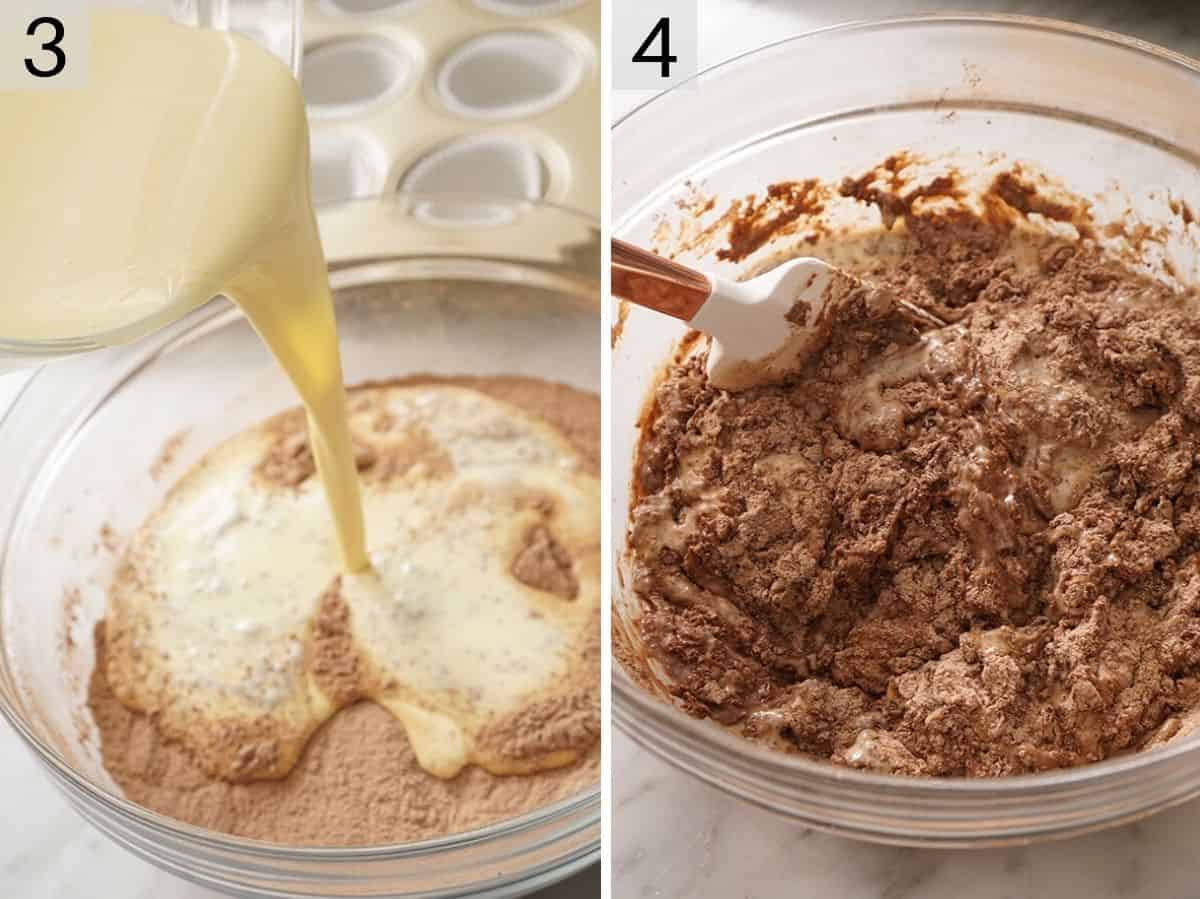
3. Combine the batter. Pour the wet into the dry and fold with a spatula just until a few flour streaks remain. When folding together, stop before all of the flour disappears but is mostly incorporated to avoid overmixing the batter. (It will be mixed fully once you add in the chocolate chips.)
4. Don’t reach for the mixer—use a spatula and mix by hand. If you use an electric mixer, you risk overdeveloping the gluten in the muffin, turning them too dense. A silicone spatula is the perfect tool!
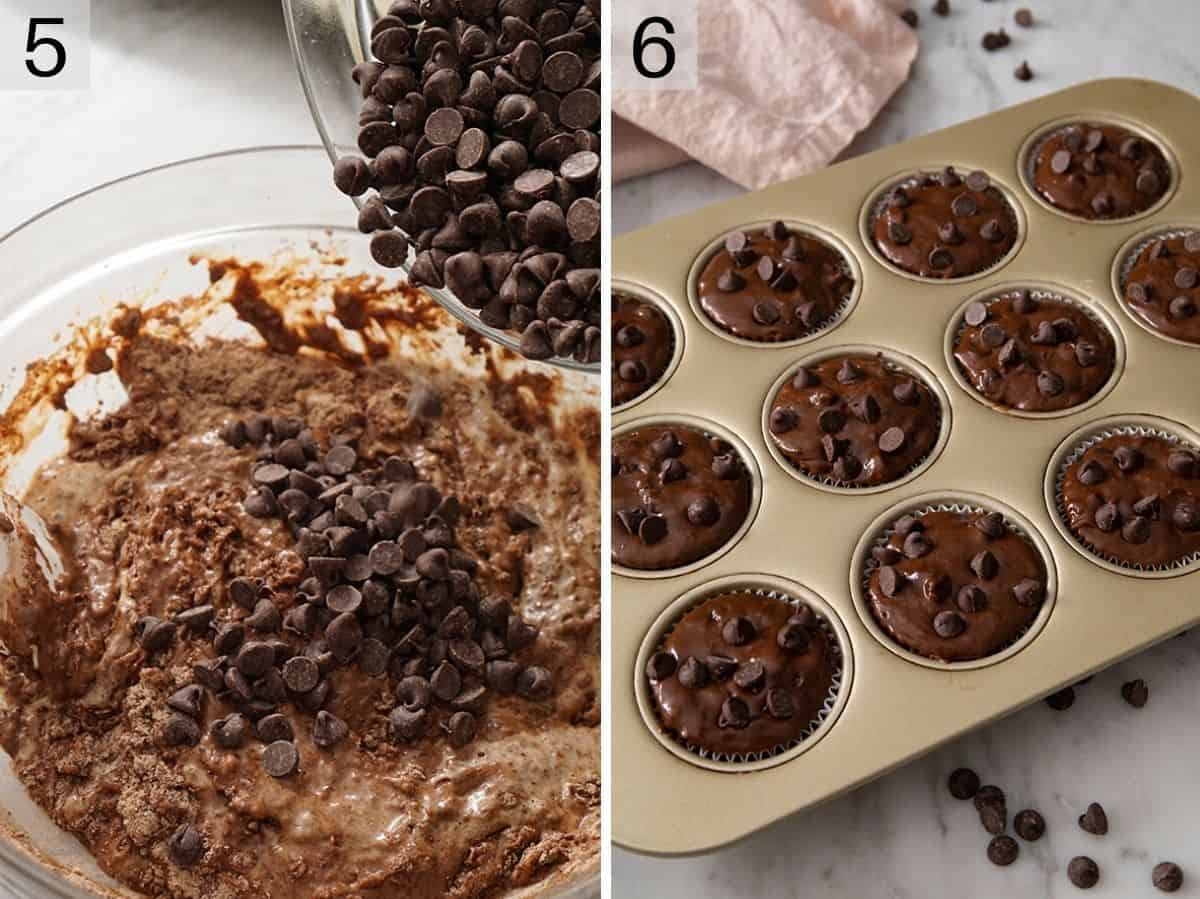
5. Add the chips and stir only until they’re distributed, and the flour streaks fully disappear.
6. Fill the paper liners. Fill each liner almost to the top. I like using a spring-loaded scoop to easily move the batter from the bowl to the liners. Sprinkle the rest of the chocolate chips on top. Bake at 425°f for 6 minutes, then drop the oven temperature to 350°f (don’t remove the muffins!) and finish baking until a toothpick inserted into the center comes out clean, about 14-16 more minutes. Cool the muffins in the pan for a few minutes before removing them and cooling on a wire rack.
Pro Tips for Bakery-Style Muffins
Don’t open the oven door early. Letting cold air in during that first high-heat rise is the most common reason muffins deflate or bake up flat. Leave the door closed until you’re ready to test for doneness. When you drop the oven temp, the oven will regulate itself, so you don’t need to open it then either.
Measure your flour correctly. Too much flour makes muffins dry and dense. Weigh it if you can, or fluff, spoon, and level. (For the full method, see Academy: How to Measure Ingredients Correctly.)
Switch up the chips or flavoring. White chocolate, butterscotch, or peanut-butter chips all work in place of some or all of the semisweet. A little orange zest or a few drops of peppermint extract in the wet mixture turns these into orange-chocolate or mint-chocolate muffins.
Make Ahead & Storing
These keep well, which is half the reason I make them! Stored in an airtight container at room temperature, they’re good for 3-5 days with no need to refrigerate.
To freeze, wrap the baked, cooled muffins in foil or plastic, place them in a freezer container, and freeze for up to 3 months. Thaw at room temperature. For a warm muffin, a few seconds in the microwave brings back that freshly baked, melty-chip quality.
Chocolate Muffins Recipe

Ingredients
- 1¾ cups all-purpose flour (210g)
- ⅔ cup unsweetened natural cocoa powder (66g)
- 1 cup granulated sugar (200g)
- 1½ teaspoons baking powder
- 1 teaspoon baking soda
- ¾ teaspoon salt
- 2 large eggs room temperature
- ¾ cup sour cream room temperature (180g)
- ½ cup whole milk room temperature (120ml)
- ½ cup vegetable oil (120ml)
- 2 teaspoons vanilla extract
- 2 cups semi sweet chocolate chips divided (360g)
Instructions
- Preheat the oven to 425ºF and line a 12-cup muffin tin with paper liners.
- To a large bowl, sift the flour, cocoa powder, sugar, baking powder, baking soda, and salt. Whisk to combine.
- In a medium bowl whisk together the eggs, sour cream, milk, vegetable oil, and vanilla until well combined.
- Pour the wet ingredients into the dry and fold together with a spatula until almost combined with a few streaks of flour remaining throughout the bowl. Add 1 ⅔ cups (300g) of the chocolate chips and stir until evenly distributed.
- Fill each cupcake well until almost full with batter, and sprinkle with the remaining ⅓ cup (60g) of the chocolate chips.
- Bake at 425ºF for 6 minutes then reduce the temperature to 350ºF and continue baking for an additional 14-16 minutes or until the centers are set and a toothpick inserted into the center comes out clean. Let the muffins cool in pan for a few minutes, then transfer them to a wire rack to finish cooling.
Notes
- Cool the muffins out of the pan. If you let them stay in the pan until they are fully cooled, they will steam and turn soggy, making the paper wrapper stick or fall apart when you pull it away. Let them cool for 2-3 minutes in the pan, just so they are cooled slightly on the tops, then move them to a wire rack.
Nutrition
Have you tried this recipe? Tag me today!
Mention @preppykitchen and tag #preppykitchen!
Frequently Asked Questions
Use natural cocoa for this recipe. It’s acidic, so it reacts with the baking soda to help the muffins rise. Dutch-process cocoa is alkalized and won’t react the same way, so you’d lose some of that lift.
Two usual causes: opening the oven door during the early high-heat bake (the rush of cold air can collapse the rise), or baking at too low a temperature (remember my recipe test—350°F made flatter tops). Keep the door shut until you test for doneness, and make sure your oven is baking at the right temperature. You can test your oven’s temperature with a thermometer. (To learn how, see Academy: Knowing Your Oven.)
This batter makes great mini muffins. I tested these in mini muffin pans with paper liners, using 1 tablespoon in each of the muffin liners. Because of their size, the two-temperature bake isn’t necessary. I discovered in my testing that they turned harder and drier starting at 425°F and dropping to 350°F, then just baking at one temperature the whole time.
Bake them at 375°F for about 10-12 minutes. You will get roughly 48 mini muffins from one recipe. They make a great lunchbox or party-size treat.
More Muffin Recipes to Try
Make one of these popular muffin recipes next:
- Banana Chocolate Chip Muffins — moist banana muffins loaded with chocolate chips; the most popular muffin in my collection.
- Blueberry Muffins — bakery-style blueberry muffins packed with juicy berries.
- Pumpkin Muffins — warmly spiced and soft, a fall favorite that uses the same two-temperature baking method for tall domes.
- Cranberry Orange Muffins — bright citrus and tart cranberry for a fresher, fruit-forward breakfast muffin.
- Oatmeal Muffins — hearty, wholesome muffins for a more breakfast-leaning, less chocolaty option.
If you’ve tried this chocolate muffin recipe, then don’t forget to rate it and let me know how you got on in the comments below. I love hearing from you!





