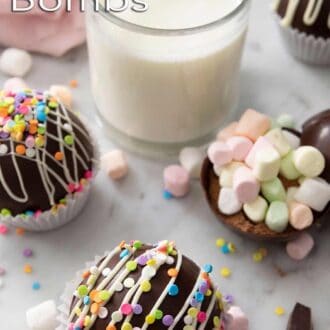
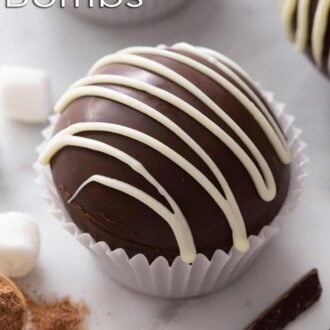
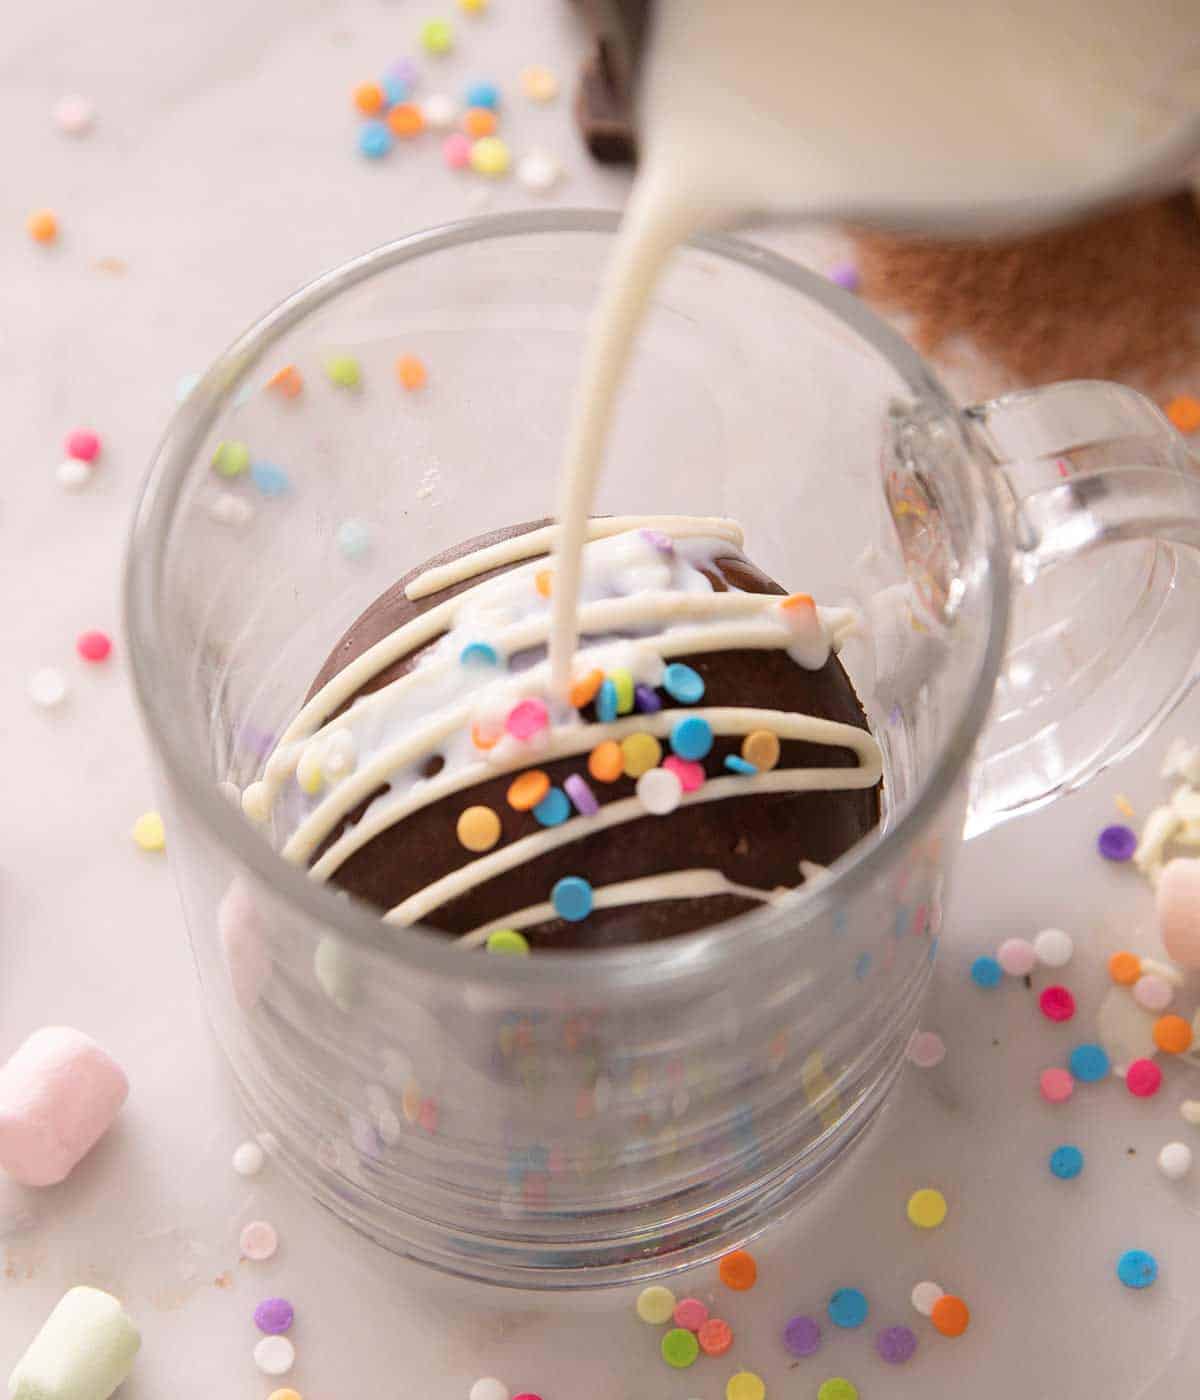
Hot chocolate bombs are the latest trend and it’s easy to see why! They are super easy to make, you can have so much fun decorating them with cute sprinkles and candy and once you pour over the hot milk you have a delicious mug of hot chocolate to enjoy filled with a fun treat like mini marshmallows! These are perfect for any occasion and make such a great gift for chocolate lovers. Whether you decorate them for the holidays, Valentine’s day, or even birthdays they are always fun.
See my recipe tutorial below that includes helpful step by step photos, all the tips you need, and plenty of fun ideas on how to customize them too!
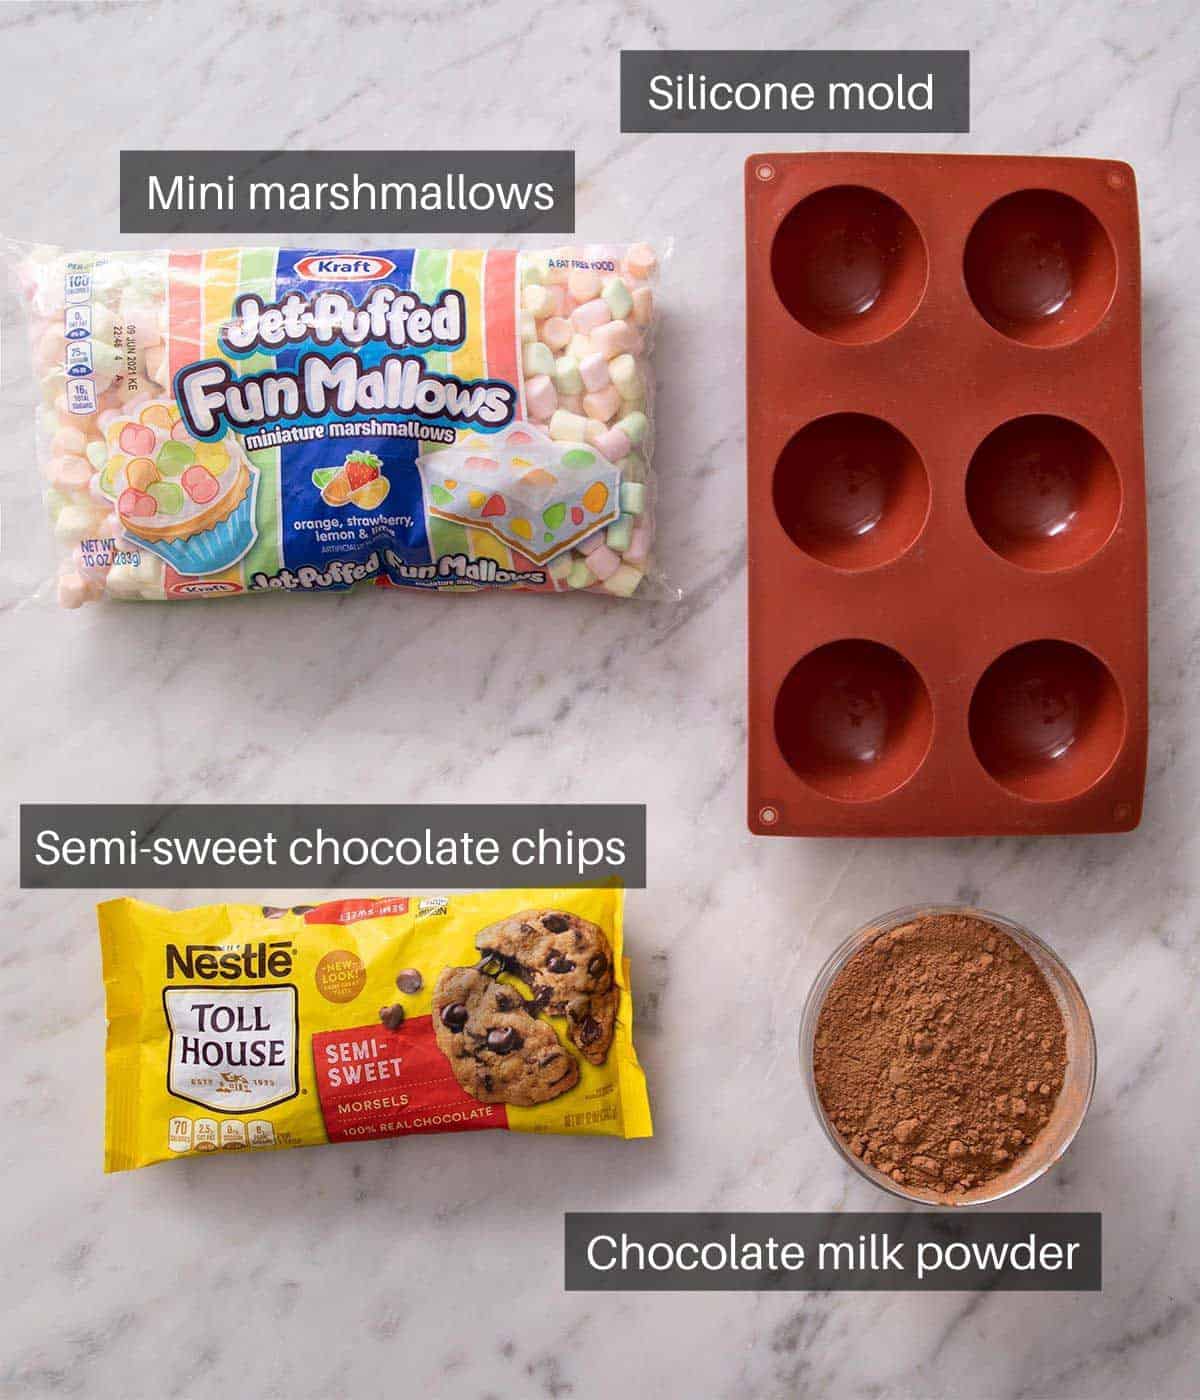
What you need to make this recipe
Chocolate – I semi-sweet chocolate for this and you can use either chips, chunks, or chop up a chocolate bar. If you prefer a more intense chocolate taste you can use bittersweet chocolate instead.
Chocolate milk powder – this is used to fill the chocolate bombs, you’ll find it in most supermarkets.
Marshmallows – mini marshmallows are best because they fit perfectly inside the shells of the hot chocolate bombs.
Silicone mold – I use a sphere silicone mold, they are super cheap and easy to find online. Although you can use an acrylic mold they are more difficult to use especially when it comes to removing the chocolate so always go with silicone.
How to make Hot Chocolate Bombs
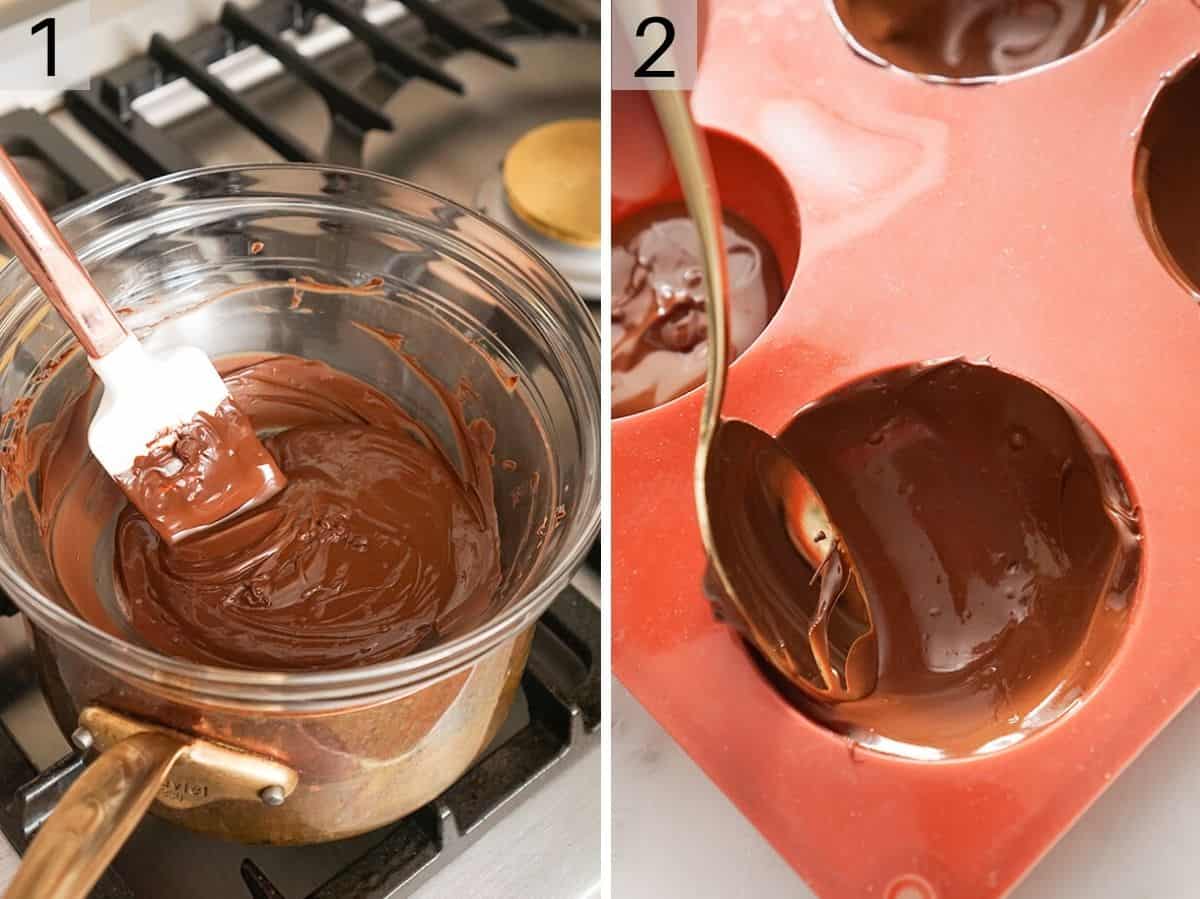
1. First, melt the chocolate in a bowl above a small pot of hot water.
2. Brush the molds with a layer of chocolate.
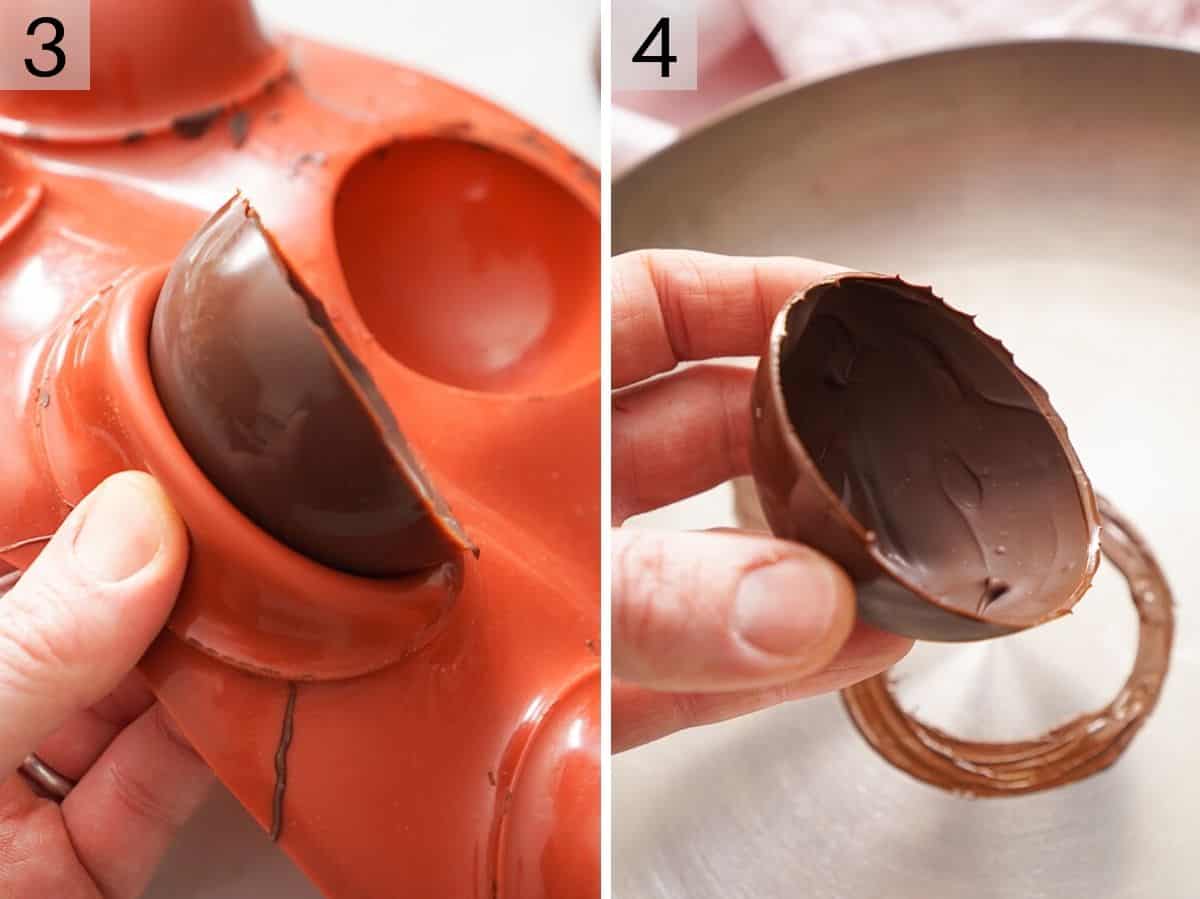
3. Let the chocolate set then remove it from the mold.
4. Heat up a saucepan on a medium-low heat and carefully melt the edges of the chocolate bomb. Place it in a cupcake paper or in a round cookie cutter to hold it in place as you fill it.
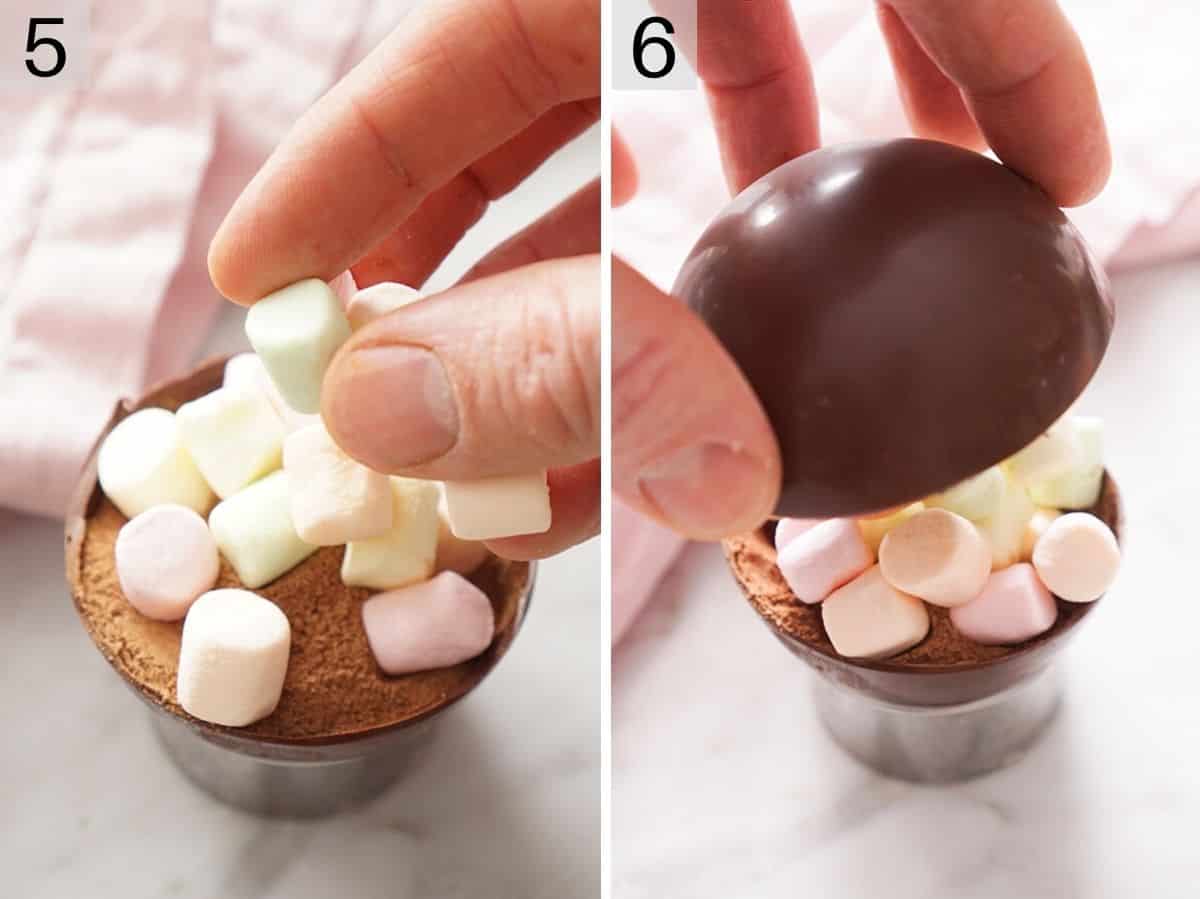
5. Fill one half of the bomb with the chocolate milk powder and mini marshmallows.
6. Place another half of the bomb on top (remember to melt the edges on a pan first for it seals).
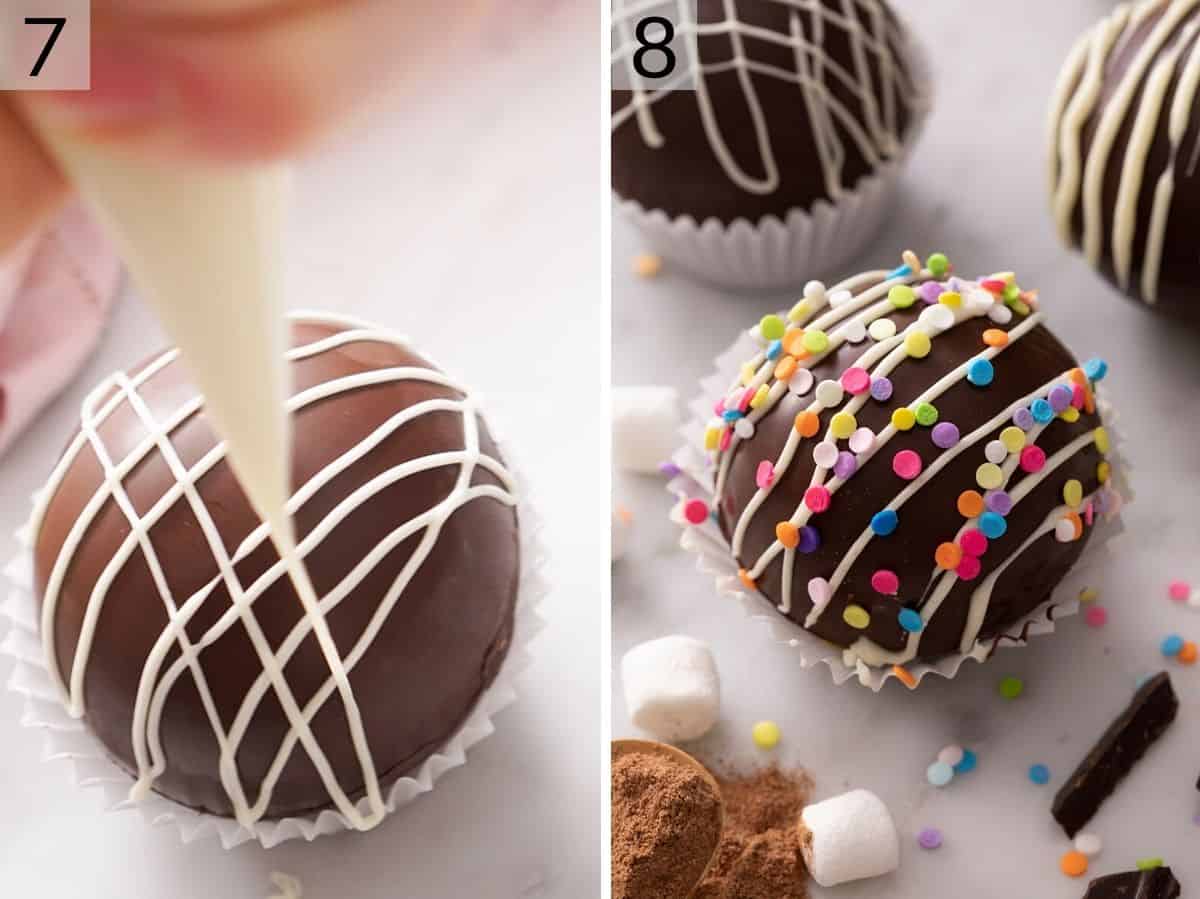
7. Decorate the cocoa bombs in any way you like with more chocolate, icing, or sprinkles.
8. Let them set and then store them until you are ready to use them.
Pro tips for making this recipe
- Use a clean paintbrush to brush the chocolate evenly in the molds making sure to cover all the sides.
- Let the chocolate molds set in the freezer, they set really fast (about 10 minutes).
- When removing the chocolate from the mold and assembling them it’s a good idea to wear gloves to avoid any fingerprints on the surface.
- Instead of chocolate milk powder, you can fill these bombs with your favorite hot chocolate powder, it’s also a great way to switch up the flavor by using chocolate orange hot chocolate powder, mint chocolate, salted caramel, and more! Also, see my instructions below on how to make your own hot chocolate powder at home.
- Use candy melts and small piping bags to decorate your chocolate bombs. Think pink and red for Valentine’s day, red, white, and green for Christmas etc.
- Sprinkles, edible glitter, and chocolate chips/chunks are a great way to jazz up your cocoa bombs. Drizzle over a small amount of melted chocolate and top with sprinkles so they stick.
Frequently Asked Questions
How do you use hot chocolate bombs?
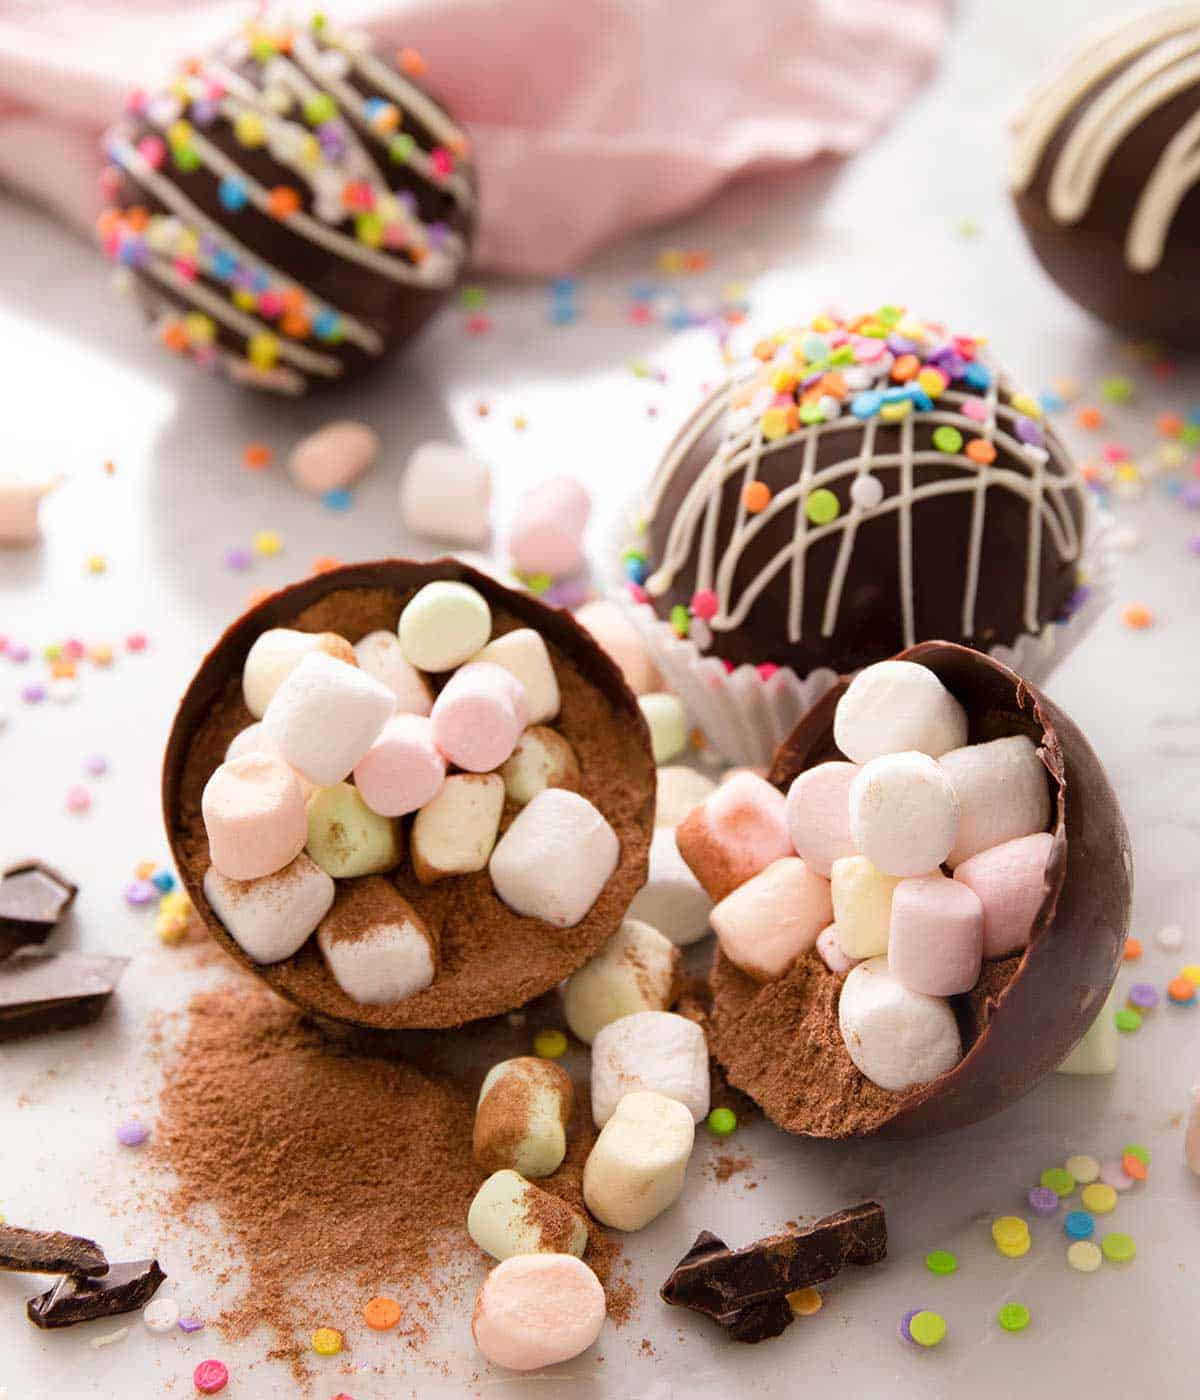
Place one hot chocolate bomb in a mug and pour over hot milk. As the chocolate starts to melt give it a stir until completely combined and the powder has dissolved then enjoy!
Flavor combinations to try
Peppermint – crush up some holiday candy canes or peppermint candies and add them inside your bomb with the chocolate powder and marshmallows. I also like to sprinkle some crushed cup candies on top of the bombs (on top of a little melted chocolate so they set).
Mocha – add a tsp of mocha powder or instant espresso powder to your chocolate milk powder for a delicious hint of coffee. It’ll taste just like a mocha hot chocolate!
Peanut butter – chop up some mini peanut butter cups and add them inside the bombs with the other ingredients. Stick some on top of your bombs too it looks so impressive and fun!
Pumpkin spice – add around 1/4 tsp of pumpkin spice to your chocolate milk powder per bomb for a delicious Fall flavored drink!
How to make your own hot chocolate powder?
You can make your own hot cocoa powder by pulsing the below ingredients in your food processor or just whisking it up.
- 3/4 cup granulated sugar
- 1/2 cup cocoa powder
- pinch salt
Do I need to temper the chocolate?
You don’t need to temper your chocolate to make these but it’s what gives the surface that shiny and glossy appearance. Untempered chocolate will have a dull, chalky look so it depends on what look you are going for. Tempering the chocolate is not nearly as hard as it seems but you will need a thermometer. While you are melting the chocolate either in a bowl above a pot of water or in a microwave (either is fine) your chocolate must stay between 87-91F hence why a thermometer is important here.
Once your chocolate hits the right temperature remove it from the heat and stir until all the chocolate has melted. If it needs more help you can heat it for a few seconds more. And that’s all you need to do, stay within this temperature and you’ll have shiny and glossy hot chocolate bombs!
How long do they last?
Hot chocolate bombs have a long shelf life just like a normal bar of chocolate. Keep them stored in a cool, dry place and they will last for months!
Can I freeze them?
Yes, you can freeze them but because they have such a long shelf life there isn’t much need to and because they are quite delicate there is more risk of them breaking in the freezer. If you do freeze them you’ll need to wrap them tightly in plastic wrap and foil and let them thaw completely before using.
If you’ve tried these Hot Chocolate Bombs then don’t forget to leave a rating and let me know how you got on in the comments below, I love hearing from you!

Hot Chocolate Bomb
Video
Ingredients
- 1 cup semi-sweet chocolate
- 6 tablespoons chocolate milk powder divided
- 1/3 cup mini marshmallows divided
- 1 silicone chocolate bomb mold
Instructions
- Chop chocolate and melt in a double boiler or with your microwave using 30 second bursts, storring in between. You can temper the chocolate if you're making these In advance or want that shiny surface but it is not a must.
- Add a spoonful of melted chocolate to your hemispherical mold and use a spoon or brush to create an even layer of chocolate all the way up to the edge. Freeze for about ten minutes.
- Warm a pan over medium heat for about 30 seconds then remove from heat and carefully remove the now set chocolate from the mold . Gloves are handy of avoiding fingerprints at this stage. Carefully melt the edge on the pan and place in a cupcake paper or round cookie cutter to hold in place.
- Add two tablespoons of cocoa powder to the base then top with a mound of marshmallows. Melt the bottom of another shell and place on the base. Press down gently and pipe a very thin line of melted chocolate onto the joint to seal the two halves. Smooth with your finger or a small knife.
- Decorate with a drizzle or dark or white chocolate and sprinkles if desired. Repeat for the remaining chocolates.
Notes
- Use a clean paintbrush to brush the chocolate evenly in the molds making sure to cover all the sides.
- Let the chocolate molds set in the freezer, they set really fast (about 10 minutes).
- When removing the chocolate from the mold and assembling them it's a good idea to wear gloves to avoid any fingerprints on the surface.
- Instead of chocolate milk powder, you can fill these bombs with your favorite hot chocolate powder, it's also a great way to switch up the flavor by using chocolate orange hot chocolate powder, mint chocolate, salted caramel, and more! Also, see my instructions below on how to make your own hot chocolate powder at home.
- Use candy melts and small piping bags to decorate your chocolate bombs. Think pink and red for Valentine's day, red, white, and green for Christmas etc.
- Sprinkles, edible glitter, and chocolate chips/chunks are a great way to jazz up your cocoa bombs. Drizzle over a small amount of melted chocolate and top with sprinkles so they stick.
-
You can make your own hot cocoa powder by pulsing the below ingredients in your food processor or just whisking it up.
- 3/4 cup granulated sugar
- 1/2 cup cocoa powder
- pinch salt


