


Knowing how to carve a turkey can be as (or more) intimidating than roasting it! But if you know a few simple points, like where to start and exactly which places to cut, it’s actually quite easy. Thanks to my foolproof guide, you can expertly carve a Thanksgiving turkey, whether it’s your first or 50th time.
All you need is a handful of common kitchen tools, paper or kitchen towels, and a willingness to dive in! You’ll have a beautiful turkey platter in just a handful of easy steps, leaving you time and energy to enjoy your meal with family and friends!
A reader says: “Thanks for illustrating so clearly how to carve the turkey! It was so easy to do and I felt so confident presenting a plate of beautifully carved turkey.” ★★★★★
Table of Contents
Tools You’ll Need To Carve The Turkey
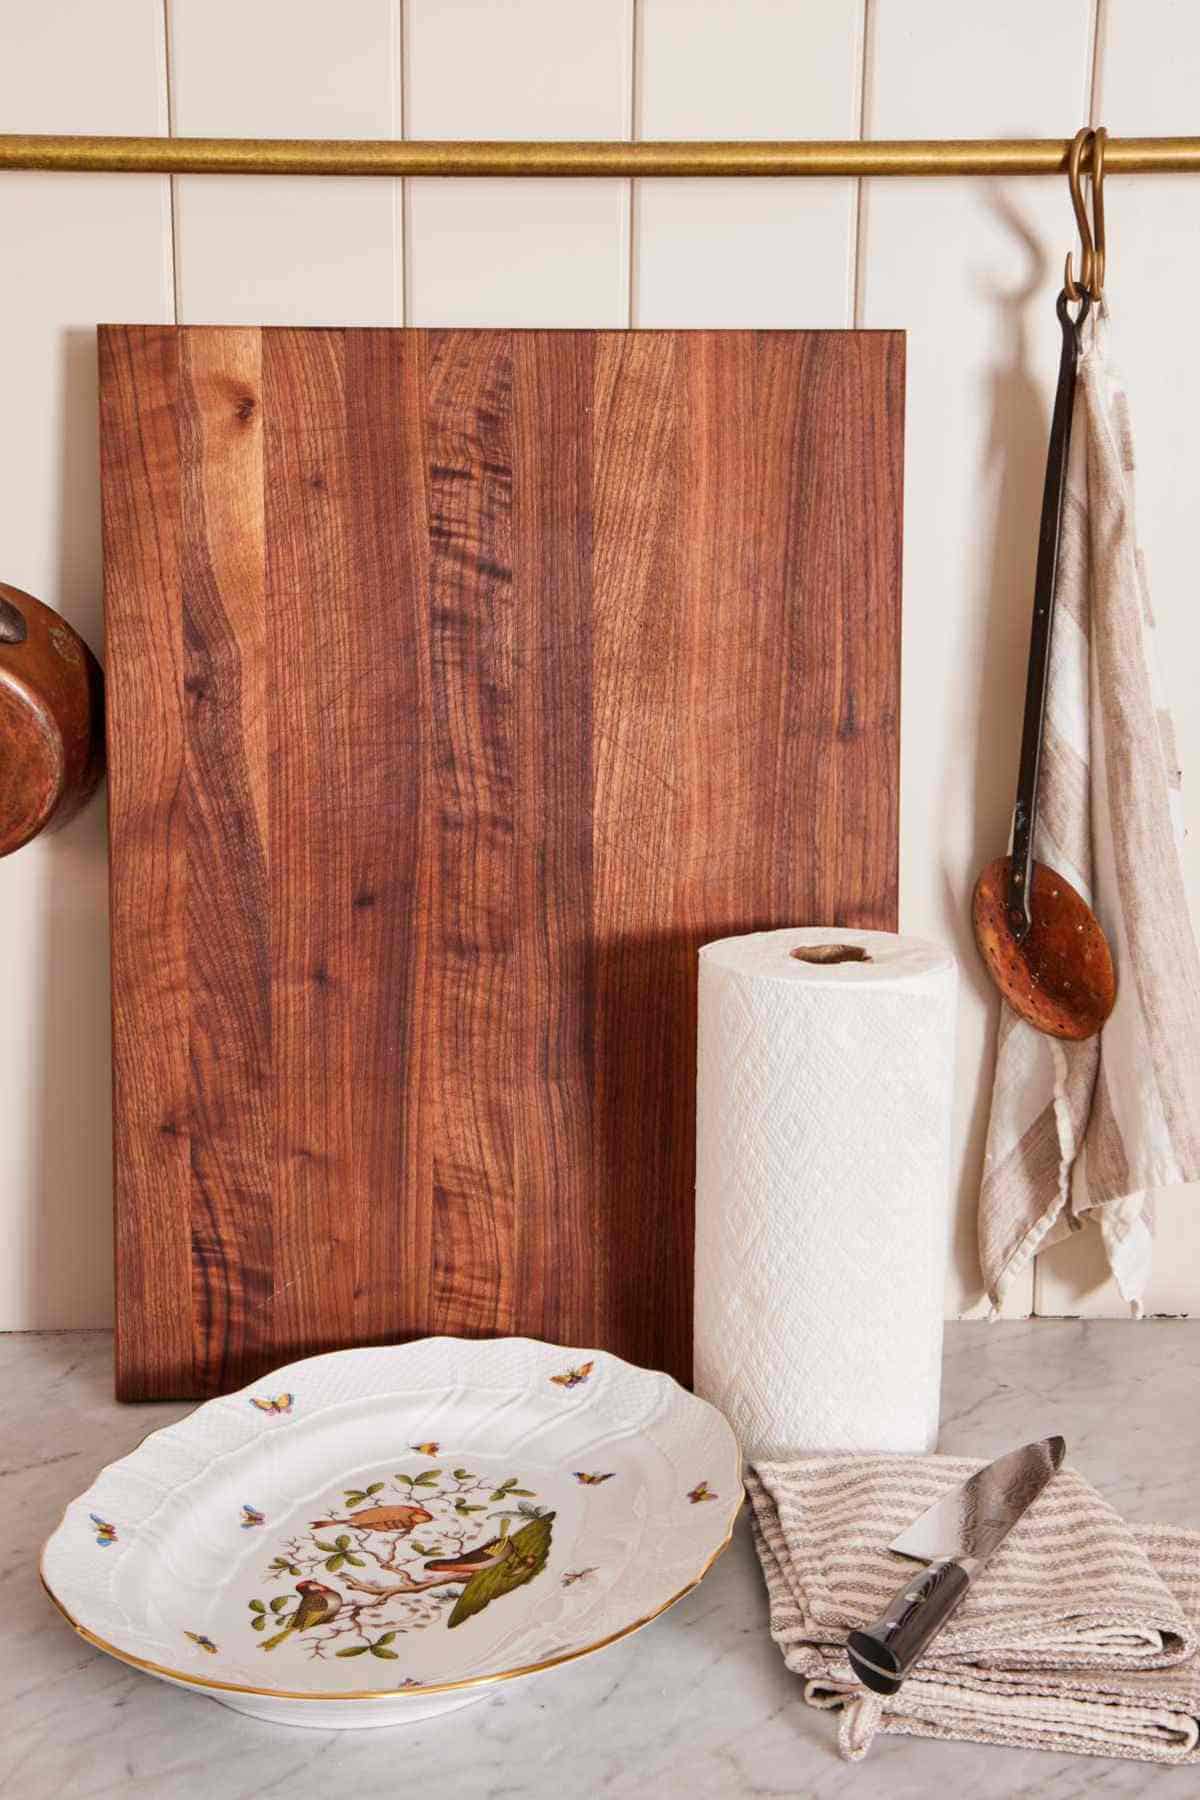
Carving board — use a large cutting board (big enough to fit your whole turkey on), ideally one with grooves along the edges to catch excess juices from the turkey.
Chef’s knife or sharp carving knife — a flexible carving or boning knife with a blade about 5 inches long is ideal, but a very sharp chef’s knife can also work well. If you have a small, sharp paring knife and a pair of kitchen shears, keep them nearby. They help to make small cuts or snip through the skin.
Paper towels or kitchen towels — put a damp towel underneath the cutting board to keep it in place while you cut. I also recommend keeping towels on hand to place around the board to catch any juices that could run off. Paper towels can also help hold the turkey or be used to wipe your hands while you carve. If your turkey slides on the board as you work, you can use the towels to wipe up the juices and grease so it stays in place.
Serving platter — Choose a large enough platter to hold all of the sliced turkey, or divide the white meat and dark meat between two platters to make it easier to pass at large tables. Keep the platter or platters nearby as you work so you can plate each piece once carved.
Carve The Turkey Just Before Serving
Carving your roasted turkey should be your last step before serving your meal, so that the turkey is nice and warm. You can help keep the meat warmer for longer by serving it on an oven-safe platter warmed in a 200°F oven for 5-10 minutes before plating.
If you need to hold the carved turkey for a little longer before serving it, pour some of the drippings over the turkey on the platter, cover it with foil, and place it in a 200°F oven to keep warm. I don’t recommend holding it for more than 20 minutes, or the turkey can become tough or dry out.

FAQs To Know Before You Start
I recommend letting the turkey rest for at least 30 minutes or up to an hour for larger birds. If you are following a recipe, they may recommend a rest time specific to their instructions. If desired, cover the turkey with aluminum foil and then top it with kitchen towels to keep it warm while it rests. This will make the skin less crispy, but it is a good way to keep a turkey warm for longer if you are waiting for guests to arrive.
Though you remove the breast from the bone going with the grain, you should slice each breast into individual pieces going against it. Doing so makes for clean and tender turkey slices.
The specific color of the meat can depend on many factors, including how the turkey was raised. Use a meat thermometer on the thigh and breast meat to determine if it is safe to consume. It is safe to eat after it has reached 165°F in the thickest part of the meat.

Tips For Carving A Whole Turkey
Let the turkey rest before carving. This allows the juices to redistribute throughout the meat rather than run all over the cutting board, making the cooked turkey moist and flavorful.
Eat and store the turkey within 2 hours of roasting it. Once the turkey is out of the oven, it will hold its internal temperature well for up to an hour until it is sliced. However, once the turkey is sliced or has cooled below 140°F, you risk bacteria growth that can cause food-borne illness, and it should be immediately refrigerated or frozen. This 2-hour time frame is set by the CDC and is a safe window of time to roast, rest, and enjoy your turkey.
Carving tool alternatives. If preferred, you can use an electric carving knife to dismantle the legs and wings and slice the meat. While I do not think it is a must-have tool, it does make cutting through the leg and wing joints a bit easier. A carving fork or large serving fork can help keep the turkey in place while you work.
How To Carve A Turkey
Below, I’ve highlighted the step-by-step process of carving a turkey with images to guide you. You can find the full set of instructions in the recipe card below.

Start By Removing The Turkey Legs
1. Place the turkey breast side-up on a large cutting board with the legs facing you. Have a sharp knife, clean paper towels, and a serving platter nearby. If the bird is tied up, cut and remove the butcher’s twine. Using a sharp knife, slice through the skin that connects the breast and the leg quarter.
2. Once the skin is cut away, hold the breast with one hand and use the other to bend the entire leg quarter away from the turkey to expose and separate the hip joint from the backbone. You may hear a small pop. Use your knife to make a deep cut through the joint and the skin, then along the backbone to remove the leg and thigh piece. You will repeat this on both sides.

Remove The Turkey Wings And Breast
3. Pull gently on one of the wings to pull it away from the breast. Cut through the skin and the joint closest to the breast to release the wing. Repeat with the other wing. Remove the wing tips and discard them if you’d like – the drumettes and flats have the most meat.
4. Rotate the turkey so the wishbone side faces you. Feel through the skin for the breastbone (also called the keel), which runs between the two breasts. Starting on one side of the breastbone, cut through the skin and between the bone and breast meat. Using long strokes with the knife, rather than a sawing motion, stay close to the rib cage to cut away and release the whole breast. If you can, keep the tenderloin piece connected to the underside of the breast. Repeat on the other side.

Cut The Legs Into Thighs And Drumsticks
5. Hold the end of the drumstick in one hand while holding the thigh on the board. Bend the drumstick away from the thigh to expose the leg joint that connects the two.
6. Cut through the joint to separate the two pieces. Repeat with the second drumstick and thigh.

Debone And Slice The Meat
7. Using the tip of the knife or a boning or paring knife, cut along the thigh bone on all sides. The meat may start to fall off the bone and separate on its own. If it stays intact, hold the skin in place on the meat and slice it against the grain, keeping a little bit of skin on each slice of meat.
8. Place one of the breasts on the cutting board lengthwise. Slice the breast crosswise into ½-inch thick slices, keeping some of the skin on each slice. Plate the carved meat on the platter by arranging the thighs in the center and thin slices of the breast around the sides, keeping the shape of the breast intact. Top the thigh meat with the drumsticks and the wings. Garnish the platter and serve.

How To Carve A Turkey
Video
Equipment
- Sharp knife
- Large cutting board
- Paper towels
- Kitchen towels
- Serving platter
Ingredients
- 1 (12 to 14-pound) Roasted Turkey
Instructions
- Set-up: Place the turkey breast side up on a large cutting board with the legs facing you. Have a sharp knife, clean paper towels, and a serving platter nearby. If the bird is tied up, cut and pull away the butcher’s twine and discard.
- Remove the leg and thigh pieces: Using a sharp knife, slice through the skin that connects the breast and the leg quarter. Once the skin is cut away, hold the breast with one hand and use the other to bend the leg quarter away from the turkey, to expose and separate the hip joint from the backbone. (You may hear a small pop). Use your knife to cut through the joint and the skin, then along the backbone to remove the leg and thigh piece. (Don’t forget the oyster, the small, circular piece of dark meat tucked into a crevice on each side of the backbone!) Repeat on the other side.
- Remove the wings: Pull gently on one of the wings to pull it away from the breast. Cut through the skin and the joint closest to the breast to release the wing. You can cut off the wing tip and discard it if you like- the drumette and flat have the most meat. Repeat with the other wing.
- Remove the breasts: Rotate the turkey so the wishbone side faces you. Feel through the skin for the keel bone, which runs between the two breasts. Starting on one side of the keel bone, cut through the skin and between the bone and the breast meat. Using long strokes with the knife, rather than a sawing motion, stay close to the bone to cut away and release the whole breast. (Keep the tenderloin piece connected to the underside of the breast, if you can.) Repeat on the other side.
- Separate the drumstick from the thigh: Hold the end of the drumstick in one hand, while holding the thigh on the board. Bend the drumstick away from the thigh to expose the joint that connects the two. Cut through the joint to separate the two pieces. Repeat with the second drumstick and thigh.
- Carve the meat from the thigh: Using the tip of the knife, or a boning or paring knife, cut along the thigh bone on all sides. The meat may start to fall off the bone and separate on its own. If it stays intact, hold the skin in place on the meat and slice it against the grain, keeping a little bit of skin on each slice of meat.
- Carve the breast meat: Place one of the breasts on the cutting board lengthwise. Slice the breast crosswise into ½-inch thick slices, keeping some of the skin on each slice.
- Plate the turkey: Place the thigh meat in the center of the platter. Arrange the sliced breasts around the sides, keeping the shape of the breast intact. Top the thigh meat with the drumsticks and the wings. Garnish the platter and serve.
Notes
- Garnishing options: Once plated, top the turkey with your desired edible garnishes, such as fresh figs, sliced citrus, or persimmons, kumquats, or pomegranate arils. You can also garnish it with fresh herbs, such as rosemary, thyme, sage, and parsley.
- Storing carved turkey: Refrigerate leftovers in an airtight container for up to 5 days. Don’t let it sit at room temperature for too long (no more than 2 hours from exiting the oven to storage) or you risk the turkey being unsafe to eat.
Nutrition
Save The Bones And Trimmings
Once the turkey has been carved, you will be left with the main carcass and additional little scraps. Save these timings and any bones to make a delicious homemade turkey stock — perfect for homemade soups, savory recipes, and more. Place them in a zip-top bag or an airtight container and refrigerate for up to 5 days before using them. You can also freeze them for up to 3 months to make turkey stock at a later time. You can even sprinkle in a little extra turkey seasoning to give the stock more flavor when you make it.

How to Store Leftovers
Transfer the carved turkey to an airtight container and refrigerate it for up to 5 days. The turkey can also be frozen in a freezer-safe container for up to 3 months. Defrost it overnight in the refrigerator. To reheat, place the turkey pieces in a baking dish with a splash of broth and cover tightly in aluminum foil. Place in a 350°F oven for 15 minutes or until warmed through.
More Thanksgiving Recipes To Try
Complete your Thanksgiving meal planning with one of these delicious recipes!
This is the best sweet potato casserole! Made with mashed sweet potatoes, butter, and a brown sugar-pecan topping, it can be made in advance and baked or reheated before serving.
Switch up your turkey centerpiece with this quick-cooking spatchcock turkey. Because the turkey is splayed, it cooks quickly and more evenly for a super juicy and flavorful turkey.
Another ultimate Thanksgiving side dish, my sausage stuffing is a must-make for your holiday menu. Use your favorite round sausage and season it with a variety of herbs to suit your taste buds.
Want a super quick holiday main course or to feed a smaller number of people? Make my incredibly easy air fryer turkey breasts. They cook in a flash and get super golden on the outside while staying juicy on the inside.
Set the stage for your perfect roasted turkey by soaking it in turkey brine first! This takes a little bit of planning, but it will make for the most flavorful turkey.
If you’ve tried this turkey carving guide, then don’t forget to rate it and let me know how you got on in the comments below. I love hearing from you!
Leave a Reply