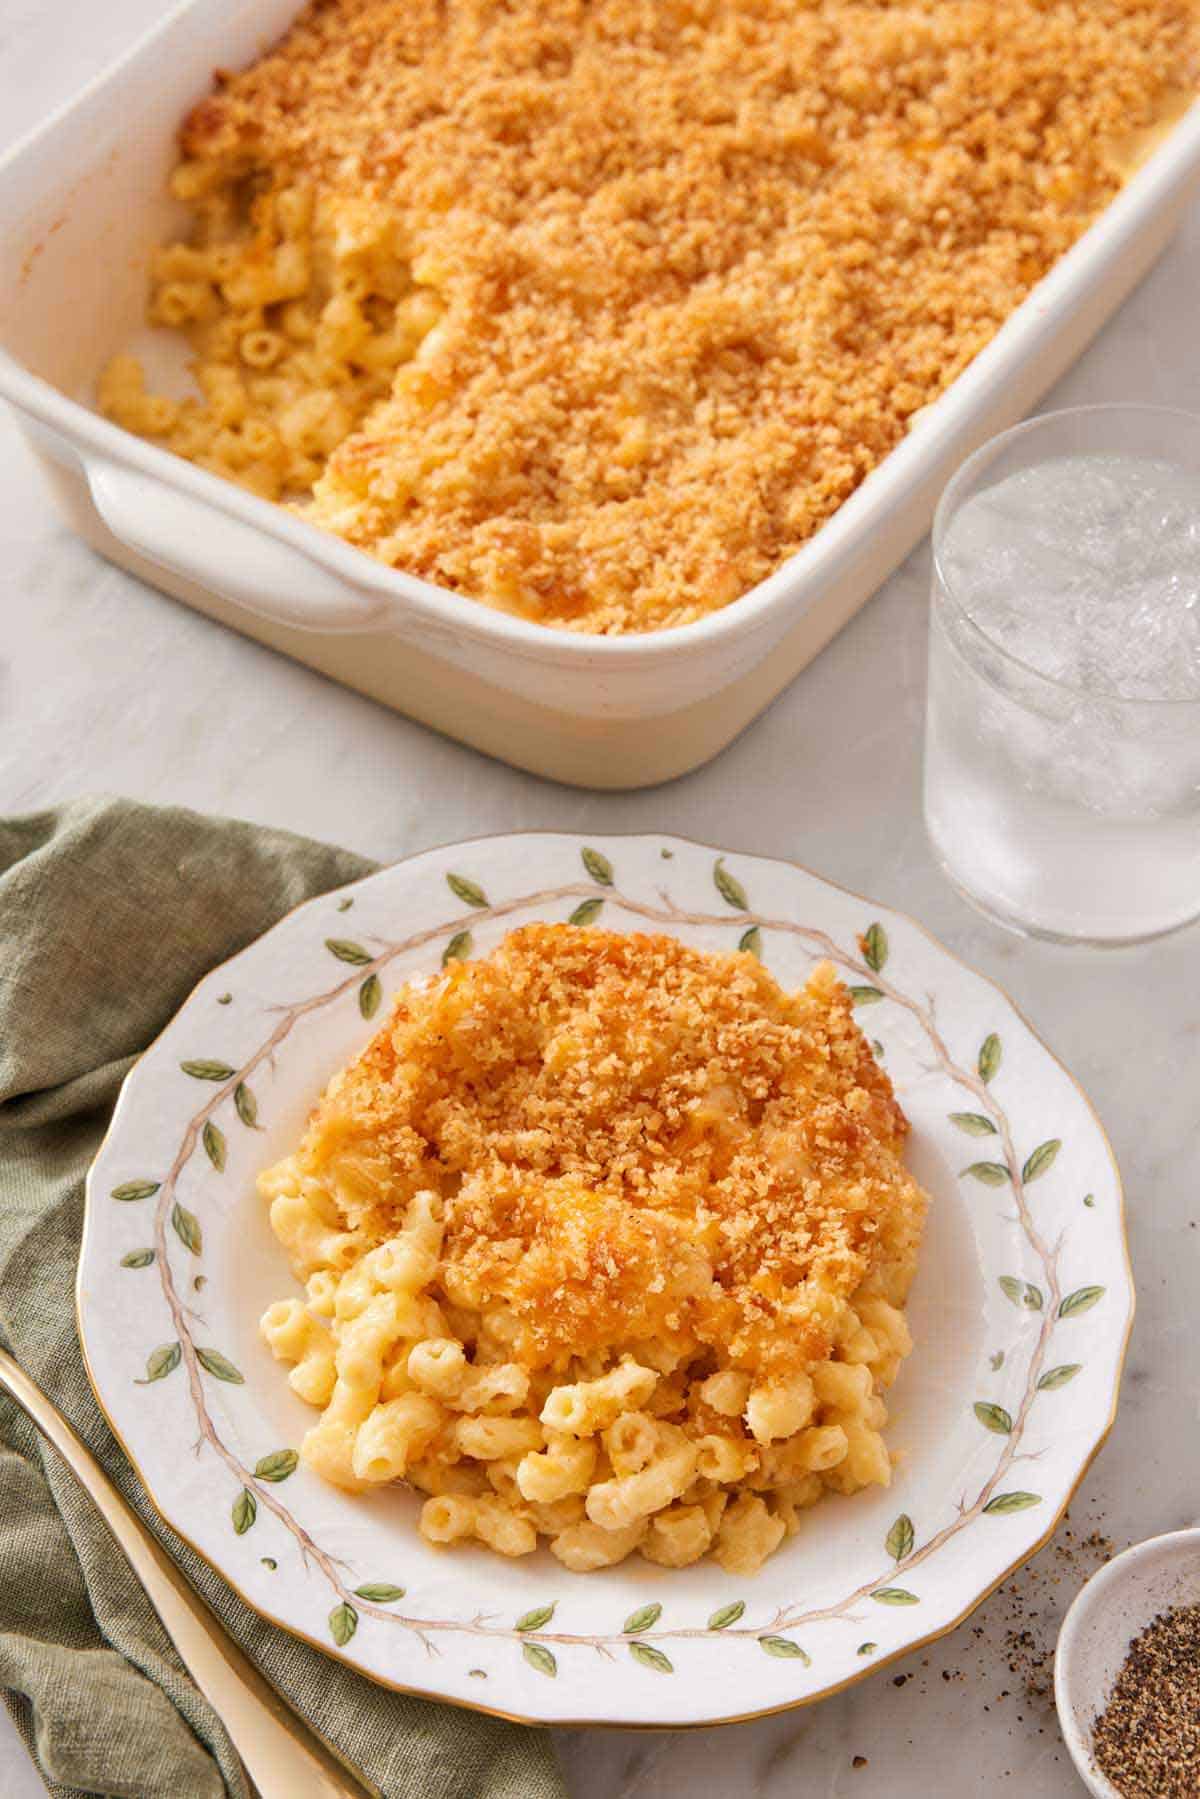
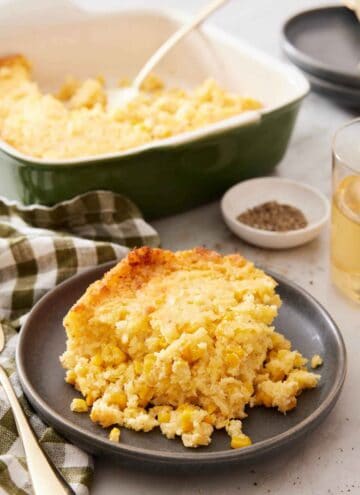
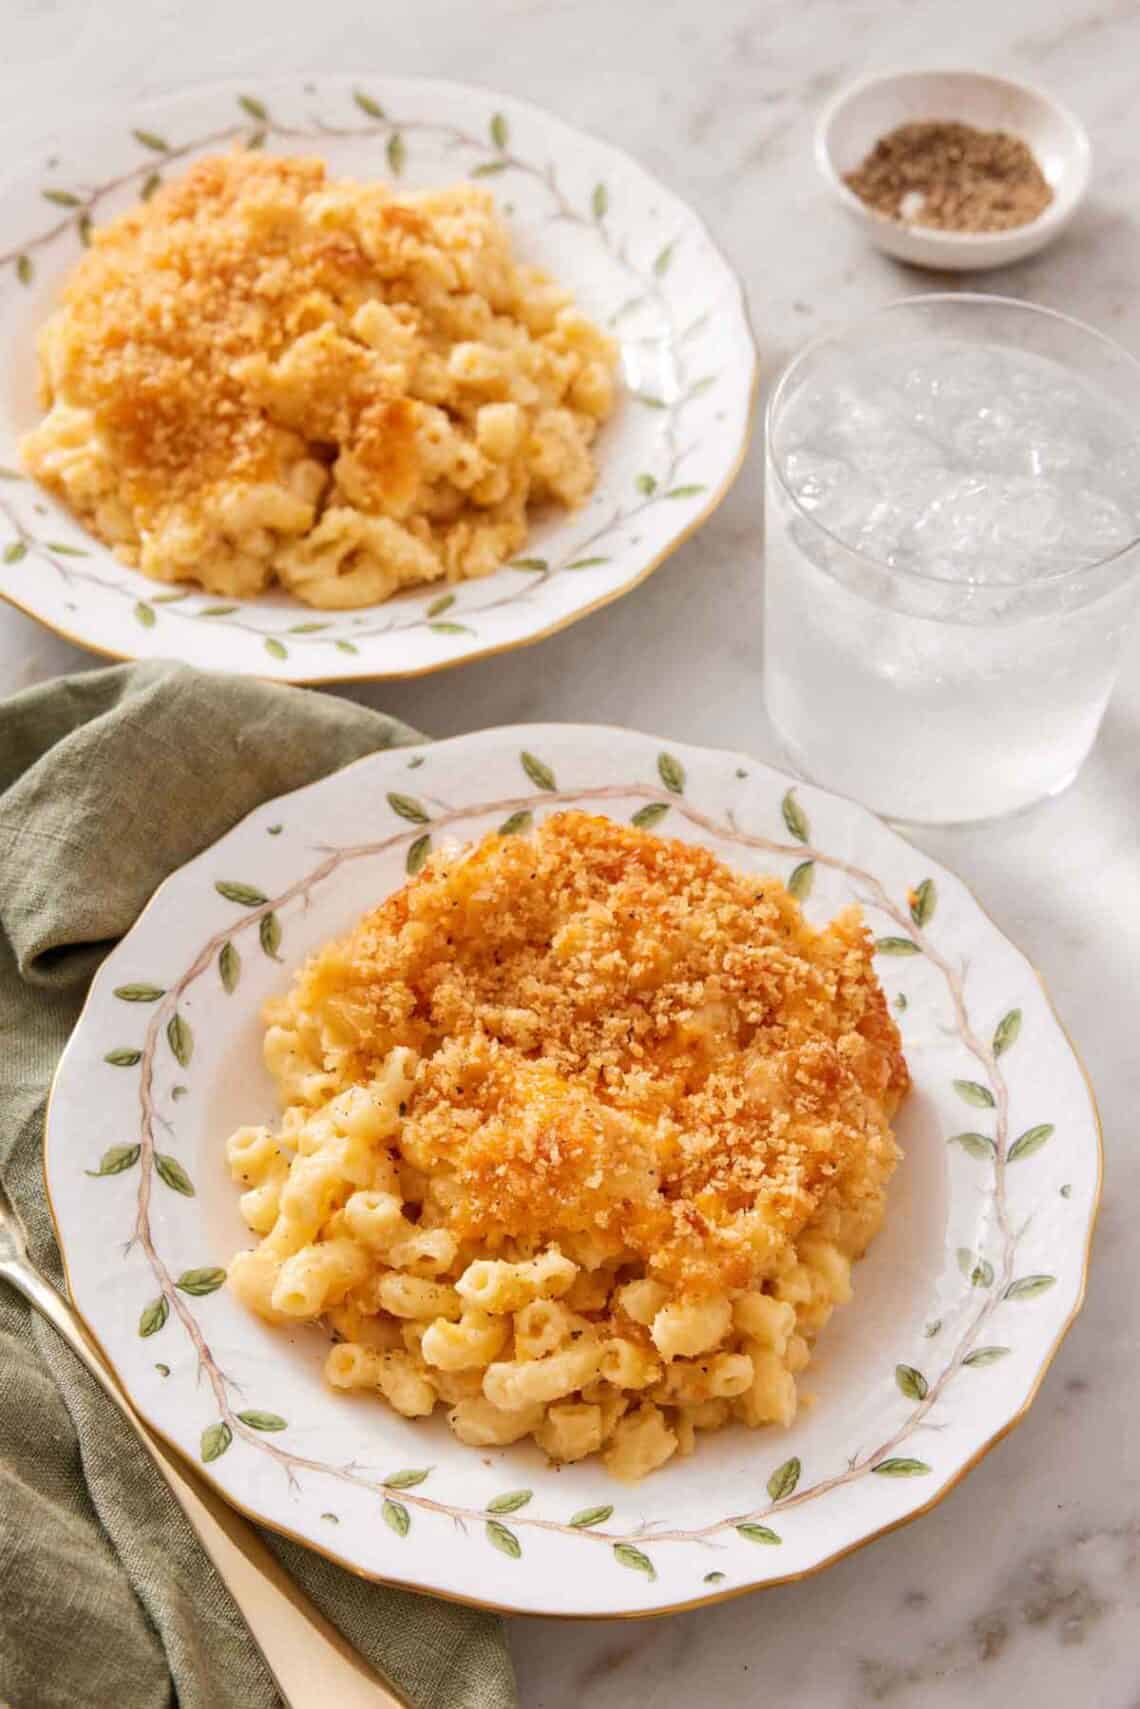
I love spending hours planning spectacular meals and dreaming up menus. So, when I say I’d be happy if this homemade baked mac and cheese were my side dish swan song, you know I mean business.
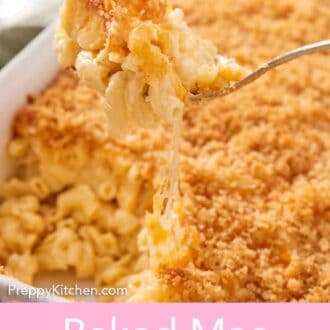
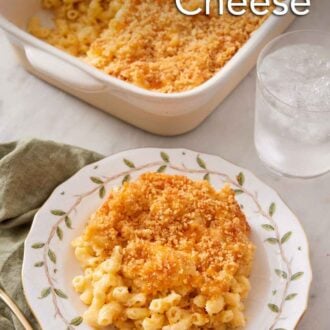
But, seriously, this old-fashioned mac and cheese recipe is superlative in every sense. It’s creamy, salty, carby, crunchy-tender perfection. This classic side dish recipe goes well with everything like my Thanksgiving turkey recipe, air fryer chicken wings, and fried chicken recipe.
As if that weren’t enough to love, this dreamy baked mac n’ cheese recipe is made with just 10 simple ingredients, including pasta, salt, and pepper. Simplicity FTW!
What You Need To Make This Recipe
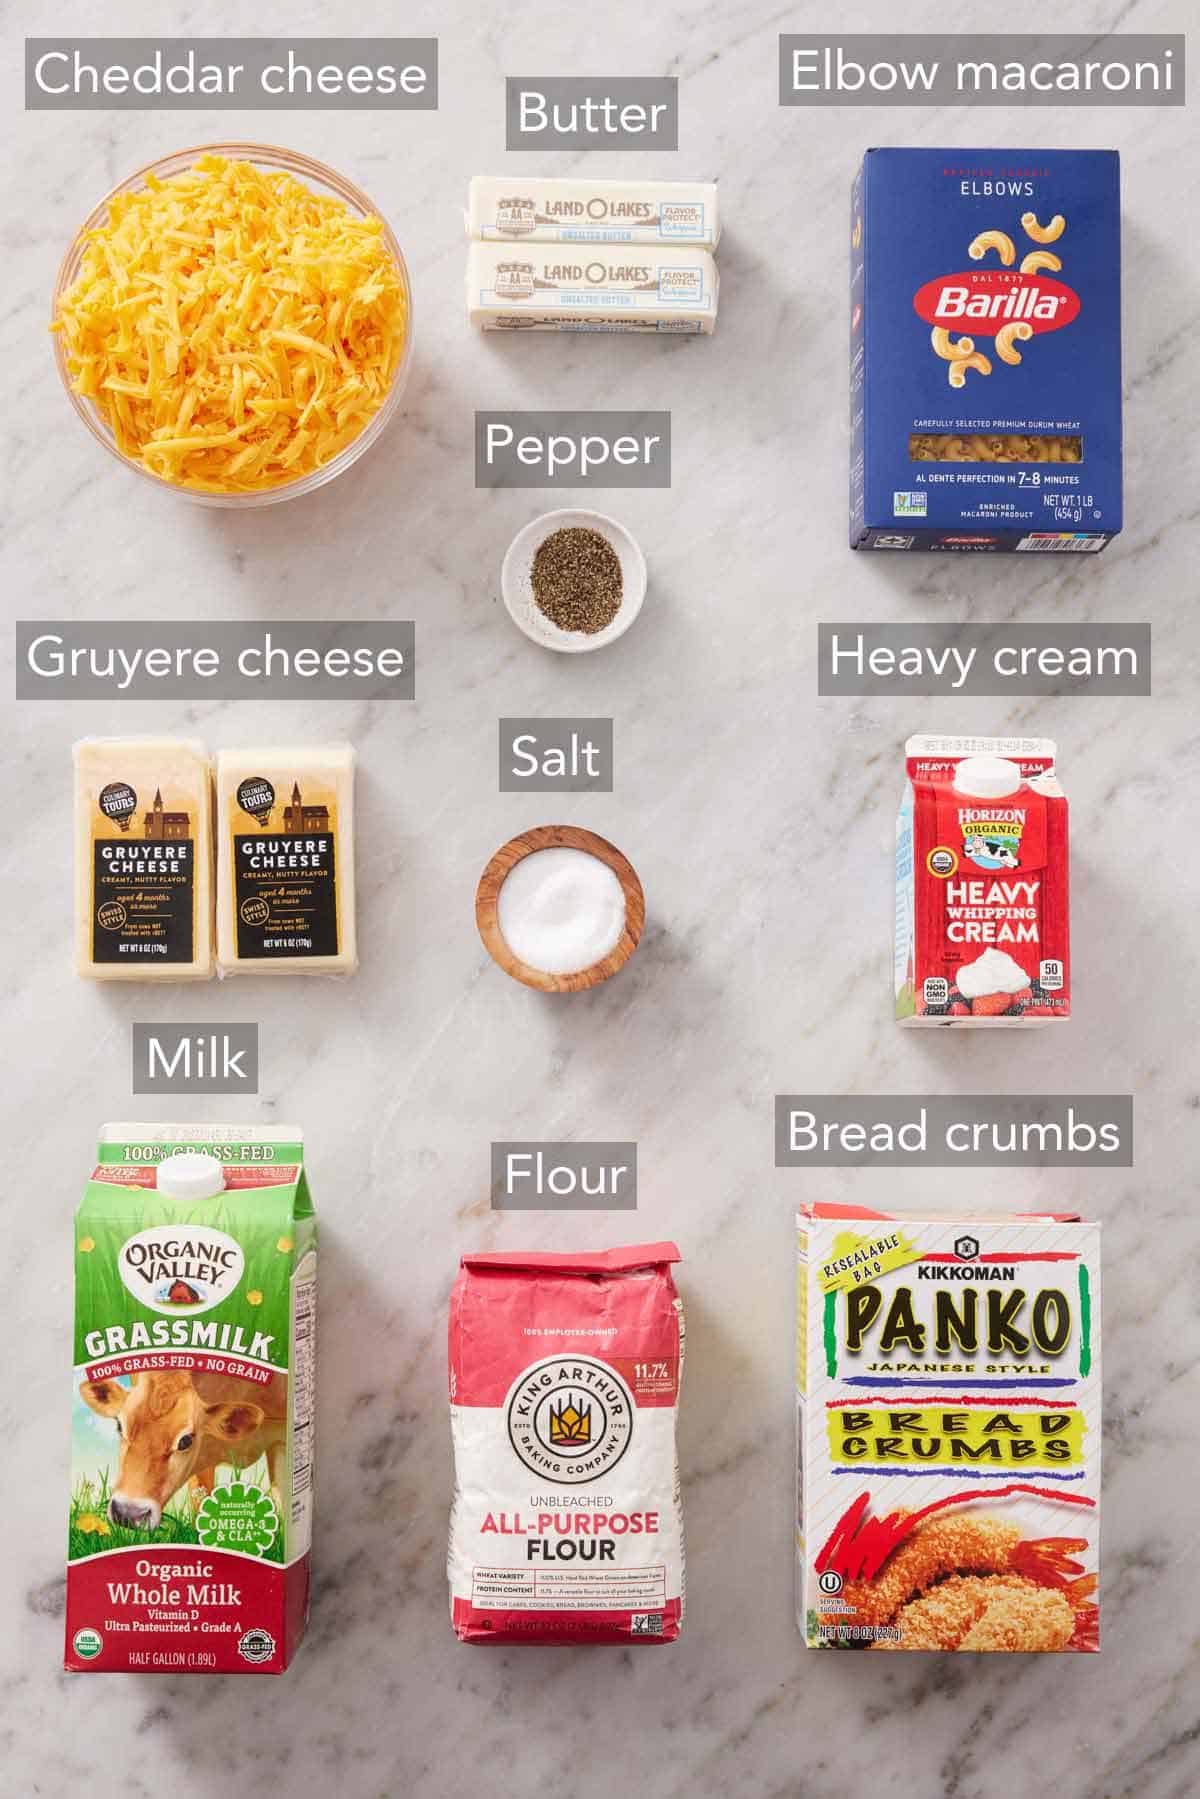
Elbow Macaroni — The traditional shape of pasta for classic mac and cheese. Feel free to swap in the short noodles of your choice (e.g. shells, penne, or rotini). You’re also welcome to use gluten-free pasta if needed.
Unsalted Butter — Using unsalted butter gives you greater control over the final seasoning of your creamy cheese sauce. If you use salted butter instead, just be more reserved with how much salt you add.
All-Purpose Flour — This creamy baked macaroni and cheese recipe relies on a mornay, or cheese sauce, for all the cheesy flavor and deliciously thick consistency. All-purpose flour is first cooked with butter to make a roux before adding milk and cheese. You can also use gluten-free all-purpose flour if needed!
Whole Milk — To make the best homemade mac and cheese, full-fat milk is the way to go!
Heavy Cream — For adding extra richness to the mac and cheese casserole. Only have half-n-half on hand? Not to worry! You can use 2 cups of it to replace the cup of heavy cream and 1 cup of the whole milk that is called for in the recipe.
Black Pepper — Opt for freshly ground black pepper for the most potent, spicy flavor.
Sharp Cheddar Cheese — Perfectly tangy and melty cheddar is a classic choice for baked macaroni and cheese. Of course, you’re welcome to choose your own cheese, like mild colby or fiery pepper jack.
Gruyere Cheese — This slightly nutty Swiss cheese adds tons of complexity to my oven baked mac and cheese recipe. While it’s easily one of my favorite cheeses for this pasta casserole, you’re welcome to swap in any variety of semi-hard cheese you prefer.
Panko Bread Crumbs — Topping your baked mac and cheese with bread crumbs adds both visual interest and a lovely crunchy texture. Japanese-style panko bread crumbs are light and crispy, making them the superlative choice for most applications. You can also use homemade breadcrumbs or gluten-free breadcrumbs if you need!
How To Make Baked Mac and Cheese
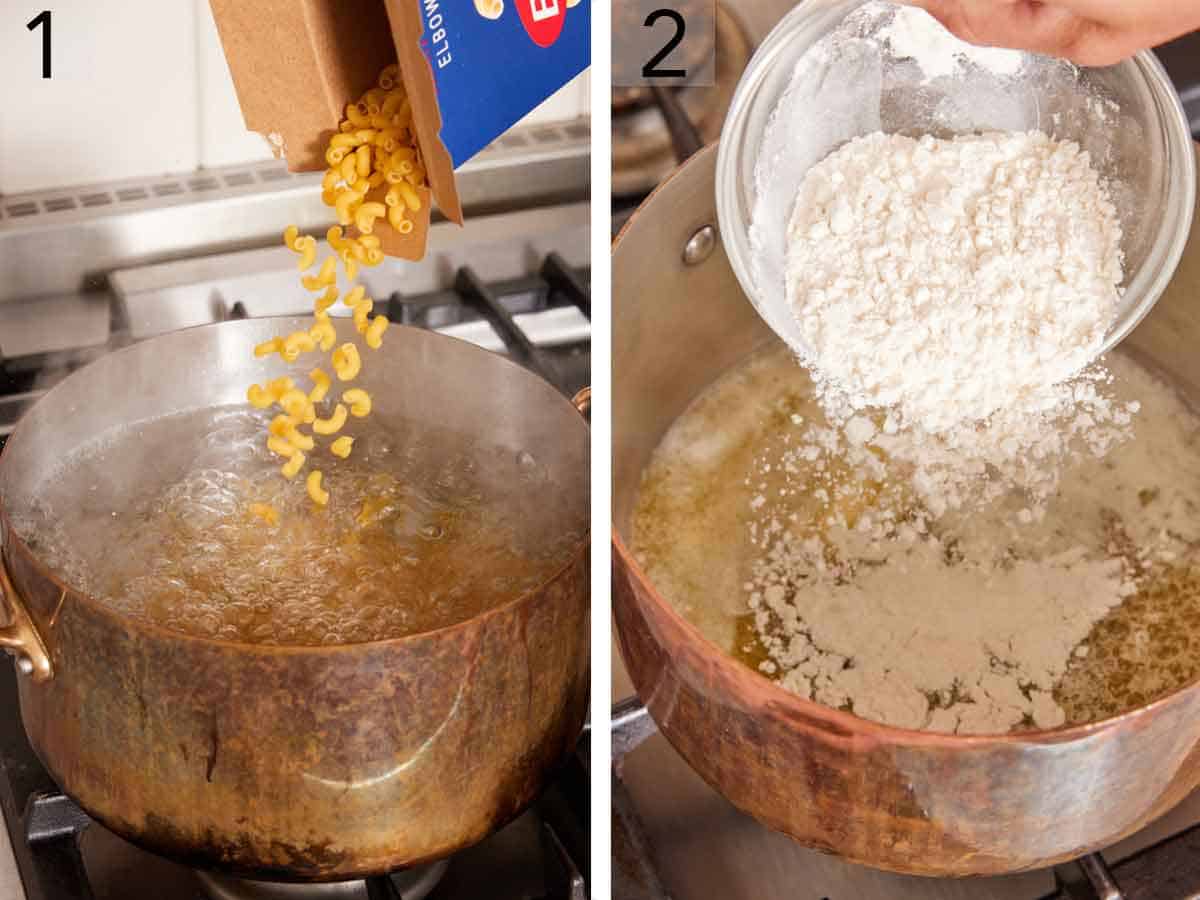
1. Cook pasta in a large pot of salted water. Follow package instructions, but stop about 1 minute shy of the full cook time so it’s al dente. Drain well. Place in a large mixing bowl.
2. While the pasta is cooking, make your roux. Melt butter in a large saucepan over medium heat, then add the flour and whisk while it cooks. Keep cooking till it smells nutty, about 2-3 minutes.
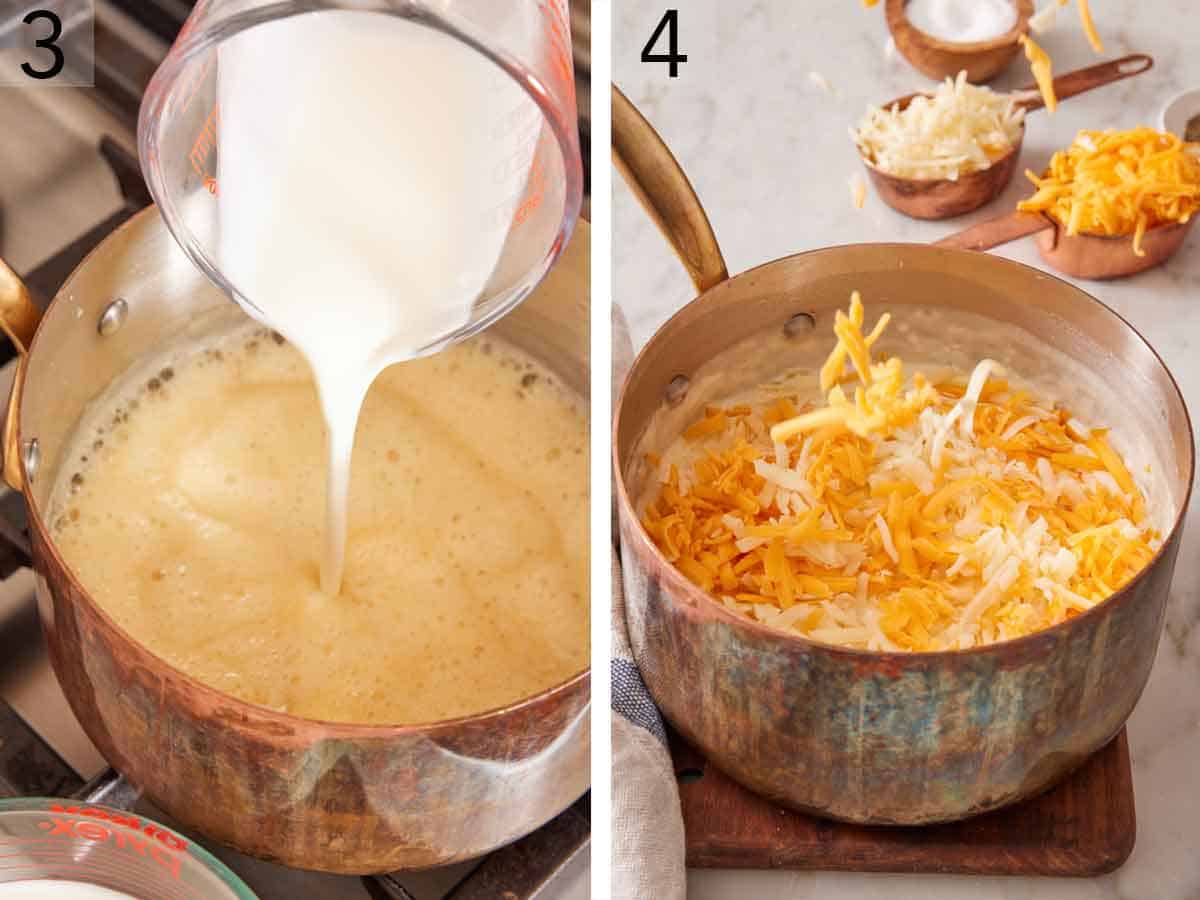
3. Slowly pour in the milk and cream while whisking and cook until it bubbles and thickens into a creamy sauce, about 5 minutes. Remove the completed bechamel from heat.
4. Reserve 1/2 cup of each cheese for the topping. Stir the remaining cheese, salt, and pepper into the bechamel to make a mornay.
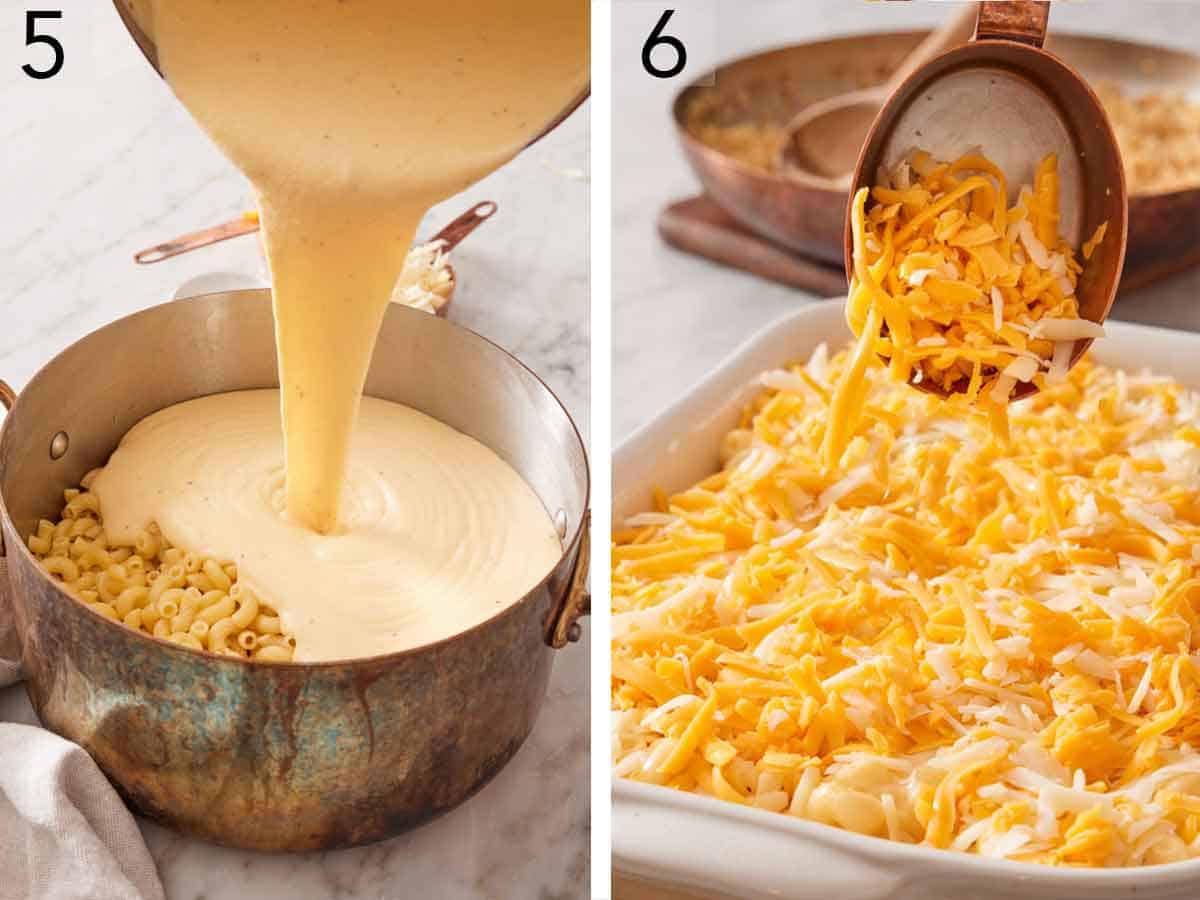
5. Pour the mornay over the pasta and stir until the pasta is well coated.
6. Grease a 3-quart baking dish with cooking spray and pour the pasta and sauce into the prepared dish. Sprinkle the top of the pasta with the reserved cheddar and gruyere cheese.
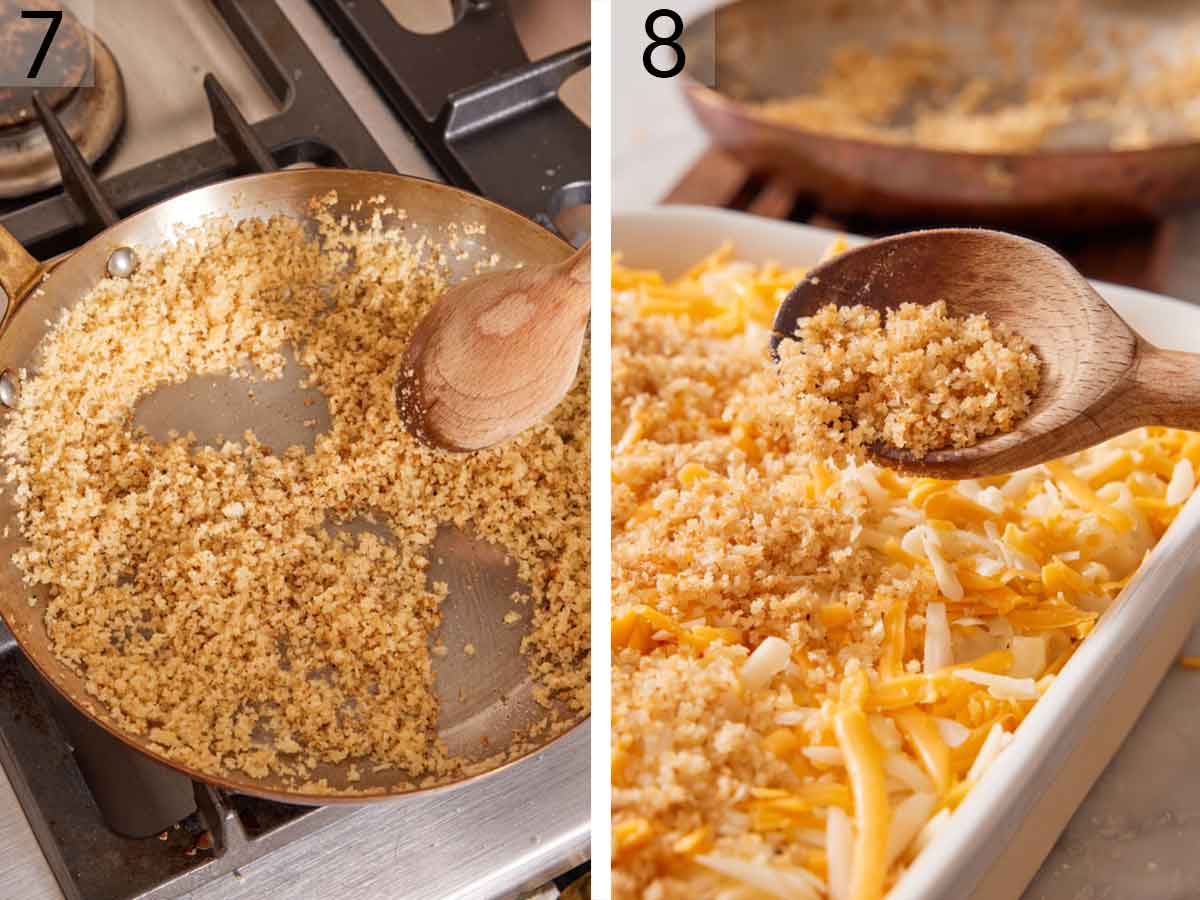
7. Melt the remaining 2 tablespoons of butter in a small skillet over medium-high heat. Stir in the breadcrumbs. Cook while stirring until the breadcrumbs are light golden brown. Season with salt and pepper to taste if desired.
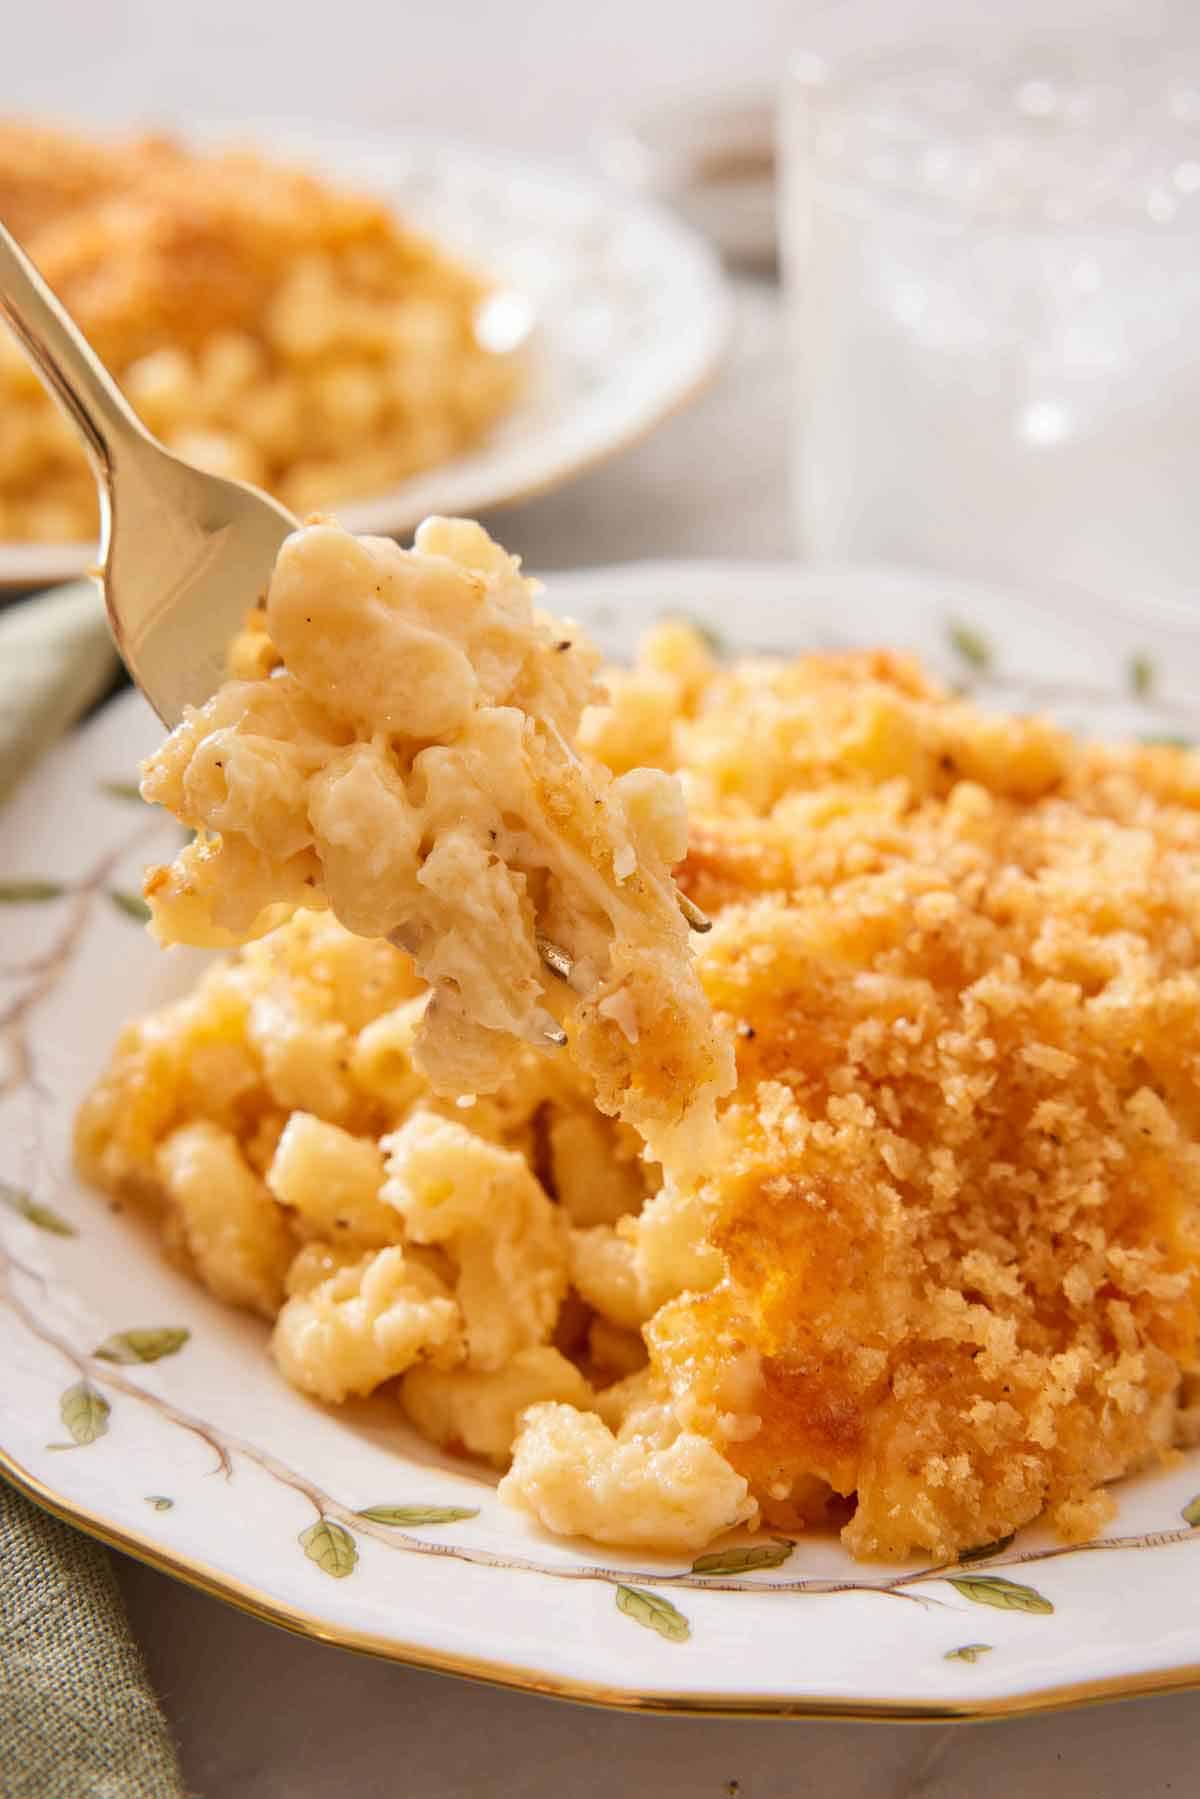
8. Top the mac n cheese casserole with the toasted breadcrumbs. Bake for 35 minutes or until the filling is bubbling and the topping is golden brown. Let cool for 10 minutes before serving.
Pro Tips For Making This Recipe
- Shred Your Own Cheese – While pre-shredded cheese seems like a great time-saver, resist the temptation! To keep those individual shreds from glomming together into a cheesy mass in the bag, manufacturers dust them with a starchy coating that prevents them from melting properly.
- Salt Your Pasta Water! (And save some, too.) You only get one shot to season the actual noodles, so don’t miss your chance. Do yourself a favor and don’t toss all that starchy goodness down the drain! I like to keep a tupperware of pasta water on hand to help revive my sauces whenever I reheat leftovers. It’s also great for helping to add some seasoned thickening power to stews and soups, or for making bread.
- Slightly Undercook The Pasta. I suggest you read the package instructions for your noodles and spot the minimum cook time. Drain your pasta about 1 minute before the allotted time; this will ensure the noodles stay perfectly al dente after baking.
- Feel Free To Spice It Up. Try adding a few shakes of garlic powder to the cheese sauce for some mild allium sweetness, or a few rasps of nutmeg to dress it up for sweater season.
Frequently Asked Questions
I generally prefer to bake this homemade macaroni and cheese uncovered so the steam can escape, which ensures that the bread crumb topping stays nice and crisp.
That said, you might want to keep some foil on hand nearby. If the breadcrumbs are browning too quickly, you can always tent the casserole with foil as it bakes.
Absolutely! I love whipping up a batch of this old fashioned baked macaroni and cheese recipe for holidays like Thanksgiving. It’s nice and sturdy, so will keep in the fridge for up to a week. I suggest holding off on adding the panko topping or actually baking it until the day you’re ready to serve it for the best, creamiest results.
For sure! Make sure to allow the casserole to cool completely to room temperature (even if you opt to freeze it before baking!), then transfer to a clean, airtight container or wrap the casserole dish well with plastic and foil. Freeze for up to 2 months.
When you’re ready to serve, allow it to defrost in the fridge overnight, then top with breadcrumbs and bake as directed OR rewarm the pre-baked casserole in a 200F oven for about 30 minutes, or until heated through.
I’m a firm believer that the best mac is whichever one makes your toes curl. For me, this cheesy baked mac and cheese shines best when made with a mix of sharp cheddar and gruyere.
But don’t let my opinions stop you from experimenting! Some other great cheeses to consider include: mild or medium cheddar, mozzarella, smoked gouda, havarti, swiss, colby, colby jack, or pepper jack.
If you’ve tried this recipe, then don’t forget to rate the recipe and let me know how you got on in the comments below, I love hearing from you!
Baked Mac and Cheese
Video
Equipment
- 3 quart or 9×13-inch casserole dish
- Large Pot
- Large saucepan
- Small skillet
- Large mixing bowl
Ingredients
- 1 pound elbow macaroni (454g)
- ½ cup plus 2 tablespoons unsalted butter (141g)
- ½ cup all-purpose flour (60g)
- 3 cups whole milk (720mL)
- 1 cup heavy cream (240mL)
- ¾ teaspoon salt
- ¾ teaspoon ground black pepper
- 10 ounces sharp cheddar cheese shredded (283g)
- 10 ounces gruyere cheese shredded (283g)
- ½ cup panko bread crumbs (60g)
Instructions
- Preheat the oven to 375°F Bring a large pot of salted water to a boil. Cook according to package instructions but about 1 minute less than the full cook time so it’s al dente. Drain well. Place in a large mixing bowl. You can drizzle the pasta with a bit of olive oil to keep it from sticking if desired.
- While the pasta is cooking, melt ½ cup of butter in a large saucepan over medium heat. Add the flour and whisk while it cooks until nutty in smell, about 2 to 3 minutes. Slowly pour in the milk and cream in while whisking and cook until it bubbles and thickens, about 5 minutes. Remove from heat.
- Reserve 1/2 cup of each cheese for the topping. Stir in the remaining cheese, salt, and pepper. Pour the sauce over the pasta and stir until the pasta is well coated.
- Grease a 3-quart baking dish with cooking spray and pour the pasta and sauce into the prepared dish.
- Melt the remaining 2 tablespoons of butter in a small skillet over medium-high heat. Stir in the breadcrumbs. Cook while stirring until the breadcrumbs are light golden brown. Season with salt and pepper to taste if desired.
- Sprinkle the top of the pasta with the reserved cheddar and gruyere cheese and top with the toasted breadcrumbs.
- Bake for 35 minutes or until the filling is bubbling and the topping is golden brown. Let cool for 10 minutes before serving.
Notes
- Shred Your Own Cheese – While pre-shredded cheese seems like a great time-saver, resist the temptation! To keep those individual shreds from glomming together into a cheesy mass in the bag, manufacturers dust them with a starchy coating that prevents them from melting properly.
- Salt Your Pasta Water! (And save some, too.) You only get one shot to season the actual noodles, so don’t miss your chance. Oh, and do yourself a favor and don’t toss all that starchy goodness down the drain! I like to keep a tupperware of pasta water on hand to help revive my sauces whenever I reheat leftovers. It’s also great for helping to add some seasoned thickening power to stews and soups, or for making bread.
- Slightly Undercook The Pasta. I suggest you read the package instructions for your noodles and spot the minimum cook time. Drain your pasta about 1 minute before the allotted time; this will ensure the noodles stay perfectly al dente after baking.
- Feel Free To Spice It Up. Try adding a few shakes of garlic powder to the cheese sauce for some mild allium sweetness, or a few rasps of nutmeg to dress it up for sweater season.


