This post may contain affiliate links. Please read our disclosure policy.
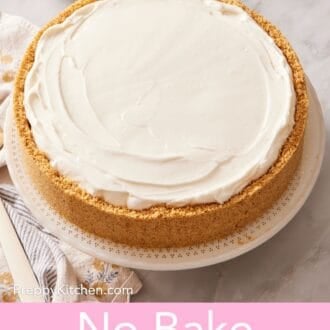
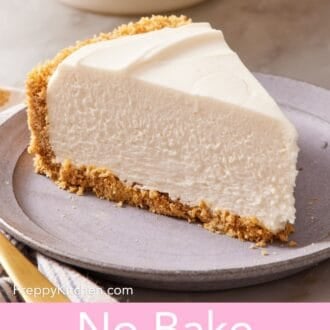
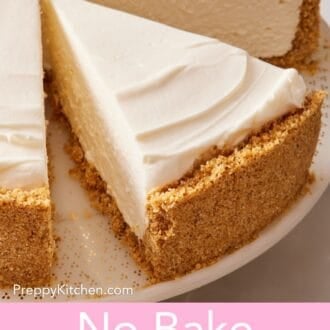
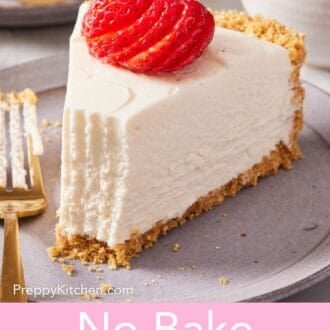
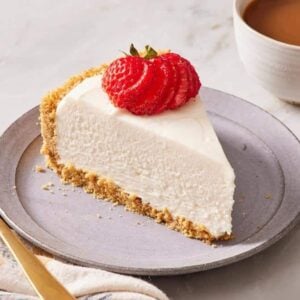
A creamy no bake cheesecake that sets up thick and dense without gelatin! Whipped cream lightens the texture, and a crisp graham cracker crust adds contrast to the creamy filling. Whip it up, and it sets in 6 hours in the fridge without the oven.
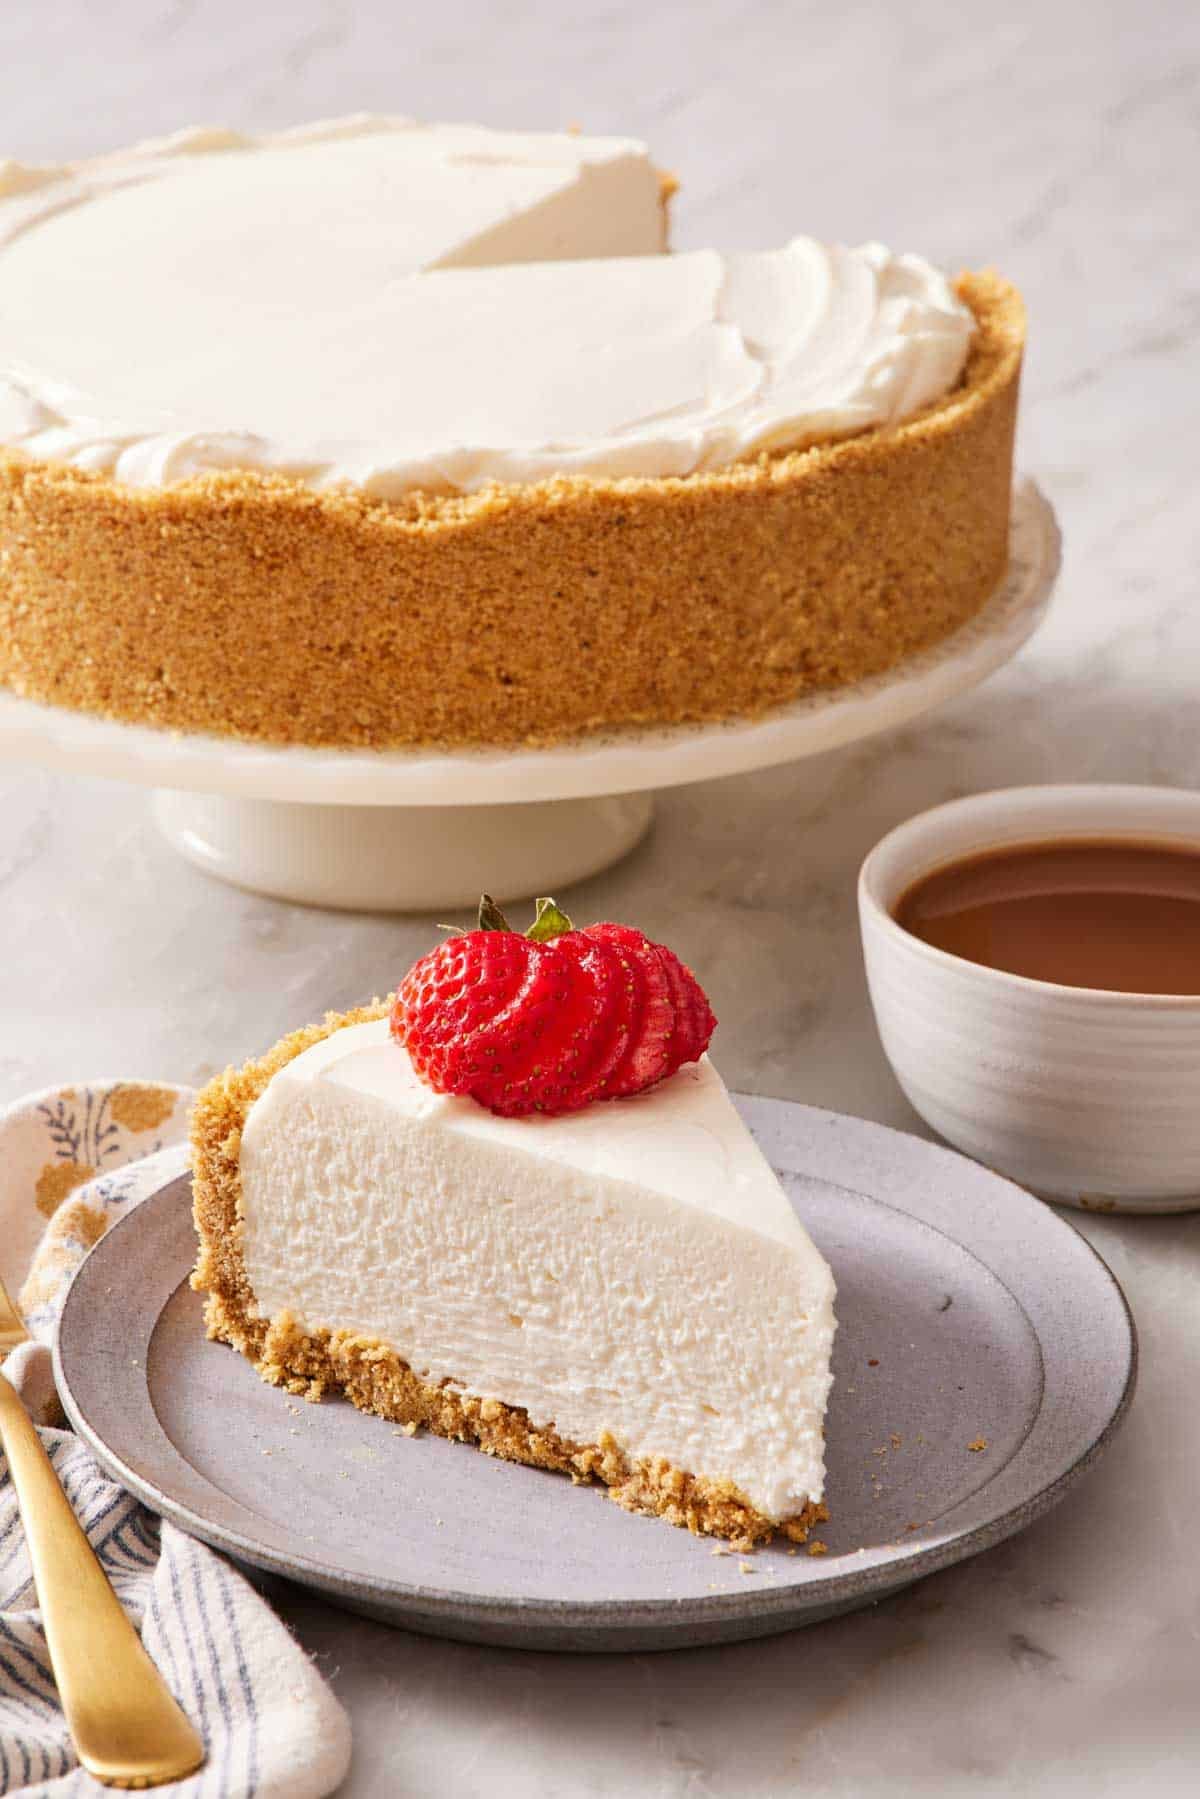
This no-bake cheesecake recipe has been on the site since 2019, and it’s gotten hundreds of 5-star reviews! But two things came up for several readers: the crust turned out dry, and the filling tasted too much like plain cream cheese for their preference. So, I’ve retested it and added a few modifications to help you make the best version!
Three changes came out of testing: I explained a test to check the butter amount in the crust, doubled the whipped cream, and added a range for the sugar so you can decide how sweet it is. The method changed too, in a small way, which saves you from having to clean an extra bowl. If you’ve made this before, this new version will be slightly lighter and sweeter if you’d like, but it sets like a dream without the oven or any special ingredients.
“I came across your No Bake Cheesecake recipe, and it’s truly impressive! The versatility of this dessert is fantastic—it can be dressed up with fresh fruit, homemade preserves, or even store-bought sauces. The idea of using a 9-ingredient base to create such a creamy and adaptable cheesecake is brilliant. It’s a perfect way to end any meal with a touch of elegance and flavor.”
Nanajee
Why I Retested This Recipe
The recipe never failed, but some readers felt like it was too dense and heavy on the cream cheese flavor. Without adding eggs as you do in a classic cheesecake, a no-bake recipe relies more heavily on cream, sugar, and vanilla to balance the flavor and texture. Here’s why I changed certain things in the recipe:
- The cream doubled, from ½ cup to 1 cup. Some readers described the old filling as tasting like a block of cream cheese. More whipped cream lightens the texture and mutes the tang a touch more. In testing, I found that using 1 cup was just enough to lighten it without it turning too soft.
- Add more or less sugar to taste. Adding more sweetness is how you balance out the tanginess even more. In testing, I gradually added additional powdered sugar until it made the filling sweeter without tipping into cloyingly sweet. Rather than pick one number, I chose to give a range because I personally like a tangier cheesecake, but other people like it sweeter. You beat the first cup in, taste, and add the rest if you want it sweeter and less tangy.
- I made the method more efficient. Half a cup of cream from the original recipe was too little to whip in a stand mixer bowl; the whisk can’t reach it. But a full cup can. So now you whip the cream first, move it into a separate bowl, and use the same unwashed mixer bowl for the cream cheese. One bowl saved, and no hand-whisking!
How a No-Bake Cheesecake Sets Without Gelatin
I deliberately chose not to develop a no-bake cheesecake with gelatin. Gelatin has to be bloomed, dissolved, and folded in at the right temperature, complicating the recipe with more chances to get it wrong. It also gives the cheesecake an oddly bouncy texture that I don’t find appealing. So how does it set without gelatin?
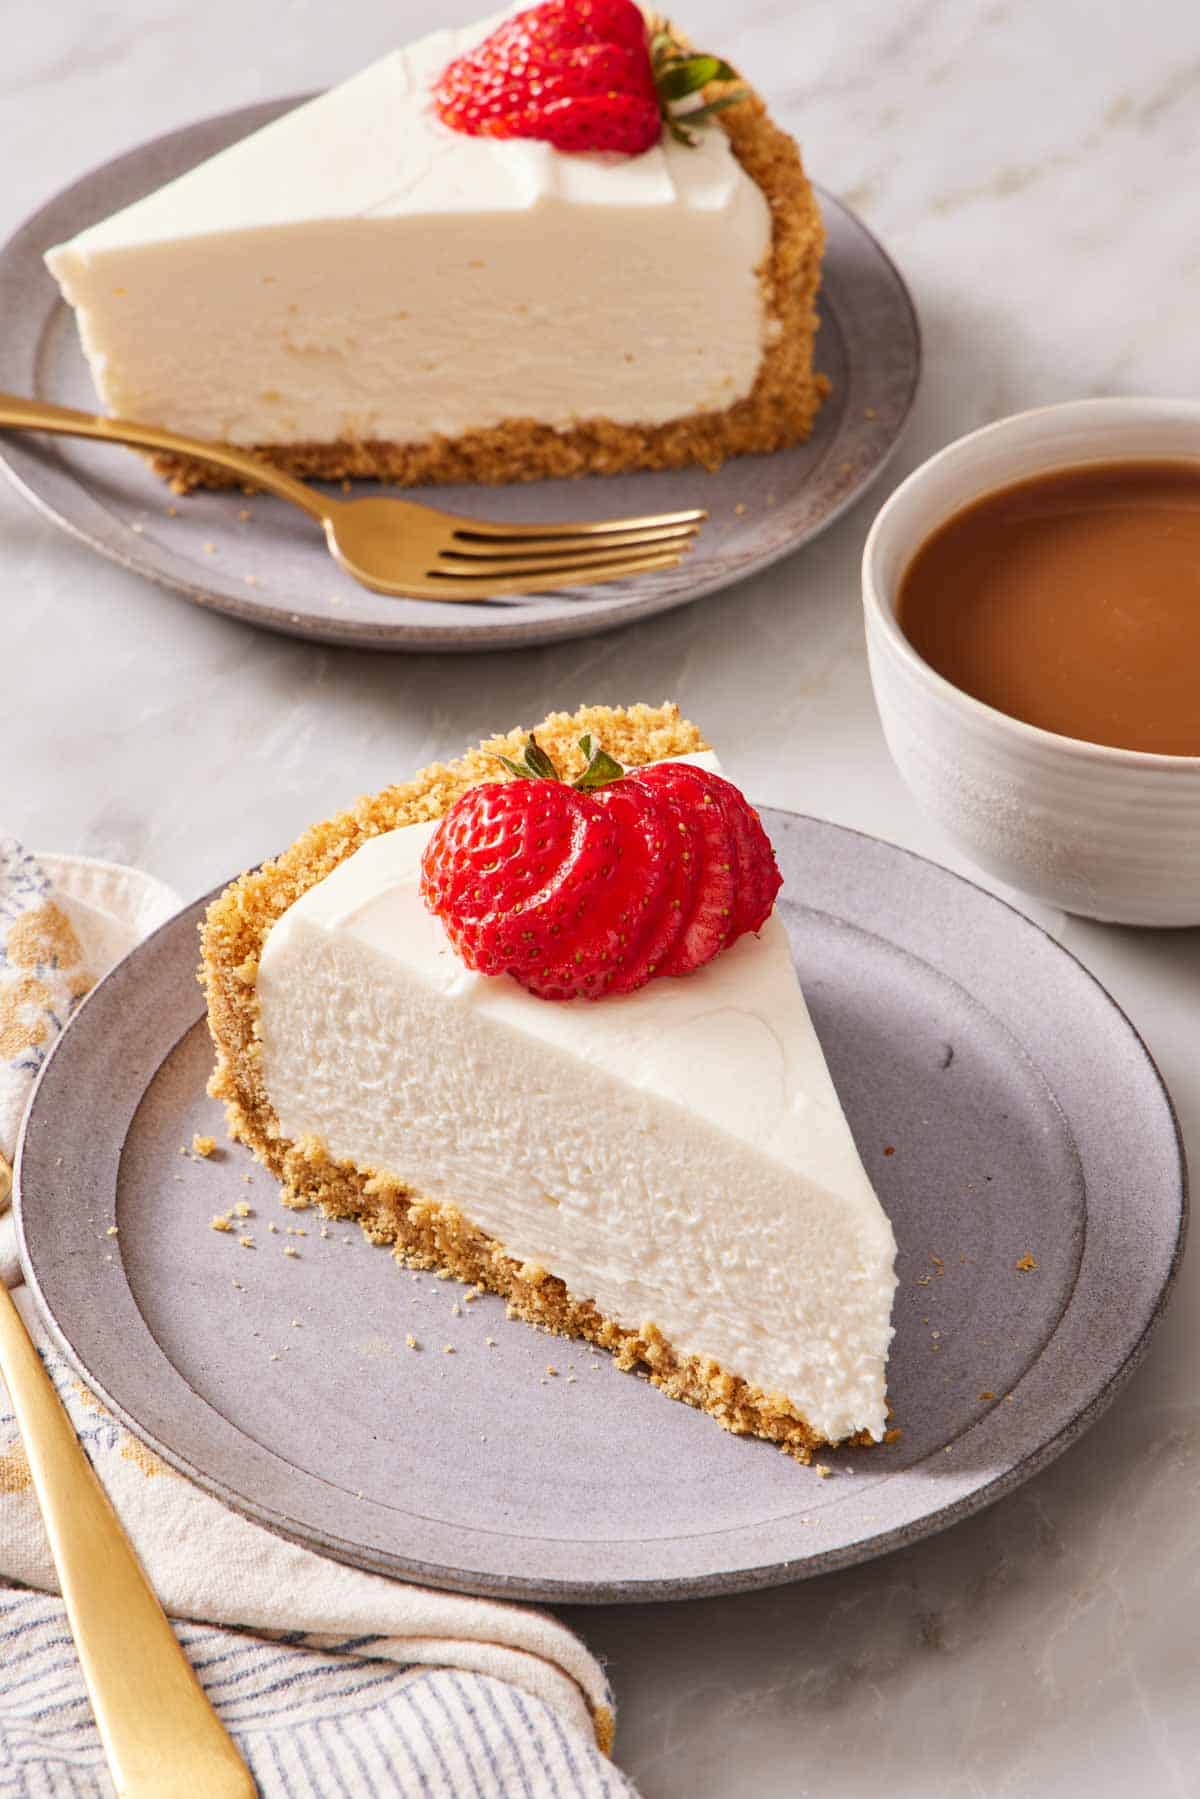
Cream cheese is firm when it’s cold. A block straight from the fridge holds its shape well without being hard. Whipping it beats air in and turns it fluffy, the same thing that happens when you make cream cheese frosting. Chilling that aerated mixture back down sets it again into a texture that is sturdy enough to slice.
The whipped cream lightens it even more. Beaten to stiff peaks and folded in, it carries air through the filling and keeps it from feeling like a dense brick. Both of these ingredients need to be cold for their fat to stay firm. Since there’s no gelling agent, the cheesecake has to chill to set and stay cold to be firm. Though, I did test leaving a slice out at room temperature for several hours and it held its shape perfectly; the texture just softened.
Key Ingredients & Substitutions

These are the main ingredients you need for a no-bake cheesecake. You can find the full list of ingredients and measurements in the recipe card below.
Cream cheese — must be block-style and full-fat, not the tub or spreadable kinds, which contain more water and won’t set. Reduced-fat cream cheese or neufchâtel cheese also won’t set as well; the lower fat content doesn’t have the structure needed for a firm slice. Make sure your cream cheese is soft before you start. It needs to be at room temperature, or you’ll get lumps that no amount of beating removes.
Sour cream — it gives the filling the same tanginess as a New York cheesecake, so it tastes like a classic cheesecake rather than sweetened cream cheese. You can substitute full-fat plain Greek yogurt in the same quantity.
Powdered sugar — it dissolves instantly into cold cream cheese, whereas granulated stays gritty. Since we aren’t applying any heat to melt the sugar, powdered sugar works the best.
Heavy whipping cream — whip it cold, straight from the fridge, and chill the bowl and whisk too if you have a minute. Room-temperature cream will not reach stiff peaks. Unlike cream cheese that needs to be soft to whip smoothly, the fat in cream needs to be cold to create a strong structure to trap air.
Lemon juice — this does more than balance flavor. The acid helps thicken the cream cheese mixture. The high fat content will keep the cream and cream cheese from curdling, but the acid firms up the milk proteins for a sturdier filling. Fresh lemon juice tastes better than bottled, but it’s a small amount, so you can use what you have on hand.
Pro Tips For The Best No Bake Cheesecake
You can make your own graham cracker crumbs by processing 16 whole sheets of graham crackers in a food processor until finely ground. Homemade crumbs aren’t as dry as boxed crumbs, so you may need less butter. I have a detailed swap and pinch test explained in my graham cracker crust recipe, if you want to use fresh.
Don’t rush the chilling step! There’s a real temptation to cut it early, but 6 hours is the minimum for a clean slice. Otherwise, the filling will be too soft to hold on its own, and the crust will fall apart. Chilling overnight genuinely improves it too. The filling firms further and the flavors settle.
How To Make A No-Bake Cheesecake
Below, I’ve highlighted portions of the recipe in step-by-step process images. You can find the full set of instructions in the recipe card below.
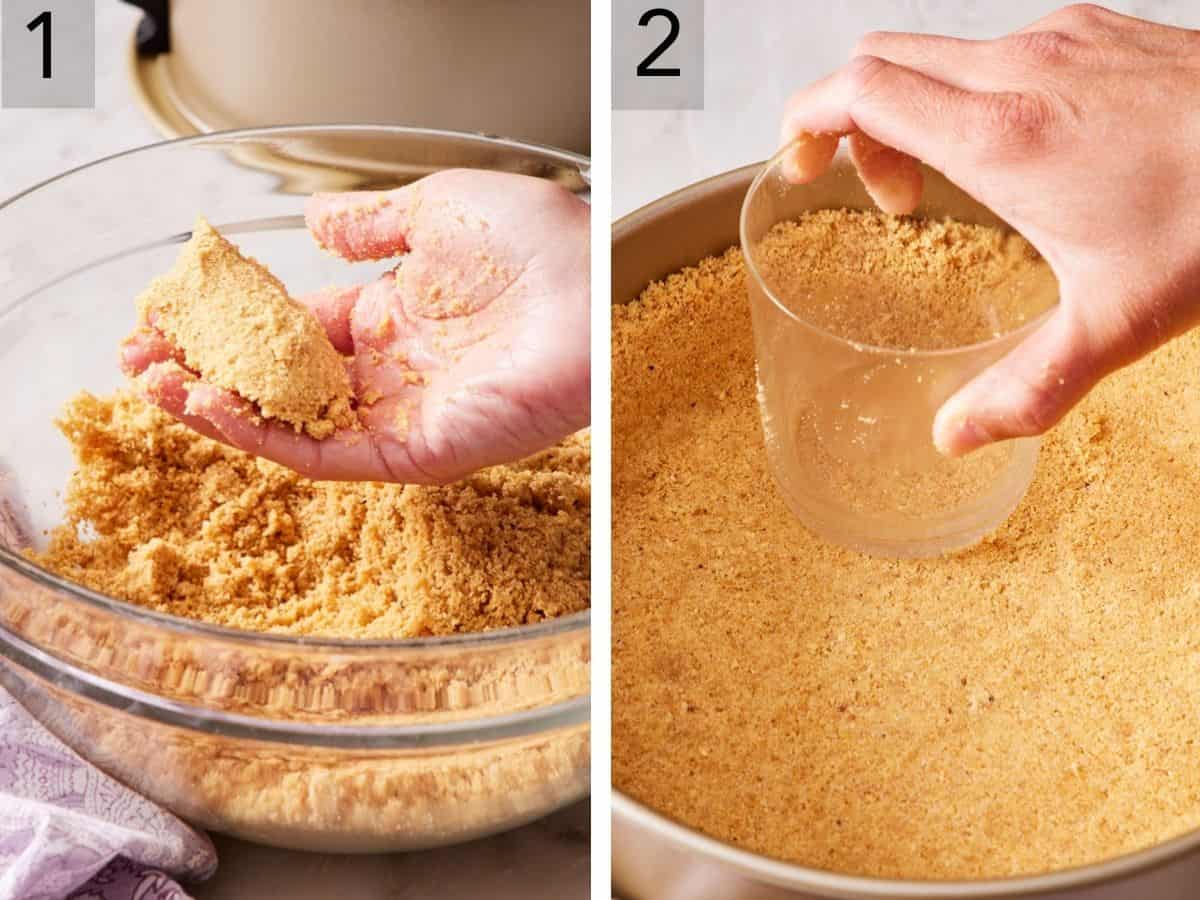
1. Crust. Stir the crumbs, melted butter, and sugar until the mixture feels like wet sand. Do the pinch test to make sure it will hold: squeeze a tablespoon or so of the mixture in your fist, and then release. If the clump holds together, you’re good to go! If it crumbles apart, add another tablespoon of graham cracker crumbs and try again.
2. Press it into the bottom and about 1½ inches up the sides of a 9-inch springform pan, so the crust reaches the top of the filling rather than stopping short. Freeze while you make the filling. This firms up the crust so it doesn’t crumble into the filling as you spread it in.
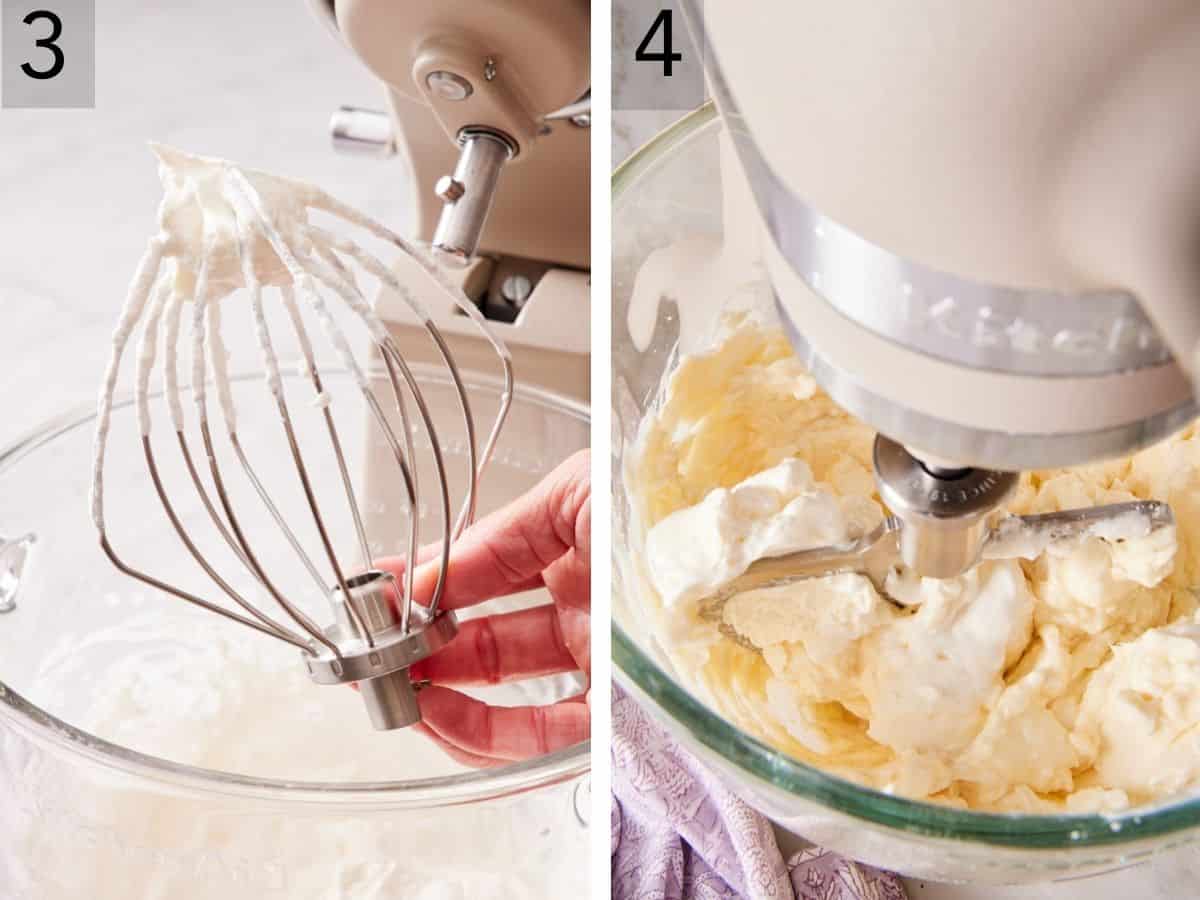
3. Whip the cream first. Beat the cold cream with the whisk attachment on medium-high for 2 to 3 minutes to form stiff peaks. Transfer it to another bowl, and keep the whisk with the whipped cream.
4. Add the cream cheese to the same mixing bowl. Add the sour cream, a cup of the powdered sugar, lemon juice, and vanilla. Switch to the paddle attachment and beat on medium speed for about 2 minutes until smooth and fluffy. Stop and scrape down the bowl once or twice. Taste it here. Add some or all of the remaining powdered sugar if you want it sweeter and less tangy. Keep in mind that adding the cream will make it slightly less sweet than it tastes right now.
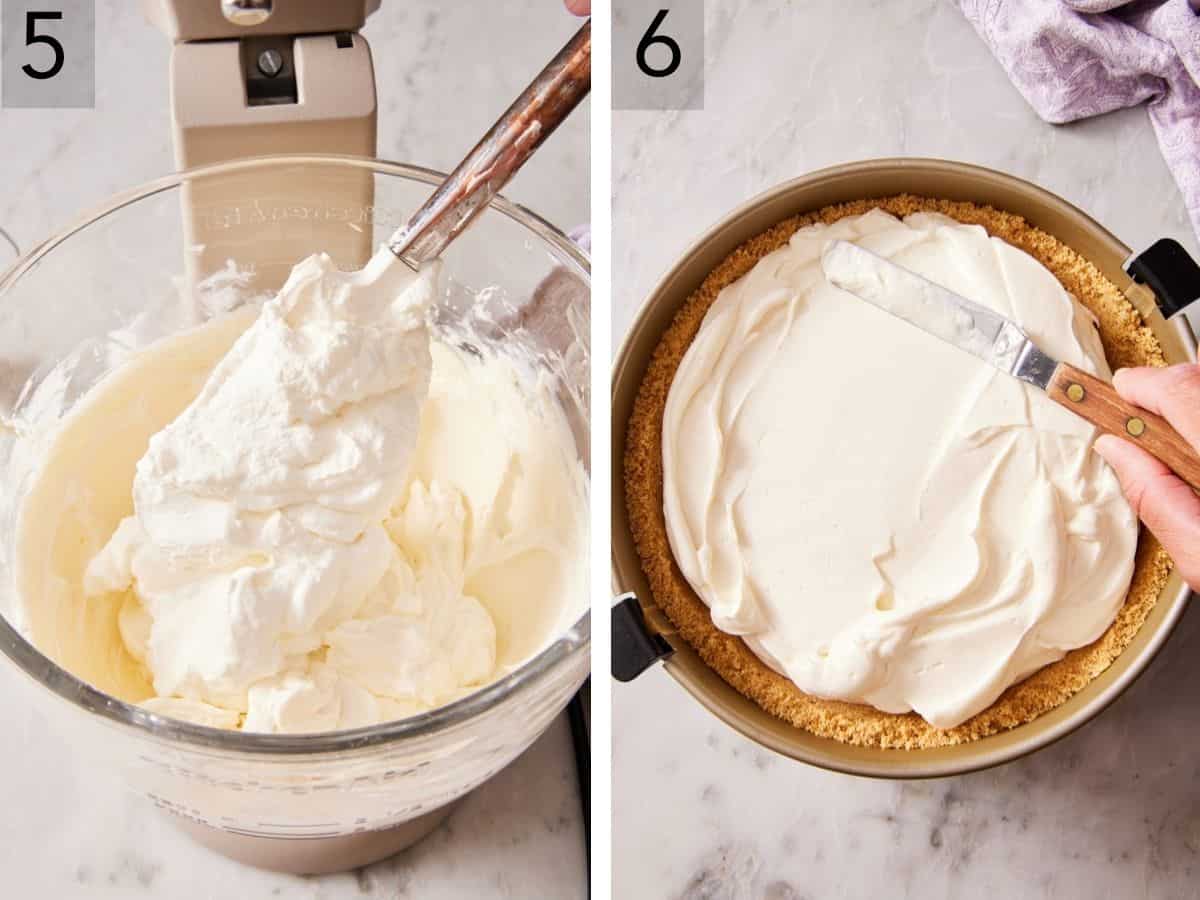
5. Add the whipped cream to the cream cheese mixture, reattach the whisk, and mix on low for about a minute, then scrape and finish by hand if needed. The low speed matters here. Your goal is combining, not re-whipping; you don’t want to over-whip the cream, or it will split.
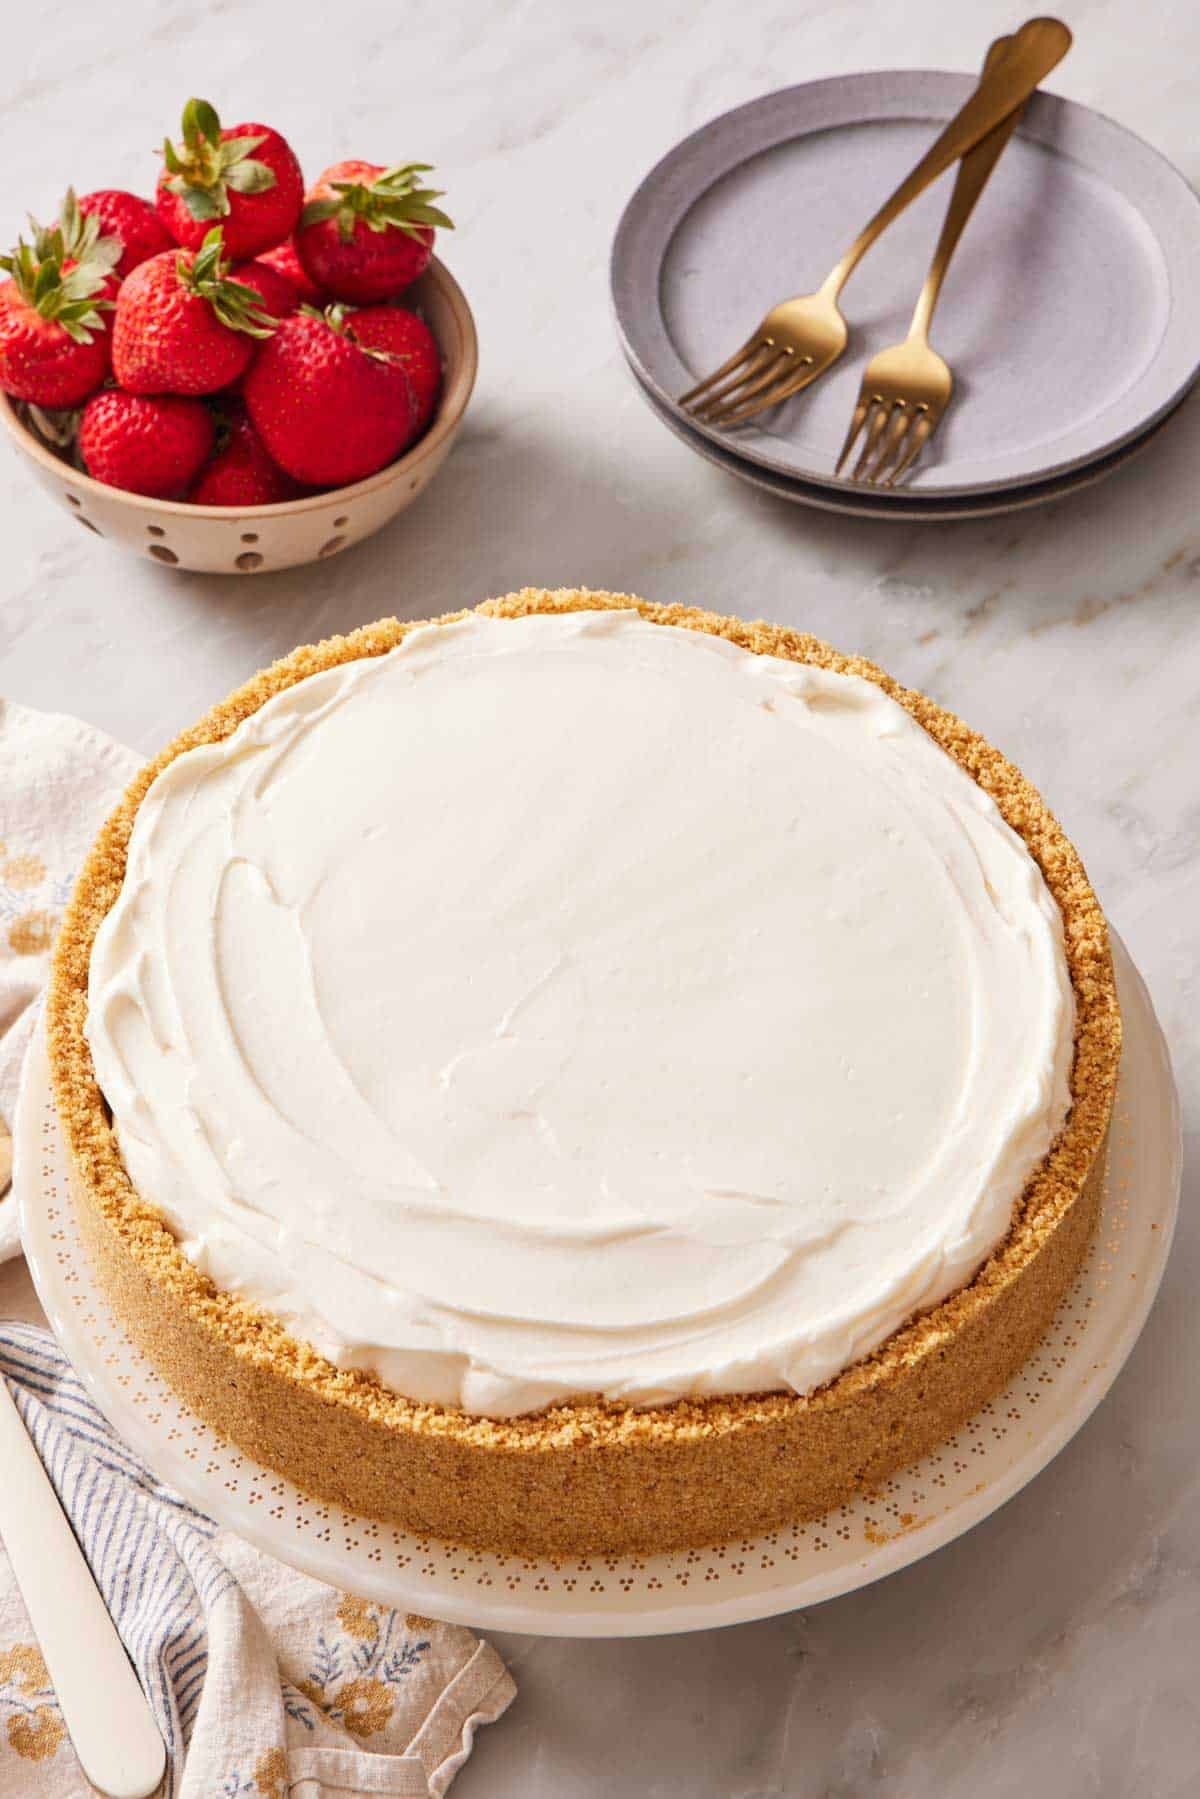
6. Fill the crust, smooth the top, cover with foil, and chill for 6 hours or overnight. Keep the cheesecake in the pan until you are ready to serve it.
Troubleshooting a Soft Set
A no-bake cheesecake that doesn’t slice well is the most common complaint about this style of dessert, and it almost always traces back to one of four causes:
| Symptom | Most likely cause | Fix |
| Filling is soft after chilling, won’t hold a slice | Not chilled long enough | Return it to the fridge; 6 hours is a minimum, overnight is even better. |
| Filling is loose and slightly grainy | Cream cheese was reduced-fat or tub-style spread | You can whisk 2 tablespoons of instant pudding into ½ cup of cream until it’s thickened and mix it into the filling. This thickens it but won’t fix the grainy texture. Use full-fat blocks next time. |
| Filling deflated after folding | Cream wasn’t at stiff peaks, or the filling was overmixed when combining it with the cream cheese. | Whip to stiff peaks; combine on low, and stop when just incorporated. |
| Sets fine but softens on the counter | This is normal. The structure relies on cold fat. | Serve straight from the fridge and return leftovers promptly. |
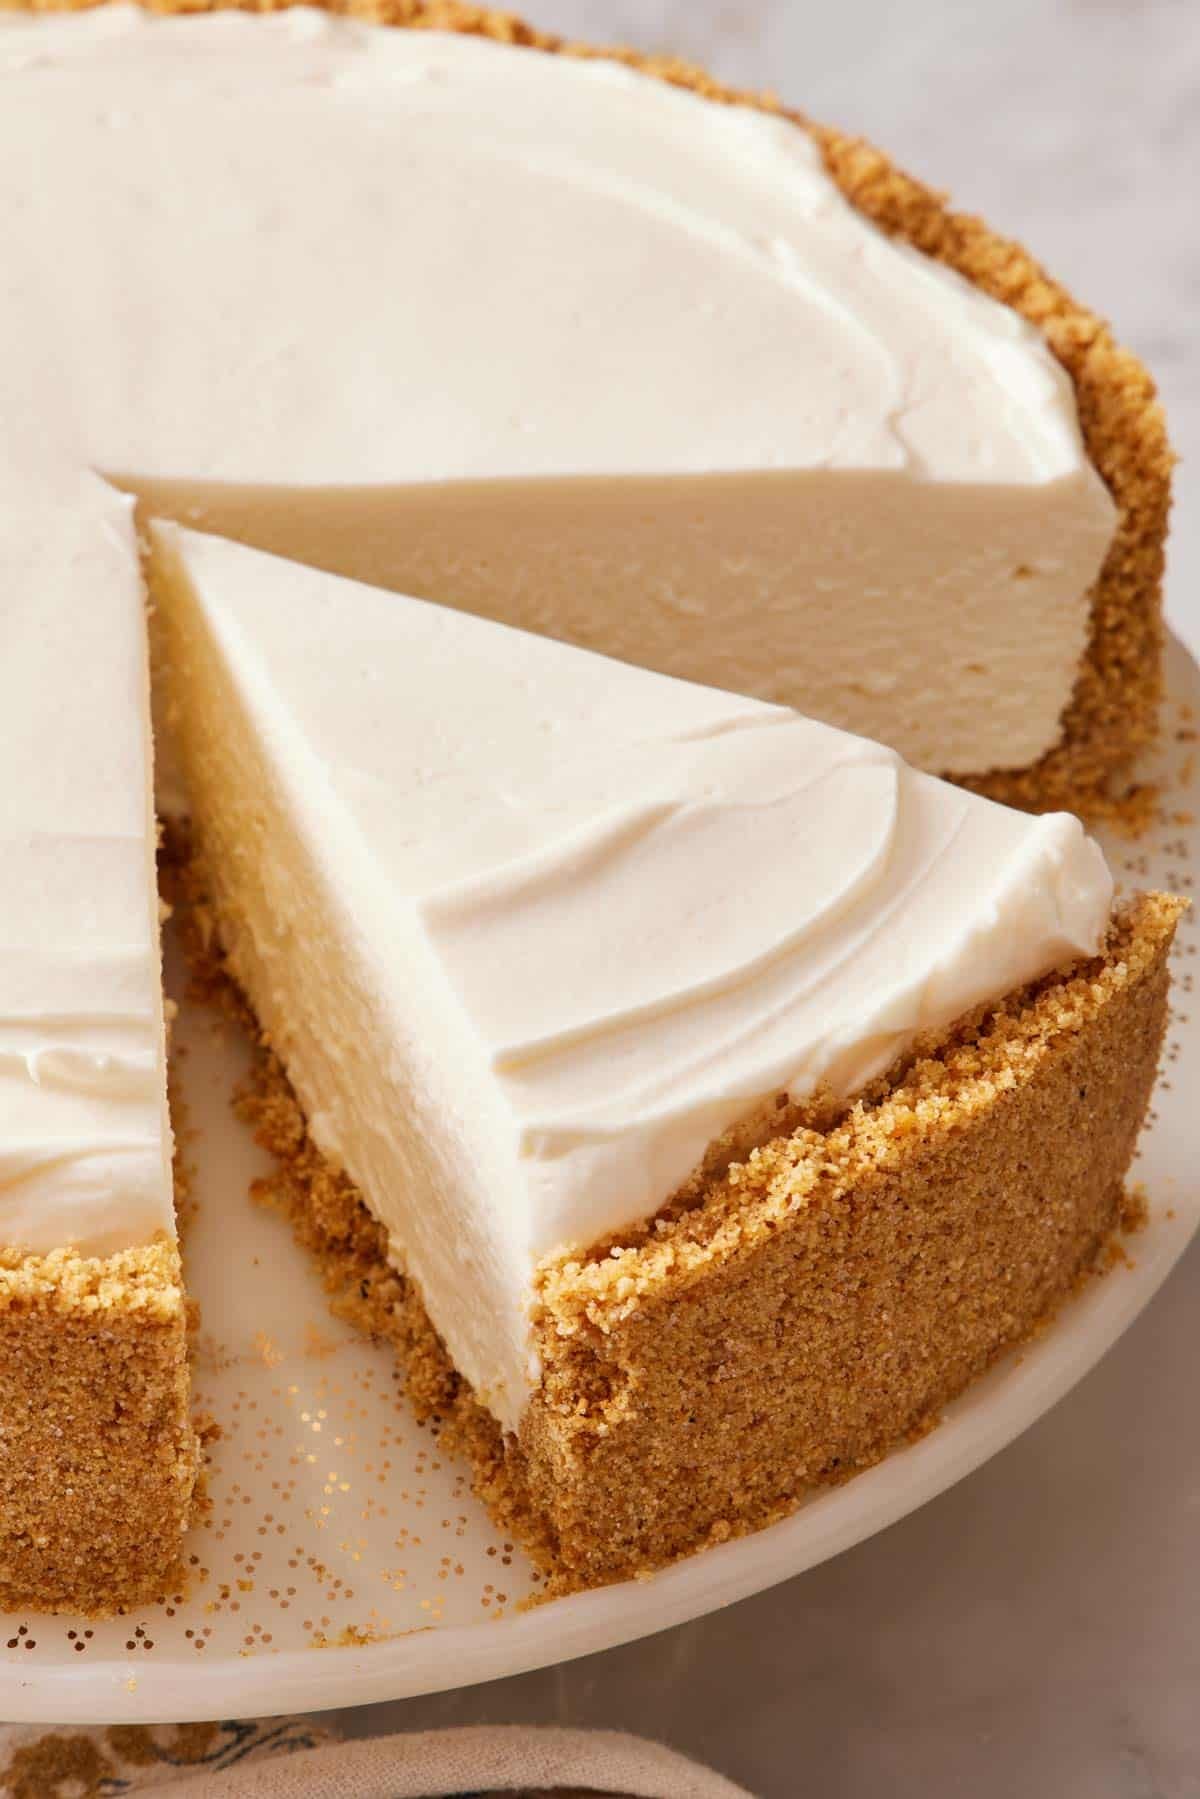
Crust Variations
Oreo crust: Use the crust from my Oreo cheesecake and freeze it instead of baking it if you want to keep a true no-bake dessert. Stick to regular-filling Oreos. Double Stuf makes the crust sticky and pasty instead of crisp. Get more details on the types of Oreos you can use in my Oreo crust recipe.
Other crispy cookies: Biscoff, shortbread cookies, vanilla wafers, and gingersnaps all work well. You may need more or less melted butter depending on how much fat the cookie already has. Start with 6 tablespoons, and test by pinching a bit of the mixture: if it doesn’t hold together, add more butter.
Gluten-free: Swap in gluten-free graham crackers or cookie crumbs at the same weight.
Toppings and Serving
This filling is a plain canvas for your favorite toppings! Fresh berries, strawberry sauce, caramel, hot fudge, chocolate ganache, or a layer of lemon curd spread over the set filling all work. Whipped cream piped around the edge is a great way to fancy up the decoration too.
Leave it in the springform pan until you’re close to serving. The ring supports the sides and keeps the crust intact. Use a large, thin spatula to help the bottom release from the pan and to help with transferring it to a serving plate.
No Bake Cheesecake Recipe
Equipment
- Stand mixer
- 9 inch springform pan
- Medium bowl
Ingredients
For the Crust:
- 2 cups graham cracker crumbs (234g)
- ¼ cup granulated sugar (50g)
- ½ cup unsalted butter melted (113g)
For the Filling:
- 1 cup cold heavy whipping cream (240ml)
- 4 (8-ounce/227g) blocks cream cheese softened to room temperature
- ⅓ cup sour cream room temperature (79g)
- 1 to 1½ cups powdered sugar divided (120-180g)
- 1 tablespoon lemon juice
- 1 tablespoon vanilla extract
Instructions
For the Crust:
- In a medium bowl, stir together the graham cracker crumbs, melted butter, and sugar until combined and the crumbs feel like wet sand. (Squeeze about a tablespoon of the mixture in your fist to make sure it holds together. If not, add another tablespoon of butter until it does.) Press the mixture into the bottom and 1½ inches up the sides of a 9-inch springform pan. Freeze the crust while preparing the filling.
For the Filling:
- In the bowl of a stand mixer fitted with a whisk attachment, beat the cold cream on medium-high speed until stiff peaks form, 2-3 minutes. Transfer the whipped cream to a separate bowl and save the whisk. Set both aside.
- In the same stand mixer bowl, combine the cream cheese, sour cream, 1 cup (120g) of powdered sugar, lemon juice, and vanilla. Beat with the paddle attachment on medium speed until smooth and fluffy, about 2 minutes. Stop mixing once or twice to scrape down the bowl. Taste and add the remaining ½ cup (60g) of powdered sugar if you prefer the filling a bit sweeter and less tangy.
- Add the whipped cream to the whipped cream cheese, switch back to the whisk attachment and mix on low speed to combine the whipped cream, about 1 minute. Stop and scrape down the bowl and mix a few times by hand if needed.
- Scoop the mixture into the frozen crust. Using a small offset spatula, smooth it into an even layer. Cover with foil and chill for 6 hours or up to overnight. (Foil won’t sag and mar the top of your cheesecake!) To serve, carefully remove the sides of the pan and transfer the cheesecake to a serving plate. Keep the cheesecake cold for the firmest slices, and wipe the knife clean between slices.
Notes
- I prefer foil to cover the cheesecake rather than plastic wrap, because plastic sags and can leave marks on the surface. The foil easily sits on the top edge of the pan and can be pressed tightly around the sides.
- For clean slices: keep the cheesecake cold right up until you cut it, and wipe the knife between every slice. Warm filling on a dirty blade is what turns a neat wedge into a smear.
Nutrition
Have you tried this recipe? Tag me today!
Mention @preppykitchen and tag #preppykitchen!
Make-Ahead, Storing, and Freezing
Refrigerator: Cover the whole cheesecake and chill it for up to 5 days. It keeps very well if you want to make it several days ahead of serving. Store it in the springform pan if you can; it holds the shape and covers more easily. Store any leftover slices tightly covered or in an airtight container in the fridge.
Freezing: This cheesecake freezes very well! Cream cheese on its own turns slightly grainy after freezing and thawing, but with the added fat from the whipped cream, stability from the sugar, and thickening from the lemon juice, I found no difference in texture once the frozen cheesecake thawed. I tested freezing slices for 2 months. I thawed them in the fridge overnight, and the next day it tasted exactly the same as a freshly made one!
To freeze: Leave a whole cheesecake in the pan, wrap in plastic, then foil, then freeze. For slices, freeze them on a lined tray, then wrap in plastic and put them in a freezer bag or wrap again in foil. The cheesecake is best if eaten within 3 months to avoid any freezer-burnt taste. Thaw for several hours or overnight in the fridge.
Frequently Asked Questions
Yes, this filling works in any crumb crust. If you use a store-bought graham cracker crust in a pie pan, you will be able to fill 2 or three shells with the filling. Keep in mind they will turn out thinner than the cheesecake in a springform pan.
Cool Whip will work since it’s stabilized and already whipped. It’s sweeter and tastes distinctly of itself, so cut the powdered sugar back toward the 1-cup end. Canned whipped cream will not work at all; it’s aerated with propellant and collapses within minutes of leaving the can. It will collapse and turn your filling runny when you fold it in.
A 9-inch springform is ideal for easy removal and slicing. A 10-inch pie dish works (its wider size is better since it’s less deep than a springform pan), but you will serve it from the pan. For individual portions, divide the crust and filling among your desired cups or small pans and chill for the same length of time.
More Cheesecake Recipes To Try
There’s a cheesecake for every occasion, and these are some of my favorite recipes:
- Pecan Pie Cheesecake — a classic cheesecake base is topped with a gooey brown sugar pecan mixture that’s reminiscent of a pecan pie filling.
- Peanut Butter Cheesecake — a perfect combination of sweet n’ salty with a peanut butter cheesecake base topped with a decadent chocolate ganache.
- Lemon Cheesecake — the perfect balance between creamy and tart with a layer of lemon curd spread on top.
- Strawberry Cheesecake — a classic filling with real strawberry topping.
- Basque Cheesecake — the opposite end of the spectrum: crustless, deliberately scorched, baked hot and fast.
If you’ve tried this no-bake cheesecake recipe, then don’t forget to rate it and let me know how you got on in the comments below. I love hearing from you!