
This post may contain affiliate links. Please read our disclosure policy.
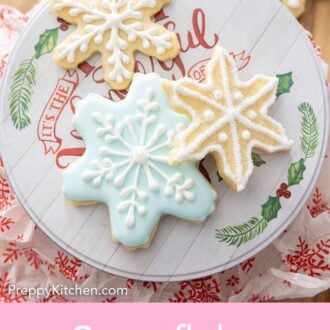
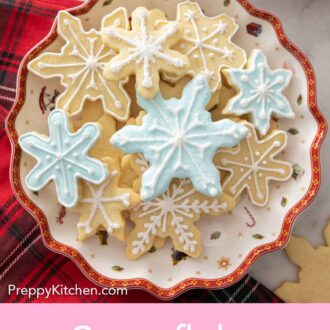
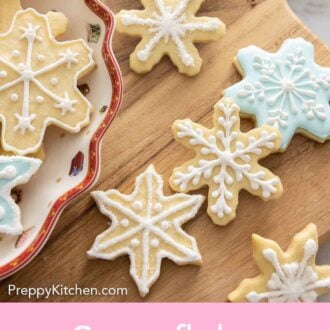


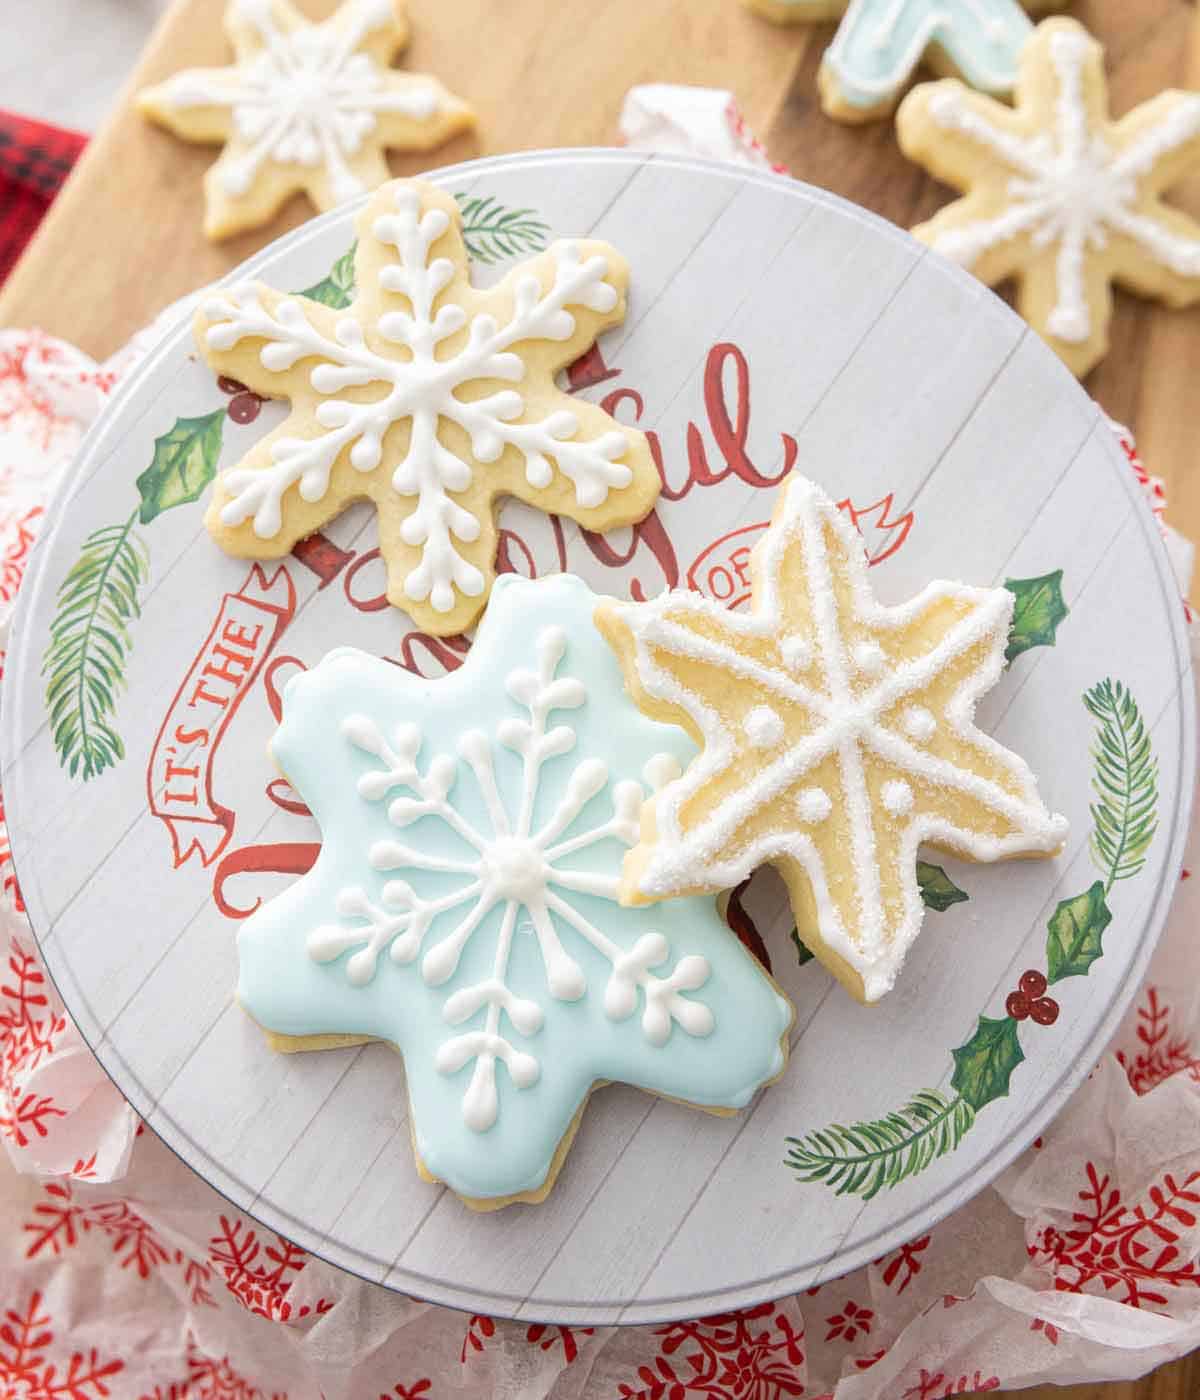
Decorated with homemade royal icing, these Snowflake Cookies are perfect for the holidays! The simple sugar cookie dough does not require chilling and comes together quickly and easily. They make a great addition to any holiday cookie tray or edible gift.
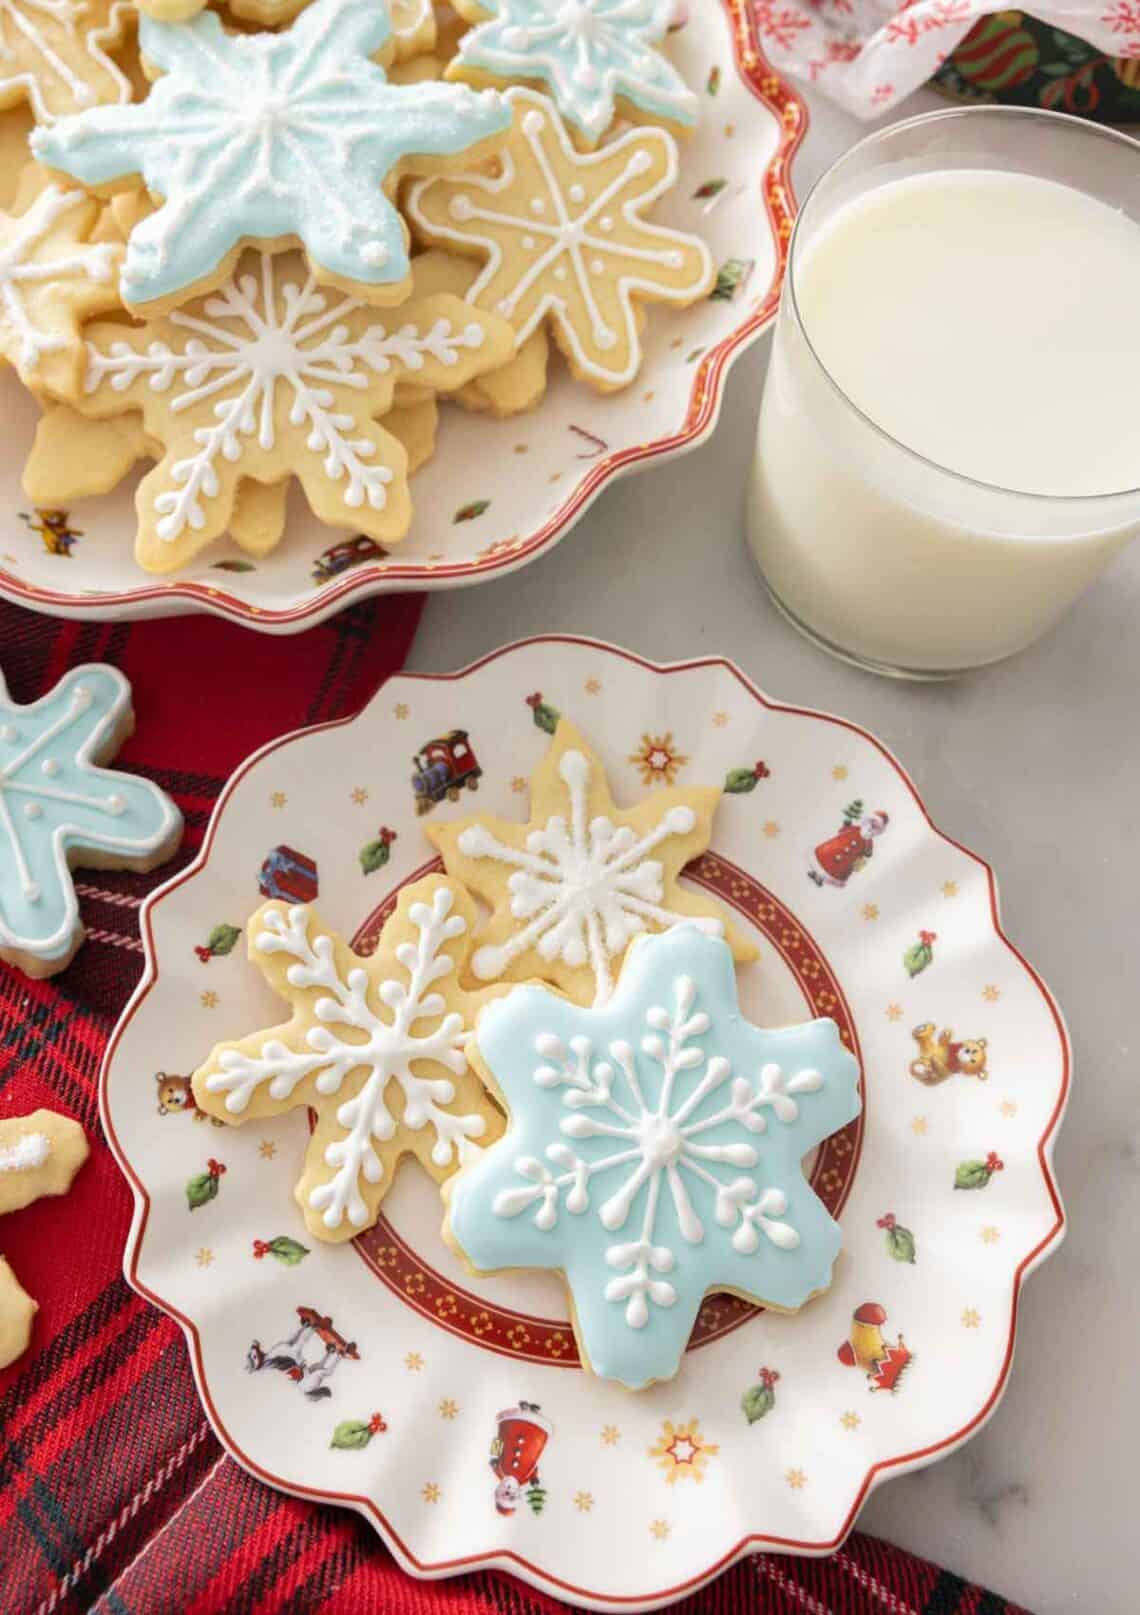
Crispy at the edges but soft and tender in the middle, then decorated with blue and white royal icing, these beautiful snowflake cookies are such a delightful treat. These festive cookies do not take a lot of time or effort to put together and last for a week, making them perfect to gift or just have on hand for last-minute gatherings. This recipe also makes 32 cookies, so it’s excellent for a party! For another festive cookie, try my chocolate pinwheels, spritz cookies, or gingerbread cookies. All of these cookies are perfect for Christmas cookie exchanges as well!
What You Need to Make This Recipe
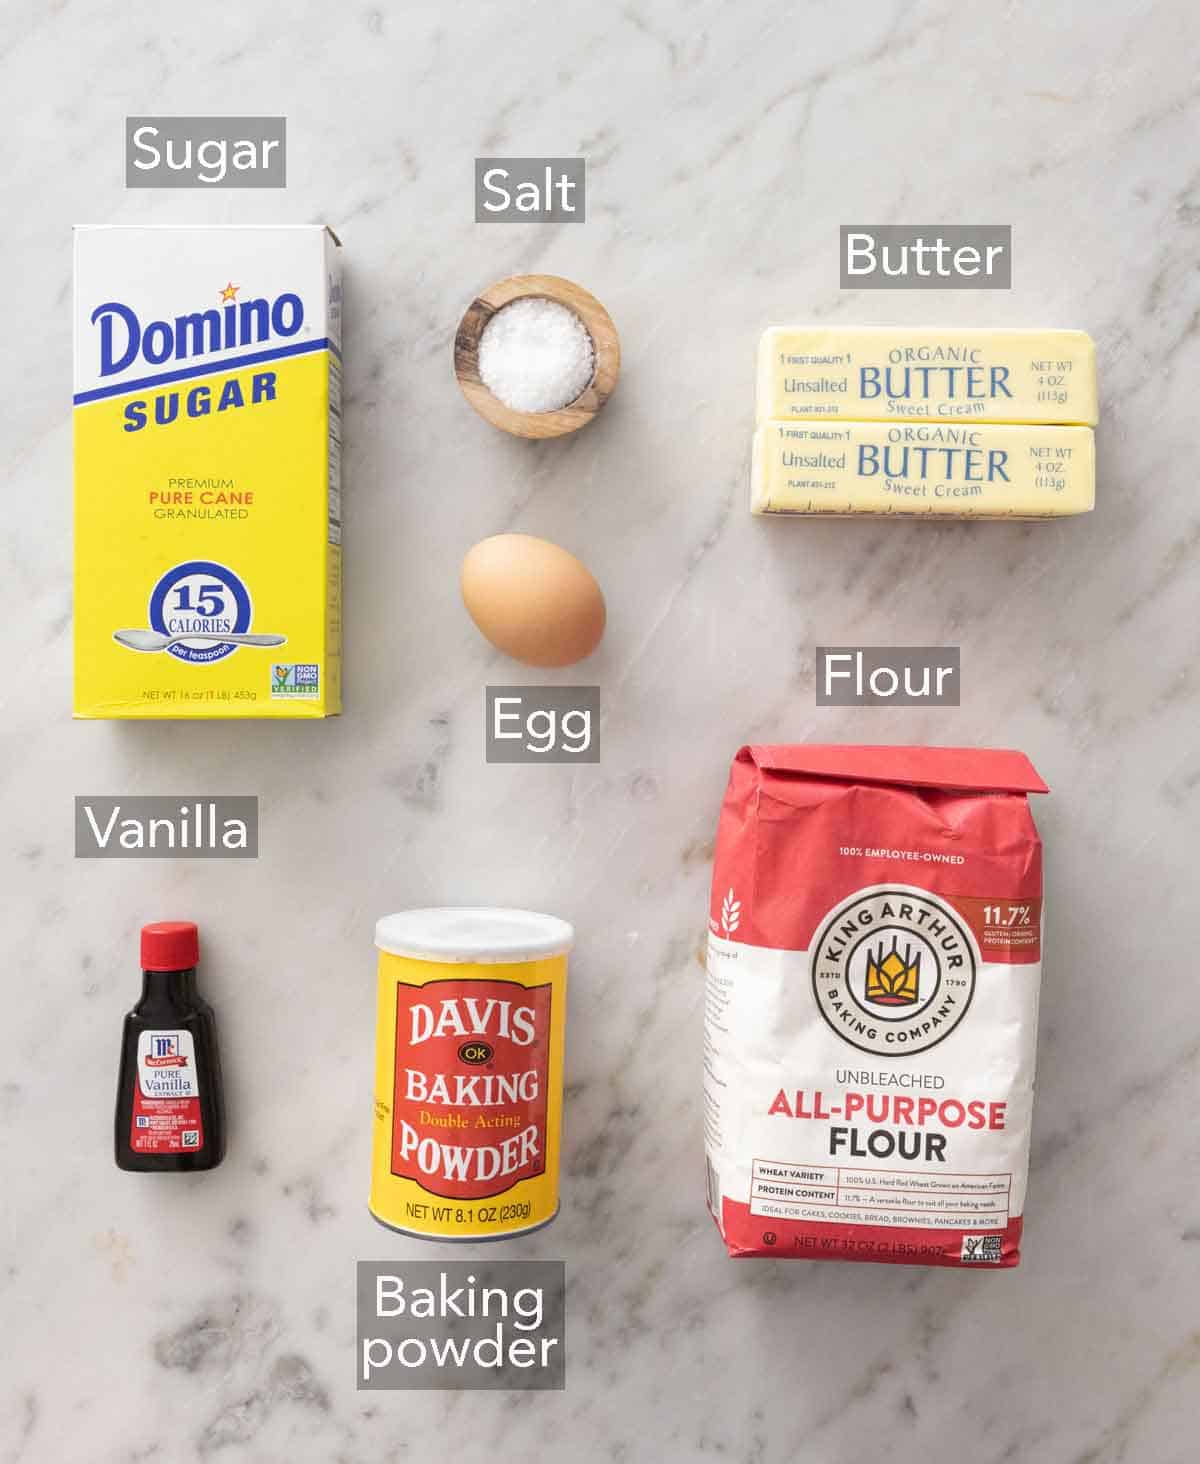
Baking powder — make sure to use fresh baking powder as it helps the cookies rise in the oven. Expired baking powder will lead to a dense cookie.
Butter — be sure to take the butter out of the fridge ahead of time to soften to room temperature. The butter needs to be at room temperature to cream smoothly. Also, be sure to use unsalted butter as there is already salt added to the recipe.
Vanilla extract — as the primary flavor enhancer of the snowflake cookies, I recommend using a high-quality vanilla extract instead of artificial extract.
Royal icing — I prefer using my homemade royal icing recipe over store-bought icing.
How to Make Snowflake Cookies
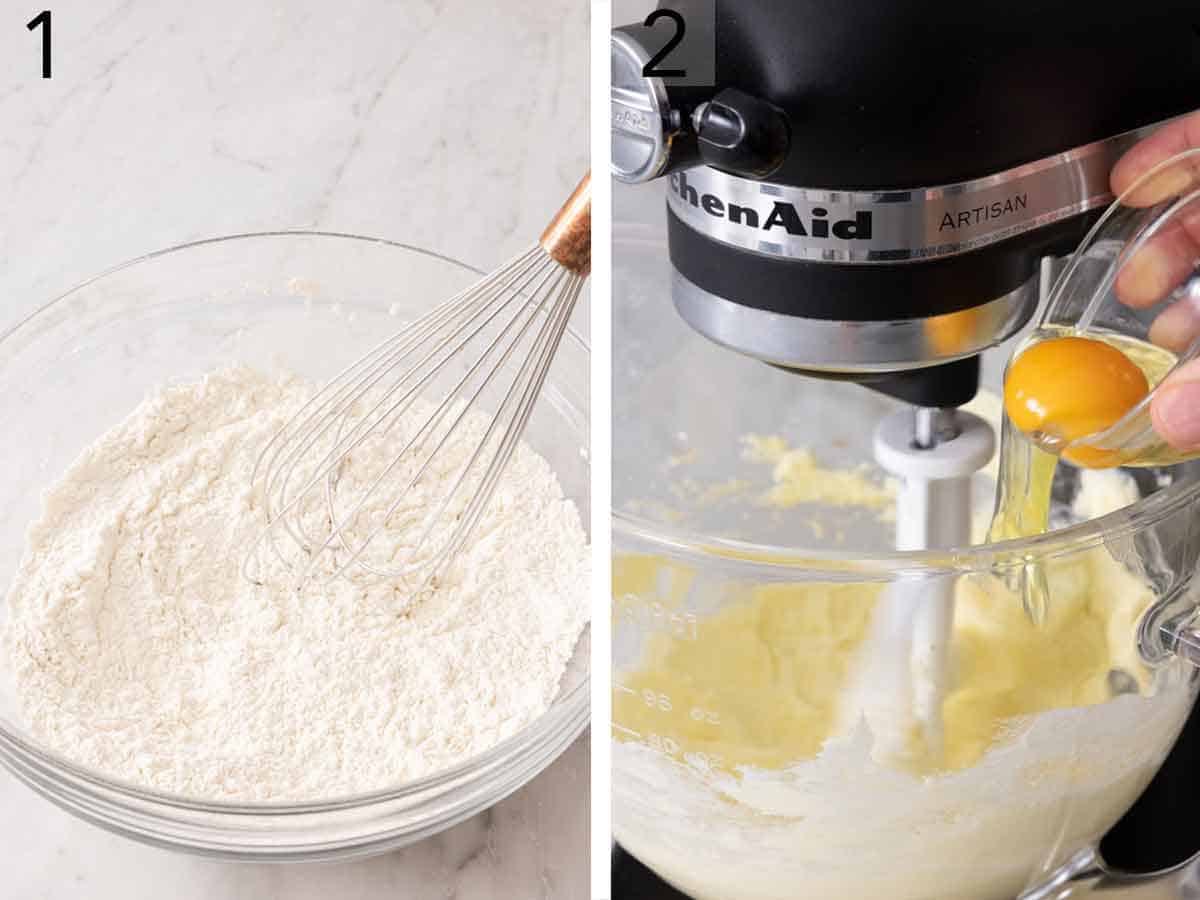
1. In a large bowl, whisk together flour, baking powder, and salt.
2. In the bowl of a stand mixer, beat the softened butter on medium speed until creamy. Add the sugar and beat the mixture until light and fluffy. Then, add the egg and vanilla and beat until well combined, scraping down the mixing bowl as needed.
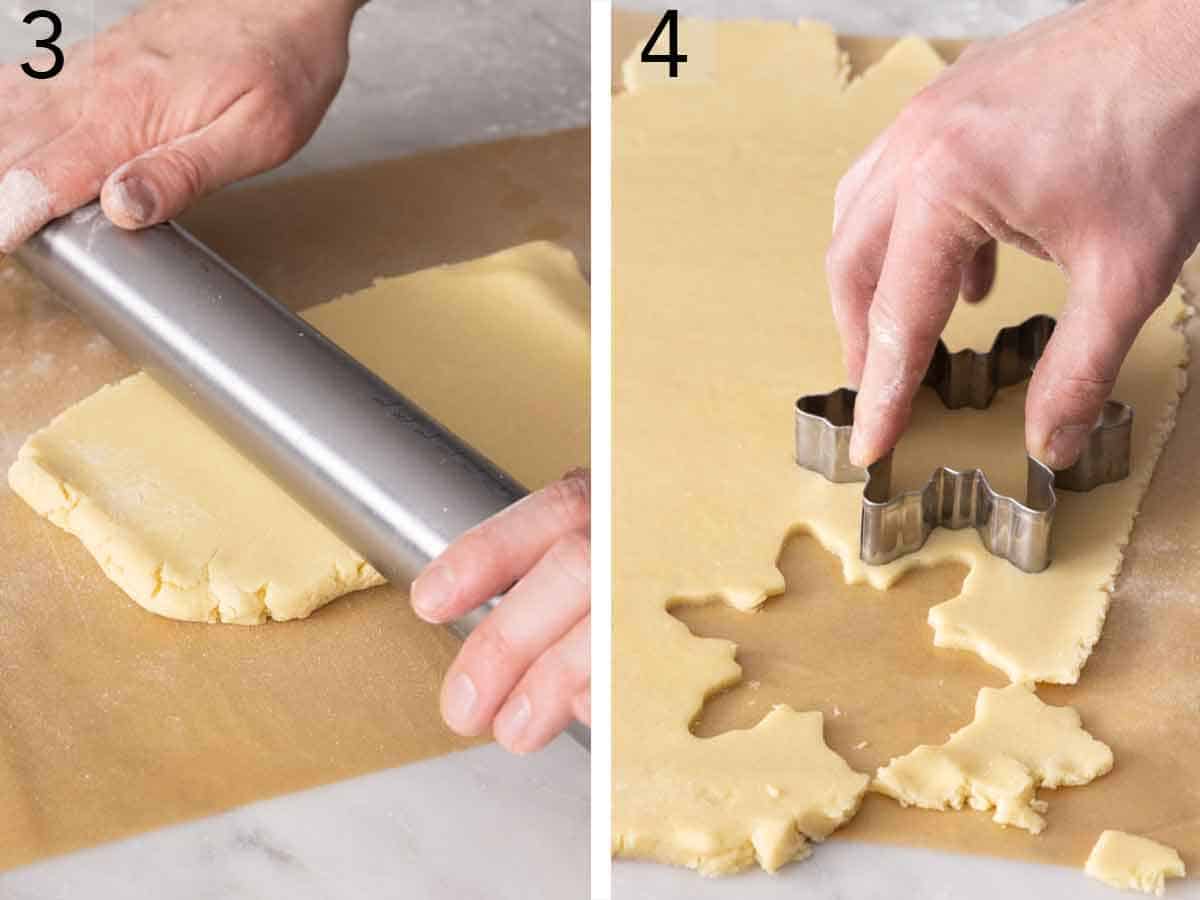
3. With the mixer on low speed, slowly add in the flour, beating just until combined. Place the cookie dough on a lightly floured surface and divide it in half. Shape each half into a square and then roll each square on a floured parchment paper to ⅛ inch thickness.
4. Cut out the cookies using a snowflake cookie cutter and use a spatula to help transfer the cookies to unlined and ungreased cookie sheets, placing 1 inch apart on the sheet. Bake for 10 to 12 minutes or until the cookies appear dry and are lightly golden on the bottom. Immediately transfer to a wire rack to cool completely.
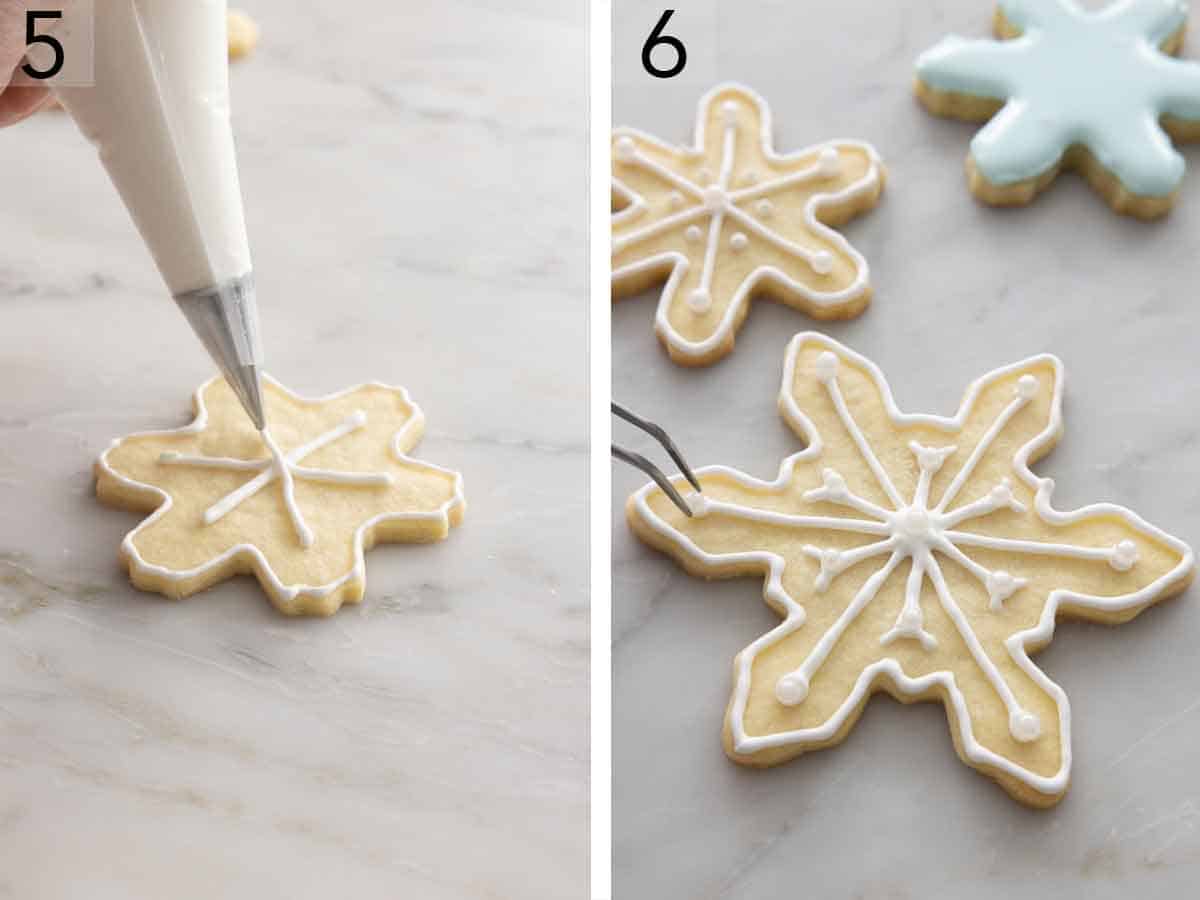
5. Decorate with royal icing.
6. Add additional decorative sprinkles if desired and let stand on the wire rack until the icing has hardened completely.
Pro Tips for Making This Recipe
- Give these sugar cookies a twist by adding your favorite extract or flavoring, adding the zest of an orange or lemon, or folding in some sprinkles for extra flair.
- To pull straight lines without any bumps at the ends of the lines, push a tiny bit of icing out of your piping bag to start. Then, set the icing down without any pressure onto the snowflake cookies, and once the icing is attached to the cookie, lift and pull with consistent pressure and then lay it down onto the cookie. This will give you beautiful clean icing lines!
- To add sprinkles such as pearls onto the cookies more manageable, use tweezers.
- Cool the cookies completely before decorating with royal icing as it will melt on a warm cookie.
- It will take a few hours for the decorative royal icing on the snowflake cookies to harden, so be sure to make this ahead of time if you need it on a specific date.
- Don’t over mix the cookie dough as you’ll incorporate too much air, leading the cookies to spread as they bake, losing their snowflake shape.
- Measure your flour correctly! Adding too much flour to the recipe is the most common mistake, leading to dense cookies. The most accurate way to measure flour is by using a kitchen scale. If you don’t have one, then fluff your flour with a spoon, sprinkle it into your measuring cup, and then use a knife to level it off.
Frequently Asked Questions
How do I store these cookies?
You can store baked and iced snowflake cookies in an airtight container or bag at room temperature for up to 1 week.
Can I freeze these?
You can freeze these snowflake sugar cookies to make them last longer. Wait for the icing to be fully set before storing them in a freezer-friendly container. I recommend placing a sheet of parchment or wax paper between the cookies to prevent them from sticking. When ready to eat, just bring them to room temperature.
What piping tip should I use?
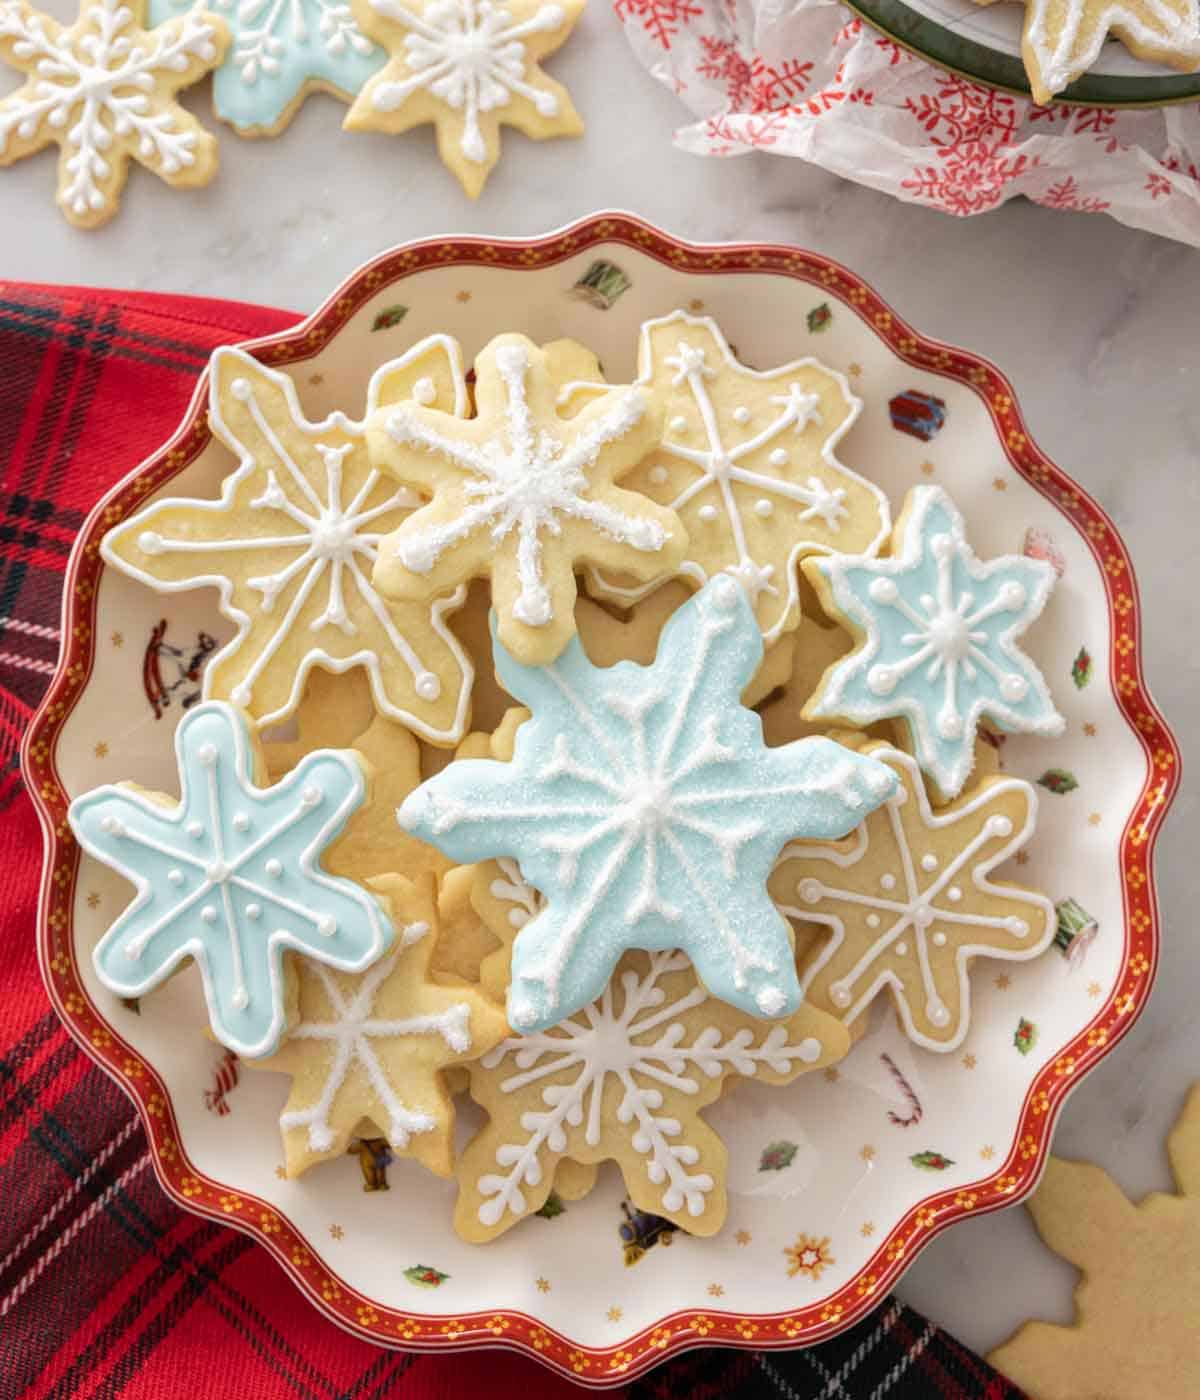
To decorate the snowflake sugar cookies as I have in the photos, use a #2 or #3 piping tip.
If you’ve tried this Snowflake Cookies recipe, then don’t forget to rate the recipe and let me know how you got on in the comments below, I love hearing from you!
Snowflake Cookies

Equipment
- Mixer
Ingredients
- 3½ cups all-purpose flour (420g)
- ½ teaspoon baking powder
- ½ teaspoons salt
- 1 cup unsalted butter softened (227g)
- 1 cup granulated sugar (200g)
- 1 large egg
- 2 teaspoons vanilla extract
- royal icing
Instructions
- Preheat the oven to 350F.
- In a large bowl, whisk together flour, baking powder, and salt.
- In a large bowl or the bowl of a stand mixer fitted with the paddle attachment, beat the butter on medium speed until creamy. Add the sugar and beat until light and fluffy, about 3 minutes. Add the egg and vanilla and beat until well combined, scraping down the bowl as needed.
- With the mixer on low speed, gradually add in the flour beating just until combined. Turn out on a lightly floured surface and divide in half. Shape each half into a square. Roll each square on a sheet of lightly floured parchment paper to 1/8-inch thickness. Carefully remove the top sheet of parchment and cut out the cookies using snowflake cookie cutters. (It may help to dip the cutters in flour before cutting the dough.) Use a spatula to help transfer the cookies to unlined and ungreased baking sheets, placing 1 inch apart on the sheet.
- Bake for 10 to 12 minutes or until the cookies appear dry and are lightly golden on the bottom. Immediately transfer to a wire rack to cool completely.
- Decorate with royal icing and let stand on the wire rack until the icing is hardened. Store cookies in an airtight container for up to 1 week.
Notes
- Give these sugar cookies a twist by adding your favorite extract or flavoring, adding the zest of an orange or lemon, or folding in some sprinkles for extra flair.
- To pull straight lines without any bumps at the ends of the lines, push a tiny bit of icing out of your piping bag to start. Then, set the icing down without any pressure onto the snowflake cookies, and once the icing is attached to the cookie, lift and pull with consistent pressure and then lay it down onto the cookie. This will give you beautiful clean icing lines!
- To add sprinkles such as pearls onto the cookies more manageable, use tweezers.
- Cool the cookies completely before decorating with royal icing as they’ll melt on a warm cookie.
- It will take a few hours for the decorative royal icing on the snowflake cookies to harden, so be sure to make this ahead of time if you need it on a specific date.
- Don’t over mix the cookie dough as you’ll incorporate too much air, leading the cookies to spread as they bake, losing their snowflake shape.
- Measure your flour correctly! Adding too much flour to the recipe is the most common mistake, leading to dense cookies. The most accurate way to measure flour is by using a kitchen scale. If you don’t have one, then fluff your flour with a spoon, sprinkle it into your measuring cup, and then use a knife to level it off.
Nutrition
Have you tried this recipe? Tag me today!
Mention @preppykitchen and tag #preppykitchen!


