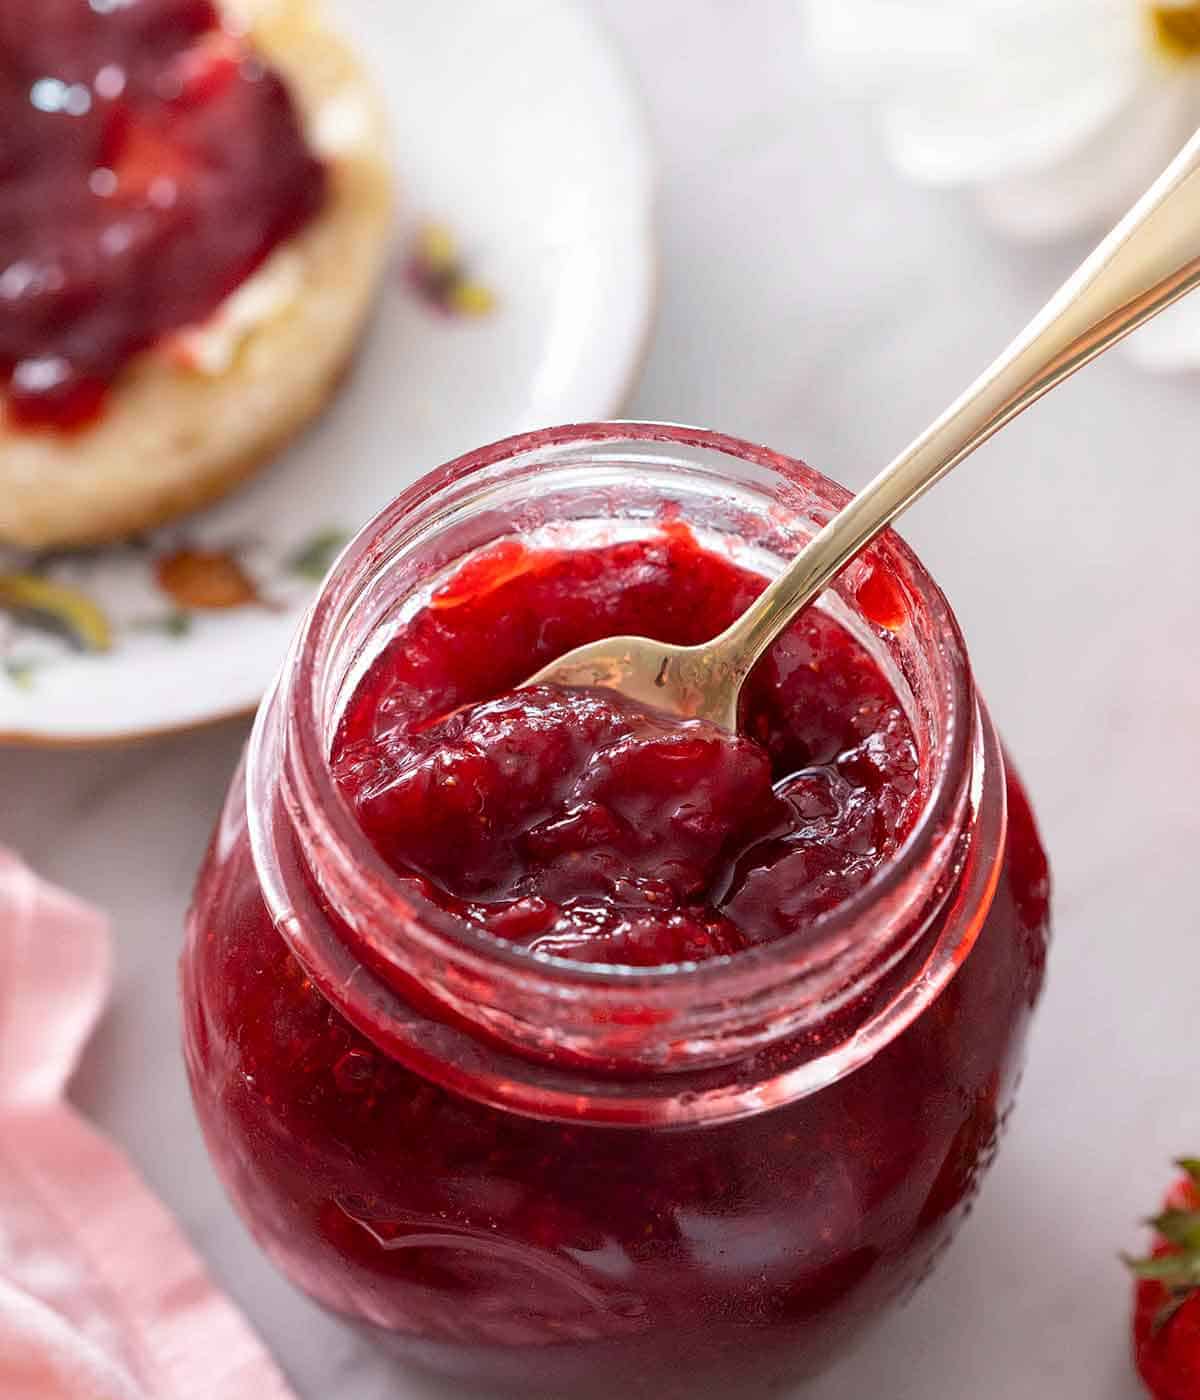
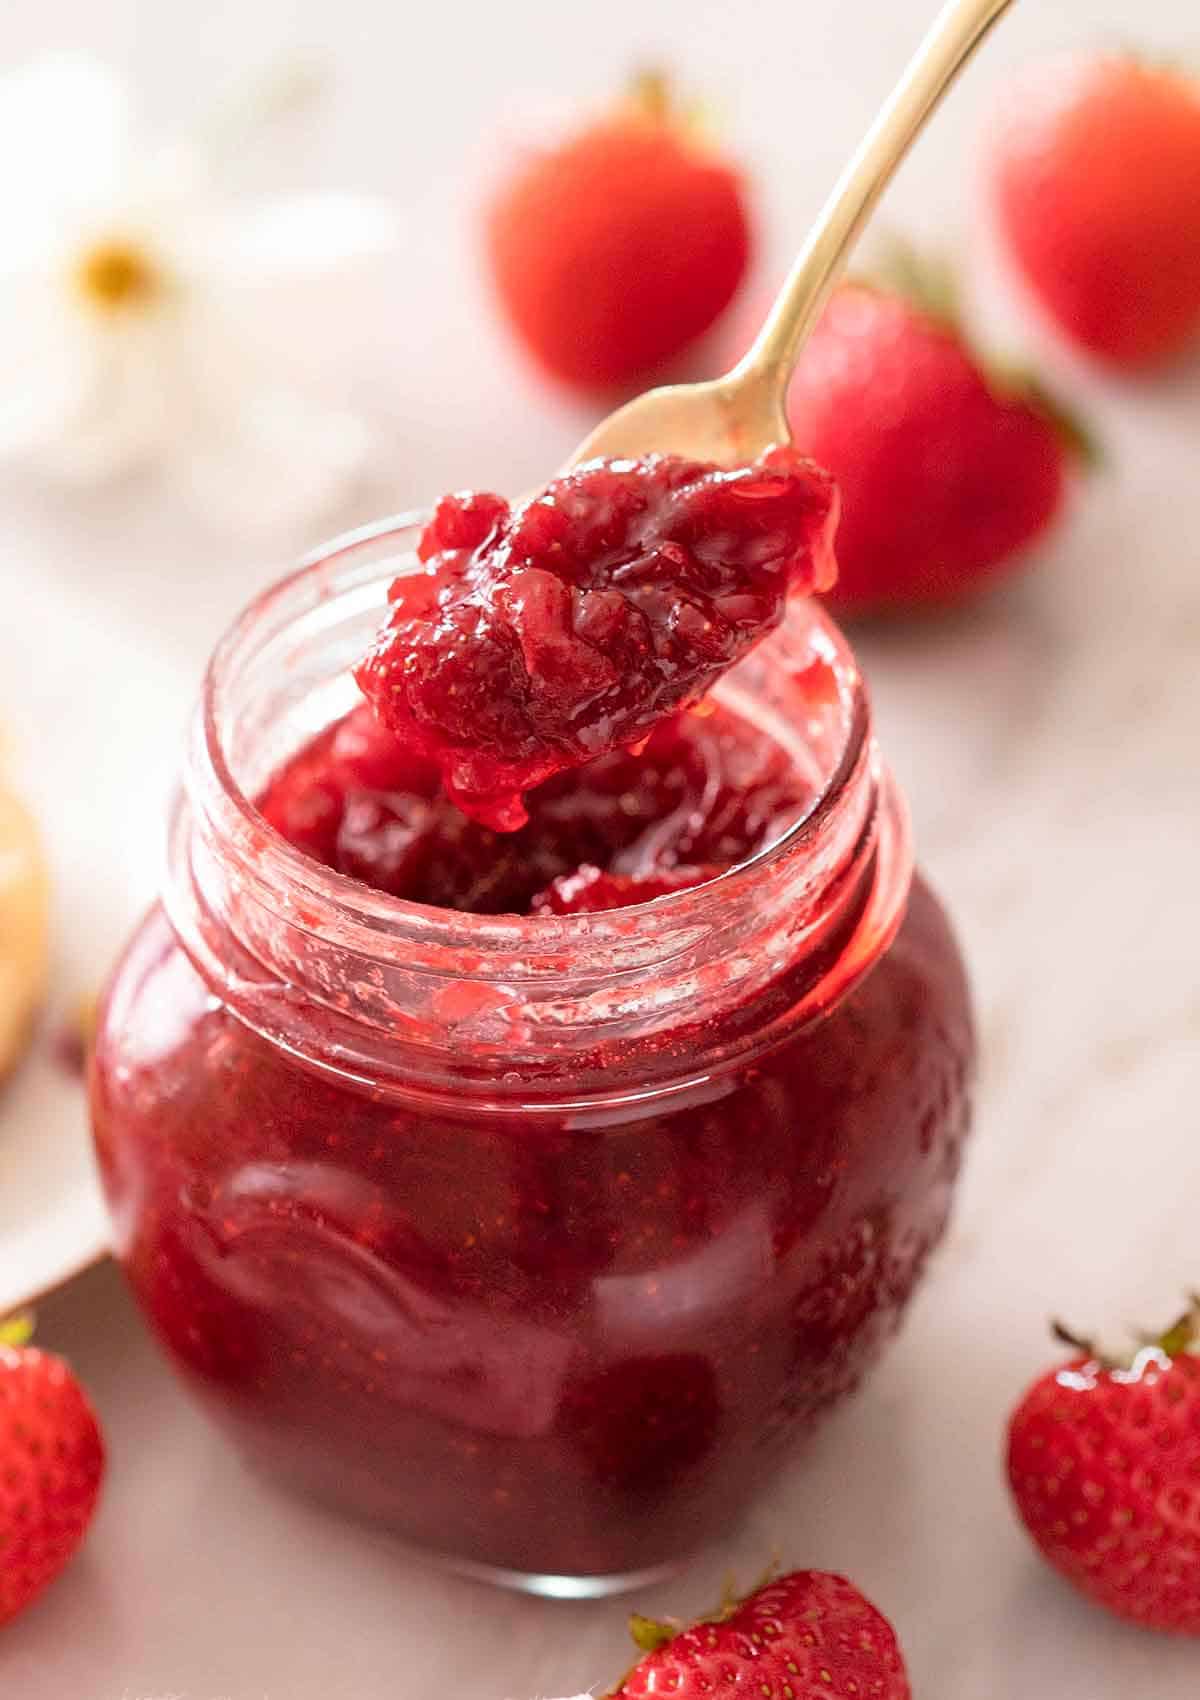
Is there anything better than homemade strawberry jam? Thick, syrupy, and brimming with fresh strawberry flavor, it is perfect for smearing onto warm scones for a delicious breakfast treat! ake-your-own jam
I love making small batch strawberry jam because I only need 3 simple ingredients and a candy thermometer! No special skills or fancy equipment, and there’s no artificial ingredients or added color. If you’ve got loads of strawberries to use up during strawberry season, try this jam! For more strawberry recipes, try my strawberry cobbler, strawberry shortcake, or strawberry rhubarb pie.
What You Need To Make This Recipe
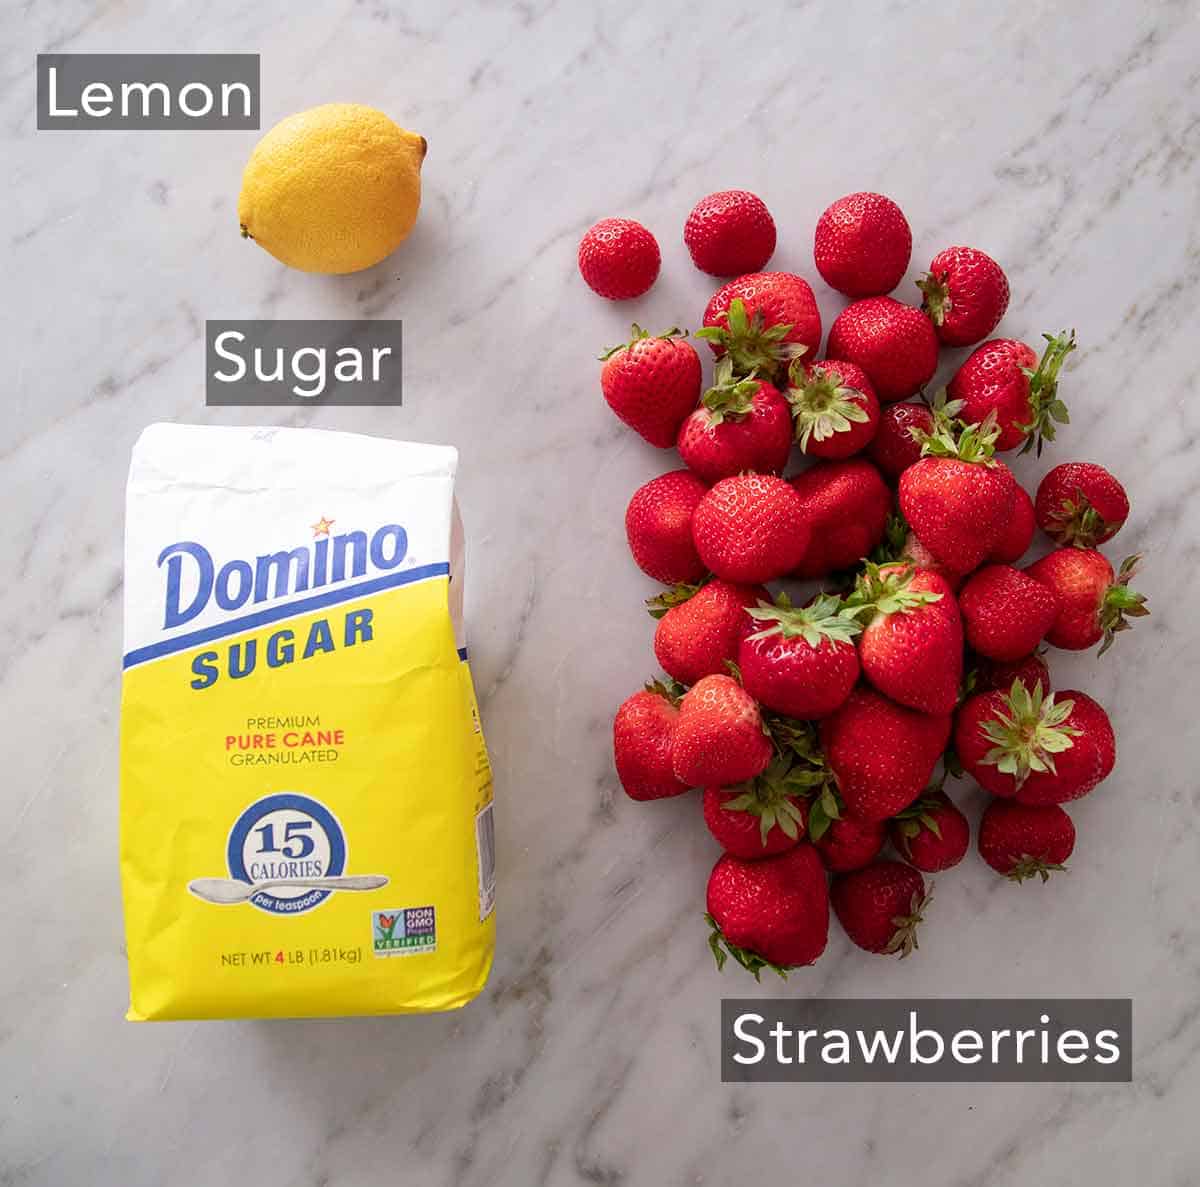
Strawberries — wash and hull 2 pounds of fresh strawberries. Choose berries that are richly colored and have a sweet fragrance. A strong fragrance is usually a sign that the berries are sweet and flavorful!
Sugar — granulated sugar is super important to help thicken homemade jam and provide sweetness.
Lemon juice — for the best flavor, opt for fresh lemon juice instead of the bottled kind. However, if you plan on canning the jam to be shelf stable for long-term storage, bottled lemon juice is recommended because its acidity is tested and consistent, helping your jam stay fresh and safe for consumption for longer.
How To Make Strawberry Jam
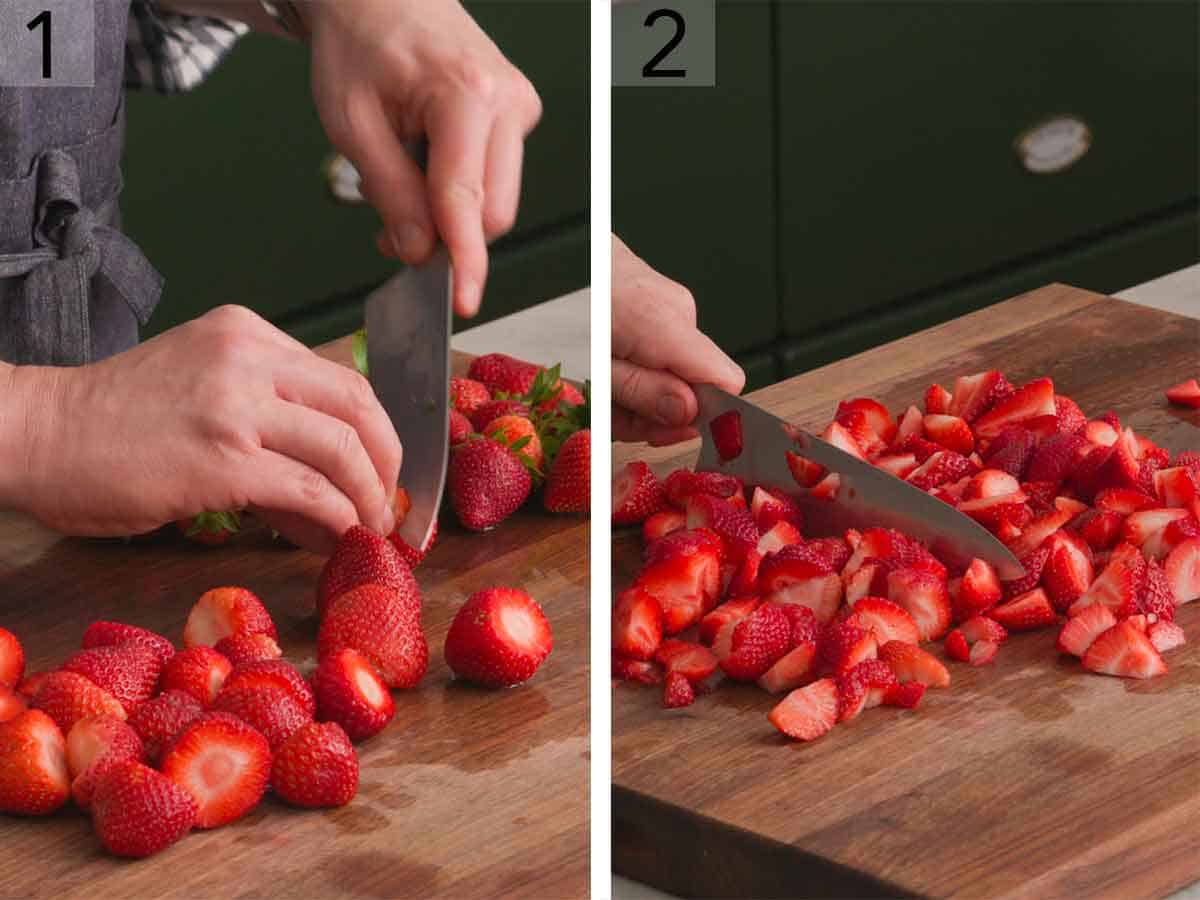
1. Start by washing and hulling the strawberries.
2. Roughly chop them up. Don’t worry about making uniform pieces here– they are going to get mashed!
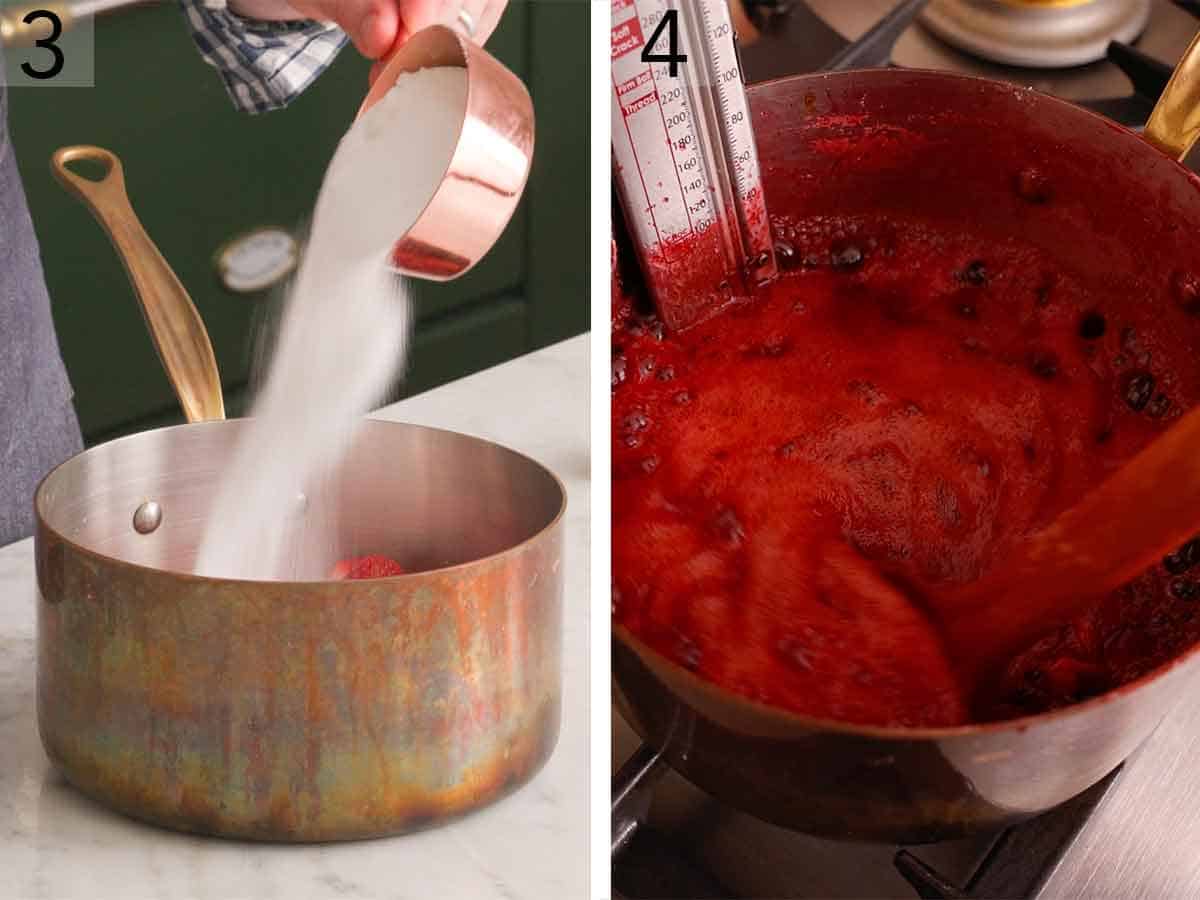
3. Add the chopped strawberries, white sugar, and fresh lemon juice to a large pot. Place the mixture over medium-high heat.
4. Bring the berries to a full rolling boil while stirring frequently. Reduce the heat to medium-low and keep the berries at a steady simmer.
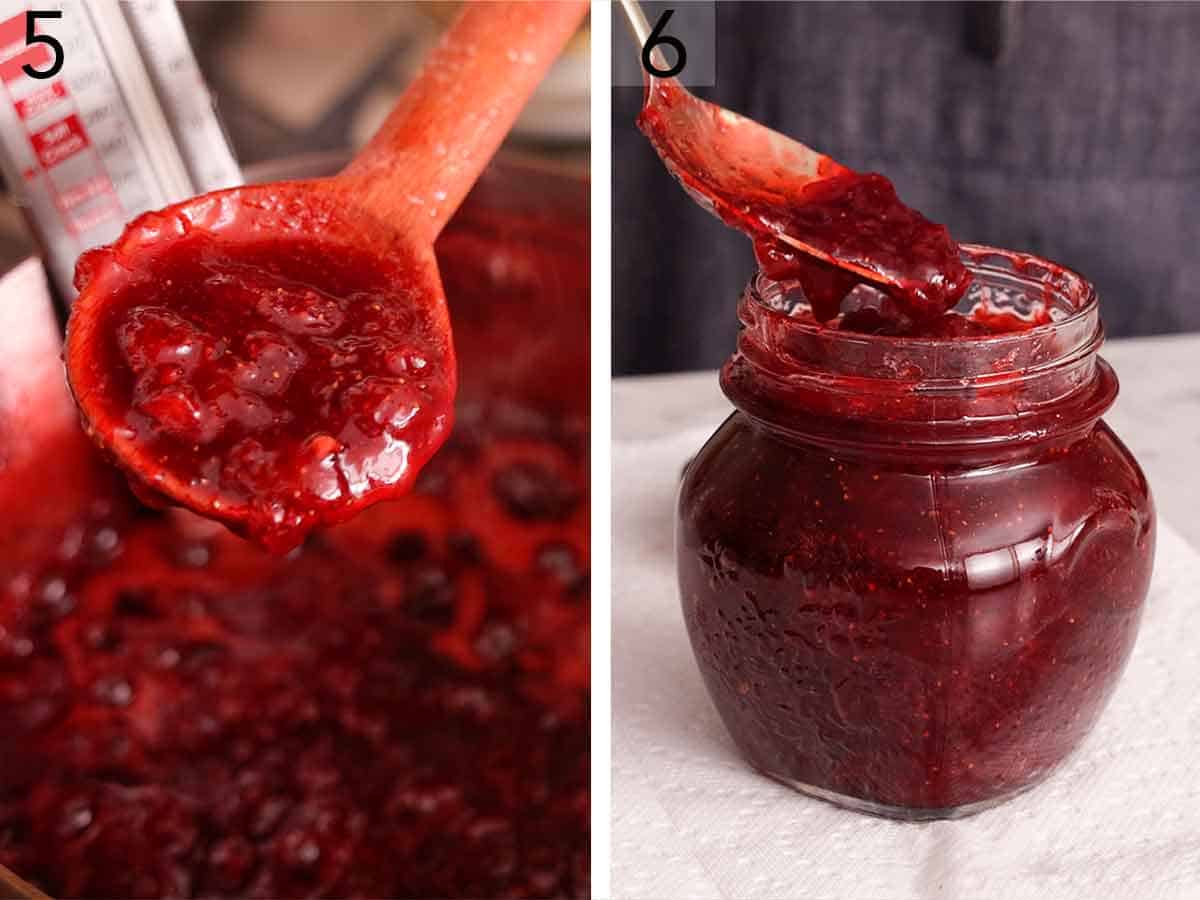
5. Cook for about 45 minutes (making sure to keep stirring often to avoid the strawberries burning) until the jam reaches 220°F on a candy thermometer.
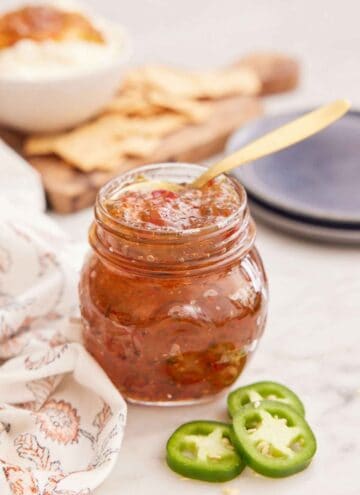
6. Pour the homemade jam into a clean or sterilized mason jars and seal. Let the hot jars cool to room temperature. Then refrigerate.
How To Hull Strawberries
When making strawberry jam, I usually lean towards time efficiency and slice off the green leafy tops, which does take off some of the flesh. If you want to avoid that, grab a small, sharp knife and cut at an angle, moving in a circle around the stem and leaves. You can also stick a straw through the bottom and out the top of the strawberry, which will cause the stem and leaves to pop right off.
Is Strawberry Jam Better With Or Without Pectin?
I make this easy strawberry jam recipe without fruit pectin because I don’t think it’s necessary for a gelled, thick jam. Pectin is naturally found in fruit, with some fruits containing more pectin than others. When cooked with sugar and lemon juice, pectin is activated and helps the jam set.
Strawberries don’t contain a large amount of pectin, which is why the sugar and lemon juice are so important for activating the fruit’s natural pectin and getting the jam to be the right texture: gelled and syrupy versus mushy and runny. When cooked to the correct temperature of 220°F, the jam turns out perfect without needing any additional pectin. If you want to speed the cooking process along, you can use powdered pectin. Follow the instructions on the package to see how much you need.
How To Tell When Jam Is Set
The easiest way to tell when the jam is ready is by using a candy thermometer. Once the jam reaches 220°F, the natural pectin in the fruit is activated and the sugars have thickened, so the jam is done.
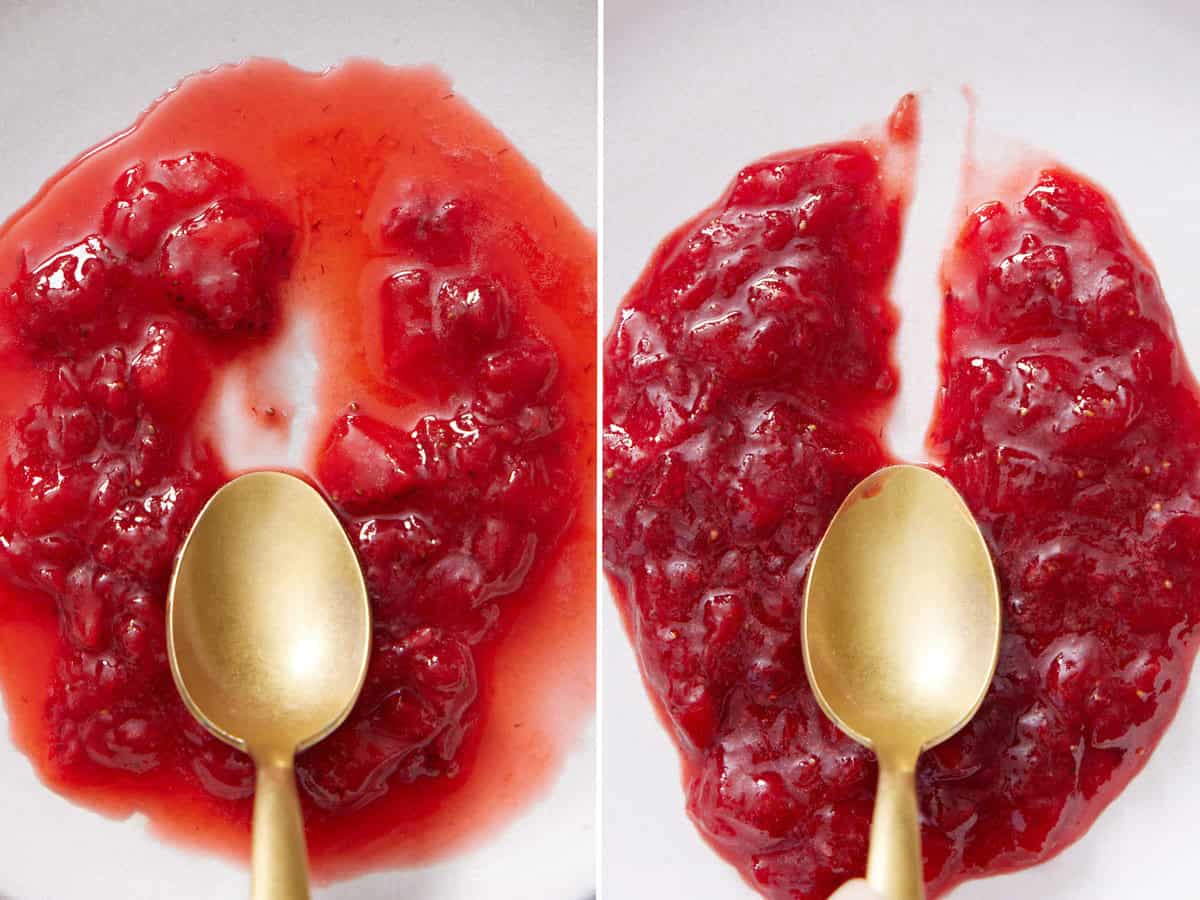
If you don’t have a candy thermometer, or you want to be doubly sure it is set, pop a small plate into the freezer while the jam is simmering. When you think your jam is ready, spoon some hot jam onto the frozen plate, place it back in the freezer for 2 minutes, then drag a spoon or your finger through the middle. If the jam quickly fills the path of the spoon, continue cooking the jam for 5 or 10 minutes and do the test again. If it doesn’t move and holds a clean line, it is properly set and “jammy.” You can then proceed with refrigerating or canning it.
Why Add Lemon Juice When Making Strawberry Jam?
Lemon juice is a vital ingredient for three reasons when making homemade jam. Its tartness and acidity brighten and balance the jam’s sweetness. Just as importantly, an acidic component is necessary to help activate the pectin in the strawberries. Without the acid in the lemon juice, the texture of the jam wouldn’t be quite right, and it would not set properly. The citric acid in lemon juice also helps prevent bacteria from growing, so it helps preserve the jam and gives it a longer storage life.
After The Jam Is Completely Cooled, Can I Freeze It?
Yes, for strawberry freezer jam, spoon the jam into sterilized glass jars or containers that are freezer-safe. Leave 1 inch of space from the jam to the top of the jar for the jam to expand. Place the jar of jam in the freezer. Homemade strawberry jam will keep for up to a year in the freezer.
How To Use Strawberry Jam
There are so many delightful ways to use this fruit jam! Here are some ideas:
- Spread it onto French bread, English muffins, or scones
- Swap out the raspberry jam for strawberry jam in a Monte Cristo sandwich
- Add a tablespoon to a vinaigrette for a delicious salad
- Spoon it onto vanilla ice cream
- Make a classic peanut butter and jam sandwich
- Whip up a batch of dreamy strawberry rolls
- Level up your overnight oats with a swirl of jam
- Scoop onto pancakes for a sweet-tart topping
Pro Tips For Making This Recipe
- Choose red and fragrant strawberries. The flavor of your jam will depend largely on how good the strawberries are. They should be rich in color and have a sweet fragrance. Strawberries that are very ripe and softer than you might enjoy eating fresh but are not molded, work well here! These ripe berries are concentrated in flavor and are a perfect way to not waste delicious fruit. However, avoid and discard and strawberries that have molded.
- Flavor variations: For more lemony flavor, add some lemon zest to the strawberry mixture. To add an herbal twist, add a few sprinkles of freshly chopped herbs a few minutes before the jam is ready. Basil, mint, thyme, and even lavender work very well. A little rose water introduces a lovely floral element to the jam.
- Stir the jam frequently. This will prevent it from sticking to the bottom of the pot and burning. Use a long-handle non-metal spoon and be mindful of splattering jam as your stir.
- To break down larger fruit pieces: Use a potato masher to mash up any larger pieces of strawberry. If you like a smoother jam, you can pulse the fresh berries in a food processor to break them down even more before cooking.
- Sterilize your jam jars to help prevent the growth of bacteria. Either use the sterilize function on your dishwasher or pop the jar and lid into boiling water for 15 minutes before adding the jam. I like doing this regardless of if I will be processing them in a water bath for long-term shelf storage. The sterilized jar helps the jam last even longer in the fridge too!
Frequently Asked Questions
Yes, you can use frozen strawberries to make homemade jam. Simply thaw them completely (do not discard any liquid released) and then follow the recipe as written.
When stored correctly in the refrigerator, this quick jam will keep well for up to 2 weeks.
Since this recipe only yields a jar or 2 of jam, I typically find no need for canning because it can be refrigerated and gets eaten pretty quickly in my house!
Canning makes the jam shelf-stable and gives it a much longer shelf-life, which is why very large batches of jam are typically canned. However, you can double or triple this recipe if you want to make jam for enjoying later in the year. Use sterilized mason jars and process them in a water bath for 15 minutes to make this recipe shelf-stable. Follow the directions provided by the canning jar manufacturer for how to properly process and seal your jam jars.
If you’ve tried this strawberry jam recipe, then don’t forget to rate it and let me know how you got on in the comments below. I love hearing from you!
Strawberry Jam
Video
Equipment
- Medium pot
- Candy thermometer
Ingredients
- 2 lbs strawberries 900g, halved
- 1¼ cup granulated sugar 250g
- 2 tbsp lemon juice 30mL
Instructions
- Prep the strawberries by washing, hulling, and roughly chopping.
- Add the chopped strawberries, sugar, and lemon juice to a large pot. Place over medium-high heat.
- Stirring frequently, bring the berries to a boil. Reduce the heat to medium-low to keep the berries at a simmer. (If it boils too hard it can overflow the pot, so reduce the heat more, if needed.)
- Let the jam simmer for about 45 minutes, frequently stirring, until the jam is thick and syrupy and reaches 220F on a candy thermometer.
- Check to see if it's ready by adding a small drop to the frozen plate. Return it to the freezer. After a few minutes, check the consistency. Remove the jam from the heat if it's thickened to your liking or continue simmering until desired consistency.
- When it’s done, pour the jam into a mason jar and chill overnight.
- Serve on french bread or scones.
Notes
- Choose red and fragrant strawberries. The flavor of your jam will depend largely on how good the strawberries are. They should be rich in color and have a sweet fragrance. Strawberries that are very ripe and softer than you might enjoy eating fresh but are not molded, work well here! These ripe berries are concentrated in flavor and are a perfect way to not waste delicious fruit. However, avoid and discard and strawberries that have molded.
- Flavor variations: For more lemony flavor, add some lemon zest to the strawberry mixture. To add an herbal twist, add a few sprinkles of freshly chopped herbs a few minutes before the jam is ready. Basil, mint, thyme, and even lavender work very well. A little rose water introduces a lovely floral element to the jam.
- Stir the jam frequently. This will prevent it from sticking to the bottom of the pot and burning. Use a long-handle non-metal spoon and be mindful of splattering jam as your stir.
- To break down larger fruit pieces: Use a potato masher to mash up any larger pieces of strawberry. If you like a smoother jam, you can pulse the fresh berries in a food processor to break them down even more before cooking.
- Sterilize your jam jars to help prevent the growth of bacteria. Either use the sterilize function on your dishwasher or pop the jar and lid into boiling water for 15 minutes before adding the jam. I like doing this regardless of if I will be processing them in a water bath for long-term shelf storage. The sterilized jar helps the jam last even longer in the fridge too!





Sue says
So easy and so delicious! I have not bought jam since I found this recipe. I make my own strawberry, blueberry and peach jams now. Thank you so much for showing us how easy it is to make our own with three simple ingredients and a little bit of time. It is far more delicious than anything you can buy at the store and SO satisfying to make and provide for my family.
Judy DiPietro says
Have you ever canned your jam? I mean… in a hot water bath for safe storage? I wondered if you could add the usual 10 minute water bath step and can them in sterile jars with hot jam? I love seeing your work on instantgramn You are an amazing artist/Baker! How do I sign up for your blog? I’m new to all of this!
John K. says
Judy,
I actually just poured this jam into a mason jar and kept it in the fridge! I haven’t canned jam before but you could check out Martha Stewart’s instructions! Thank you so much for the sweet words! Sign up for my weekly newsletter on the right side of every blog post!!
John