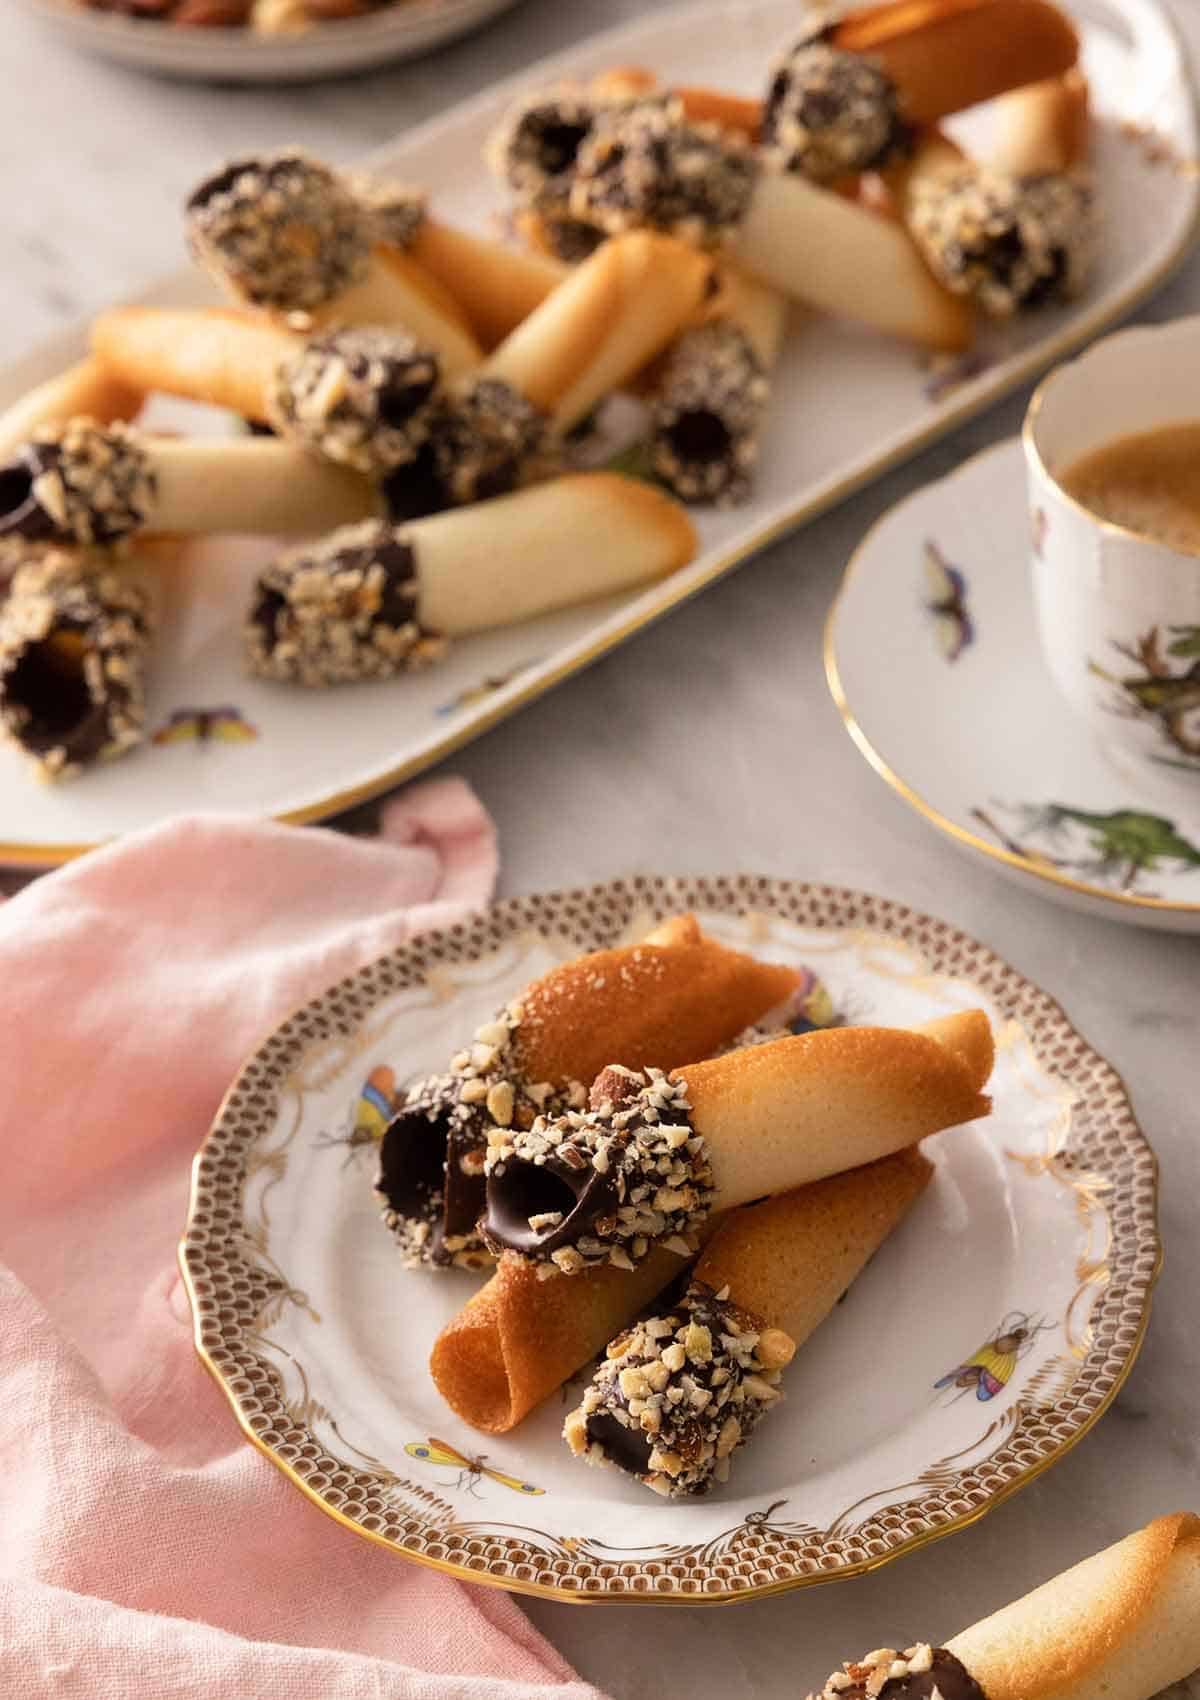
These chocolate dipped tuiles are thin French cookies that look fancy but are quite straightforward to make. They’re light, delicate, and crisp cookies that make for a beautiful addition to any holiday cookie box.
They come together with simple everyday ingredients you may already have in your kitchen. They’re also a great recipe to use up any extra egg whites you have on hand. They’re not too sweet and taste wonderfully buttery. The chopped nuts also add a delicious crunchy texture that makes these tuiles so addictive! Want another delicious cookie recipe? Try my thumbprint cookies recipe, rainbow cookies recipe, or linzer cookies recipe.
What You Need to Make This Recipe
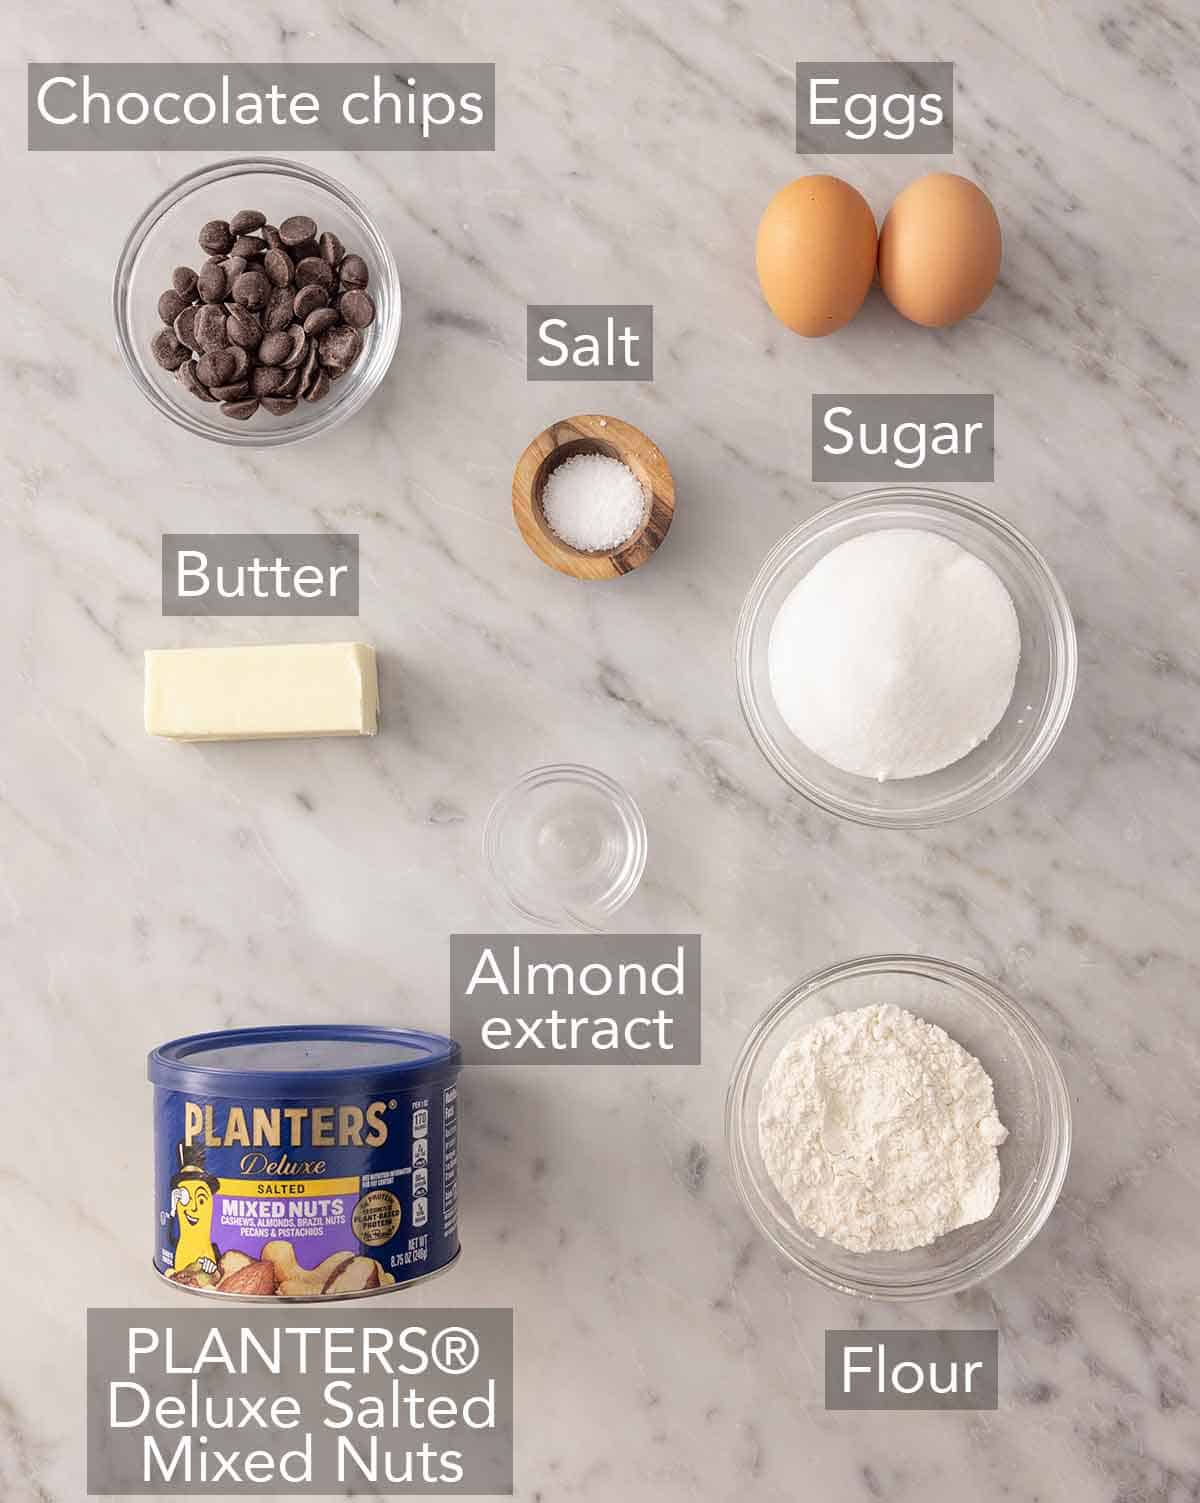
Eggs — this tuiles recipe only calls for egg whites. Save your egg yolks for this crème brûlée recipe! Keep in mind that eggs are easier to separate when cold.
Sugar — you don’t need anything fancy for this recipe. You only need granulated sugar.
Butter — use good-quality butter for these cookies. As the ingredients list is short, you want the buttery flavor to shine through.
Almond extract — did you know that almond extract doesn’t taste like almonds? They give your baked goods a strong, pure, sweet flavor instead.
Chocolate chips — I melt semi-sweet chocolate chips to dip the tuiles cookies in. Milk chocolate may be too sweet. However, you can also use a chopped semi-sweet chocolate bar if you cannot find chocolate chips.
PLANTERS® Deluxe Salted Mixed Nuts — for the perfect crunch over the dipped chocolate, chop some PLANTERS® Deluxe Salted Mixed Nuts to sprinkle over the tuiles.
How to Make Chocolate Dipped Tuiles
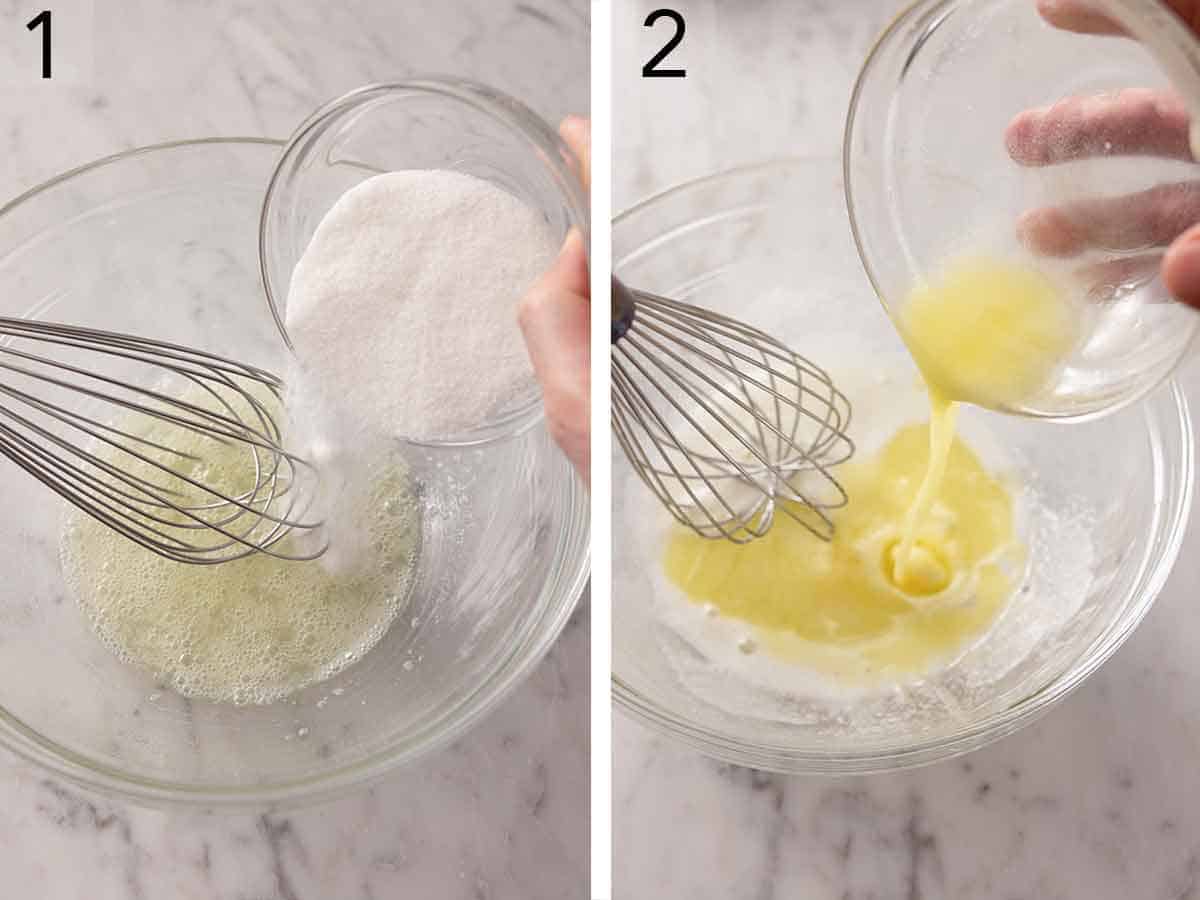
1. Break the egg whites up in a large bowl with a whisk, then add the sugar and mix until combined.
2. Beat in the almond extract, butter, and salt until smooth.
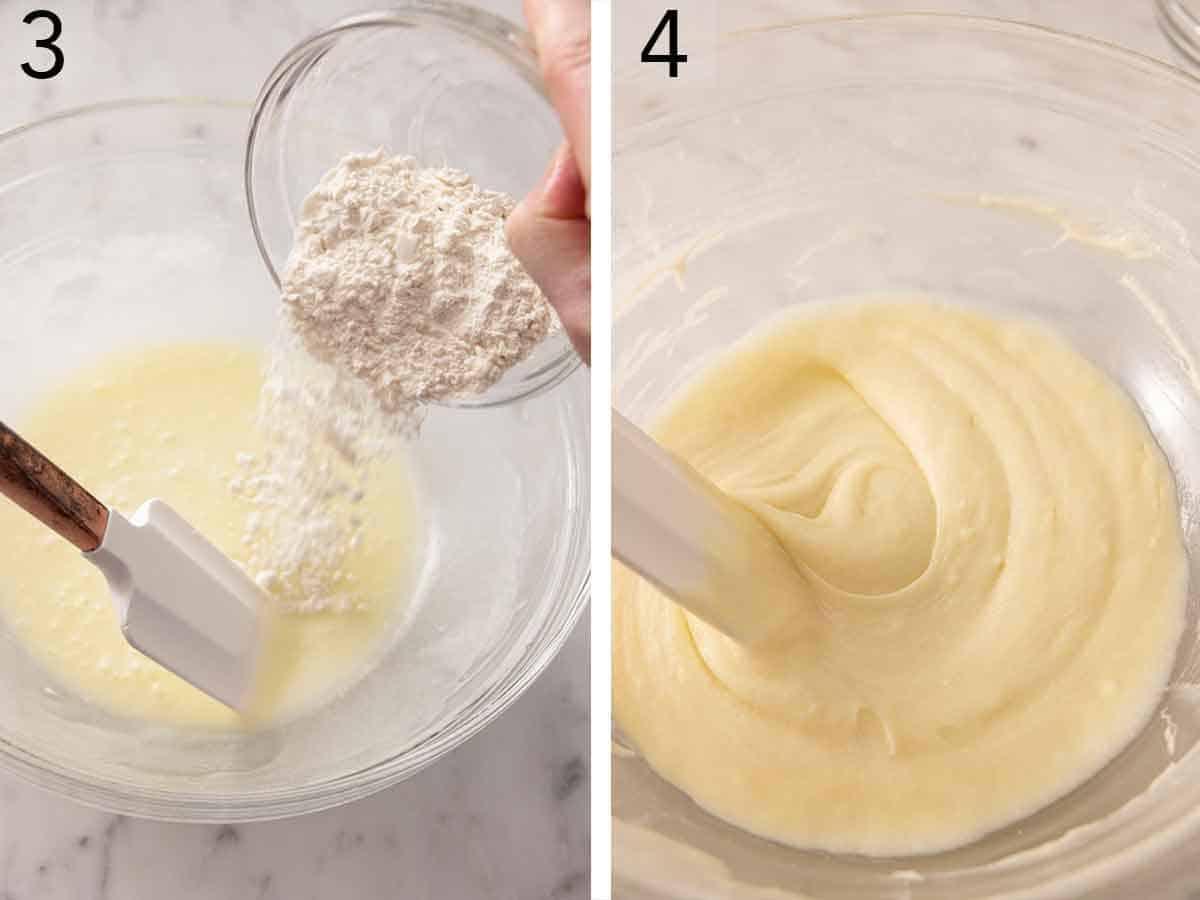
3. Add the flour to the bowl.
4. Stir with a spatula until just combined, then measure out a heaping teaspoon of the batter and transfer to a silicone-lined baking sheet.
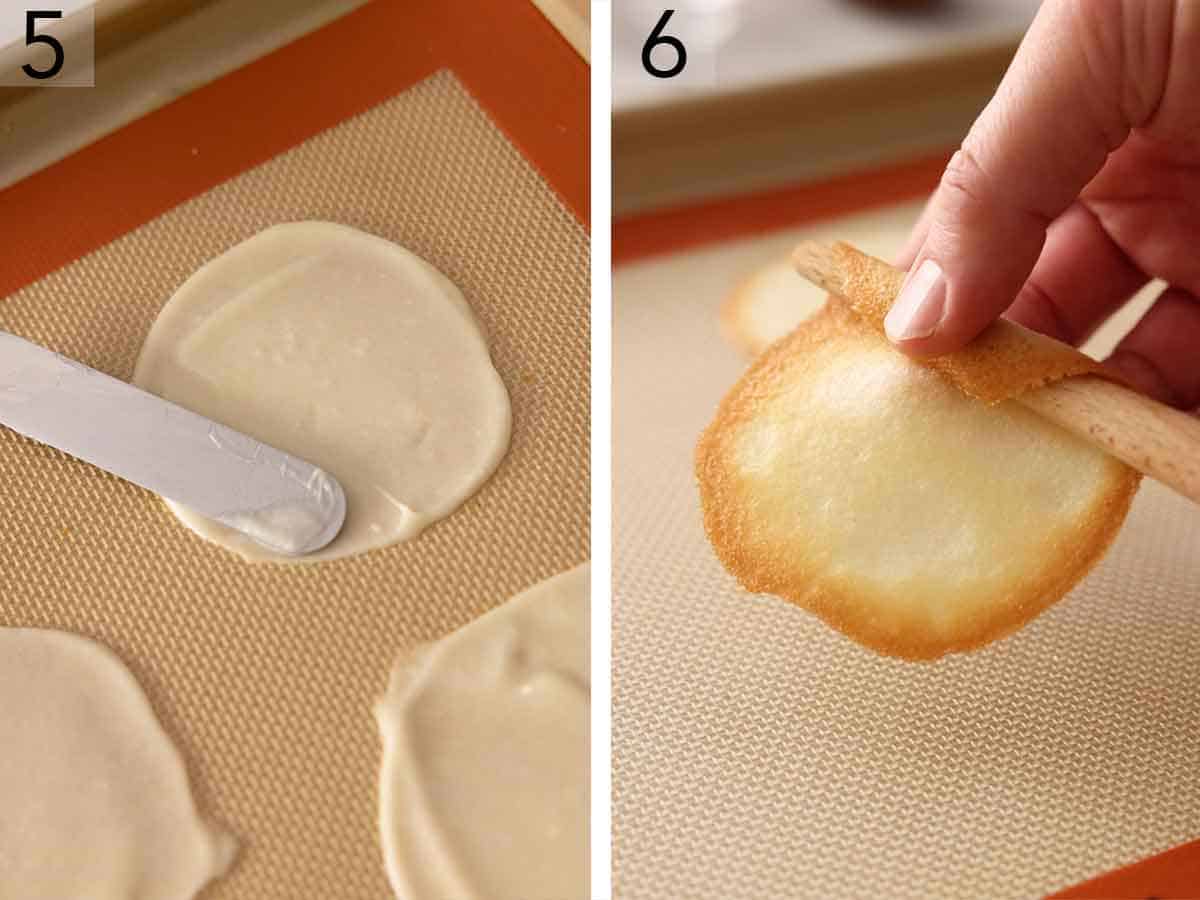
5. Use the back of a spoon or an offset spatula to spread the batter into a 3 inch circle and repeat. Bake for 7-8 minutes, one batch at a time.
6. Once out of the oven, allow to cool for 40 seconds, then lift with an offset spatula and roll onto a round wooden spoon handle or chopstick. Finish the roll by pressing the edge onto your cold counter. Repeat with the remaining batches until the batter is gone.
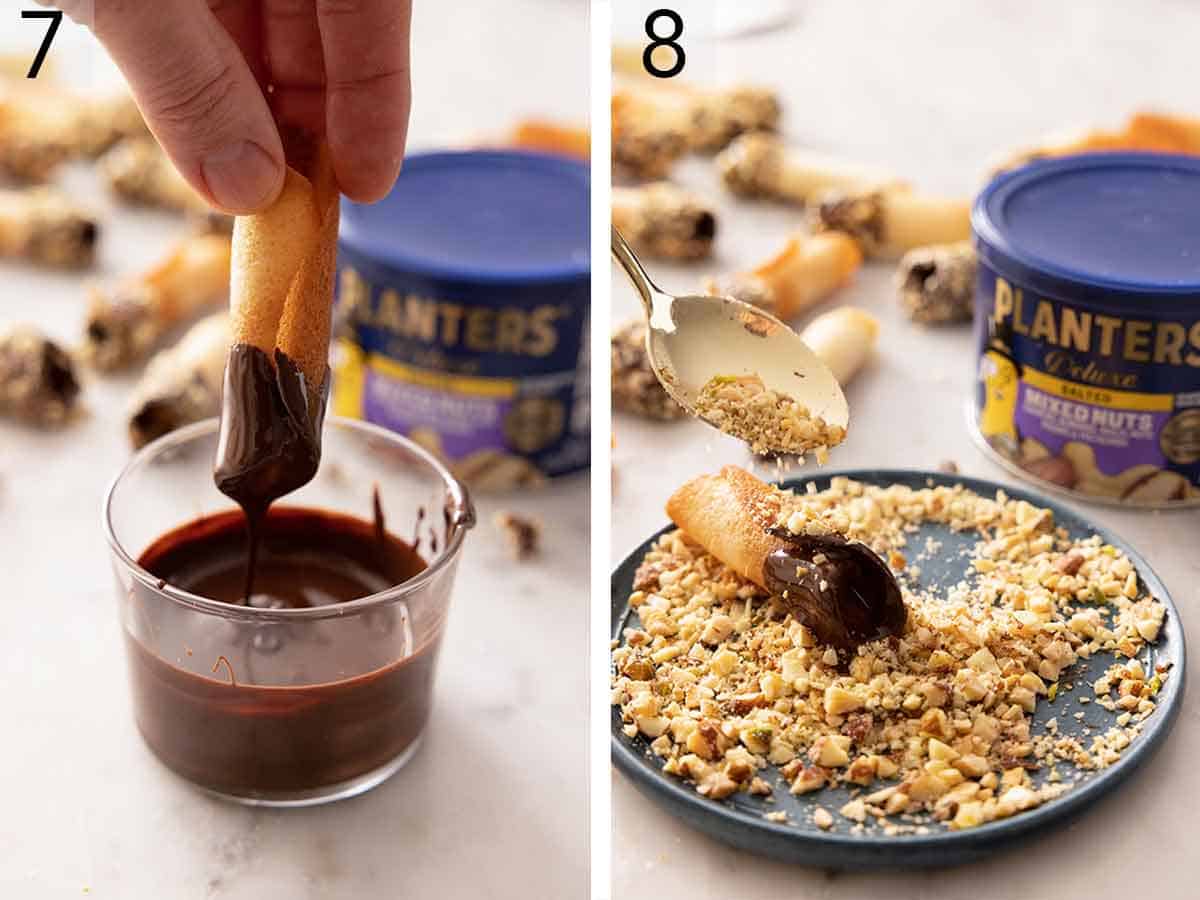
7. Melt the chocolate over a double boiler, then dip the cookies as desired.
8. Sprinkle with the chopped PLANTERS® Deluxe Salted Mixed Nuts.

Pro Tips for Making This Recipe
- You can pop your tuiles cookies back into the oven for 90 seconds if they need to be reshaped.
- If this is your first time making and rolling tuiles, I recommend baking only one baking sheet at a time, so you don’t have to multitask.
- Make sure to roll the cookies quickly. They’re delicate cookies, and once they’ve hardened, you can’t shape them. While you can reheat to reshape them, you don’t want to do it multiple times, or you’ll overbake the cookies.
- I highly recommend using a scale to measure your ingredients as it’s the most accurate method and will ensure you get the desired light, delicate and crisp texture. For the flour, if you don’t have a scale, fluff your flour with a spoon and spoon it into your cups before leveling it off with a knife. This method prevents you from overpacking the measuring cup.
- You can shape the tuiles into any shape you desire! Cups, chips, cigars, or just gently curved on a large rolling pin. You can dip them in any of these shapes as well.
- When melting the chocolate, the bowl needs to be as clean and dry as possible. Water will cause the chocolate to seize, and you’ll have to start over the melting process for these chocolate dipped tuiles.
- Try to find a vessel for the melted chocolate that is not too wide. This way, you can dip the rolled tuiles easily without needing a ton of chocolate. A shot glass or tall cup is perfect.
Frequently Asked Questions
Once the chocolate has set, store the chocolate dipped tuiles in an airtight container at room temperature. It’s important you use an airtight container as it’ll keep the tuiles crispy.
These tuiles keep for up to a week, but they tend to disappear before the week is even over!
You can! You can freeze them before or after dipping the tuiles cookies. Once they’ve reached room temperature, transfer them to a freezer-safe bag or container and freeze them for up to a month. Bring it to room temperature before you serve them.
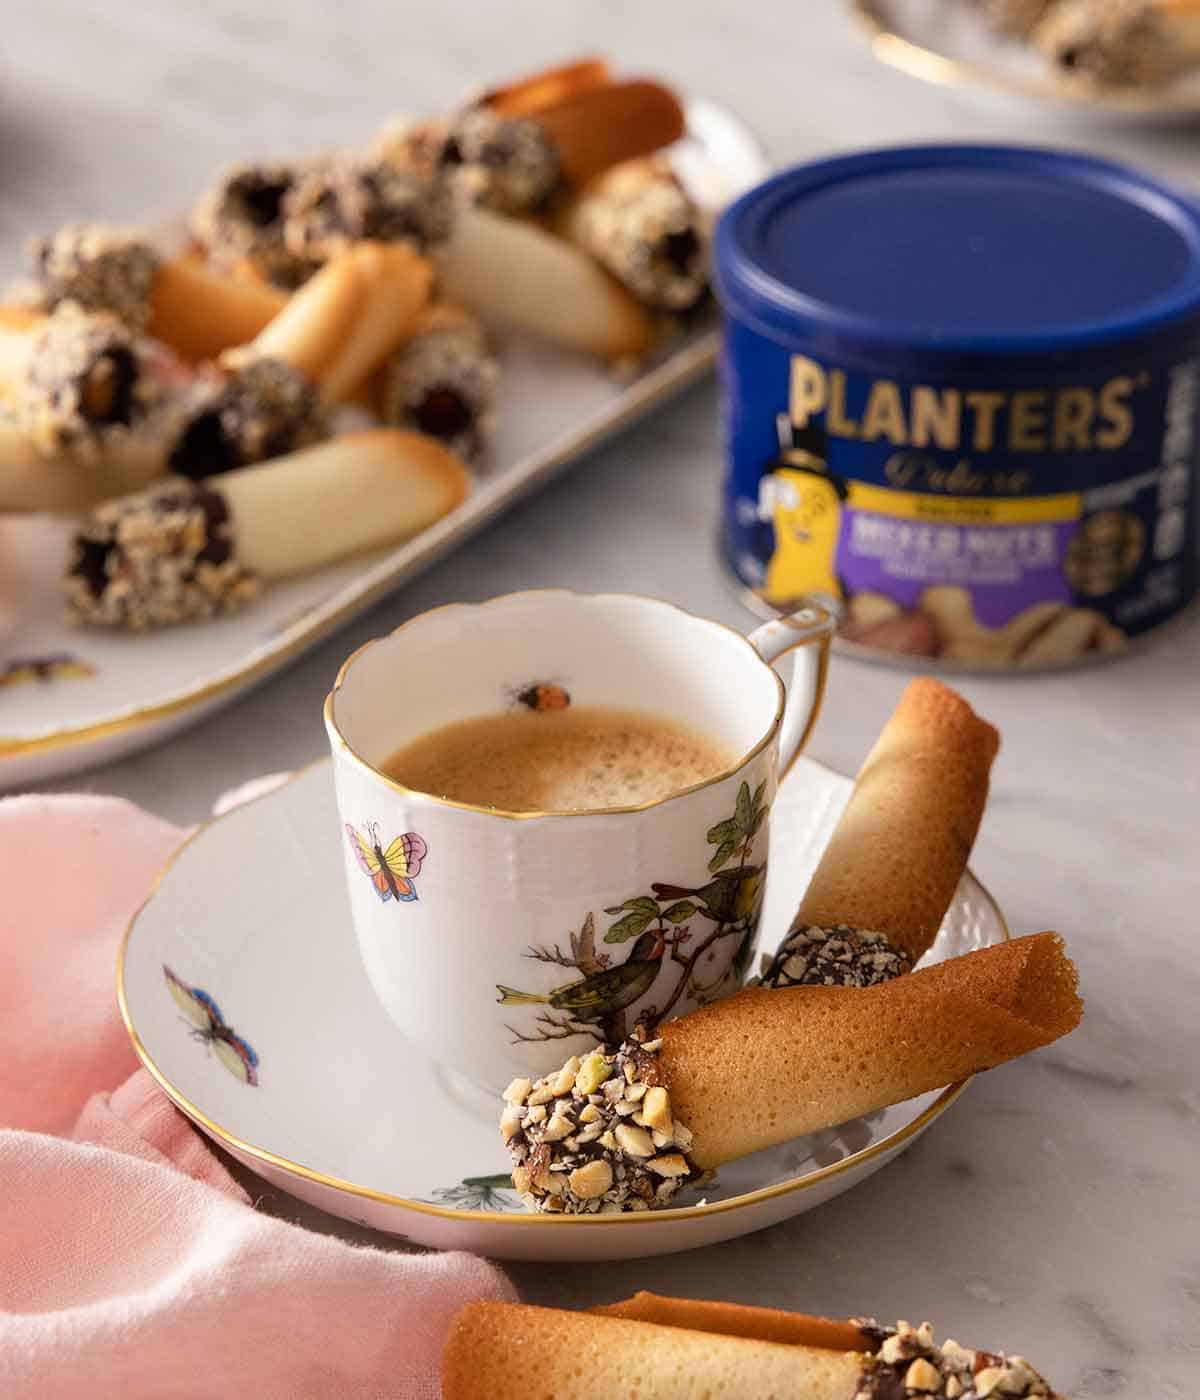
These cookies are great alongside a cup of coffee or tea. They’re also great served over some ice cream or placed in the frosting on cakes or cupcakes.
The cookies will continue to crisp up as they cool down. However, if they are chewy, it means you did not spread the batter thin enough before baking.
If you’ve tried this Chocolate Dipped Tuiles recipe, then don’t forget to rate the recipe and let me know how you got on in the comments below, I love hearing from you!

Chocolate Dipped Tuiles
Equipment
- Baking Sheet
- Parchment paper
Ingredients
- 2 egg whites
- ½ cup granulated sugar (100g)
- ⅓ cup butter melted and cooled (38g)
- ⅓ cup flour (40g)
- ½ tsp almond extract
- 1 pinch salt
- ½ cup semi sweet chocolate chips
- ½ cup PLANTERS® Deluxe Salted Mixed Nuts chopped finely
Instructions
- Preheat oven to 325F and line two baking sheets with silicone mats or parchment paper. Line two baking sheets with parchment paper or silicone mats.
- Break the egg whites up in a large bowl with a whisk then add the sugar and mix until combined.
- Beat in the almond extract, butter, and salt until smooth.
- Stir in the flour with a spatula until just combined then measure out a heaping teaspoon of the batter and transfer to your lined baking sheet. Use the back of a spoon or an offset spatula to spread the batter into a 3 inch circle and repeat. You should bake 3-5 cookies at a time allowing about an inch between each cookie. Bake for 7-8 minutes one batch at a time. The cookies are ready when the edge is golden brown and the centers are a light golden color.
- Once out of the oven, allow to cool for 40 seconds then lift with an offset spatula and roll onto a round wooden spoon handle or chopstick. Finish the roll by pressing the edge onto your cold counter. Repeat with the remaining batches until the batter is gone.
- Melt the chocolate over a double boiler then dip the cookies as desired and sprinkle with the chopped PLANTERS® Deluxe Salted Mixed Nuts.
- Store in an airtight container until ready to serve.
Notes
- You can pop your tuiles cookies back into the oven for 90 seconds if they need to be reshaped.
- If this is your first time making and rolling tuiles, I recommend baking only one baking sheet at a time, so you don’t have to multitask.
- Make sure to roll the cookies quickly. They’re delicate cookies, and once they’ve hardened, you can’t shape them. While you can reheat to reshape them, you don’t want to do it multiple times, or you’ll overbake the cookies.
- I highly recommend using a scale to measure your ingredients as it’s the most accurate method and will ensure you get the desired light, delicate and crisp texture. For the flour, if you don’t have a scale, fluff your flour with a spoon and spoon it into your cups before leveling it off with a knife. This method prevents you from overpacking the measuring cup.
- You can shape the tuiles into any shape you desire! Cups, chips, cigars, or just gently curved on a large rolling pin. You can dip them in any of these shapes as well.
- When melting the chocolate, the bowl needs to be as clean and dry as possible. Water will cause the chocolate to seize, and you’ll have to start over the melting process.
- Try to find a vessel for the melted chocolate that is not too wide. This way, you can dip the rolled tuiles easily without needing a ton of chocolate. A shot glass or tall cup is perfect.






Leave a Reply