


A reader, Cindy, says: “Wow, this is so easy! I love that I can make s’mores at home without a fire pit or having to wait until our next camping trip. Using the oven made it so easy, and my kids were really happy!”
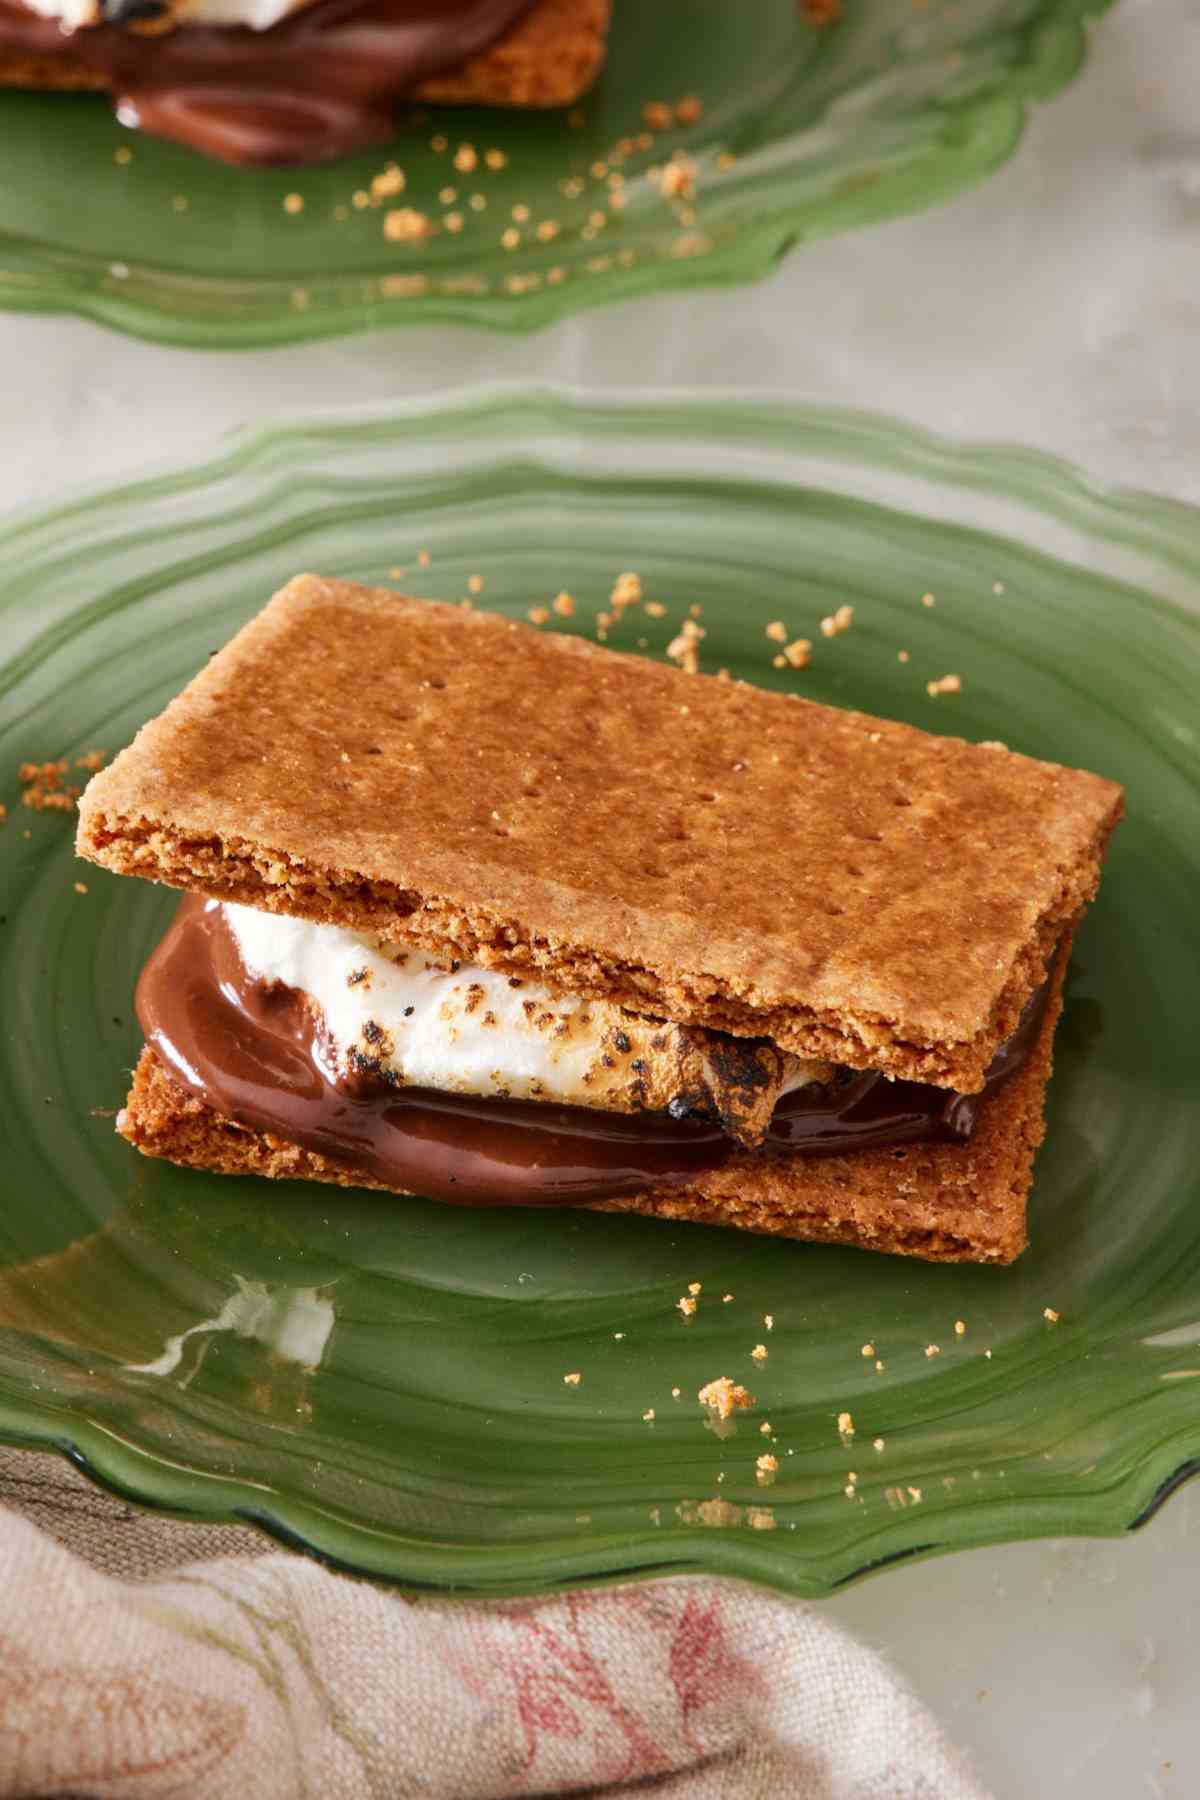
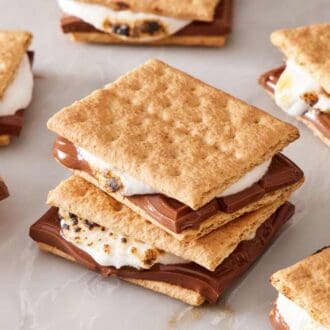
While they’re best known as a campfire classic, s’mores come in many forms—and my homemade version doesn’t require an open flame! Simply gather your marshmallows, graham crackers, and your favorite chocolate bar, and you can make s’mores one of three ways at home: using a grill, a microwave, or the oven!
During recipe testing, I found that all three methods for making s’mores will satisfy the craving. But the oven is the easiest method for still producing that toasted marshmallow flavor I love in s’mores (and it isn’t weather dependent!). I recently updated this recipe to use either packaged marshmallows for convenience or homemade marshmallows like my original recipe. And now, you can even level them up with homemade graham crackers! Get all of my tips and tricks for making the best s’mores at home, below.
Table of Contents
Key Ingredients
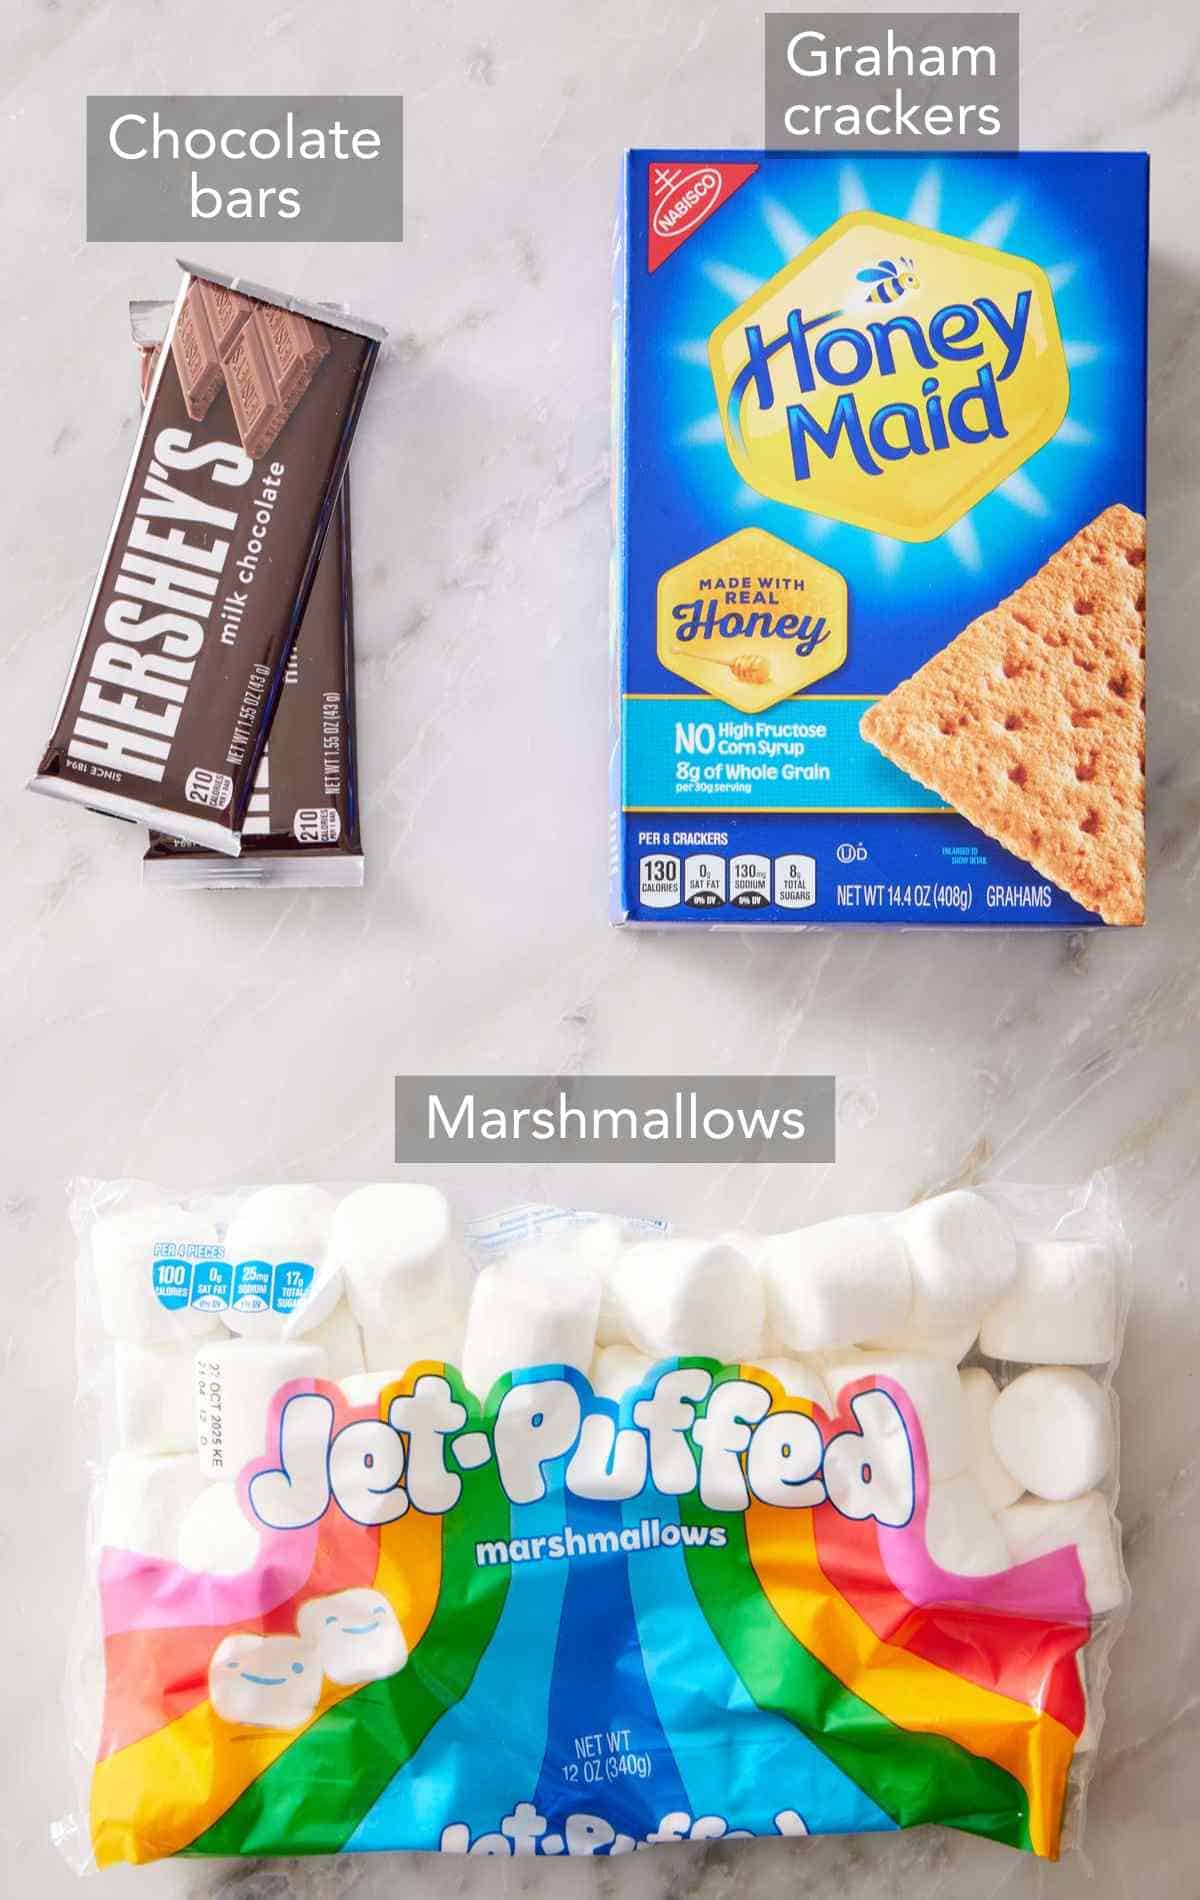
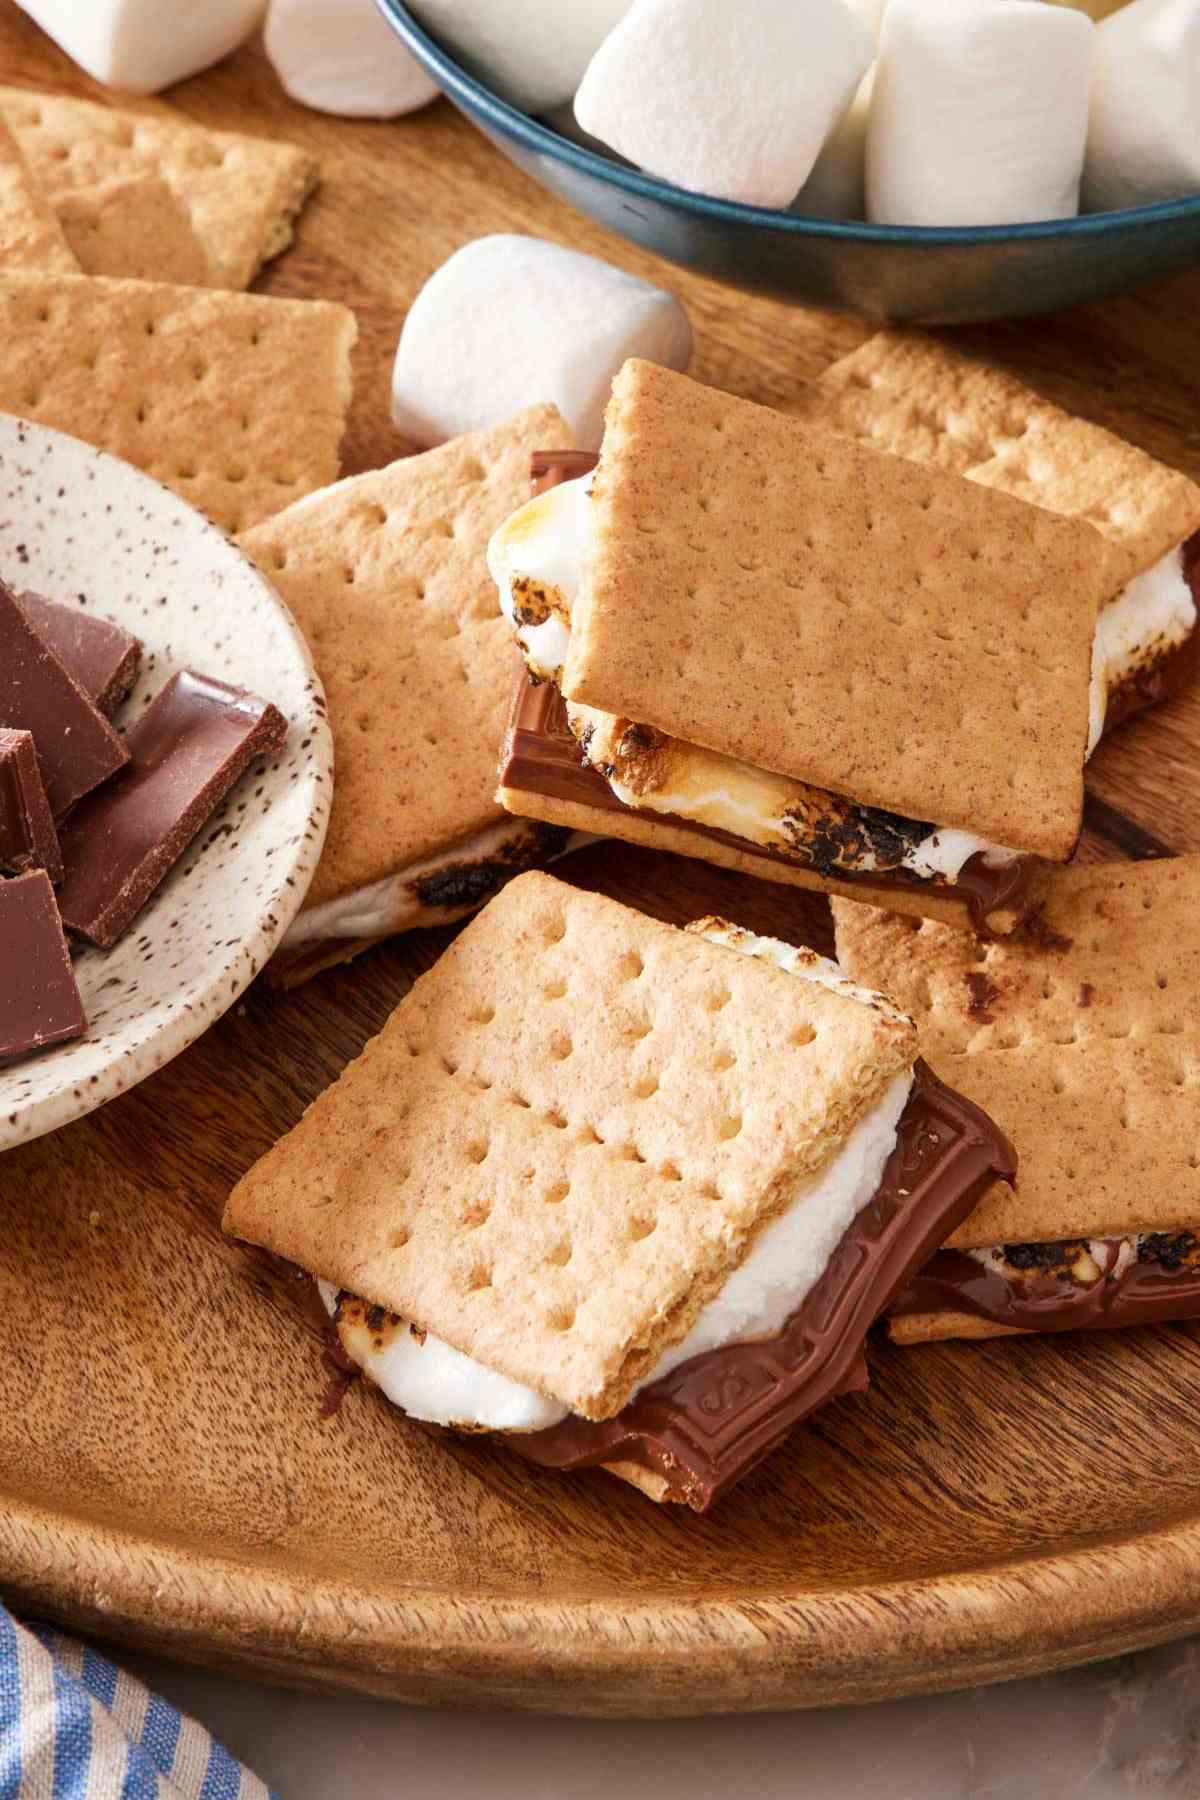
You only need three ingredients to make the best s’mores! You can find the full list of ingredients with amounts in the recipe card below.
Graham crackers — use your favorite brand and feel free to experiment with other flavors like honey, cinnamon, or even chocolate graham crackers. For a truly gourmet s’mores experience, try using homemade graham crackers!
Marshmallows — large store-bought marshmallows work excellently for s’mores. If you want to go all-out, try making your own marshmallows (it’s easier than you might think!). Once you’ve tried homemade, I have a feeling you won’t want to go back…
Milk chocolate bars — this is the most traditional choice, but certainly not your only one. Feel free to swap in semi-sweet, dark, bittersweet, or even flavored chocolate if you prefer! I love using Hershey’s Special Dark bars for a nod to the classic, but with an upgrade to my love of dark chocolate.
What’s The Best Way To Make S’mores At Home?
During recipe development, I tested quite a few methods for making s’mores at home! While I will always love the traditional method of campfire toasted marshmallow, it’s pretty easy to make these without the open flame, too. I settled on three methods I really love that are also easily accessible at home—the grill, the oven, and the microwave. (As a side note: if you have an air fryer, you can also make air fryer s’mores!)
In recipe testing, I found the grill to be the closest to a true campfire s’more, since it uses a controlled open flame and toasts the marshmallow well. Plus, you can use this same method for a campfire or backyard fire pit if you have one! The oven is my favorite method for making indoor s’mores because it’s an easy way to make lightly toasted marshmallows without a flame. These are cooked on a cookie sheet and develop a lightly golden brown exterior thanks to the high oven temperature. The third option is the microwave. It won’t give you the toasted flavor, but it does produce a very gooey marshmallow in a fraction of the time. Each method produces delicious results, so which one you use is really up to you!
Pro Tips For Making The Best S’mores
Use fresh, soft marshmallows. Old, stale marshmallows dry out and lose their gooey magic. When you toast them while soft and fresh, they melt evenly and give you that perfect pull-apart texture that makes a s’more so satisfying. If your bag has been open a while and the marshmallows feel a bit firm or tacky, don’t toss them just yet—try placing a slice of bread in the bag and sealing it for a few hours to help soften them back up. If that doesn’t do the trick, you can certainly still use them, but I do recommend you open a new bag—it’ll make all the difference!
Have all of your ingredients and supplies ready. S’mores come together quickly—once that marshmallow is golden brown and gooey, you’ll want to sandwich it fast while it’s still hot enough to melt the chocolate. Having everything prepped and within arm’s reach means you won’t be scrambling to unwrap chocolate or open a graham cracker sleeve at the last second. Lay out your graham crackers, break the chocolate into squares, and keep a clean surface or plate nearby for assembly.
If you are making the s’mores with the grill or fire pit, be sure to use a long, nonflammable instrument to hold the marshmallow for toasting. You can use a dedicated marshmallow stick or long kebab skewers.
How To Make S’mores
Here are step-by-step process images and instructions for each method to make s’mores! The full set of recipe instructions is in the recipe card below.
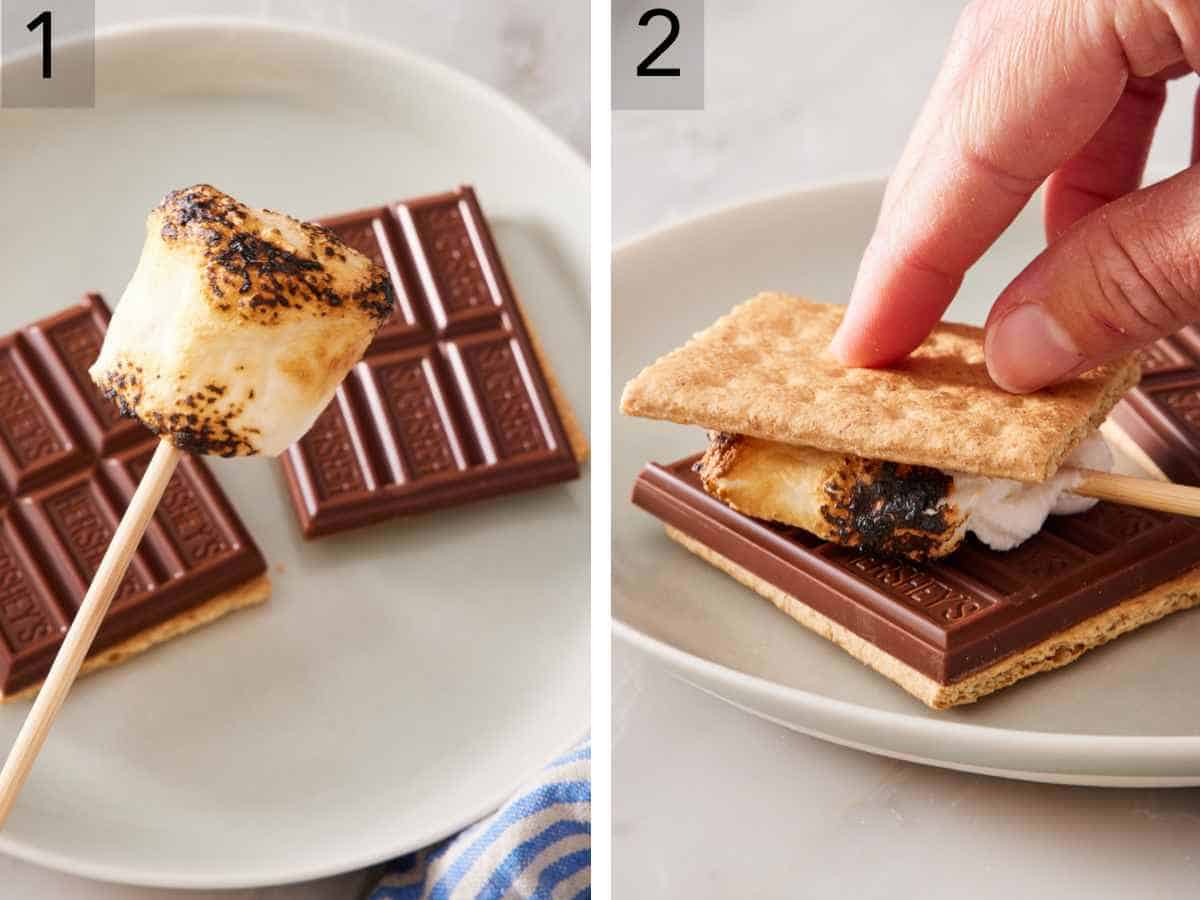
1. Grill or Campfire Method: Stick the marshmallows onto heat-proof skewers or roasting sticks (one marshmallow per stick). Toast the marshmallow a few inches above the flame, turning it often, until golden brown all over (or as toasted as you like!).
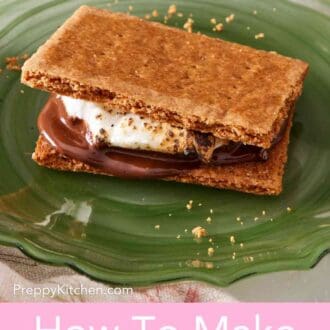
2. Once they’re ready, sandwich each of the golden-brown marshmallows between two graham cracker halves with a piece of chocolate.
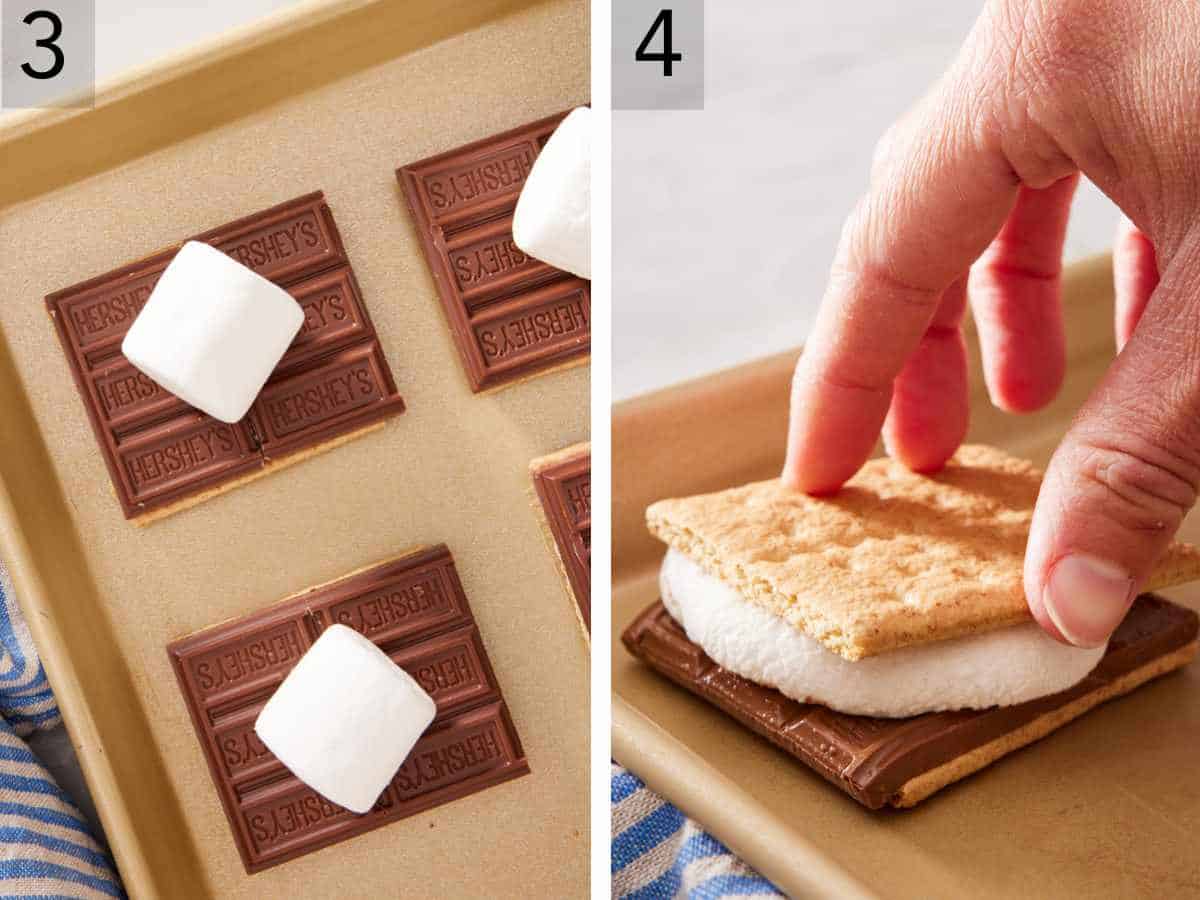
3. Oven Method: Preheat your oven to 400°F. While it heats up, place 4 graham cracker halves on a small baking tray in a single layer. Add a piece of chocolate to each, then pop a marshmallow on top. Slide the tray into the oven and bake for 4 to 6 minutes, just until the marshmallows are warm and puffed up.
4. Carefully take them out and press the remaining graham cracker halves on top to finish your oven s’mores.
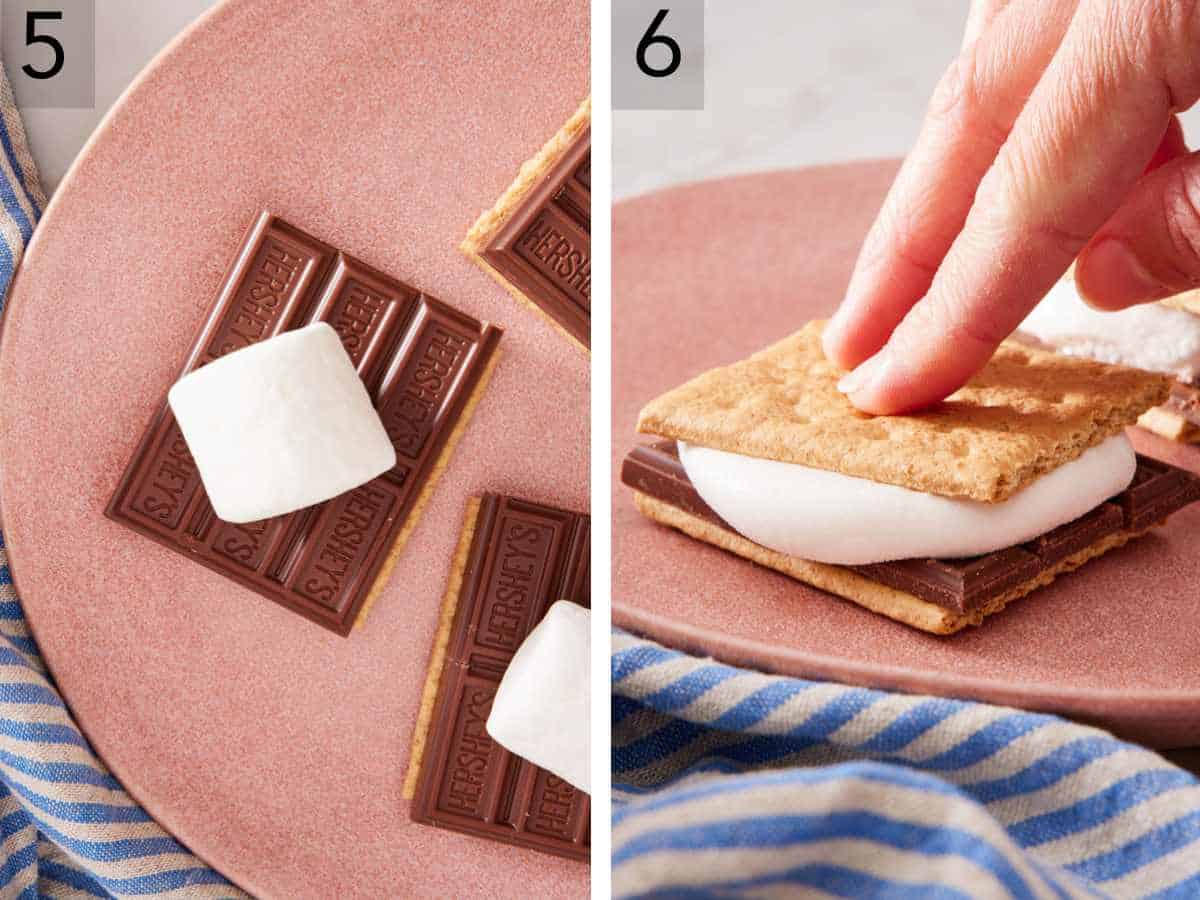
5. Microwave Method: Start by laying out 4 halved graham crackers on a microwave-safe plate. Place a square of chocolate on each graham cracker half, then top with a marshmallow. Pop the plate in the microwave and heat for about 10 to 20 seconds—just until the marshmallows puff up and look nice and melty.
6. Carefully top each one with the other side of the graham cracker to make a sandwich. Let them cool for a minute or two (they’ll be hot!) before digging in.
S’mores Recipe
Equipment
- Oven
- Microwave
- Campfire
- Skewers
- Small Sheet Tray
Ingredients
- 4 whole graham crackers (60g)
- 4 large marshmallows
- 2 (1.45-ounce/41g) chocolate bars
Instructions
- Break the graham cracker sheets in half so that you have 8 squares. Break the chocolate bars in half so that you have 4 squares.
For the Grill or Campfire:
- Place the marshmallows on heat-proof skewers or sticks. Hold a few inches from the flame and toast, rotating frequently, until lightly browned all over.
- Sandwich each marshmallow between 2 graham crackers and a square of chocolate. Let the marshmallow’s heat warm the chocolate for a few minutes before eating.
For the Oven:
- Preheat the oven to 400°F. Place 4 graham cracker halves on a small sheet tray. Place one piece of chocolate, then a marshmallow on top of each. Bake for 4 to 6 minutes, until the marshmallow is hot and puffs up.
- Top with the remaining graham cracker halves. Let cool for a couple of minutes before serving.
For the Microwave:
- Place 4 graham cracker halves on a microwave-safe plate. Place one piece of chocolate, then a marshmallow on top of each. Microwave for 10 to 20 seconds, until the marshmallow is hot and puffs up.
- Top with the remaining graham cracker halves. Let cool for a couple of minutes before serving.
Notes
- Let the s’mores cool for a minute or two before eating. You definitely don’t want molten hot marshmallows in your mouth! This short cooling period, once you’ve assembled your s’mores, will make the eating experience so much better (as someone who has definitely burned his tongue out of impatience, trust me!). Plus, those couple of minutes give time for the heat to transfer for perfectly melted chocolate.
Nutrition
Can I Use A Kitchen Torch To Toast The Marshmallows?
Yes, you can absolutely use a kitchen torch to toast the marshmallows! It’s a great way to get that golden, fire-kissed exterior without a campfire, too. Just treat it like you would the grill—skewer your marshmallow, hold it steady over a heat-safe surface, and carefully torch the outside until it’s toasted to your liking. This will only take 15 to 30 seconds! Make sure to keep the flame moving so it doesn’t burn in one spot.
Variations
You can make so many different types of s’mores by swapping out the chocolate and graham crackers! Here are a few ways to branch out from the basic recipe:
- Swap the chocolate: Use different chocolate candy bars in place of the milk chocolate. I love flavored chocolate squares, chocolate bars with almonds or toffee, large Andes mints, or even peanut butter cups.
- Use different cookies: Don’t feel limited to crunchy graham crackers—you have tons of options! I love to make them with Biscoff cookies or buttery crackers like Ritz.
- Add a flavorful spread: Spread cookie butter, peanut butter, or Nutella on one of the graham cracker halves before pressing it on top of the warm marshmallow.
- Use flavored marshmallows: Look for options like strawberry, toasted coconut, caramel swirl, or even chocolate-filled varieties at the store—seasonal flavors like peppermint or pumpkin spice can be a hit too. Want to really impress? Use a flavored marshmallow with a complementary chocolate—like strawberry with white chocolate, caramel with dark chocolate, or mint with milk chocolate.
Can I store leftover s’mores?
While you technically can store leftover s’mores, know they won’t have that same ooey-gooey, just-toasted texture or flavor upon reheating. The graham crackers become softer with time, and the marshmallows turn hard after they cool. If you have extras, I recommend chopping them up to use as an ice cream topping!
More Dessert Recipes To Try
If you love classic s’mores, try one of these other s’more-inspired desserts!
These decadent s’mores bars get their incredibly gooey quality from a fluffy layer of marshmallow creme.
My s’mores cookies are a mashup of this campfire classic and chocolate chip cookies, and a must-try recipe!
For a fun potluck dessert, try my s’mores pie!
This s’mores cake takes the classic dessert to a new level with three cake layers, a chocolate frosting, and gooey marshmallow topping.
If you’ve tried this S’mores recipe, then don’t forget to rate it and let me know how you got on in the comments below. I love hearing from you!
Leticia Chavez says
Made these only because the picture looked so good. Delicious and so easy. Gave some plain marshmallows to a friend who claimed them to be the best she’s ever had. Will definitely make again.
K says
Such a creative spin on a classic dessert! So great.
LIV says
MY KIDS LOVED MAKING THIS!!! SO EASY AND GOOD!!