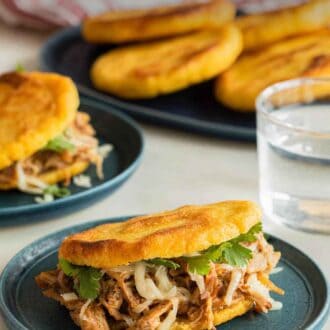
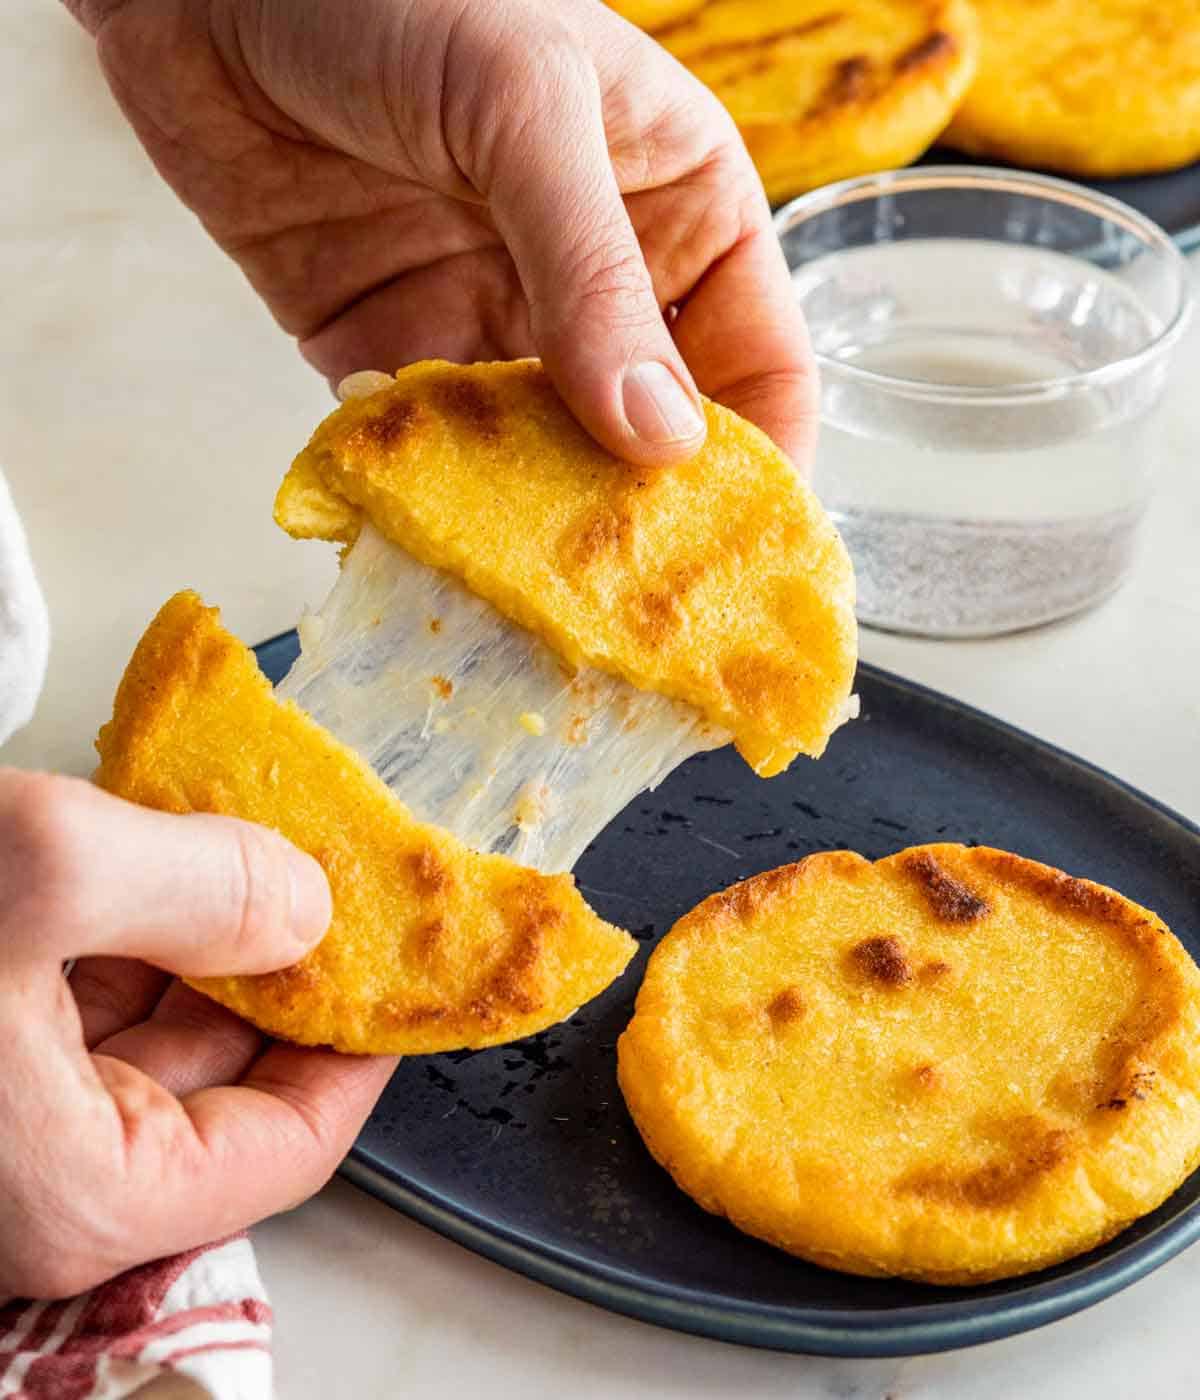
A South American staple, especially in Venezuela and Colombia, arepas are cornmeal cakes that are similar to pita pockets that can be eaten from breakfast to dinner and filled with any ingredients you’d like or eaten alone. Venezuelan arepas or arepas rellenas have a texture similar to flatbread and tend to be thicker than Colombian arepas. Colombian arepas are also sweeter and stuffed with cheese or arepas con queso! For another delicious Latin recipe, try my tostones recipe!
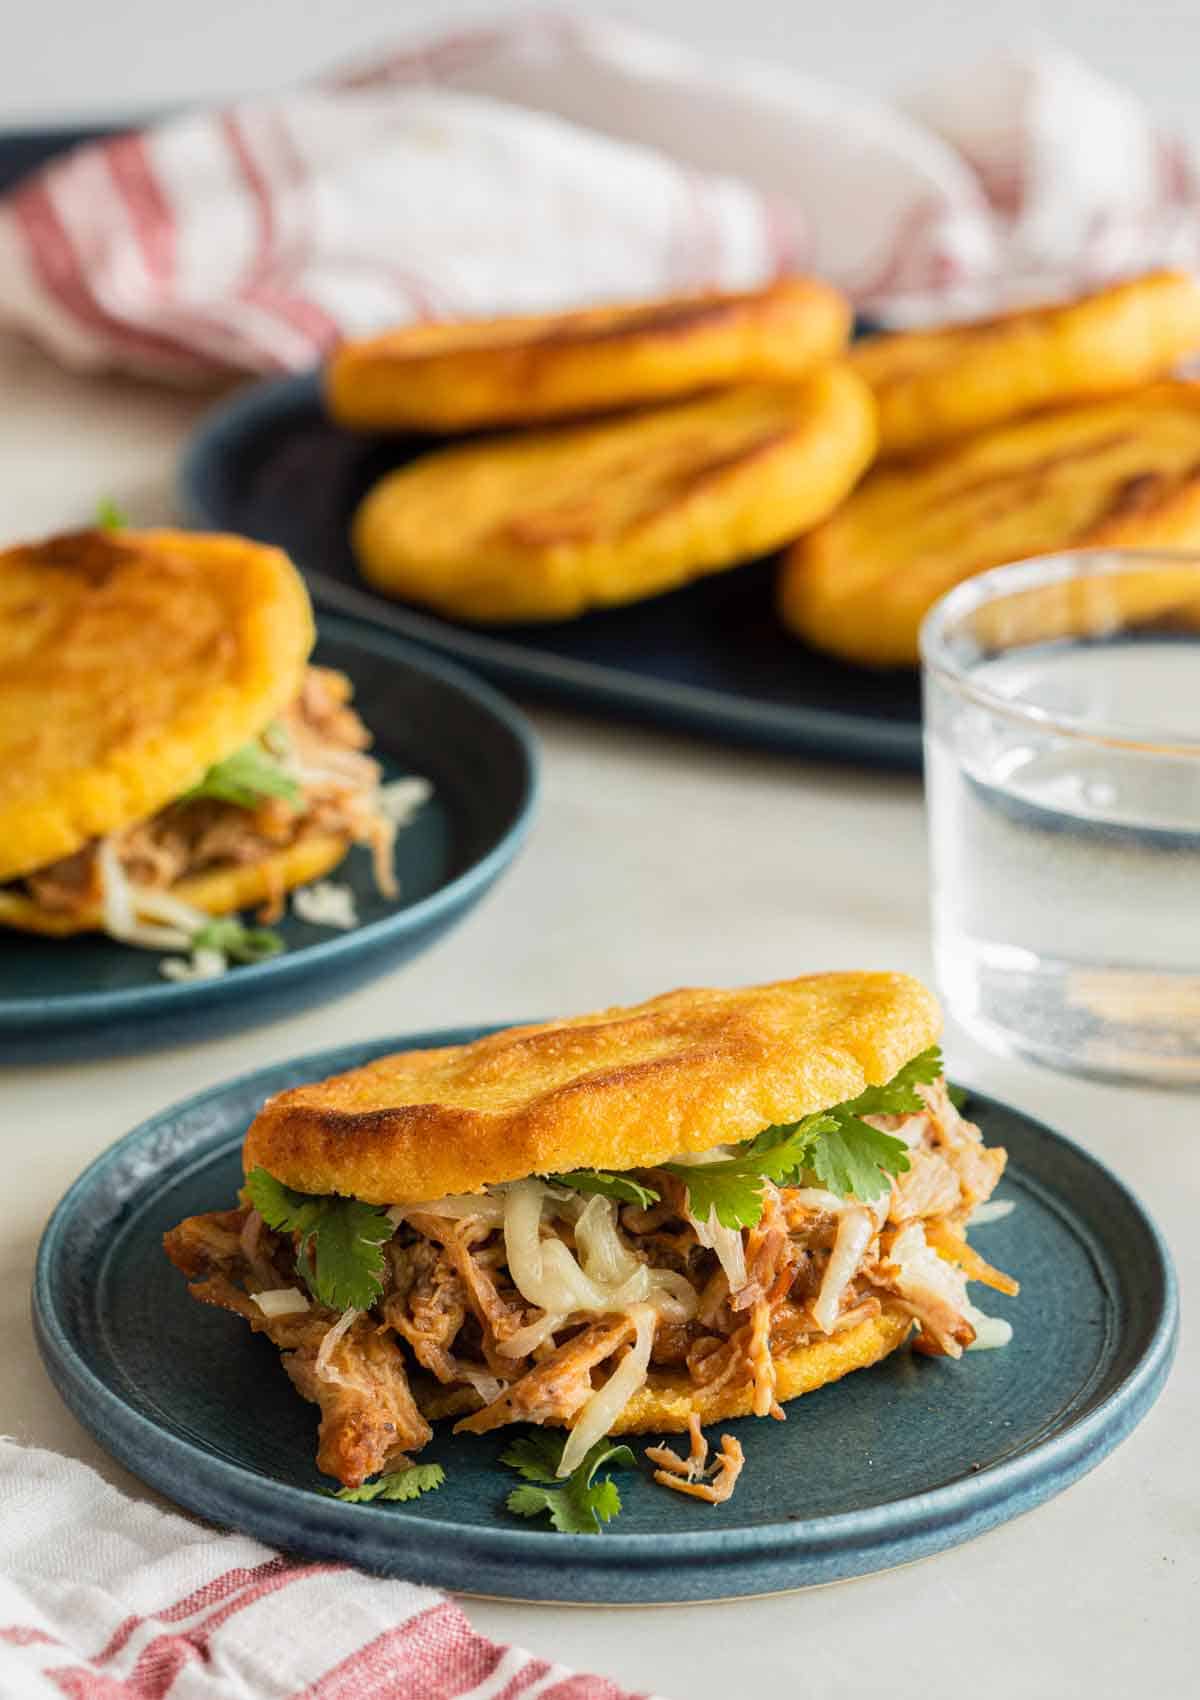
Making arepas at home is so easy, and they’re so delightful to bite into as they’re crispy on the outside with a soft, slightly creamy interior. You only need a few simple ingredients, and the dough comes together quickly. You don’t even need a mixer! I love filling these with scrambled eggs, avocado, and black beans for breakfast and then filling them with carnitas, shredded chicken, and some cheese for dinner.
What You Need to Make This Recipe
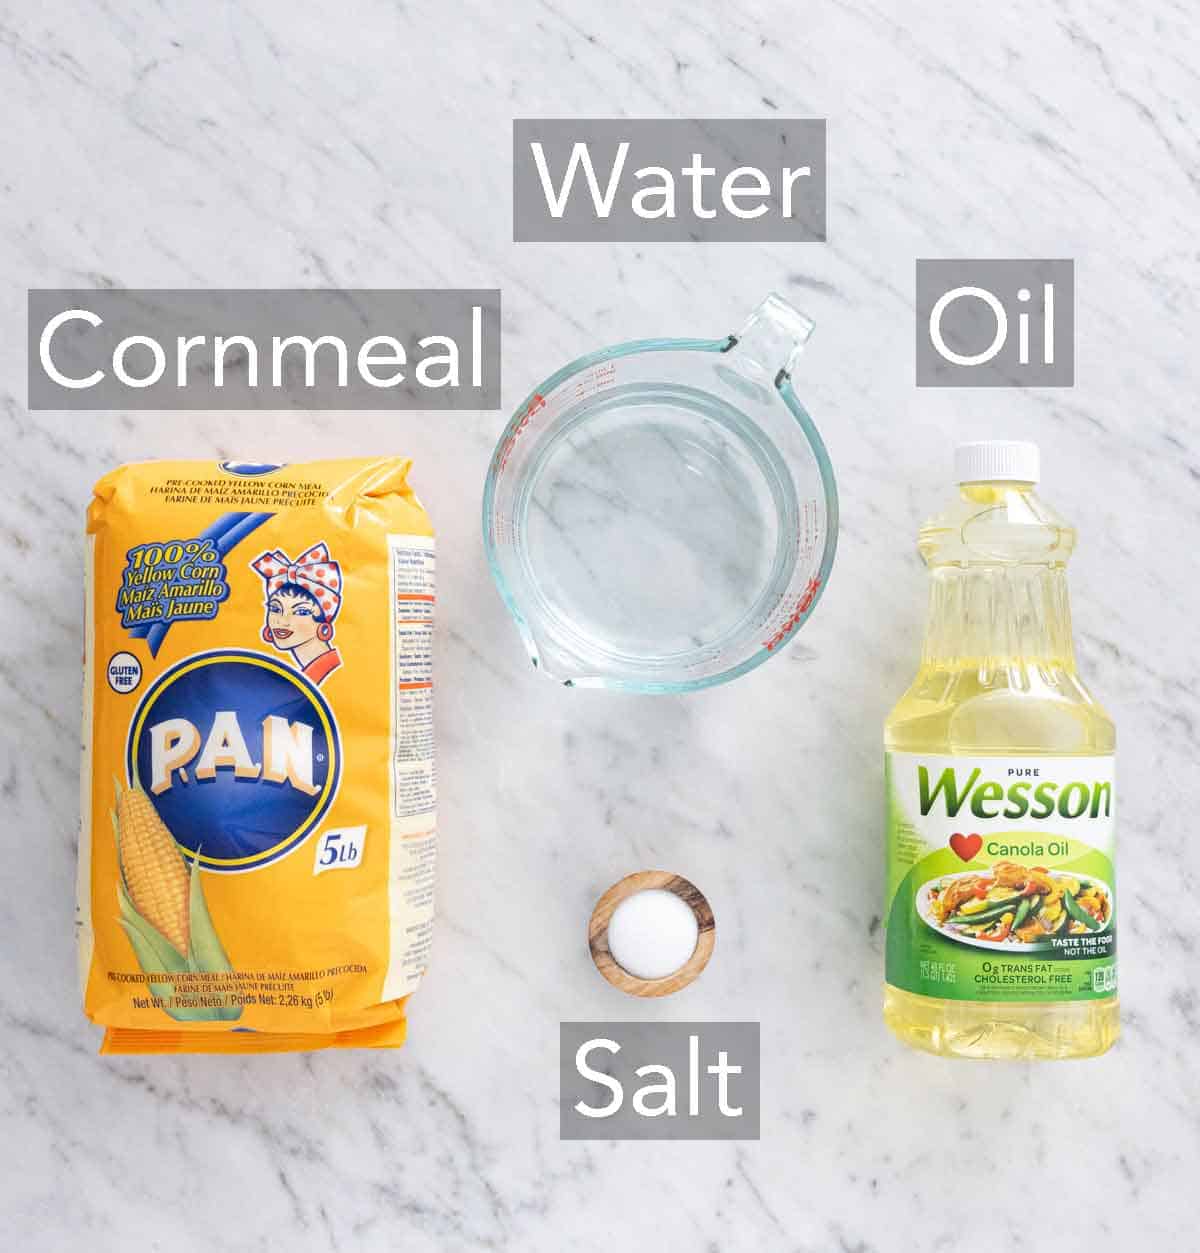
Yellow cornmeal — You may find this labeled as masarepa. You must use pre-cooked cornmeal. Masa harina may look similar, but it’s not the same. You will end up with a different flavor and texture if you use masa harina in place of masarepa since it is not pre-cooked.
Salt — a little salt goes a long way to flavor the dough.
Oil — you’ll need oil to pan fry these homemade arepas, so they get that crispy exterior. I’m using canola oil, but you can use any neutral oil such as vegetable oil.
How to Make Arepas
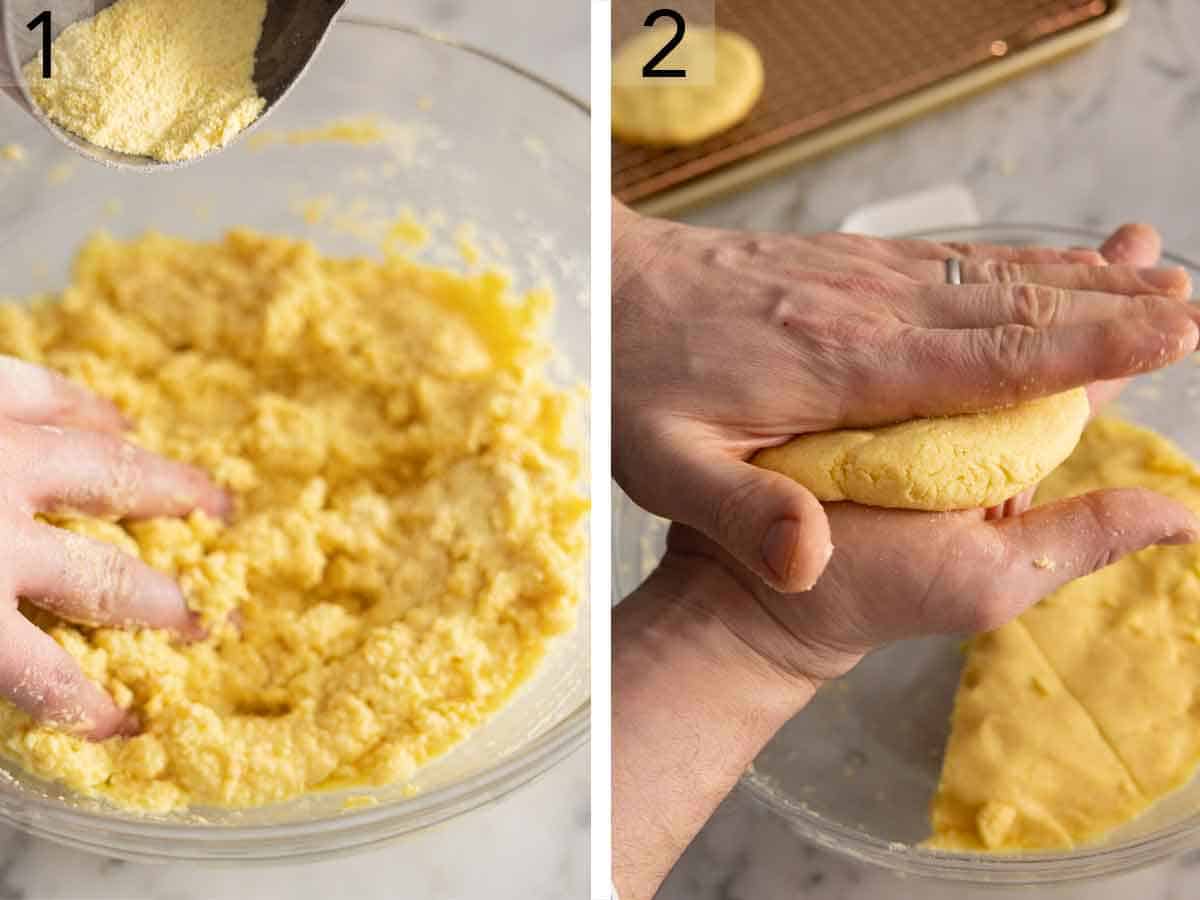
1. In a large bowl, combine the water and salt. Using your fingers, gradually stir the cornmeal into the water until a soft and moist dough forms. Cover and let rest for 10 minutes.
2. Divide the dough evenly into 8 pieces and roll each piece into balls. Press each ball into a ½-inch patty between your palms.
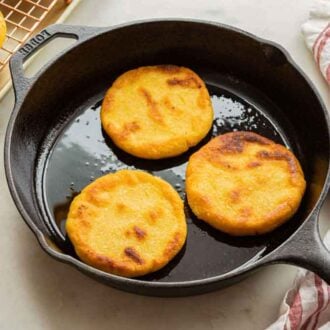
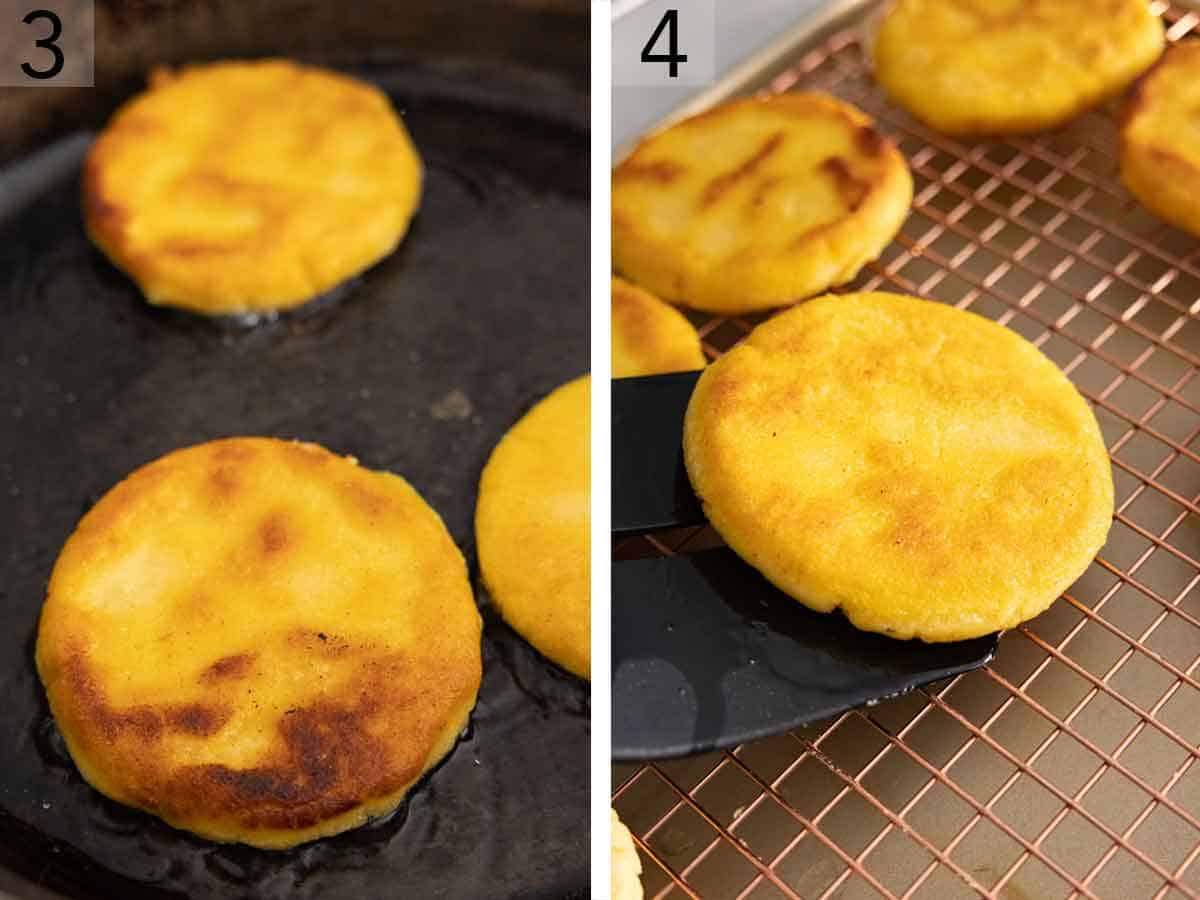
3. Heat the oil over medium heat until hot in a large cast-iron skillet. Working in batches, place the patties in the skillet and cook until golden brown, about 4 minutes on each side, occasionally moving the patties around in the skillet, so they don’t stick.
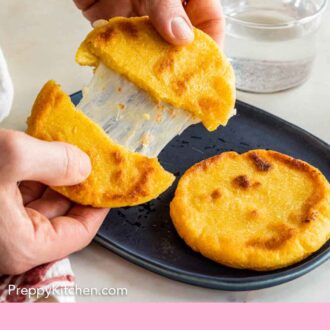
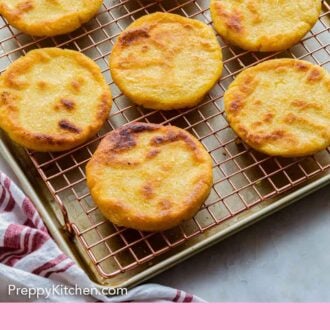
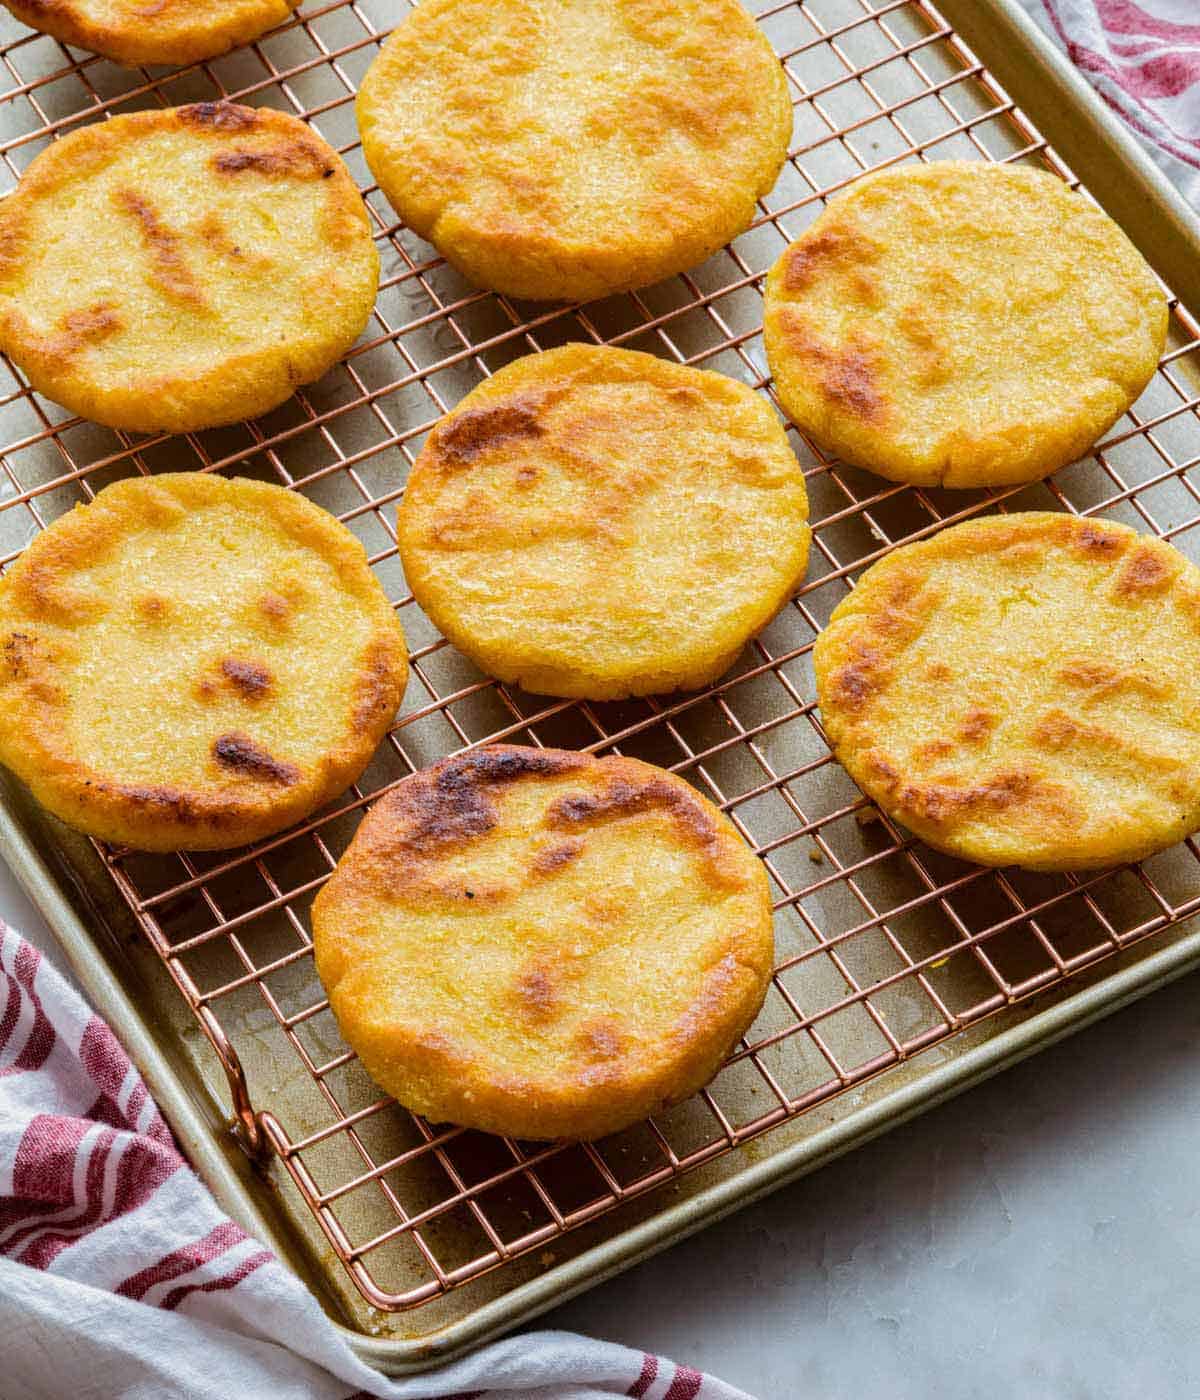
4. Transfer the patties to the wire rack. Bake for 15 minutes. Remove from the oven and let cool completely on a wire rack or until warm. With a serrated knife, carefully cut in half horizontally. Fill with your favorite filling.
Pro Tips for Making This Recipe
- If your arepas dough feels too dry and crumbles when shaped, add a tablespoon of water and mix until the dough is malleable. Careful not to add too much water as it’ll make the arepas dense.
- The dough should feel sticky but not wet. If you find the dough to be wet, add a pinch of cornmeal at a time until the consistency is right.
- If you’re unsure if you have cooked the arepas through, give them a tap. If they sound hollow, then they are done.
- If the dough sticks to your hands, you can wet your hands a little before rolling the dough.
- These will continue to cook once out of the oven. Let them cool. If you cut them still hot, they will be doughy in the middle.
Frequently Asked Questions
What does this taste like?
An arepa has a mild taste to them. They have a mild corn flavor, thanks to the cornmeal. As they taste mild, it’s perfect for filling with flavorful stuffing such as shredded cheese, black beans, shredded pork, and more.
Are these the same as pupusas?
While arepas and pupusas look similar, they are not the same. You stuff pupusas before cooking, whereas you stuff arepas afterward. You also make pupusas with instant corn masa flour instead of pre-cooked cornmeal.
How long will these keep?
Arepas taste best immediately after cooking; however, you can keep the leftovers in an airtight container in the fridge for 3 to 4 days. You can reheat them in the oven or toaster oven, so the exterior stays crispy.
Is this recipe freezer-friendly?
You can freeze the arepas dough after you’ve shaped them. Place the shaped dough on a lined baking tray and flash freeze until frozen solid, then transfer to a freezer-safe bag in the freezer for up to three months. Transfer the dough to the fridge until thawed, and then cook as instructed when ready to enjoy.
You can freeze cooked arepas as well. Just place them in a freezer-safe bag or container in the freezer for up to a month. When ready to eat, reheat them from frozen in the oven or toaster oven until warm.
If you’ve tried this Arepas recipe, then don’t forget to rate the recipe and let me know how you got on in the comments below, I love hearing from you!
Arepas
Video
Equipment
- Baking Sheet
- Wire rack
- Cast-iron or large skillet
Ingredients
- 2½ cups lukewarm water (100°F-110°F)
- 1 teaspoon salt
- 2 cups pre-cooked yellow cornmeal (285g)
- ¼ cup canola oil (60 mL)
- Filling suggestions: shredded cheese, black beans, shredded pork
Instructions
- Preheat the oven to 350°F. Place a wire rack on a baking sheet.
- In a large bowl, combine the water and salt. Using your fingers, gradually stir the cornmeal into the water until a soft and moist dough forms. Cover and let rest for 10 minutes.
- Divide the dough evenly into 8 pieces and roll each piece into balls. Press each ball into a 1/2-inch patty between your palms.
- In a large cast-iron skillet, heat the oil over medium heat until hot. Working in batches, place the patties in the skillet and cook until golden brown, about 4 minutes on each side, occasionally moving the patties around in the skillet so they don’t stick. Transfer the patties to the wire rack.
- Bake for 15 minutes. Remove from the oven and let cool completely or until warm. With a serrated knife, carefully cut in half horizontally. Fill with shredded cheese, black beans, shredded pork, or however desired.
Notes
- If your arepas dough feels too dry and crumbles when shaped, add a tablespoon of water and mix until the dough is malleable. Careful not to add too much water as it’ll make the arepas dense.
- The dough should feel sticky but not wet. If you find the dough to be wet, add a pinch of cornmeal at a time until the consistency is right.
- If you’re unsure if you have cooked the arepas through, give them a tap. If they sound hollow, then they are done.
- If the dough sticks to your hands, you can wet your hands a little before rolling the dough.
- These will continue to cook once out of the oven. Let them cool. If you cut them still hot, they will be doughy in the middle.









Leave a Reply