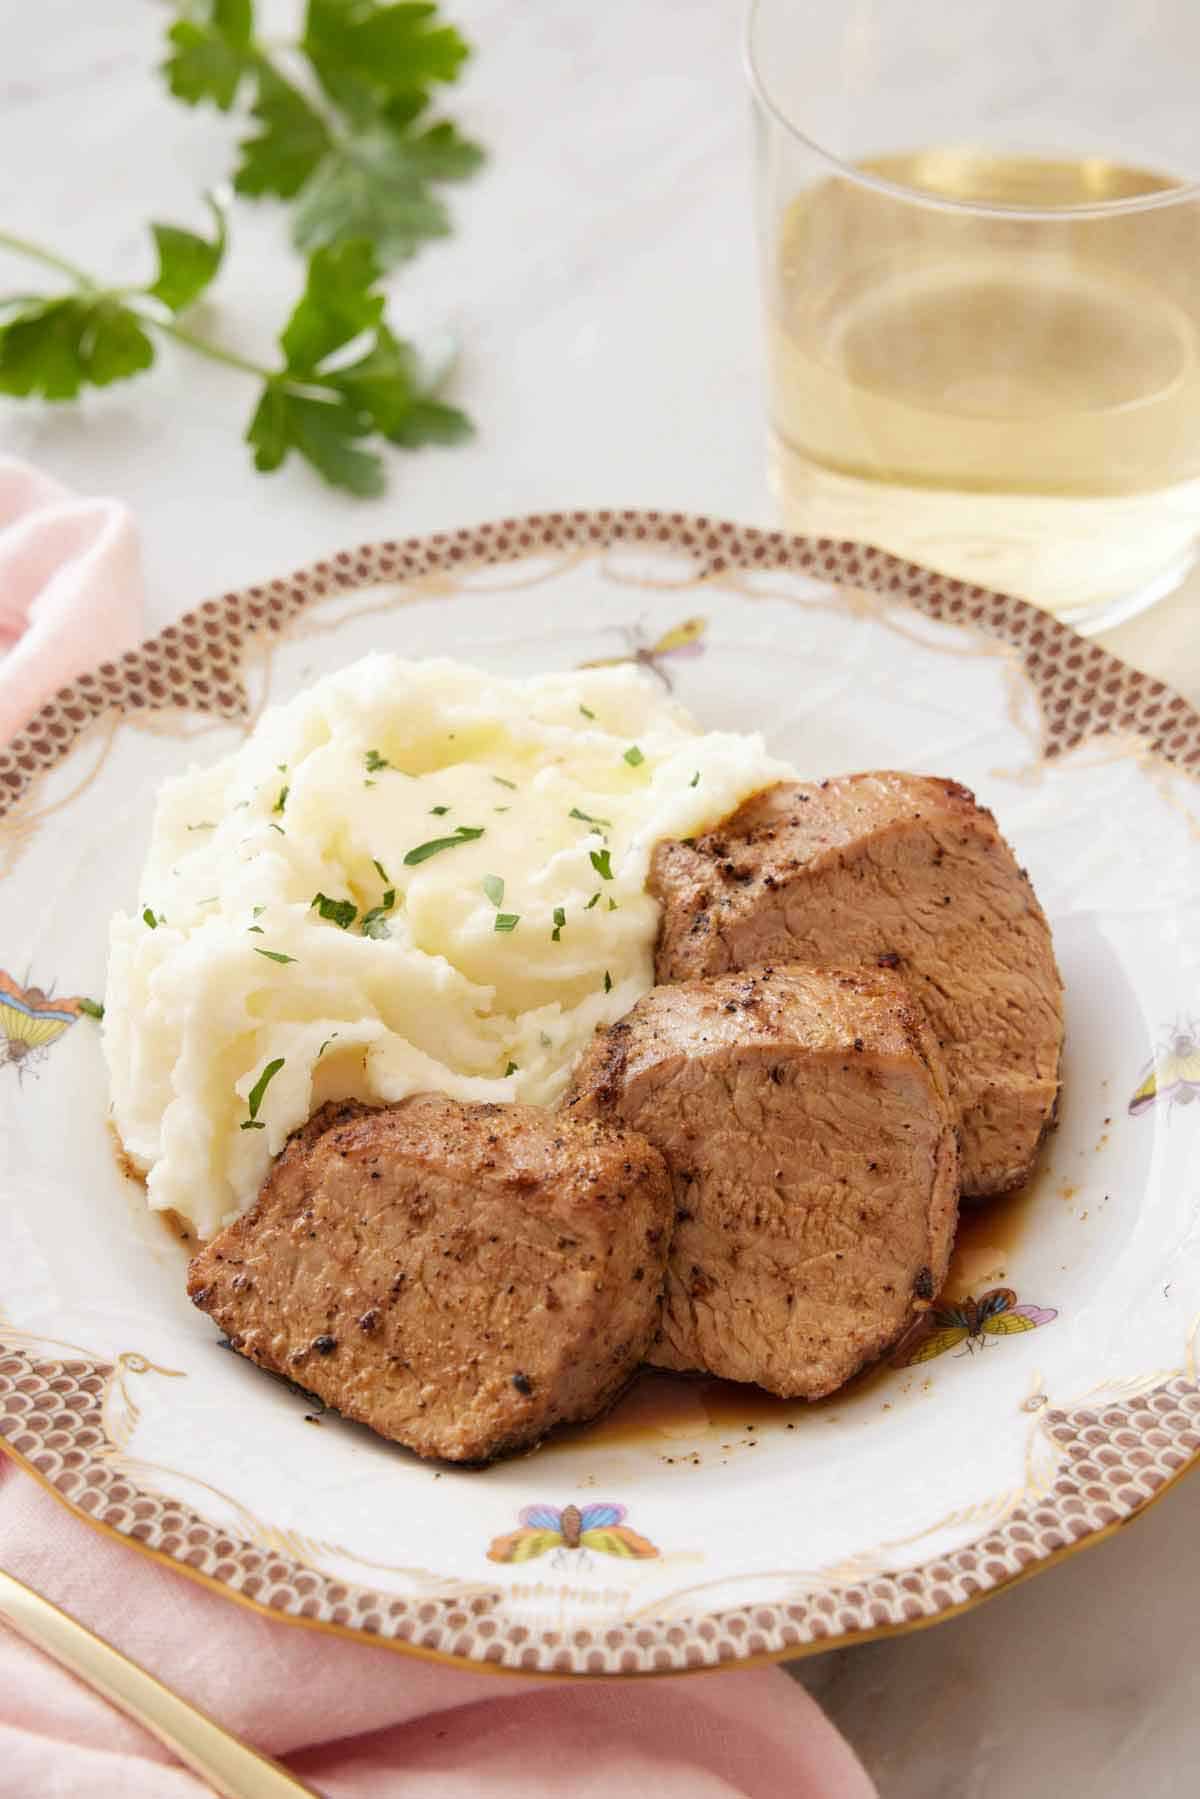
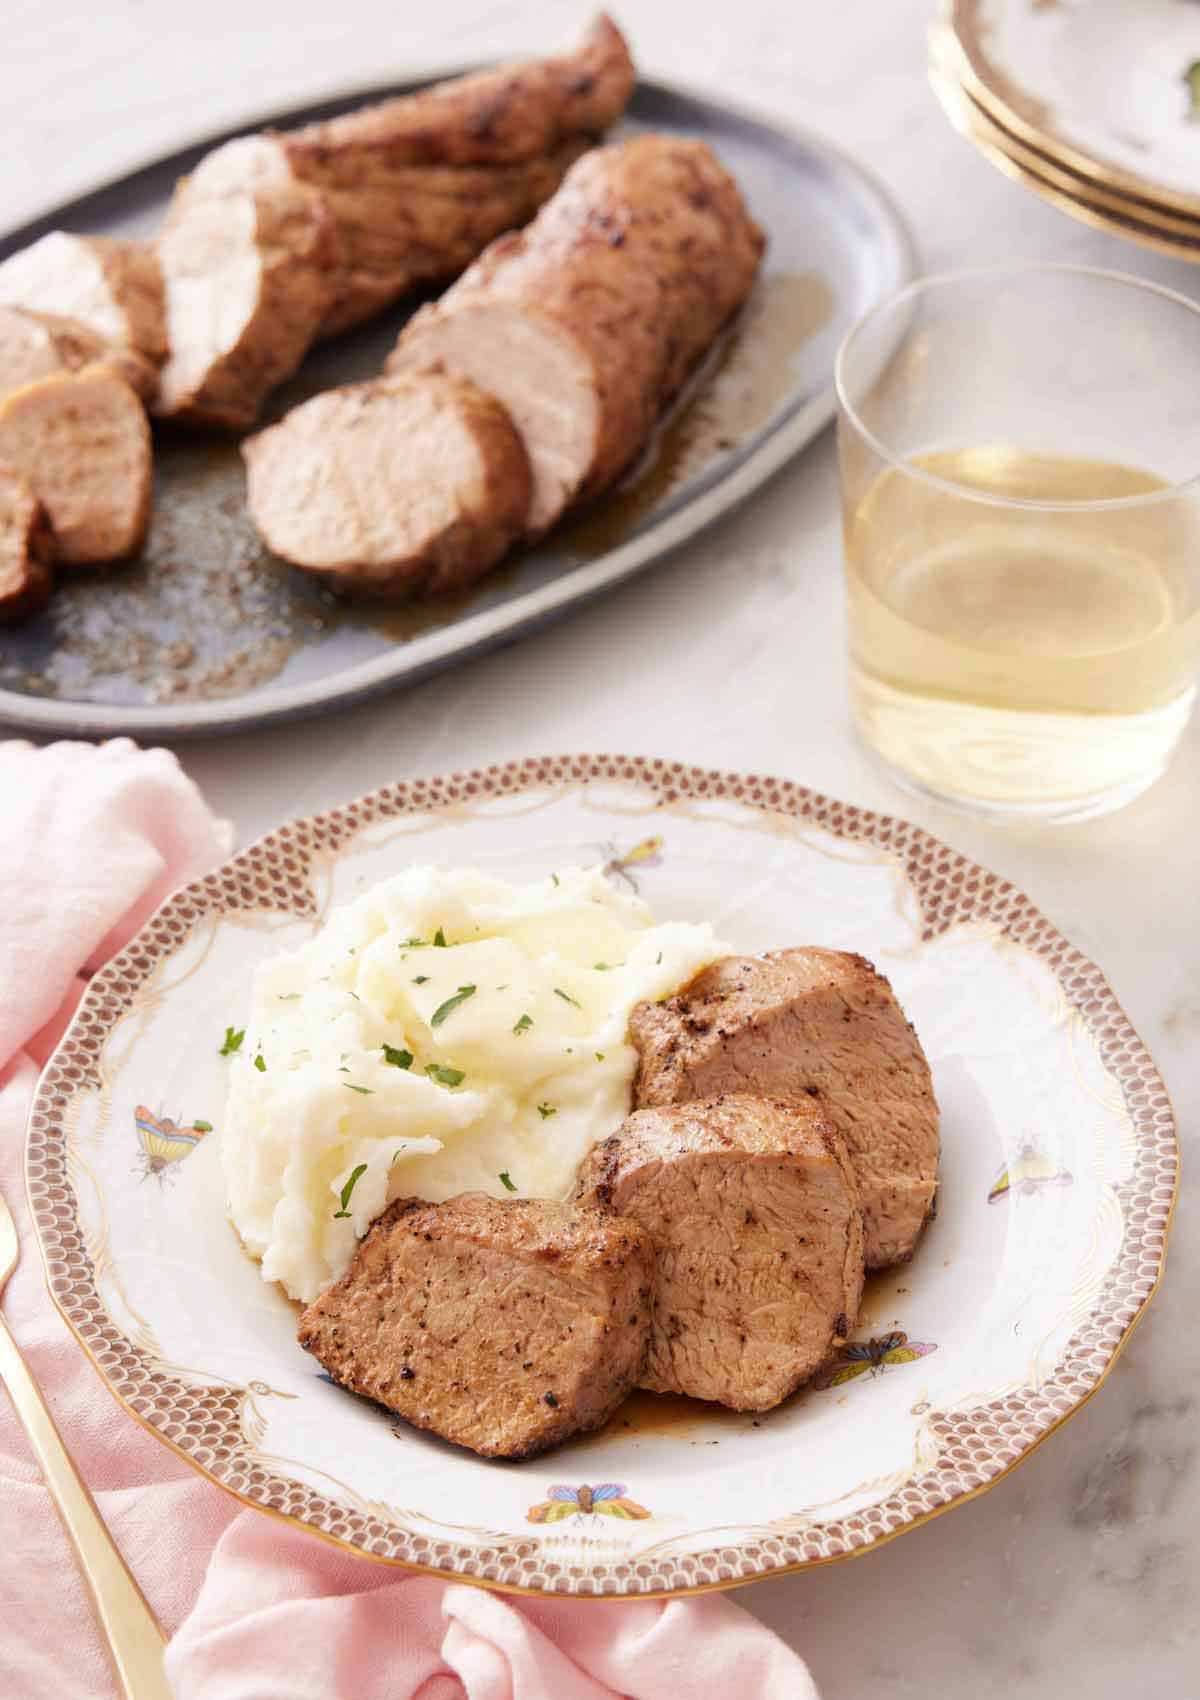
This pork tenderloin recipe is so tender and will practically melt in your mouth. It’s simple enough to make for an easy weeknight dinner but also perfect for when you have company. Crispy on the outside but juicy on the inside, it is bursting with so much flavor that it will have everyone reaching for seconds.
If you’ve never cooked tenderloin before, it’s a lean cut of pork, so it can be easy to overcook. However, not to worry, this post will walk you through how to cook a pork tenderloin so it’s buttery soft.
Seared first before baking, you get a moist and juicy tenderloin every single time. The juices are locked in, and the crust is crispy and flavorful. This will be the best baked pork tenderloin recipe you’ll ever make! If you want another delicious pork recipe, then try my Instant Pot pork tenderloin recipe, Instant Pot pork loin recipe, or Instant Pot pulled pork recipe.
What You Need to Make This Recipe
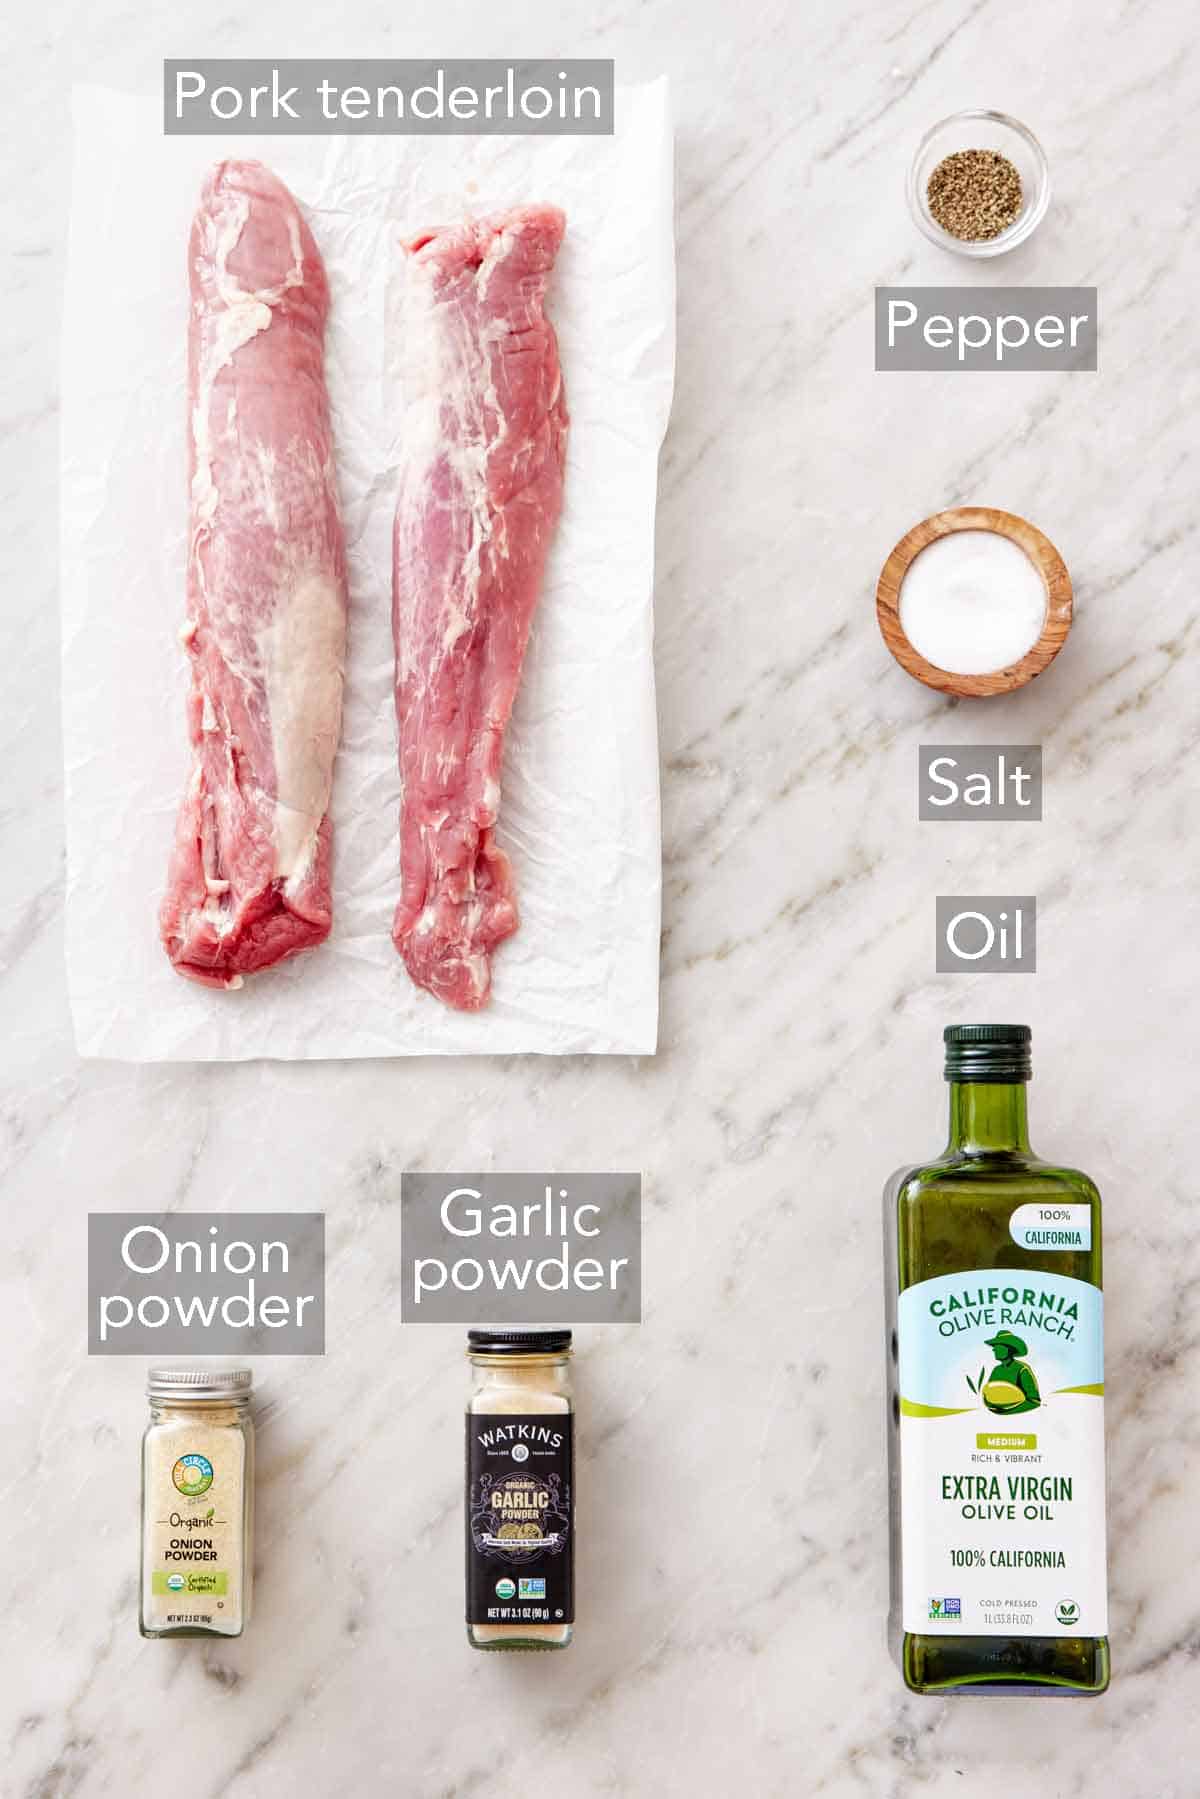
Pork tenderloin — make sure you are purchasing pork tenderloin and not pork loin. Pork loin and tenderloin are not the same since pork loin is a larger cut of meat and is fattier than tenderloin. Tenderloin is more tender and mild in flavor.
Oil — I use olive oil, but you can use any neutral oil of your choice.
Seasoning — I use a combination of garlic powder, onion powder, salt, and pepper. Feel free to use your favorite spice rub.
How to Make a Pork Tenderloin
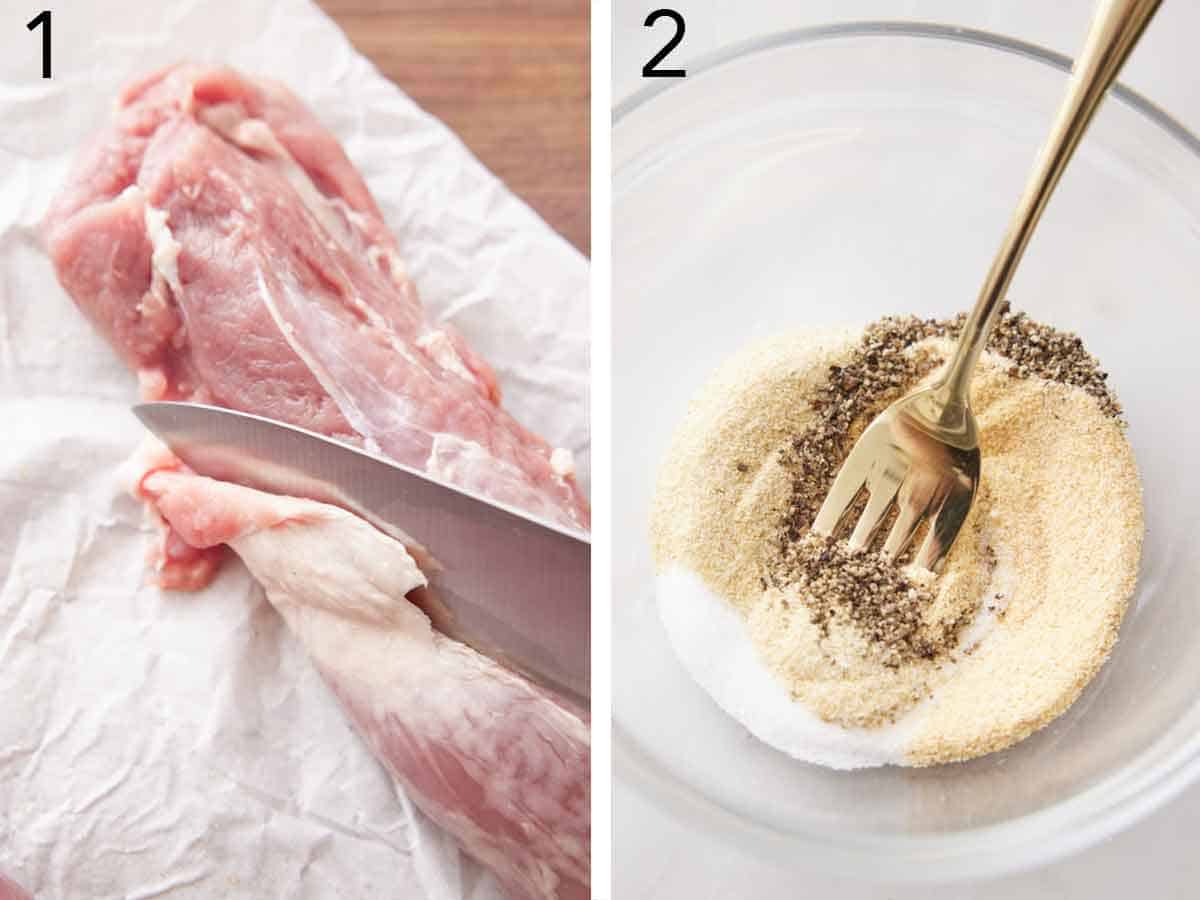
1. Trim the fat and silver skin off of each pork tenderloin and pat dry with paper towels. Rub 1 tablespoon oil over the tenderloins.
2. In a small bowl, combine the salt, garlic powder, onion powder, and pepper.
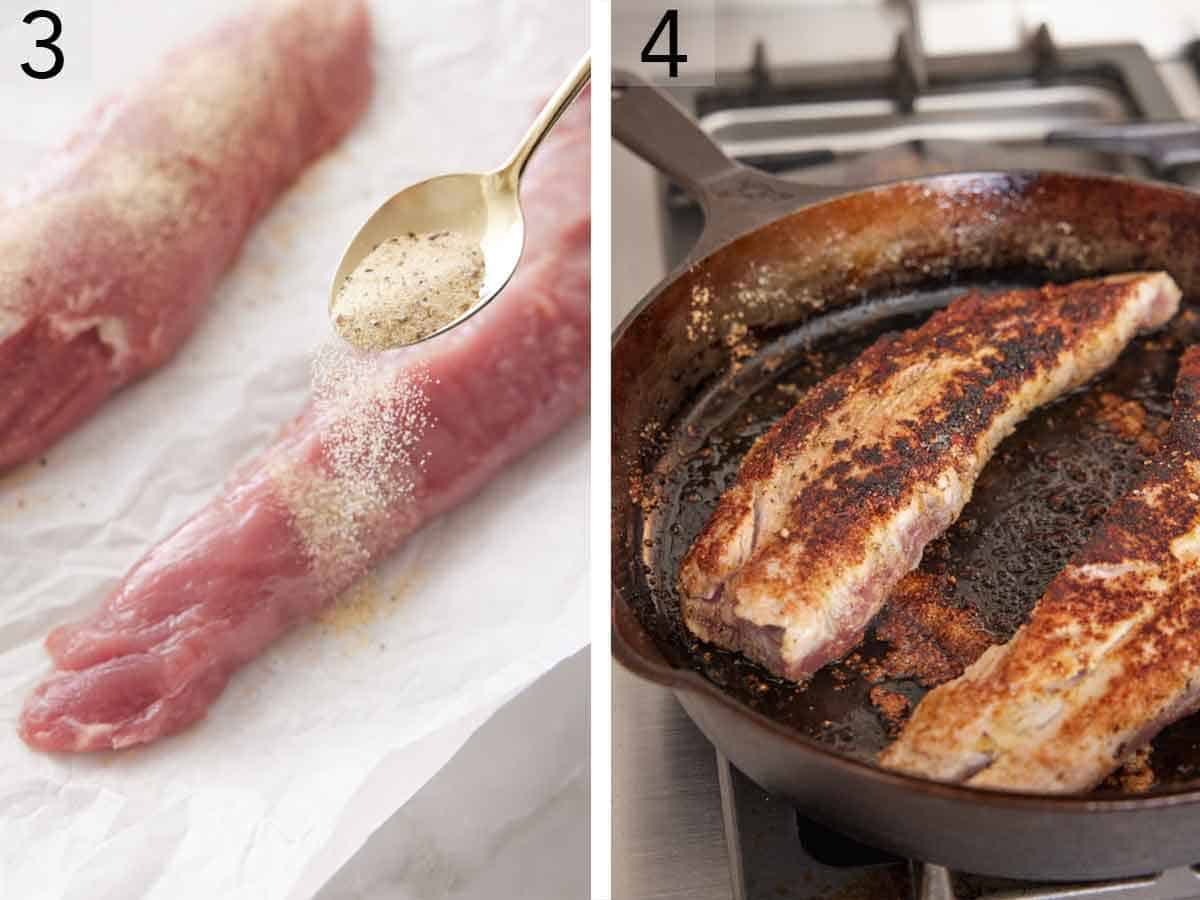
3. Sprinkle all over each piece of pork, rubbing with your hands to coat evenly.
4. Heat the remaining 2 tablespoons of oil in a large cast-iron skillet over medium-high heat. Add both pork tenderloins to the skillet and brown on all sides. Place the skillet in the oven and bake until a meat thermometer inserted in the thickest portion of each tenderloin reaches 145°F. Transfer the pork to a cutting board and cover it with foil. Let rest before slicing.
Pro Tips for Making This Recipe
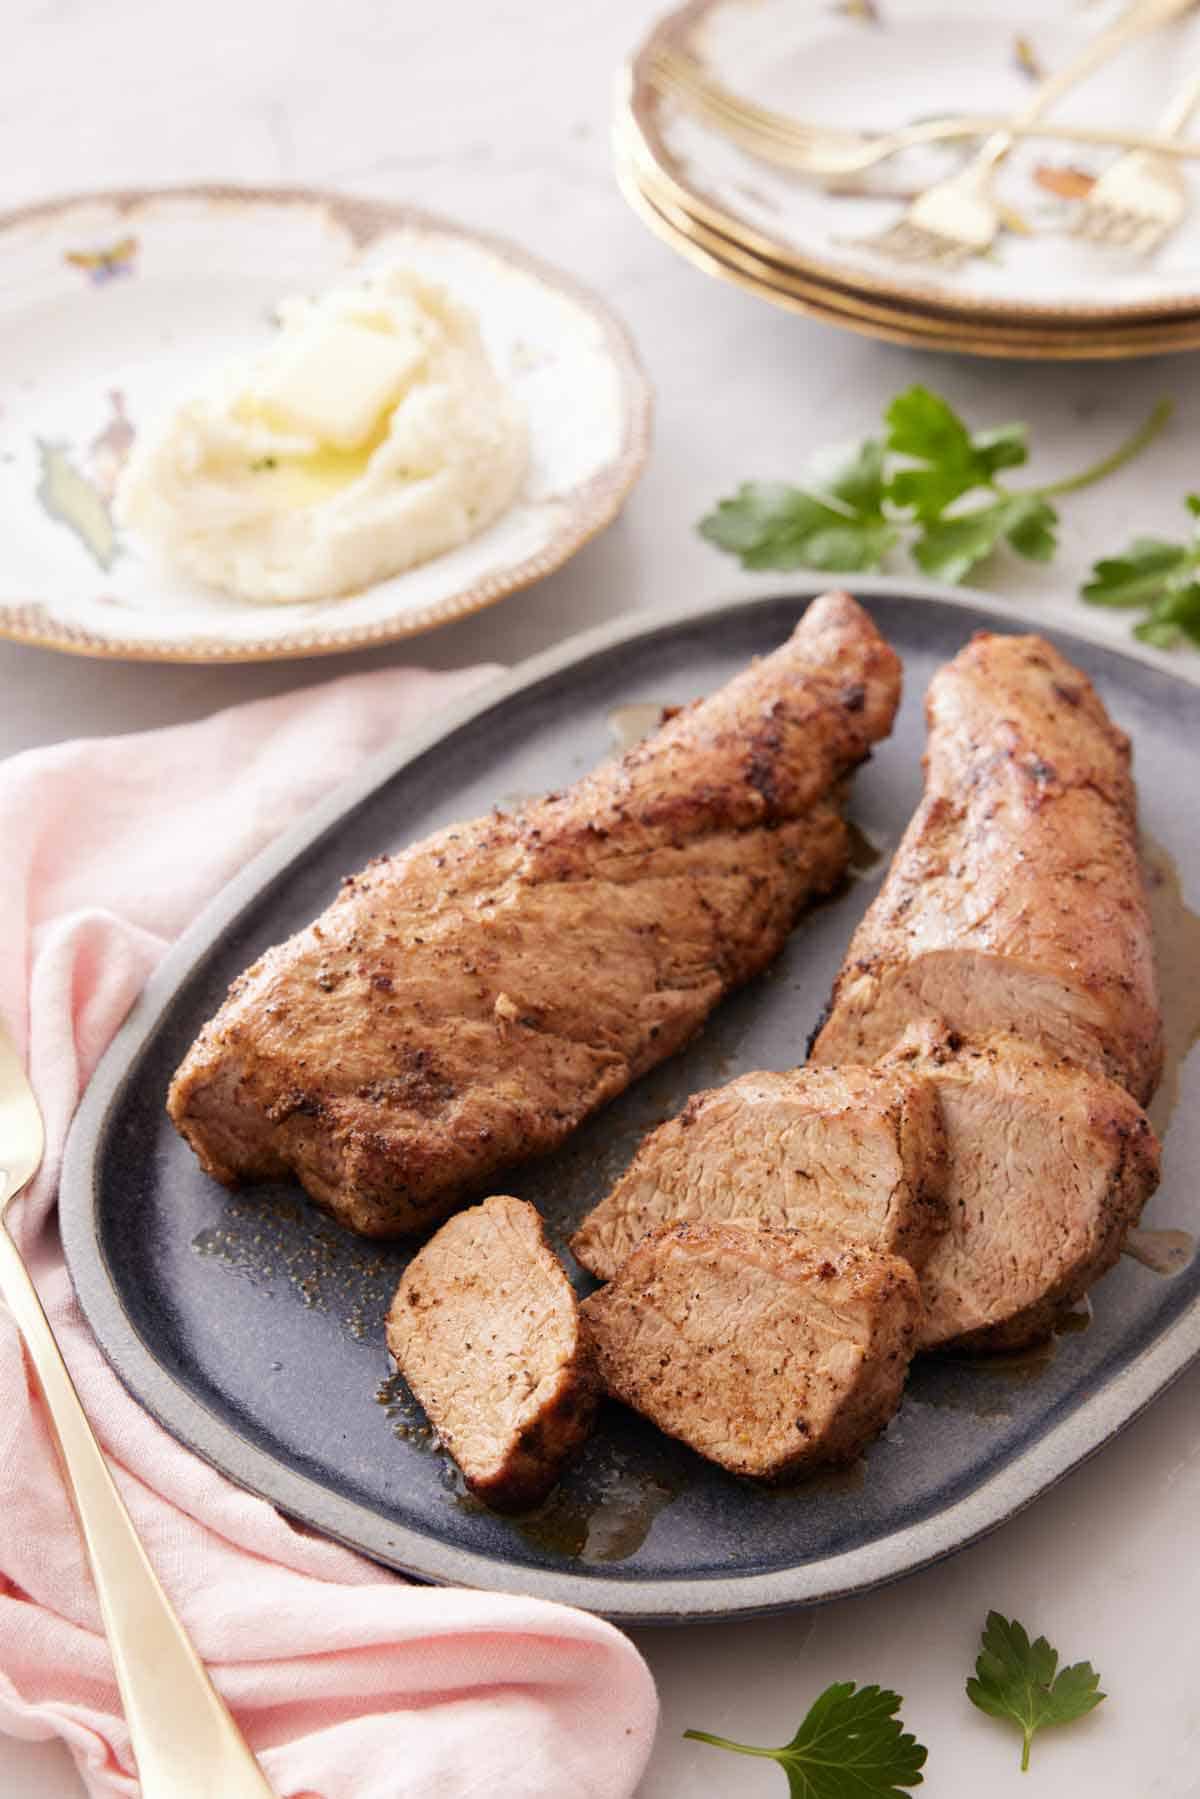
- Pork will still be pinkish, very juicy, and tender when done.
- Don’t skip patting dry the tenderloins with paper towels. It’ll help the oil and seasoning stick better to the tenderloins.
- Allow the pork tenderloins to rest before cutting will allow the moisture to redistribute and keep the tenderloins juicy. If you cut open the pork immediately, the juices will end up all over your cutting board.
- Be careful not to overcook the pork. As pork is lean and it’s easy to overcook, I highly recommend using a meat thermometer to check for doneness instead of relying on the timing itself.
- By searing the pork before baking, it gives the exterior a nice brown crust while adding flavor and sealing in the juices.
- Do not skip removing the silver skin on the meat. It is extremely chewy and tough, causing it to be unpleasant to eat. To trim silver skin, use a sharp, narrow-bladed knife and slip the blade just under the silver skin, making a “tab” to hold on to. Holding the tab taut with one hand, run the blade under the thick membrane, keeping it angled away from the meat until you reach the end of the membrane.
- Some side dishes I like to enjoy this recipe with are my spicy cornbread pudding, Panzanella salad, butternut squash mac and cheese, green bean casserole, and potato gratin.
Frequently Asked Questions
It’s best to bake the tenderloin at 400F after searing it. Baking the pork at a higher temperature for a shorter period will keep the pork tender and juicy.
Once the pork has reached the safe internal temp of 145°F and you’ve rested the pork for 5 minutes, the pork tenderloins are ready.
Place any leftovers in an airtight container and keep them in the refrigerator for up to three days. When reheating, be careful not to overcook it. You can also serve leftovers cold to avoid accidentally overcooking them. Try serving the pork on a sandwich or on a salad instead of reheating it.
You sure can! Once the tenderloins are at room temperature, place them in a freezer-safe bag or container and freeze them for up to 3 months.
If you’ve tried this Pork Tenderloin recipe, then don’t forget to rate the recipe and let me know how you got on in the comments below, I love hearing from you!
How to Cook A Pork Tenderloin
Equipment
- Large cast-iron skillet or oven-proof skillet
Ingredients
- 2 pork tenderloins (about 1 pound/450g each)
- 3 tablespoons olive oil divided
- 1½ teaspoons salt
- 1½ teaspoons garlic powder
- 1½ teaspoons onion powder
- ¾ teaspoon ground black pepper
Instructions
- Preheat the oven to 400°F.
- Trim the fat and silver skin off of each pork tenderloin (see Notes) and pat dry with paper towels. Rub 1 tablespoon oil over the tenderloins.
- In a small bowl, combine the salt, garlic powder, onion powder, and pepper. Sprinkle all over each piece of pork, rubbing with your hands to evenly coat.
- Heat the remaining 2 tablespoons oil in a large cast-iron skillet over medium-high heat. Add both pork tenderloins to the skillet and brown on all sides, about 1 to 2 minutes per side.
- Place the skillet in oven and bake until a meat thermometer inserted in the thickest portion of each tenderloin reaches 145°F, about 20 minutes. Transfer the pork to a cutting board and cover with foil. Let rest for 5 minutes before slicing.
Notes
- Pork will still be pinkish when done, very juicy, and tender.
- Don’t skip patting dry the tenderloins with paper towels. It’ll help the oil and seasoning stick better to the tenderloins.
- Allow the pork to rest before cutting will allow the moisture to redistribute and keep the tenderloins juicy. If you cut open the pork immediately, the juices will end up all over your cutting board.
- Be careful not to overcook the pork. As pork is lean, it’s easy to overcook, I highly recommend using a meat thermometer to check for doneness instead of relying on the timing itself.
- By searing the pork before baking, it gives the exterior a nice brown crust while adding flavor and sealing in the juices.
- Do not skip removing the silver skin. It is extremely chewy and tough, causing it to be unpleasant to eat. To trim silver skin, use a sharp, narrow-bladed knife and slip the blade just under the silver skin, making a “tab” to hold on to. Holding the tab taut with one hand, run the blade under the thick membrane, keeping it angled away from the meat until you reach the end of the membrane.
- Some sides I like to enjoy this recipe with are my spicy cornbread pudding, Panzanella salad, butternut squash mac and cheese, green bean casserole, and potato gratin.











Thom Wallace says
Easy recipe. Lovely medley of ingredients for the rub. I marinated the tenderloins in the AM, and then added more rub in the PM when I prepared the tenderloins for browning. I loved the prosciutto, which I found to be more a subtle addition than bacon (but I’m sure bacon would be wonderful too!). This will become among my favorite recipes for pork tenderloins. I baked simple quartered purple potatoes with EVOO & S/P separately from the dish, which was a wonderful accompaniment. Thanks, John!
Elyse says
I don’t always eat pork but when I do, it will be this recipe from now on! LOL. The sauce is so amazing!