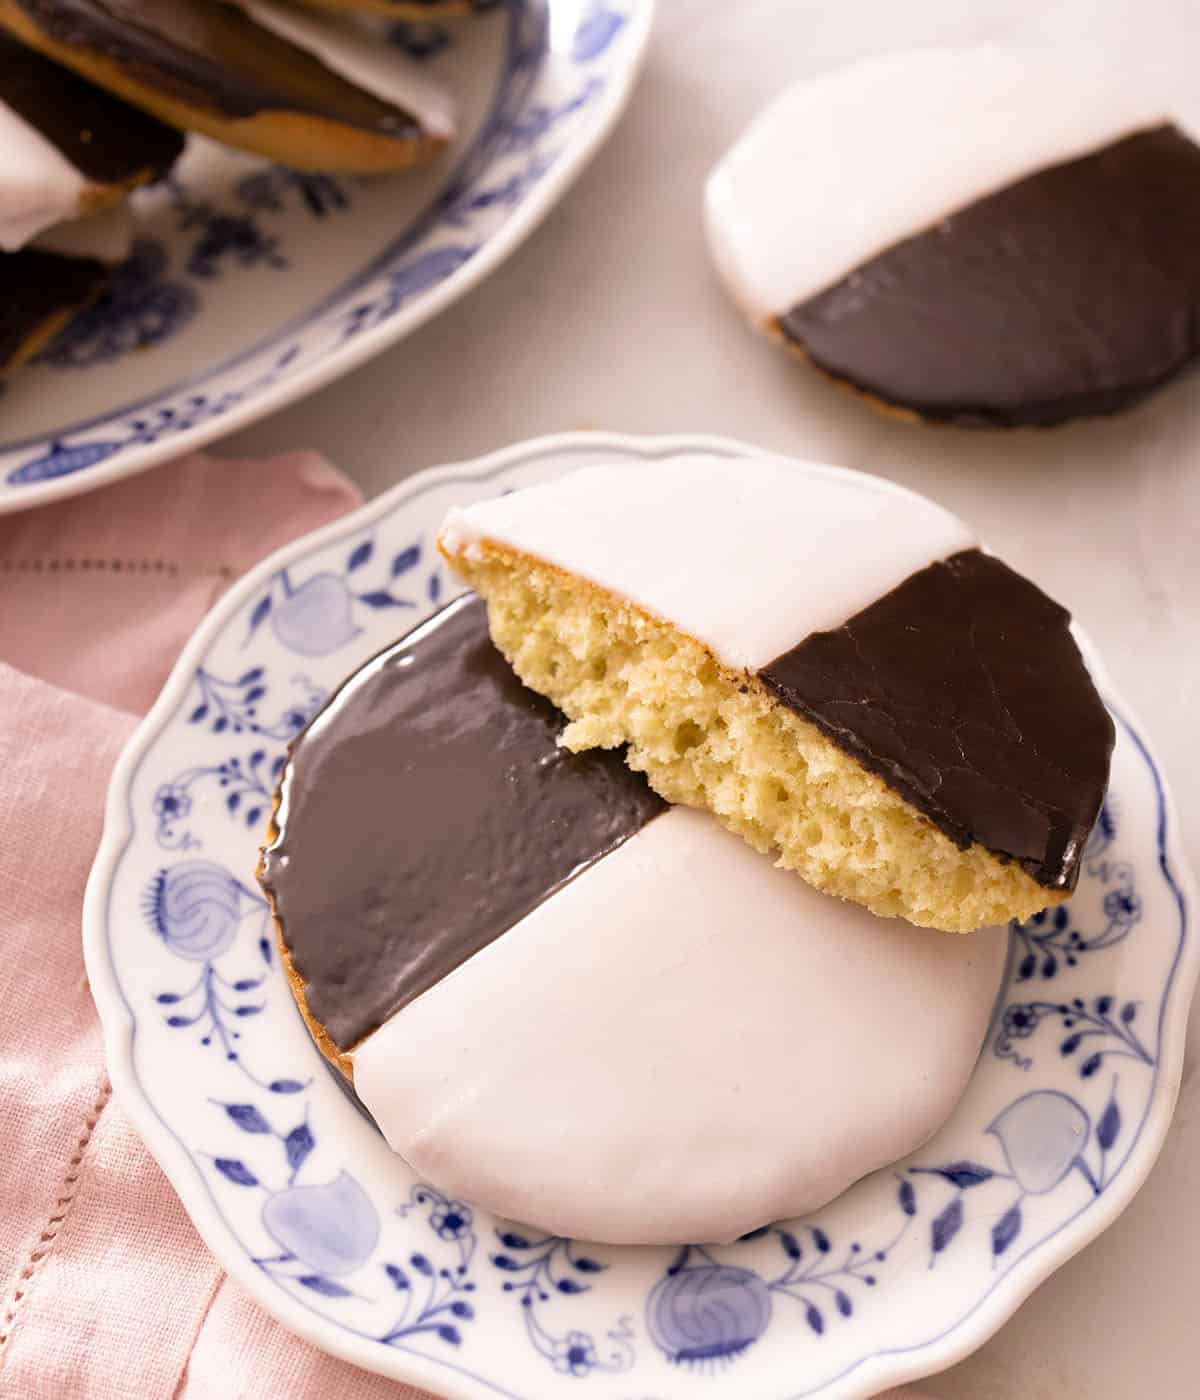
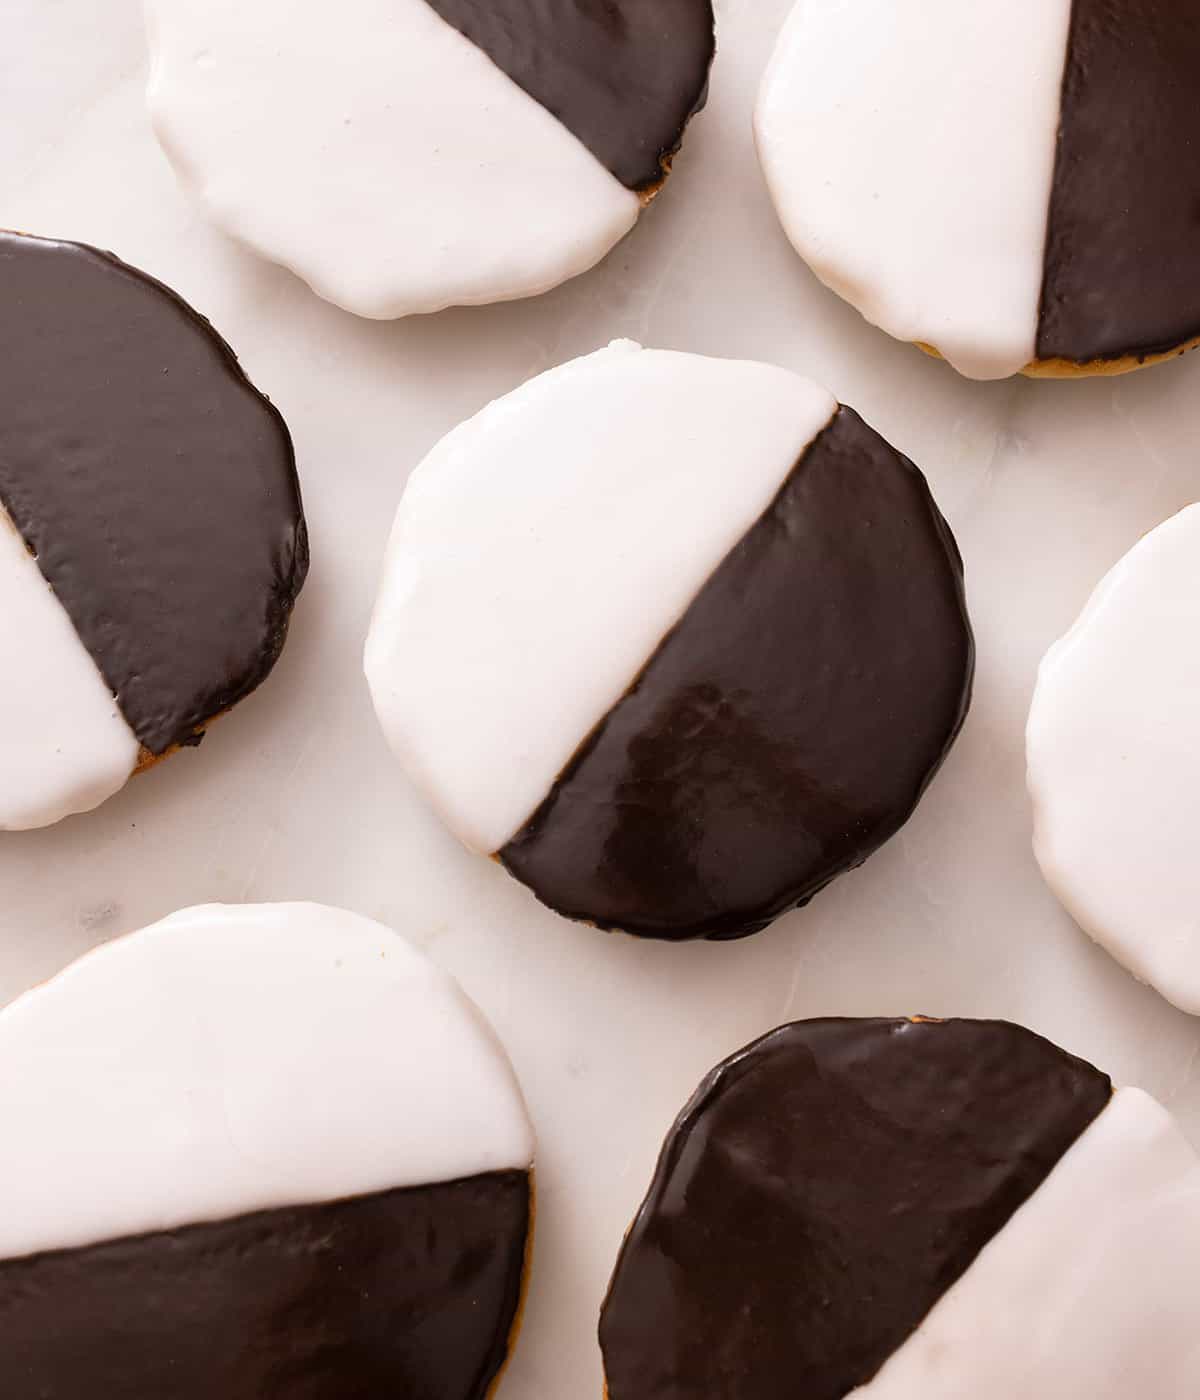
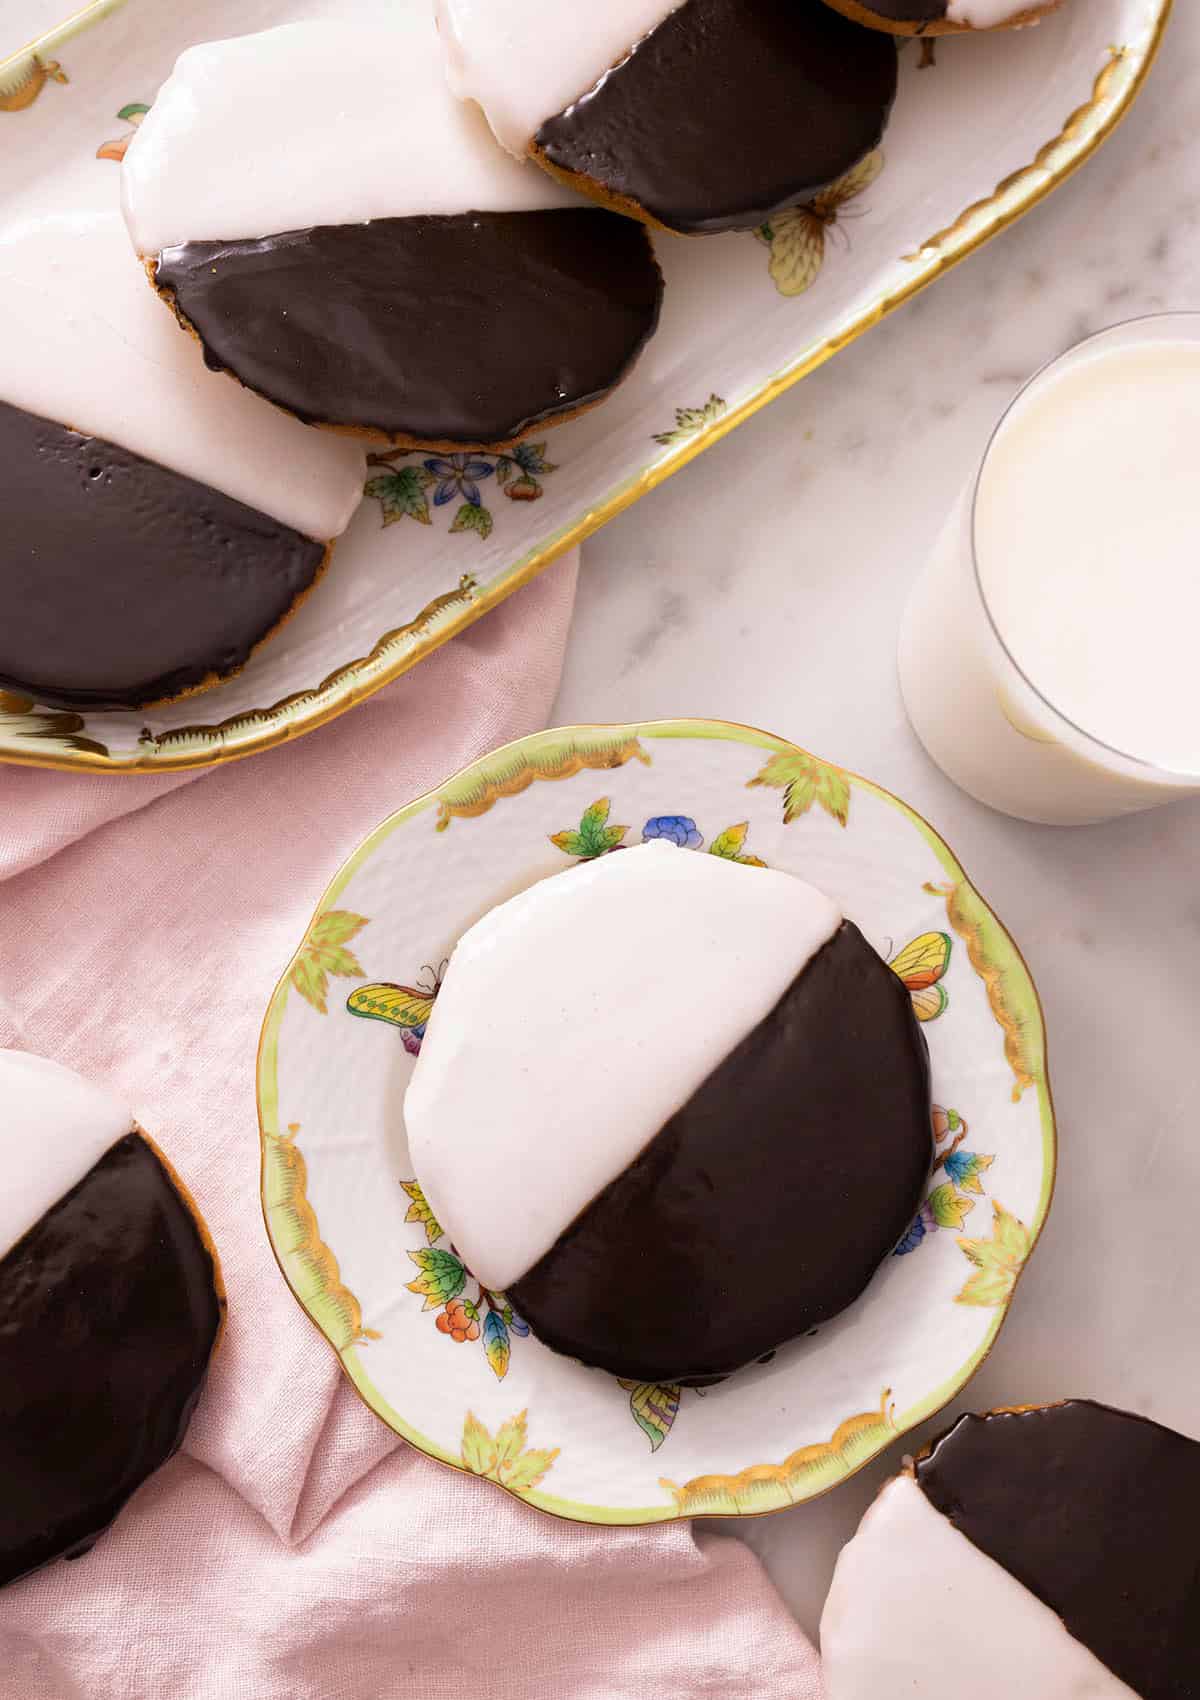
These cookies, also known as Half-Moon Cookies, are the best of both worlds. They’re half way between a cake and a cookie. The icing is half chocolate and half vanilla. But don’t be mistaken and think that these cookies are half as good because I promise you that they are absolutely delicious!
The texture of these black and white cookies are sponge-like (similar to a cake’s) with a sweet glaze overtop, just like what you’ll find in a bakery in NYC. They’re also surprisingly easy to make at home and if you’ve got kids, they’ll have a ton of fun icing them. See my full recipe tutorial below including important notes on ingredients, step-by-step photos, and decorating tips! Love cookies as much as I do? Make sure to check out my whole collection of delicious cookies here!
WHAT YOU NEED TO MAKE THIS RECIPE
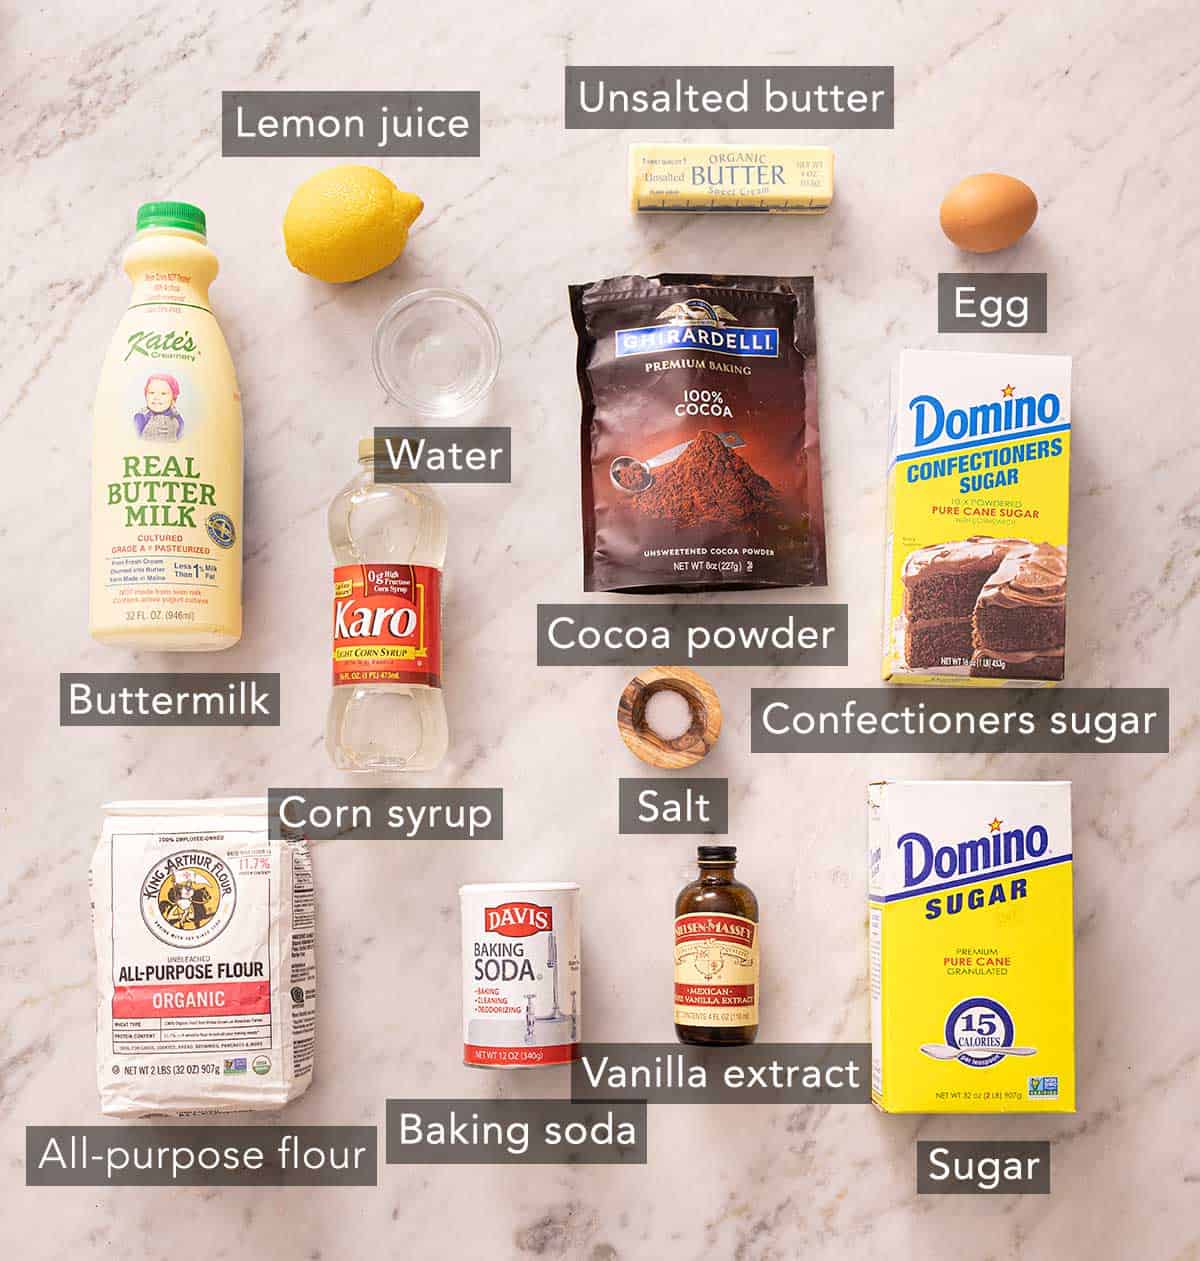
All-purpose flour – no need to use a cake or specialty flour for this. You can still achieve a cake-like texture with a basic all-purpose flour.
Buttermilk – the buttermilk is what helps give them a soft texture. Check out my How to Make Buttermilk Post if you need an easy substitution.
Light corn syrup – light corn syrup is colorless, sweet, and has a hint of vanilla flavor, it gives the icing a nice gloss. Be sure to not accidentally use dark corn syrup which has a toasty molasses flavor to it. You can substitute it for glucose syrup or omit if desired.
Vanilla – use real vanilla extract for the best flavor and stay away from vanilla essence.
Cocoa powder – Dutch process cocoa powder like Hershey’s or Ghirardelli will give you that characteristic dark color.
HOW TO MAKE BLACK AND WHITE COOKIES
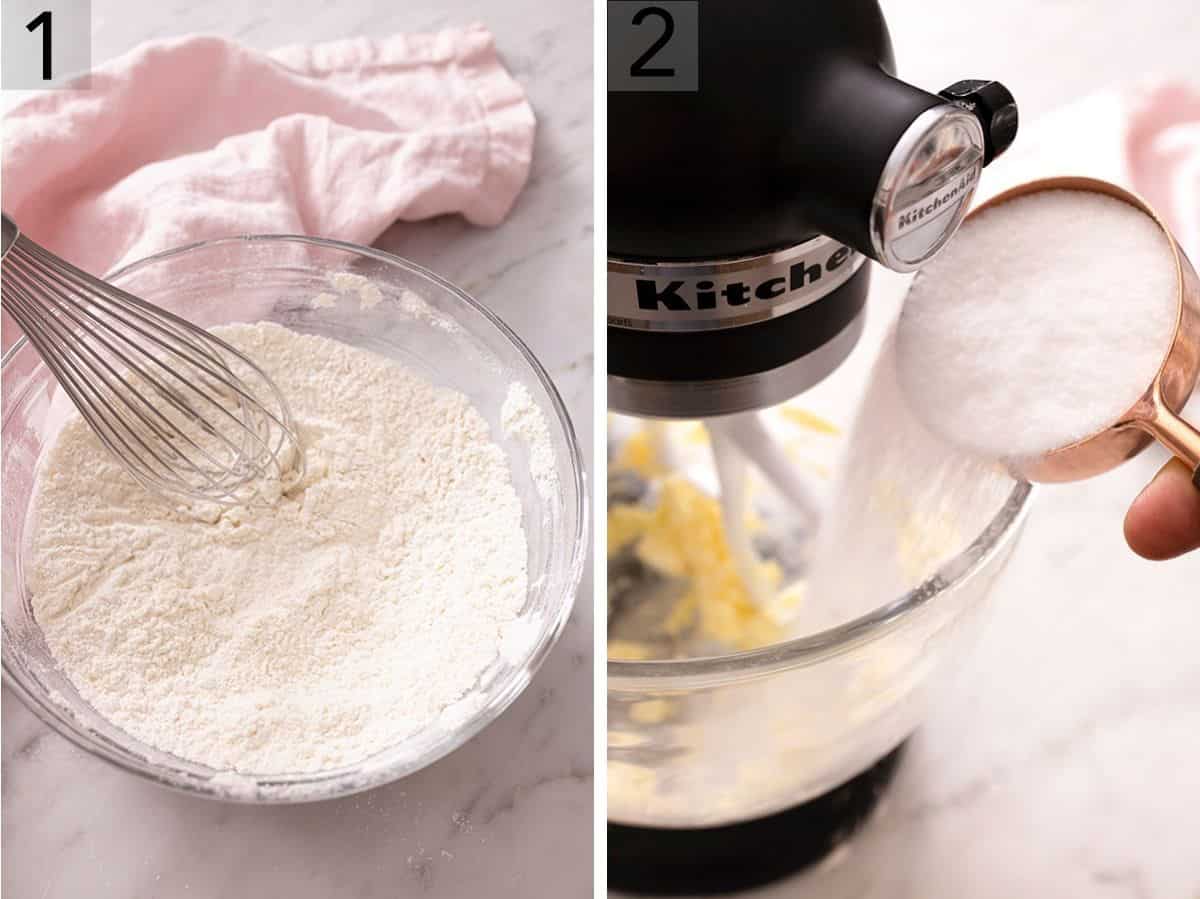
1. Combine the flour, salt, and baking soda in a bowl then whisk together and set aside.
2. Cream the butter and sugar in a bowl until light and fluffy before mixing in the egg and vanilla.
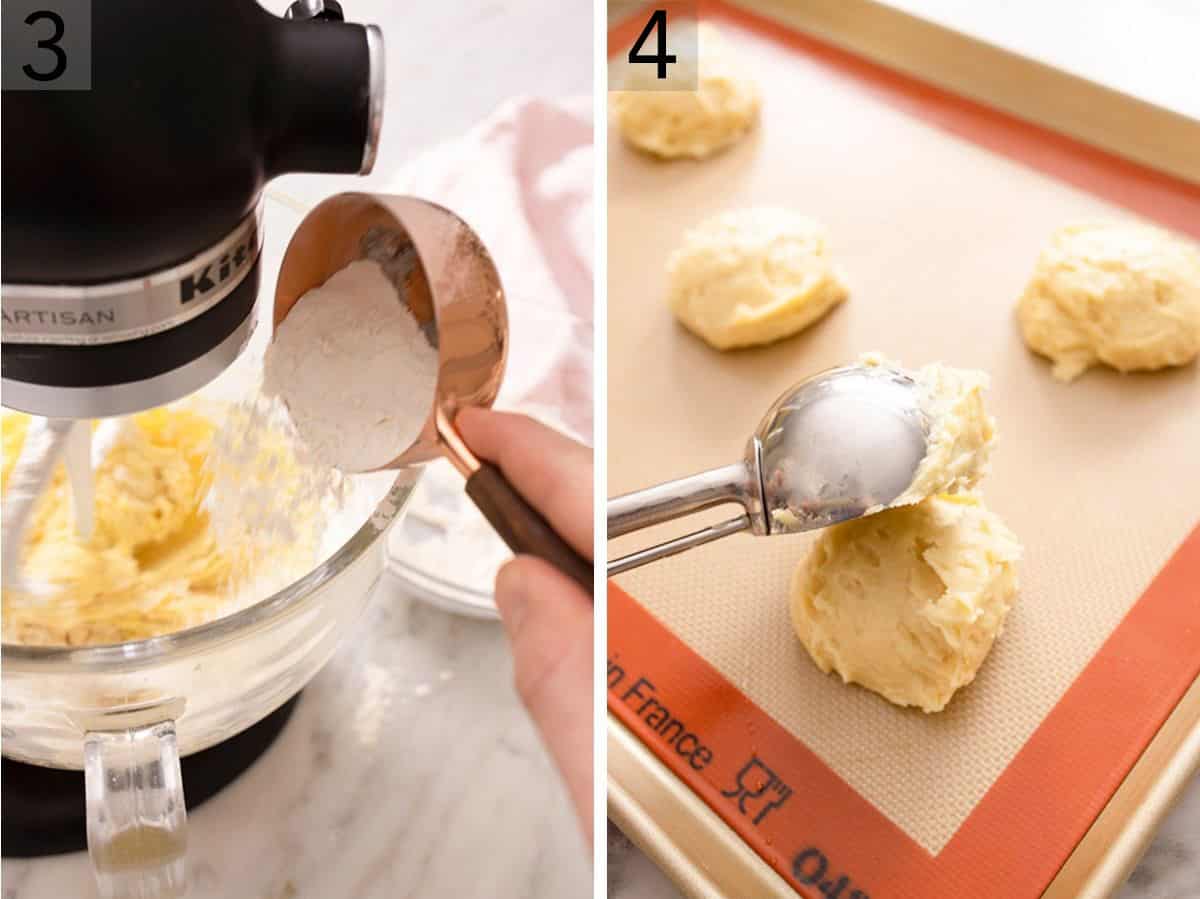
3. Add the flour mixture and buttermilk in three alternating batches starting and ending with the flour, while mixing on low. Mix until just combined.
4. Use a ¼ cup scoop or greased measuring cup to drop balls of batter onto your lined baking sheets. Bake for 13-14 minutes or until the centers are springy to the touch.
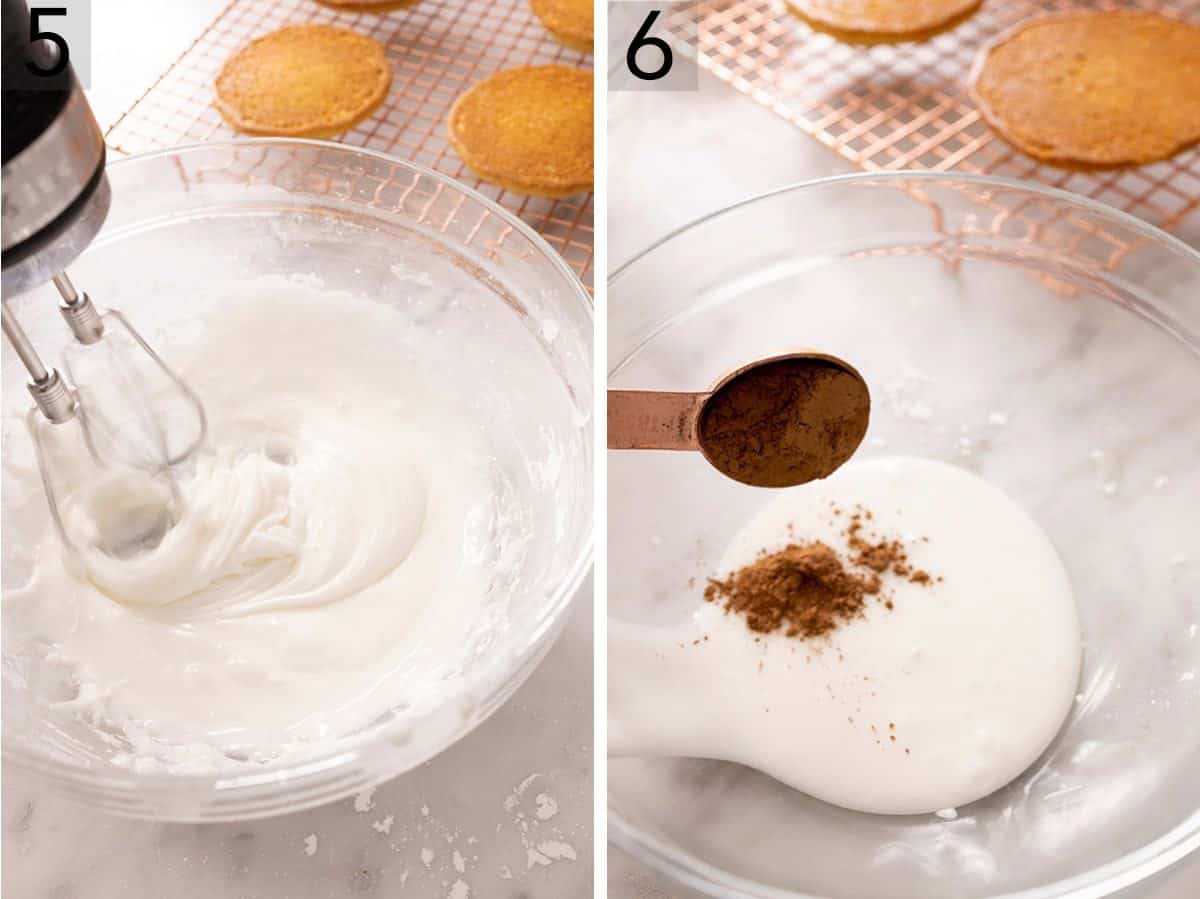
5. Make the icing by combining the powdered sugar, vanilla, lemon juice, corn syrup and water in a large bowl then mix until smooth, adding more water as needed to a thinner spreadable icing.
6. Transfer almost half the icing to another bowl and combine cocoa powder, water, and corn syrup.
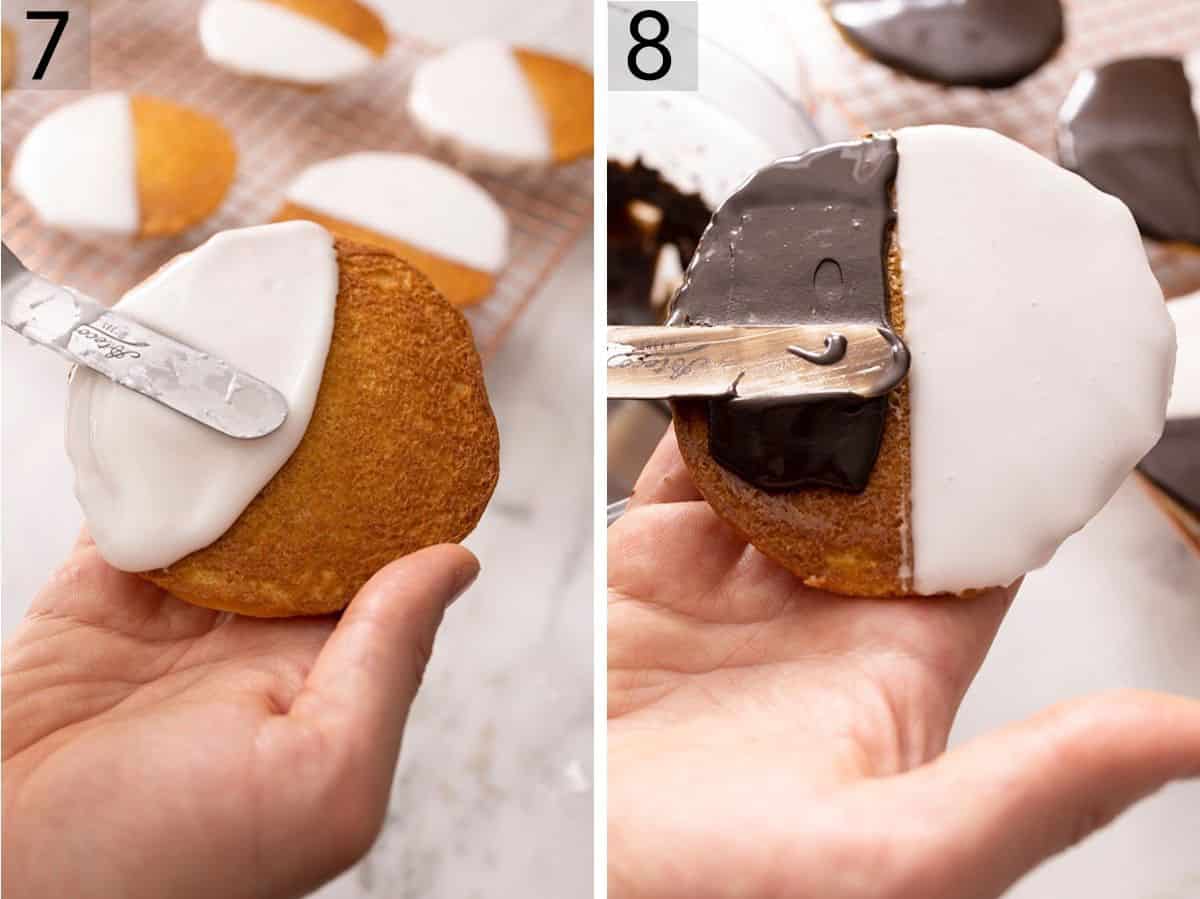
7. Cover half of each cookie in a thin layer of vanilla icing. Draw a line down the middle with an offset spatula or knife to get a nice clean edge.
8. Allow the icing to set then cover the other side with the chocolate icing. Allow to set before enjoying.
PRO TIPS FOR MAKING THIS RECIPE
- Make sure your baking soda hasn’t expired as it’s a key ingredient for the shape and texture of the cookies.
- To help the icing set quickly so you can get the chocolate layer on quickly, you can put the half finished cookies into the fridge for 20 to 25 minutes.
- Make sure your butter and egg is at room temperature so everything is mixed and bakes evenly.
- Take the butter out of the fridge in advance to soften it, don’t be tempted to heat the butter so it melts because it’ll cause the cookies to spread too much.
- Let them cool completely before icing or the vanilla icing will melt.
- Keep in mind that you are icing the flat side and not the rounded side of the cookies.
- If you are not using a scale to measure your flour, be sure to fluff your flour with a spoon and then spoon it into your cups before leveling it off with a knife. This is the best way to measure flour without overpacking the cup.
- This recipe makes about 8 portions. You can double or triple the recipe as needed.
FREQUENTLY ASKED QUESTIONS
CAN I PREPARE THESE IN ADVANCE?
I find these black and white cookies are best to be eaten within 24 hours as that’s when the cookies will be at their softest. However, they will still be tasty within 3 days as long as you store them in an airtight container at room temperature. After 3 days, store them in the fridge for another 1-2 days if you still have leftovers!
CAN I FREEZE THESE?
Yes, you can freeze the baked but unglazed cookies or raw dough for up to 3 months. Thaw completely before glazing/baking.
WHAT IF I DON’T HAVE BUTTERMILK
You can make your own buttermilk. Check out my blog post here with tips and tricks on making you own homemade buttermilk.
If you’ve tried these Black and White Cookies then don’t forget to leave a rating and let me know how you got on in the comments below, I love hearing from you!
Black and White Cookies
Video
Equipment
- Baking Sheets
- Parchment paper or silicone mats
- Electric mixer
Ingredients
- 1 ⅓ cups all-purpose flour (160g)
- ½ tsp baking soda
- ½ tsp salt
- 6 Tbsp unsalted butter room temperature (85g)
- ½ cup granulated sugar (100g)
- 1 large egg room temperature
- 2 tsp vanilla extract (10mL)
- ⅓ cup buttermilk (80mL)
Icing
- 2 cups confectioners’ sugar (240g)
- 2 tsp lemon juice fresh optional
- 2 Tbsp water plus more as needed
- 1 Tbsp light corn syrup
- ½ tsp vanilla extract
- 3 Tbsp cocoa powder dutch-process preferred (18g)
Instructions
- Preheat oven to 350F and line two baking sheets with silicone mats or parchment paper. Combine the flour, salt and baking soda in a bowl then whisk together and set aside.
- Cream the butter in the bowl of your stand mixer fitted with a paddle attachment, then add the sugar and mix on high until light and fluffy. Mix in the egg and vanilla then scrape the bowl down and mix once more until well combined.
- Add the flour mixture and buttermilk in three alternating batches starting and ending with the flour, while mixing on low. Mix until just combined then use a spatula to scrape the bowl down and mix in any errant bits of flour and butter.
- Use a ¼ cup cookie scoop or greased measuring cup to drop balls of batter onto your lined baking sheets leave about 4 inches between each cookie as they spread in the oven. I recommend no more than 5 per baking sheet. You’ll want just under ¼ cup of batter for each cookie.
- Bake on the center rack at 350F for 13-14 minutes or until the centers are springy to the touch. Allow to cool for a few minutes before transferring to a wire rack to cool completely. Cool the cookies upside down so the bottom becomes the flat top you will ice.
- While the cookies cool combine the powdered sugar, vanilla, lemon juice, corn syrup and water in a large bowl then mix until smooth, adding more water as needed to a thinner spreadable icing.
- Transfer almost half the icing to another bowl and add 3 tablespoons of cocoa powder and a few teaspoons of water and a teaspoon of corn syrup. Mix on high until glossy and smooth adding more water if needed to match the consistency of the vanilla icing.
- Use a small spatula or offset spatula to cover half of each cookie in a thin layer of vanilla icing. Use the edge of a knife or offset spatula to create a neat line along the middle; just use the sharp edge to gently draw the icing from the center to the edge then clean the tool and repeat from the center to the other edge. Allow the icing to set then cover the other side with the chocolate icing. This time use your spatula to push the chocolate right to the center then give it a quick smooth and allow to set completely before enjoying.
Notes
- Dutch process cocoa powder like Hershey’s will give you that characteristic dark color.
- Make sure your baking soda hasn’t expired as it’s a key ingredient for the shape and texture of the cookies.
- To help the icing set quickly so you can get the chocolate layer on quickly, you can put the half finished cookies into the fridge for 20 to 25 minutes.
- Make sure your butter and egg is at room temperature so everything is mixed and bakes evenly.
- Take the butter out of the fridge in advance to soften it, don’t be tempted to heat the butter so it melts because it’ll cause the cookies to spread too much.
- Let the cookies cool completely before icing or the vanilla icing will melt.
- Keep in mind that you are icing the flat side and not the rounded side of the cookies.
- If you are not using a scale to measure your flour, be sure to fluff your flour with a spoon and then spoon it into your cups before leveling it off with a knife. This is the best way to measure flour without overpacking the cup.
- This recipe makes about 8 portions. You can double or triple the recipe as needed.


















Louise says
This is the ONLY black and white cookie recipe you will need. These are exactly like the bakery cookies in new york and north new jersey. I am making them again today! Thank you for sharing!!!!!
Sharon Little says
A truly great recipe. I was intimidated by the icing, but it’s not that hard. These cookies taste fancy. I come back to this recipe again and again.
Barb says
This is THE BEST recipe. No need to search any longer. I watched your video, and followed your tips.
They came out perfect and delicious!!!!