This post may contain affiliate links. Please read our disclosure policy.


This fudgy Brownie in a Mug is the perfect single-serving brownie that only takes a minute to cook in the microwave. So simple but decadent, it’ll be the easiest chocolate dessert you’ll ever make.

The texture of this mug brownie is soft, fudgy, and chocolatey, just like a regular brownie, but it’s made in a fraction of the time. Everything gets stirred together in the mug with a fork, so there’s no bowl to wash, and it cooks in the microwave in about 1 minute.
Two key factors that determine how it turns out: your mug and your microwave, so I’ve covered both in detail below with all of my testing notes. I’ve also included the dry mix I keep in my pantry, so the next brownie is just a scoop and a splash of milk away.
“My daughters enjoy this at least once a week!! It’s the perfect quick way to have a baked treat without all the hassle and waiting for actually baking, and the clean up is just the mug. Thank you for sharing this delicious quick mug treat!”
Tanya
Key Ingredients

You just need a handful of ingredients to make a mug brownie. You can find the full list of ingredients and measurements in the recipe card below.
Cocoa powder — just like in my homemade brownie recipe, I use Ghirardelli unsweetened natural cocoa for this single-serving version. If you have Dutch-process or black cocoa, you can also use it here. Both are less bitter and taste deeper and darker, which, in a recipe this simple, shows off. Regular cocoa still makes a great brownie, though! I’ve tested this with each of those cocoa powder types, and they all work really well. Since there are no leaveners, you don’t have to worry about the acidity of the cocoa powder; simply choose the one you like based on taste.
All-purpose flour — I developed this recipe with King Arthur all-purpose flour. While I normally recommend you measure your ingredients, if you spoon and level the flour, as shown in my guide, How To Measure Ingredients Correctly, you’ll be fine. There’s such a small amount of ingredients that you don’t have to get out the scale, unless you want to! (I do include the gram amounts for you.) You can replace the wheat flour with gluten-free flour, but add an extra teaspoon or two of milk since GF flours are starchier and need more moisture to hydrate well.
Sugar, salt, and vanilla — granulated sugar sweetens the brownie and holds onto moisture so the center stays fudgy. A generous pinch of salt sharpens the chocolate, along with a splash of vanilla to round out the flavor.
Milk and vegetable oil — oil stays liquid when it cools, so the brownie stays soft even as it sits. I have tested swapping the vegetable oil for light olive oil, and it’s delicious! If you want to use butter, you can. Melt 2 ½ tablespoons in the mug first, then add the rest of your ingredients and mix. The milk hydrates the cocoa and flour so the batter comes together. You can use a non-dairy milk if you prefer, or even swap the milk for cold brew.
Chocolate chips — stir most of them into the batter, and save a few to sprinkle on top so you get melted pockets in every bite. Feel free to use other mix-ins like chopped nuts, sprinkles, or M&Ms instead.

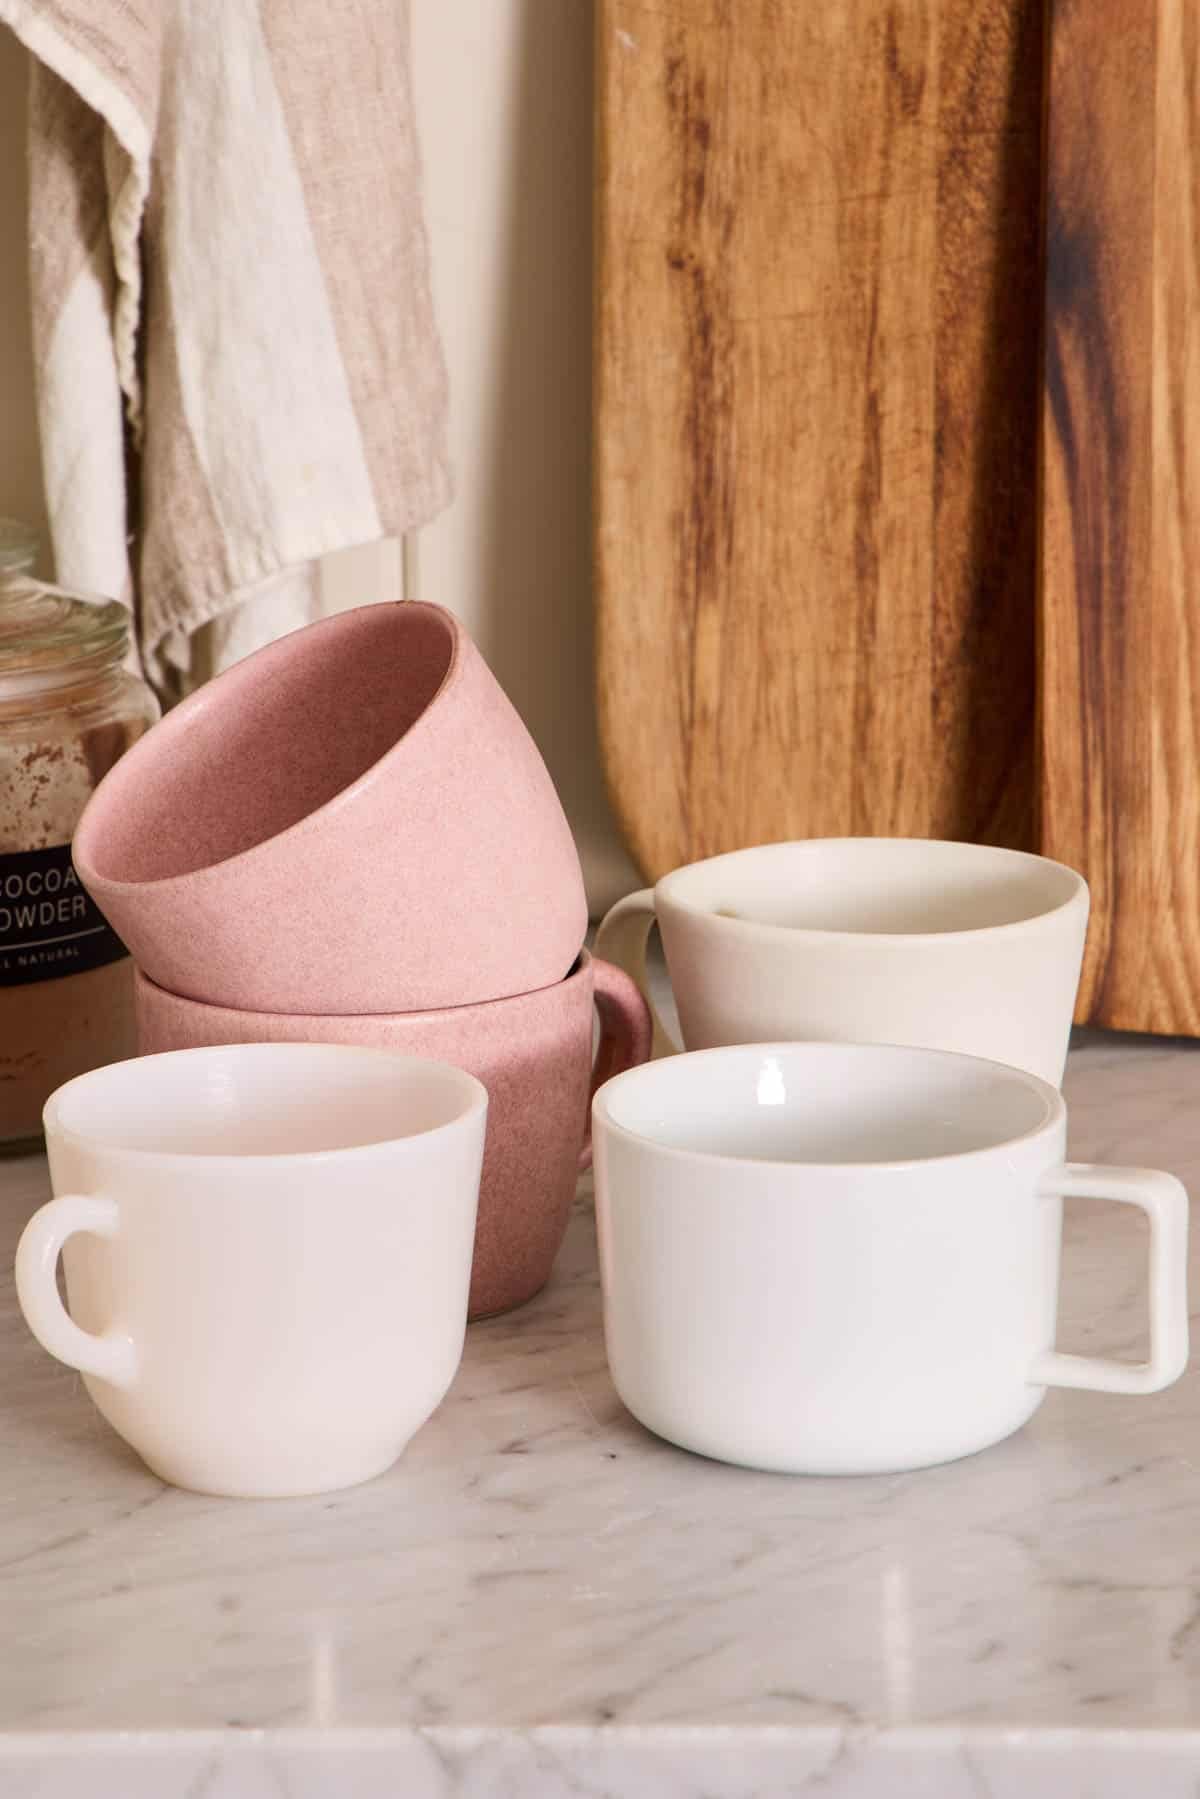
Pick The Right Mug
Use a 10- to 12-ounce microwave-safe mug (the standard coffee mug size). I prefer ceramic, but glass works too. When testing this recipe in a 10-ounce mug, the brownie just slightly puffs, so if your batter fits in the mug before it goes in the microwave, it will work fine. A standard-width or slightly wider mug is ideal over a tall, narrow one; the brownie will cook more evenly. Keep in mind that the wider your mug is, the thinner the batter will be in it, so it will take less time to cook.
Avoid mugs with metallic paint or trim that aren’t microwave safe. Some double-walled mugs also can’t be microwaved, so check them first. And avoid really small mugs 6 ounces or less) unless you cut the recipe for smaller portions.
Pro Tips For Making This Recipe
You don’t need a scale to measure the ingredients. I’m breaking my rule for this one time! The nature of this recipe is to be super easy. The ingredient amounts are small, so there’s less room for big differences. And since we aren’t making a cake that relies on the right ratios to not sink, or cookie dough that needs to spread, being a little bit off in one direction or the other won’t ruin the brownie.
Avoid overcooking your brownie, or it will turn out dry. The center should still look slightly wet or glossy. It will continue to bake and set after you remove the mug from the microwave, so don’t worry if they seem a bit too soft and fudgy.
How To Make A Brownie In A Mug
Portions of the recipe are highlighted in step-by-step process images below. You can find the full set of instructions in the recipe card.

1. Combine the cocoa powder, flour, sugar, and salt in a 10- to 12-ounce microwave-safe coffee mug. Give it a quick stir with a fork.
2. Add the milk, oil, and vanilla to the dry ingredients in the mug.

3. Stir just until the dry ingredients are almost combined. I prefer using a fork because it acts like a tiny whisk and breaks up any cocoa powder or flour lumps better. You can use a spoon if that’s what you have. Add the chocolate chips, and stir until well combined.
4. Sprinkle a few more chocolate chips on top. Place the mug in the microwave and microwave on high power for 1 minute. Then continue cooking in 10-second intervals if the batter still looks raw. Let the brownie cool for a few minutes before serving with ice cream.
How Long To Microwave A Mug Brownie
Start with about 1 minute on high power. In our cross-test, it took 70 seconds. (I have a 1200-watt KitchenAid microwave.) Microwaves vary a lot in power, so treat the first one you make as your calibration test. Once you know your microwave’s time, it’ll be the same every time.
What it looks like when it’s done: the brownie has puffed slightly, and the top is still shiny and moist in a few spots near the center while the edges have turned matte.
If it still looks raw or oily: cook it in 10-second bursts and check after each one.
Let it rest for a few minutes. The center finishes setting as it cools from the carryover heat. This also gives time for the brownie to cool so it’s not piping hot when you spoon into it, and ice cream won’t melt into a puddle if you put a scoop on top.

Why Mug Brownies Turn Rubbery
This typically happens from overcooking. A microwave heats the water in the batter, and once too much of it steams off, the flour’s starch and protein turn hard. The seconds between fudgy and rubbery are why you add time in short bursts instead of committing to one long blast.
When I first tested this recipe, I tried 1 minute and 30 seconds, not quite sure exactly how long it would take. The brownie was dry, chewy (in that rubbery kind of way), and not very enjoyable. I continued testing, dropping the time with each one, and came to 1 minute being the perfect starting point for doneness. Then, you can add on additional intervals as needed for your mug and microwave without overcooking the brownie.
Mug Brownie Vs. Mug Cake
My chocolate mug cake uses baking powder, so it rises into a light, cakey crumb. This brownie has no leavening at all and a higher ratio of fat and cocoa, so it stays dense and fudgy. If you want something closer to a pan of brownies, this is the one. If you want a fluffy, spongy dessert, make the cake.
Make A Mug Brownie Mix
I keep a container of this dry mix in my pantry, so measuring for one brownie takes seconds, and I don’t have to get out the individual ingredients. For 6 mugs, combine:
- 114 grams cocoa powder (1 cup plus 2 tablespoons)
- 140 grams all-purpose flour (1 cup plus 2 tablespoons)
- 228 grams granulated sugar (1 cup plus 2 tablespoons)
- ½ teaspoon salt
Whisk well so the cocoa is evenly distributed. Store the mix in an airtight container in your pantry for up to a year.
To make one brownie, measure ⅓ cup or 6½ tablespoons (80 grams) of the mix into a mug, then add the milk, oil, vanilla, and chocolate chips for a single serving, and microwave. I like to tape a note to the container with the individual measurements and cook time so it’s all right there and I don’t have to look up the recipe!
Variations And Toppings
Mix-ins: swap the chocolate chips for crushed Oreos, chopped nuts, or a mix of white and dark chocolate chips.
Swirls: drop a teaspoon of peanut butter, Nutella, or jam on top of the batter and swirl it with the tip of a knife before microwaving.
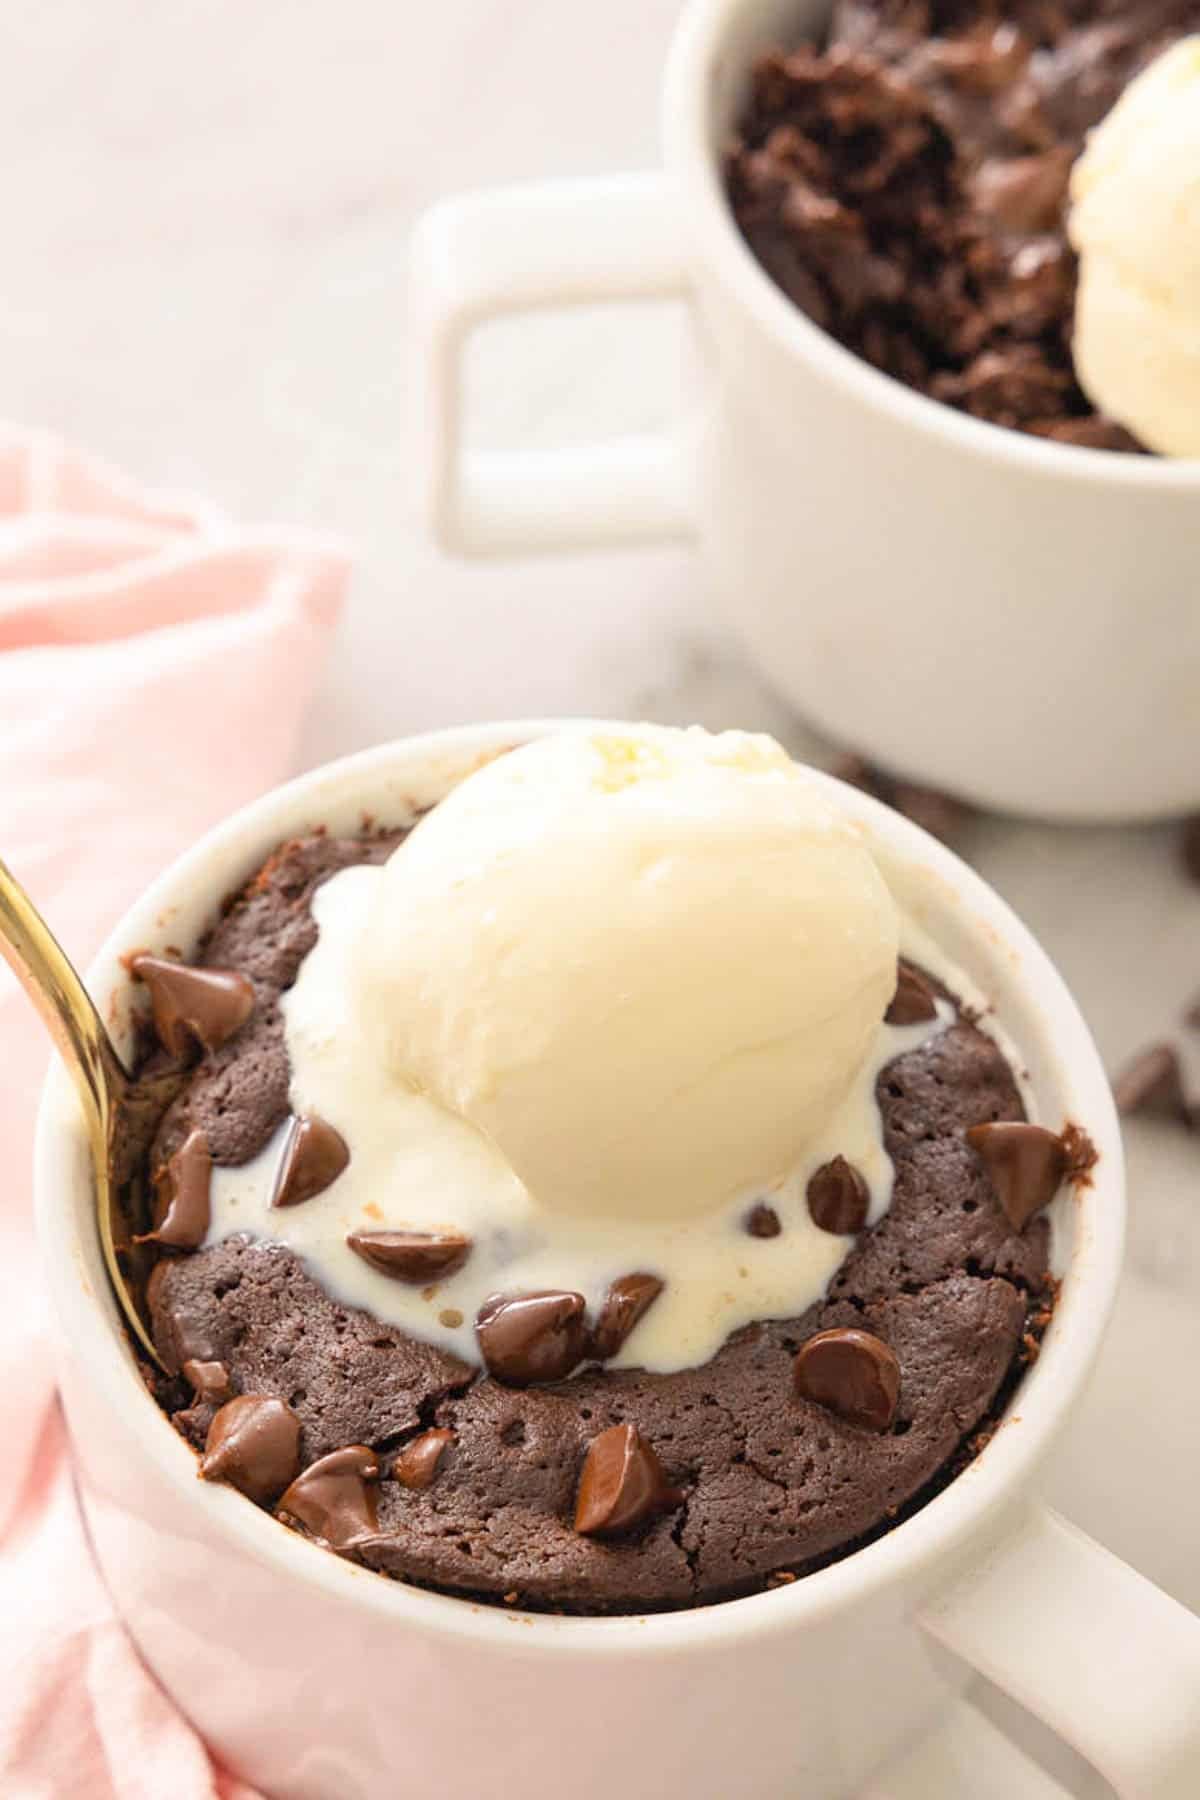
Toppings: vanilla ice cream is classic. Hot fudge, whipped cream, or a drizzle of caramel sauce all work, and a spoonful of plain yogurt adds a cool, tangy contrast.
Brownie in a Mug Recipe

Equipment
- Mug
Ingredients
- 3 tablespoons unsweetened cocoa powder (19g)
- 3 tablespoons all-purpose flour (23g)
- 3 tablespoons granulated sugar (38g)
- Generous pinch of salt
- 3 tablespoons milk
- 2½ tablespoons vegetable oil (37ml or 4½ teaspoons)
- ¼ teaspoon vanilla extract
- 2 tablespoons chocolate chips (23g), plus more for sprinkling
- Ice cream to serve
Instructions
- Combine the cocoa powder, flour, sugar, and salt in a 10- to 12-ounce microwave-safe coffee mug. Using a fork, stir until well combined. Add the milk, oil, and vanilla. Stir just until the dry ingredients are almost combined and the mixture thickens slightly, about 15 seconds. Add the chocolate chips, and stir until well combined. Sprinkle a few more chocolate chips on top, if desired.
- Place the mug in the microwave and microwave on high power for about 1 minute. (This time can vary based on how powerful your microwave is. Adjust for more or less time as needed once you make one.) The brownie should puff slightly and still appear shiny and moist in spots on the top. Continue cooking in 10-second intervals if the batter still looks raw or oily. Let the brownie cool for a few minutes before serving with ice cream.
Notes
- A shorter, wider mug is ideal as it allows for more even cooking. I recommend a heavy ceramic mug with no metal.
- Can I double this recipe? Yes, but I recommend mixing the ingredients in a separate bowl so you can incorporate the ingredients better without overmixing. Then divide the batter between both mugs. Microwave the mugs individually for even cooking.
Nutrition
Have you tried this recipe? Tag me today!
Mention @preppykitchen and tag #preppykitchen!
More Recipes To Try
Make one of these easy dessert recipes next:
- Cookie in a Mug — a warm chocolate chip cookie for one, microwaved in about a minute.
- Cosmic Brownies — a nostalgic treat made from scratch with chewy brownies topped with ganache and crispy candy pieces.
- Brownie Bites — bite-size brownies built for sharing and parties.
- Air Fryer Brownies — brownies baked in the air fryer, no oven needed.
- Skillet Cookie — chocolate chip cookie dough baked in a skillet for crisp edges and a super gooey center.
If you’ve tried this brownie in a mug recipe, then don’t forget to rate it and let me know how you got on in the comments below. I love hearing from you!