

This post may contain affiliate links. Please read our disclosure policy.
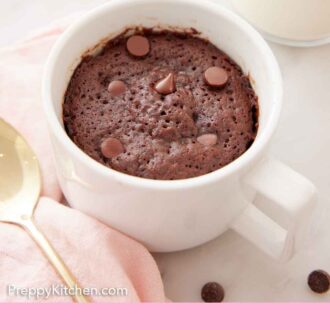
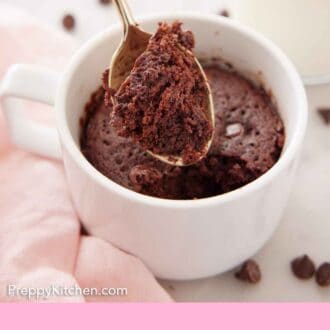
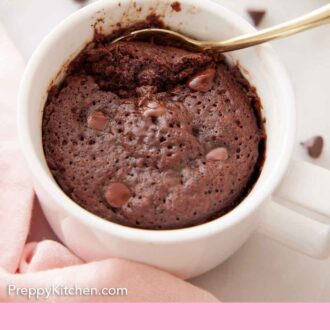
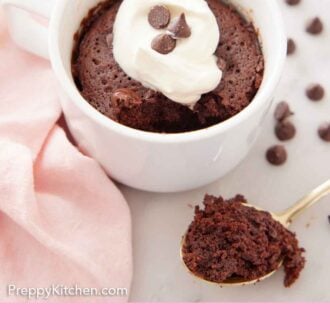
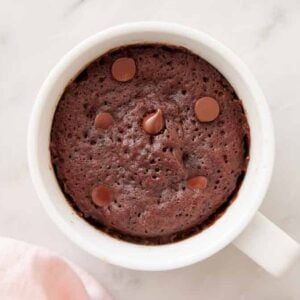
This mug cake recipe makes a single-serving chocolate cake in just about a minute! It stirs together with a few basic ingredients, doesn’t need an egg, and mixes right in the mug. Use my 10-second trick to bake your cake perfectly so it turns out fudgy every time.
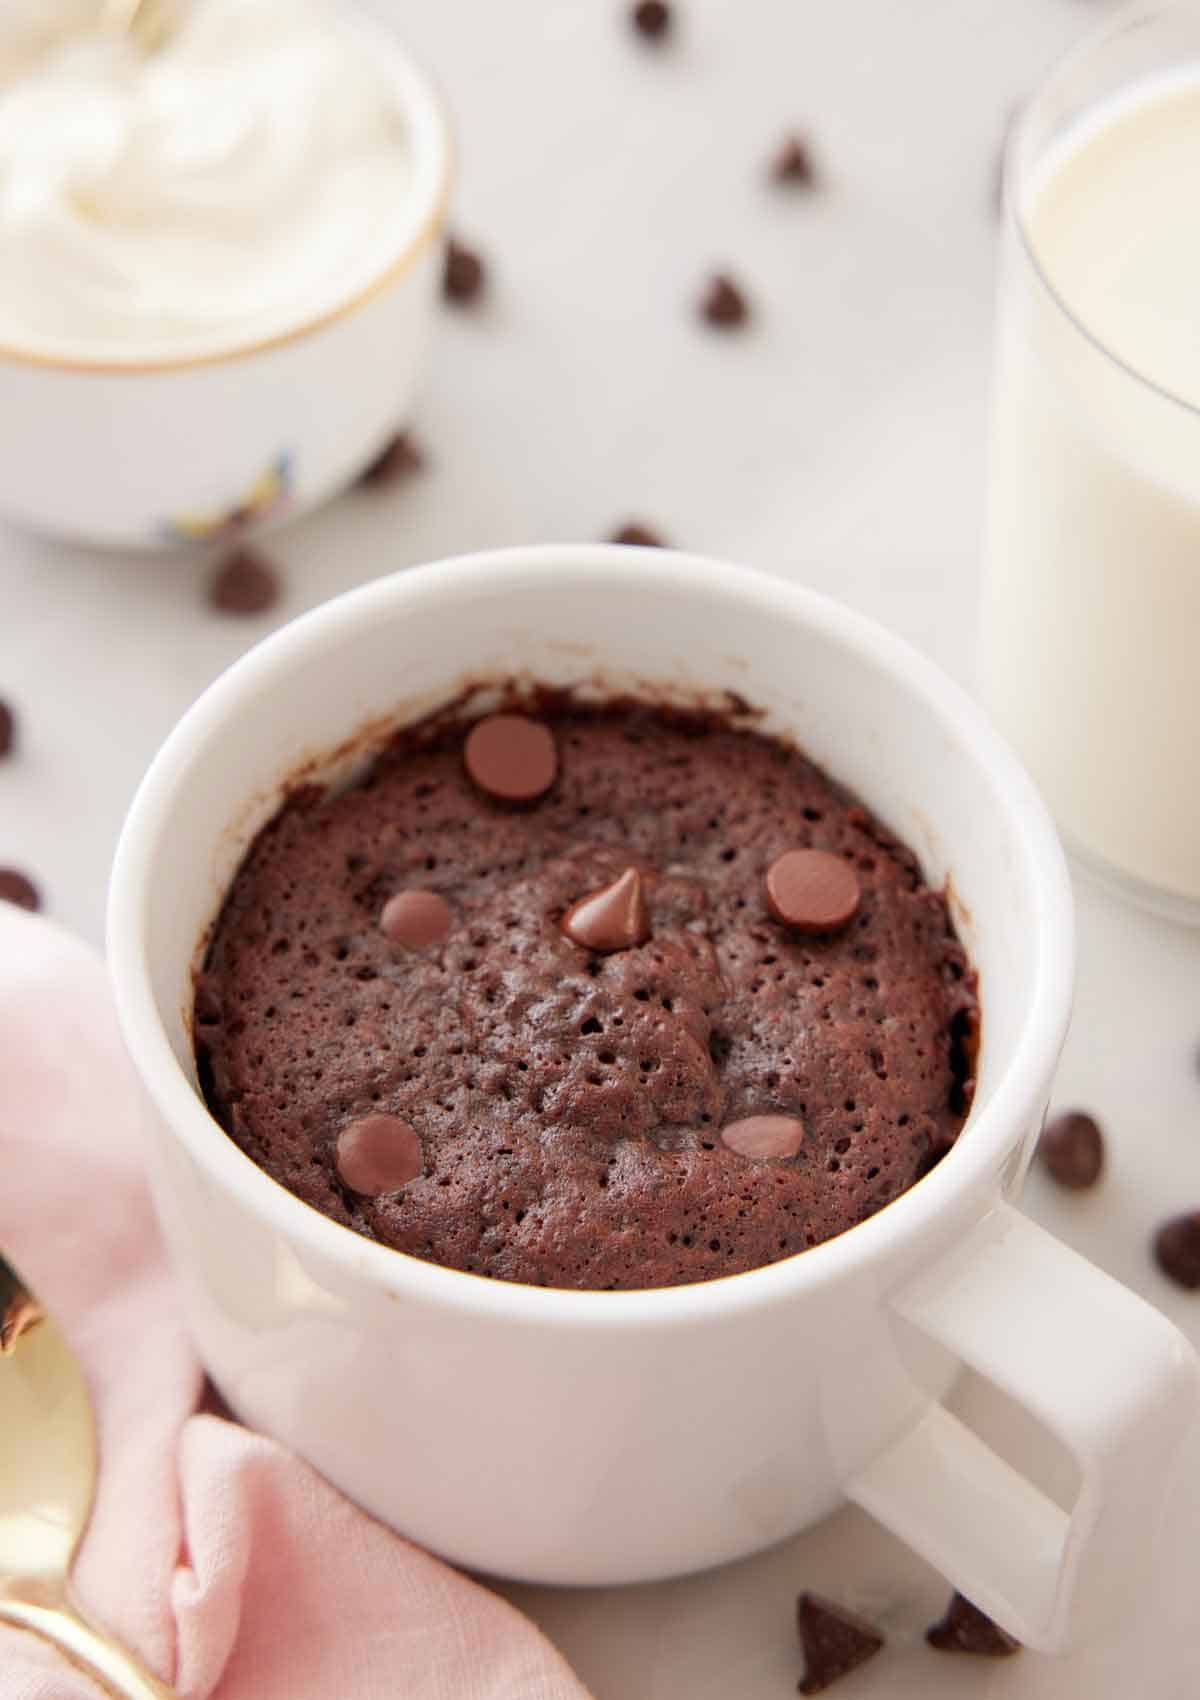
Most mug cakes turn out gummy in the middle, rubbery at the edges, or dry all the way through. The reason is almost always the same: they were in the microwave too long. A mug cake goes from underdone to overdone in about fifteen seconds, but not all microwaves work at the same power level. So, a recipe that gives you a flat cook time is likely to overcook your cake.
Mine doesn’t! Start at 60 seconds, check it, then add 10 seconds at a time until it’s right. That’s why this mug cake comes out soft and fudgy, not tough. Everything gets mixed in the mug with a fork, there’s no egg, and you’re eating homemade cake in about five minutes (yes, it has to cool slightly!).
“This turned out amazingly perfect. I LOVE chocolate so I had to try this. The recipe is easy to follow, the cook time is fast. The end product was light and delicious, I’m probably going to eat this every week.”
Mel
Key Ingredients
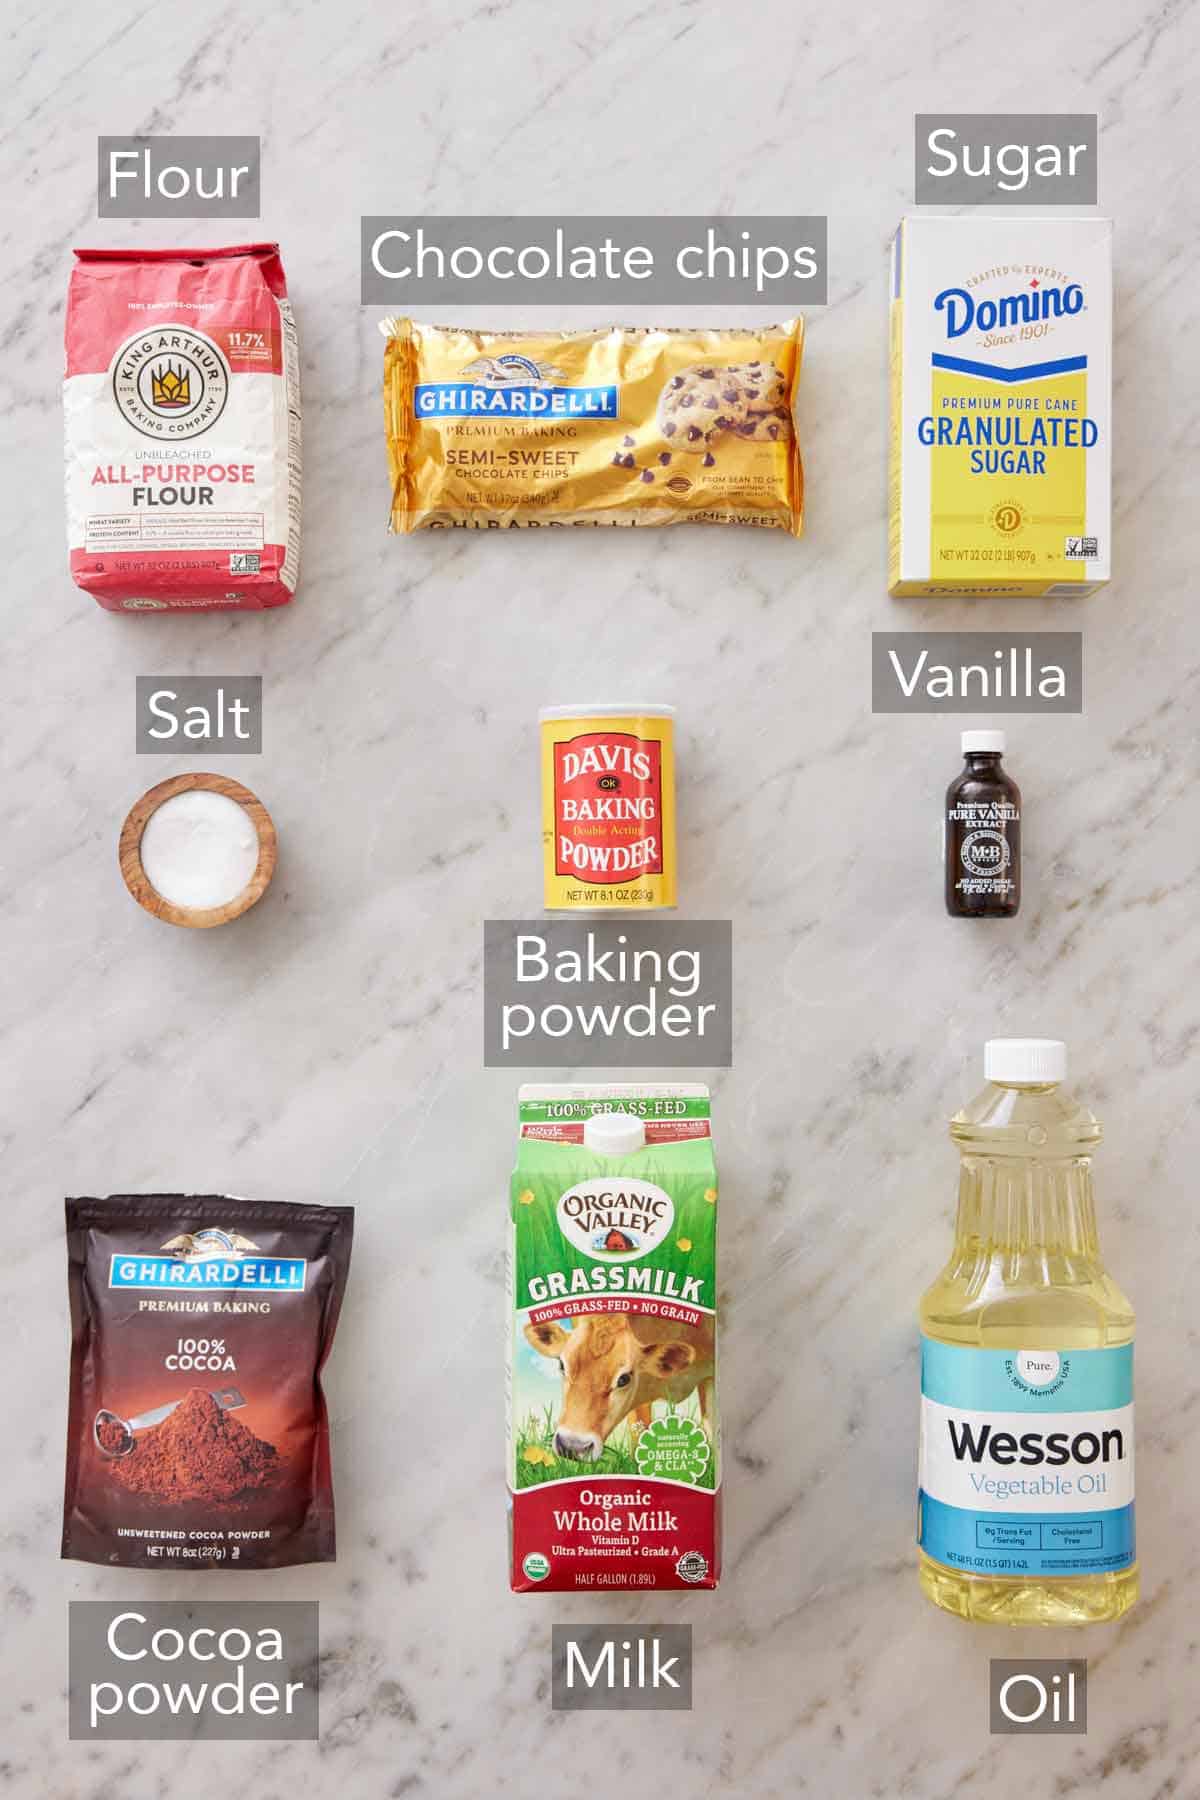
Here are the main ingredients you need to make this easy mug cake. Get the full list of ingredients and measurements in the recipe card below.
All-purpose flour — flour is the one ingredient here with little margin for error: an extra tablespoon in a cake this small is a big proportional change, and it’ll turn your cake dry. Use a scale if you have one, or fluff, sprinkle it into your measuring scoop, and level it off. You can get the step-by-step technique in my How to Measure Ingredients Correctly.
Cocoa powder — unsweetened cocoa is what you need to be most aware of, not using sweetened or hot cocoa mix. The added sugar will throw off the flavor and texture. You can use natural or Dutch-processed cocoa. Since the recipe uses baking powder, you don’t need to worry about the acidity of the cocoa powder. This is where the chocolate flavor actually comes from, so use your favorite kind.
Baking powder — you only use a small amount, but it’s what lifts the cake in the 60 seconds in the microwave. Check the date on the tin. Old baking powder will make a dense cake. Also, don’t switch it for baking soda! Baking powder reacts with heat, not acid alone, so it works best in this microwave recipe and without other highly acidic ingredients.
Whole milk — the fat carries flavor and keeps the crumb tender. If you don’t have whole milk, fat-free or 2% will work, but the cake will feel a bit drier.
Vegetable oil — oil stays liquid as the cake cools, which is why this stays soft on the counter while a butter-based batter would firm up more. Since you are likely eating this cake while it is still warm, it’s not as important, and butter is a fine substitute. The oil is much easier to use, though, since you don’t have an added step of melting anything.
Semi-sweet chocolate chips — they will melt into pockets of gooey chocolate inside the mug cake. A few sprinkled on top add a simple garnish, but you can mix them all in if you’d like.
Picking the Right Mug
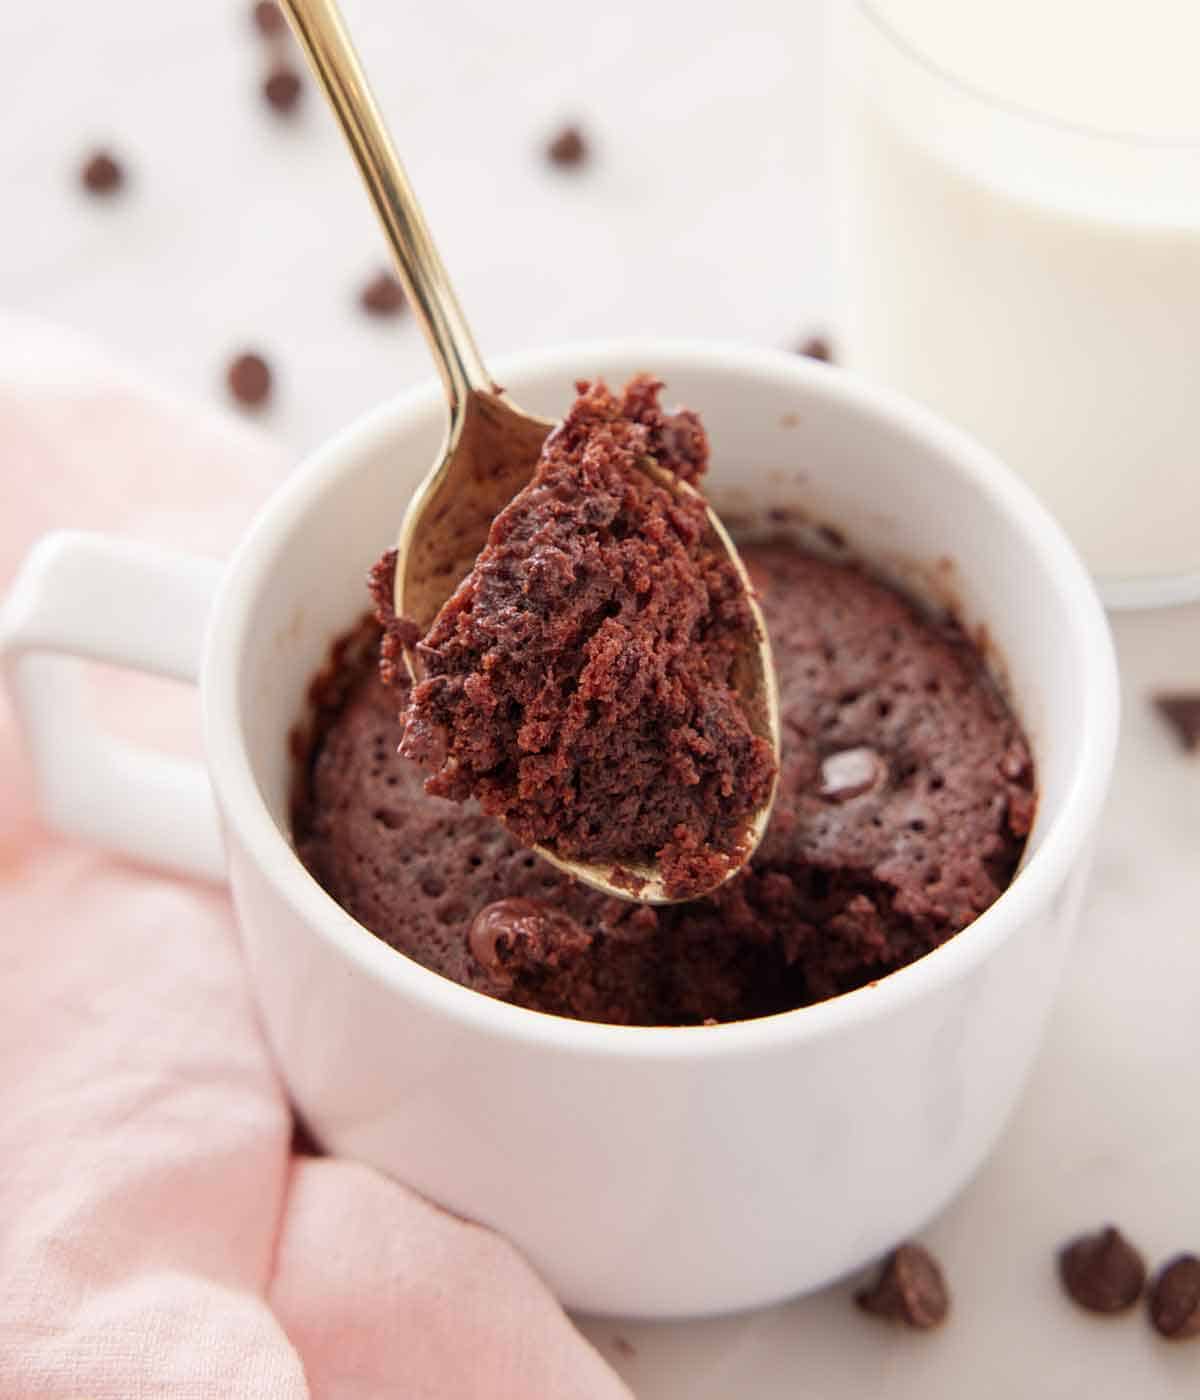
Use a 10- to 12-ounce mug that is of average width (about 3”). If it’s smaller than that, the batter climbs over the rim while it’s puffing up during cooking. If it’s too wide, the batter spreads too thin and can dry out because it will cook faster. A shorter mug around 3 inches wide cooks more evenly than a tall narrow one, because the heat has less depth to travel through. I also prefer ceramic or thicker glass mugs over thin glass mugs—the batter tends to overcook with the thinner walls.
I have tested this in a normal 10-ounce coffee mug and a 12-ounce wide latte mug, and confirmed that the latte mug was overdone at 60 seconds. It was actually finished in 45 seconds! If you have wider mugs only, start the cook time shorter and add the 10-second intervals from there.
Skip anything with a metal rim, metallic paint, or a gold monogram. Metal in a microwave can arc and start a fire. If you aren’t sure about a mug, the USDA has a simple test: put a cup of water in a glass measure, set it in the microwave next to but not touching the mug, and run it on high for one minute. If the mug comes out warm, it isn’t microwave-safe. (USDA FSIS, Cooking with Microwave Ovens)

The Timing Is Everything
The exact cooking time depends on your microwave and, less obviously, on your mug. A thick, heavy ceramic mug absorbs heat and slows the cake down. A thin one cooks faster. That’s why I don’t give an exact cook time. I start with 60 seconds, then continue in short bursts.
The cue to stop is the cake batter looking puffed and feeling set in the center but still looking slightly shiny, not dry. A mug cake keeps cooking after the microwave stops, because the mug is hot and holds onto that heat. If you pull it when the top looks dry, it will be overdone by the time you eat it. I made two mug cakes to show you the difference.
In the first test, I pulled the mug out when the top looked like it might be done, at 50 seconds. It didn’t look raw on top, but it was quite raw in the center when I spooned into it. For the second test, I pulled it once it was noticeably puffed and the cake felt springy or set near the center. This took 90 seconds in my microwave. (I have a 1200-watt KitchenAid microwave.)
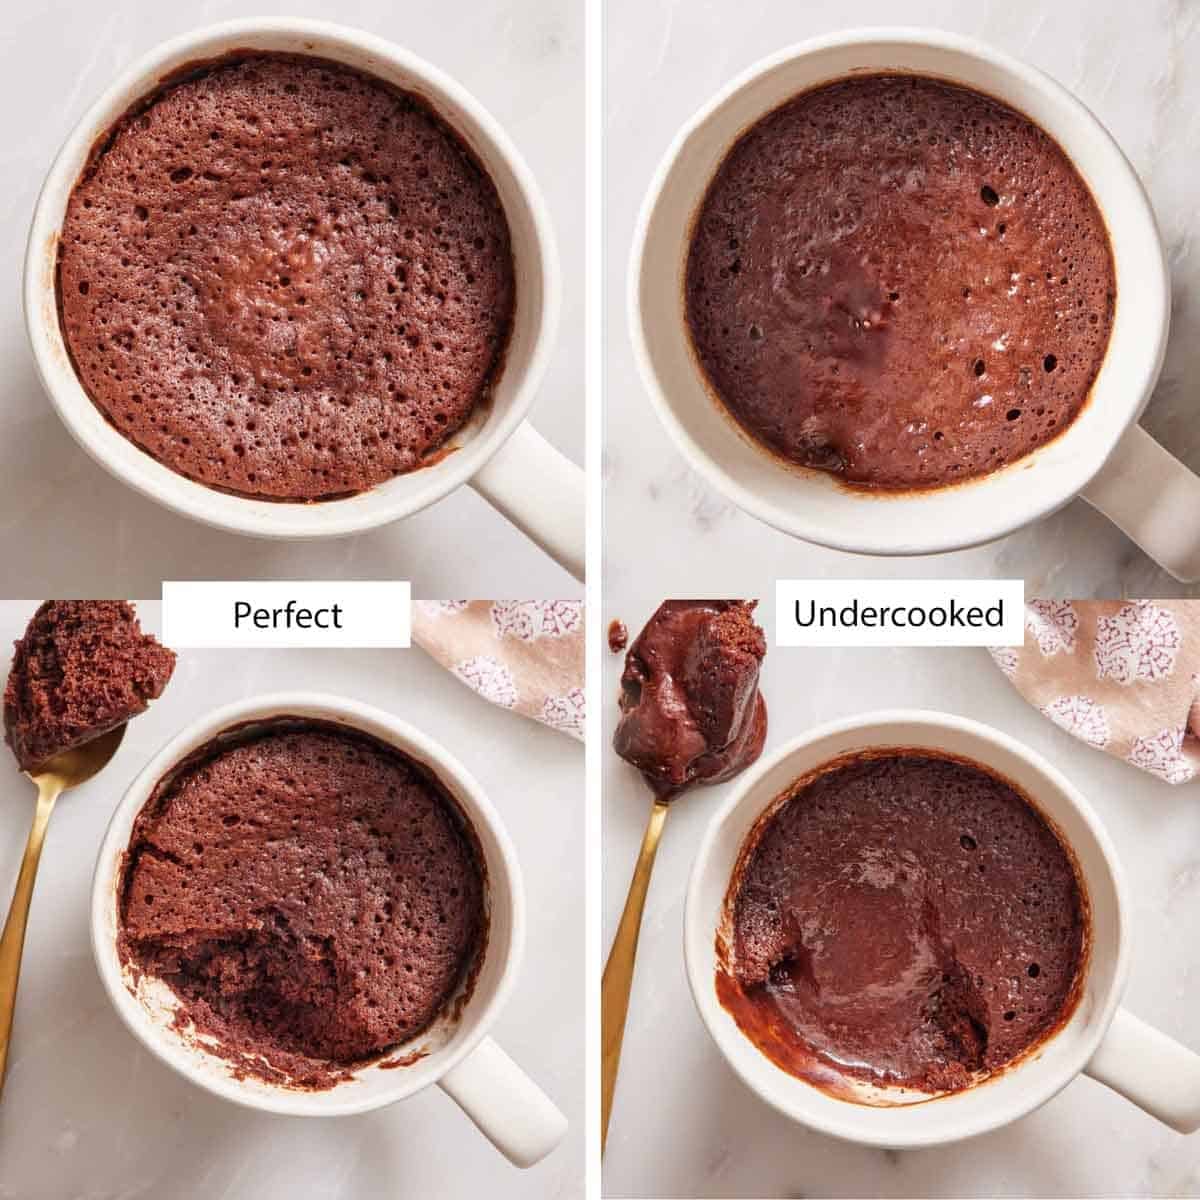
If you overshoot, you’ll know: the texture turns springy and tough, and it tightens further as it cools. There’s no rescuing it, but a scoop of ice cream melting into it can help! Next time, stop 20 seconds sooner and check again.
Pro Tips For The Best Mug Cake
Just like a regular cake, avoid overmixing the batter, or you’ll end up with a dense, tough mug cake. Stir until the dry ingredients disappear and then stop. Extra stirring develops gluten, and in a cake this small, that change happens fast.
How To Make A Mug Cake
Step-by-step process images are shown below for making this simple mug cake. You can find the full set of instructions in the recipe card.
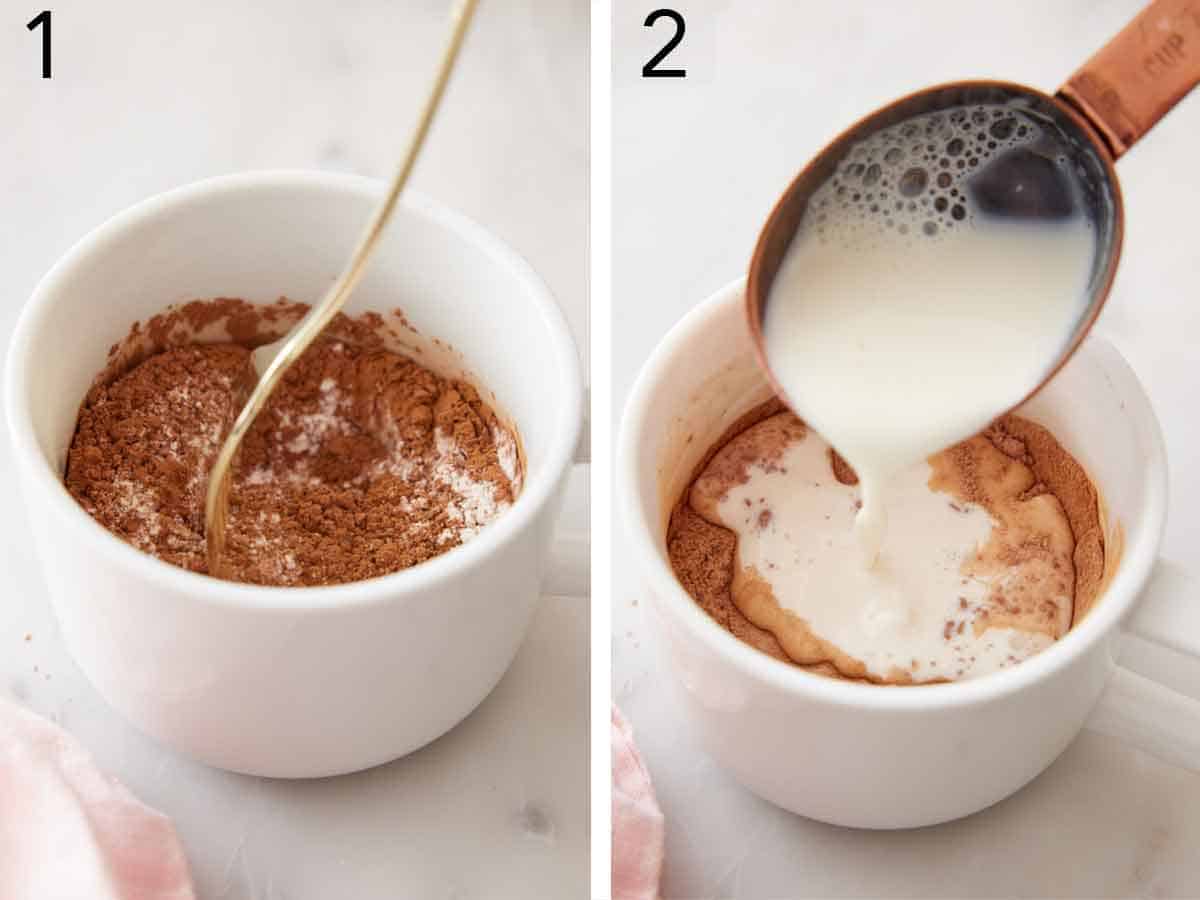
1. In a large microwave-safe mug (10- to 12-ounces), stir together the flour, sugar, cocoa powder, baking powder, and salt with a fork.
2. Add the milk, oil, and vanilla to the dry mixture.
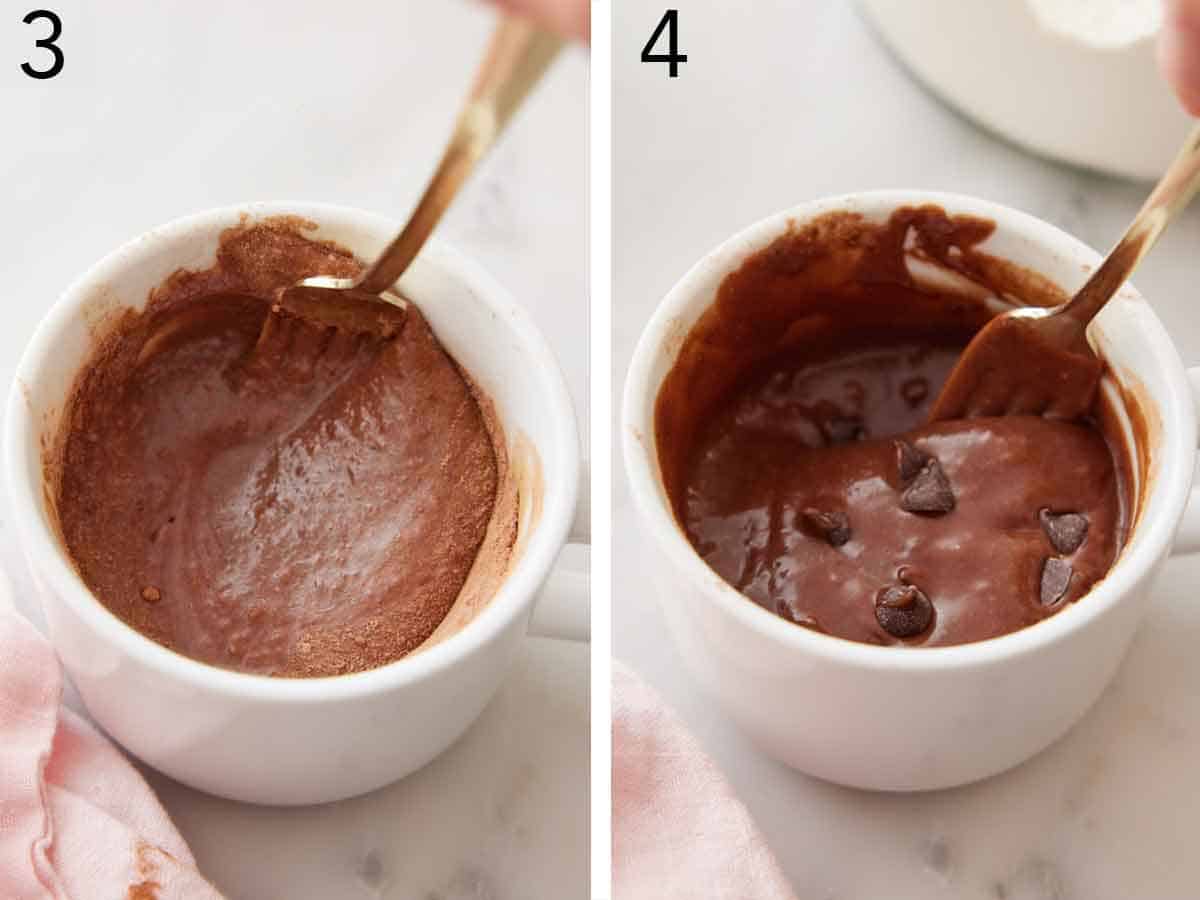
3. Stir until smooth, and the dry streaks just disappear. Be sure to scrape the bottom corners of the mug where dry flour likes to hide.
4. Stir in most of the chocolate chips. Just a few turns through the batter is enough to distribute them without overmixing.
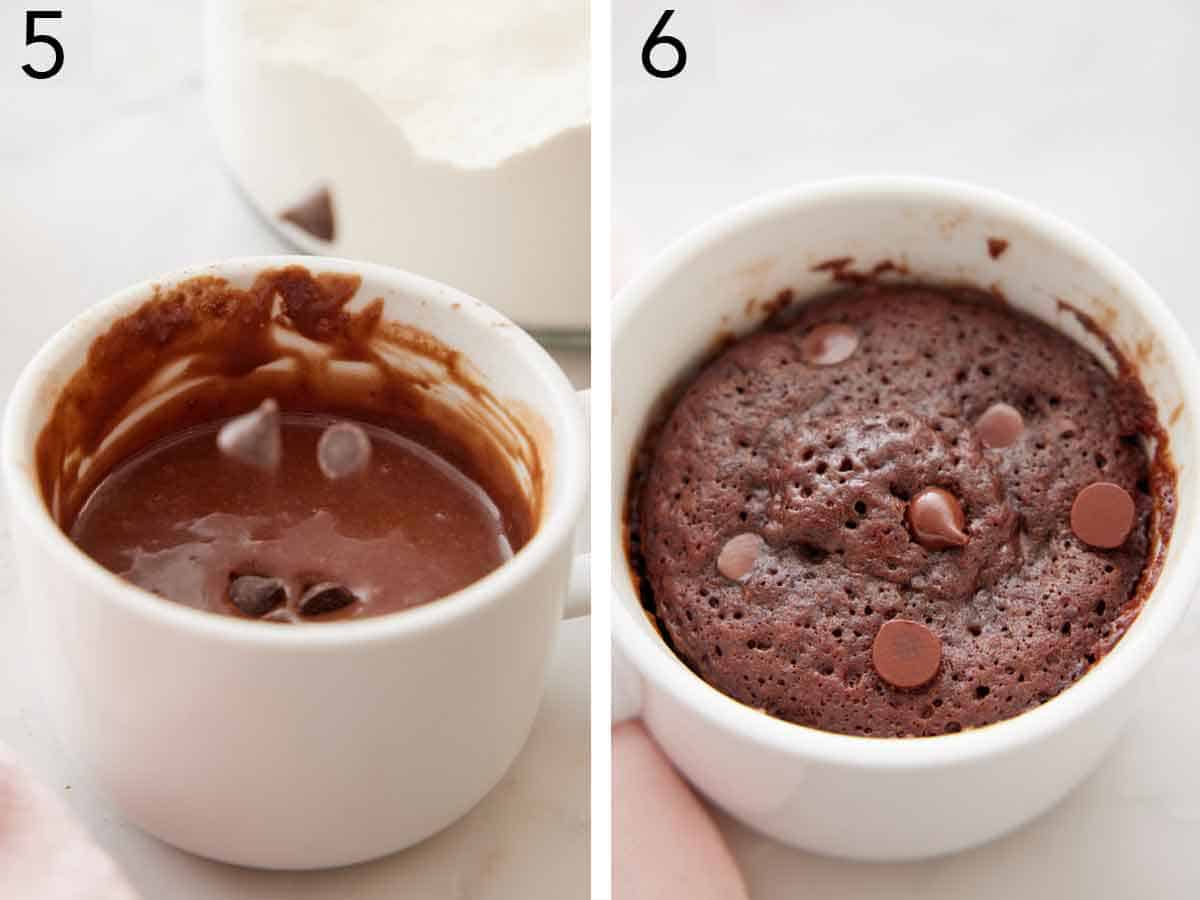
5. Sprinkle the rest of the chocolate chips over the top.
6. Microwave on high for 60 seconds. Look at it. If the center still looks wet and loose, go another 10 seconds. Repeat until the cake is puffed and the center looks set. Let it cool for a few minutes before you eat it. It is extremely hot straight out of the microwave, and it’s still cooking.
Ways to Change It Up
This recipe makes a delicious chocolate mug cake that is easy to level up or switch up the ingredients:
- Coffee: This is my favorite one! Swap one tablespoon of the milk for strong brewed coffee, espresso, or cold brew. It doesn’t make the cake taste like coffee at this amount. Instead, it makes the cocoa taste more like chocolate. The original version of this recipe had coffee built in, and when we retested this recipe, we pulled it out to keep the base recipe as simple as possible (and make it kid-friendly). It’s still the best single change you can make.
- A surprise in the middle: Drop a spoonful of peanut butter, Nutella, Biscoff cookie butter, caramel sauce, or cream cheese into the center of the batter before microwaving. It sinks slightly and stays molten. Your cook time will be 10-30 seconds longer. If you use something like cream cheese, the cold temperature takes it longer to cook, so you may need another 10-second burst.
- Different chips: Swap the semisweet chocolate chips for mint chips, milk chocolate, white chocolate, butterscotch morsels, or peanut butter chips.
- Toppings: Whipped cream, a dusting of powdered sugar, or a scoop of vanilla ice cream are all delicious on the warm cake. Fresh berries, a spoonful of strawberry topping, or a swirl of your favorite buttercream also work.
Make a Mug Cake Mix
You can multiply the recipe by 10 and stir all of the dry ingredients together in a container. Store this in your pantry for up to 6 months. To make the mug cake, measure out 80g (9 tablespoons) of the dry mix into a mug. Add the wet ingredients and chocolate chips as called for in one recipe, and stir together. Microwave as normal!
Chocolate Mug Cake Recipe
Equipment
- Large coffee mug
Ingredients
- ¼ cup all-purpose flour (30g)
- 3 tablespoons sugar
- 2 tablespoons cocoa powder
- ¼ teaspoon baking powder
- 1 pinch salt
- ¼ cup whole milk (60ml)
- 2 tablespoons vegetable oil
- 1 teaspoon vanilla extract (5mL)
- 2 tablespoons semi-sweet chocolate chips
Instructions
- In a large microwave-safe mug (10- to 12-ounces), stir together the flour, sugar, cocoa powder, baking powder, and salt with a fork.
- Add the milk, oil, and vanilla and stir until well combined and smooth. Stir in most of the chocolate chips, and sprinkle the top with the remaining chips.
- Microwave on high for 60 seconds/1 minute, check the cake, then continue cooking in 10-second bursts until the cake is puffed and the center looks slightly shiny but not wet. It should also feel springy or slightly firm towards the center. The cooking time will depend on the intensity of your microwave. Overall, the cake will take 60 to 90 seconds to cook. Let the mug cake cool for a few minutes before eating.
Notes
- The strength of microwaves can vary, so the first time you make this mug cake, you’ll need to experiment with the timing. Note where it falls between the 60- to 90-second range for next time. The thickness, depth, and width of your mug will also contribute to how long it’ll take for it to cook.
- I recommend a heavy ceramic mug with no metal. If your mug is too small, the batter may overflow. 10-12 ounces is ideal.
- The mug cake has carryover cooking. The center will continue to cook and set after you remove the mug from the microwave due to ambient heat, so stop when it’s just set.
Nutrition
Have you tried this recipe? Tag me today!
Mention @preppykitchen and tag #preppykitchen!
Frequently Asked Questions
Rubbery means overmixed or overcooked. Gummy in the center usually means undercooked, or that pockets of dry flour never got mixed in. Be sure to scrape against the bottom of the mug when mixing, then cook in short bursts and stop while the center is just set.
You can, and some people prefer it. Butter brings flavor that oil doesn’t, and it tends to make the cake denser and fudgier rather than light and cakey. The trade-off is that butter firms up as the cake cools, so a butter version is better eaten while it is still warm.
A whole egg is too much for one small cake, and it makes the texture spongy and bouncy rather than tender. Scaling an egg down means beating one and measuring out part of it, which is more work than this recipe deserves. Leaving it out is simpler, and the texture is actually better for it!
Yes, but use two mugs and microwave them one at a time. Two mugs together cook unevenly, and doubling the batter in a single mug often results in a raw middle under what looks like a cooked top.
Yes. There’s no egg to work around, so swap the whole milk for almond, oat, or soy milk and use dairy-free chocolate chips. The oil is already dairy-free.
More Dessert Recipes To Try
Make one of these easy dessert recipes next:
- Brownie in a Mug — the fudgier, denser sibling to this cake, made in the same mug in about the same time.
- Cookie in a Mug — a single-serving chocolate chip cookie for when you want the vanilla-chocolate chip combo rather than chocolate cake.
- Molten Chocolate Cake — the oven-baked version of a warm chocolate dessert with a soft center.
- Brownie Recipe — when one mug isn’t enough, and you want a full tray of fudgy brownies.
- Brownie Bites — a quick stir-together batter that bakes into small, bite-sized brownies.
If you’ve tried this mug cake recipe, then don’t forget to rate it and let me know how you got on in the comments below. I love hearing from you!






