

This post may contain affiliate links. Please read our disclosure policy.
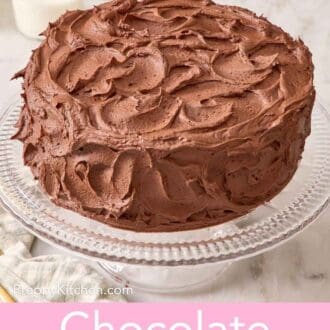
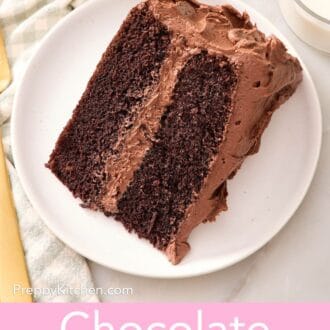
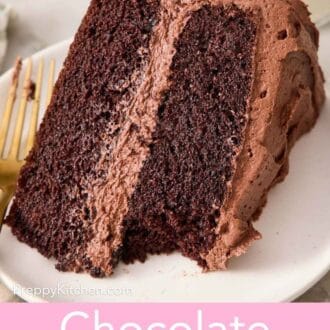
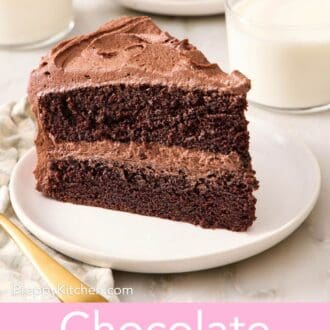
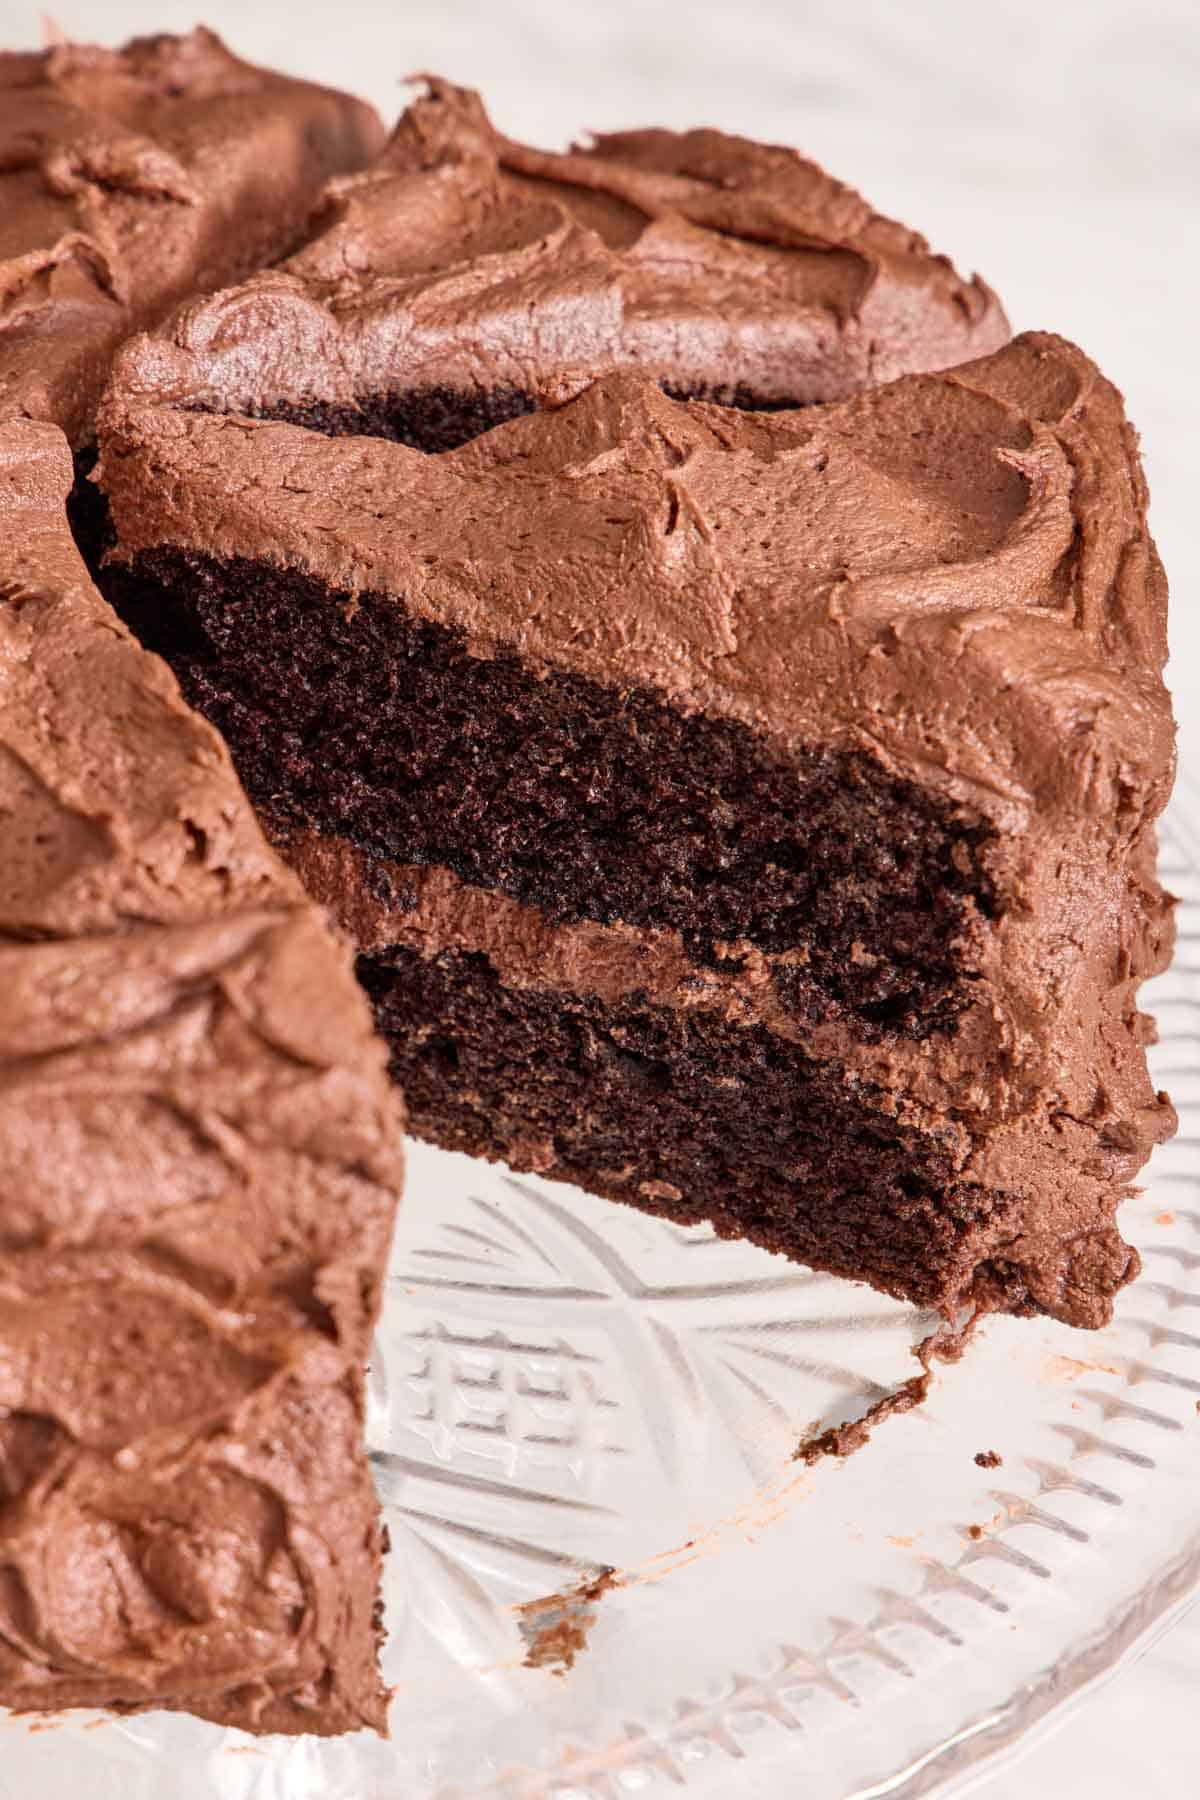
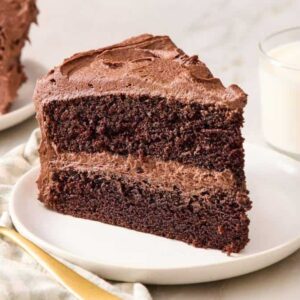
This chocolate cake is perfectly soft and moist thanks to two key ingredients—vegetable oil and hot water. The stir-together batter whisks up in about 10 minutes and results in an incredibly decadent slice of cake.
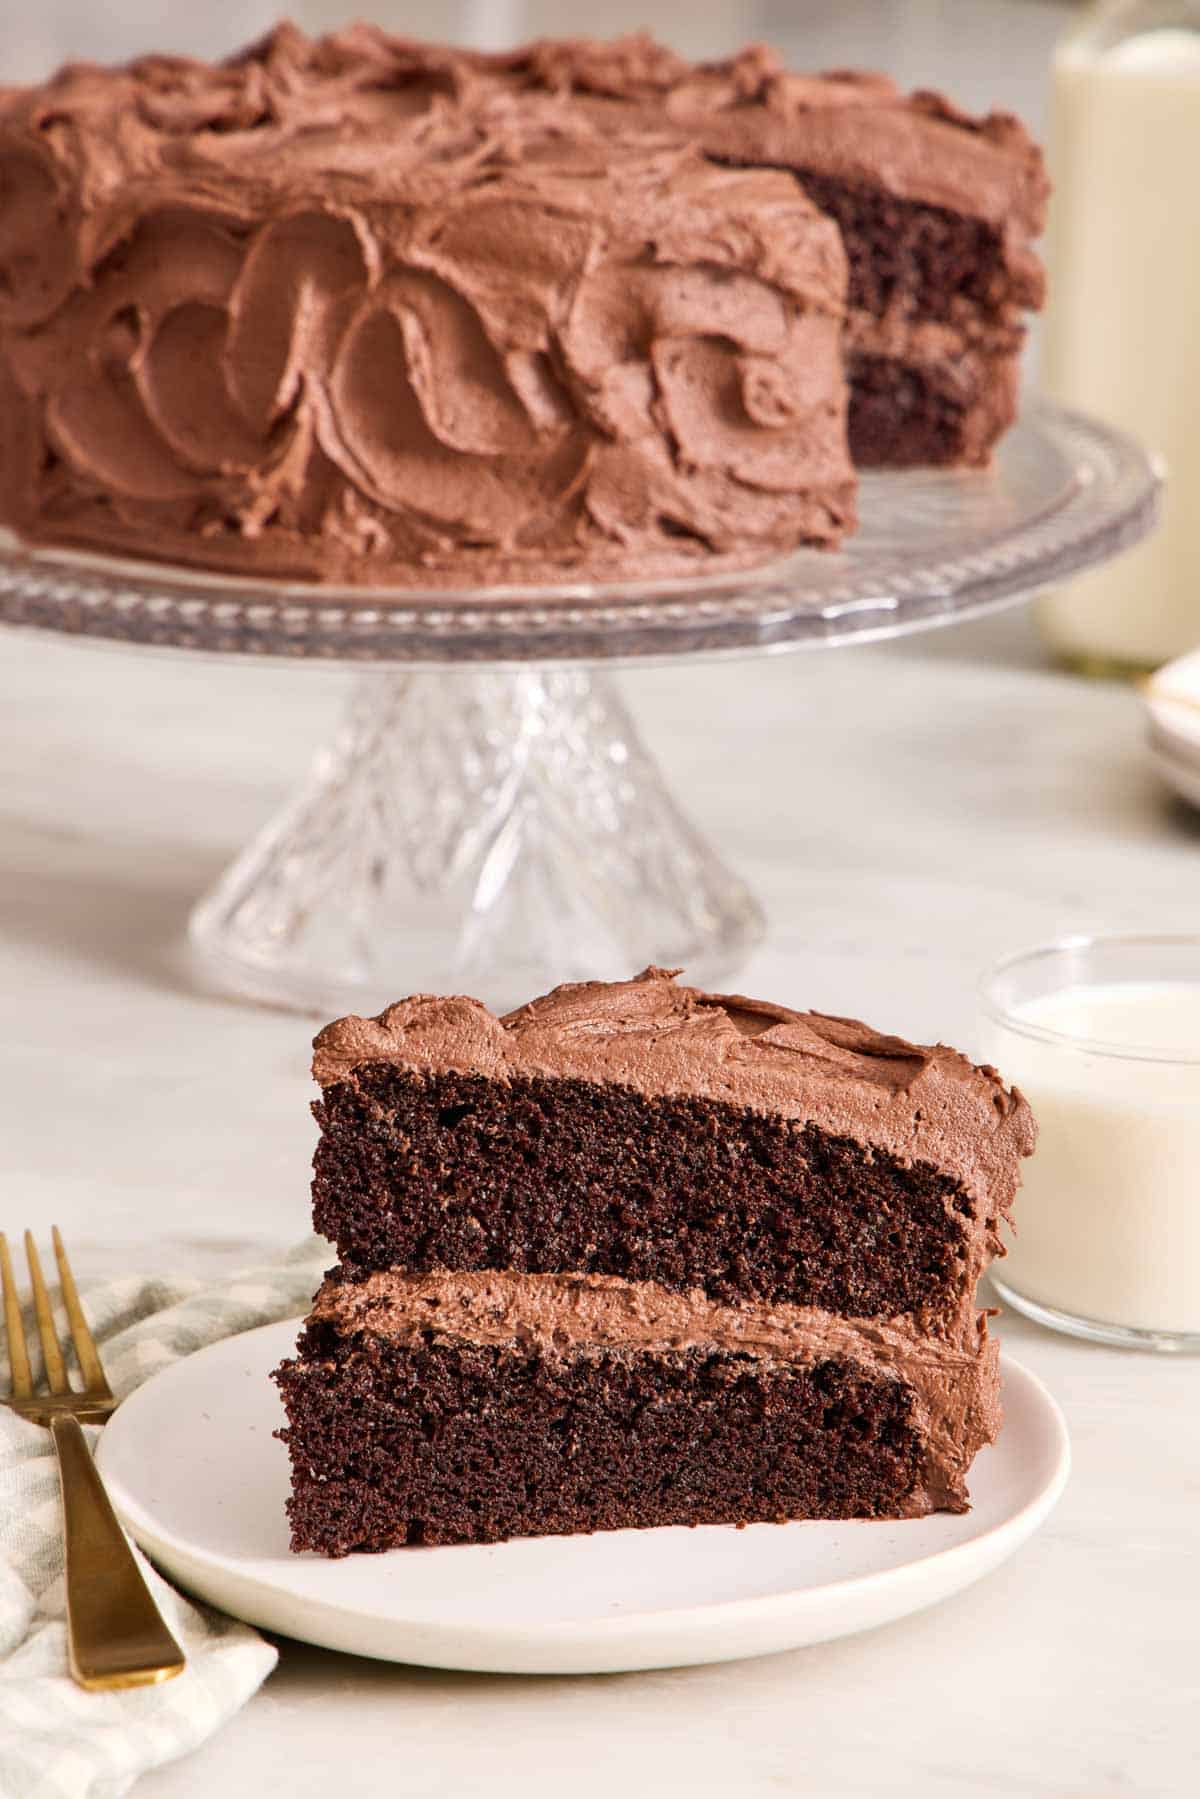
This chocolate cake recipe is the cake I bake the most, and one recipe my readers message me about all the time! I first developed it in 2020, and since then, I’ve tweaked the recipe with everything I’ve learned over years of testing it.
For this update, I went back into the kitchen and tested the three steps that trip people up most: when the hot liquid goes in (and why), whether cake strips are really needed, and how much cocoa belongs in the buttercream. My test results are below, showing you how each one impacts the flavor and texture of this cake, so you can bake the moistest, most decadent chocolate cake!
“There is truly not a better chocolate cake recipe out there. I develop my own recipes for bakes all the time, but I keep coming back to this one. It comes together so quickly, it’s insanely moist, and the flavor is unparalleled. I do the sour cream swap and add espresso powder and I wouldn’t change a thing.”
Madison
Key Ingredients And Substitutions
These are the main ingredients you need to make a homemade chocolate cake. You can find the full list of ingredients and measurements in the recipe card below.
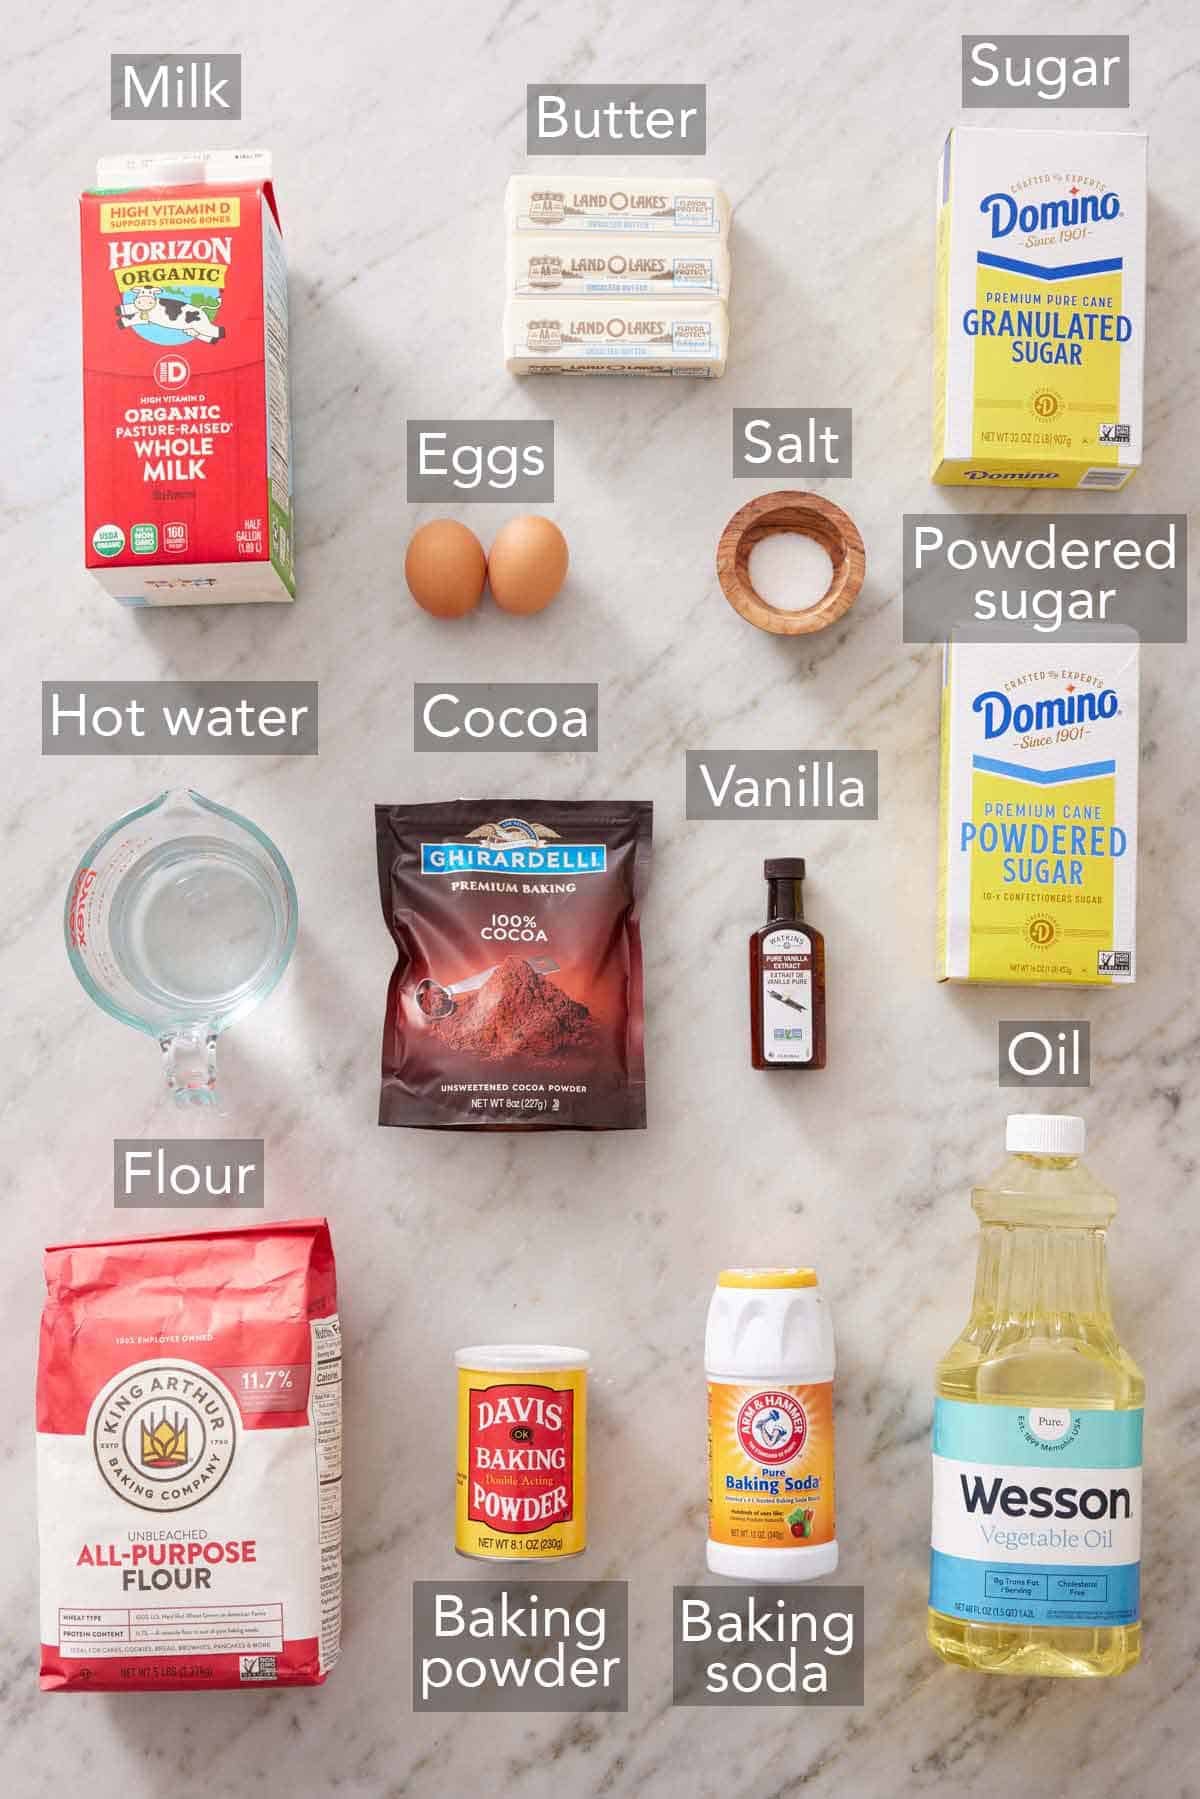
All-purpose flour — I tested this cake with King Arthur all-purpose flour, and I weigh it (120g per cup) for the perfect result every time. In testing, I found that cake flour was too low in protein and made the layers far too delicate. I already balance the moisture, sugar, and leavening agents to make the cake tender, so stick with a standard AP flour for the best results.
Cocoa powder — I use Ghirardelli Dutch-process cocoa for its dark color and rounded flavor. Dutch-process cocoa has had its acidity mostly neutralized, so it has a deeper and less bitter flavor. The recipe calls for both baking soda and baking powder for this reason. Baking powder does most of the lifting since it reacts with heat, while the baking soda raises the batter’s pH, which darkens the crumb and encourages a more open texture. If you use natural cocoa powder, expect a slightly higher rise and more open crumb texture.
Oil — vegetable oil stays liquid when cool, so the cake stays soft for days, even straight from the fridge. Any neutral oil, including avocado oil or light olive oil, swaps in one for one. Melted butter works too, but butter solidifies under 90 degrees, so the cake will be firmer once it cools and is noticeably firmer if stored in the fridge. The frosting adds plenty of buttery richness, so I like to stick with a liquid oil for the softness advantage.
Whole milk — whole milk is my go-to because I always have it in the fridge. You can use a lower-fat milk, but whole milk’s added fat keeps the cakes moist and soft longer, and emulsifies into the frosting more easily.
Eggs — use room-temperature eggs so they whisk evenly into the milk and oil. Set them out on the counter for at least 30 minutes before you start. Or, soak them in a bowl of hot tap water for 5-10 minutes.
Boiling water or hot coffee — this ingredient is essential to the cake’s texture, which I explain below! Make sure you boil the water in a kettle just before you measure it and whisk it into the batter. If you use coffee, make sure it’s hot, freshly brewed coffee or reheat it in the microwave until it’s around 190-200°F.
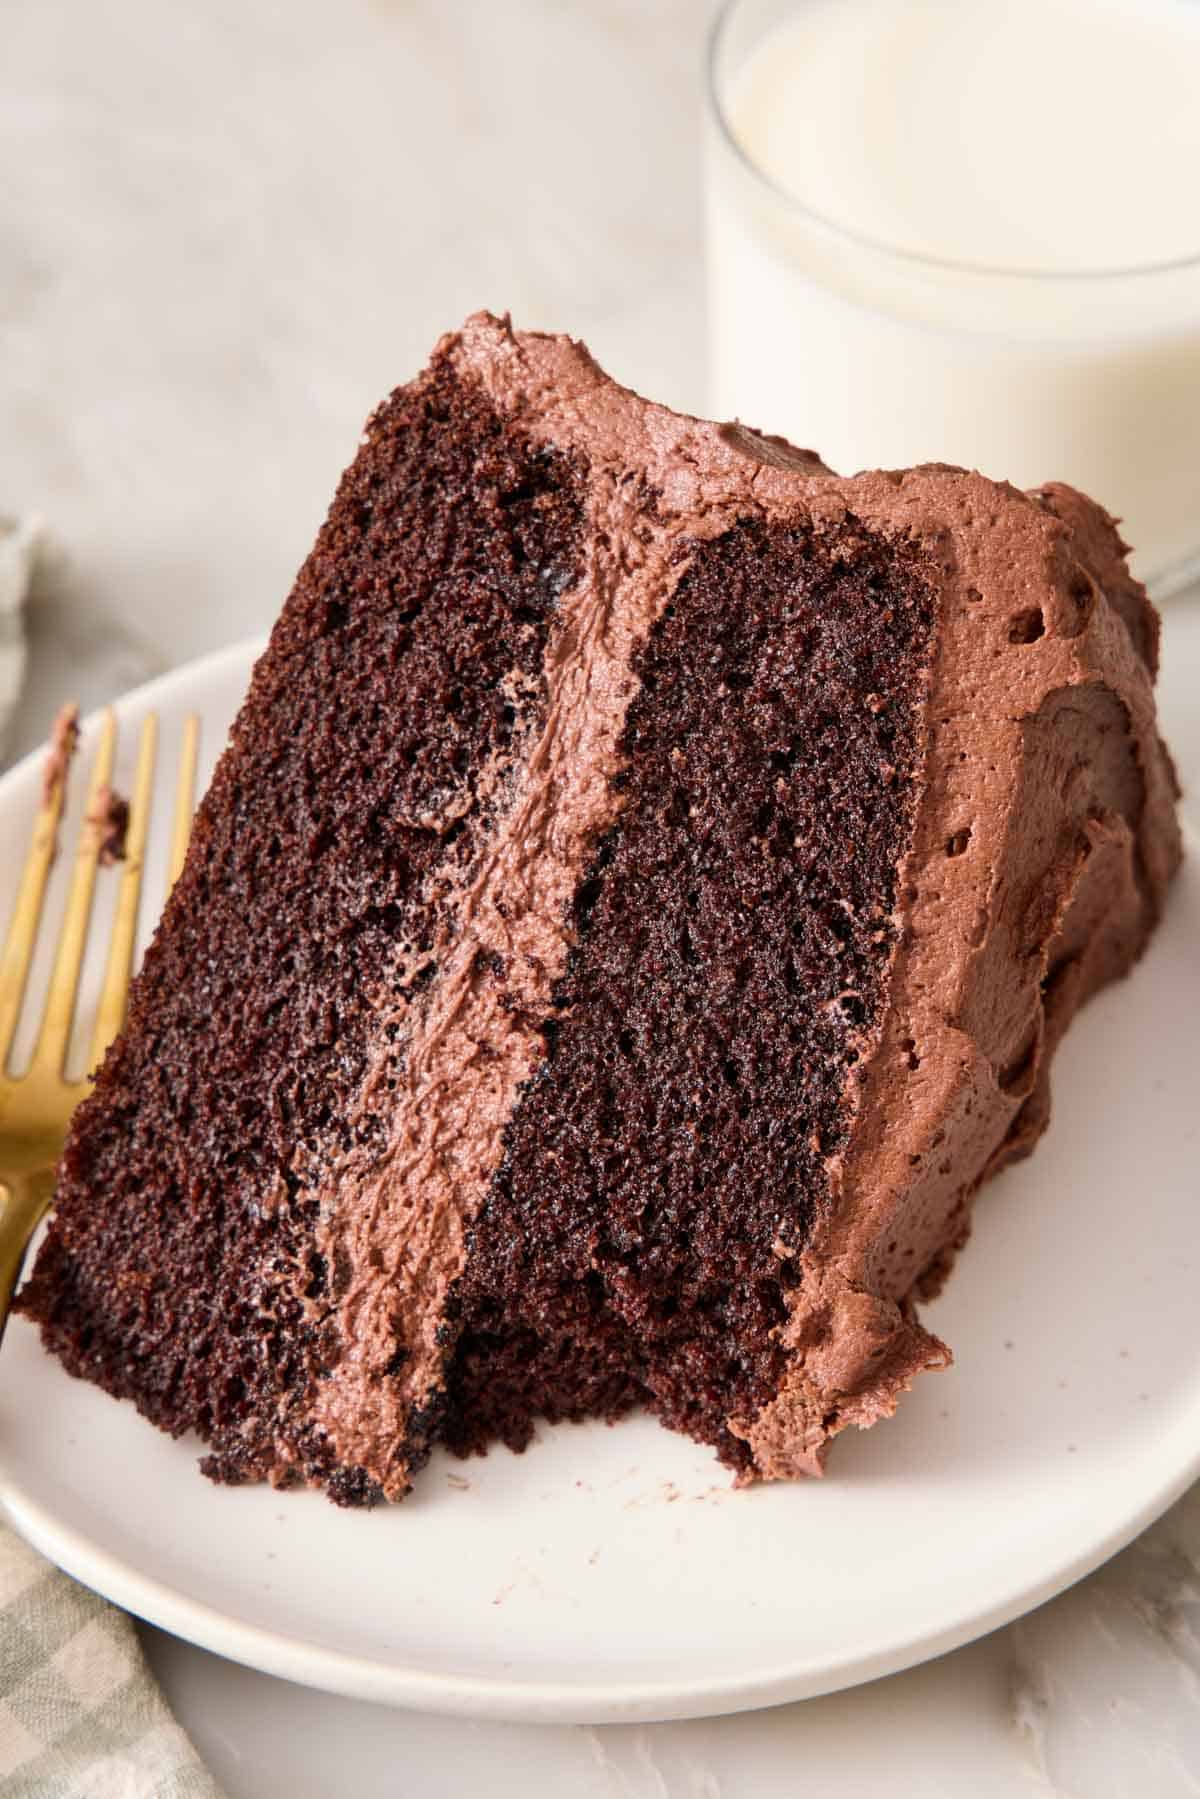
Why I Add Hot Water at the End
I have gotten many questions about this in the past, wondering why the recipe adds a hot liquid after the dry and wet ingredients are already combined. This turns a somewhat thick batter into a thin, runny one, and honestly stumps people as to why it has to go in this order.
Here’s the chemistry behind it: boiling water dissolves the cocoa solids and releases flavor compounds that would otherwise stay trapped in the cocoa (also known as blooming the cocoa). The heat also opens the flour’s starch before it hits the oven, so it starts hydrating immediately. This means a batter can hold more moisture and bake up with a moist and springy cake texture rather than turning gummy. It’s the same trick for my Devil’s food cake to intensify the chocolatiness and keep the cake layers extra moist!
So does this actually matter? Yes. I made two chocolate cake batters on the same day to show you: one with boiling water added at the end, just as written, and one with room-temperature tap water whisked in with the other wet ingredients (milk, eggs, oil, and vanilla).
My testing results show a slight difference in the visual crumb texture, with the hot water version having a more even crumb structure. But the real difference came down to the texture when eating it. The room-temperature water version was gummy. Despite this version looking fine to the eye, with an open crumb structure, eating it felt like someone had made a mistake and added too much liquid to the batter.
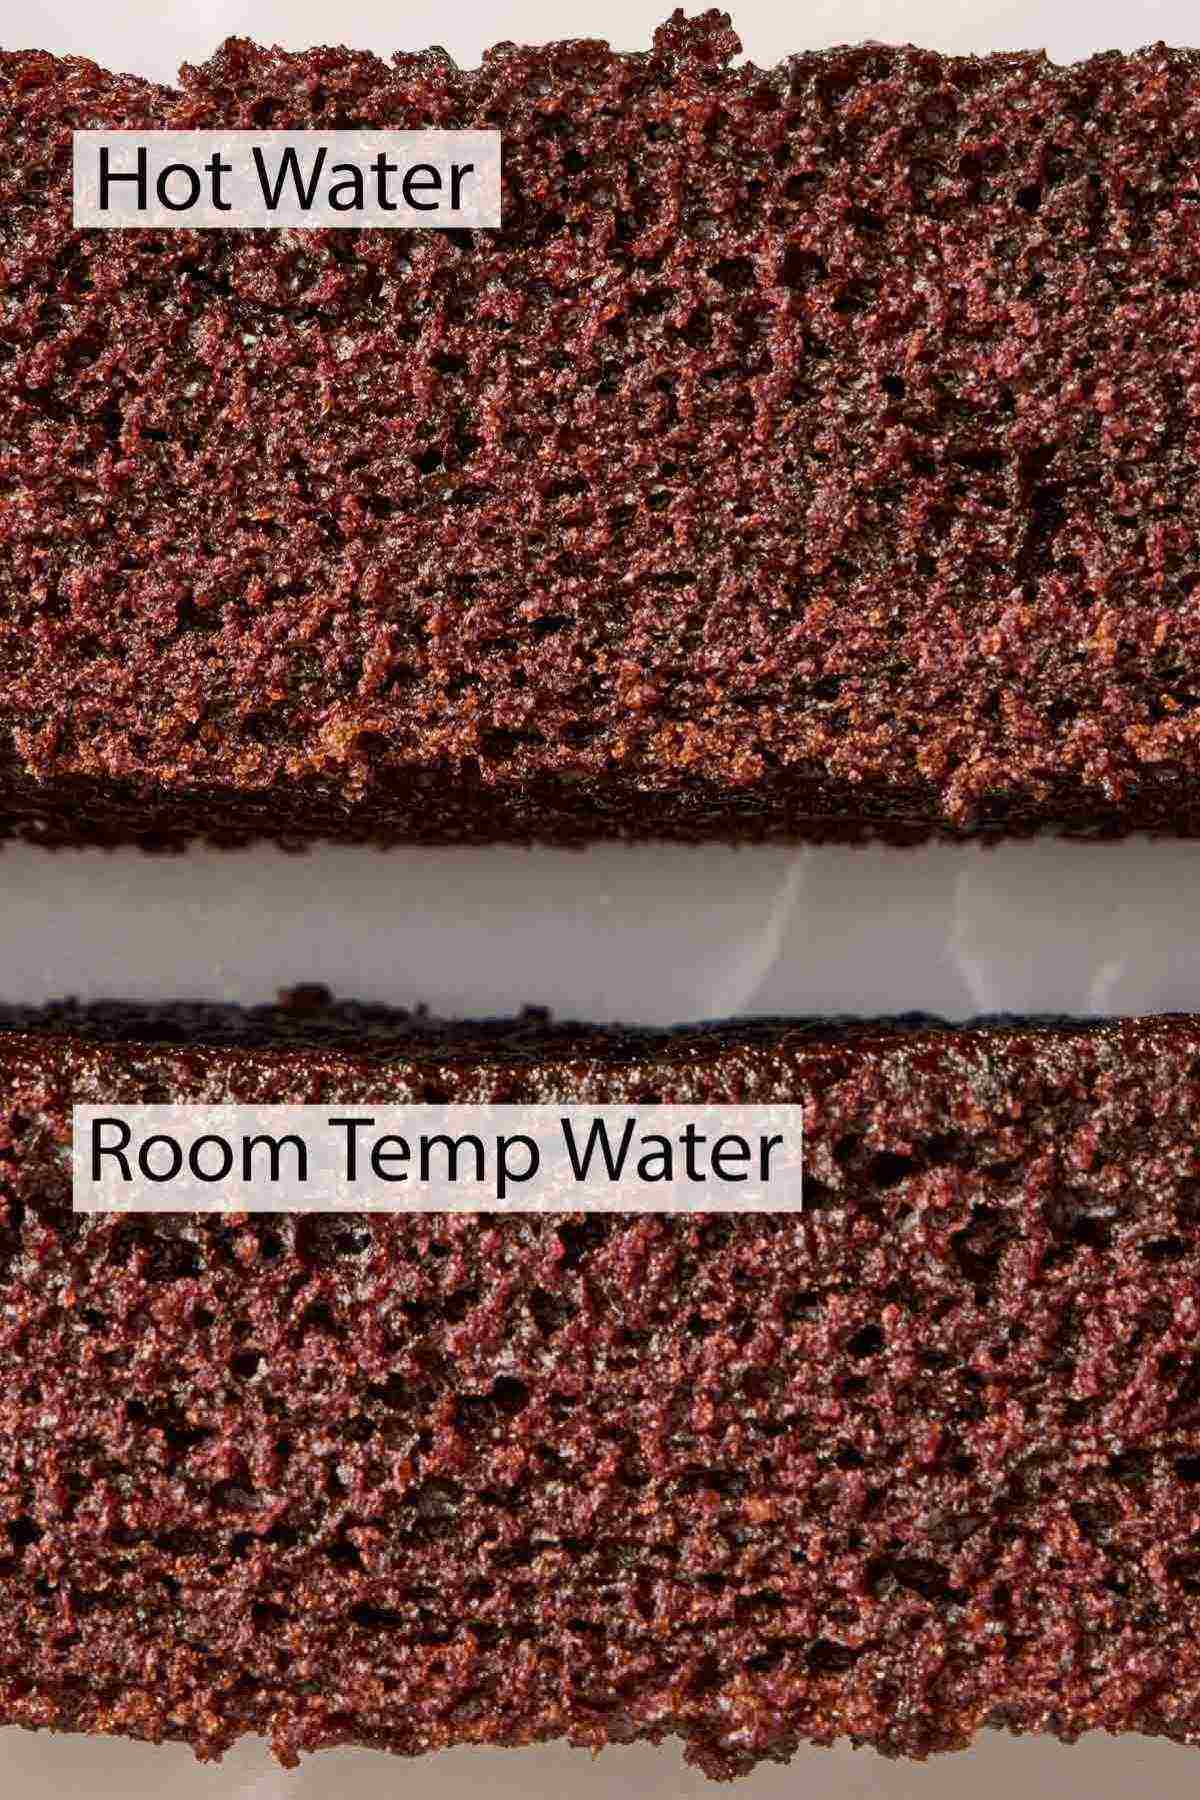
This goes back to the chemistry: the heat from the liquid opens the starches and traps that moisture inside, so the crumb structure sets up properly, but has plenty of moisture retained to stay soft and moist but not wet. You add it at the end so that it isn’t cooled down by the other wet ingredients, the hot liquid doesn’t directly touch the eggs and curdle them, and so it can meet the cocoa and flour at the same time.
Coffee Or Water?
Either works. Hot brewed coffee deepens the chocolate without tasting like coffee. I personally love the coffee addition, and it’s how I make it most of the time! But I made it optional in the recipe for those who don’t want the added caffeine. No coffee on hand? Use boiling water and whisk 1 tablespoon of instant espresso powder into the wet ingredients. You can also use decaf coffee or cold brew concentrate heated up.
Cake Strips Vs. No Cake Strips (Side By Side)
I recommend cake strips for this recipe. To show why, I baked two 9-inch pans of the same batter on the same rack for 35 minutes, one wrapped in a soaked strip and one bare.
My test results don’t show a dramatic visual difference since I developed this recipe to bake relatively flat without them. You can see that both of the cake layers are relatively flat with only a slight lip at the edge. But it does make a difference in texture.
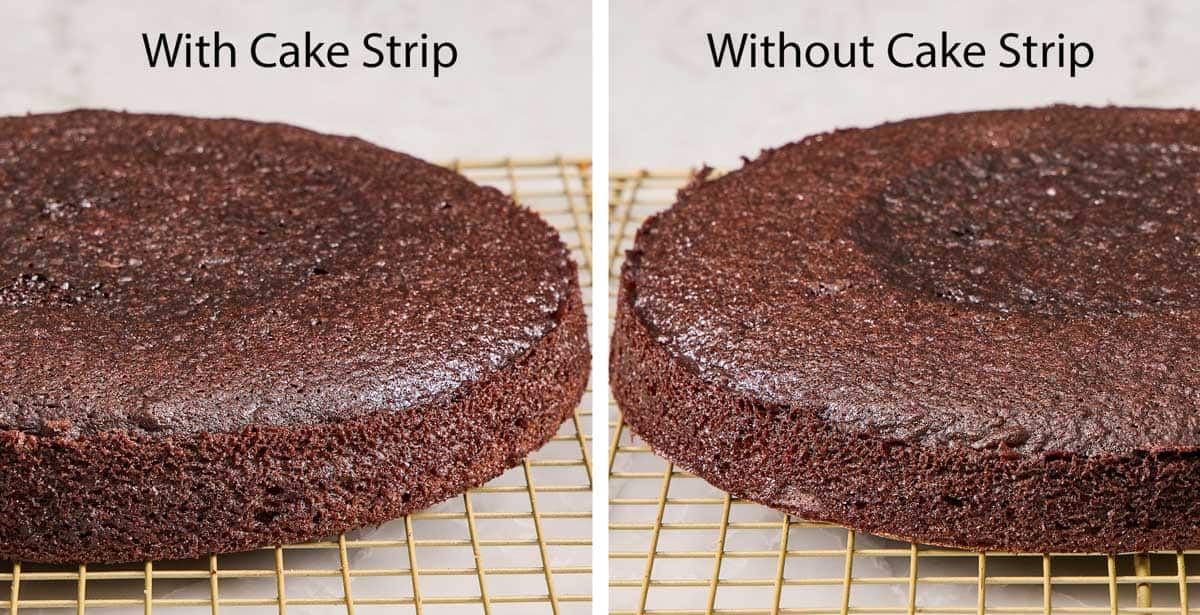
The soaked fabric strips keep the pan’s sides cooler, so the edges set at a closer pace with the center. Without them, the edges set first, turning drier and crispier as the center finishes baking through. A runny batter like this one has a slightly longer bake time, so in my experience, it benefits more than most.
You can buy fabric baking strips and soak them in water, or make your own from paper towels and foil using the instructions in my guide on how to bake flat cake layers. No strips? Level any dome that might form with a serrated knife before stacking the layers.
My Secrets For A Super Moist Chocolate Cake
Measure the flour correctly. One of the top complaints when it comes to baking cakes is that the cake turns out “floury” or dry, and this is due to using too much flour. A measuring cup scooped straight into the flour bag packs in too much flour and will add more than you need (up to 20g per cup), drying out the chocolate cake. If you don’t own a scale, spoon and level, as I show in my guide on how to measure ingredients correctly.
Swap in sour cream or buttermilk. My long-standing swap when I want some added moisture insurance is to use ½ cup (120g) of sour cream in place of ½ cup of the milk. Or, swapping all of the milk for buttermilk gives a similar tenderness with a lighter tang. Keep in mind that these are both acidic ingredients, so the baking soda will react more—I stick with Dutch-process cocoa powder if I make one of these swaps so the cake layers don’t sink.
Pull it out of the oven on time. At 35 minutes, the center should be set enough that it feels springy when you gently press your finger into it. You can also check with a toothpick, inserting it into the center and removing it—it should come out clean or with a few moist crumbs. Every extra minute in the oven means moisture evaporates out, and an overbaked cake will turn out dry, regardless of any ingredients or using cake strips. The exact bake time can vary based on your oven, so be sure to check it before you pull it out, regardless of the timer.
How To Make Chocolate Cake
Below, I’ve highlighted portions of the recipe in step-by-step process images along with instructions for making this easy chocolate cake. You can find the full set of instructions in the recipe card below.
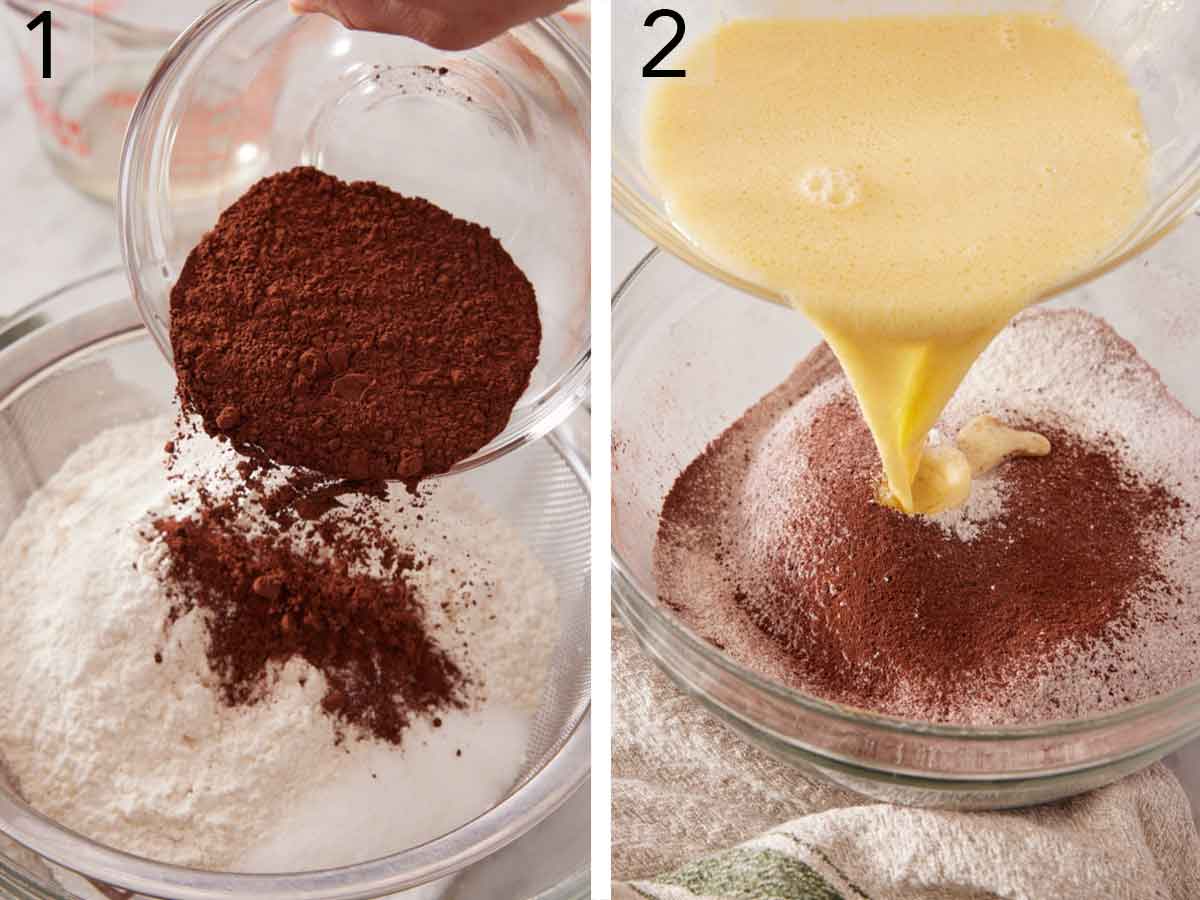
1. Whisk together the dry ingredients (flour, granulated sugar, cocoa, baking soda, baking powder, and salt) in a large bowl.
2. In a smaller bowl, whisk together the wet ingredients (milk, eggs, oil, and vanilla). Add the wet ingredients to the bowl with the dry ingredients and whisk it all until well incorporated.
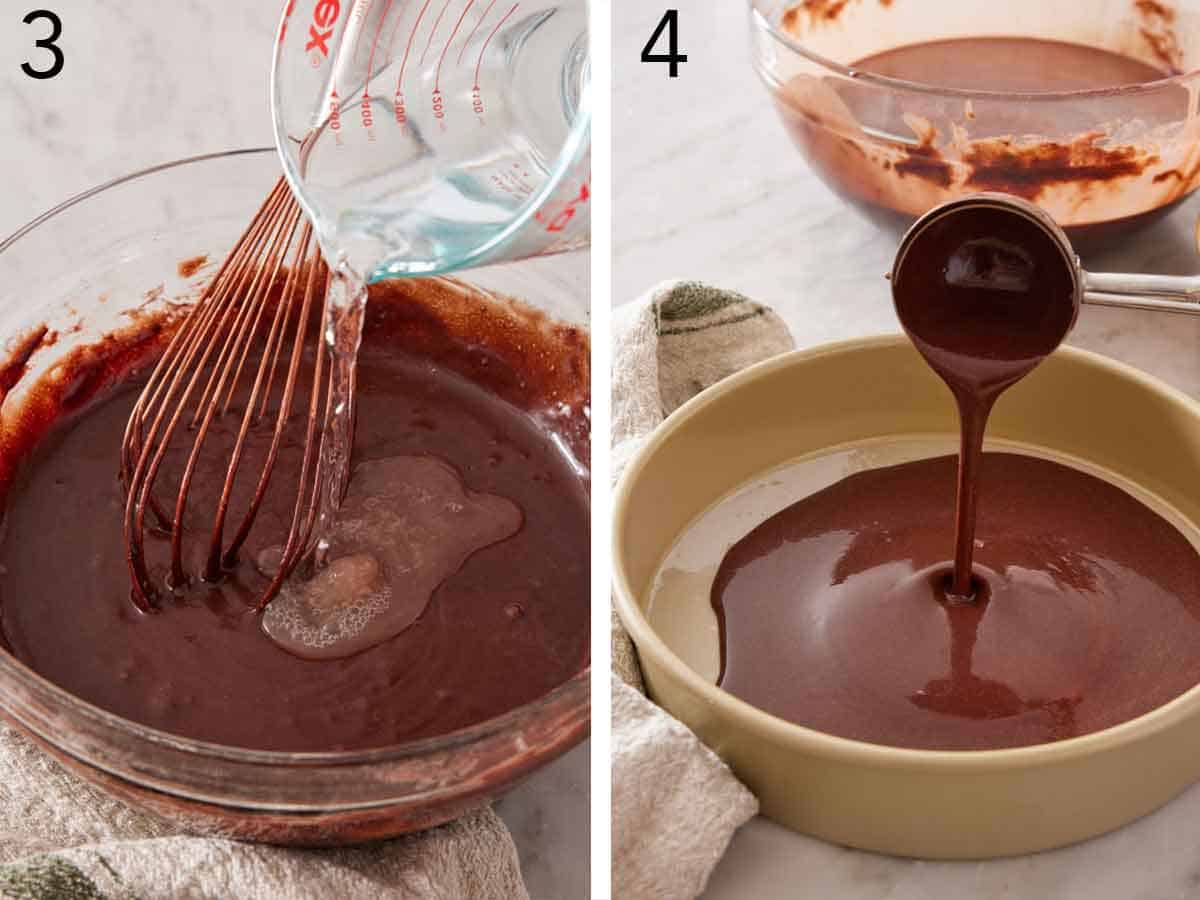
3. Pour in the boiling water and whisk again. You will end up with a runny cake batter. (It will be runnier than you expect, but don’t be tempted to add more flour.)
4. Grease 2 round 9-inch cake pans and line the bottom of each with parchment paper to make removing the chocolate cake easier. If you have them, use cake strips to help the cakes bake more evenly. Once the cake pans are prepared, divide the cake batter evenly between them. Bake the cakes for 35 minutes at 350°F or until a toothpick inserted in the center of the cake comes out clean. Keep the cakes in the baking pans on a wire cooling rack for 15 minutes. Then carefully invert them onto the wire racks. Let them cool completely.
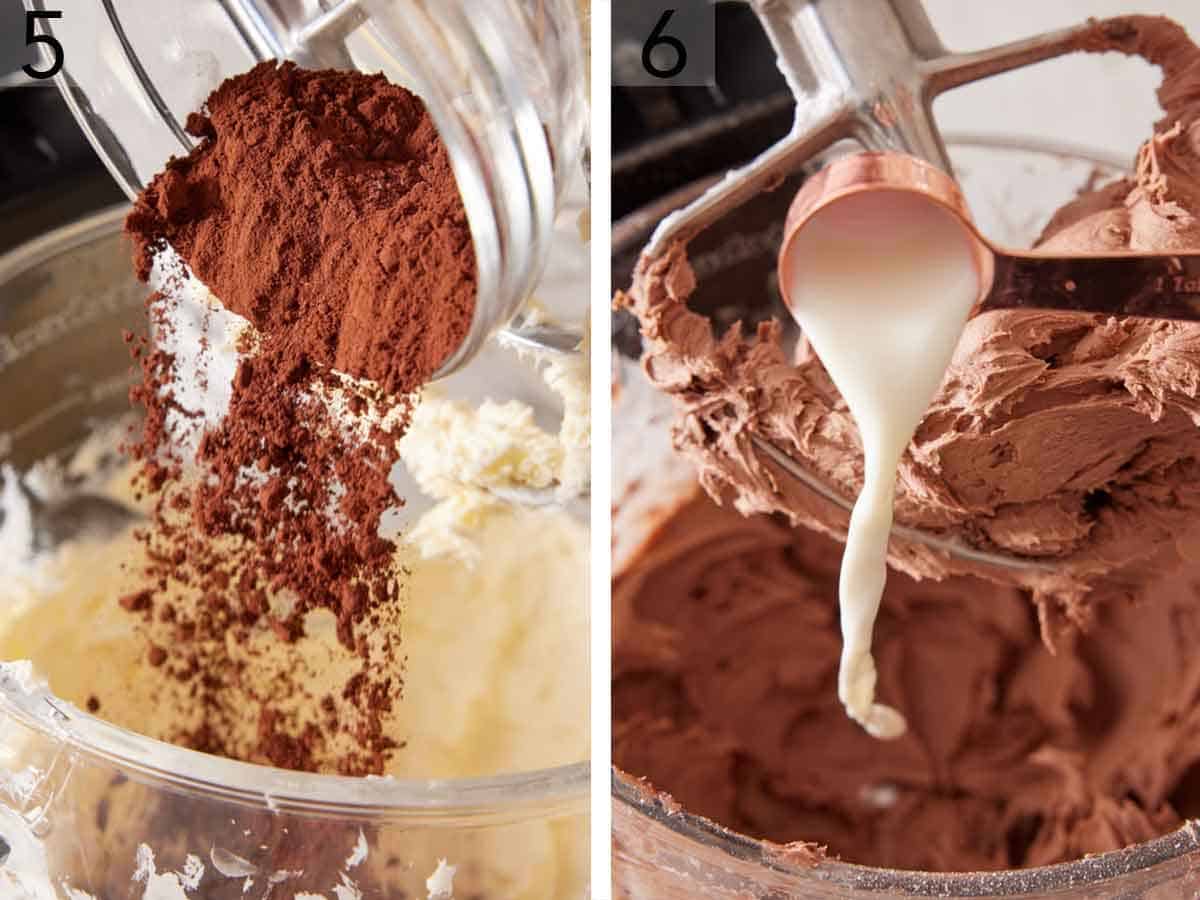
5. While the cakes are cooling, you can prepare the chocolate buttercream frosting. You’ll need a stand mixer fitted with the paddle attachment or an electric hand mixer for this part. In the mixing bowl, beat the butter on medium speed for about 2 minutes. Add the cocoa powder and salt and mix on low to incorporate them. Scrape the bowl.
6. Keep the speed on low and add a little powdered sugar at a time, alternating with small amounts of milk (up to 4 tablespoons total of whole milk). Once you’ve added all the sugar, add the vanilla extract and beat on medium-low speed for approximately 1 minute, until you have a fluffy buttercream.
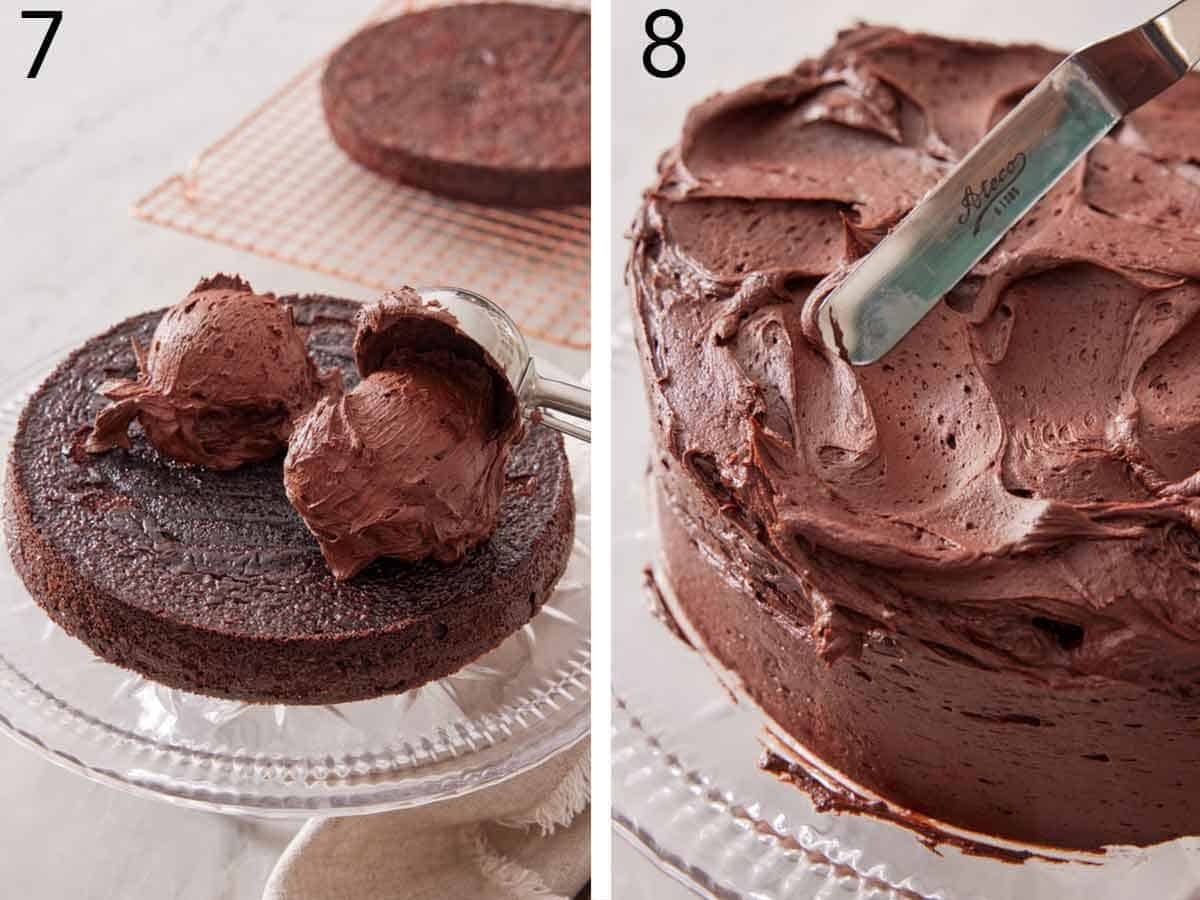
7. Once the cakes have cooled completely, it’s time to assemble the cake. Place one layer on a cake stand and top it with about a cup of frosting. Spread the frosting right to the edges before carefully placing the other cake layer on top.
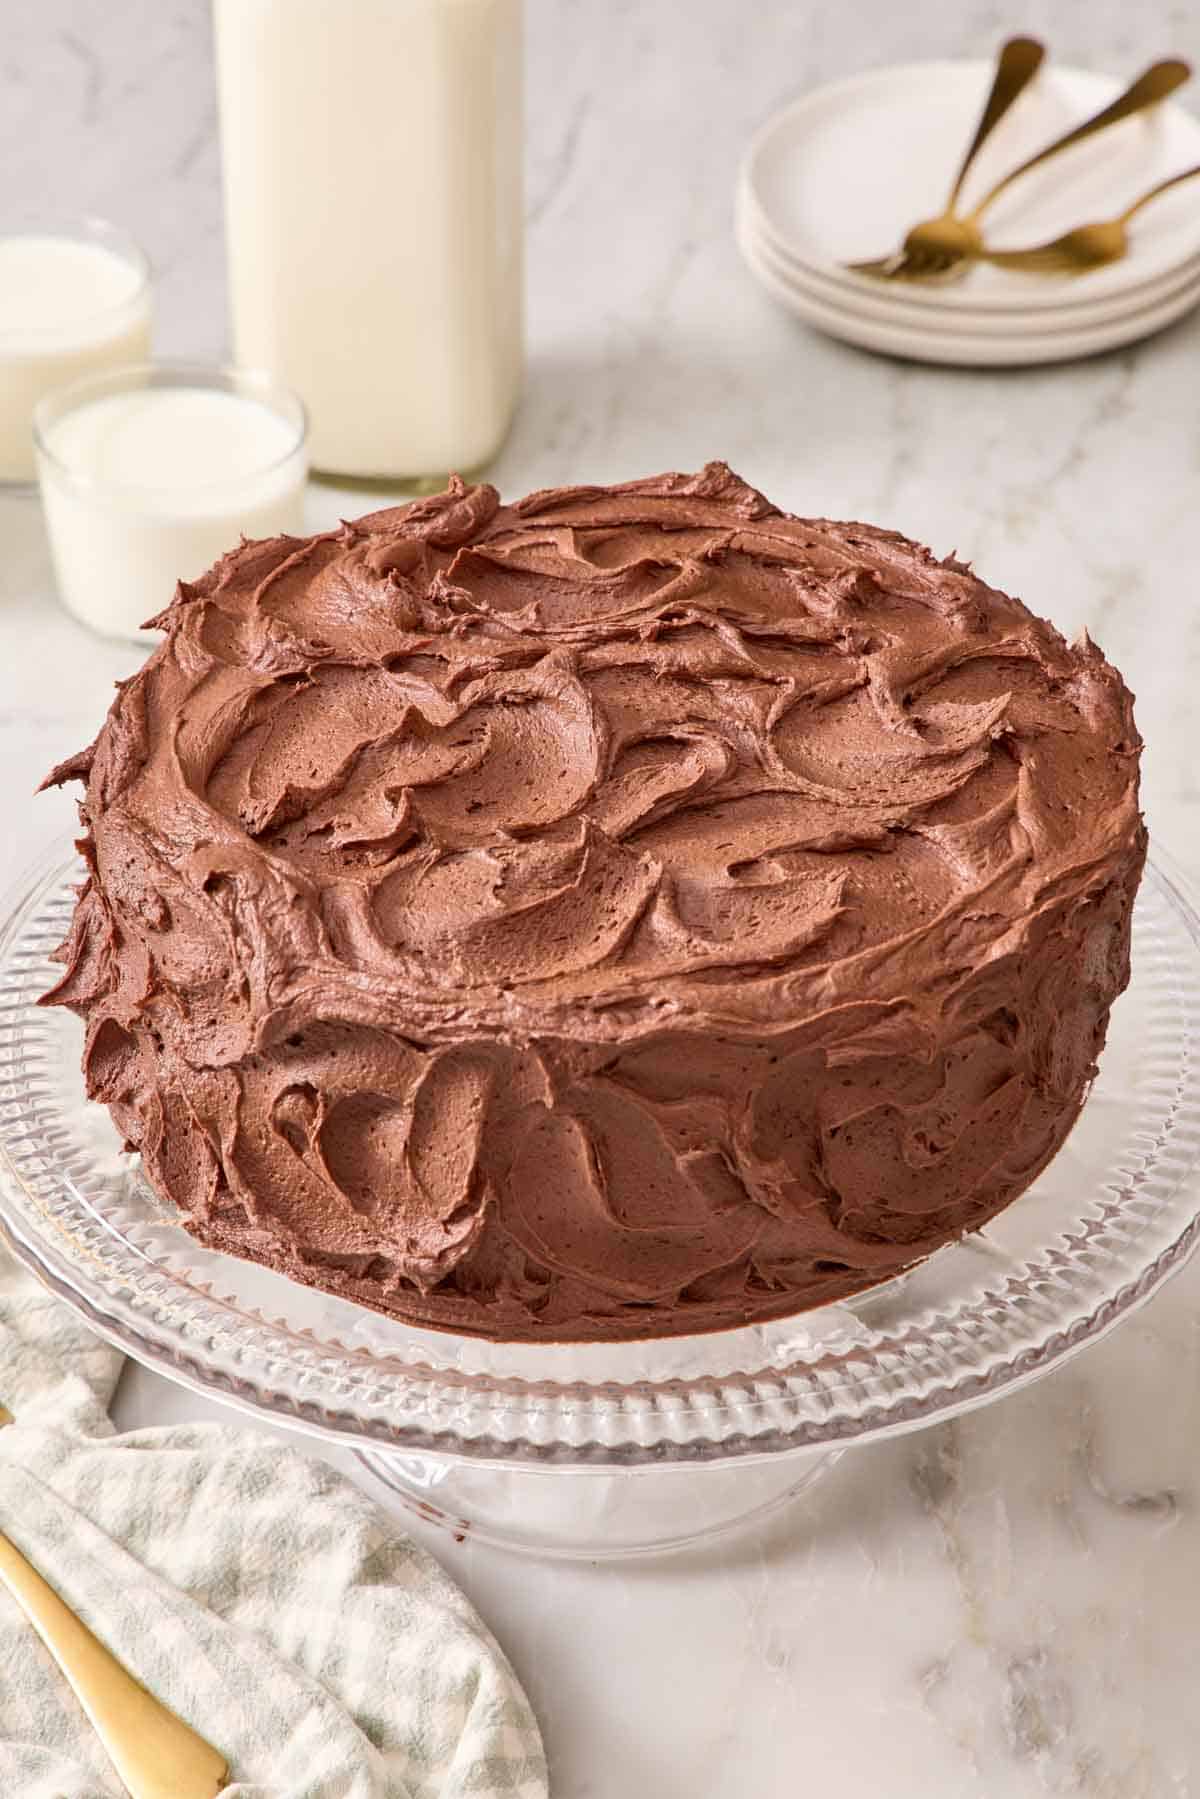
8. Spread the rest of the frosting on top and around the sides of the cake. I love covering it with simple swoops using an offset spatula, but you can pipe decorations too! Chill the cake for 30 minutes to help set the frosting before slicing it.
Chocolate Buttercream: ¼ Cup vs. ½ Cup Cocoa
The buttercream calls for ¼ to ½ cup of cocoa, and that range comes from a side-by-side test we ran in my kitchen. The original recipe called for ¼ cup, but when I retested it, I wanted an option for a richer frosting. We tested adding ½ cup, and that batch came out darker in color and deeper in chocolate flavor.
Use ¼ cup for a lighter, milk chocolate frosting and ½ cup for a deeper, less sweet one. If you use more cocoa powder, you’ll likely need a few extra tablespoons of milk because cocoa soaks up liquid. If the frosting tastes too sweet, add another pinch of salt. My chocolate buttercream frosting is made with heavy cream instead of milk, but it offers plenty of additional frosting tips.
How To Frost Without Crumbs
Spread a very thin coating all over the outside of the cake (a crumb coat), chill it for 20 to 30 minutes, then add the final layer. The chilled thin layer locks any crumbs in place so they don’t end up in your final frosting coat. Get more finishing techniques in my guide on how to decorate a cake.
Other Frostings That Work
Chocolate ganache gives a darker, less sweet finish—it can be cooled and spread on the cake or whipped until fluffy and used like frosting. My mocha frosting echoes the coffee in the cake layers, a chocolate cream cheese frosting adds tang, and vanilla buttercream adds a flavor contrast.
Can I Use Other Pan Sizes?
Yes. Below are the most common conversions. Treat the bake times as starting points and always check the cake before you remove it from the oven. For any other pans, compare their volume with two 9-inch rounds using the Baking Pan Sizes & Conversions guide.
- Two 8-inch rounds: add about 5 minutes because the layers are deeper.
- Three 8-inch rounds: decrease the bake time by about 10 minutes since the layers will be thinner.
- One 9×13-inch pan: bake for about 45 to 50 minutes, or use my chocolate sheet cake recipe.
- Three 9-inch layer cakes: make 1½ times the batter and divide among the three 9” pans. Bake time will be the same.
- Cupcakes: fill 18-20 paper cupcake liners two-thirds full and bake for about 20 minutes, or use my dedicated chocolate cupcake recipe.
Chocolate Cake Recipe
Equipment
- 9" round baking pans
- Mixing Bowls
- Electric mixer
- Wire cooling rack
Ingredients
For the Cake:
- 2 cups all-purpose flour (240g)
- 2 cups granulated sugar (400g)
- ½ cup unsweetened cocoa powder (50g)
- 1½ teaspoons baking powder
- 1½ teaspoons baking soda
- ½ teaspoon kosher salt
- 1 cup whole milk (240mL)
- 2 large eggs
- ½ cup vegetable oil (120mL)
- 1 tablespoon vanilla extract
- 1 cup boiling water or hot coffee (240ml)
For the Chocolate Buttercream:
- 1½ cups unsalted butter room temperature (338g)
- ¼-½ cup unsweetened cocoa powder (25-50g)
- ¼ teaspoon salt
- 1 teaspoon vanilla
- 6 cups powdered sugar (720g)
- 3 to 4 tablespoons whole milk plus more if needed (45-60mL)
Instructions
For the Cake:
- Preheat the oven to 350°F. Grease two (9-inch) round cake pans with butter or baking spray and line the bottom of each pan with parchment paper. (I highly recommend using cake strips for a more even bake.)
- Whisk the flour, sugar, cocoa, baking soda, baking powder, and salt together in a large mixing bowl.
- In a medium mixing bowl, whisk together the milk, egg, oil, and vanilla. Add to the flour mixture and whisk together until well combined. Pour in the boiling water or coffee and whisk until well combined. (The batter will be runny.)
- Divide the batter between the prepared cake pans.
- Bake for 35 minutes or until the center feels springy when you gently press it and a toothpick inserted in the center comes out clean. Let the cakes cool in the pans on a wire cooling rack for 15 minutes. Carefully invert the cake layers onto the wire rack, remove the parchment paper, and let cool completely.
For the Chocolate Buttercream:
- In the bowl of a stand mixer fitted with the paddle attachment, beat the butter on medium speed until soft and creamy, about 2 minutes. Add the cocoa powder and salt (use ¼ cup cocoa powder for a lighter chocolate flavor, or ½ cup for a deeper flavor). Mix on low speed until combined. Stop and scrape the bowl down.
- While mixing on low speed, gradually add in the powdered sugar alternating with a little bit of milk on occasion. (If you used more cocoa powder, you may need a few additional tablespoons of milk.) Once the sugar is added, beat in the vanilla. Scrape down the bowl and beat on medium-low speed until light and fluffy, about 3-4 minutes. If the frosting feels gritty at all, keep beating it, or add another splash of milk.
For the Assembly:
- Place a cooled cake layer on a cake stand. Top with 1-1½ cups of frosting and spread it out the edges in an even layer. Place the remaining cake layer on top and spread the rest of the frosting all over the outside of the cake. You can reserve some of the frosting to pipe decorations if desired.
Notes
- Cool in the pan for 15 minutes, then on a rack. The layers are too tender to turn out while they are very hot. Cooling for 15 minutes sets the structure enough to firm it up so you can invert them, but you should still be careful as they will be warm and soft.
- Make sure the cake layers are cooled before frosting. A warm cake will melt the butter-based frosting, causing the frosting to slide off the cake or the layers to slide around when frosting the outside of the cake.
- Once the cake is frosted, you can chill it for 30 minutes to quickly set the frosting if you plan on slicing and serving it soon. Otherwise, the cake can be held at room temperature until you are ready to serve.
Nutrition
Have you tried this recipe? Tag me today!
Mention @preppykitchen and tag #preppykitchen!
How To Make Ahead And Freeze
Freeze the layers. Cool the layers completely, wrap each one tightly in plastic wrap, and seal them in a zip-top freezer bag or airtight container. They keep for up to 3 months. Frost them while they’re still slightly cold, because chilled layers are easier to stack and crumb coat. More details are in my cake academy guide on how to freeze cakes.
Freeze the buttercream. The frosting freezes for up to 3 months in an airtight container. Thaw it overnight in the fridge, bring it to room temperature, then re-whip it until fluffy.
Store the finished cake. Keep the frosted cake covered at room temperature for up to 5 days in a cool kitchen, or refrigerate it for longer storage. Chilled slices taste best after 20 to 30 minutes at room temperature, when the buttercream softens.
Frequently Asked Questions
Usually too much flour or too long in the oven. Weigh the flour (you need 240 grams) and start checking the layers for doneness a few minutes early next time. To rescue dry cake layers, you can brush the tops with a few tablespoons of simple syrup. The syrup will soak into the layers and add some moisture so they don’t feel as dry when you eat them.
I don’t cut the cake’s sugar. Sugar holds onto moisture and keeps the crumb tender, so less sugar means a drier, firmer cake layer. To tone down the frosting sweetness, use the full ½ cup of cocoa and the ¼ teaspoon of salt. You can use less sugar in the frosting, but reduce the amount of milk too. The sugar thickens the frosting, and adding too much milk with less sugar can make it too soft to stay on the cake.
Yes, with a few swaps. Use a full-fat unsweetened plant milk in the cake, and a plant-based butter and plant milk in the frosting.
More Recipes To Try
If you love chocolate cake, try one of these cake recipes:
- Chocolate Bundt Cake — this simple chocolate cake batter is designed to bake and release perfectly from a Bundt pan.
- Flourless Chocolate Cake — a super fudgy cake that simply stirs together with a few ingredients and no flour.
- Black Forest Cake — this cake’s sibling with chocolate cake layers filled with fresh cherries and light whipped cream.
- Chocolate Lava Cake — individual chocolate cakes with a molten chocolate center.
- German Chocolate Cake — chocolate layers with the classic coconut-pecan filling; a different take on this chocolate layer cake.
If you’ve tried this chocolate cake recipe, then don’t forget to rate it and let me know how you got on in the comments below. I love hearing from you!






