
This post may contain affiliate links. Please read our disclosure policy.
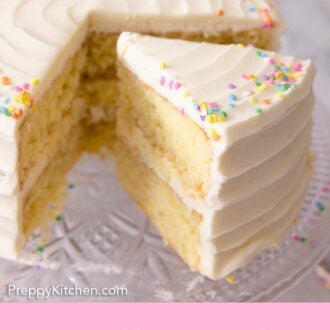
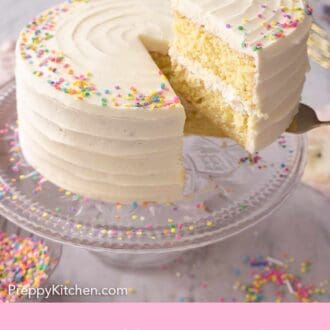

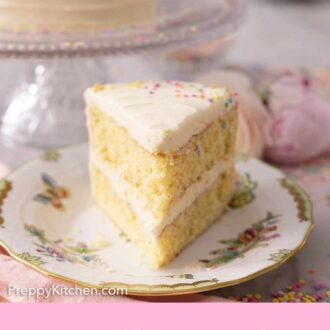
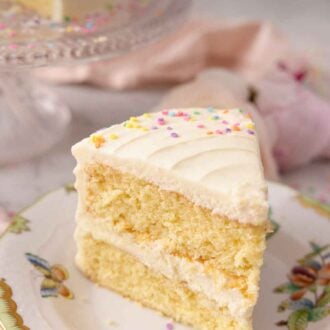
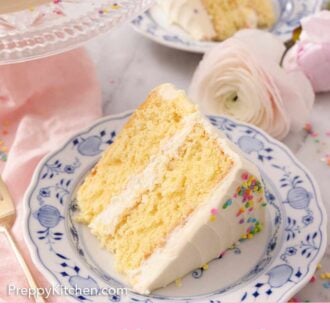
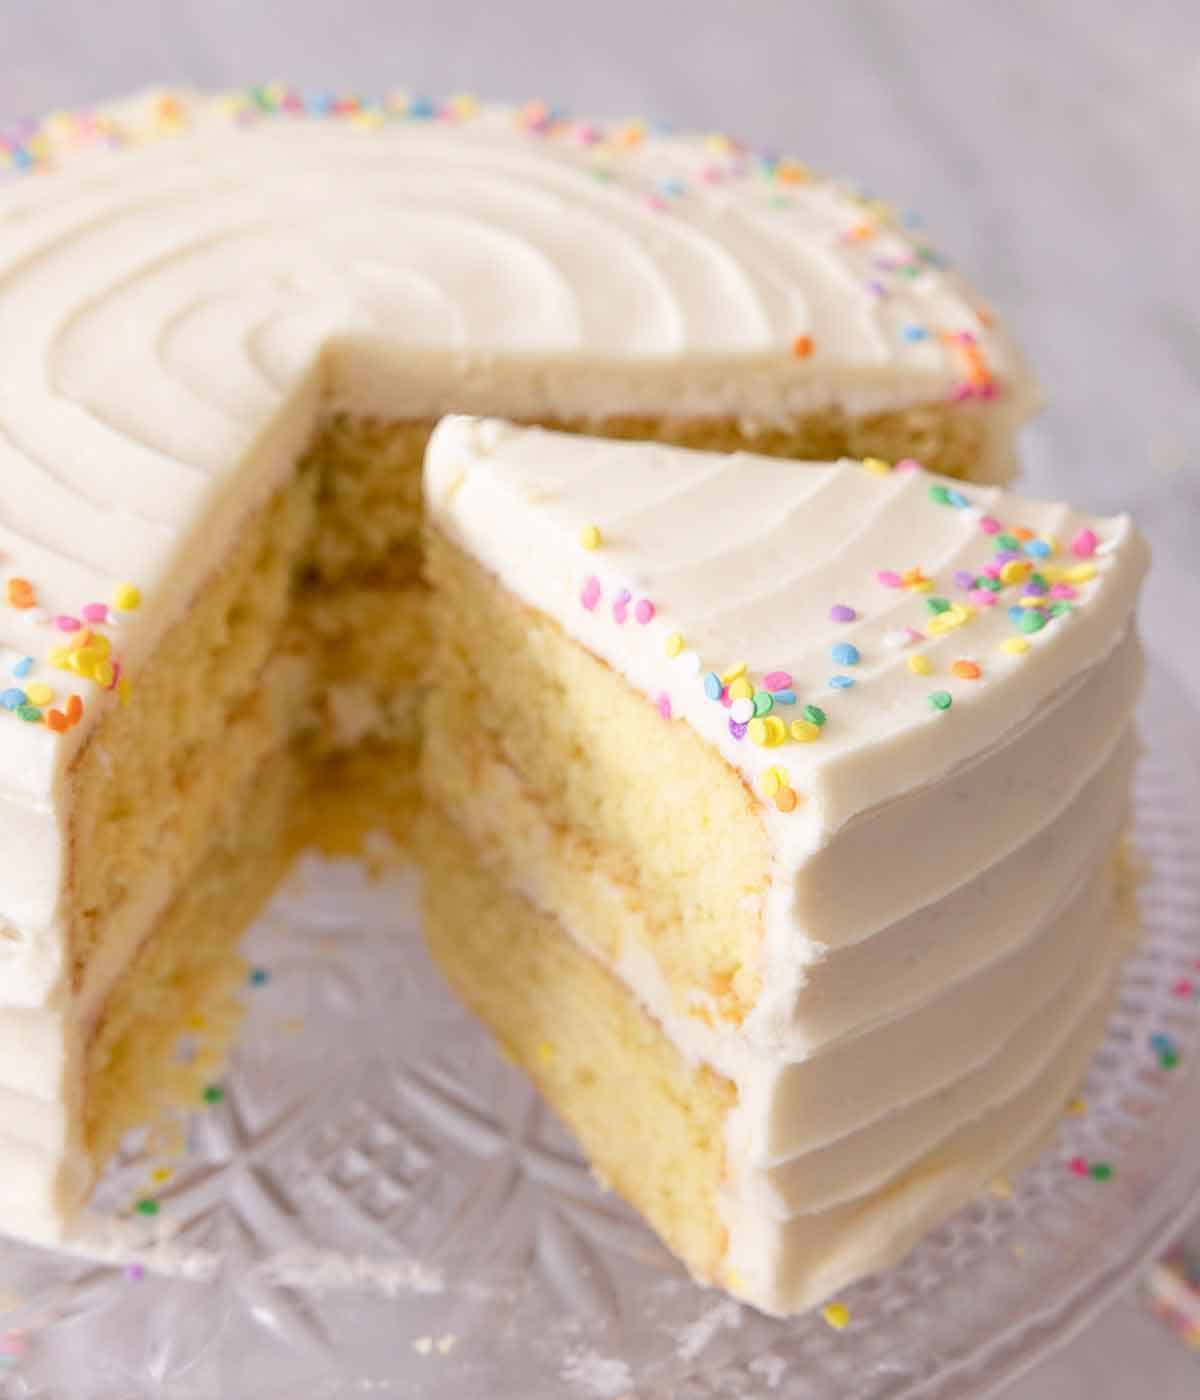
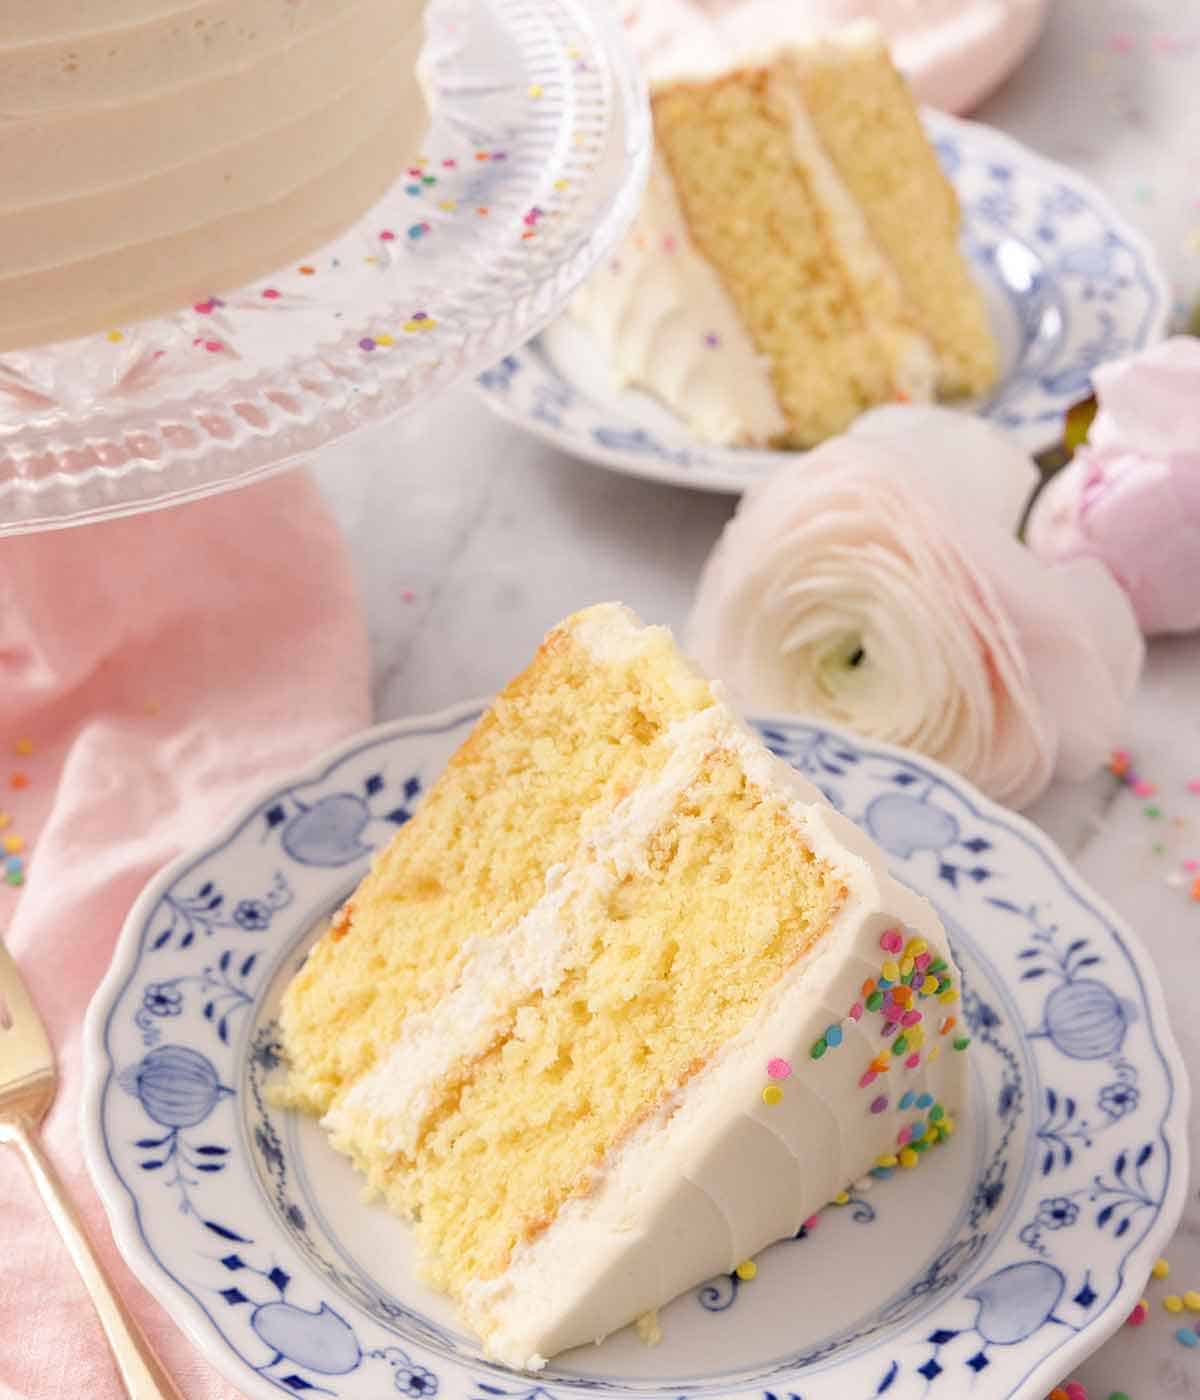
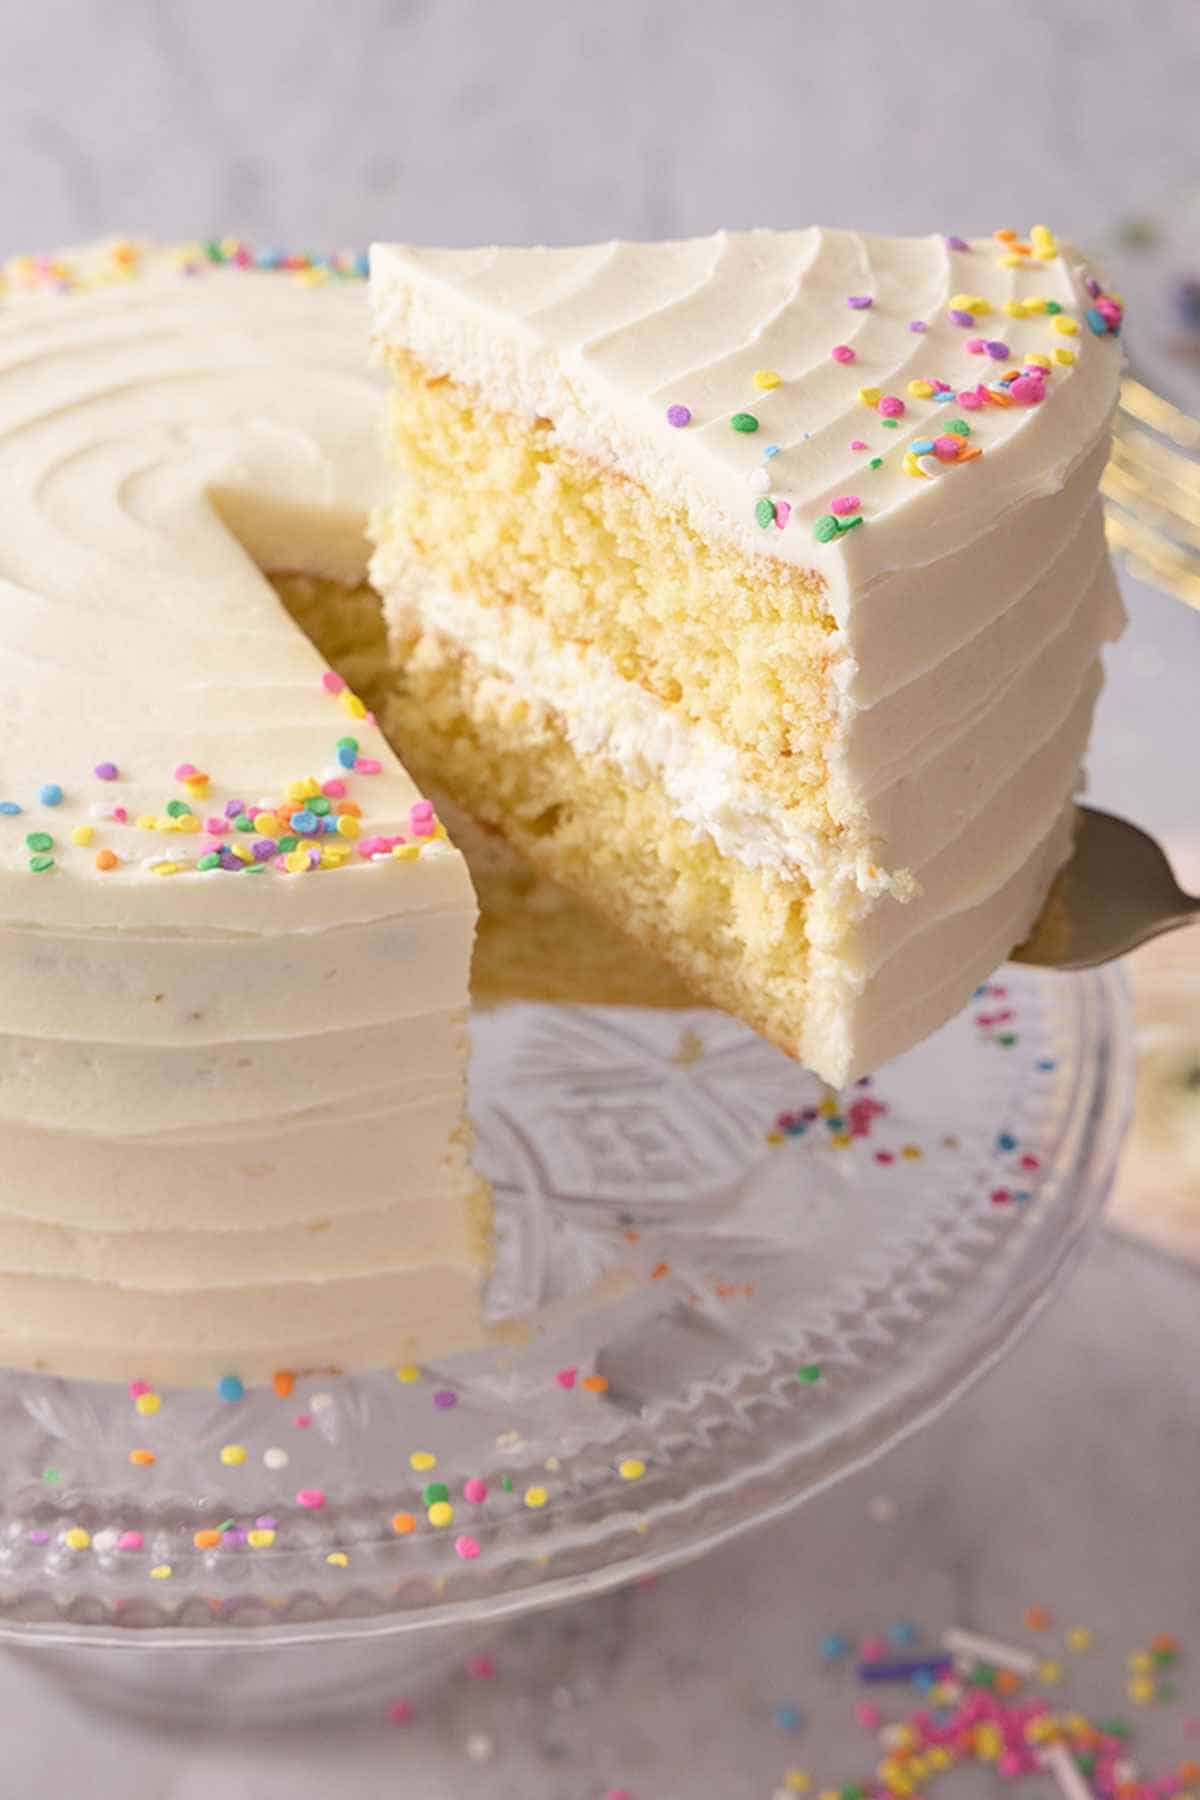
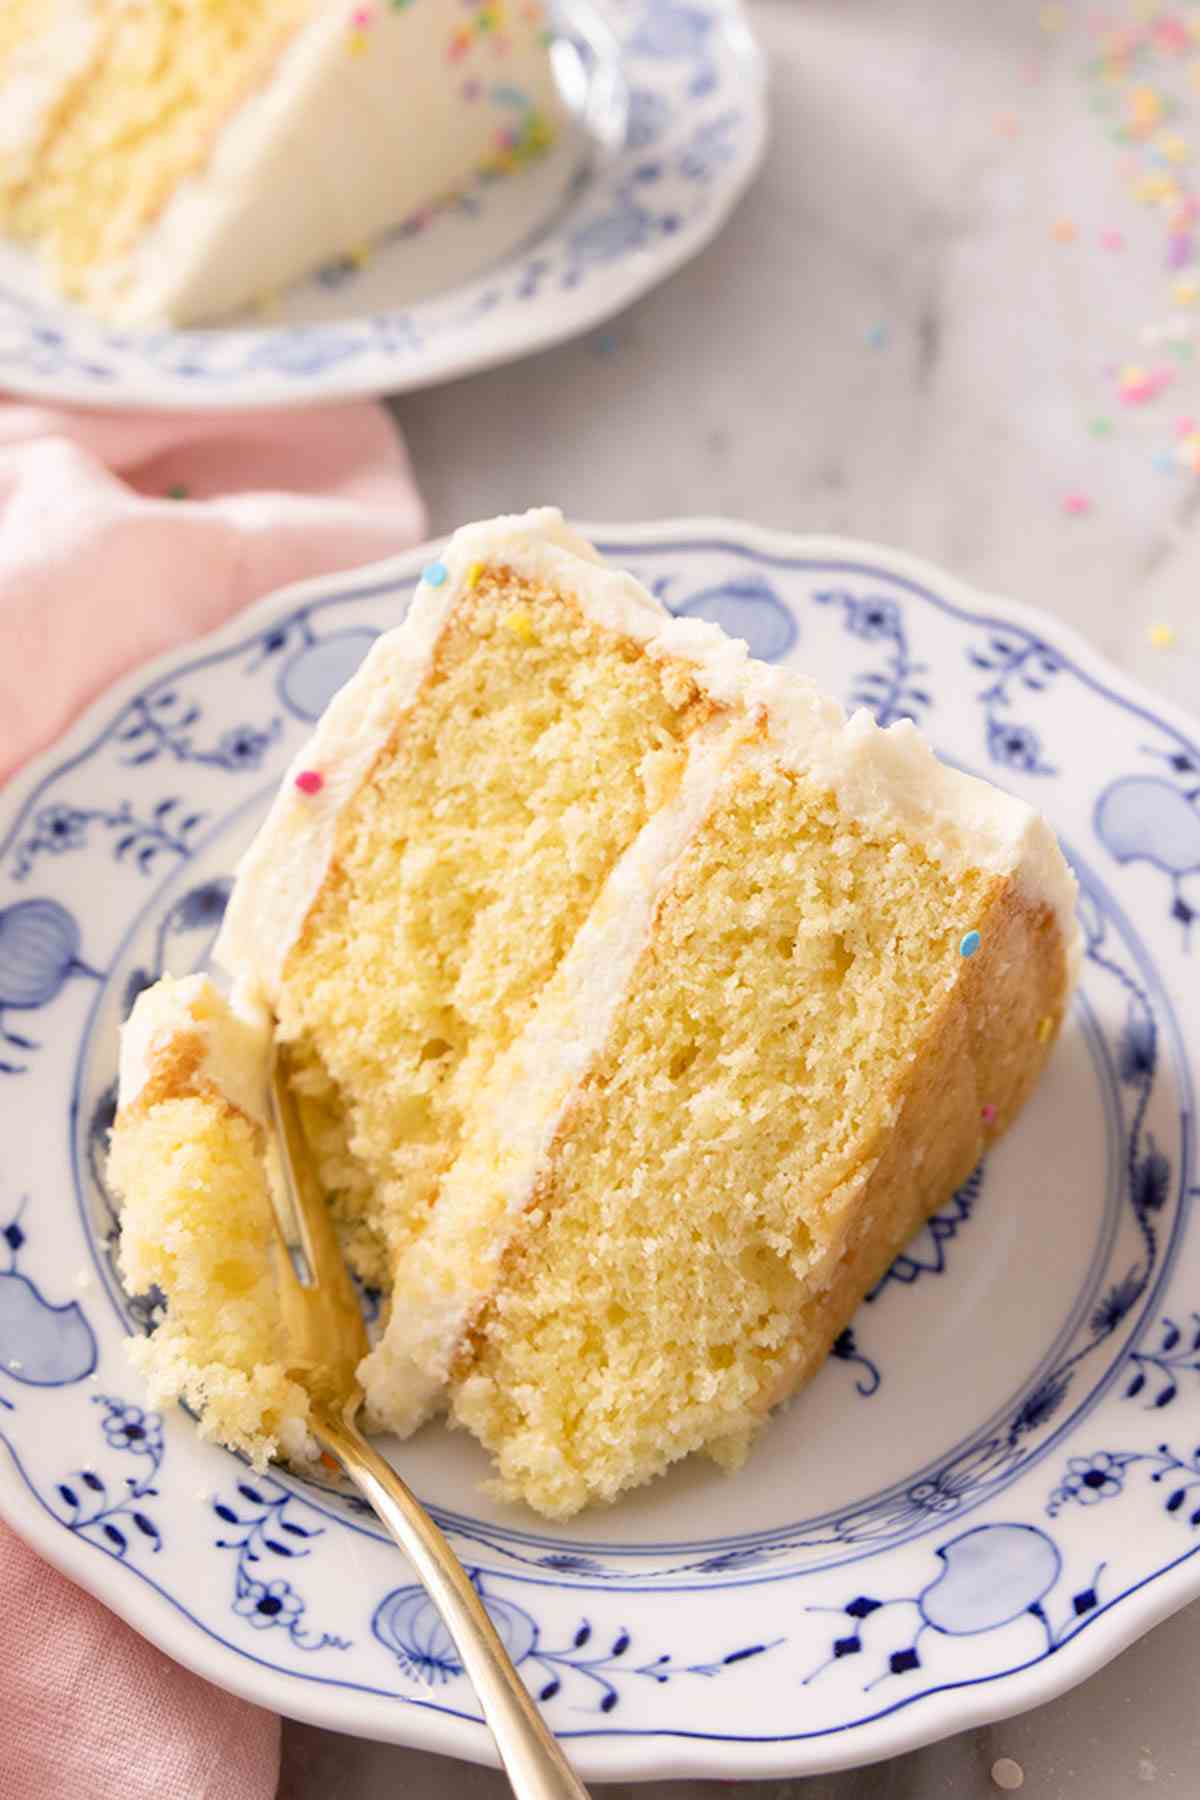
Made from scratch with only a handful of ingredients, this Vanilla Cake Recipe is the perfect dessert for any occasion. Far from boring, this classic cake is flavorful, moist and has a tender crumb. It’s so light, fluffy, and easy to make that you’ll never go back to box mix!
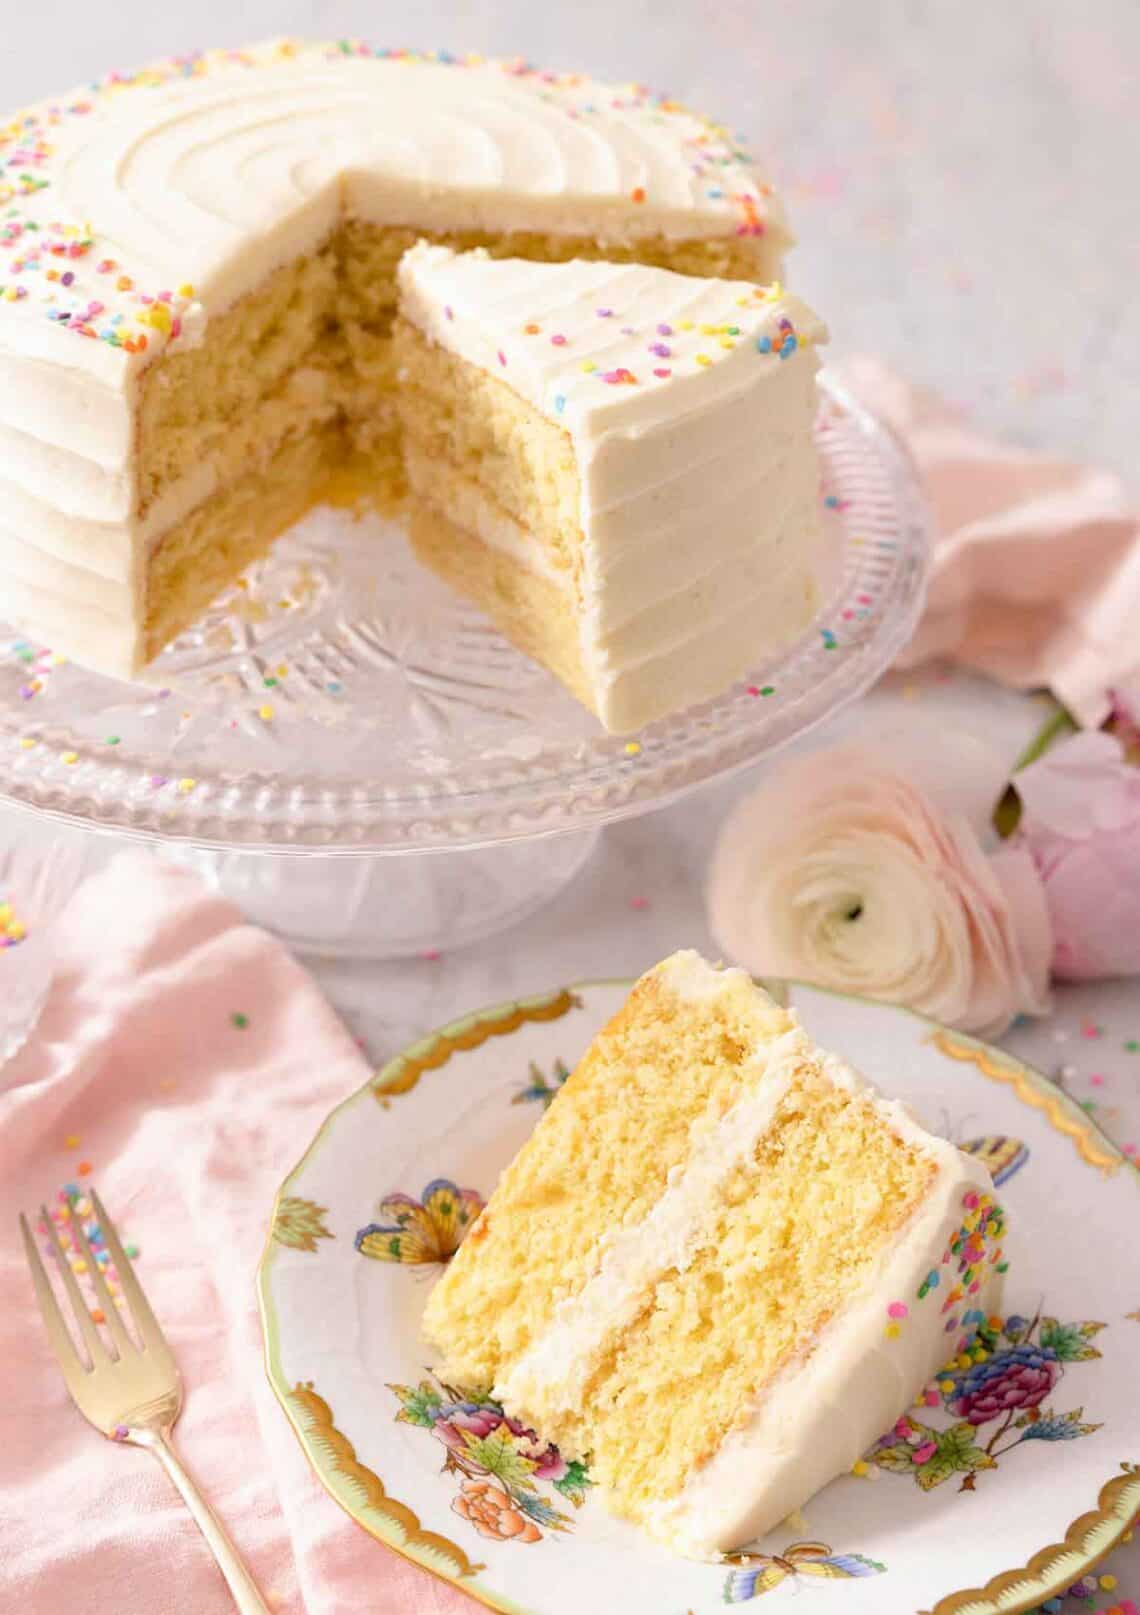
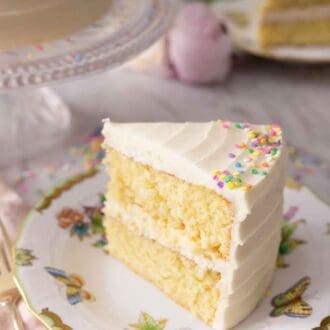
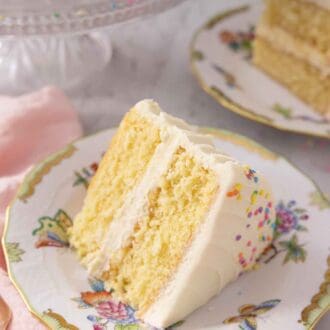
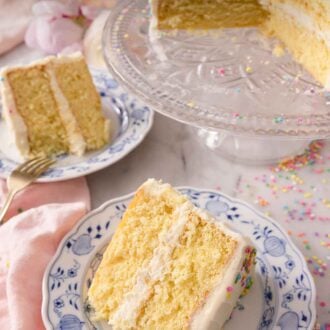
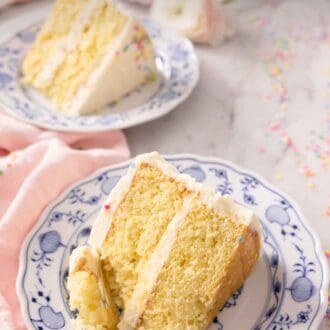
Whether you are making a cake for a birthday party, wedding, or just a general get-together, it is hard to go wrong with this traditional vanilla cake recipe. I rigorously tested this recipe to make the best vanilla cake recipe! It has a buttery and perfectly even crumb that holds up well on its own but will practically melt in your mouth when you take a bite.
A classic vanilla cake should be tender and moist, and I developed my recipe with a key ingredient to ensure the cake turns out that way every time: buttermilk. Read on to learn more about the science behind these two ingredients and how to make the best vanilla cake!
“Baked this cake for my birthday and it was an absolute hit! So moist and tasty.”
Ronka
Simple Vanilla Cake Ingredients & Substitutions
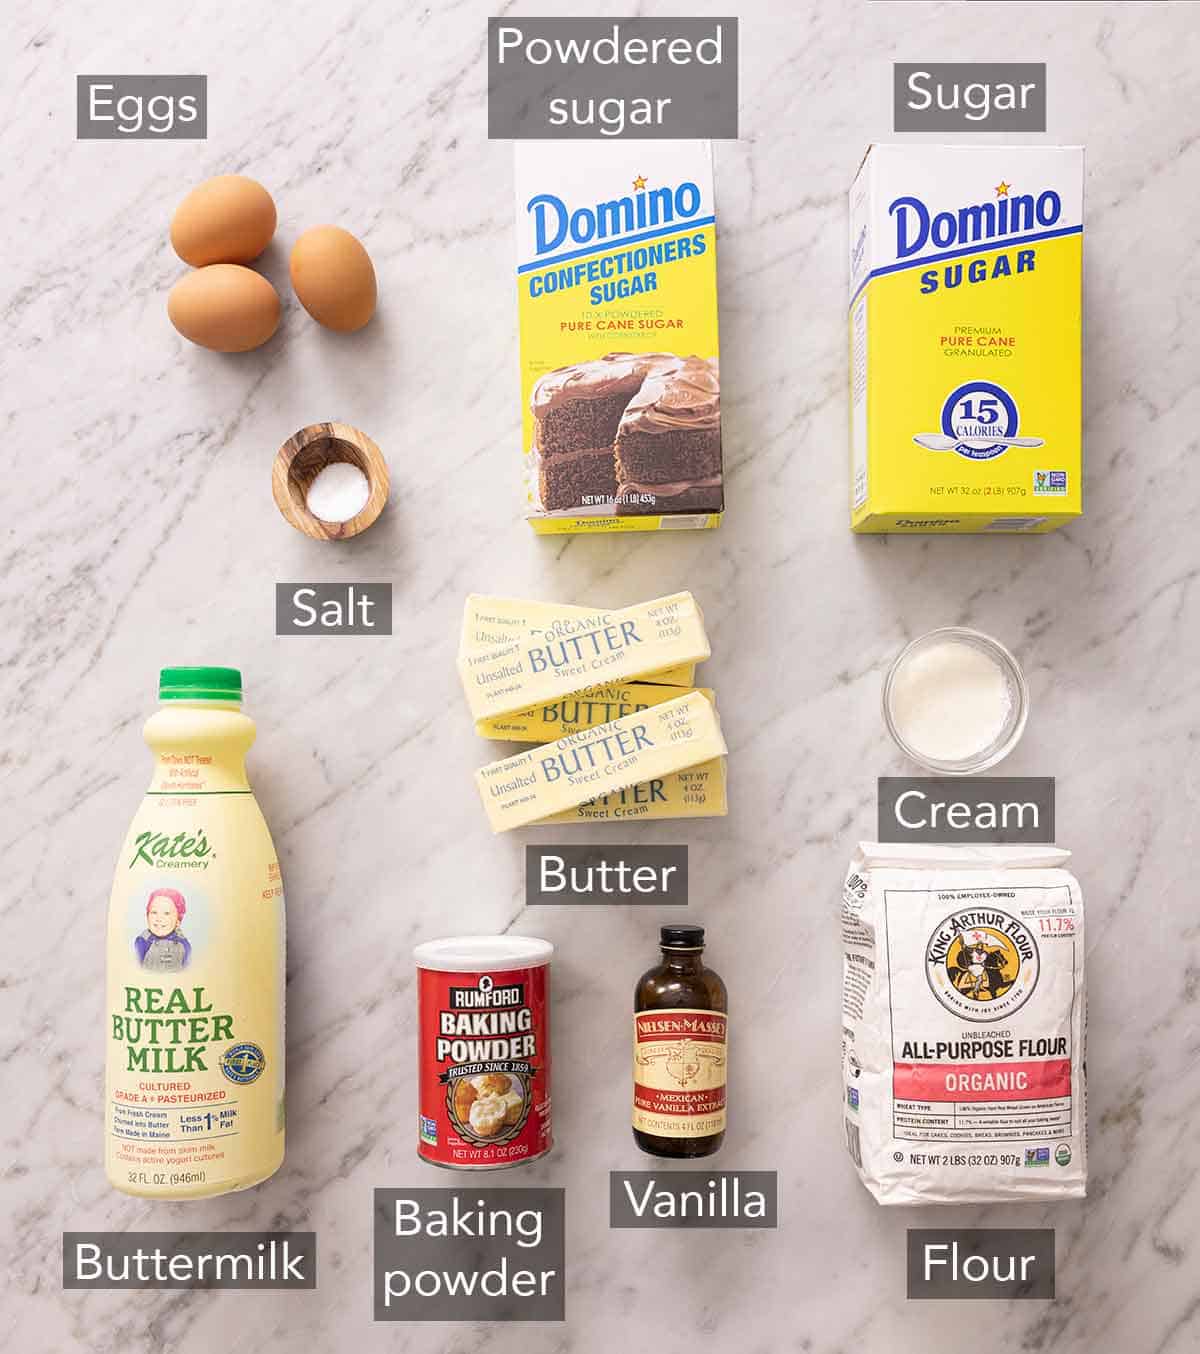
These are the main ingredients you need to make this moist vanilla cake. You can find the full list of ingredients and measurements in the recipe card below.
Butter — different brands of salted butter vary in salt content, so it’s best to use unsalted butter and then add salt to the batter. If you use salted butter, reduce the salt in the batter to ¼ teaspoon and leave it out of the frosting. Be sure to have your butter at room temperature so you can cream it easily. Room temperature butter should make a slight indent when pressed with your finger. It takes about an hour for butter to warm up to the proper temperature. If you’re short on time, follow one of my easy tricks to soften butter quickly!
Buttermilk — buttermilk brings a tangy flavor to your cake, makes the layers tender, and keeps it super moist. I recommend whole buttermilk if you can find it. If not, low-fat works great too! If you don’t have buttermilk, see my easy post on making buttermilk at home with whole milk and lemon juice.
Eggs — large eggs give the cake its spongy structure and help produce a fluffy texture. Set the eggs out for 30 minutes to an hour at room temperature so they incorporate well into the butter. If you don’t have time to wait, soak them in a large bowl of warm tap water for 10 minutes.
Vanilla — I highly recommend using a high-quality vanilla extract instead of artificial vanilla flavor, as this is the backbone of the flavor of the cake. You can use a homemade vanilla extract or add flecks of vanilla by scraping a vanilla bean or using vanilla bean paste!
Buttercream — softened butter and powdered sugar are whipped up into the dreamiest buttercream frosting. Adding a splash of cream to your frosting is the key to ensuring the sugar is well dissolved and turns out fluffy and spreadable, rather than stiff and crunchy.
The Secret To A Moist & Fluffy Vanilla Cake
It starts with one simple ingredient: buttermilk. This dairy product is cultured and contains lactic acid. The lactic acid helps to weaken the protein in the all-purpose flour, which helps inhibit gluten formation, keeping the cake layers tender and less dense. Additionally, using low-fat or whole buttermilk (versus fat-free) helps the cake stay moist longer thanks to the added fat in the dairy.
The creaming method incorporates air for a fluffy cake. The soft butter and sugar are beaten together (creamed) until they are light and fluffy. The fat in the butter traps air as it whips, and the sugar molecules help form a structure to hold onto the air. Together, this produces a spongy, fluffy cake texture.
If you plan to make the cake a day or two in advance, you can swap out 2 tablespoons of the butter with vegetable oil. This liquid fat acts similarly and keeps the cake layers moist and soft for even longer.
Pan Size Conversions
The recipe as written makes an 8-inch two-layer cake. You can easily adapt it to make other cake styles and use different pan sizes. Here’s how:
- 6-inch round cake: Divide the batter among 4 round cake pans and bake for about 25 minutes. You can make a very tall 4-layer cake or make two 2-layer cakes.
- 9-inch round cake: Divide the batter among 2 round cake pans and bake for 25 to 30 minutes. The layers will be a little bit thinner since the pans are larger.
- Sheet cake: Bake in a 9×13-inch cake pan for about 30 minutes. The sheet cake will be a bit thinner than the 8-inch cake layers since the pan is larger in volume.
- Cupcakes: Line two muffin pans with paper liners and fill each one two-thirds full of batter (about ¼ cup). You will get about 18 cupcakes. Bake for 18-22 minutes or until a toothpick comes out clean. Check out my vanilla cupcake recipe for more tips!
The Best Frostings For Vanilla Cake
I used American buttercream frosting, but to take things up a notch, you could also use Swiss meringue buttercream or Italian buttercream, which are more silky and slightly less sweet. Or, switch it up with a flavored frosting like strawberry frosting or chocolate buttercream.
If you find decorating to be a bit intimidating, do not worry! I have a post all about how to decorate a cake, containing lots of helpful tips and a how-to video to help you out.
Pro Tips For The Best Vanilla Cake
I highly recommend using a scale to measure your flour. Using more flour than the recipe calls for is the main reason cakes turn out dry or dense. A gram weight guarantees you are using the right amount every time. However, if you don’t have a scale, be sure to fluff your flour with a spoon and then spoon it into your cups before leveling it off with a knife. (I show you how to do this in the video in the recipe card!)
Always preheat your oven and prepare the pans before starting the cake batter. Once your baking powder has combined with liquid in your batter, it is activated. So when you let your batter sit around, you risk the baking powder losing its leavening abilities.
Line the cake pans with parchment paper. While greasing the pans is essential to keep the cakes from sticking to the pan, adding a round of parchment paper on the bottom is an added layer of insurance. This paper guarantees the bottom will release cleanly from the pan. Without it, you risk the cake sticking in the center and tearing. If that happens, you can cover it with frosting, but it will make your layers a bit uneven.
Use cake strips to help your layers come out evenly. Cake strips work by keeping the outside edge of the pan cooler to ensure that the entire cake rises at the same rate, preventing a dome from forming in the middle and baking the perfect cake layers. If you don’t want to purchase a set, check out my post on How to Get Flat Cake Layers to learn how to DIY the strips.
Use a whisk attachment for the batter. I typically use a paddle attachment, but I found that when testing this recipe, the whisk produced a fluffier cake because it whipped in a bit more air.
How To Make Vanilla Cake
Below, I’ve highlighted portions of the recipe in step-by-step process images along with instructions for making this homemade vanilla cake. You can find the full set of instructions in the recipe card below.
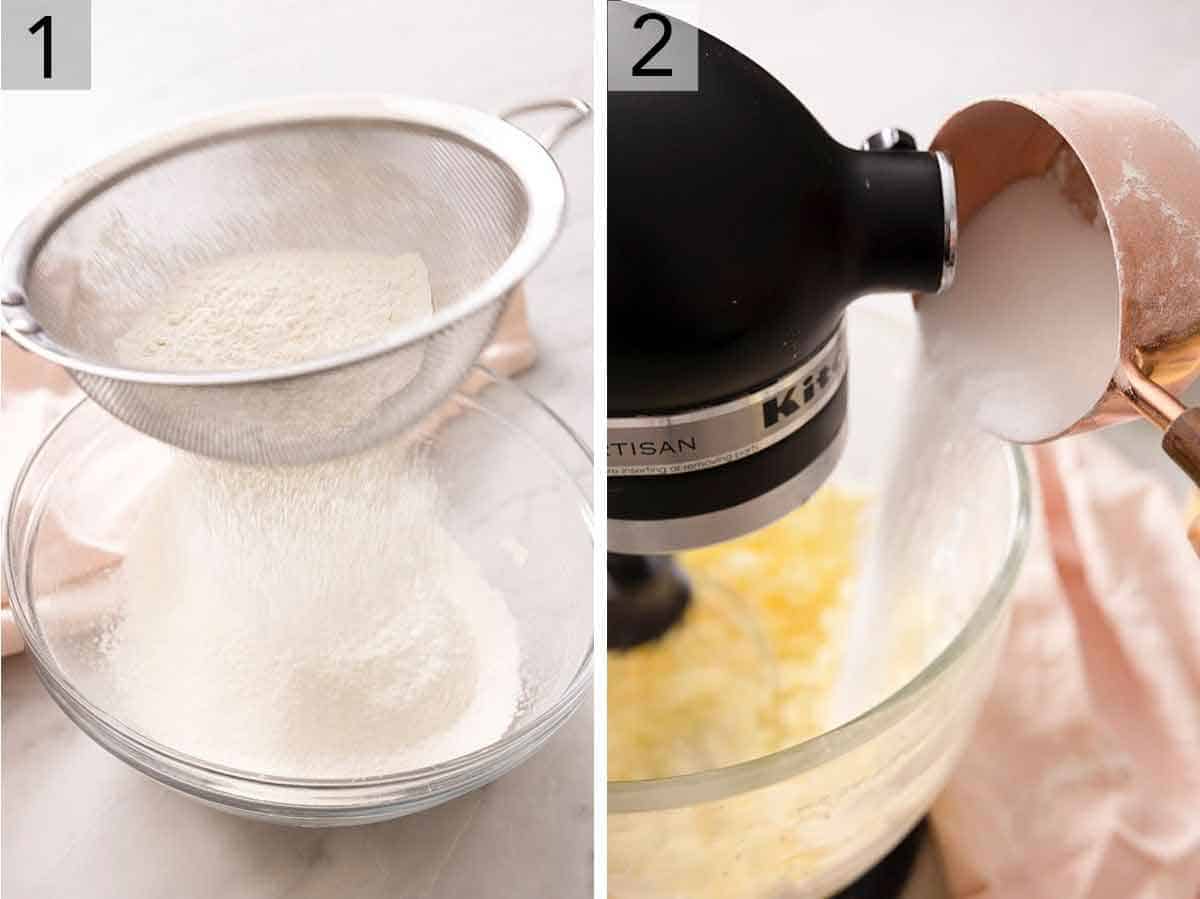
1. Sift the flour, baking powder, and salt into a bowl, then whisk together and set aside. Sifting the dry ingredients helps prevent lumps that would weigh down the batter.
2. Cream the butter and then add the sugar. The mixture should look pale yellow and fluffy when done.
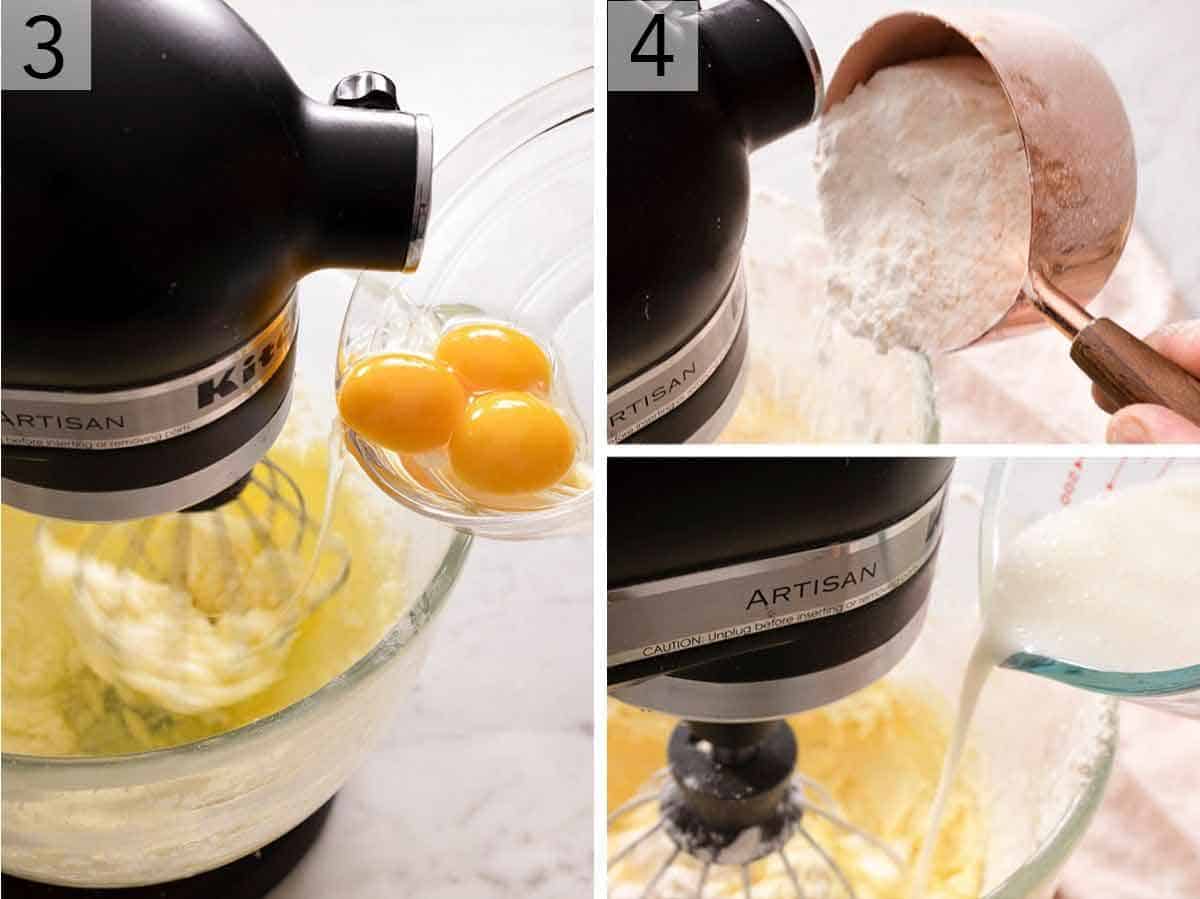
3. Add the vanilla, then eggs one at a time. Scrape the bowl down in between so everything is evenly mixed.
4. Add the flour in three batches alternating with the buttermilk to help the butter mixture combine evenly and avoid over-mixing the batter.
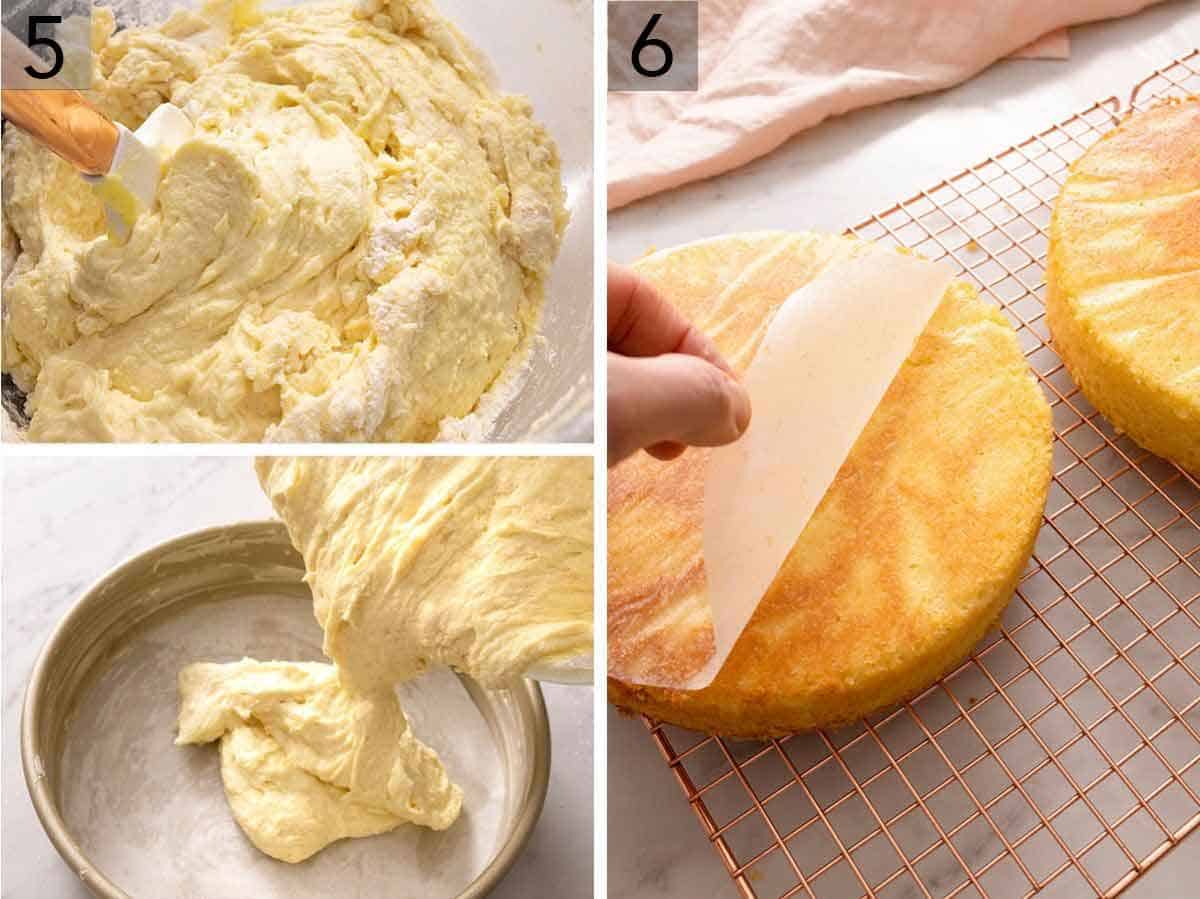
5. Once the batter is almost combined, manually fold in any remaining butter/flour using a spatula to prevent over-mixing. Then, divide the batter equally between the two pans.
6. Bake for 30 minutes or until the edges pull away from the pan. Allow to cool in the pans for about two minutes, then invert layers onto a cooling rack, remove the paper, and set them aside to cool completely.
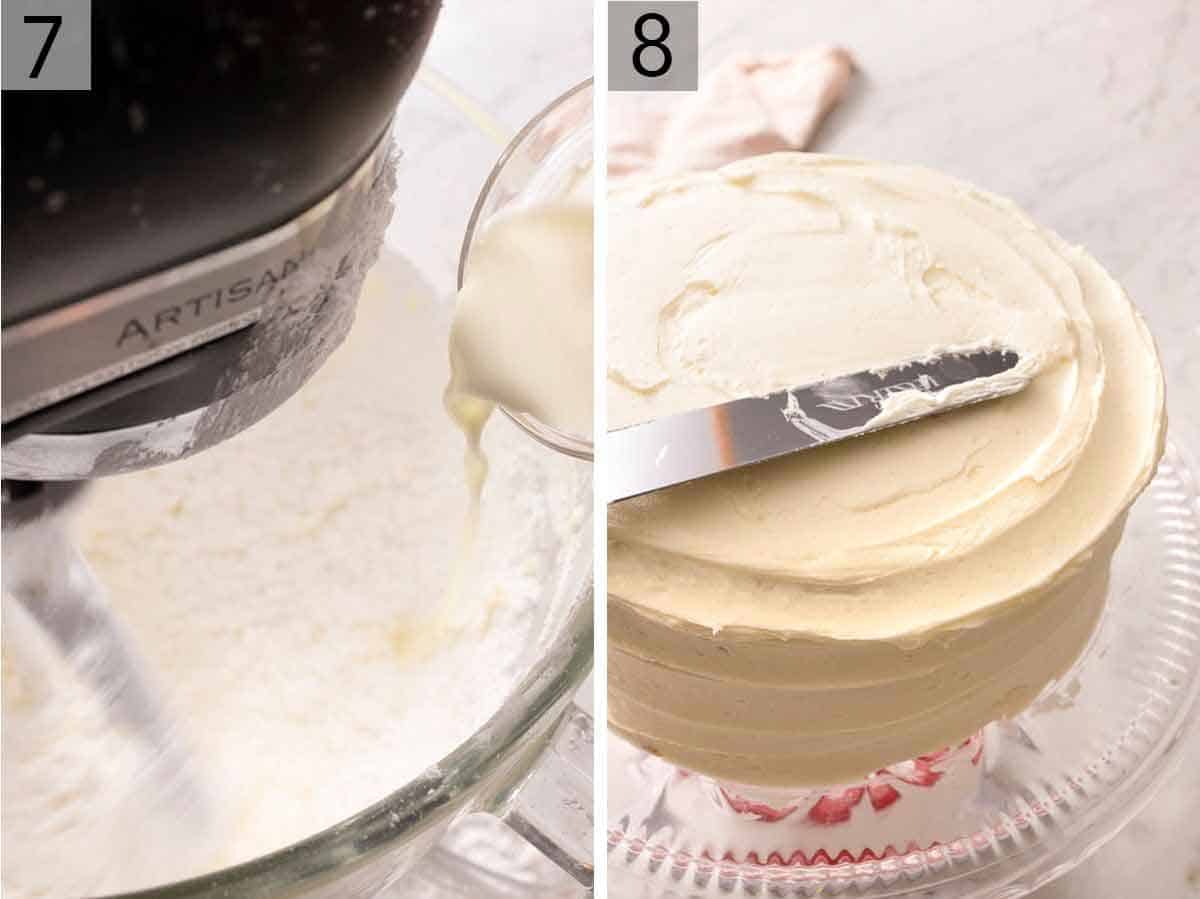
7. Make the buttercream frosting by creaming the butter, salt, and sugar before drizzling in the cream and vanilla. The buttercream frosting should form a soft peak with a slight curl, meaning it’s not too stiff to frost the cake effortlessly.
8. Frost your layered cake however you’d like and enjoy.
Vanilla Cake Recipe
Equipment
- Electric hand or stand mixer
- 2 8 inch cake pans
Ingredients
For the Cake:
- 2½ cups all-purpose flour (300g)
- 2¼ teaspoon baking powder
- ¾ teaspoon salt
- 1⅔ cups granulated sugar (333g)
- ¾ cup unsalted butter softened (170g)
- 3 large eggs room temperature
- 1 tablespoon vanilla extract
- 1 cup whole or low-fat buttermilk room temperature (240mL)
For the Frosting:
- 1½ cups unsalted butter softened (340g)
- ¼ teaspoon salt
- 5 cups powdered sugar (600g)
- ¼ cup heavy cream or whole milk plus more as needed (60mL)
- 2 teaspoons vanilla extract
- Sprinkles for decorating optional
Instructions
For the Cake:
- Preheat the oven to 350°F. Butter and flour or lightly grease two (8-inch) round cake pans with baking spray, and line the bottoms with parchment paper. Wrap the outside of the cake pans with baking strips, if you’d like.
- In a medium bowl, sift or whisk together the flour, baking powder, and salt and set aside.
- In the bowl of a stand mixer fitted with the whisk attachment, (or a large bowl with a handheld mixer), beat the butter on medium speed until smooth. Add the sugar and beat on high for 2-3 minutes until light and fluffy, scraping the bowl down as needed.
- Reduce the speed to medium and add the eggs one at a time, scraping down the bowl between each. Add the vanilla and mix on high until combined, about 1 minute.
- Reduce speed to low and add the flour in three batches alternating with the buttermilk. Once almost combined, remove the whisk attachment and fold in any remaining butter and flour by hand using a spatula. (Do not overmix the batter!)
- Divide batter equally between the prepared pans and bake for about 30 minutes or until the edges pull away from the sides of the pan, and a toothpick inserted in the center comes out clean.
- Allow the cakes to cool in the pan for about 10 minutes, then invert layers onto a cooling rack, remove paper and set aside to cool completely.
For the Frosting:
- In the bowl of a stand mixer fitted with the whisk attachment, (or a large bowl with a handheld mixer,) beat the butter and salt on medium- high speed until light and fluffy, about 5 minutes. Reduce the speed to low and gradually add the sugar one cup at a time, adding in 1 tablespoon of the cream between each addition. Once all of the sugar is incorporated add the vanilla and increase speed to high for about one minute.
- Spread one cup of the frosting over the first layer of your cake, add the second layer and cover the top and edge in buttercream. Smooth or finish with rustic swoops or a spiral pattern.
Notes
- Tap the cake pans lightly to ensure that there are no large air bubbles in the batter. Once you can fill the pans and spread it out evenly, gently tap it on the counter four or 5 times. This is the same technique I use with macarons and cheesecake—it helps to burst any large air bubbles trapped in the batter.
- How to tell exactly when your cake is done: Listen to your cake. The cake layers have finished baking when they are quiet. If it makes a crackling sound when you put your ear close, it needs another minute or two. You can also look for the sides to pull away from the pan. Once they start separating, the structure is set, and the cake layers are ready.
- If your cake is dry, it was likely overbaked. Your oven may run a bit hotter and bake faster. Next time, start checking it about 5 minutes earlier.
- If your cake is dense, the batter was likely overmixed. Continuing to beat the batter after the flour has been incorporated will develop more gluten. This can cause the cake layers to become dense or tough. Also, make sure you check the expiration date on your baking powder. Old baking powder can be less active, which will cause the layers to rise less and be denser.
Nutrition
Have you tried this recipe? Tag me today!
Mention @preppykitchen and tag #preppykitchen!
Frequently Asked Questions
At first glance, the two cakes may seem similar, but they have some significant differences. White cake uses only egg whites instead of the whole egg to keep the batter from being tinted yellow by the egg yolks. Also, traditional vanilla extract will leave a tint, so clear vanilla can sometimes be used to flavor a white cake instead (though my recipe uses real vanilla!). Vanilla cake is also a bit softer than white cake, as the egg yolks add fat to the batter.
When you add one egg at a time to the batter, it ensures that the egg is being thoroughly combined with the batter and fully emulsified. When not emulsified correctly, you run the risk of the cake baking unevenly and having a dense crumb.
You can keep the frosted cake at room temperature for a couple of days. Just make sure to place it in an airtight container. You can also store the cake in the fridge if you’d like it to last a few days longer.
If you’d like to make this ahead of time, you can tightly wrap the unfrosted cake in plastic wrap and aluminum foil before freezing it for up to 3 months. When ready to enjoy, thaw the cake in the fridge overnight and then bring it to room temperature before frosting. If you are freezing leftover slices of cake, use the same method, but keep in mind that the frosting may not be as pretty when thawed.
More Cake Recipes To Try
My easy chocolate cake is moist, rich, and so delicious! Hot coffee is added to it to amplify the flavor of the cocoa powder, and it makes the cakes super moist.
A baked Alaska is a super impressive dessert that’s actually quite easy to make! Use homemade or store-bought pound cake, your favorite pints of ice cream, and coat it with a simple meringue.
German chocolate cake is a classic that has a lighter chocolate flavor, super-tender cake layers, and a gooey pecan frosting. Its rustic nature makes it an easy cake to assemble!
If you love lemon desserts, make my lemon cake! The fluffy layers are coated in a lemon cream cheese frosting that is the perfect balance of tart, sweet, and creamy.
My funfetti cake is the perfect three-layer birthday cake! It’s super fluffy, packed with rainbow sprinkles, and covered in a cloud-like buttercream.
If you’ve tried this vanilla cake recipe, then don’t forget to rate it and let me know how you got on in the comments below. I love hearing from you!


