
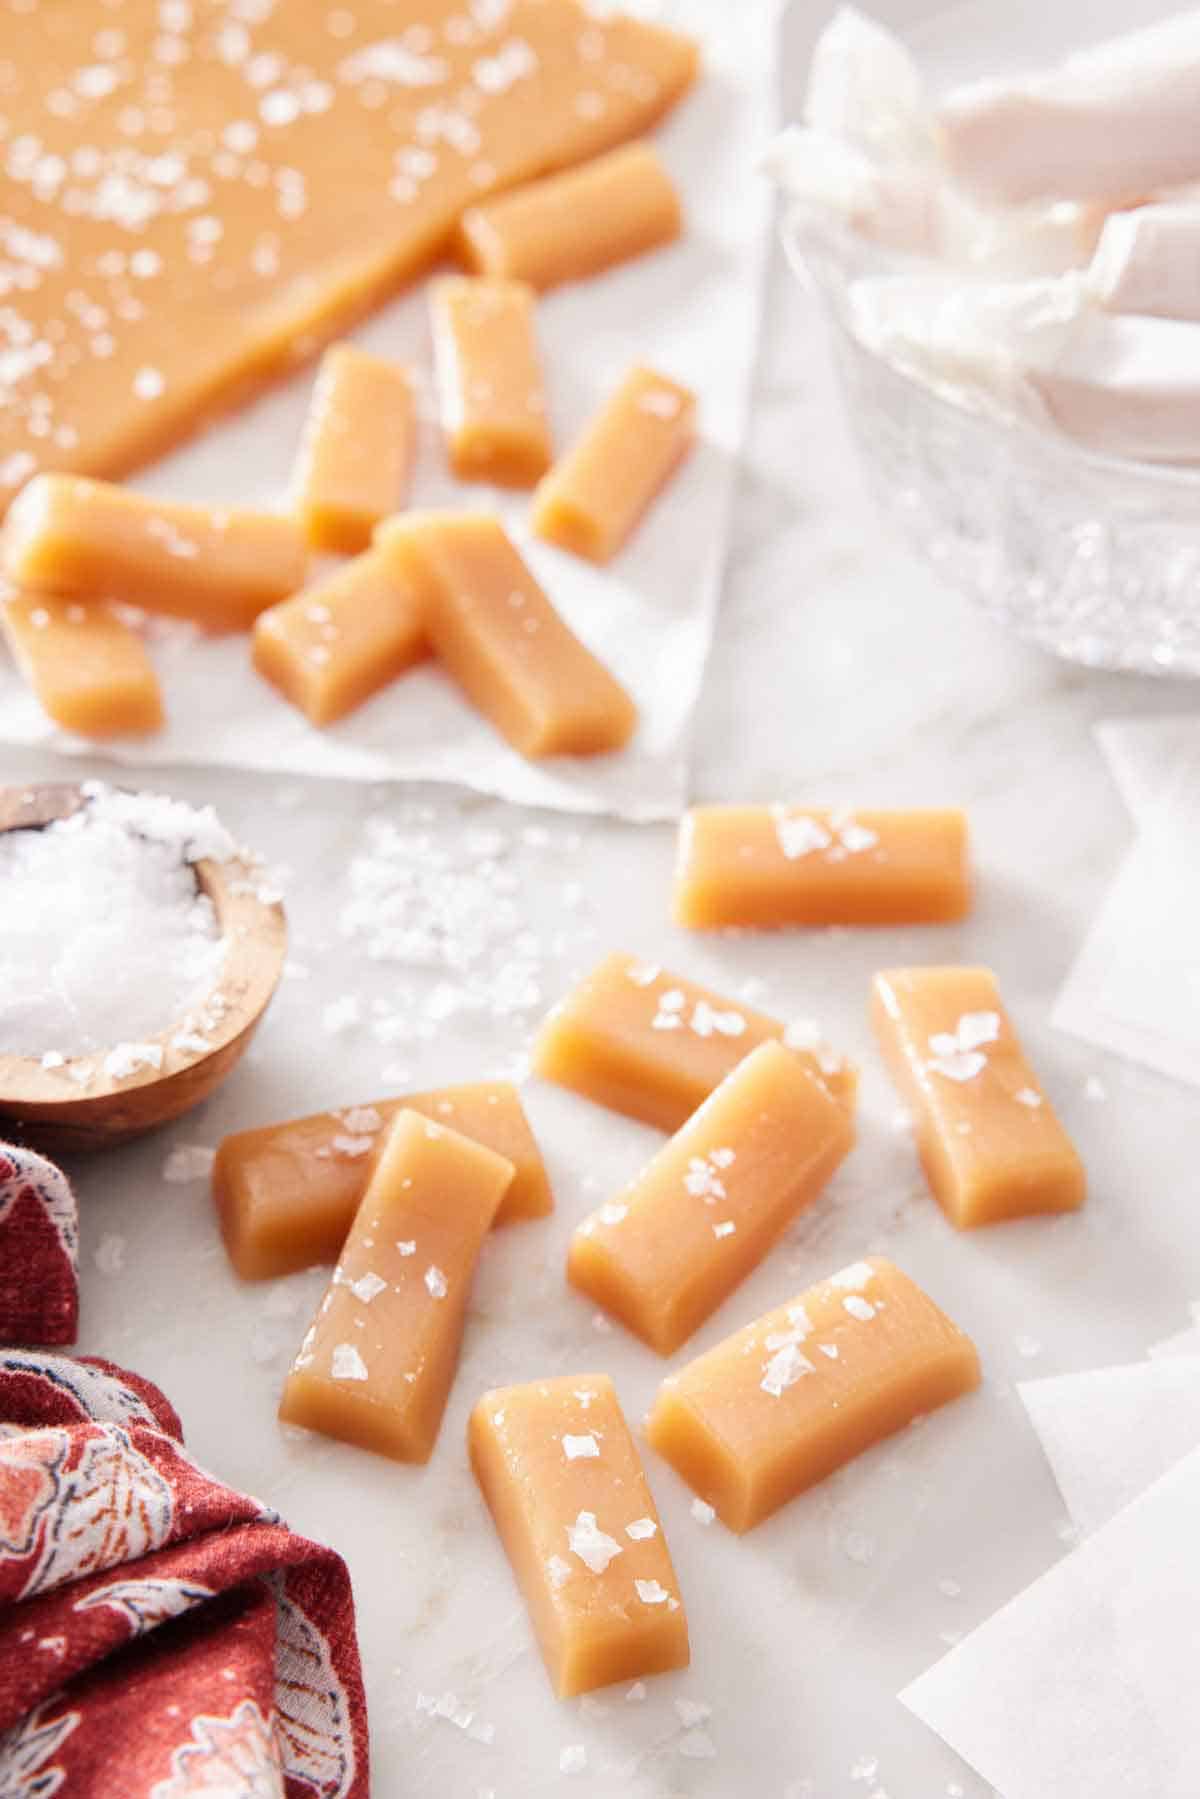
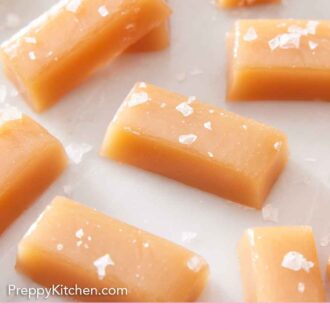
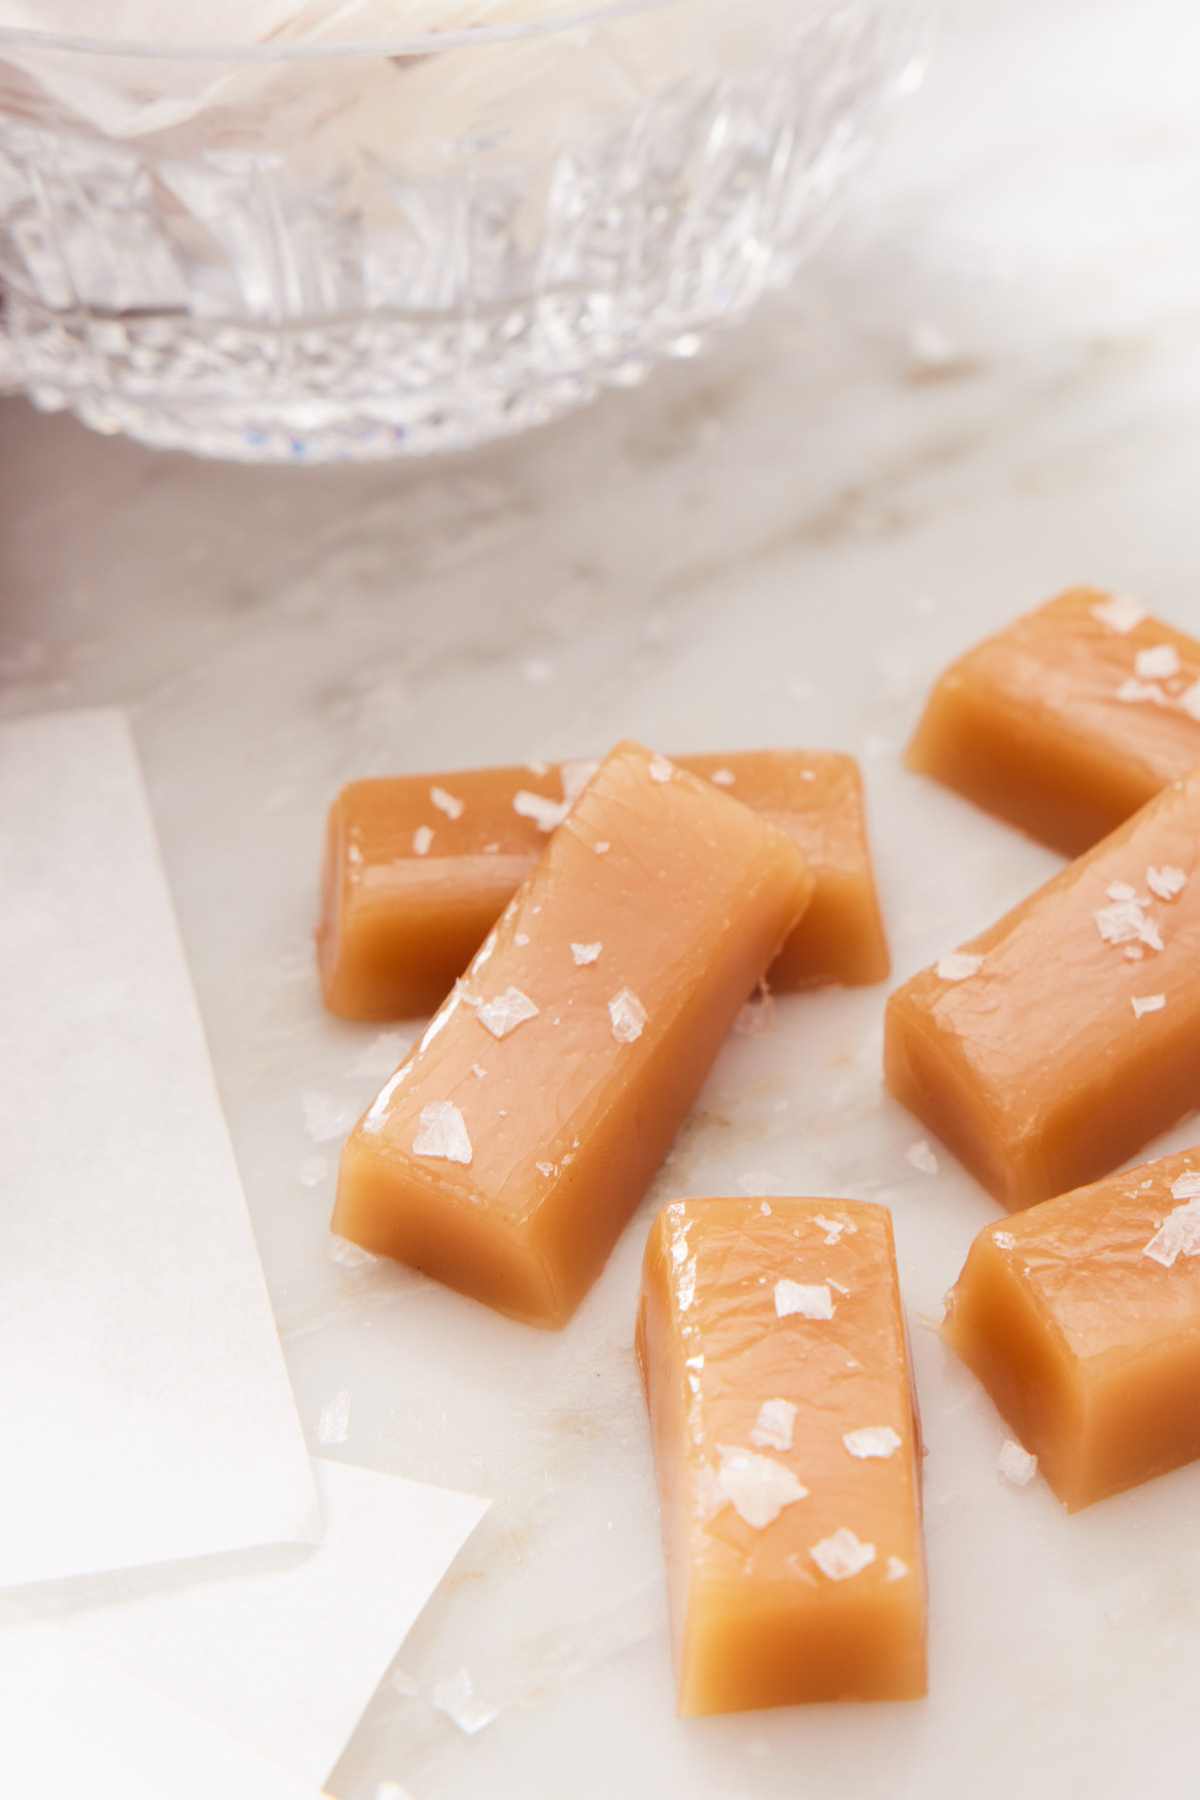
These chewy caramel candies strike an ideal balance of buttery richness and lovely stretchiness, with a classic flavor that tastes better than anything you could buy at the store. After many rounds of testing, I can confidently say that the secret to perfect homemade caramels comes down to two things: paying attention to the temperature and adding the cream at exactly the right time.
When done properly, they are soft enough to melt in your mouth, yet firm enough to hold their shape. If you’ve ever wanted to make old-fashioned caramel chews, my foolproof method takes out the guesswork and delivers dreamy results every time!
A reader, Kendall, says: “Amazing! I had never made caramels and used this recipe to make them as Holiday gifts, and all my friends and family were blown away.” ★★★★★
Table of Contents
Why My Recipe Works
Homemade soft caramel candies are so delicious and worth the time to make them. It can be an intimidating process, but I’ve developed my easy homemade caramel recipe with a few tricks to make it easy to achieve the perfect texture.
- No need to caramelize white sugar! I include brown sugar for a rich flavor, which means the mixture doesn’t have to cook to 320°F (when sugar caramelizes). This significantly reduces the time required and the risk of burning the sugar.
- A more foolproof method—add the cream before boiling. Many recipes require you to bring the sugar to a boil, then slowly stir in the cream over 10 to 15 minutes so it doesn’t separate. By adding it just before the mixture comes to a full boil, you have a much lower risk of the caramel splitting.
Key Ingredients & Substitutions
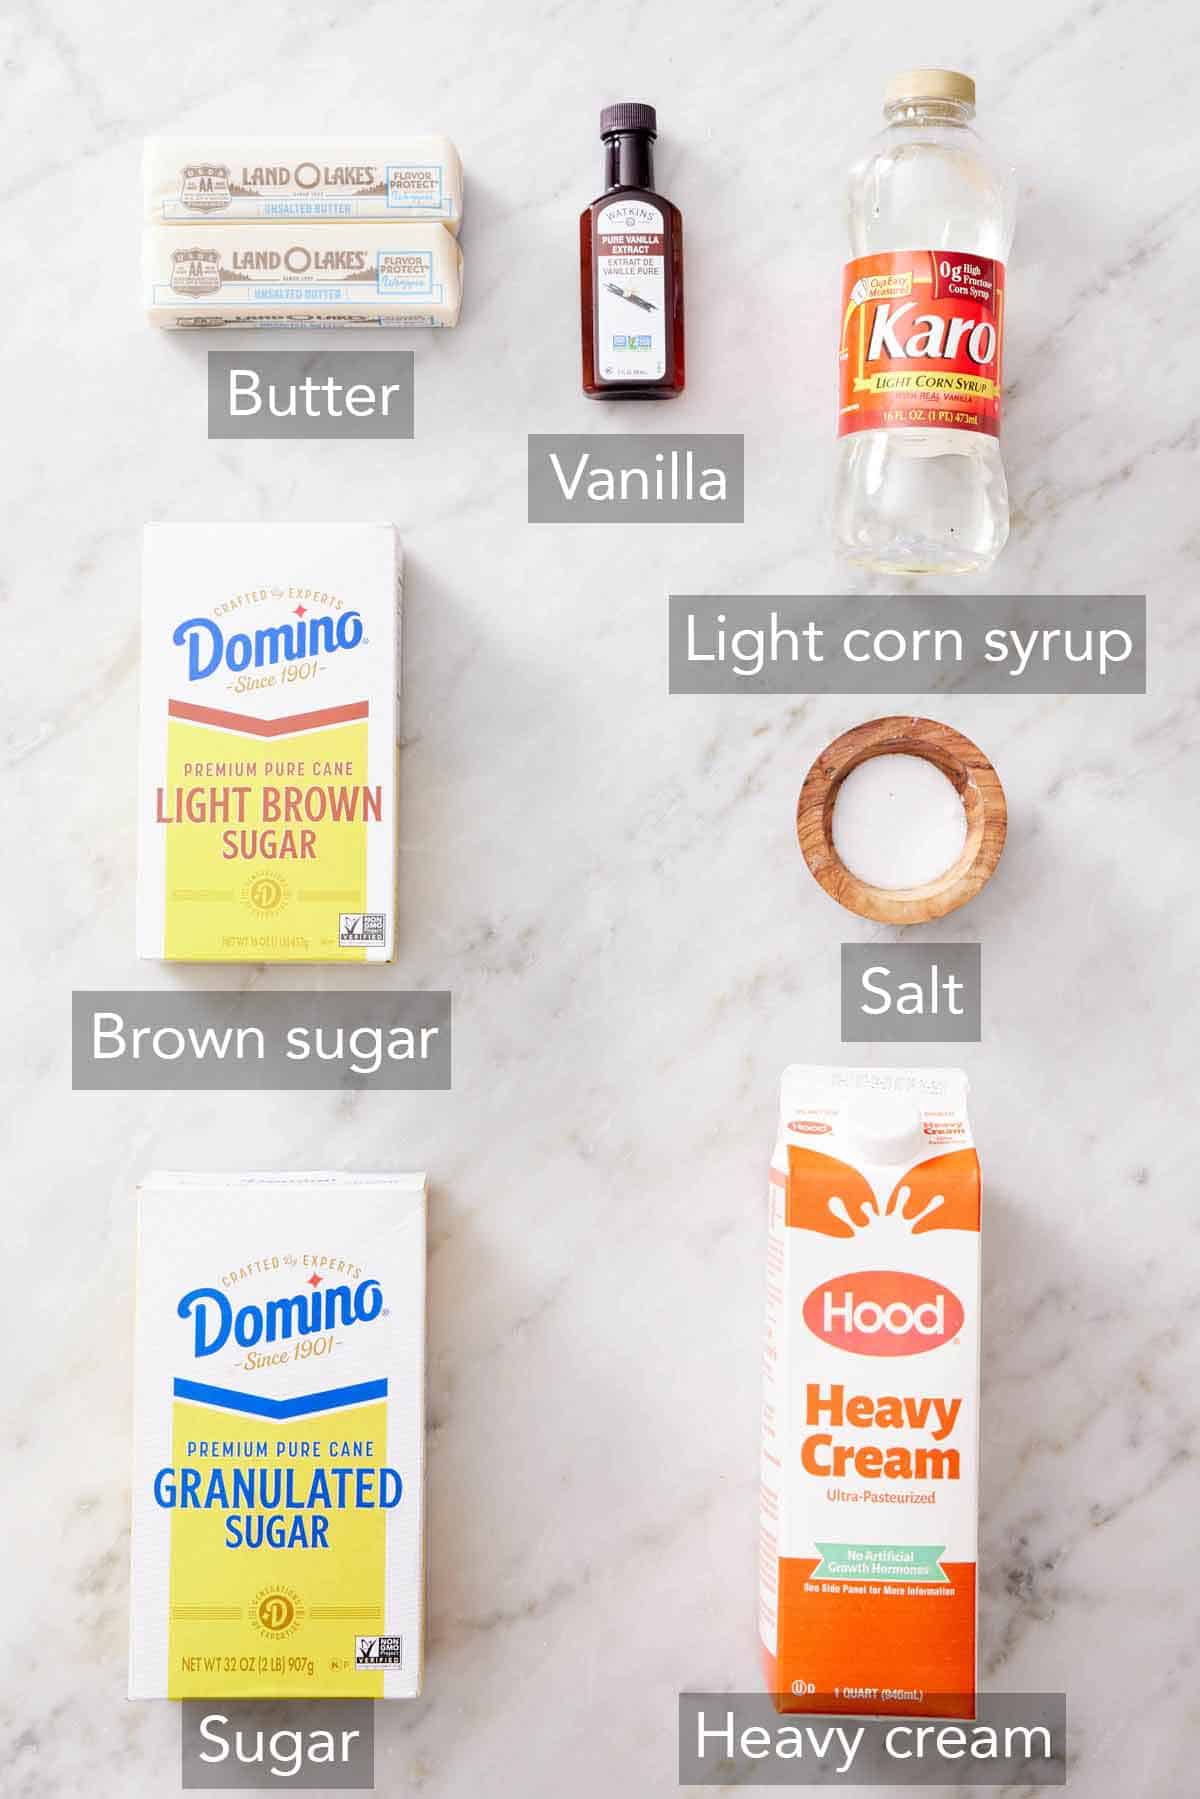
These are the main ingredients you need to make homemade soft caramels. You can find the full list of ingredients and measurements in the recipe card below.
Granulated sugar and brown sugar — using both white and brown sugar ensures a delicious caramel flavor without a long cooking time. The added molasses in brown sugar brings the caramel flavor to these candies without the fuss of cooking white sugar until it caramelizes (which is easy to cook too far and burn). You can use light brown sugar for a lighter flavor or dark brown sugar for a deeper flavor.
Light corn syrup — you’ll often see corn syrup in homemade candy recipes, as the invert sugar prevents the white and brown sugar from crystallizing again after it has melted. It’s an essential ingredient to make sure your chewy caramels turn out smooth and buttery, not grainy. If you don’t want to use corn syrup, use another “invert sugar” like golden syrup or brown rice syrup.
Unsalted butter and salt — starting with unsalted butter and adding salt to taste is the easiest way to ensure consistency across batches.
Heavy cream — adding cream is an essential part of making the caramels nice and soft. If needed, you can substitute the cream for evaporated milk.
Vanilla extract — use an equal amount of vanilla paste, or swap in the scraped seeds of one vanilla bean. (If you go the latter route, keep the pod for making homemade vanilla extract!)
What Makes Caramels Chewy vs Hard?
Caramels get their signature chewy texture from two main factors: the temperature of the sugar syrup and the amount of cream in the recipe. The sugar mixture is cooked to the soft-ball stage, around 245°F. At this point, a drop of the cooked sugar syrup in cold water firms up but stays pliable, which translates to a perfectly soft-but-chewy bite. If you cook it too low, the mixture won’t be firm enough for chewy candies. For example, my caramel sauce is cooked to 220°F, which makes a thick caramel sauce that is still soft enough to spoon and drizzle over ice cream.
Cream’s fat content prevents the sugar from hardening into a brittle candy, while its moisture keeps the mixture tender. The more cream you add, the softer the final caramel will be. My recipe creates caramels that are soft with a gentle chew and a melt-in-your-mouth finish. If you prefer a firmer, extra-chewy caramel, reduce the cream to 1½ cups (360ml).
Caramel Flavor Variations
This is an easy recipe to add additional flavor to!
- Coconut Caramels: Add 1 teaspoon of coconut extract with the vanilla. You can sprinkle desiccated or toasted coconut on top of the caramels before they cool for some crunchy texture.
- Orange-Vanilla Caramels: Add the zest of 1 fresh orange with the vanilla.
- Bourbon Caramels: Add 3 tablespoons of bourbon at the start of the recipe.
- Coffee Caramels: Dissolve 1 tablespoon of instant coffee in 2 tablespoons of hot water or use 3 tablespoons of coffee liqueur, and add it at the start of the recipe.
- Chocolate-Dipped Caramels: Once the caramels are cooled and sliced, coat each one in melted chocolate, and let them set on a piece of parchment paper.
Troubleshooting Chewy Caramels
Grainy caramels usually mean the sugars have recrystallized during cooking. The most common cause is skipping the corn syrup. This invert sugar is essential for preventing crystals from forming as the mixture boils.
It’s also possible that some granulated sugar didn’t fully dissolve at the start or was left on the sides of the pan, where it can seed new crystals. Make sure all of the sugar is moistened, the mixture looks smooth before heating, and brush down any stray crystals that form during cooking with a wet pastry brush to keep your caramels silky.
If your caramels turned out hard, they were likely cooked past 248°F. The higher the temperature of the sugar syrup, the firmer the finished candy will be. Once you reach the hard-ball stage (250-266°F), the sugar sets very firmly as it cools—even with cream and butter in the mixture—resulting in hard or brittle caramels. Use a reliable candy thermometer and pull the mixture off the heat as soon as it reaches 245-248°F for the perfect texture.
Caramels that stay too soft after they have cooled completely were likely not cooked long enough to reach the right final temperature. If the mixture doesn’t reach the soft-ball stage (245-248°F), it won’t set firmly enough to slice cleanly. It’s also possible that too much cream was added, which increases moisture and keeps the texture very soft.
Caramels typically separate when the cream is added too quickly or too late in the recipe. If you pour it all in at once, the sugar mixture can’t emulsify properly with the butter, causing the fat to split from the syrup. To avoid this, add the cream slowly right when the sugar mixture starts to bubble, and whisk continuously so everything blends into a smooth, cohesive mixture.
Pro Tips For Making The Best Homemade Caramel Candies
Prepare all your equipment and ingredients before you start. Things move along fairly quickly, and the caramel needs constant attention while it cooks. So prepare all of your utensils, equipment, and ingredients before you start. You don’t want to be prepping the baking sheet when the caramel is done, or it will overcook.
Use a thermometer! Experienced candy-makers will tell you the trick to candy-making is hitting the right temperature with your sugar. I recommend using a clippable candy thermometer that attaches to the side of your pan (digital or not, both work great). Make sure the probe rests in the mixture, not on the bottom of the pan or just on the surface of the bubbling caramel.
Keep a pastry brush and a little water nearby. Sugar crystals may form as the caramel cooks, which can make the caramel grainy, as mentioned above. Wet the pastry brush with water and brush the sides of the pan to dissolve any sugar crystals.
Be patient and stir while cooking. This is the most time-consuming part of the recipe—the caramel needs to be stirred while it cooks to the softball stage so that it doesn’t burn. But, this hands-on time is well worth it in the end! Overall, the recipe only takes about 30 minutes to make before the caramels are left to cool on their own.
How To Make Caramels
Below, I’ve highlighted portions of the recipe in step-by-step process images along with instructions for making soft and chewy caramels. You can find the full set of instructions in the recipe card below.
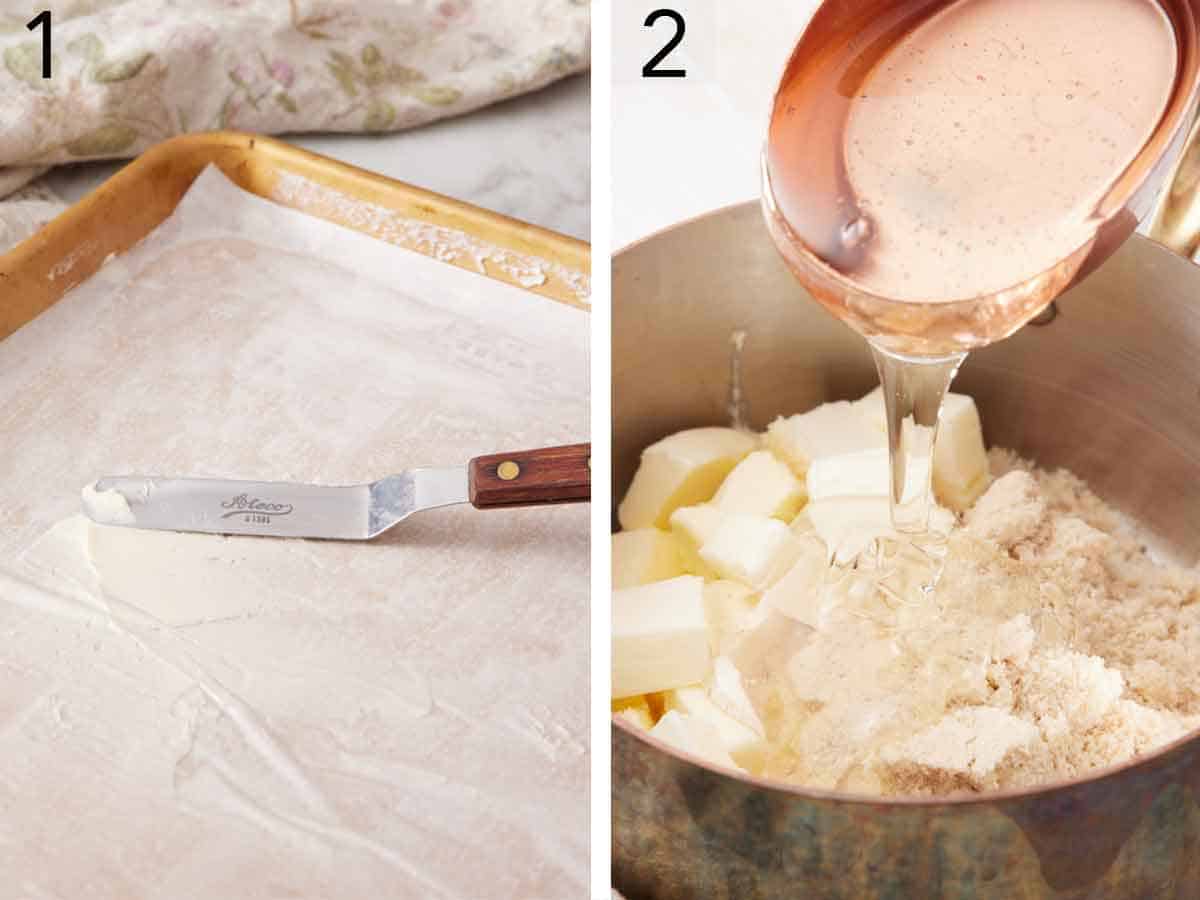
1. Lightly butter a 9×13-inch pan, then line it with parchment paper so the edges hang over the sides. Butter the parchment as well to keep the caramels from sticking.
2. In a large heavy-bottomed saucepan (4-5 quarts is ideal), combine the sugars, corn syrup, butter, and salt.
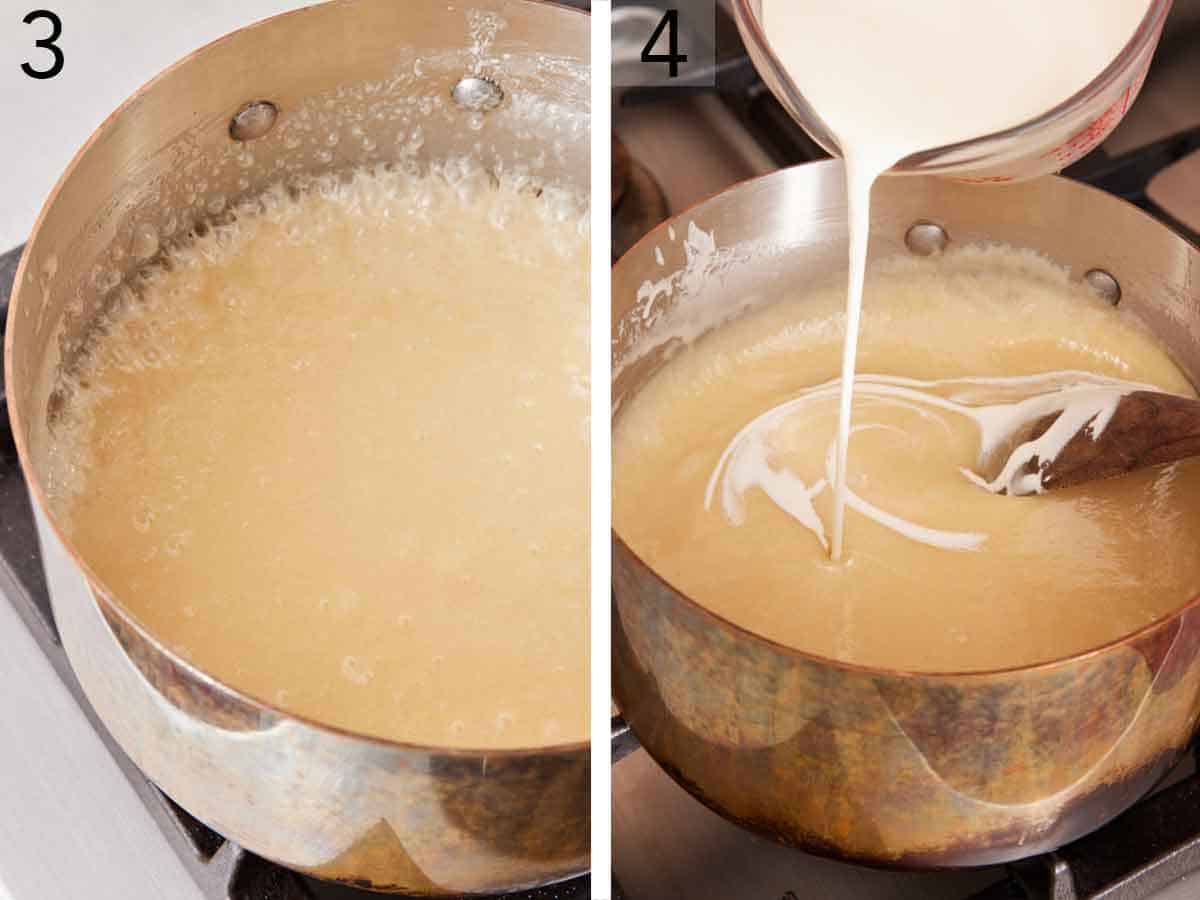
3. Set the pot over medium heat and stir constantly until everything melts together and the mixture begins to bubble, about 5 minutes.
4. Slowly pour in the cream while stirring. It should take about a minute to pour and incorporate all of the cream.
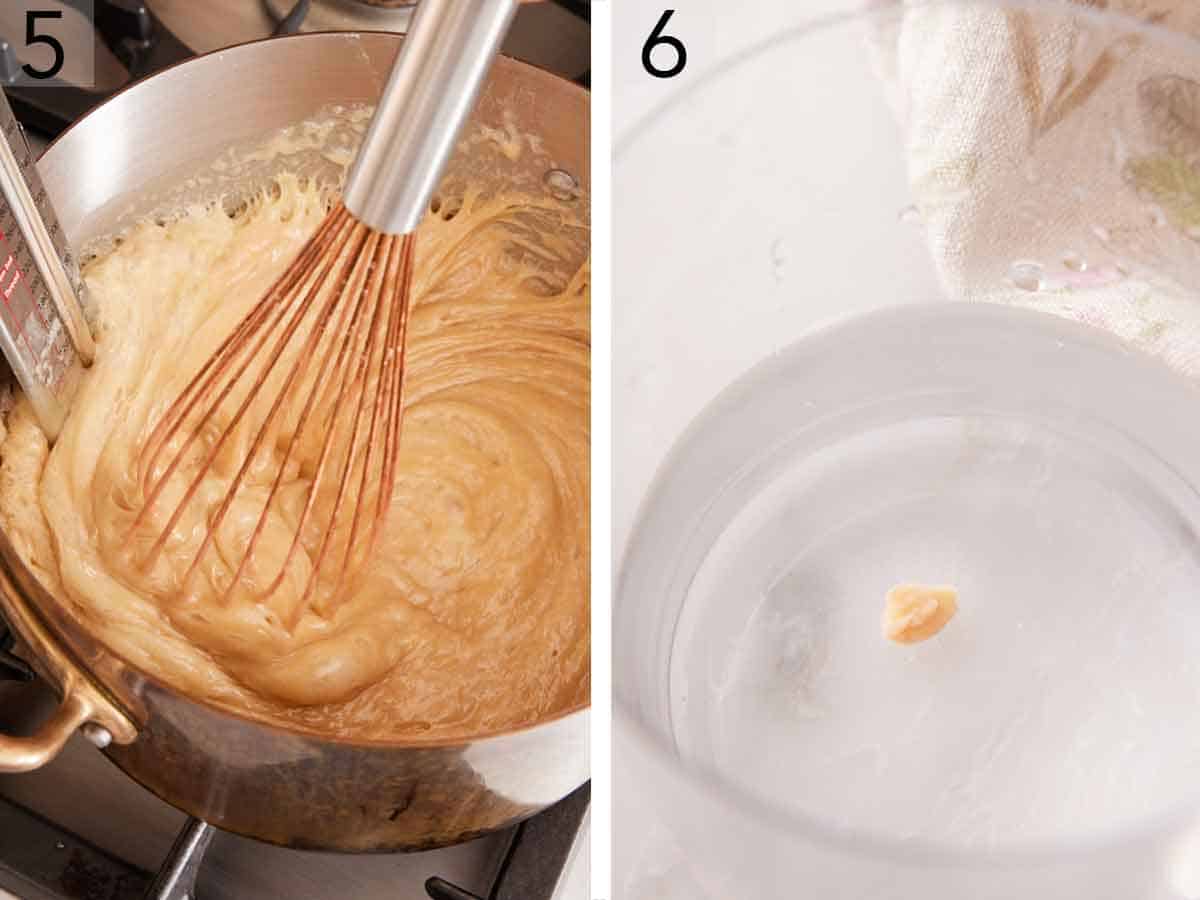
5. Clip on a candy thermometer, then continue cooking—stirring constantly—until the sugar and cream mixture reaches 245-248°F, about 20-25 minutes.
6. Don’t have a thermometer? You can also test by dropping a bit of caramel into cold water; if it forms a firm but pliable ball, it’s ready.
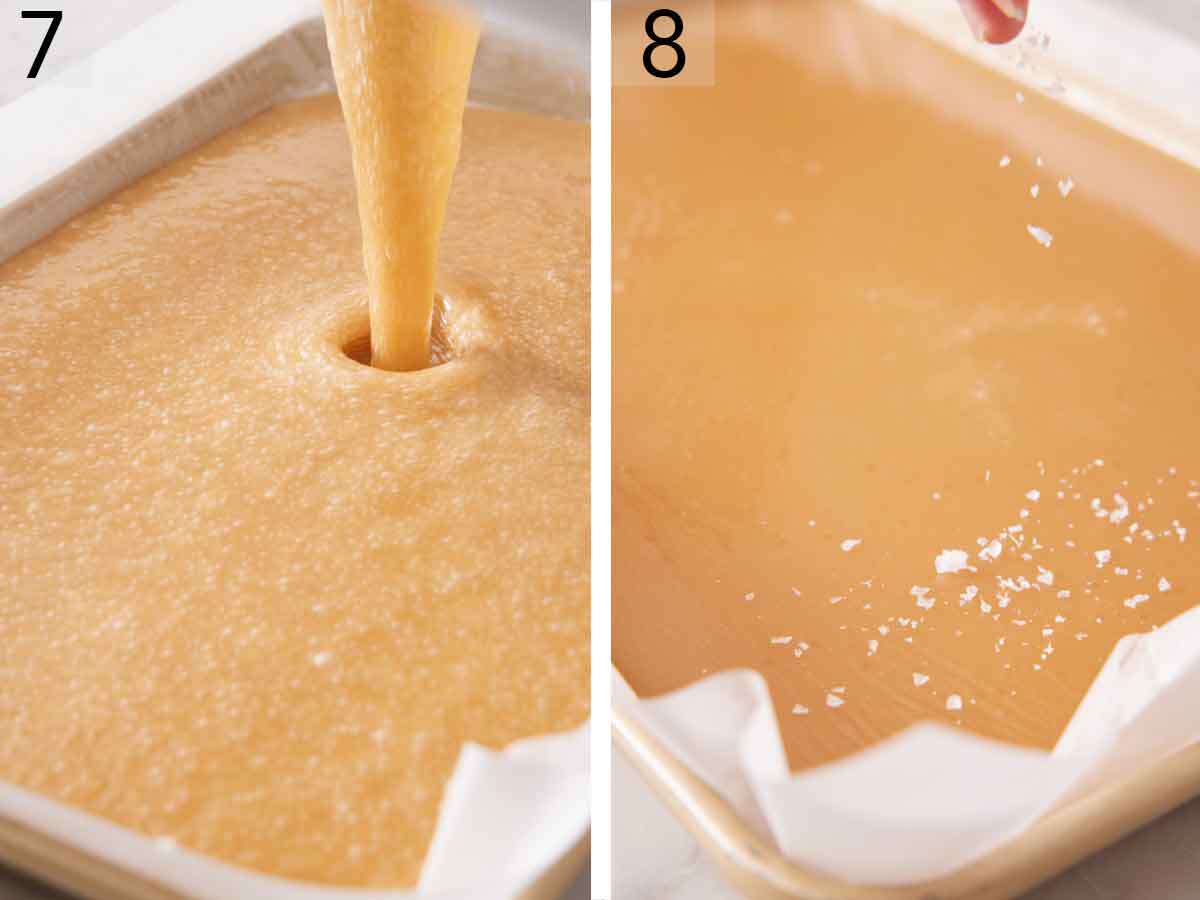
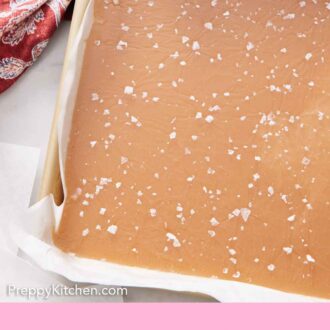
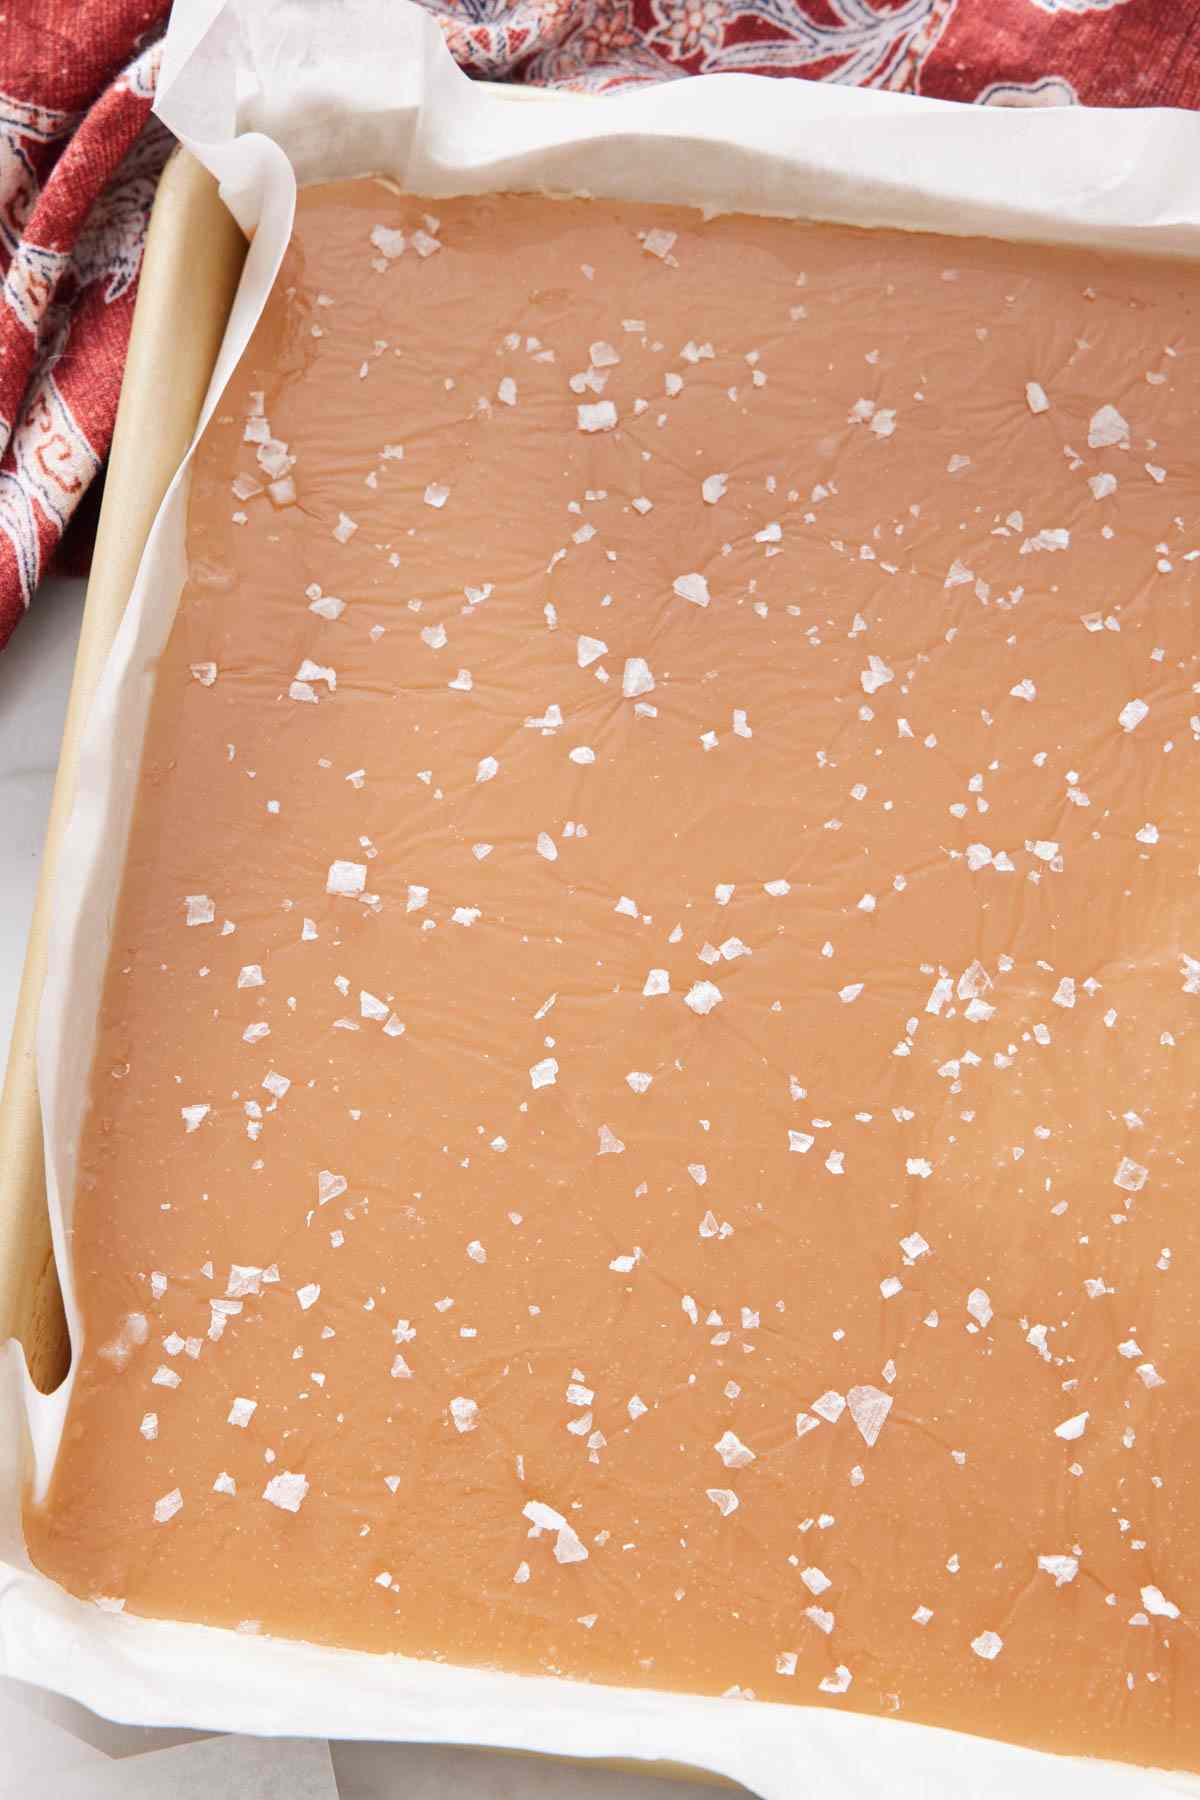
7. Remove the pot from the heat and carefully stir in the vanilla. Immediately pour the caramel into your prepared pan. Let it cool completely, about 4 hours. (Tip: You can speed things up by refrigerating the pan; be sure to let the slab warm up for 30-60 minutes before cutting so it doesn’t crack.)
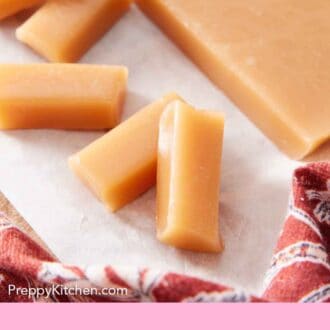
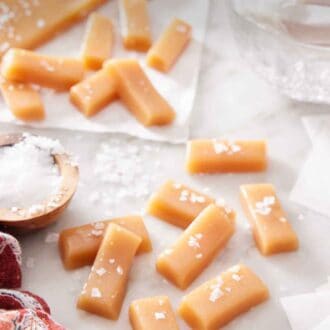
8. If you want to add flaky sea salt, sprinkle it on after the caramel has cooled for about 30 minutes. Lift the cooled caramel slab out of the pan and peel away the parchment. Cut into squares and wrap individually in wax paper.
Caramels Recipe
Video
Equipment
- 9×13″ baking pan
- Parchment paper
- Large pot or saucepan
- Candyor instant-read thermometer
Ingredients
- 2 cups granulated sugar (400g)
- 1 cup packed light or dark brown sugar (220g)
- 1 cup light corn syrup (240ml)
- 1 cup unsalted butter cubed (226g)
- 1 teaspoon salt
- 2 cups heavy cream room temperature (480ml)
- 2 teaspoons vanilla extract
Instructions
- Lightly butter a 9×13-inch pan and line it with parchment paper, letting the excess come up the sides of the pan. Lightly butter the paper.
- In a large heavy-bottom saucepan (make sure it’s a 4 to 5-quart capacity), combine the sugars, corn syrup, butter, and salt. Place over medium heat and stir constantly until the butter and sugars have melted and the mixture starts to bubble but it isn’t boiling hard, about 5 minutes. (If any sugar crystals remain on the sides of the pot, use a wet pastry brush on the inside of the pot to brush off and dissolve them.)
- While whisking, slowly pour in the cream (this should take about 1 minute). Attach a candy thermometer and bring to a boil, stirring constantly until the mixture reaches 245°F to 248°F, 20 to 25 minutes. (You can also drop a small ball of caramel into a glass of cold water. If it forms a firm ball but is still moldable, it’s done.)
- Immediately remove from the heat and carefully stir in the vanilla. Pour into the prepared pan. Let the caramels cool completely, about 4 hours. If desired, sprinkle flaked sea salt on top of the caramels after cooling for about 30 minutes. (To speed up the cooling, you can refrigerate the caramels until hardened. Just remove the slab about 30 minutes before slicing as the cold caramel can shatter or break when cut.)
- Remove the cooled slab from the pan and discard the parchment paper. Cut into squares and wrap in wax paper. Caramels will keep at room temperature for up to 1 month or refrigerated for several weeks. They should be enjoyed at room temperature.
Notes
- Use a heavy-bottomed saucepan. This will help ensure that the caramel doesn’t burn. Thin pans don’t insulate the food very well and can easily burn on the bottom of the pan.
- To speed up the cooling process: You can refrigerate it until hardened or store the slab tightly wrapped in the fridge until you are ready to cut it. Just remove the slab about 30 minutes to 1 hour before slicing, as cold caramel can shatter or break when cut.
Nutrition
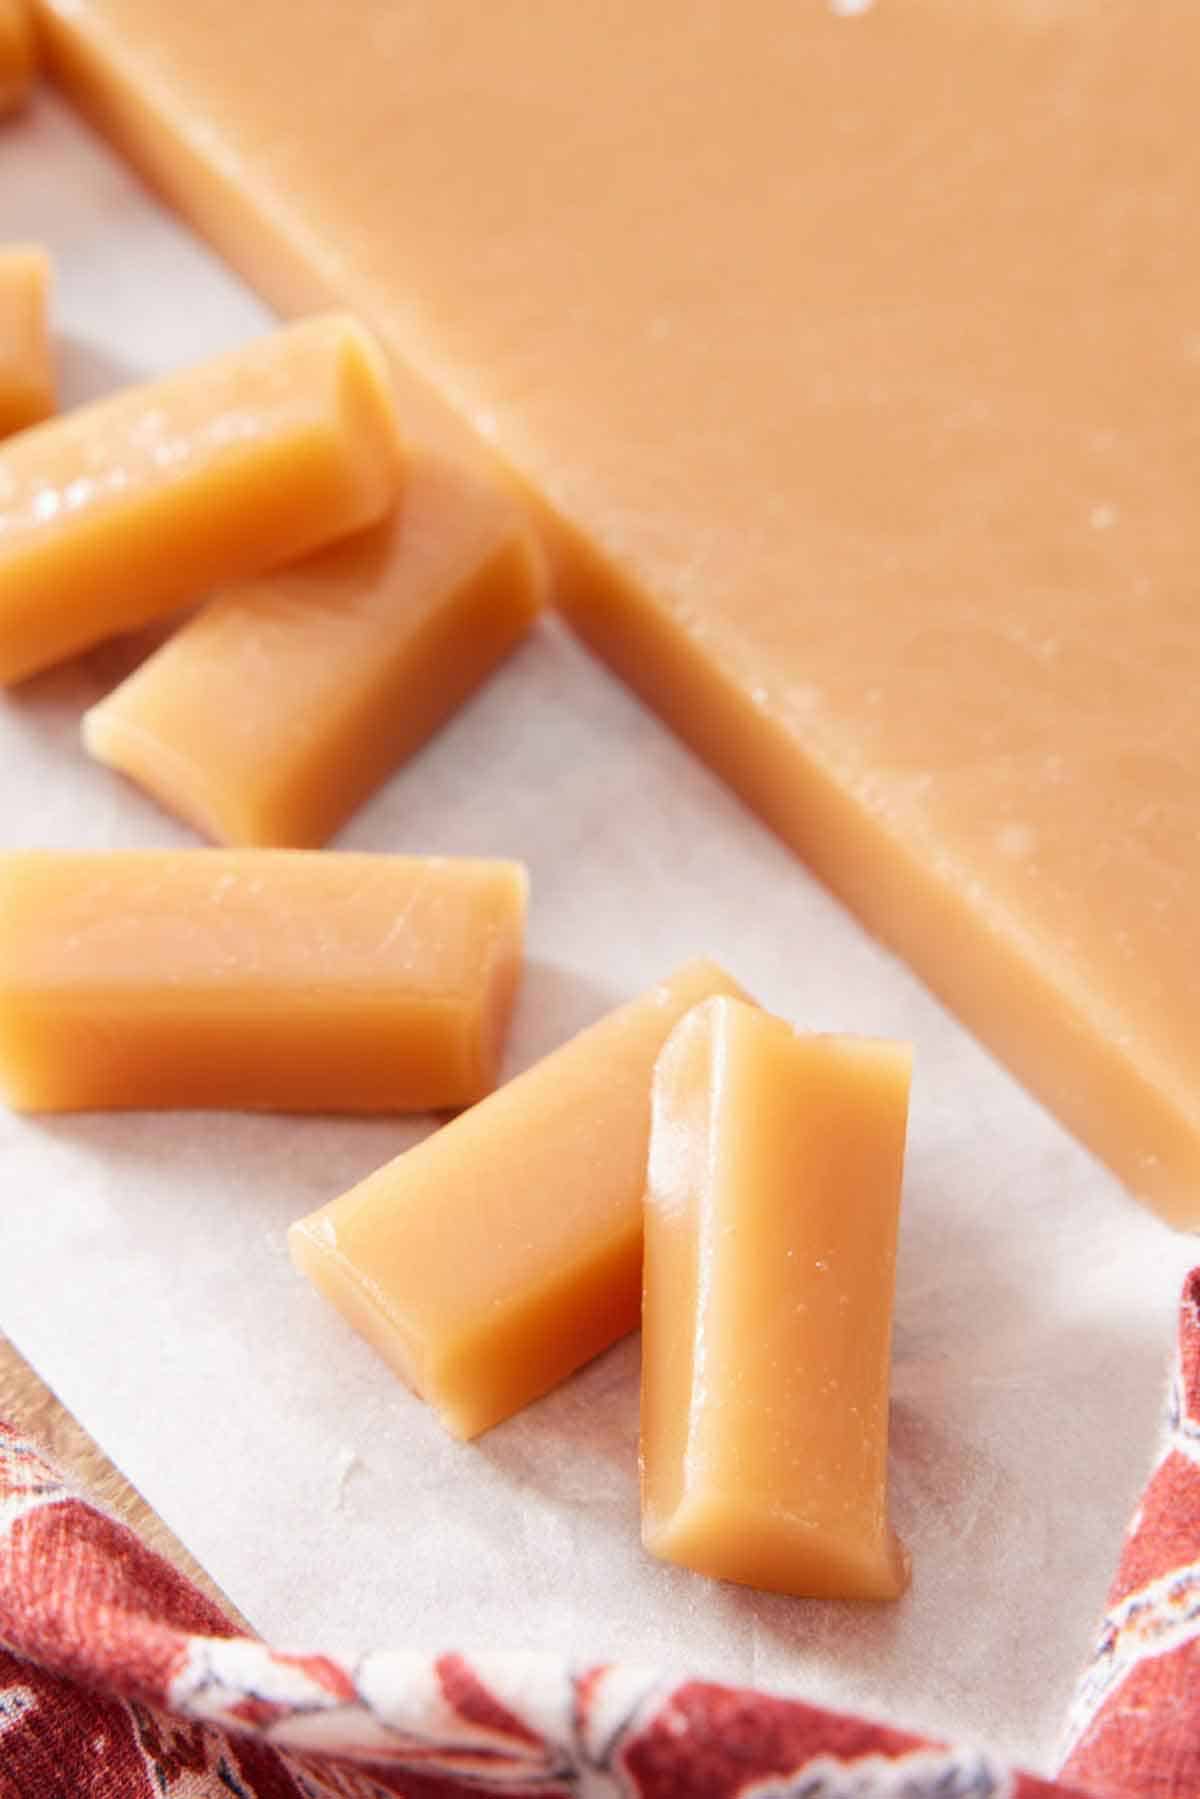
How To Cut The Caramels
Once the caramel slab is fully cooled, use a sharp chef’s knife that’s been gently warmed under hot water and dried. The warmth helps the blade glide through the caramel instead of dragging. If the caramel sticks, lightly oil the knife to help it glide cleanly through each cut.
Rewarm or re-oil the blade as needed for smooth, even pieces. Press straight down rather than sawing back and forth for neat, even squares.
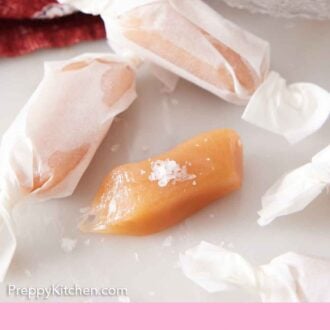
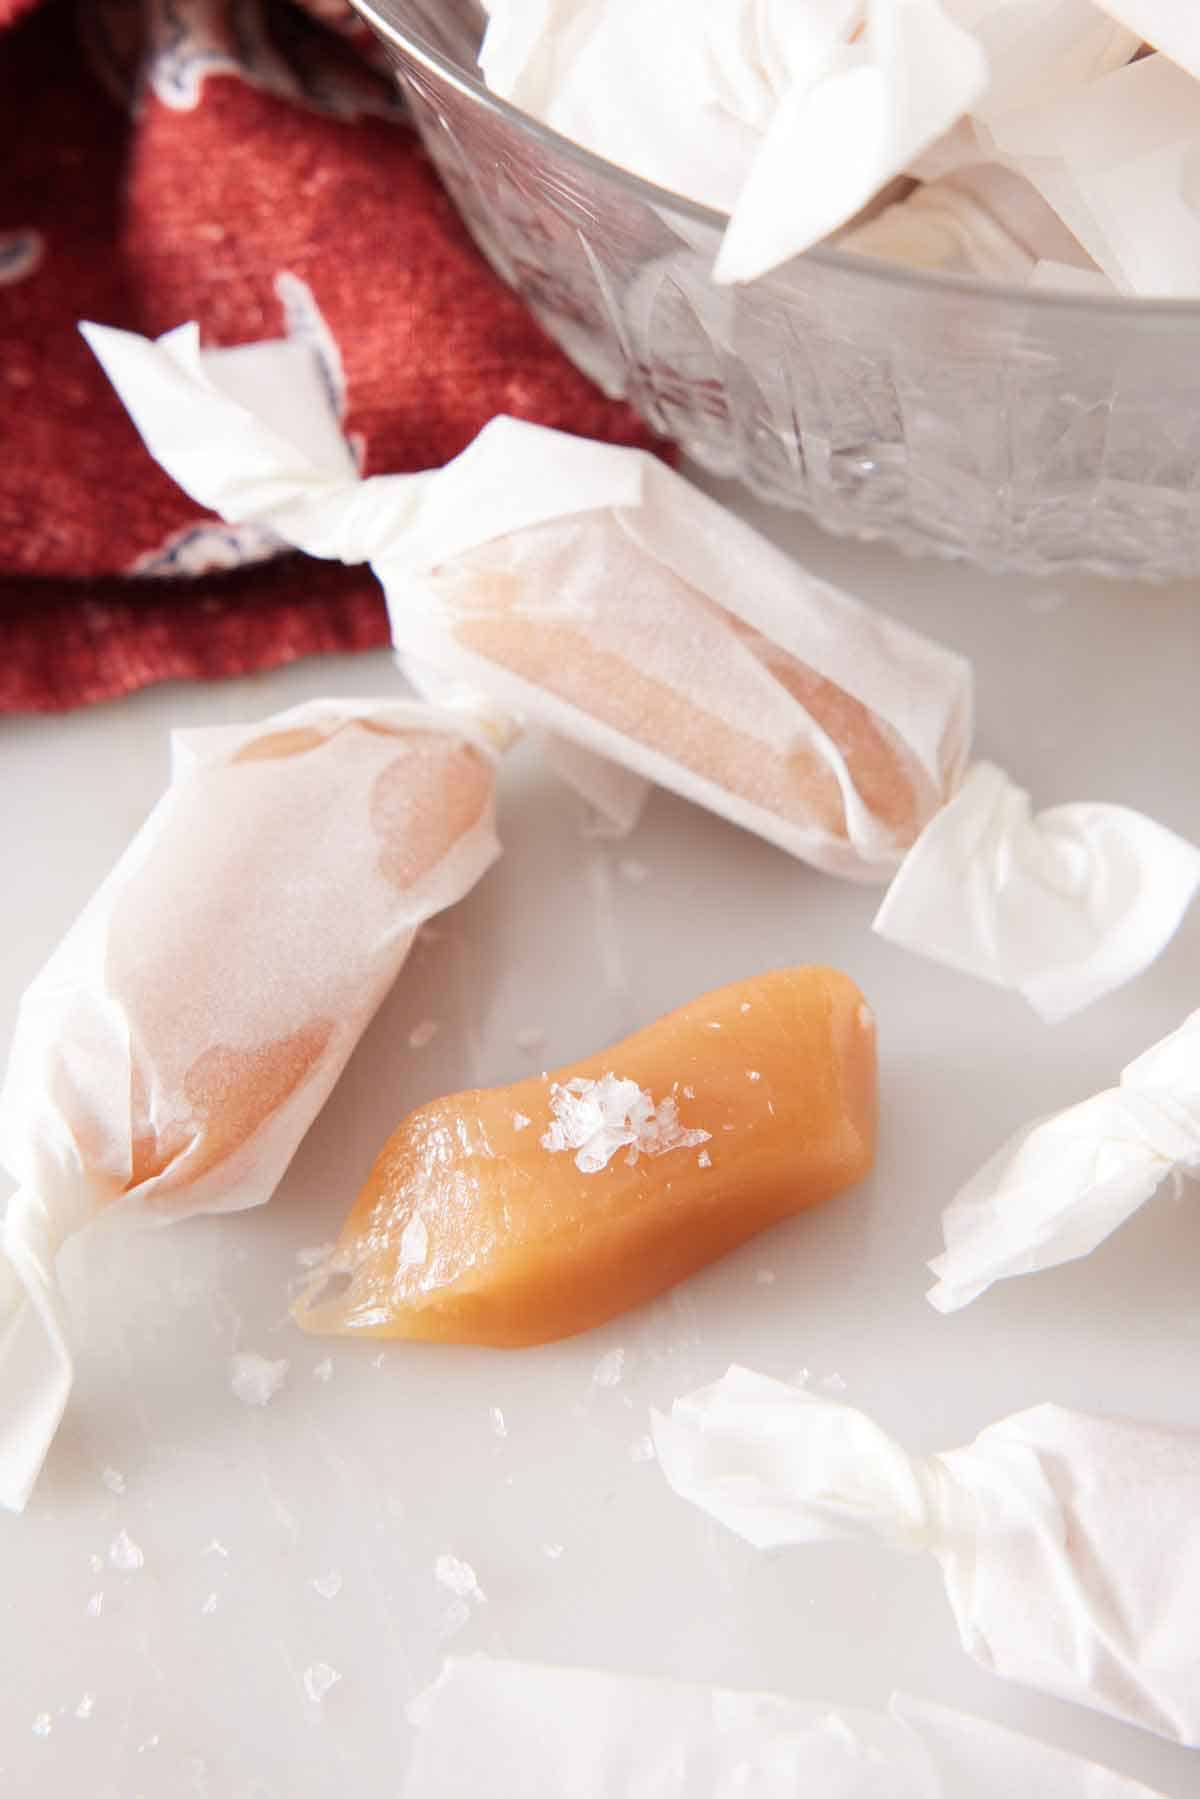
Wrapping and Storing
Cut pieces of wax paper or cellophane into small rectangles, then place a caramel in the center of each one. Roll it up and twist the ends to seal. Wrapped caramels will keep at room temperature for up to a month or in the refrigerator for several weeks. For the best texture, always let refrigerated caramels soften back to room temperature before enjoying so they’ll be perfectly soft, chewy, and buttery. If you have leftovers that may have turned slightly hard or that you want to use up, make my easy turtle candies!
More Candy Recipes To Try
My buttery, crunchy toffee recipe has a rich caramelized flavor that pairs perfectly with a layer of melted chocolate. It comes together quickly and disappears even faster!
Light, airy, and delightfully crisp, my homemade honeycomb candy recipe is pure magic. You’ll never get tired of watching it puff up in the pot! Break it into shards or dip it in chocolate for a whimsical treat that’s as fun to make as it is to eat.
Packed with roasted nuts and an irresistible sweet-and-salty crunch, my classic peanut brittle tastes just like the nostalgic candy-shop version. It feels impressive and old-fashioned, but it’s shockingly simple to make at home.
My creamy chocolate-covered peppermint patties are a delicious homemade candy that’s perfect for the holidays. You only need 5 ingredients and a little bit of time to roll and cut the peppermint centers before dipping them in melted chocolate.
This super-easy recipe for peanut butter fudge only needs four ingredients and 10 minutes of your time. Once it is set, slice it up into cubes to give as gifts or serve as an easy dessert!
If you’ve tried this caramels recipe, then don’t forget to rate it and let me know how you got on in the comments below. I love hearing from you!
Elisabeth Main says
Best caramel ever. My family and friends love to receive it as a gift during the holidays.
Kendall says
Amazing! I had never made caramels and used this recipe to make them as Holiday gifts and all my friends and family were blown away. LOVE LOVE! How would you flavor them with coffee??
Kendall says
These caramels are amazing and will make the perfect Holiday gift! Preppy Kitchen never disappoints!
Heather says
They taste amazing and super easy to do, but lots of stirring to get to the right temperature. Great gifts for gifts, just put them in a tin and easy but super tasty gift.
Raeanna says
Hi John!
I’ve been using your caramel apple recipe for caramel candies, so I’m excited you’ve released a specific caramel candy recipe!
Do you think it’s possible to double or triple this recipe without it going south?
Thank you!!