
This post may contain affiliate links. Please read our disclosure policy.
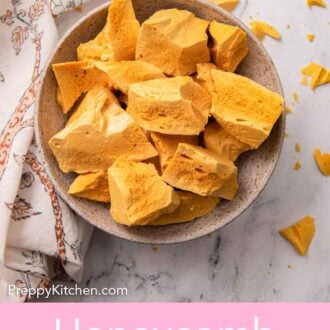

This homemade Honeycomb recipe is a crunchy, light, and sweet treat with honeycomb-like bubbles that only require five simple ingredients. Also known as hokey pokey or sponge toffee, this golden caramel-toffee candy will melt in your mouth and have everyone asking for more. Follow my foolproof recipe to make this candy in your own kitchen.
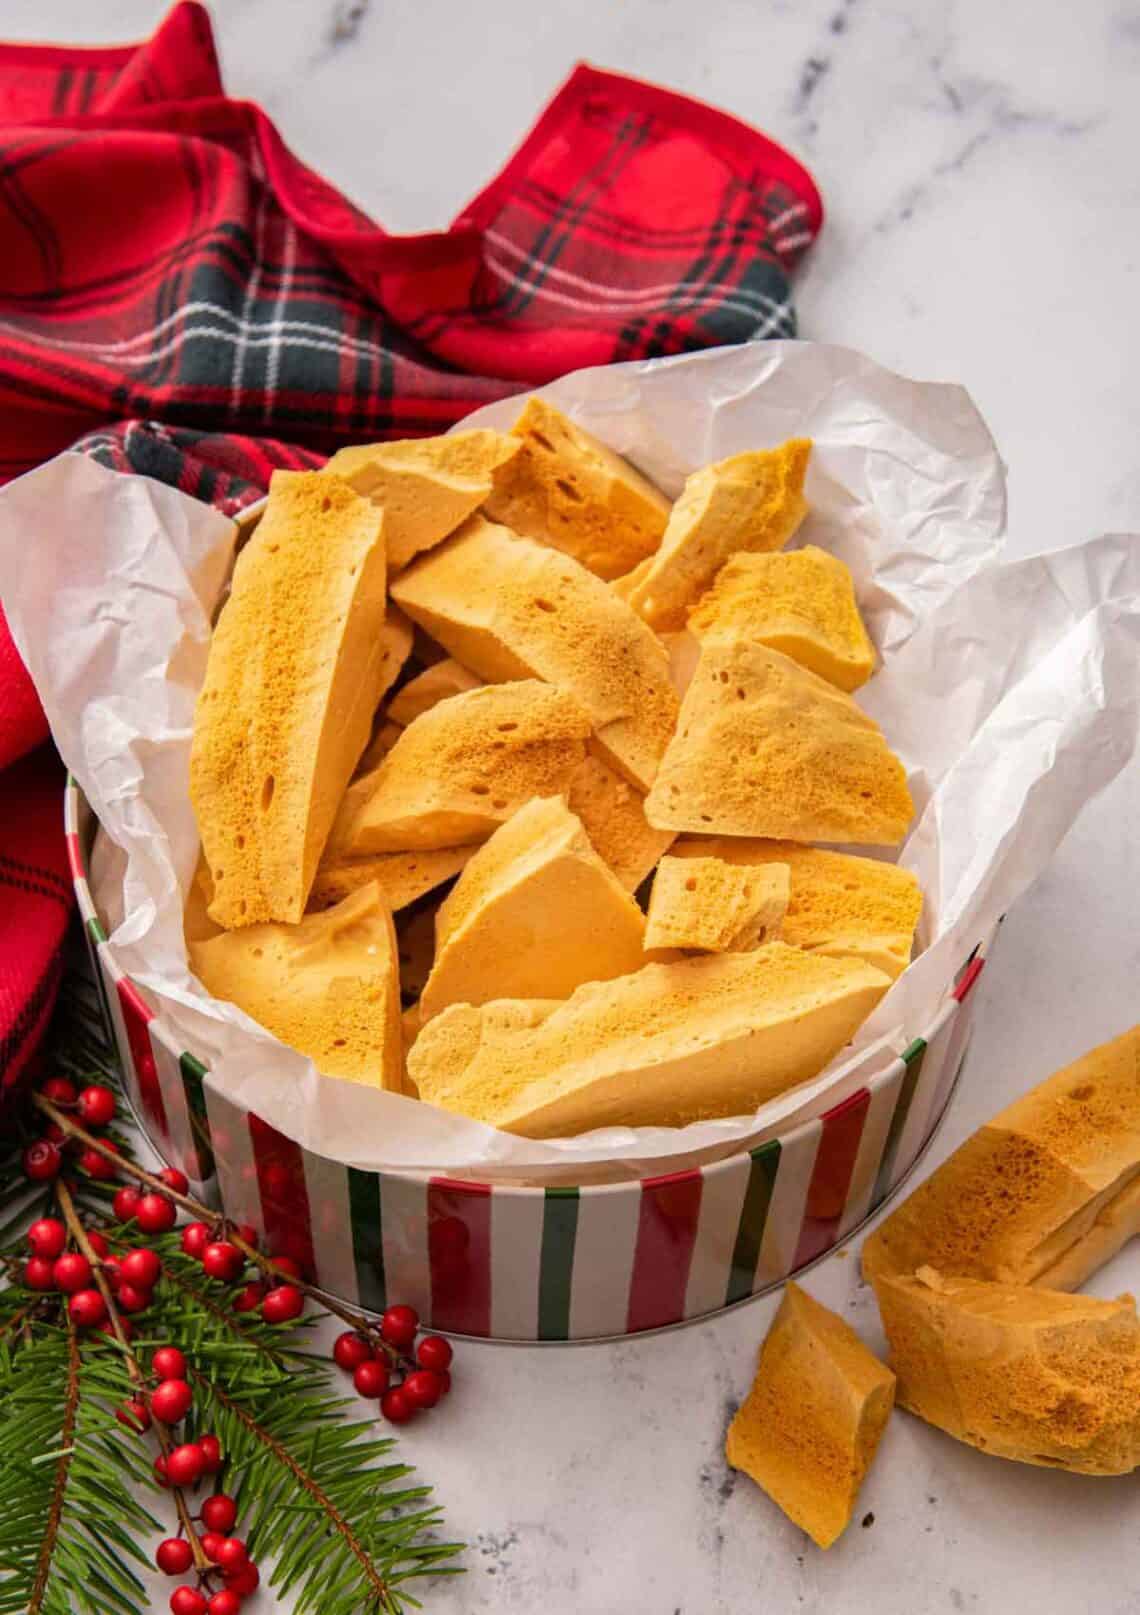
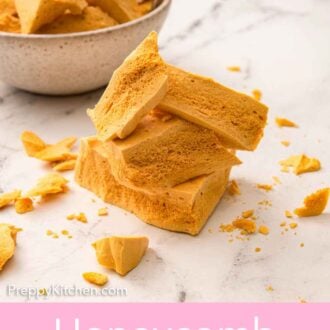
You may know this honeycomb recipe by a few other names, such as hokey pokey, seafoam toffee, cinder toffee, sponge candy, and sponge toffee, but they’re all the same treat! This honeycomb recipe is a crunchy candy that tastes like a cross between caramel and toffee with a bubbly and airy interior. It’s beautifully golden and deliciously sweet, you won’t be able to eat just one piece.
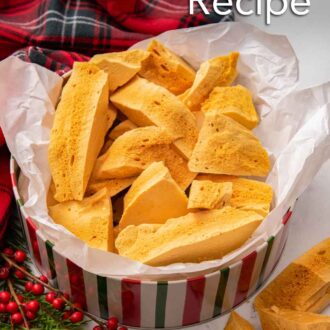
Similar to a Crunchie chocolate bar filling, this honeycomb recipe has a unique texture that will melt in your mouth. They make for a delightful treat all year round but also make for a delicious addition to holiday cookie boxes. Want another sweet treat everyone will love? Try my toffee recipe, Christmas crack recipe, and peanut brittle recipe.
What You Need to Make This Recipe
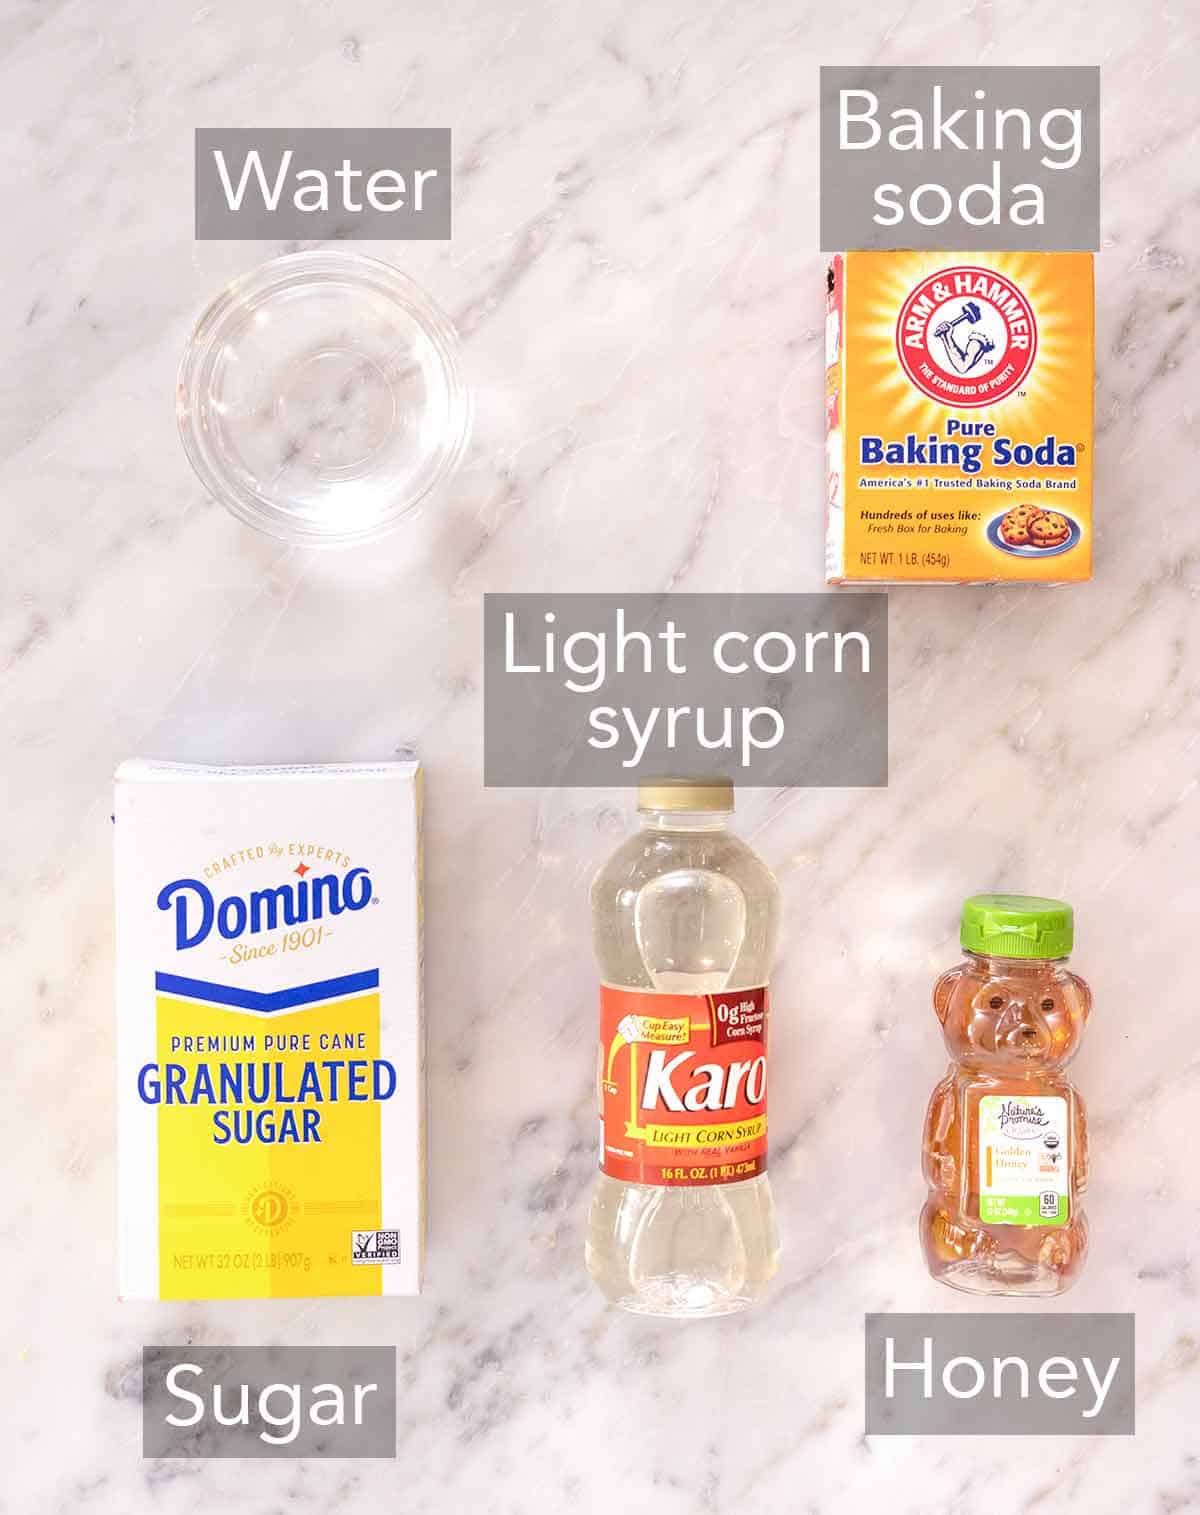
Sugar — this recipe uses white granulated sugar, but you can also use brown sugar.
Corn syrup — corn syrup adds sweetness and helps prevent the sugar from crystallizing.
Honey — while you can skip the honey and use all corn syrup, this candy recipe is called honeycomb, so let’s add some honey flavor to it!
Baking soda — you cannot skip the baking soda. The baking soda reacts to the sugar mixture and turns this honeycomb recipe light, airy, and brittle. It also helps give the candy its signature bubbly look! Make sure the baking soda is fresh and not expired. Also, make sure you are not accidentally adding baking powder.
How to Make Honeycomb Recipe
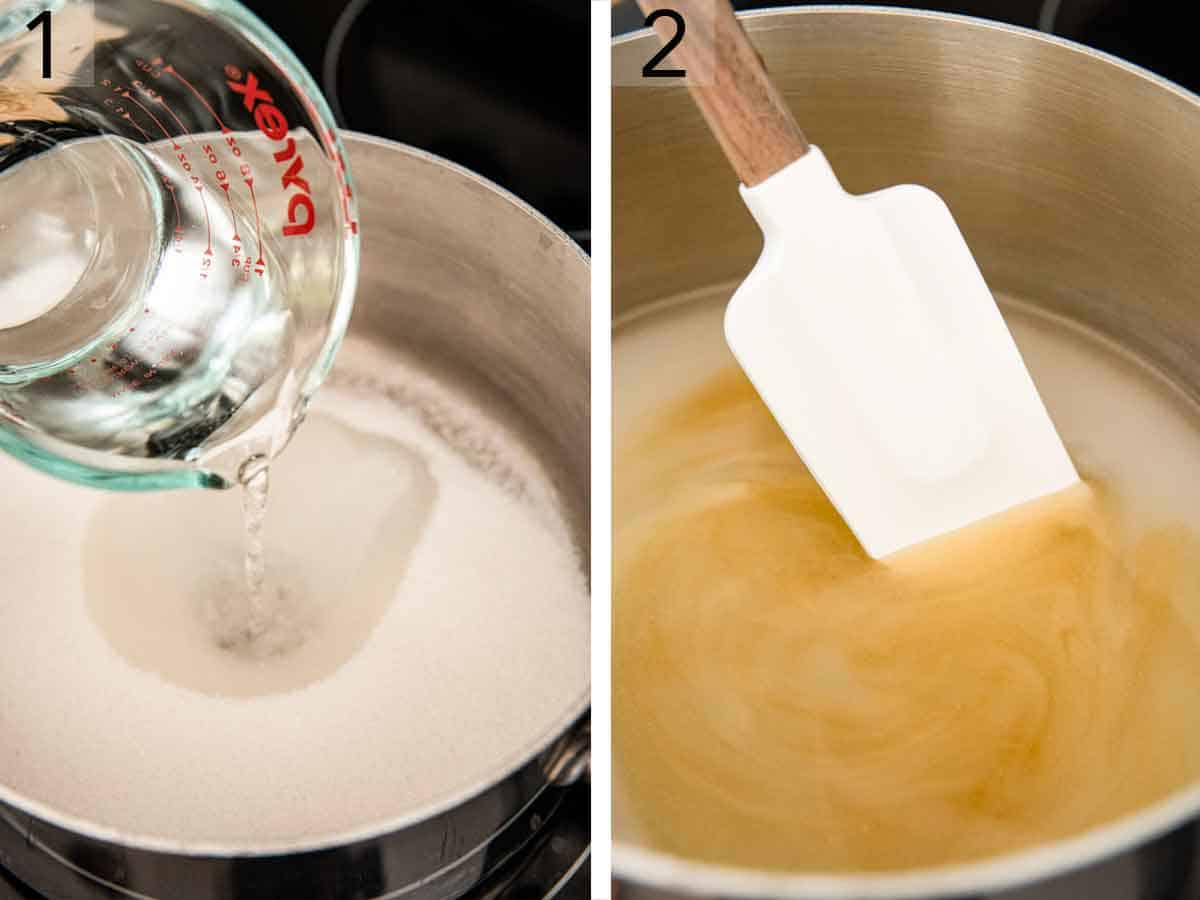
1. In a large heavy-bottomed saucepan (4-quart or bigger), combine the sugar, water, corn syrup, and honey. Place the pan over medium-high heat.
2. Gently stir the sugar mixture until dissolved, taking care not to stir any granules up the side of the saucepan. When the mixture begins to boil, stop stirring.
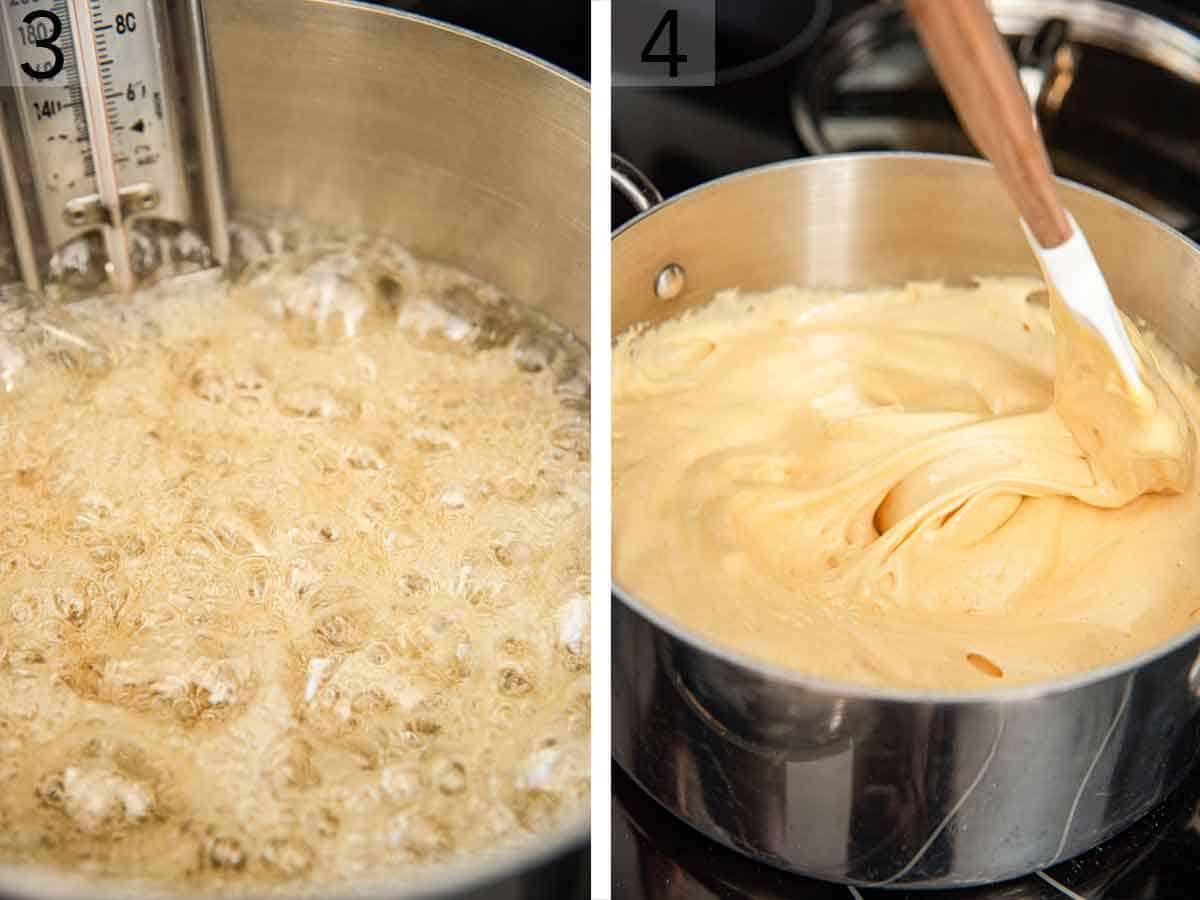
3. Cook the sugar mixture until a candy thermometer reads between 305°F and 310°F. Immediately remove from the heat and stir in baking soda. The baking soda will cause the candy mixture to bubble vigorously, so be very careful during this step.
4. Stir the mixture just until it turns a light golden color and is still lightly bubbling and very fluffy.
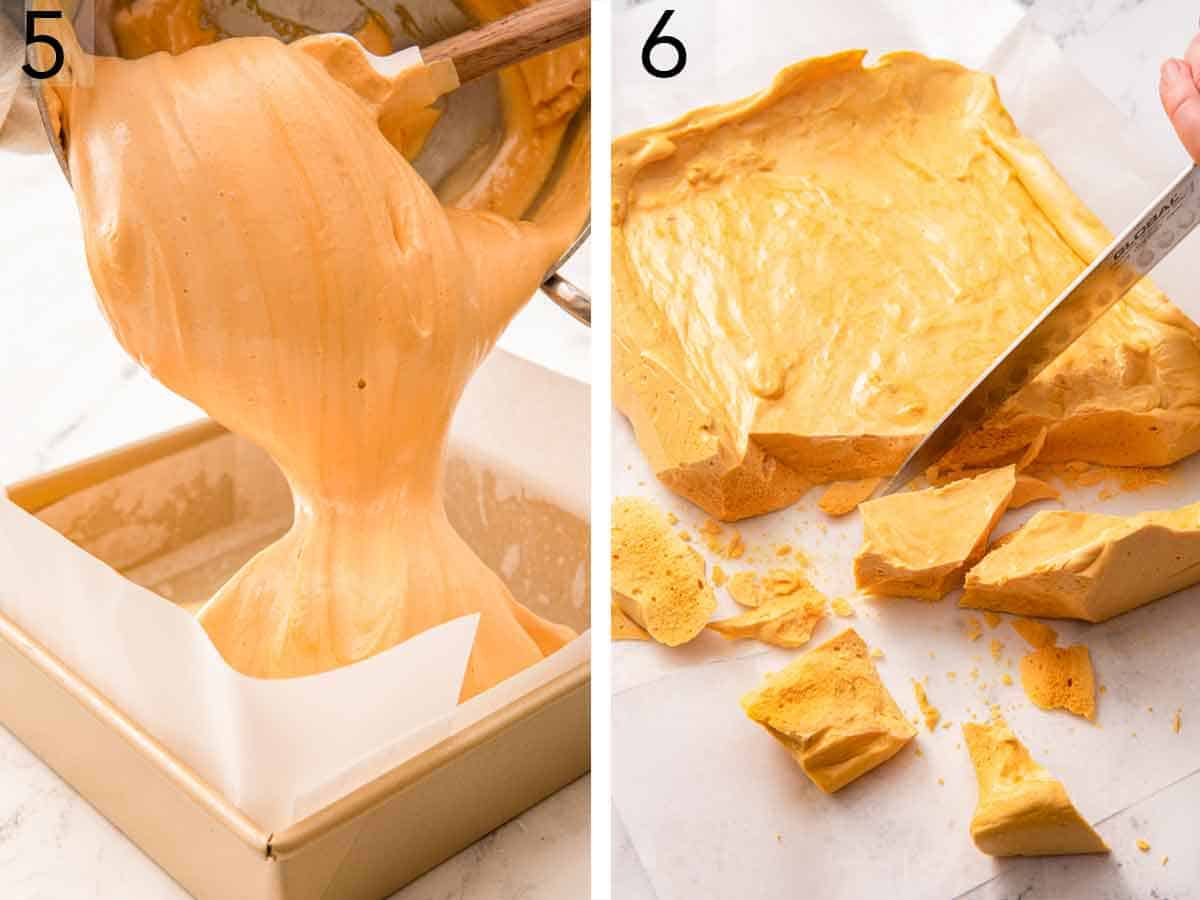
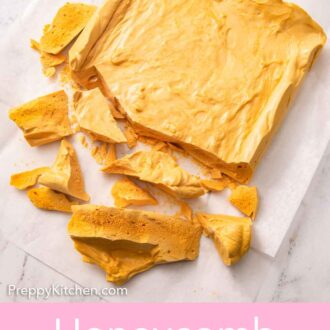
5. Immediately pour the mixture into a parchment-lined 8×8-inch square pan,
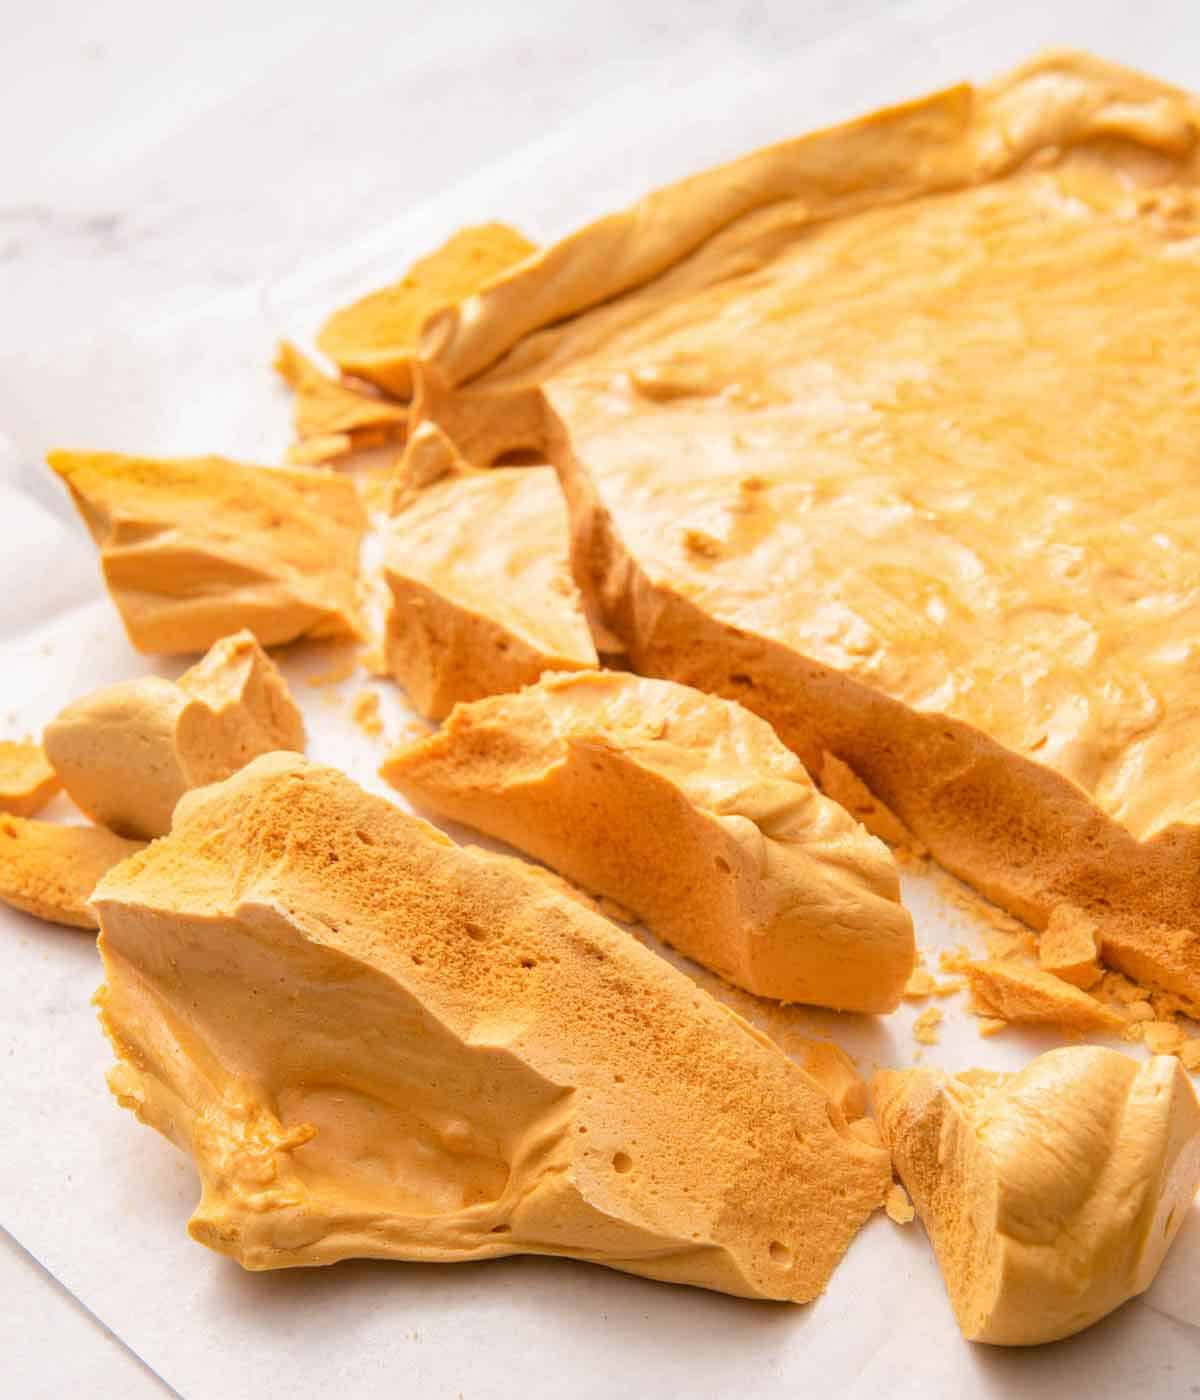
6. Place the pan on a wire rack to cool completely for a few hours. Break the cooled honeycomb candy into roughly 1-inch pieces.
Pro Tips for Making This Recipe
- For easy cleanup, fill the used pan with hot water and let it sit until the sugar has dissolved.
- You can score the cooled honeycomb slab with a knife to encourage more uniform pieces if desired.
- If you accidentally stir the mixture too much after the baking soda is added, don’t panic! The bubbles will be gone, eliminating the honeycomb texture, BUT you just made delicious brittle!
- For a little extra flavor, lightly sprinkle the prepared pan with kosher salt before you start the candy to really bring out the caramel and honey flavors in the candy and add a salty kick.
- This honeycomb recipe is also delicious when drizzled with melted chocolate!
- Make sure you have everything ready to go, especially the baking soda. Once the mixture hits 305°F, you need to move fast and add the baking soda, or your honeycomb mixture will burn as the temperature increases.
- Keep a close eye on the pot, and do not walk away from it. You need to be patient watching the mixture as it can go from bubbling to scorched in a blink of an eye.
- Save the honeycomb pieces that get crushed as you break up the candy or are too small. I like saving them to sprinkle on top of ice cream, milkshakes, coffee, hot chocolate, and more! You can also sprinkle them over the frosting on cakes or cupcakes.
Frequently Asked Questions
If your homemade honeycomb candy is chewy, it is usually due to the mixture not cooking for long enough or hasn’t reached 305°F. A candy thermometer is key for the recipe to ensure your honeycomb gets a crumbly, crunchy texture.
Store the homemade candy in an airtight container at room temperature for up to a week. It must be in an airtight container, or the candy will become stale quickly and lose its crispiness. Avoid storing the candy in the fridge, as it’ll absorb moisture and become sticky.
You must not walk away from the mixture on the stovetop. If the mixture is on too high of a heat for too long, the mixture can become burnt and taste bitter.
If you’ve tried this Honeycomb recipe, then don’t forget to rate the recipe and let me know how you got on in the comments below, I love hearing from you!
Honeycomb Recipe
Equipment
- 8″ square baking pan
- Parchment paper
- Large saucepan
- Candy or instant-read thermometer
Ingredients
- 1 tablespoon baking soda
- 1½ cups granulated sugar (300 grams)
- ¾ cup water (180ml)
- ¼ cup light corn syrup (60ml)
- 2 tablespoons honey
Instructions
- Line an 8×8-inch square pan with parchment paper, making sure it goes up the sides of the pan. Lightly spray with cooking spray.
- Measure the baking soda into a small dish and set it next to your cooking area.
- In a large heavy-bottomed saucepan (4-quart or bigger), combine the sugar, water, corn syrup, and honey. Place the pan over medium-high heat.
- Gently stir the sugar mixture until dissolved, taking care not to stir any granules up the side of the saucepan. When the mixture begins to boil, stop stirring.
- Cook the sugar mixture until a candy thermometer reads between 305°F and 310°F, about 8 to 12 minutes. Immediately remove from the heat and stir in baking soda. The baking soda will cause the candy mixture to bubble vigorously so be very careful during this step.
- Stir the mixture just until it turns a light golden color and is still lightly bubbling and very fluffy. Immediately pour the mixture into the prepared baking pan. (It should still be very fluffy and almost fill the pan. The candy will shrink a bit as it cools.) Place the pan on a wire rack to cool completely, for a few hours.
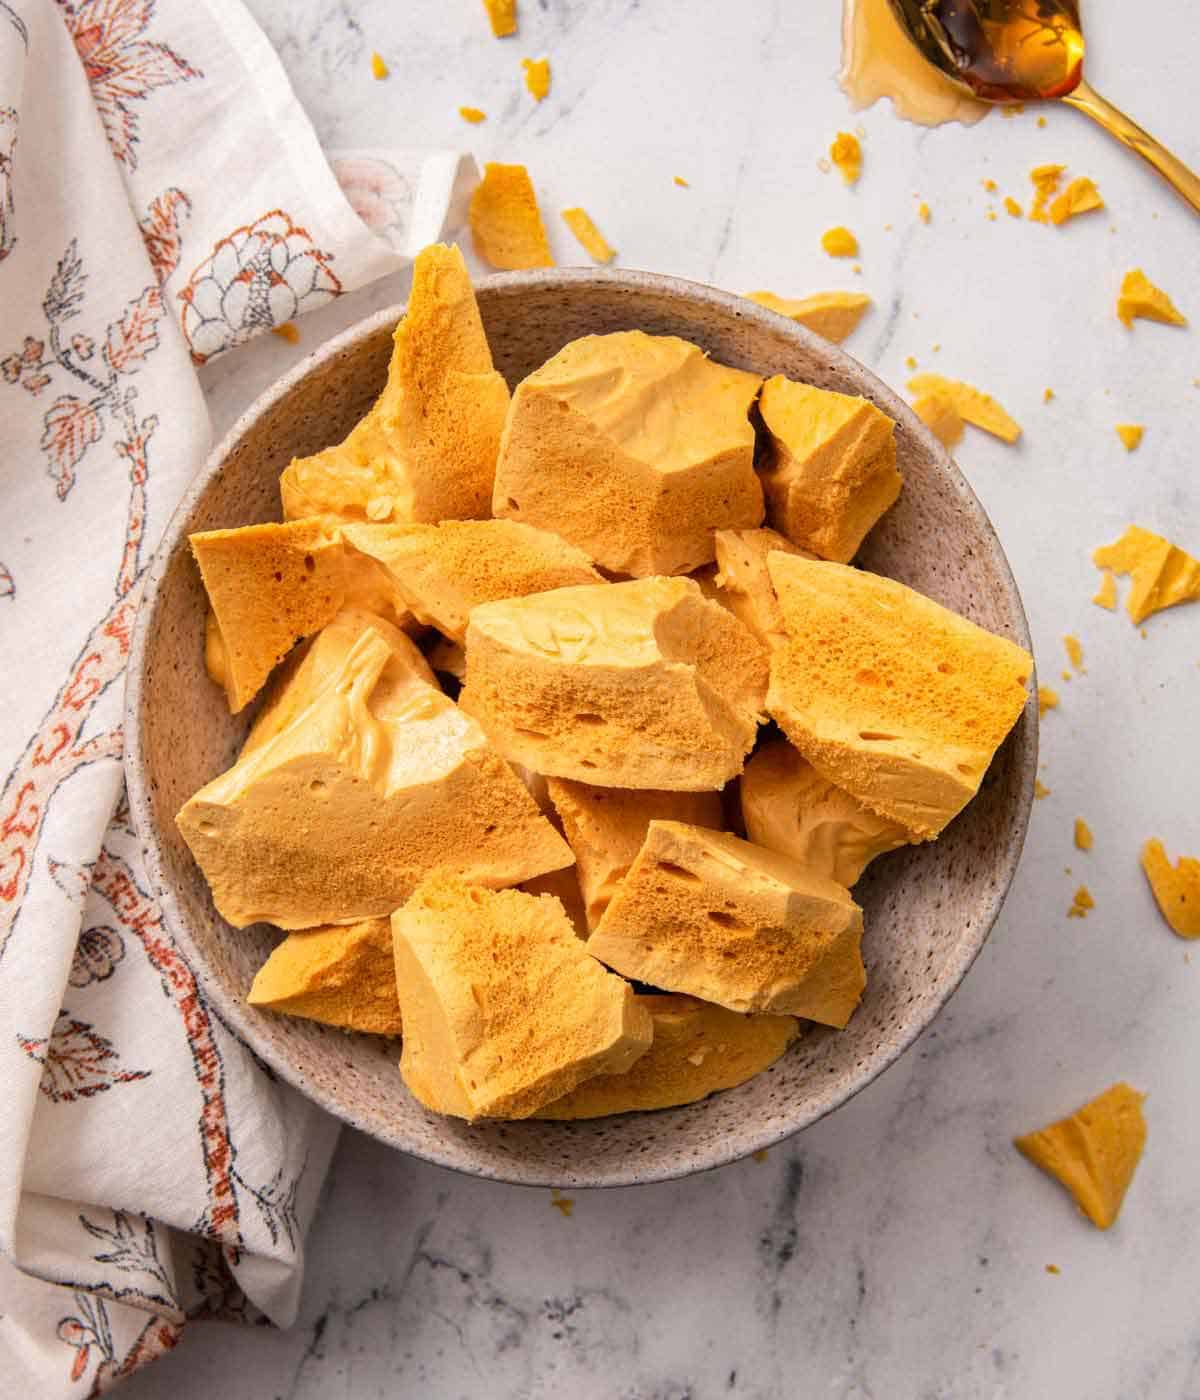
- Break the cooled honeycomb candy into roughly 1-inch pieces. Store in an airtight container at room temperature for up to a week.
Notes
- For easy cleanup, fill the used pan with hot water and let it sit until the sugar has dissolved.
- You can score the cooled honeycomb slab with a knife to encourage more uniform pieces if desired.
- If you accidentally stir the mixture too much after the baking soda is added, don’t panic! The bubbles will be gone, eliminating the honeycomb texture, BUT you just made delicious brittle!
- For a little extra flavor, lightly sprinkle the prepared pan with kosher salt before you start the candy to really bring out the caramel and honey flavors in the candy and add a salty kick.
- Honeycomb candy is also delicious when drizzled with melted chocolate!
- Make sure you have everything ready to go, especially the baking soda. Once the mixture hits 305°F, you need to move fast and add the baking soda, or your honeycomb mixture will burn as the temperature increases.
- Keep a close eye on the pot, and do not walk away from it. You need to be patient watching the mixture as it can go from bubbling to scorched in a blink of an eye.
- Save the honeycomb pieces that get crushed as you break up the candy or are too small. I like saving them to sprinkle on top of ice creams, milkshakes, coffee, hot chocolate, and more! You can also sprinkle them over the frosting on cakes or cupcakes.
Nutrition
Have you tried this recipe? Tag me today!
Mention @preppykitchen and tag #preppykitchen!


