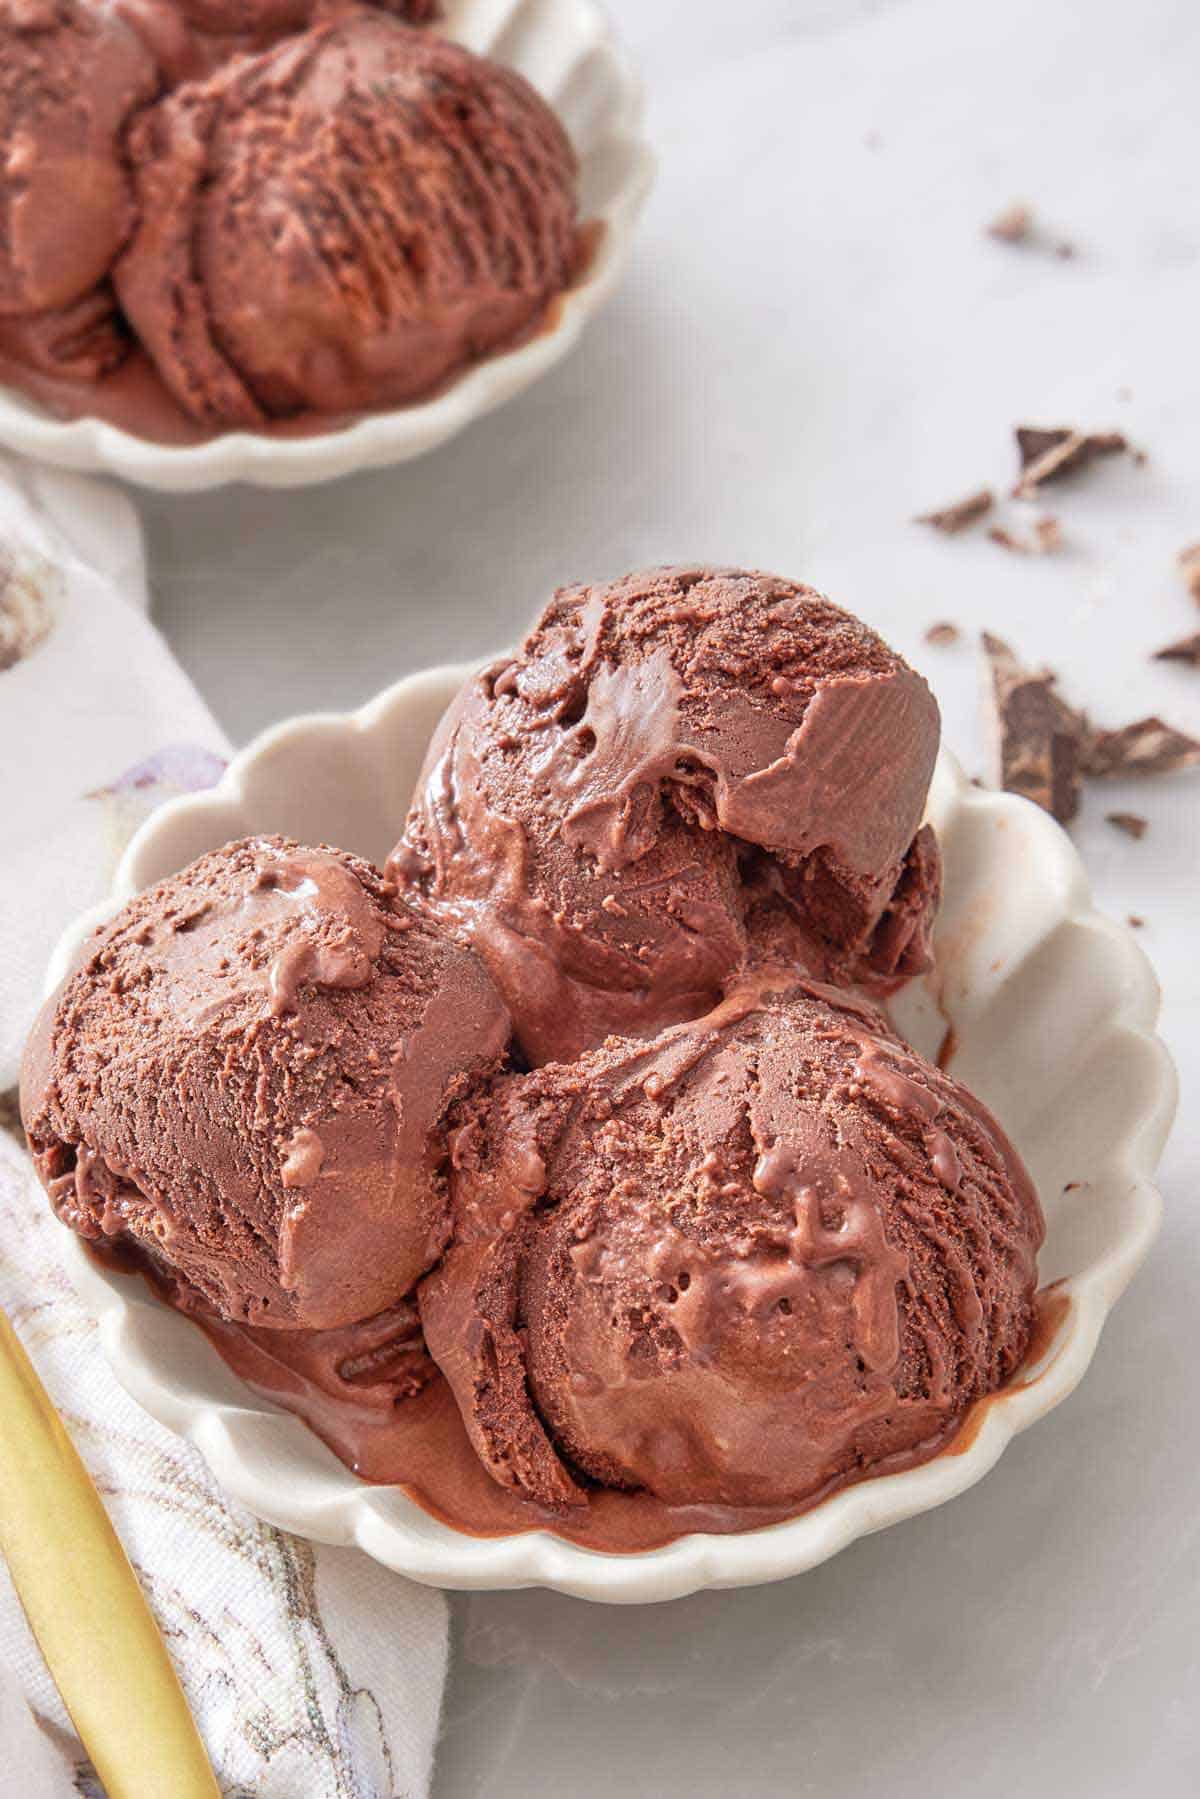
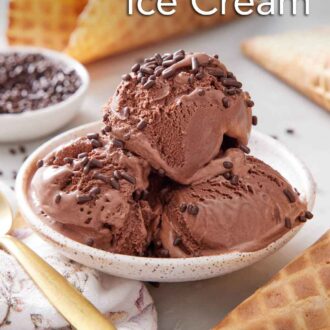
A big bowl of chocolate ice cream is the sweet treat you need this summer (or whenever the mood strikes, to be honest)! It has a delectably creamy texture and is filled with rich chocolate flavor from cocoa powder and melted chocolate.
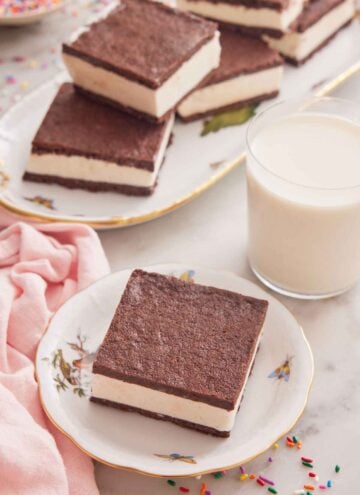
This homemade chocolate ice cream recipe starts with a warm custard base for a thick, silky consistency. Be sure to read my tips for tempering eggs so the custard doesn’t curdle! For more ice cream recipes, try my vanilla ice cream, strawberry ice cream, and ice cream sandwiches.
What You Need To Make This Recipe
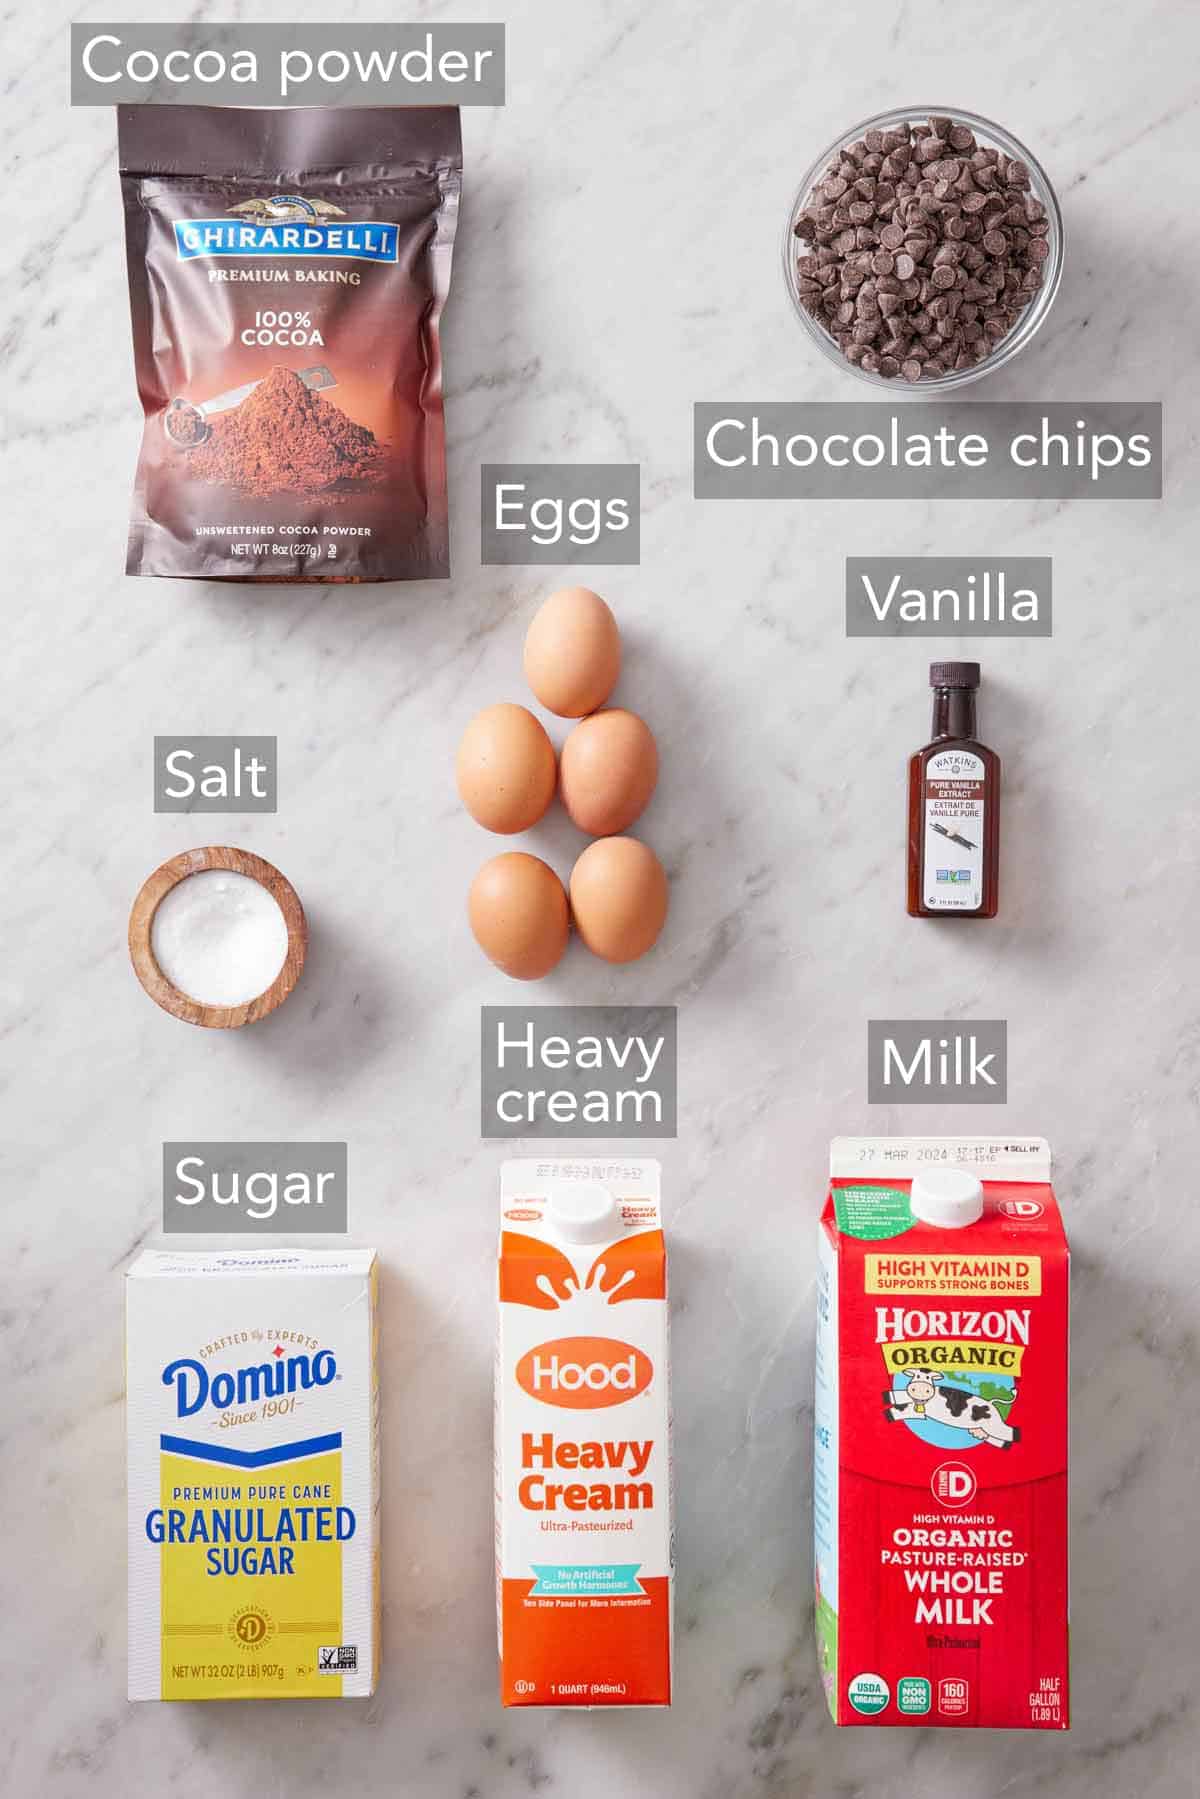
Milk and cream — heavy cream and whole milk yield the richest, creamiest homemade chocolate ice cream possible. I recommend not trying low-fat options as the texture of the ice cream will suffer.
Sugar — you need a cup of granulated sugar (also called white sugar).
Cocoa powder — since there is plenty of sugar in this ice cream recipe, opt for unsweetened cocoa powder.
Salt — a small amount of salt balances out the sweetness in the frozen custard and makes the chocolate flavor pop.
Egg — egg yolks form the custard base for creamy, decadent ice cream.
Chocolate — semisweet chocolate chips or chopped semisweet bars of chocolate are my favorite options. You can use milk chocolate if you prefer a sweeter dessert or dark chocolate for less sweetness and a touch of bitterness.
Vanilla — use good quality vanilla extract.
How to Make Chocolate Ice Cream
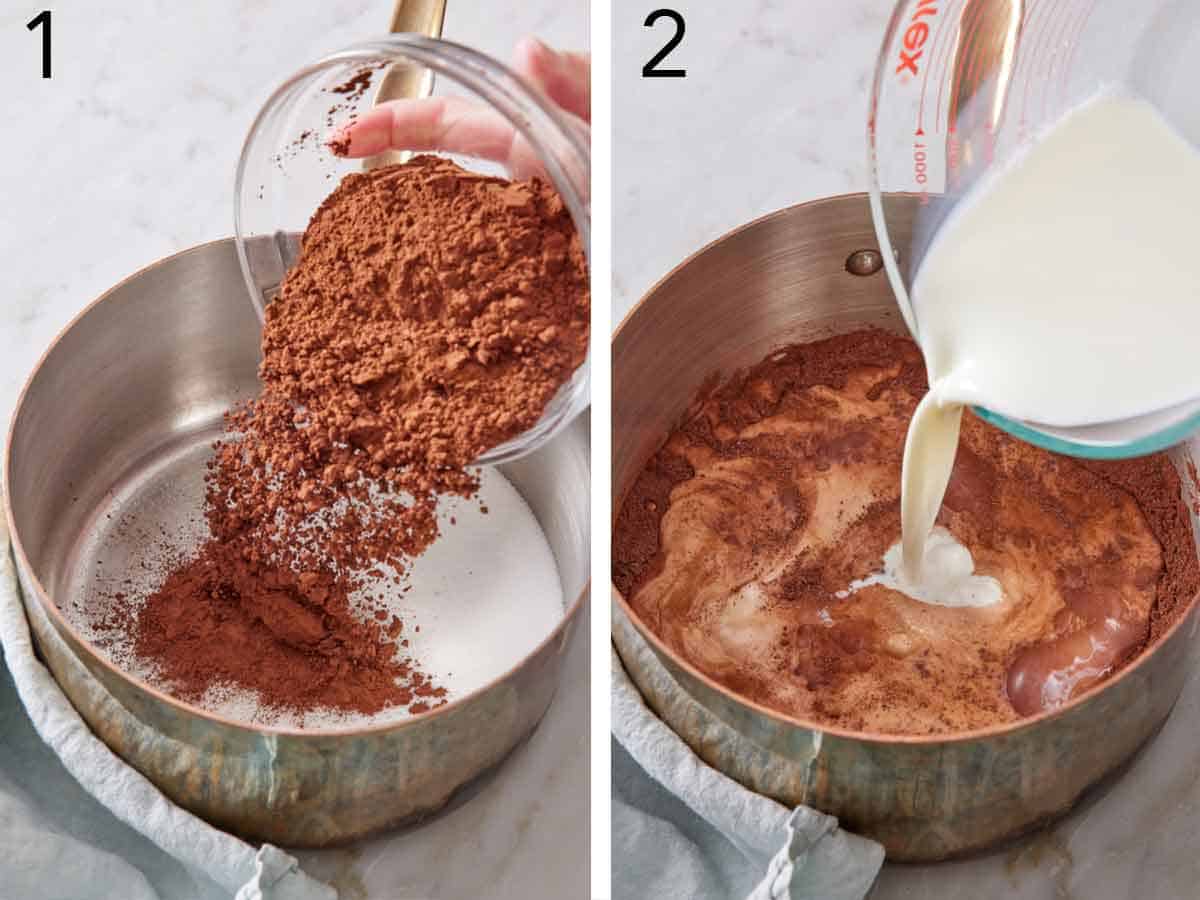
1. Whisk together the sugar, cocoa powder, and salt in a large saucepan until combined.
2. Slowly pour in the heavy cream and milk while whisking. Place the mixture over medium heat until the mixture is warm and the granulated sugar has dissolved.
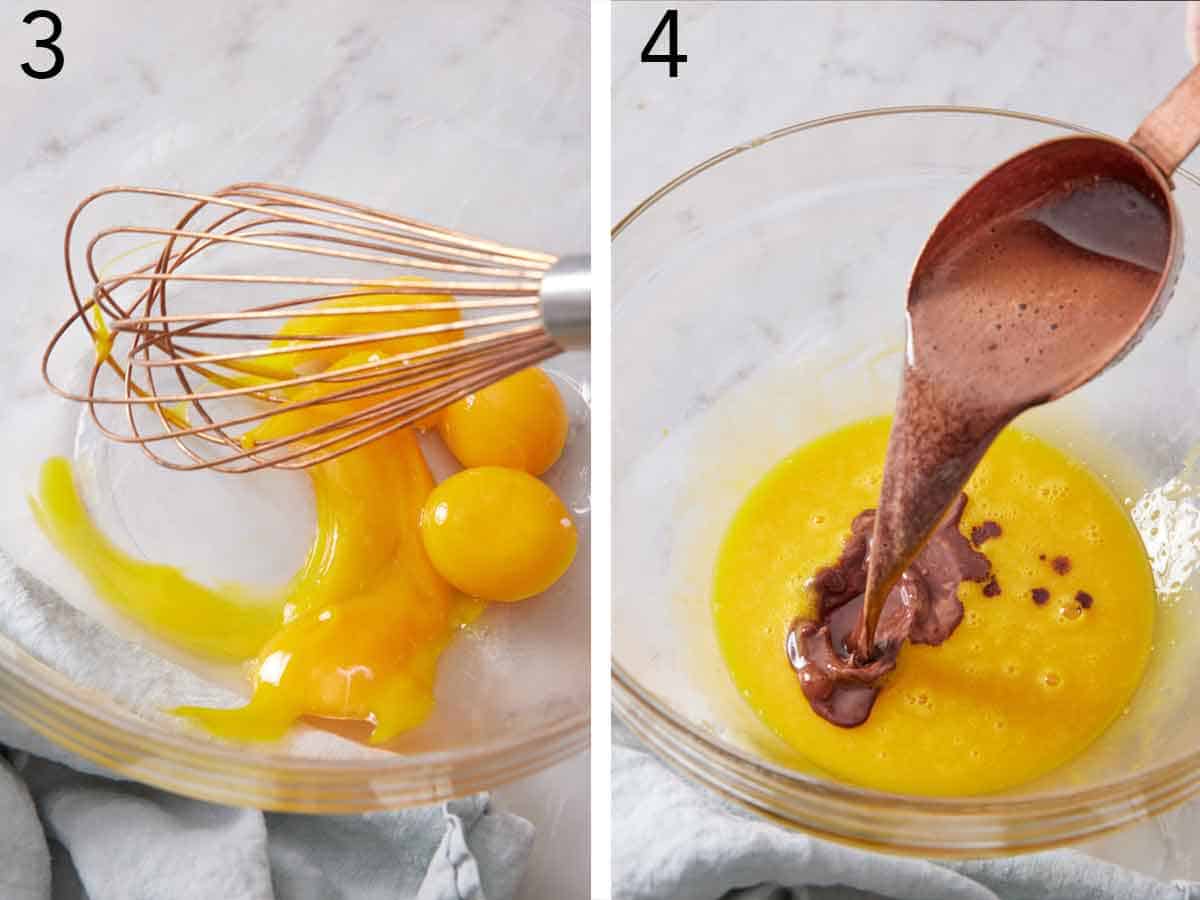
3. While the cocoa powder mixture is heating up, beat the egg yolks in a heat-proof bowl until smooth.
4. Temper the eggs by slowly whisking about a cup of the warm cream mixture into the egg yolks. This step is vital for creamy egg yolks that do not heat too quickly and scramble.
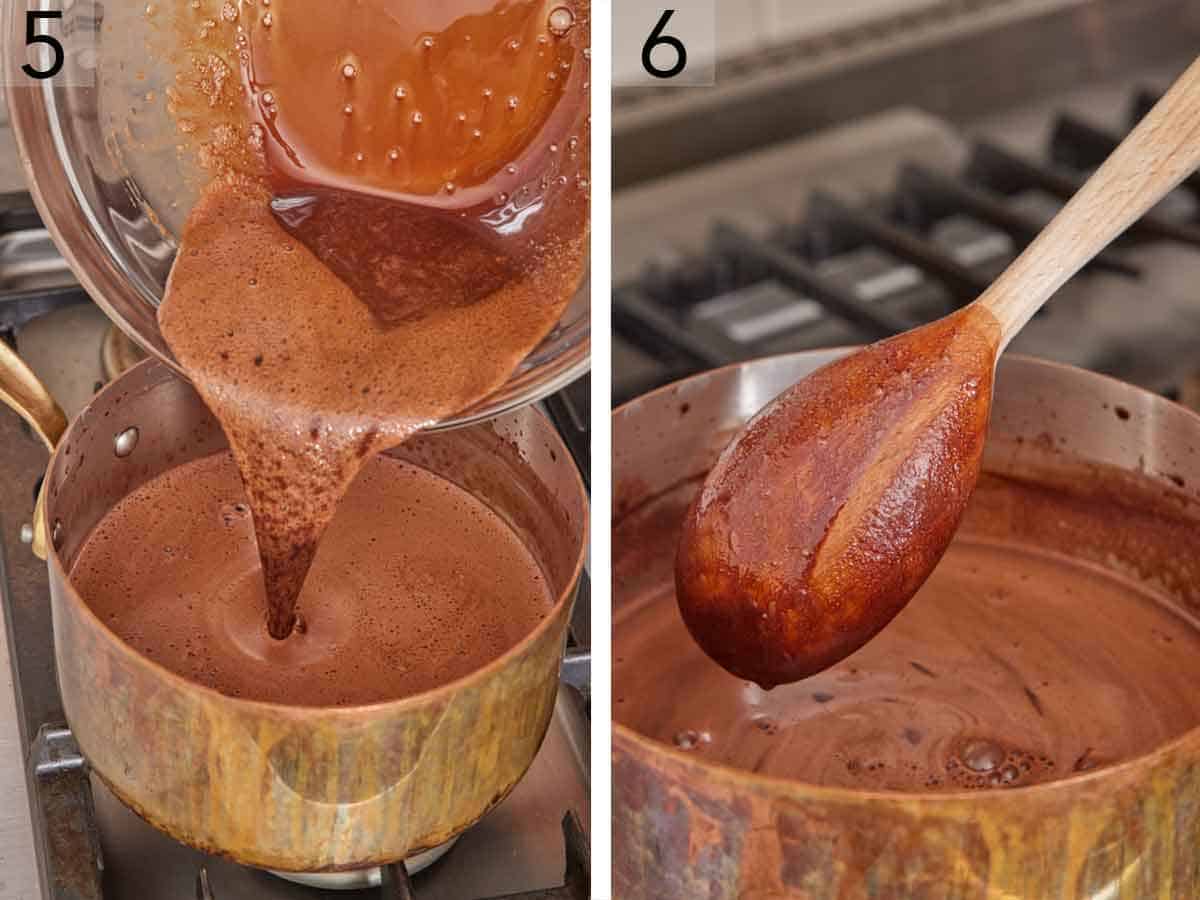
5. Whisk the tempered egg yolk mixture back into the saucepan with the rest of the warm cocoa-milk mixture.
6. Cook over medium heat while stirring constantly with a silicone spatula. Remove from the heat when the mixture coats the back of a spoon and a thermometer inserted reads 170°F.
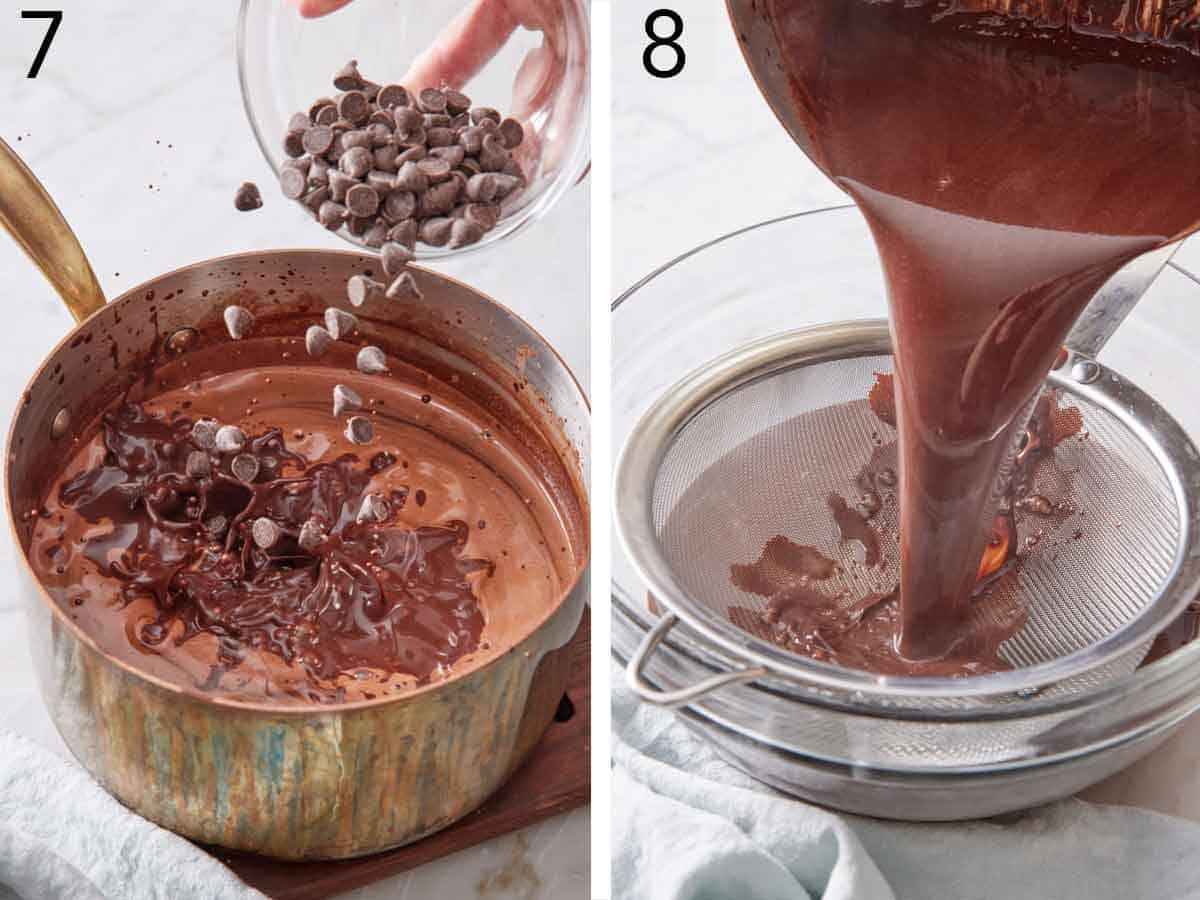
7. Drop in the chocolate chips (or chopped chocolate) and vanilla and stir until the chocolate melts.
8. Pour the mixture through a fine mesh sieve placed over a medium bowl. Discard anything caught in the strainer.
Allow to cool to room temperature before covering and refrigerating until completely chilled. (You can place the bowl in an ice bath to chill more quickly, if desired.) This will take about an hour, but you can also keep it in the fridge for up to 24 hours.
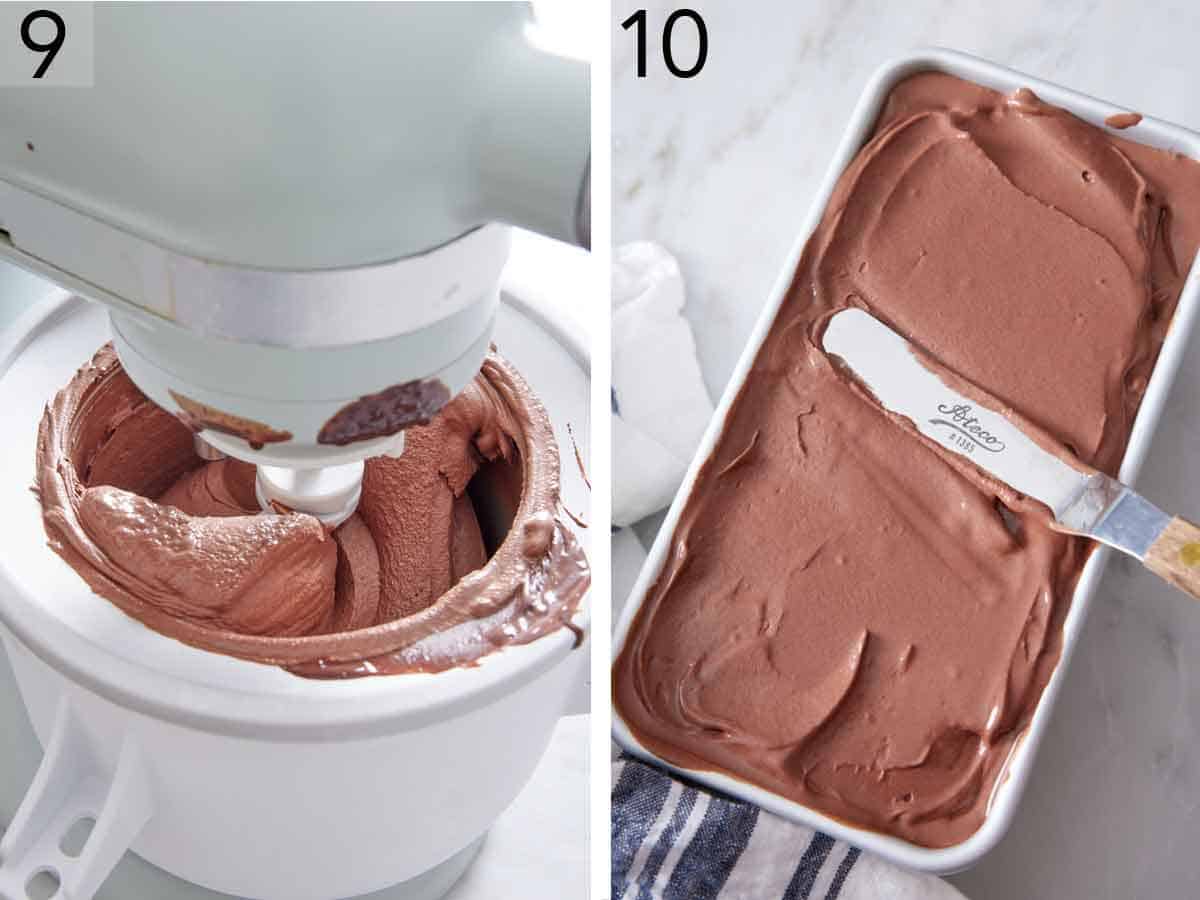
9. Pour the chilled chocolate ice cream base into an ice cream maker and churn until thick and creamy according to the manufacturer’s instructions.
10. Transfer the chocolate ice cream into a freezer-safe 2-quart airtight container. Cover and freeze for 4 to 6 hours before digging in.
Can I Make This Ice Cream Without An Ice Cream Maker?
If you don’t have an electric ice cream maker, you can use a hand churn ice cream maker that uses ice and salt or a Kitchen aid ice cream bowl attachment. Custard-based ice creams do have to be churned, so you do need some kind of ice cream maker.
How Long Do You Churn Ice Cream For?
This depends largely on the brand of ice cream maker you have. It takes about 30 minutes in my ice cream maker, but it can take more or less time, depending on your brand. My best advice is to look at the instructions for your specific ice cream maker. If you want to try to eyeball it, churn until the ice cream resembles soft serve, then transfer to a freezer-safe container and freeze.
Why Did My Custard Curdle?
If your eggs scramble, you likely did not temper the egg yolks correctly or stir the custard consistently enough over low heat while cooking. Tempering eggs allows you to slowly bring up the temperature of the eggs and thin them out. If you were to just pour the eggs directly into the hot liquid, they would instantly begin to cook and cause the mixture to have little bits of scrambled eggs — not ideal for chocolate ice cream.
Additionally, if the custard is cooked over too high of heat or isn’t stirred constantly, it can stick to the bottom of the pot and solidify the eggs.
Which Cocoa Powder Should I Use?
Use your favorite unsweetened cocoa powder in this chocolate ice cream recipe. You can also use Dutch process cocoa powder for a more intense chocolate flavor. Either way, make sure it is unsweetened, or else you will end up with ice cream that is far too sweet!
Pro Tips For Making This Recipe
- Freeze the bowl of the ice cream maker a day ahead of time. To properly set the custard, the ice cream maker needs to be fully frozen. A full 24 hours ensures the bowl is completely frozen and ready to churn! If your ice cream maker does not require freezing, follow the manufacturer’s instructions for churning your ice cream base.
- Use a thermometer. This is the best way to ensure the custard is cooked to 170°F. Cooking it too much or too high of a temperature can curdle the custard, while cooking it too low will make thin and grainy ice cream.
- Properly temper the egg yolks. Be sure to whisk while slowly pouring in the hot milk mixture. If you add the hot milk too quickly, it can solidify the eggs on contact. The same goes for adding the tempered eggs back into the hot milk. Do so gradually while stirring constantly.
- Strain the custard. This will catch any bits of egg that may have been scrambled or curdled during cooking. It’s normal to have a few solid bits caught by the sieve.
- Don’t over-churn the ice cream. Follow the manufacturer instructions for churn time. The ice cream should resemble soft serve when it is done churning. Churning too long can break the custard and create a grainy ice cream.
- To prevent ice crystals: After transferring the ice cream to a freezer-safe container, press plastic wrap or wax paper onto the surface of the ice cream to help prevent ice from forming on top.
- Warm the ice cream scoop. Since homemade ice cream doesn’t contain commercial stabilizers, it can get very hard in the freezer. Dip your ice cream scoop in hot water before scooping to help soften the ice cream and create velvety smooth scoops.
Frequently asked questions
Homemade ice cream will last for about 1 month in the freezer if properly stored.
A 2-quart freezer-safe container with a fitted lid works very well. You can also buy an ice cream container online!
If you want to scoop it, then yes! Freshly churned ice cream is very soft and will melt quickly. Freezing is a vital step to help your homemade ice cream harden properly for perfect scoops. If you prefer to serve it immediately at a soft-serve consistency, freeze the serving bowls to keep the ice cream from melting too fast.
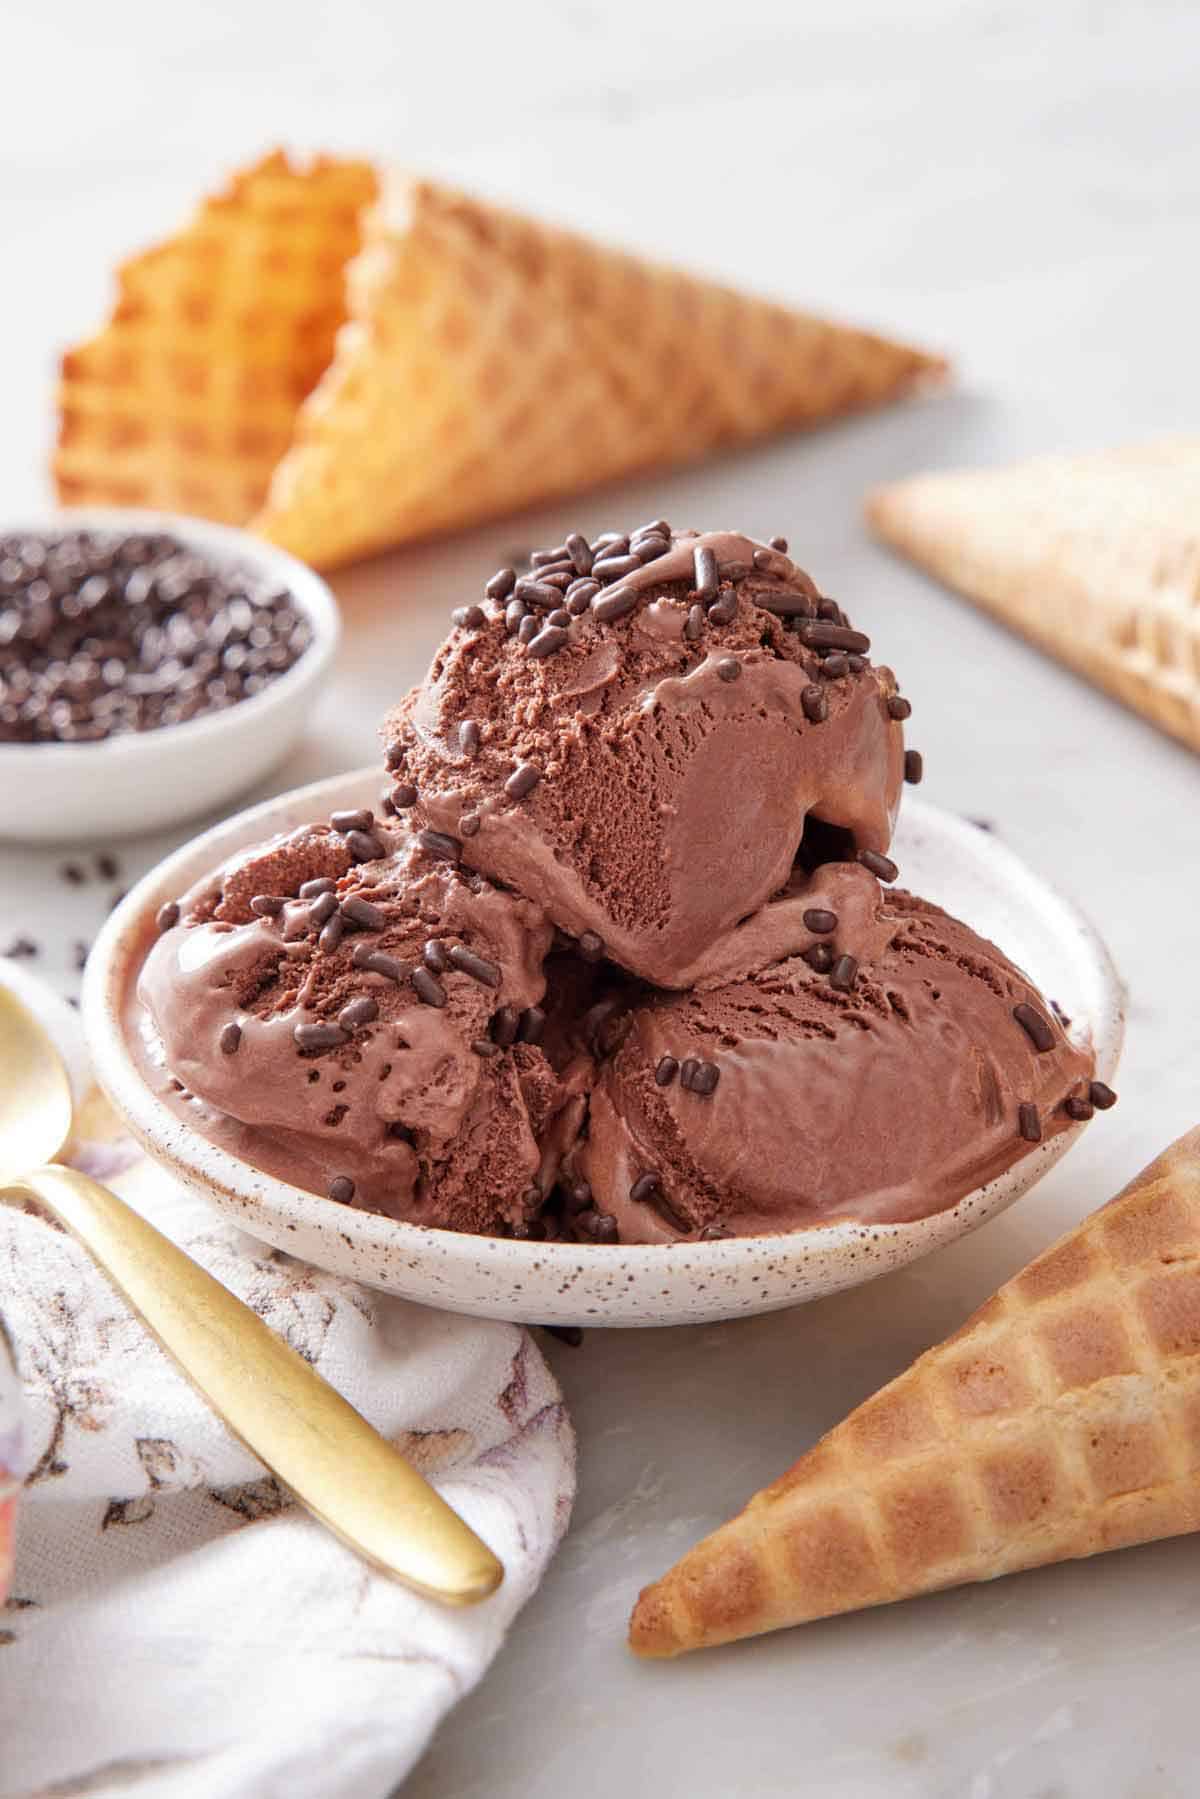
You can definitely add mixins! Toss them in towards the end of the churning process. Some fun ideas are brownie bits, chopped or crushed cookies, mini chocolate chips, toasted nuts, sprinkles, and edible cookie dough.
If you’ve tried this chocolate ice cream recipe, then don’t forget to rate it and let me know how you got on in the comments below. I love hearing from you!
Chocolate Ice Cream
Ingredients
- 2 cups heavy cream (480 mL)
- 2 cups whole milk (360 mL)
- 1 cup granulated sugar (200g)
- 1 cup unsweetened cocoa powder (100 g)
- ½ teaspoon salt
- 5 large egg yolks
- ½ cup semisweet chocolate chips or chopped bars (95g)
- 2 teaspoons vanilla extract
Instructions
- In a large saucepan, whisk together the sugar, cocoa powder, and salt until combined. Slowly pour in the cream and milk while whisking. Place over medium heat, stirring occasionally, until the mixture is warm and steaming and the sugar has dissolved, about 5 minutes.
- Meanwhile, in a medium heat-proof bowl, whisk the egg yolks until smooth.
- Gradually whisk about a cup of the warm milk mixture into the egg yolks. Whisk the egg yolk mixture back into the saucepan with the rest of the warm milk.
- Cook over medium heat, gently stirring constantly with a spatula, until the mixture is thickened, coats the back of a spoon, and a thermometer inserted registers 170°F, about 5 minutes. Remove from the heat.
- Stir in the chocolate and vanilla until melted. Pour through a fine mesh sieve set over a medium bowl, and discard any solids. Let cool, stirring occasionally, until the mixture cools to room temperature. Cover and refrigerate until fully cooled, at least 1 hour or up to 24 hours.
- Pour the chilled chocolate ice cream base into an ice cream maker and churn according to the manufacturer’s instructions. Transfer the churned ice cream into a freezer-safe 2-quart container. Cover and freeze until firm, 4 to 6 hours or up to 1 month.
Notes
- Freeze the bowl of the ice cream maker a day ahead of time. To properly set the custard, the ice cream maker needs to be fully frozen. A full 24 hours ensures the bowl is completely frozen and ready to churn! If your ice cream maker does not require freezing, follow the manufacturer’s instructions for churning your ice cream base.
- Use a thermometer. This is the best way to ensure the custard is cooked to 170°F. Cooking it too much or too high of a temperature can curdle the custard, while cooking it too low will make thin and grainy ice cream.
- Properly temper the egg yolks. Be sure to whisk while slowly pouring in the hot milk mixture. If you add the hot milk too quickly, it can solidify the eggs on contact. The same goes for adding the tempered eggs back into the hot milk. Do so gradually while stirring constantly.
- Strain the custard. This will catch any bits of egg that may have been scrambled or curdled during cooking. It’s normal to have a few solid bits caught by the sieve.
- Don’t over-churn the ice cream. Follow the manufacturer instructions for churn time. The ice cream should resemble soft serve when it is done churning. Churning too long can break the custard and create a grainy ice cream.
- To prevent ice crystals: After transferring the ice cream to a freezer-safe container, press plastic wrap or wax paper onto the surface of the ice cream to help prevent ice from forming on top.
- Warm the ice cream scoop. Since homemade ice cream doesn’t contain commercial stabilizers, it can get very hard in the freezer. Dip your ice cream scoop in hot water before scooping to help soften the ice cream and create velvety smooth scoops.







Leave a Reply