

This post may contain affiliate links. Please read our disclosure policy.
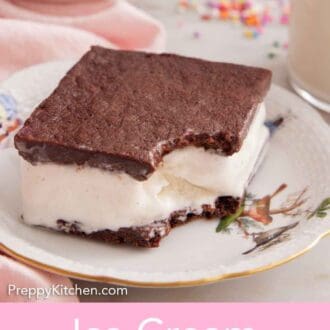
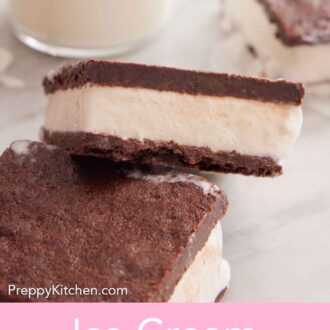
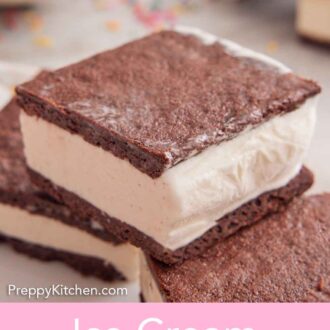
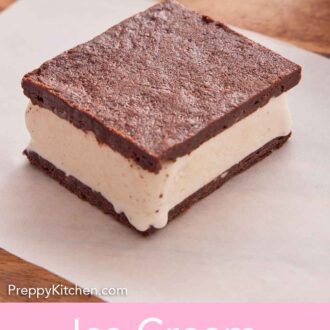
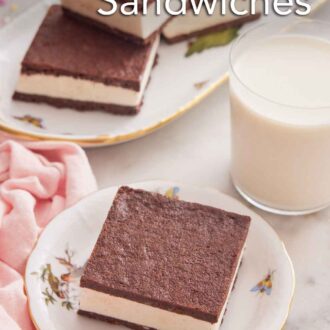
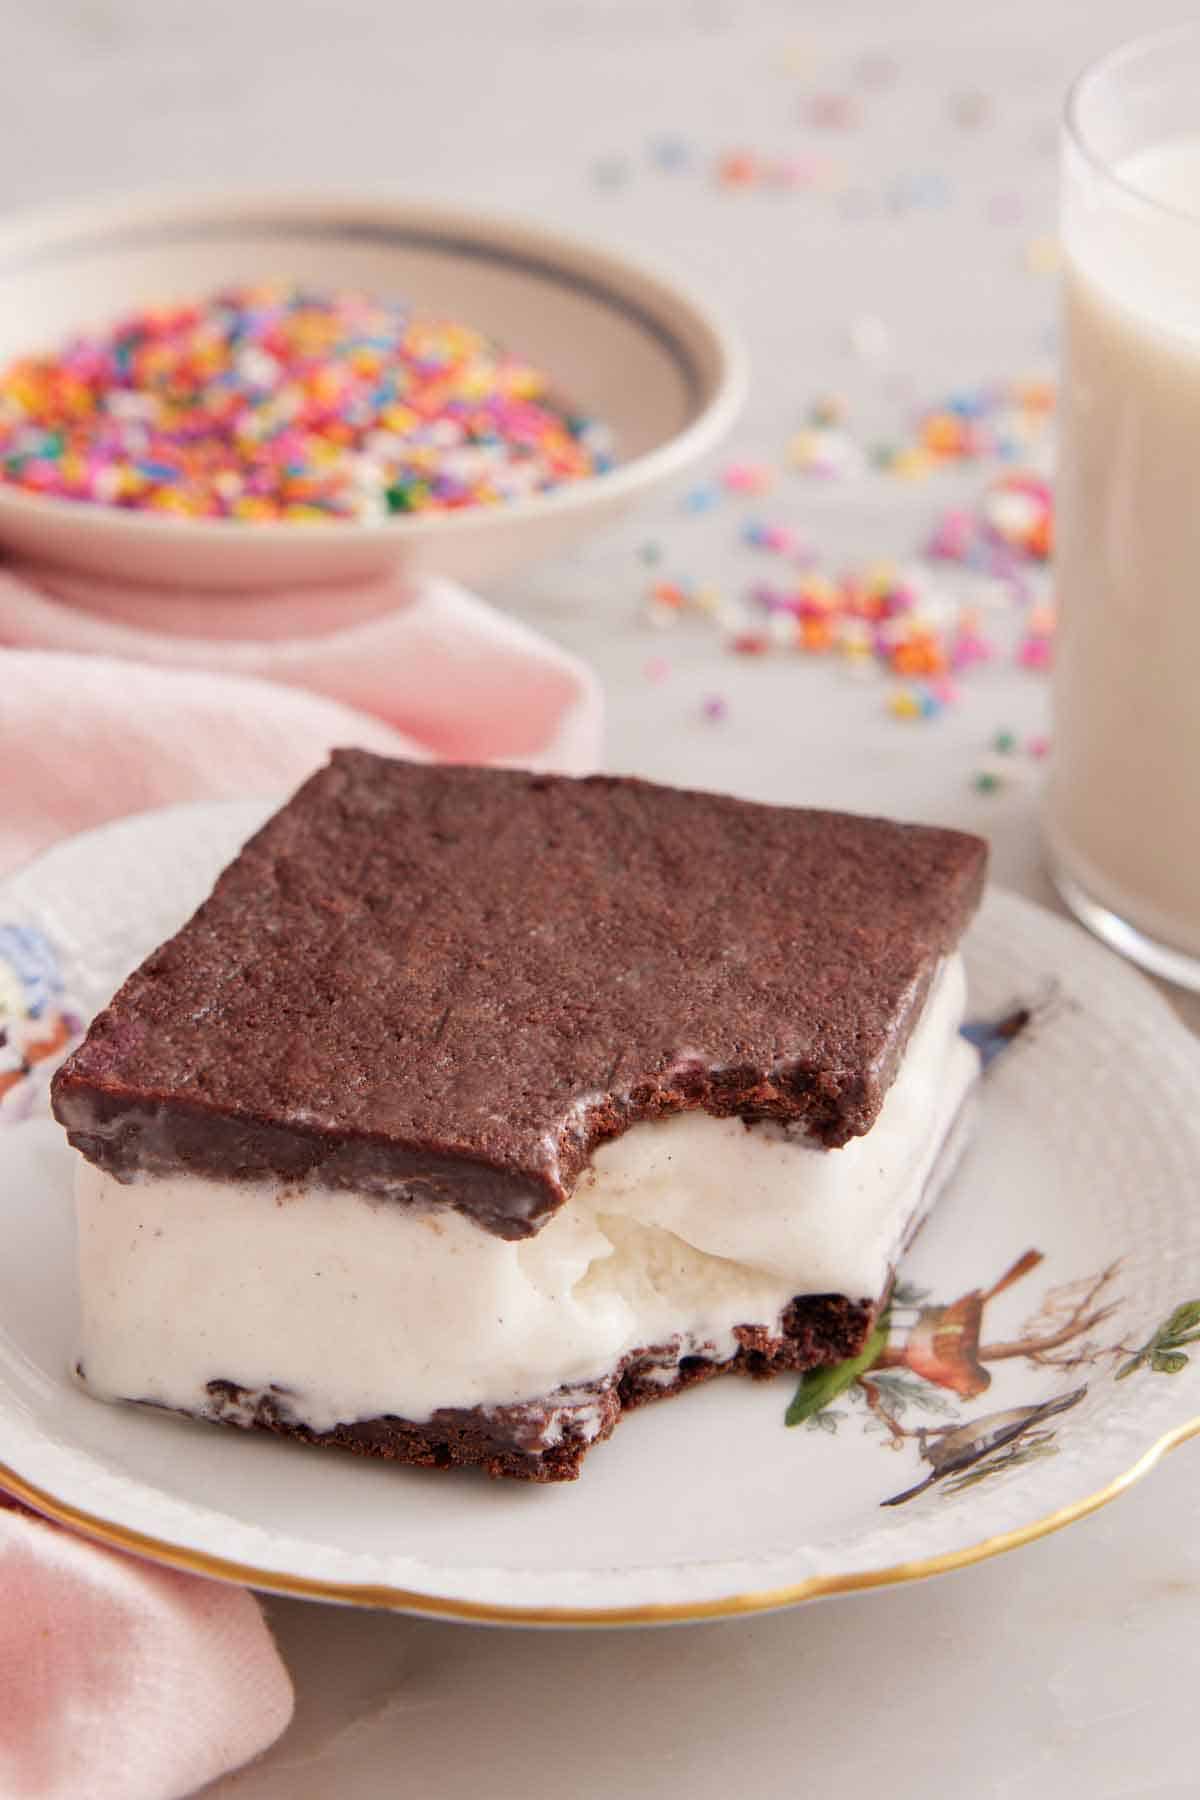
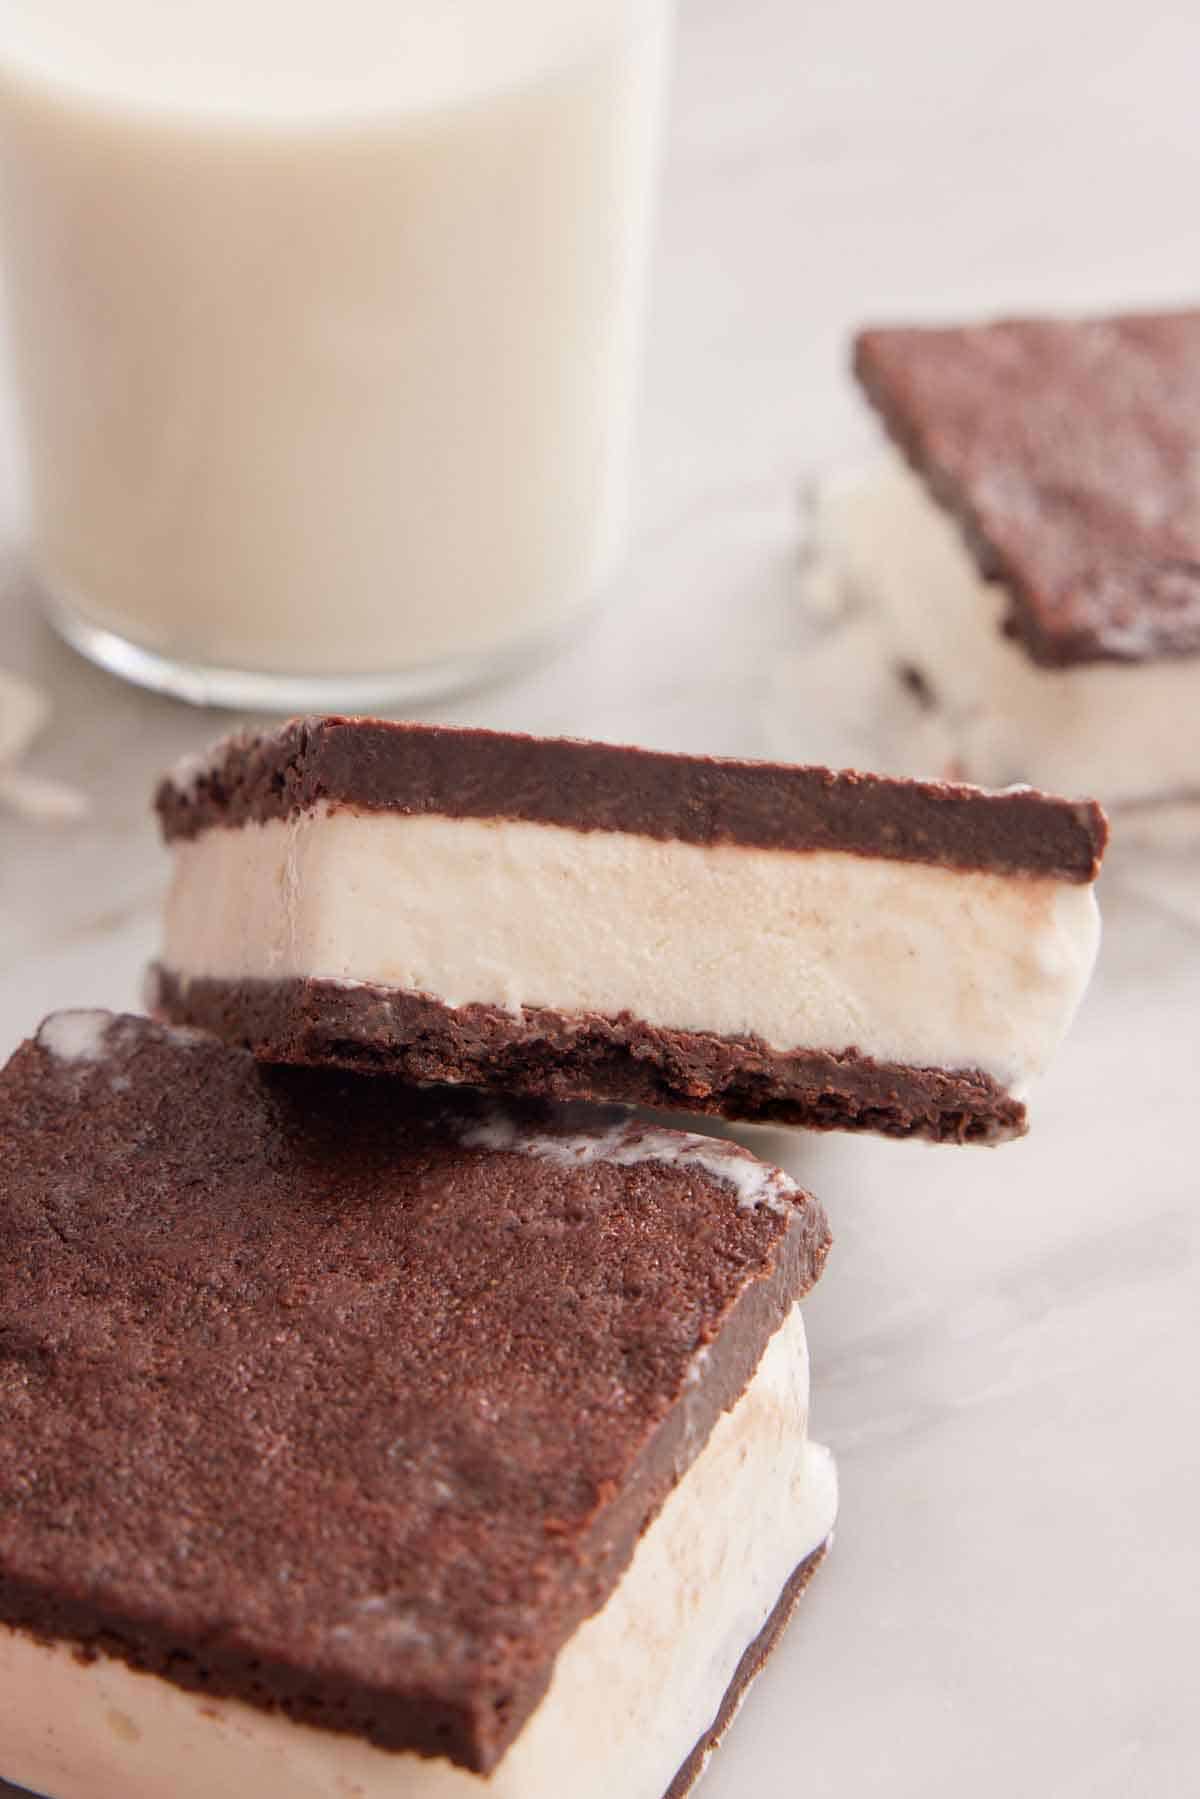
You won’t believe how easy it is to make these classic Ice Cream Sandwiches at home! They’re the ultimate summer treat you can keep in your freezer to enjoy throughout the summer. Creamy vanilla ice cream sandwiched between chewy chocolatey homemade cookies, these frozen homemade sandwiches taste way better than store-bought!
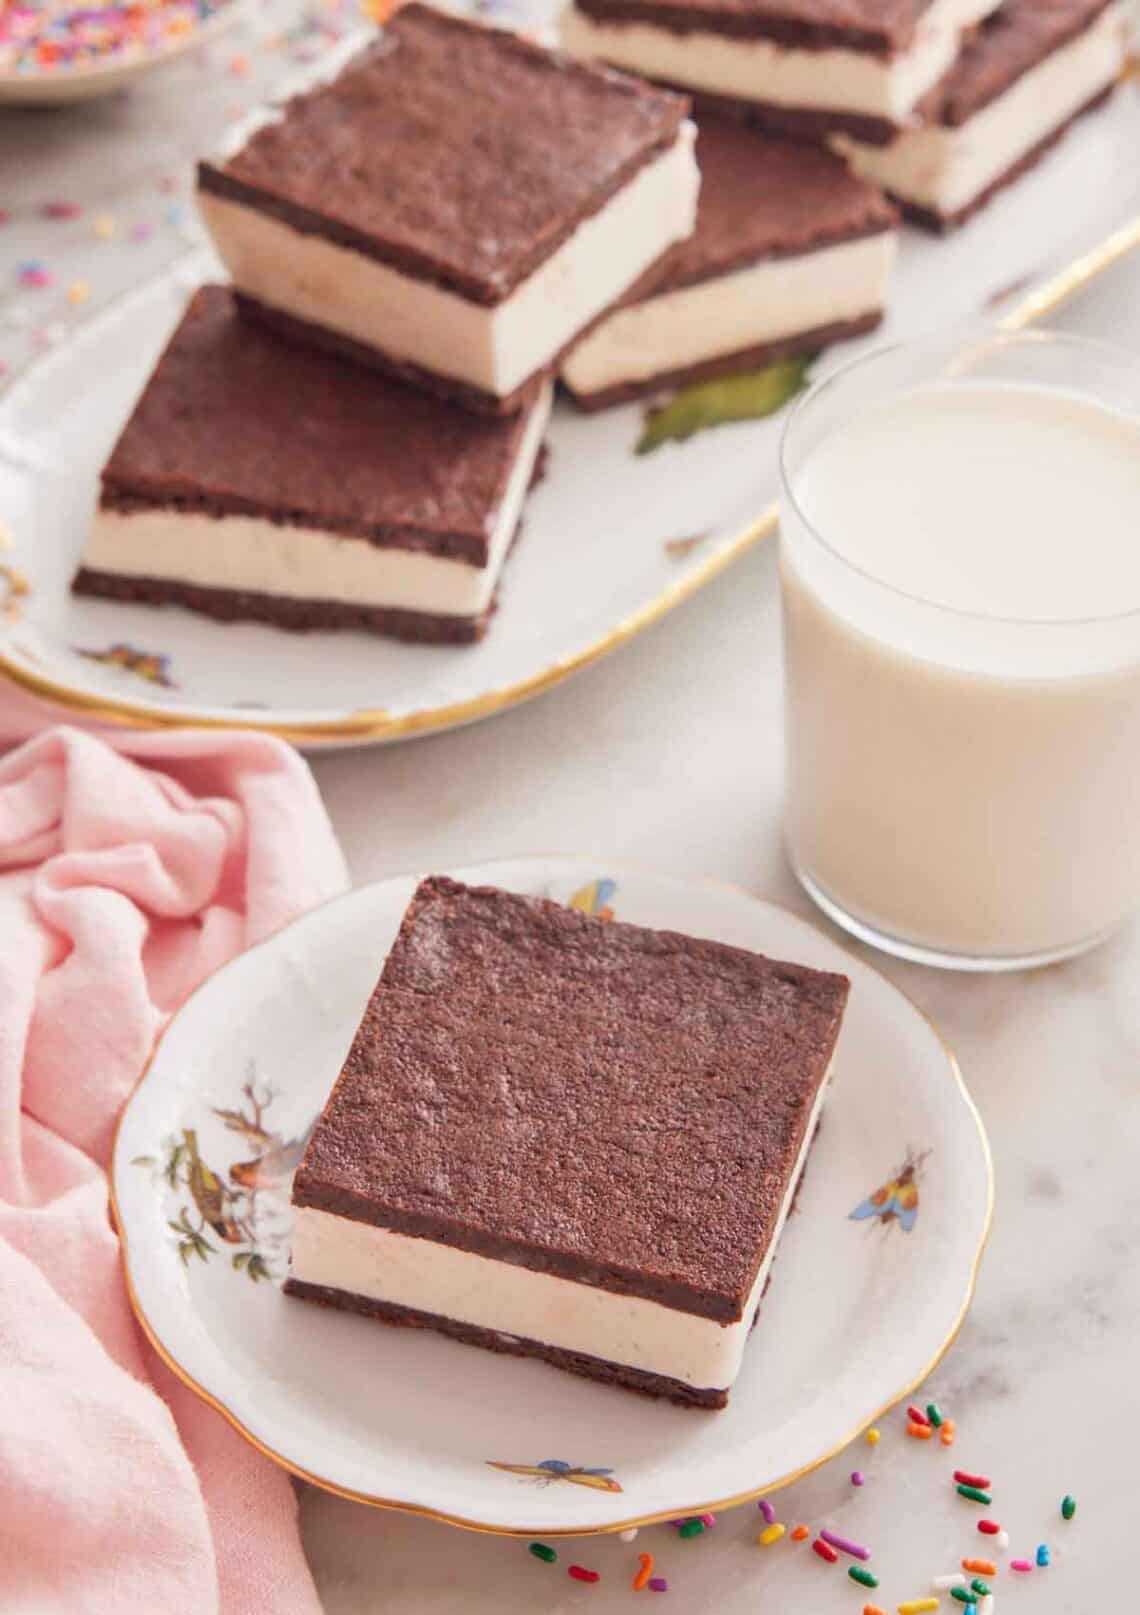
This homemade version of ice cream sandwiches will bring back nostalgic childhood memories of cooling off with this sweet treat and they are so much better than store-bought ice cream sandwiches. This homemade treat features a brownie-like cookie crust with just the right amount of chewiness and thickness sandwiched around sweet vanilla ice cream. However, one of the joys of making this at home means you don’t have to use just vanilla ice cream. You can customize the flavors of this hand-held frozen treat however you’d like!
They are such an irresistible treat that will keep you cool on a hot summer day. Bring them to your next cookout, pool party, birthday party, and more! You’ll love how the cookie layer stays soft even when frozen, so you can eat this directly out of the freezer without worrying that the exterior is too hard or the ice cream squishing out of the sides. They make for the perfect individual snack you can fill your freezer with for whenever the craving hits. Trust me, they’re way better than store-bought. If you want another frozen dessert recipe, then try my ice cream cake, fried ice cream, or baked Alaska recipe.
What You Need to Make This Recipe
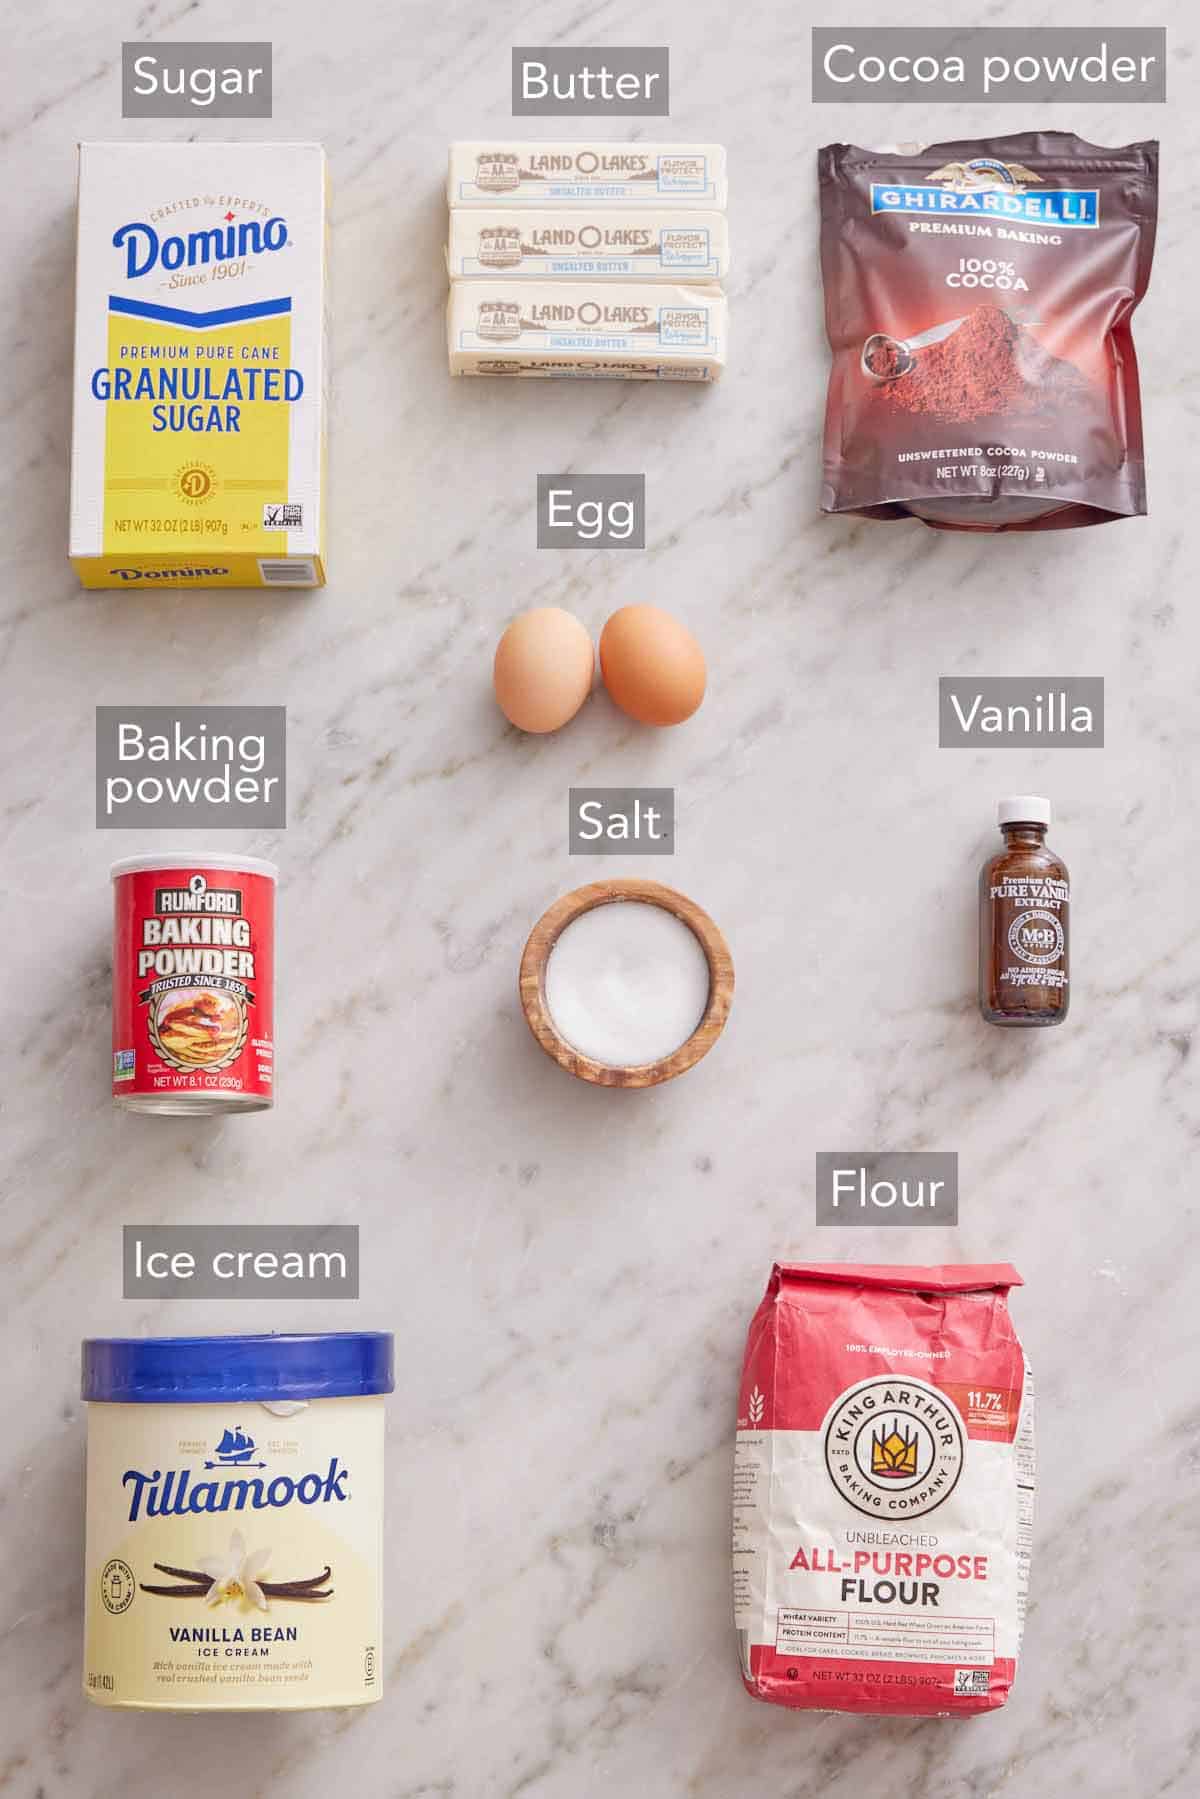
Ice cream — I’m using vanilla ice cream, but feel free to use your favorite ice cream flavor.
Flour — you don’t need anything fancy to make this homemade ice cream sandwiches recipe. All you need is all-purpose flour!
Cocoa — you can use natural unsweetened cocoa powder or Dutch process cocoa powder.
Baking powder — for best results make sure the baking powder is fresh and not expired. This will keep the cookie layer from being too dense.
Butter — as different butter brands use different amounts of salt in their salted butter, I recommend using unsalted butter. Be sure to bring the butter to room temperature. It must be soft enough so your finger leaves a dent when pressing it.
Vanilla extract — I recommend using real vanilla extract over artificial vanilla extract. You can also try making my homemade vanilla extract for a flavorful DIY version!
Eggs — make sure you use two large eggs. This will keep the cookie layer from becoming dry and crumbly.
How to Make Ice Cream Sandwiches
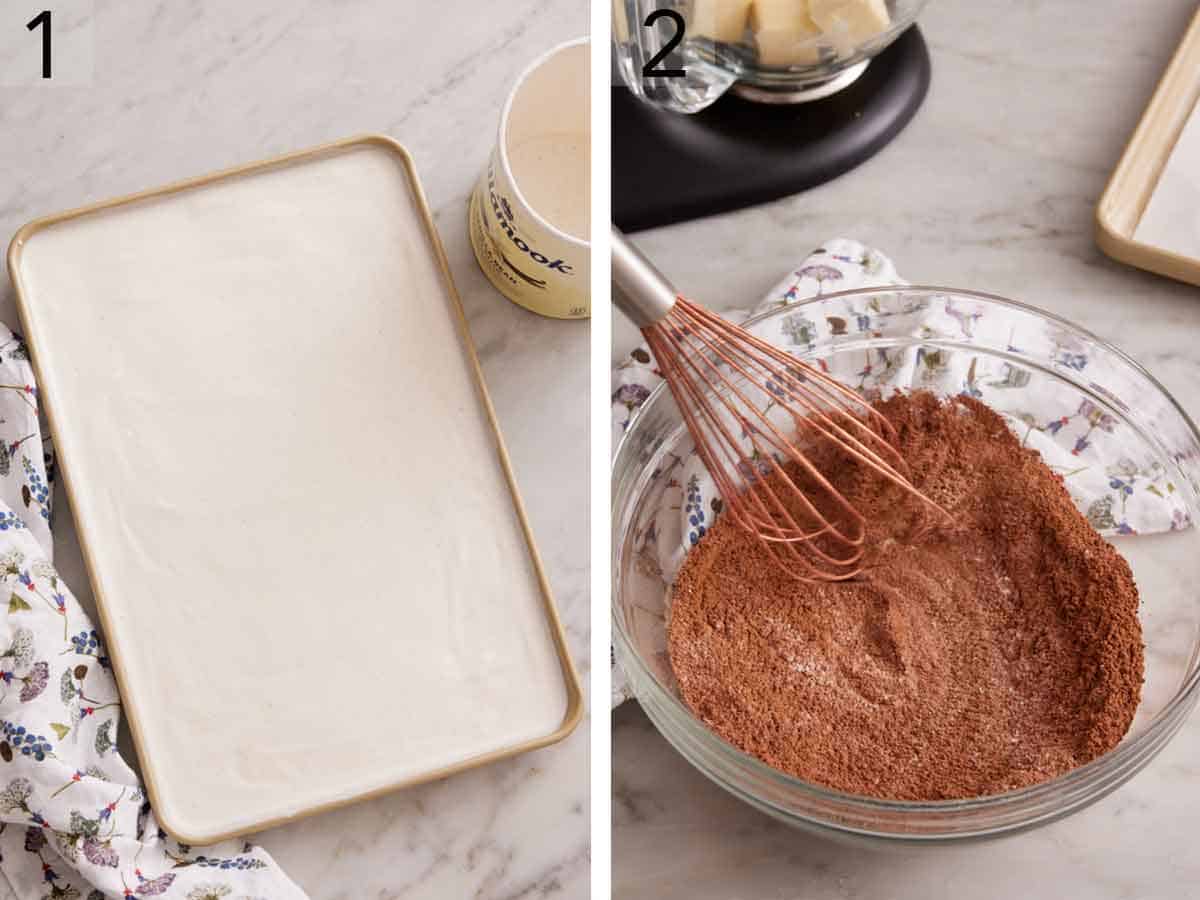
1. Line a 13×9-inch baking pan with parchment paper. Spread the softened ice cream into the pan in an even layer and freeze until solid.
2. Whisk together the flour, cocoa, baking powder, and salt in a medium bowl.
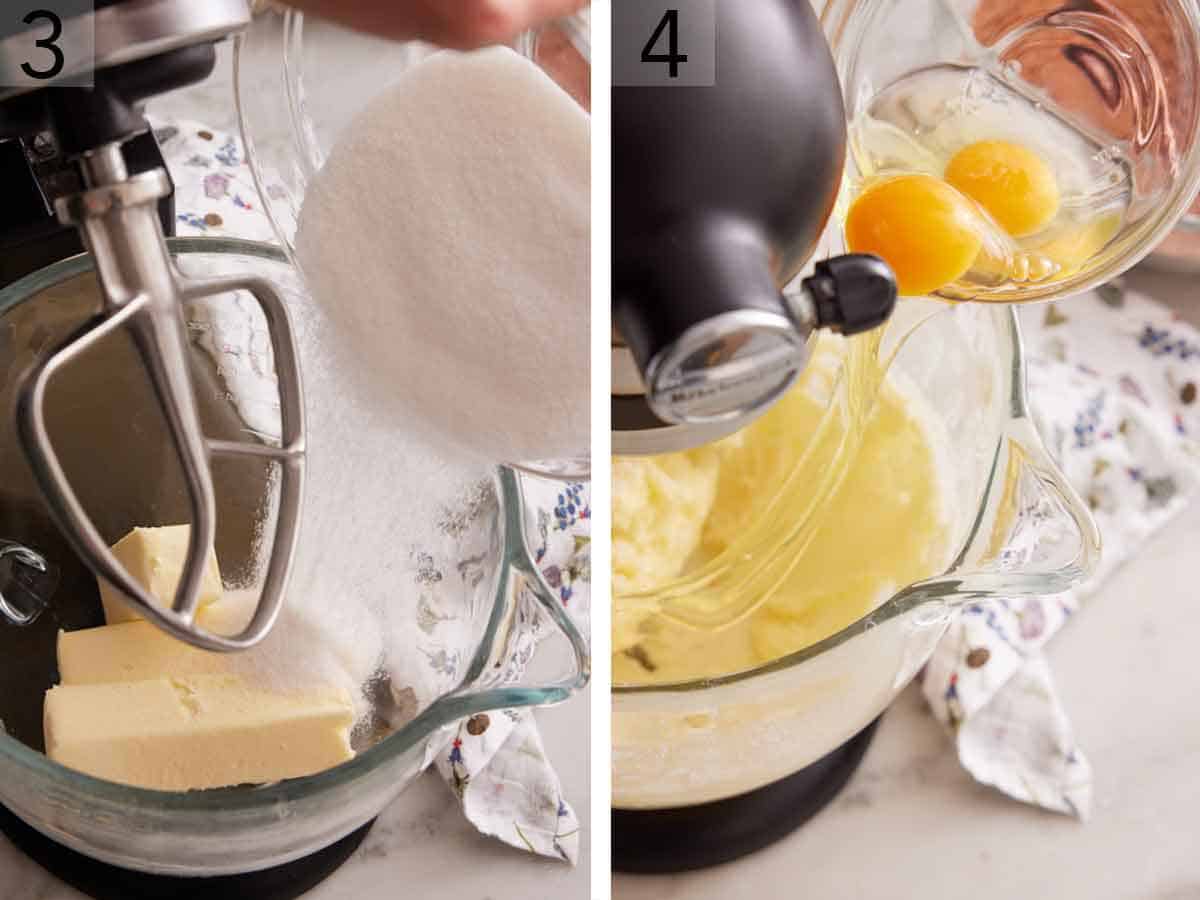
3. In the bowl of a stand mixer fitted with the paddle attachment, beat the butter and sugar on medium speed until light and fluffy. Stop and scrape down the sides of the bowl as needed.
4. Beat in the eggs, one at a time, until evenly incorporated. Beat in the vanilla.
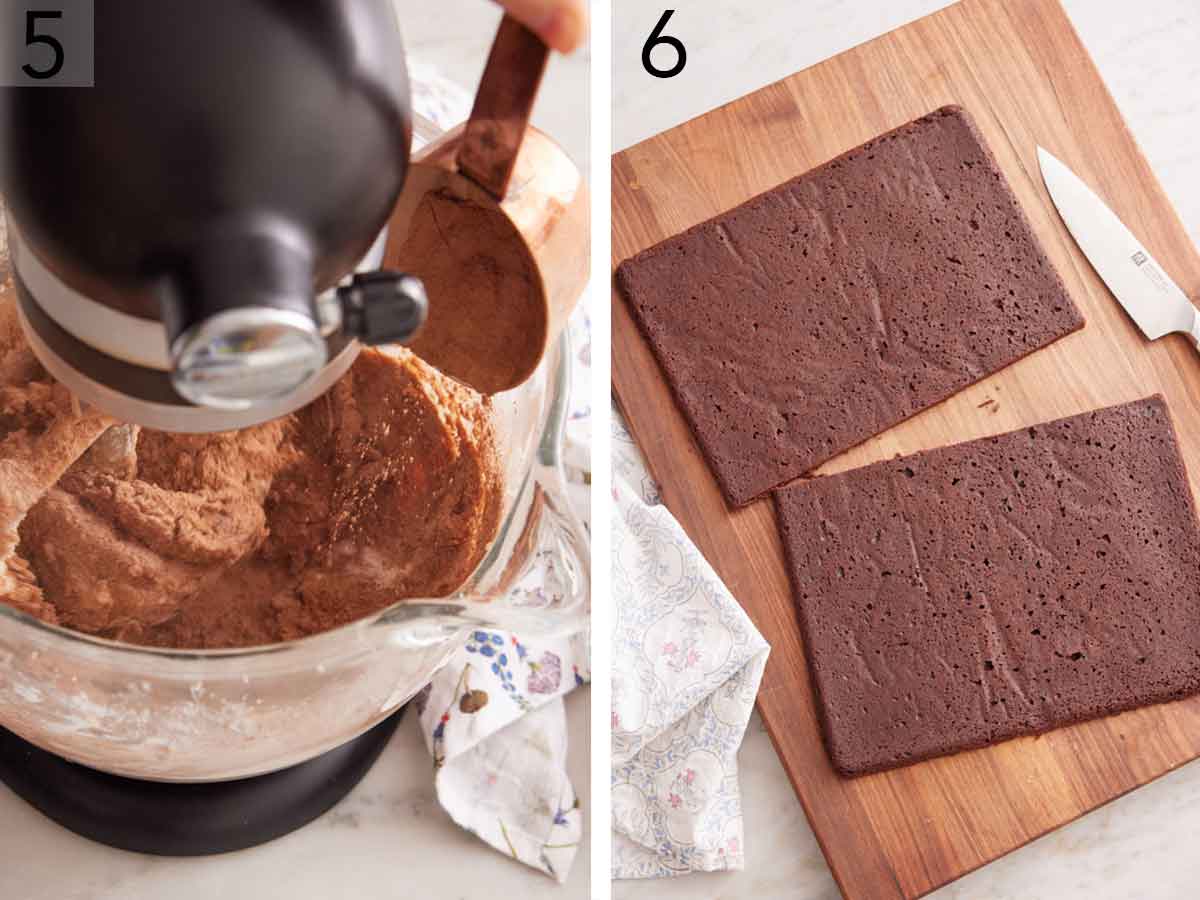
5. Add the flour mixture and beat on low speed until fully combined. Spread the batter into a buttered 18×13-inch baking sheet lined with parchment paper. Heat oven and bake for 10 to 12 minutes.
6. Let the cookie layer cool slightly in the pan. Run a small offset spatula around the edges of the cookie. Transfer the cookie with the parchment paper to a wire rack to cool completely. Transfer the cookie onto a cutting board and remove the parchment paper. Cut the cookie widthwise in half, creating two 9×13-inch slabs.
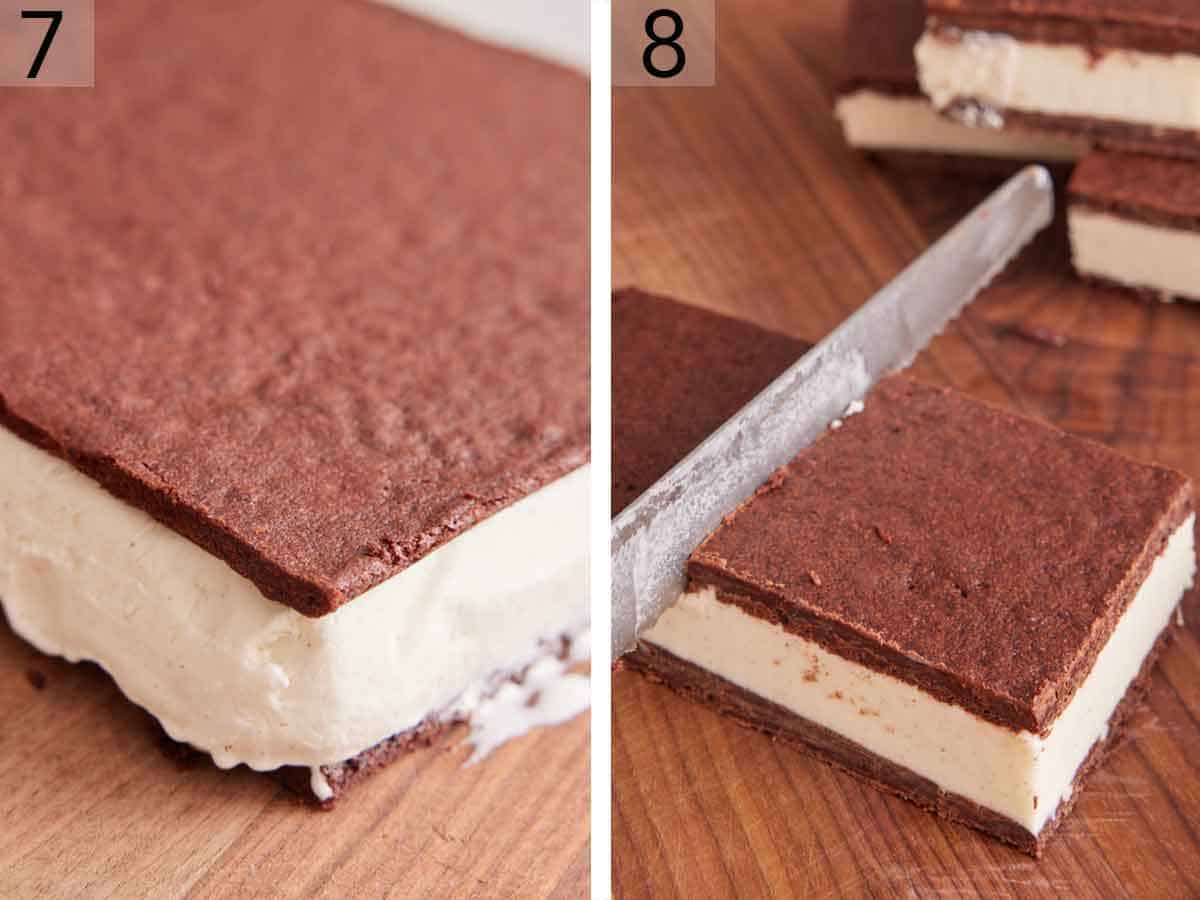
7. Sandwich the scoop of ice cream between the cookie slabs, trimming the sides as needed to fit evenly. Wrap in plastic wrap and freeze until firm, 4 hours or up to overnight.
8. Cut into 12 sandwiches using a warm serrated knife when ready to serve.
Pro Tips for Making This Recipe
- I highly recommend using a warmed serrated knife to saw through the top cookie gently. The serrated blade helps cut through the cookie layer without causing them to crumble and prevents the ice cream from being pushed out.
- The longer you can let the assembled sandwiches freeze, the easier it is to cut.
- You can customize the ice cream filled sandwiches by pressing sprinkles, chocolate chips, or sanding sugar, crushed Oreo cookies, peanut butter, or nuts onto the edges.
- When preparing the ice cream layer to freeze, be mindful of how long it takes to soften your ice cream. You want the ice cream to be soft, not melted. More expensive ice cream will take less time to soften, and the temperature of your kitchen also plays a role. Set an alarm if you need to remember the ice cream on the counter, as refreezing melted ice cream will give it an undesirable grainy, dense texture.
- I suggest using store-bought ice cream as homemade no-churn ice cream tends to be softer and won’t hold up as well between the cookie layers. Also, most people do not have an ice cream maker.
- Don’t rush cooling the cookie layer. You want the cookie layer to be fully cooled, as the slab of ice cream will melt if the layers are still warm.
Frequently Asked Questions
You can bake the cookie layer ahead of time and keep it wrapped in the fridge. This will also ensure there’s enough time for the cookie layer to cool before assembly.
You can wrap each of these homemade ice cream sandwiches individually in plastic before transferring them to a freezer-safe bag in the freezer for up to a month. It’s much easier to store them individually than the entire slab, so you can grab them from the freezer as needed.
While you can serve these ice cream cookie sandwiches immediately, freezing for 4 hours or overnight will give them time to freeze together so they do not fall apart when you bite into them.
If you’ve tried this Homemade Ice Cream Sandwich recipe, then don’t forget to rate the recipe and let me know how you got on in the comments below, I love hearing from you!
Ice Cream Sandwiches
Equipment
- 9×13″ baking pan
- 18×13″ or half baking sheet
- Parchment paper
- Wire cooling rack
Ingredients
- 1 (1½-quart) container vanilla ice cream (3 pints or 6 cups)
- 1 cup all-purpose flour (120g)
- 1 cup unsweetened cocoa powder (100g)
- ½ teaspoon baking powder
- ½ teaspoon salt
- 1¼ cups unsalted butter softened (283g)
- 1¼ cups granulated sugar (250g)
- 1 tablespoon vanilla extract
- 2 large eggs
Instructions
- Let the ice cream sit at room temperature until soft, about 30 minutes. Line a 13×9-inch baking pan with parchment paper. Spread the softened ice cream into the pan in an even layer and freeze until solid.
- Preheat the oven to 350F. Butter a large 18×13-inch baking sheet and line with parchment paper.
- In a medium bowl, whisk together the flour, cocoa, baking powder, and salt.
- In a large mixing bowl or the bowl of a stand mixer fitted with the paddle attachment, beat the butter and sugar on medium speed until light and fluffy, about 3 minutes. Stop and scrape down the sides of the bowl as needed. Beat in the eggs, one at a time, until evenly incorporated. Beat in the vanilla.
- Add the flour mixture and beat on low speed until fully combined, stopping to scrape down the bowl once during mixing. Using an offset spatula, spread batter into the prepared pan in an even layer.
- Bake for 10 to 12 minutes or until the top appears dry, and sides start to pull from the pan. Poke the top with fork tines, if desired. Let cool slightly in the pan. Run a knife or a small offset spatula around the edges of the cookie. Transfer the cookie with the parchment paper to a wire rack to cool completely.
- Transfer the cookie onto a cutting board and remove the parchment paper. Cut the cookie widthwise in half, creating two 9×13-inch slabs. Sandwich the ice cream slab between the cookie slabs, trimming the sides as needed to fit evenly. Wrap in plastic wrap and freeze until firm, 4 hours or up to overnight. Cut into 12 sandwiches using a warm serrated knife when ready to serve.
Notes
- I highly recommend using a warmed serrated knife to saw through the top cookie gently. The serrated blade helps cut through the cookie layer without causing them to crumble and prevents the ice cream from being pushed out.
- The longer you can let the assembled sandwiches freeze, the easier it is to cut.
- You can customize the ice cream filled sandwiches by pressing sprinkles, chocolate chips, or sanding sugar, crushed Oreo cookies, or nuts onto the edges.
- When preparing the ice cream layer to freeze, be mindful of how long it takes to soften your ice cream. You want the ice cream to be soft, not melted. More expensive ice cream will take less time to soften, and the temperature of your kitchen also plays a role. Set an alarm if you need to remember the ice cream on the counter, as refreezing melted ice cream will give it an undesirable grainy, dense texture.
- I suggest using store-bought ice cream as homemade no-churn ice cream tends to be softer and won’t hold up as well between the cookie layers.
- Don’t rush cooling the cookie layer. You want the cookie layer to be fully cooled, as the slab of ice cream will melt if the layers are still warm.
Nutrition
Have you tried this recipe? Tag me today!
Mention @preppykitchen and tag #preppykitchen!






