
This post may contain affiliate links. Please read our disclosure policy.


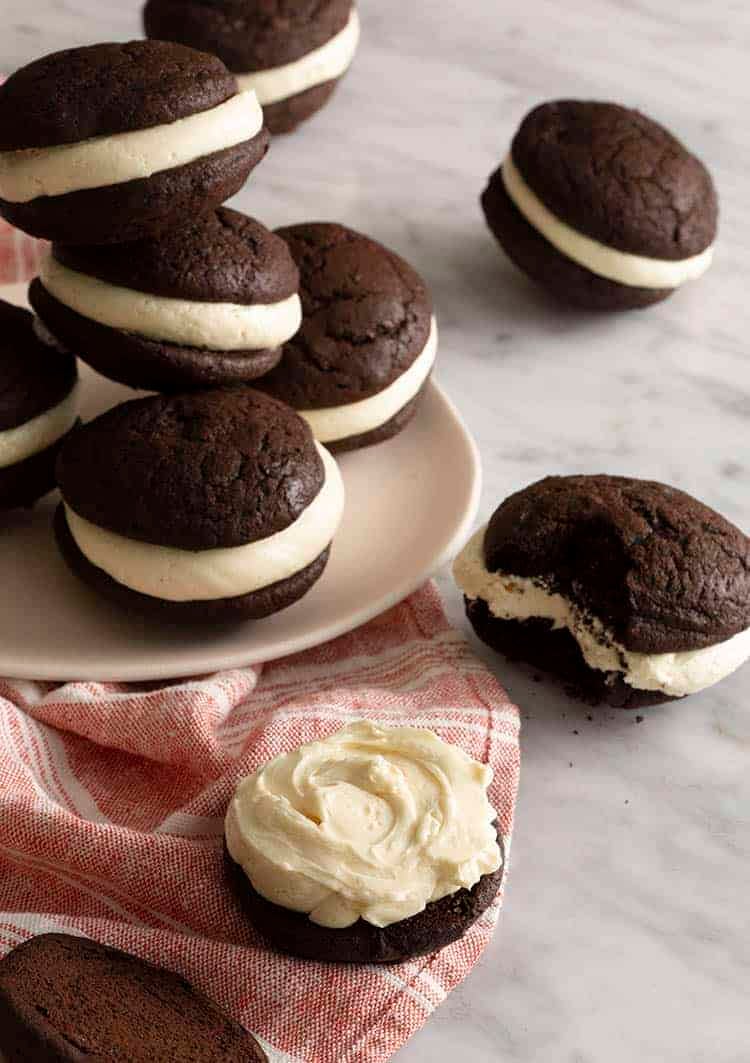
This Whoopie Pie Recipe makes a pillowy, fudgy sandwich of chocolate cake held together with a creamy Swiss meringue buttercream. Perfectly sweet and beyond easy to make!
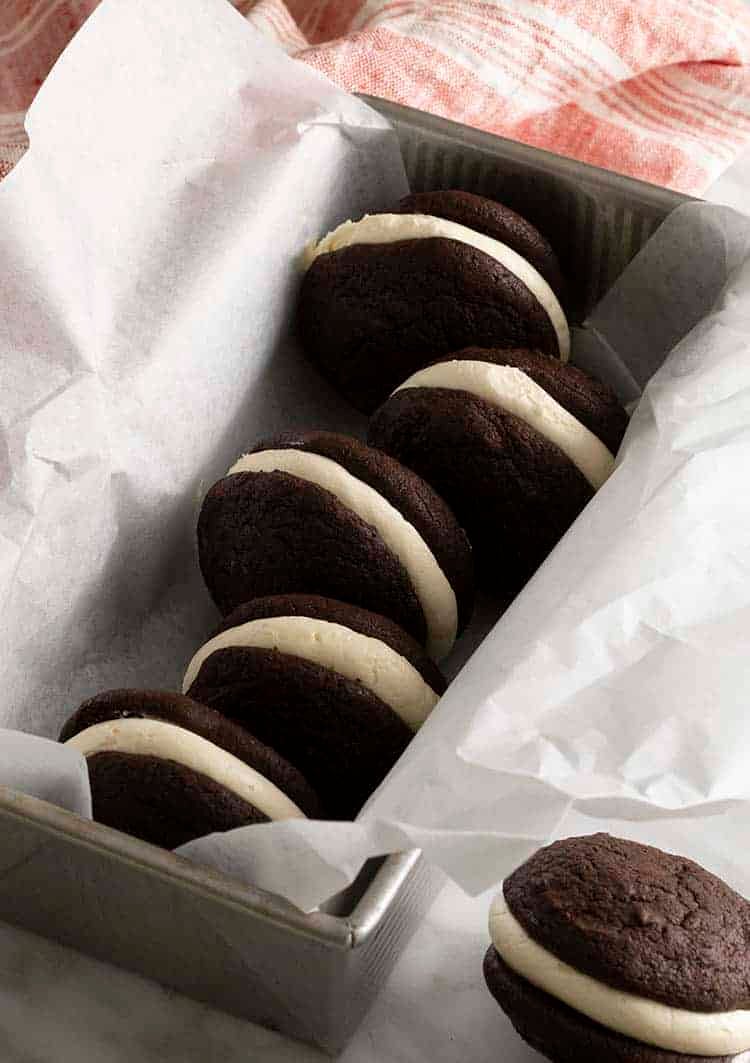
It’s like the best cupcake you’ve ever had without any of the unwrapping, decorating stress, or imperfect frosting to cake ratio. Every bite is PERFECT and I guarantee you won’t be able to have just one!
How to make Whoopie Pies
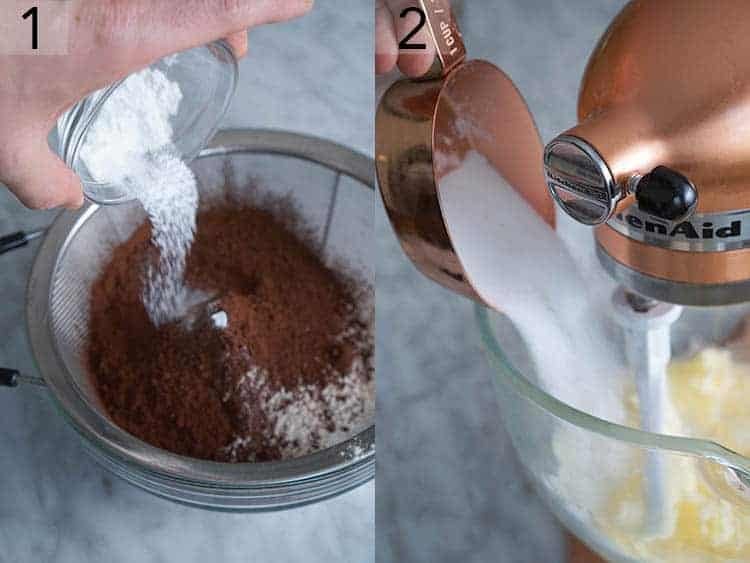
1. Sift the flour, cocoa powder, salt, baking soda, and baking powder into a large bowl then whisk and set aside.
2. Cream the room temperature butter then add the sugar. Mix on medium-high until light and fluffy. If you’re using a stand mixer you will want to use the paddle attachment but you can also make this with an electric hand mixer.
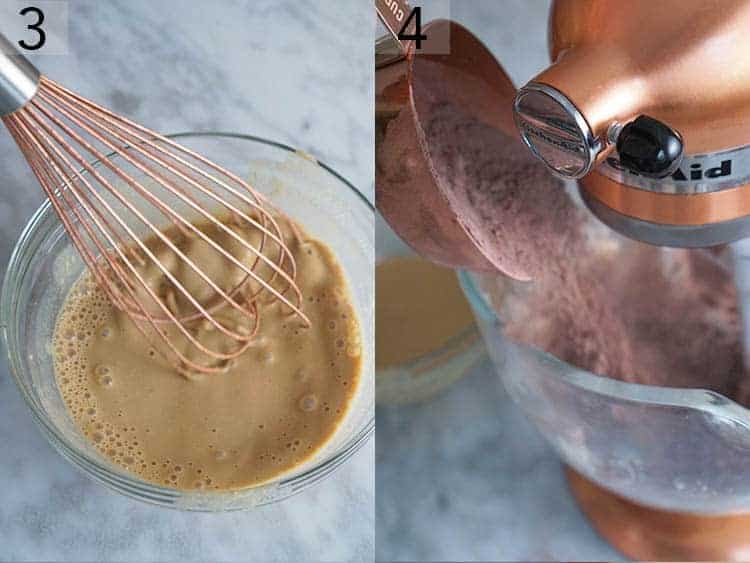
3. Add the coffee, buttermilk, egg, and vanilla to a medium bowl. Whisk together and set aside.
4. Once the butter and sugar are whipped to a light and fluffy state you can begin adding alternating batches of the dry and wet mixtures. Start with the dry and add about a third in at a time while mixing on low. Scrape the bowl down at least once during this process.
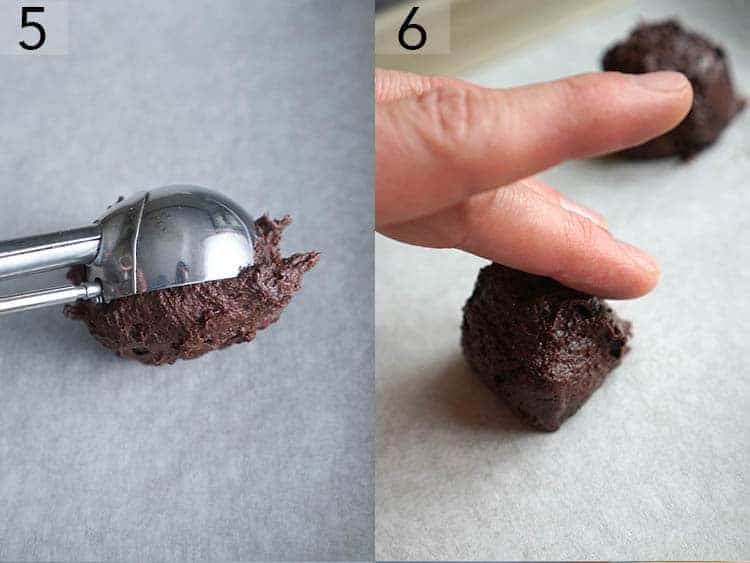
5. You’ll want to transfer heaping tablespoons of the chocolate batter onto a parchment lined baking sheet. I like to use an ice cream scoop but a tablespoon or a silicone spatula work too.
6. Use clean damp fingers to tamp down any flyaway bits of batter, and round out your cakes. Bake at 375F for about 9 minutes or until the the tops spring back when touched gently.
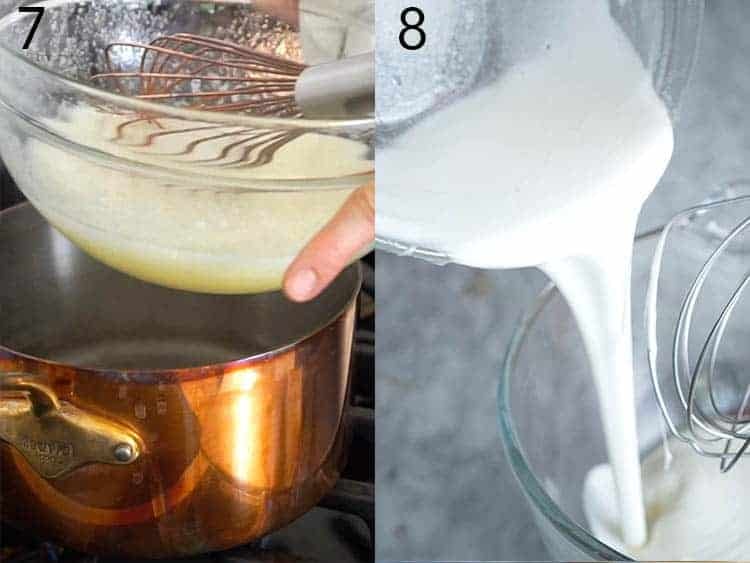
7. Add egg whites, sugar, and salt in a bowl and give the mixture a brief whisk. Place the bowl over a pan of simmering water. Make sure the water does not touch the bowl. Whisk the egg whites occasionally while it warms up. Once the mixture has warmed, whisk it constantly. You will heat the mixture until it reaches an internal temperature of 160ºF or until it’s not grainy between your fingers.
8. Transfer the bowl to a stand mixer and mix with a whisk attachment until you get room temperature glossy peaks.
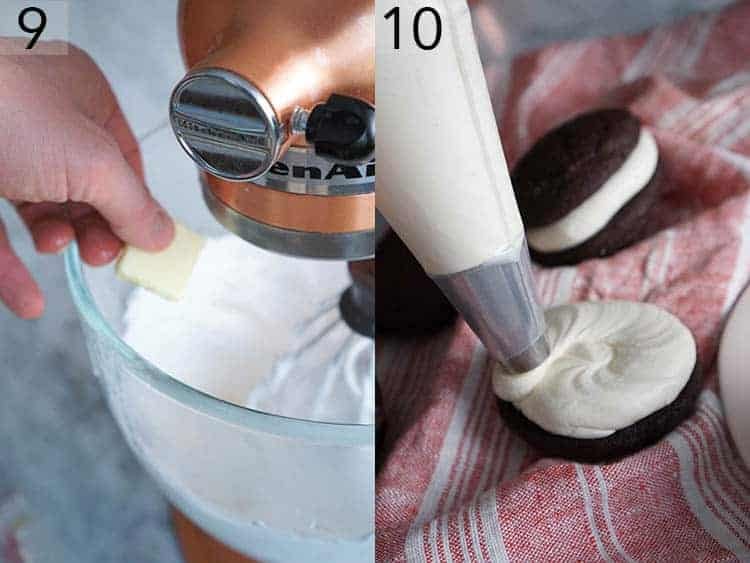
9. Switch to a paddle attachment and while the mixture is running on low, add tablespoon sized dollops of room temperature butter making sure to let the butter incorporate before you add the next piece. Once all the butter is incorporated, go ahead and add the vanilla extract.
10. Transfer the buttercream to a piping bag fitted with a large round tip or with the tip cut off and pipe a thick layer of frosting onto the back of one of the cakes. Sandwich together and repeat.
Pro Tips for this recipe
- Measure your flour correctly! Adding too much flour to the recipe is the most common mistake. The best, and easiest way to measure flour is by using a scale. If you don’t have one then fluff your flour with a spoon, sprinkle it into your measuring cup, and use a knife to level it off.
- Use damp fingers to shape the batter into a ball after you scoop it onto the baking sheet.
- Flavor the buttercream with anything you like! Melted and cooled chocolate, vanilla, instant espresso powder, caramel or almost anything else can be added to the Swiss meringue buttercream at the very end.
- To reactivate the buttercream after it has been frozen, allow it to come to room temperature and then whip it.
- If you start adding butter and the mixture becomes soupy then don’t panic!!! It will be soupy until ALL the butter has been added.
- Don’t get fat in your bowl, make sure it’s clean (I actually give mine a quick rub with a lemon then wipe with a paper towel)
- Don’t let any yolks get into your whites when you separate the eggs. The easiest way to avoid yolks is to separate the eggs one at a time into separate bowls and then pour the white in as you go along.
Frequently Asked Questions
What’s the best cocoa powder to use?
I love using a high-quality Dutch processed cocoa powder for these whoopie pies. Dutch processed cocoa powder is darker, less acidic, and fudgier in baked goods. You’ll usually get less rise out of it though. My go to brand is usually Valrhona but there are lots of great brands out there including Guittard, Callebaut, Ghirardelli and lots of organic and fair trade options too!
Do I have to use coffee in the batter?
Coffee really brings out the flavor of chocolate in the whoopie pies but you can definitely use water or milk instead. I’ve made this substitution before and people still LOVE the taste.
How long do whoopie pies keep for?
You can refrigerate whoopie pies for up to two days in a covered container. Allow to return to room temperature before enjoying. The cakes and buttercream can be frozen in sealable freezer bags for up to two months. Allow to return to room temperature then give the buttercream a brief whisk to restore the consistency. Pipe, assemble, and then enjoy!
If you’ve tried this whoopie pies recipe then don’t forget to leave a rating and let me know how you got on in the comments below, I love hearing from you!
Whoopie Pie

Ingredients
For the Cake
- 1 3/4 cup All-purpose Flour 210g
- 3/4 cup unsalted butter 170g, room temperature
- 1 cup sugar
- 2/3 cup cocoa powder
- 1/2 tsp salt
- 1 tsp baking powder
- 1/4 tsp baking soda
- 1 egg large, room temperature
- 1/2 cup buttermilk
- 1/4 cup coffee
For the Filling
- 5 egg whites at room temperature
- 2 cups unsalted butter 452g, at room temperature
- 1 2/3 cups granulated sugar 333g
- 1/4 tsp salt
- 2 tsp vanilla extract 10mL
Instructions
For the Cake
- Sift the flour, cocoa powder, salt, baking soda and baking powder into a large bow then whisk together and set aside.
- Add the egg, buttermilk, and coffee to a medium bowl and whisk together.
- Cream the room temperature butter then add the sugar and mix until light ad fluffy.
- Add the dry and wet mixtures in three alternating batches to the butter starting with the dry while mixing on low. Mix until just combined then use a spatula to scrape the bowl down and do any final mixing.
- Use a heaping tablespoon or small ice cream scoop to transfer dollops of batter onto a baking sheet lined with parchment paper. Wet your fingers with water and tamp down any bits of batter sticking out.
- Bake for about nine minutes at 375F or until the tops spring back when gently pressed.
For the Filling
- Add egg whites, sugar and salt in a bowl.
- Give the mixture a brief whisk.
- Place the bowl over a pan of simmering water. Make sure the water does not touch the bowl.
- Whisk the egg whites occasionally while it warms up. When the mixture has warmed, whisk it constantly. You will heat the mixture until it reaches an internal temperature of 160ºF or until it's not grainy between your fingers.
- Transfer the bowl to a stand mixer, mix with a whisk attachment until you get room temperature glossy peaks.
- Switch to a paddle attachment and while the mixture is running on low, add tablespoon sized dollops of room temperature butter making sure to let the butter incorporate before you add the next piece.
- Once all the butter is incorporated, go ahead and add the vanilla extract. You can transfer it to a piping bag or to a ziplock bag to store in the refrigerator or freezer.
For the Assembly
- Pipe the buttercream onto the back of a cake then sandwich together with another cake round.
Notes
Nutrition
Have you tried this recipe? Tag me today!
Mention @preppykitchen and tag #preppykitchen!


