This post may contain affiliate links. Please read our disclosure policy.
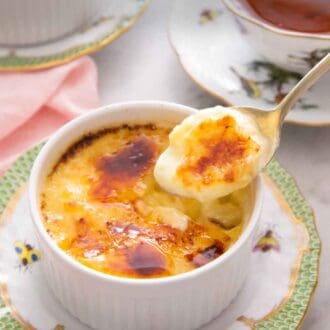

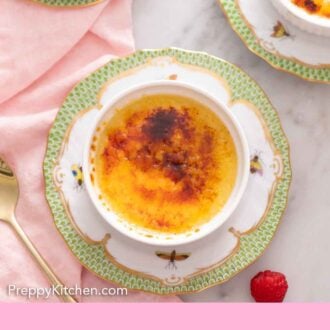
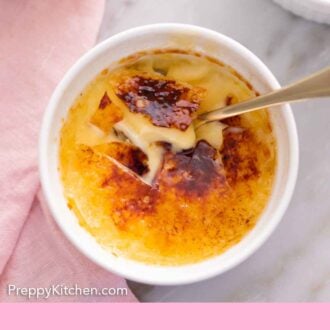
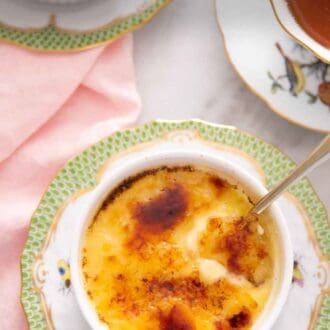
A silky Crème Brûlée is quite easy to make at home with just cream, eggs, sugar, and vanilla. It whisks together without tempering, and bakes in under 45 minutes! Get my tips for a custard that’s baked perfectly, and how to avoid one that’s too soft or overbaked.
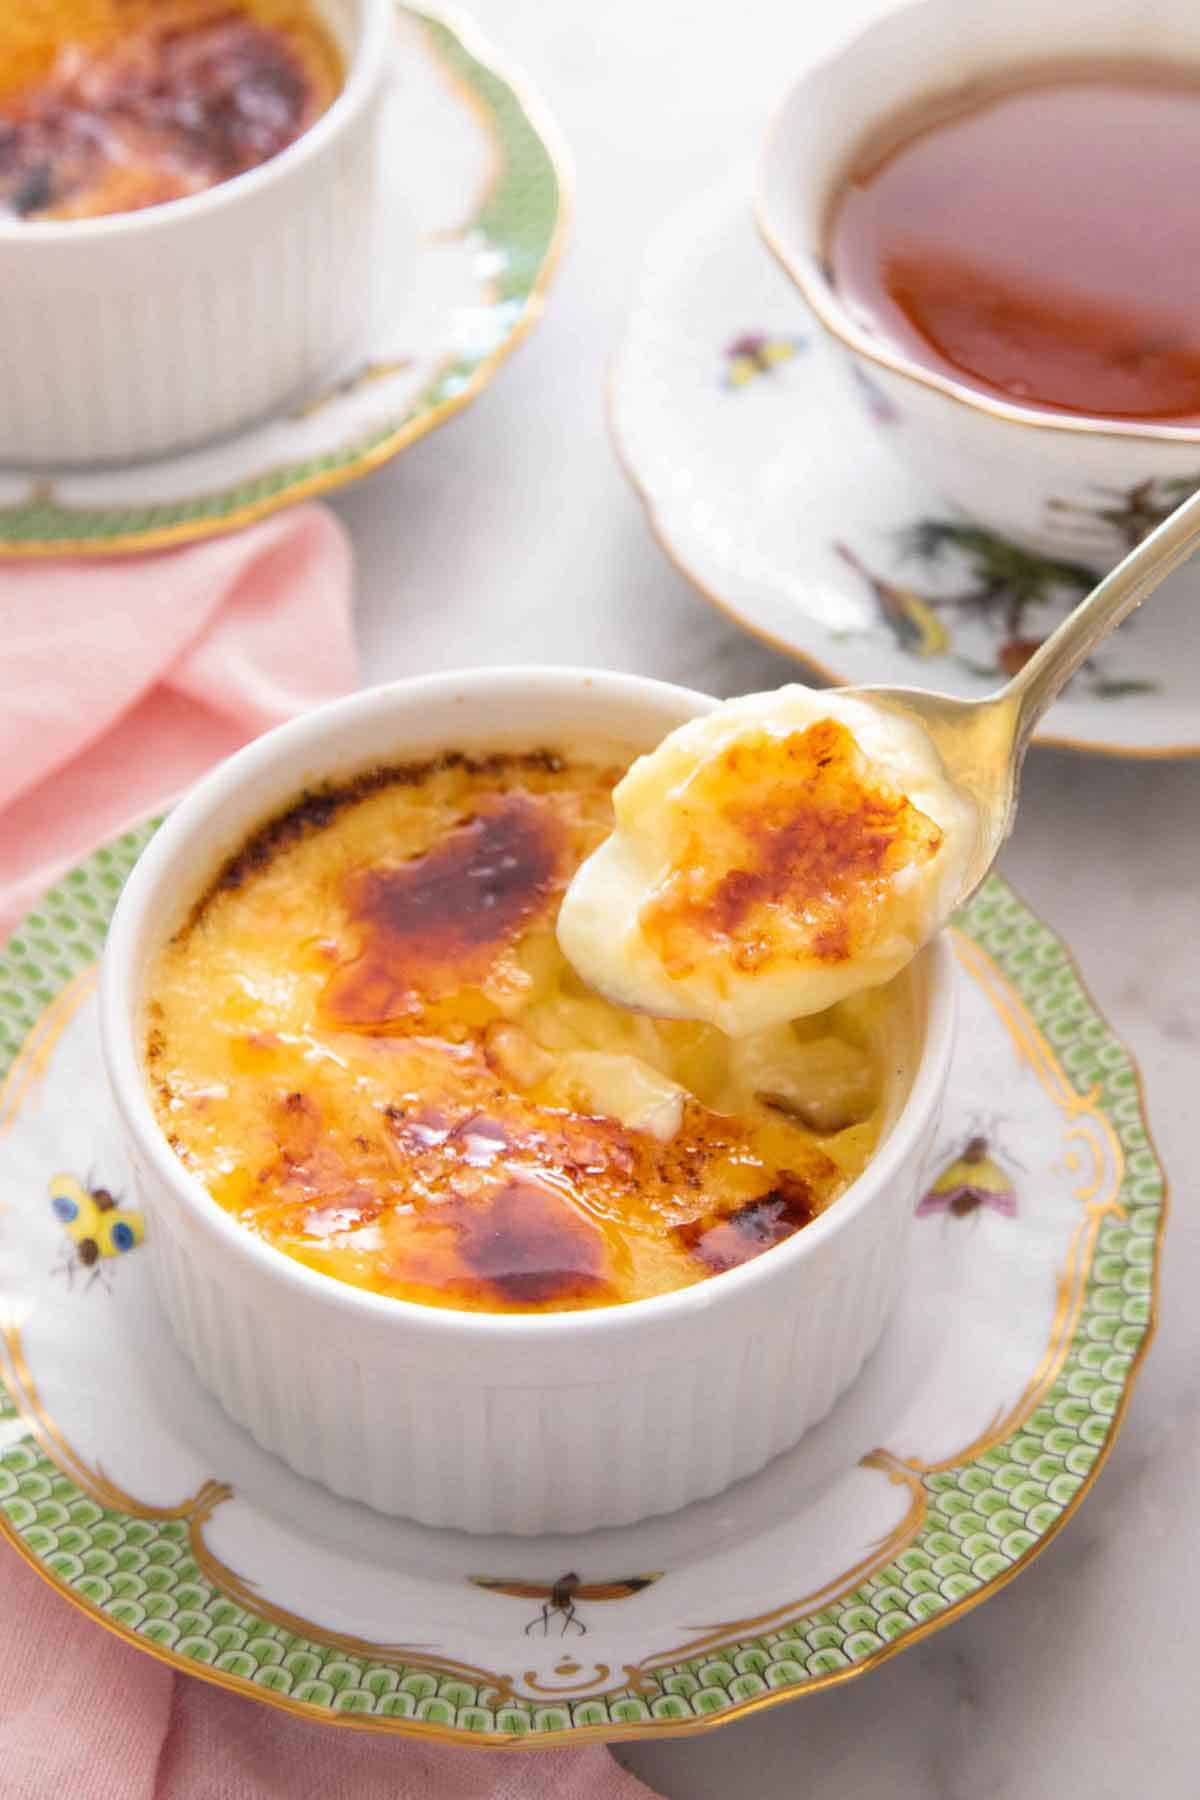
Most recipes focus on the finishing of crème brûlée, creating the signature crackly sugar top. But there are two steps to making it that actually determine if the custard sets correctly and forms its distinct silky texture: how the eggs meet the hot cream, and when you decide the custard is done baking.
Most versions have you temper the custard mixture by drizzling hot cream into the yolks while whisking so they don’t curdle. Instead, in my recipe, the cream steeps with the vanilla off the heat for 15 minutes and cools down before it ever touches the yolks. This way there’s no risk of scrambling the eggs, so there’s no technique to get wrong! The rest of this post is all about how to bake the custard correctly so it turns out silky smooth and just firm enough to support the brûléed sugar top.
“First time success – wow! Great instructions and so much better to simmer the milk and just let it cool, so you don’t risk scrambling the eggs during tempering. No kitchen torch (yet), so I sprinkled nutmeg on top. It honestly got better after a day in the fridge, too.”
Dianna
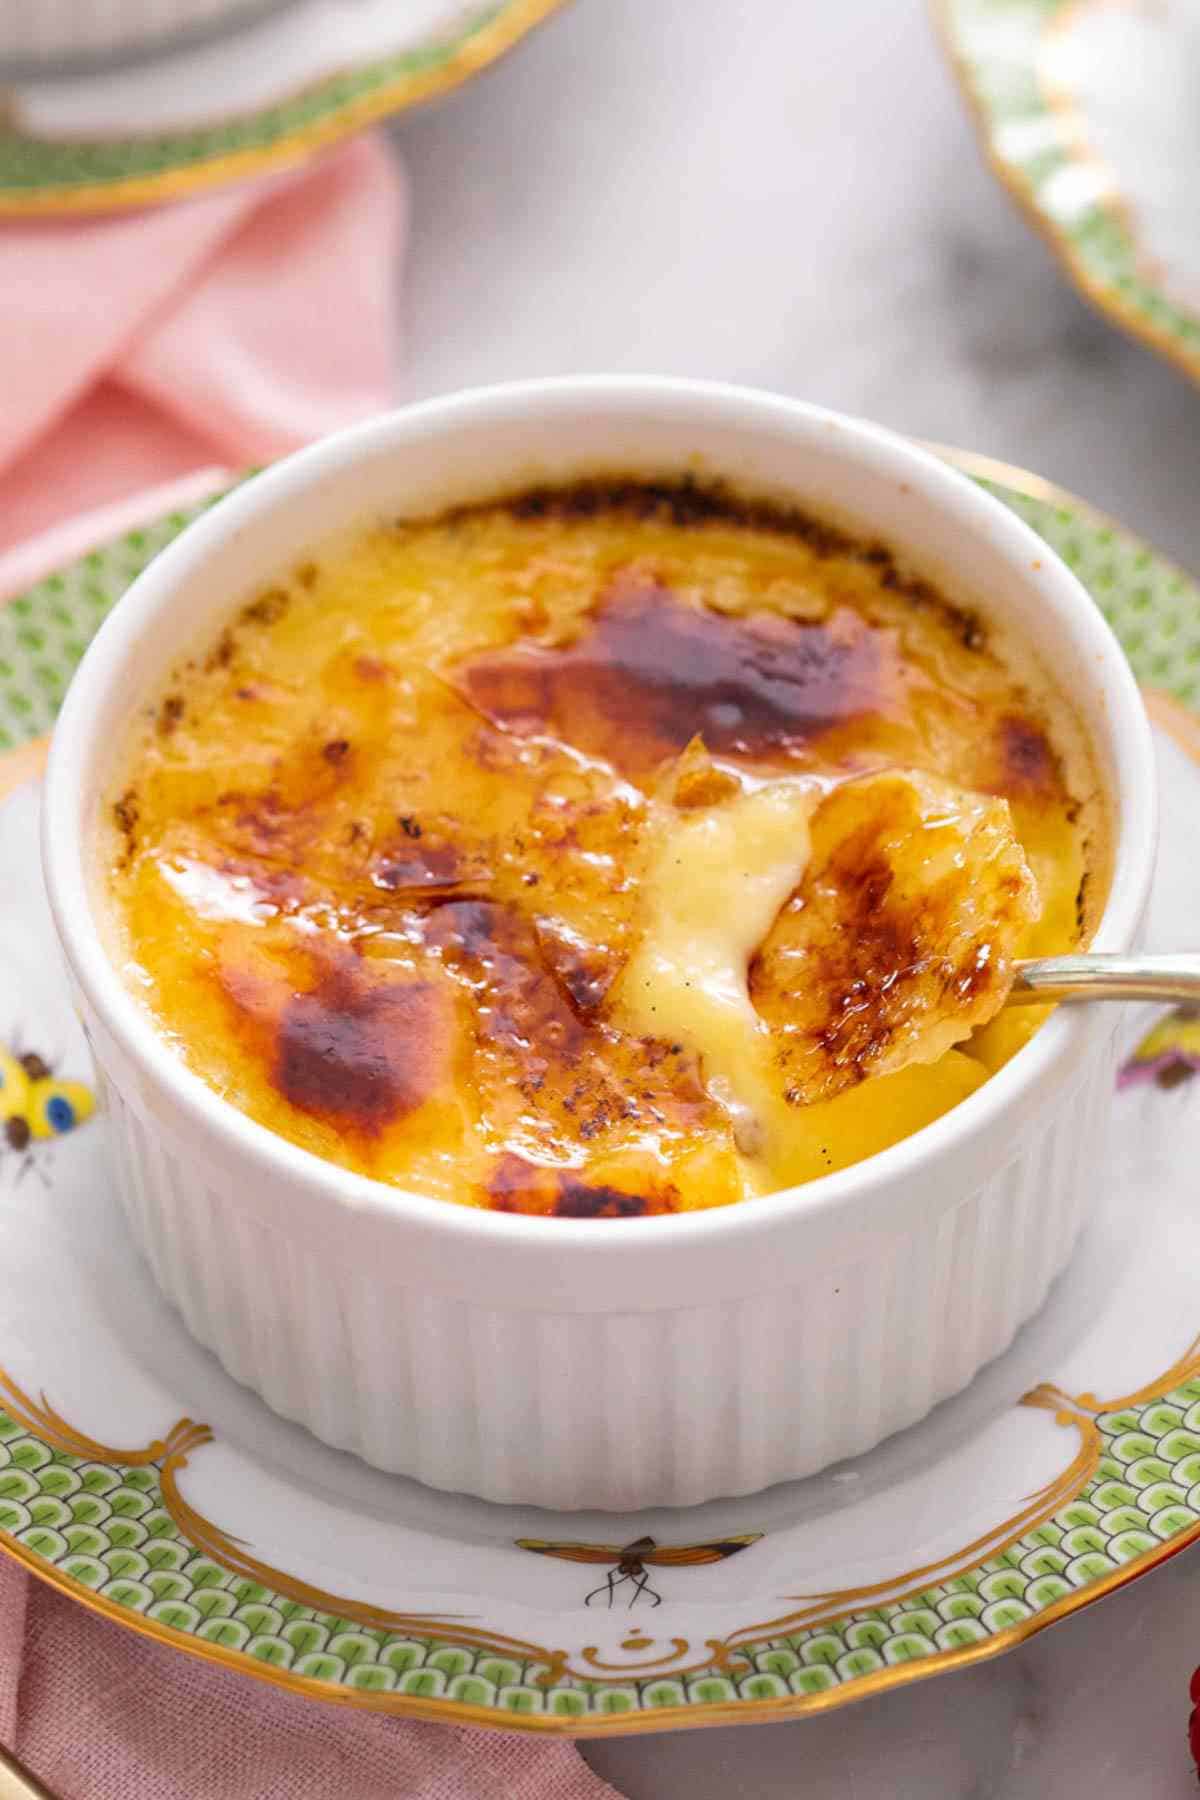
Why This Recipe Skips Tempering
Tempering exists to solve one problem: hot liquid hitting cold eggs cooks them on contact, and you get threads of scrambled egg through the custard. The standard fix is to add the cream in a thin stream while whisking constantly, raising the eggs’ temperature gradually. The simpler fix is to not have piping hot cream.
- Steeping the vanilla in the cream cools it down. The cream comes to a simmer, is moved off the heat, and sits for 15 minutes while the vanilla bean steeps. By the end of that steep time, it’s warm rather than very hot, and well below the temperature at which yolk proteins set. You can easily pour it into the yolks without worry.
- The steeping does double duty, adding flavor. Those 15 minutes are also what pulls flavor out of the vanilla pod. A bean dropped into cream and immediately strained out gives you specks of vanilla but not much else. Fifteen minutes off the heat gives time for the fats in the cream to absorb the flavor compounds in the vanilla bean.
- Sugar is the unsuspected helper. Whisking the sugar into the yolks before the cream goes in raises the temperature at which those yolks will set—sugar molecules get between the egg proteins and slow down coagulation. That’s another part of why this method is more forgiving!
Ingredient Notes
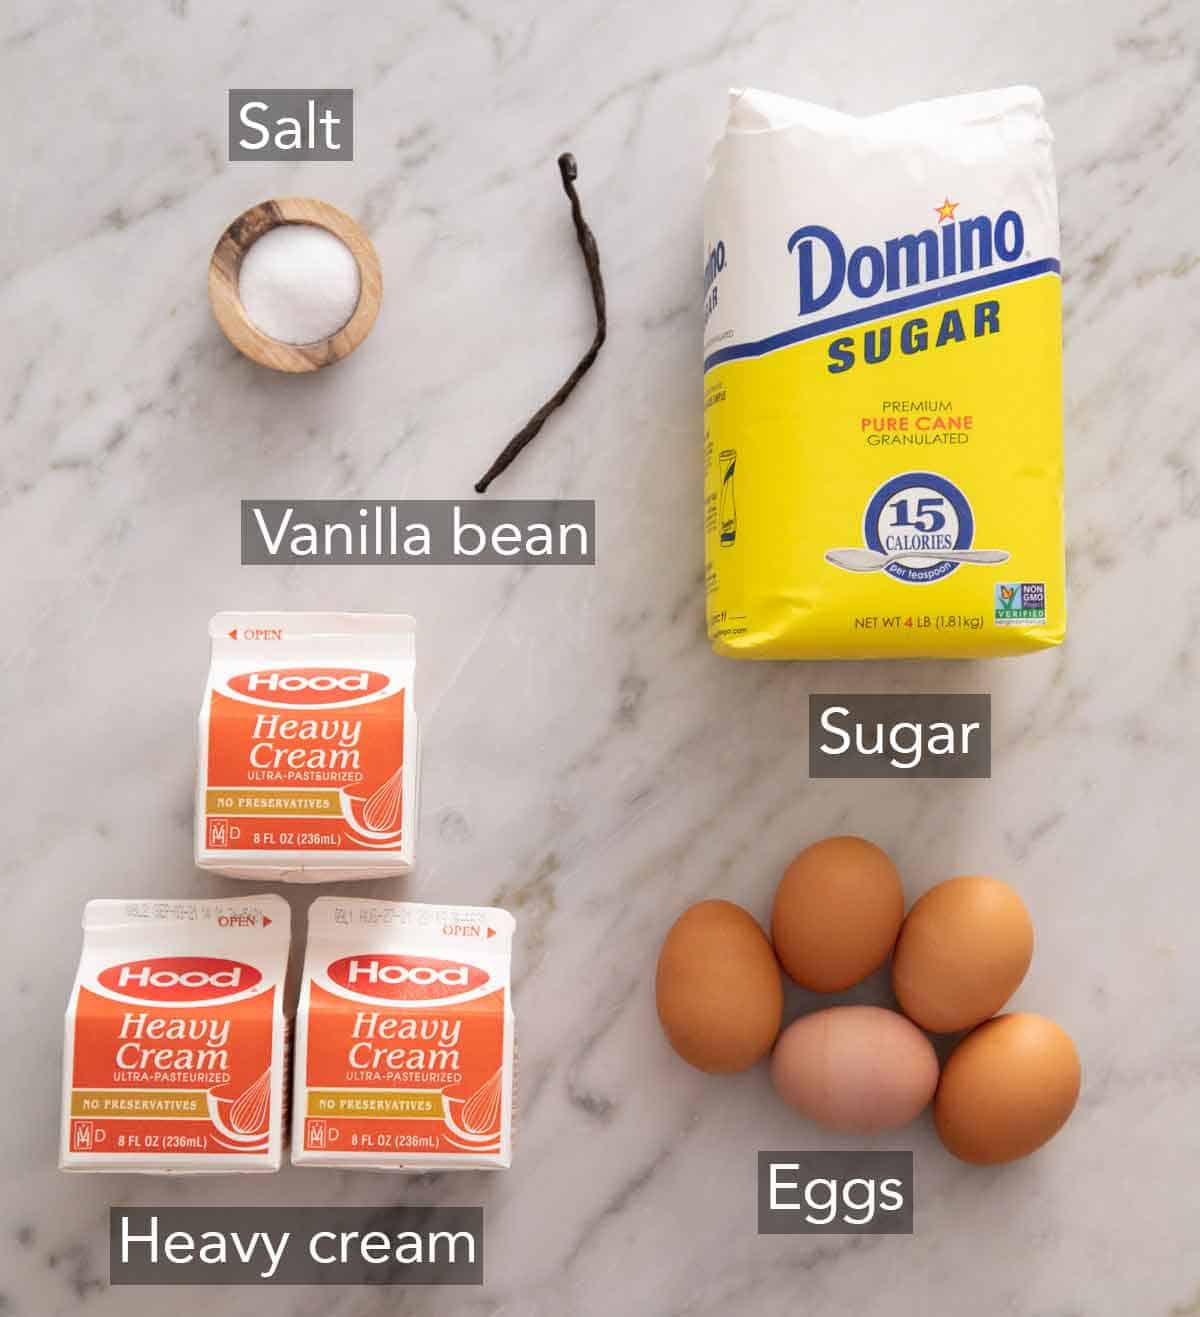
These are the main ingredients you need to make creme brulee. You can find the full list of ingredients and measurements in the recipe card below.
Heavy cream — the fat is structural here, not just for richness. It’s what gives the set custard its softness instead of a firm, sliceable texture. Swap in something lighter, like whole milk or half-and-half, and you don’t have that luscious, velvety texture crème brûlée is known for. It’s the same principle as other set cream-based desserts like panna cotta. Fat molecules disperse between coagulated proteins, creating a less sturdy structure. At the right ratio, this forms a custard that is thick enough to hold its shape but soft enough to melt on the tongue.
Vanilla bean — use a whole bean pod if you can. The hot cream will pull flavor out of the pod, and the seeds leave elegant visible specks in the custard. Two teaspoons of vanilla extract or vanilla bean paste substitutes for 1 vanilla bean pod.
Egg yolks — the fatty yolks are key here. Whites have more protein (and no fat), so they set too firmly and would push this more toward a sliceable custard like flan. Yolks are high in fat and set softly for a thick but spoonable baked custard.
Salt — you don’t need much, but without it, the custard tastes flat and one-note. The salt brings out the vanilla flavor and makes the cream taste richer.
The Water Bath Is Not Optional
Direct oven heat is dry, fast, and uneven, and egg proteins have a narrow window between set and broken. A water bath changes that.
What the water is doing: it caps the temperature around the ramekins near the boiling point of water (212°F), insulating it from temperature swings and the oven’s higher heat (325°F). This way, the custard heats slowly and evenly, allowing time for the eggs to slowly firm up instead of the outside racing past the center.
My team tested this recipe with no water in the pan specifically to show you what happens. They baked the custard in a pan without water at 325°F for 30 minutes. Without the water bath, the custard got too hot, puffed up, and curdled. We ended up with an eggy, split, clumpy mixture rather than a silky custard.
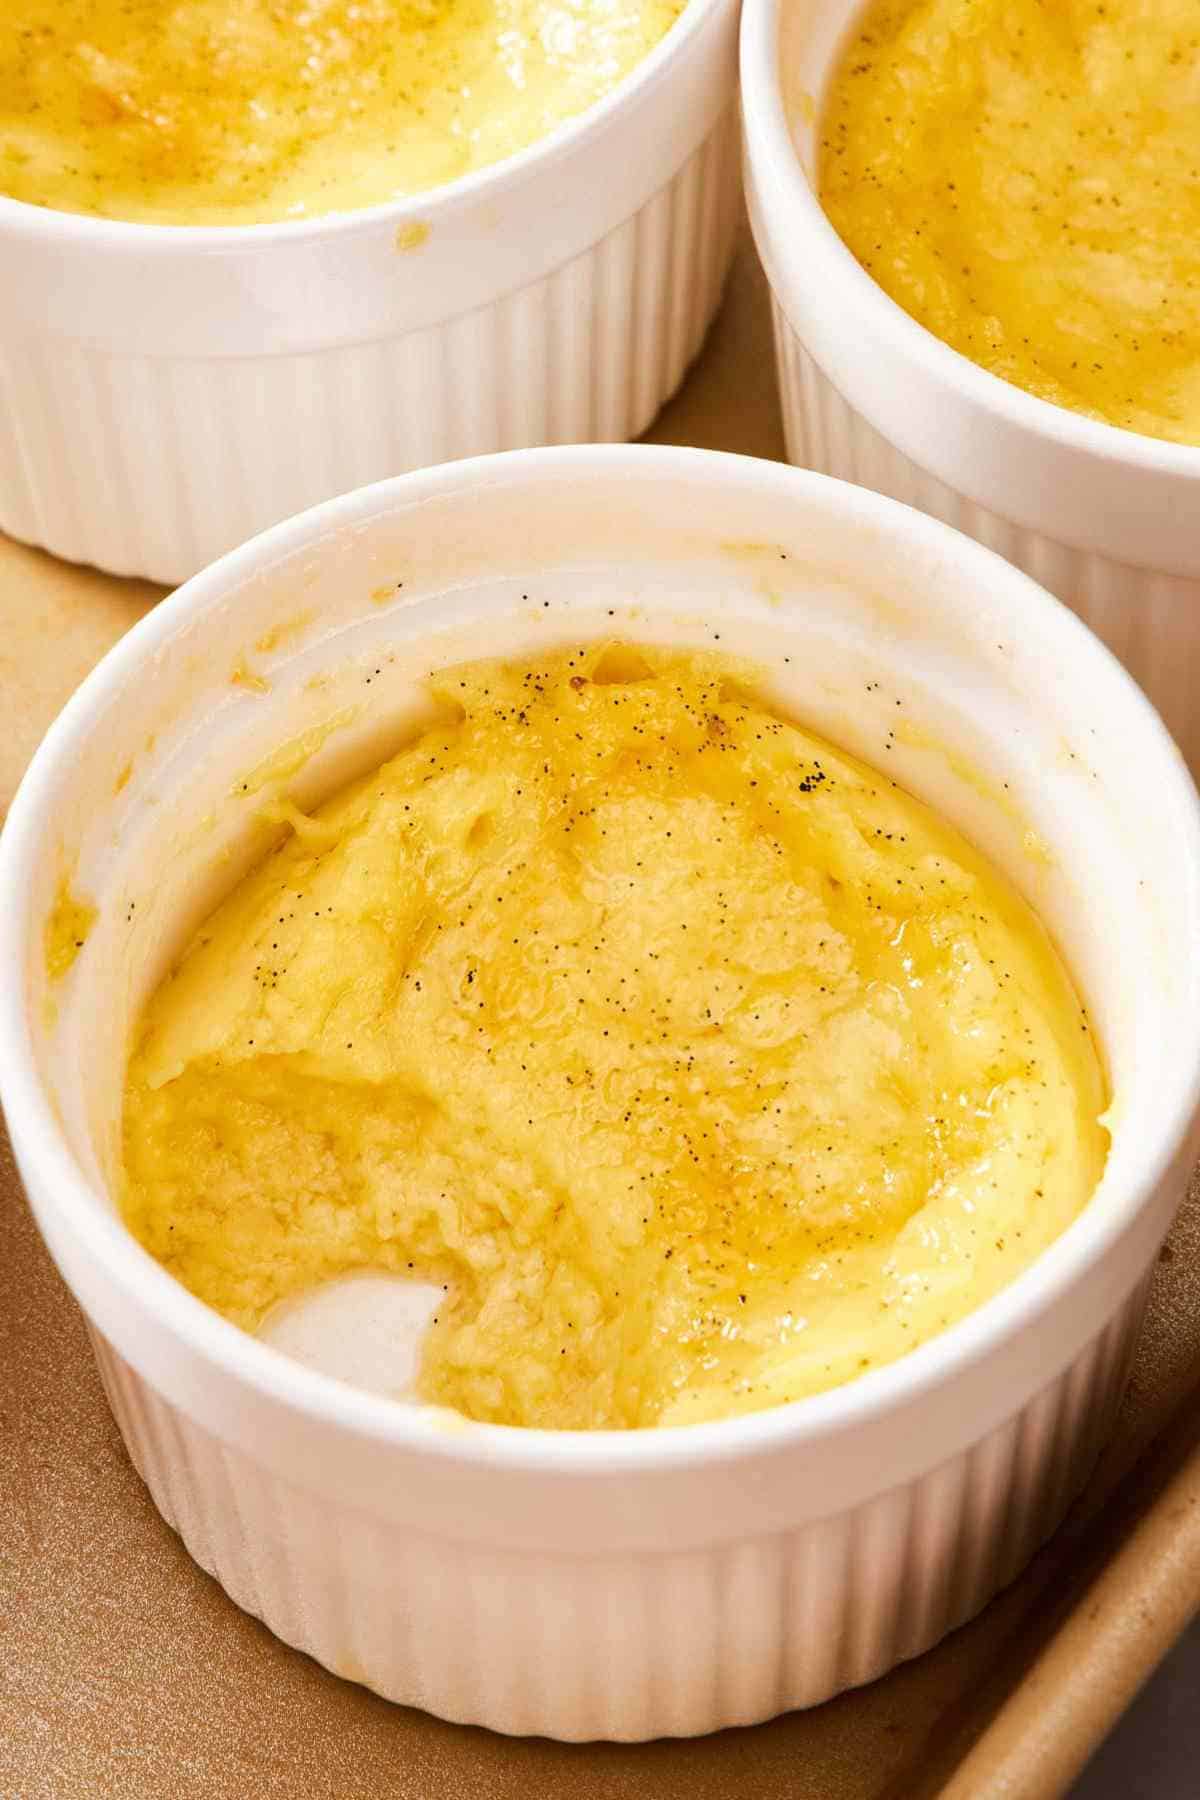
To do a proper water bath, add it halfway up the ramekins. Be sure you add enough water so it’s truly halfway up the sides. This volume will change based on the size of your pan. And pour boiling water, not cold, so the bath is already at temperature when the pan goes in.
If your dish is a tight fit, do it in the other order: put half an inch of water in the empty baking dish first, set the empty ramekins in, then fill them with custard. It’s easier than trying to pour boiling water into a crowded pan without splashing it into the ramekins.
Pro Tips For The Best Crème Brûlée
Strain the custard twice for the smoothest texture. Strain the vanilla bean out of the cream mixture before adding it to the egg mixture removes the pod and any larger fibers. Straining the mixed custard before transferring it to the ramekins pops any air bubbles produced from whisking. Bubbles bake into a foamy skin on top of the custard that can ruin the surface you’re about to caramelize.
To easily fill the ramekins, transfer the custard to a measuring cup with a spout. Use a large measuring cup or a mixing bowl with a spout. This will prevent spilling and assist with evenly distributing the custard.
Add the boiling water to the pan carefully. Slowly pour the boiling water into the baking dish until it comes halfway up the side of the ramekins so it doesn’t splash up into the custard. Added water will affect its consistency. I prefer to use a tea kettle since it has a spout designed for easy pouring.
How To Make Crème Brûlée
Step-by-step process images of making creme brulee are below. You can find the full set of instructions in the recipe card.
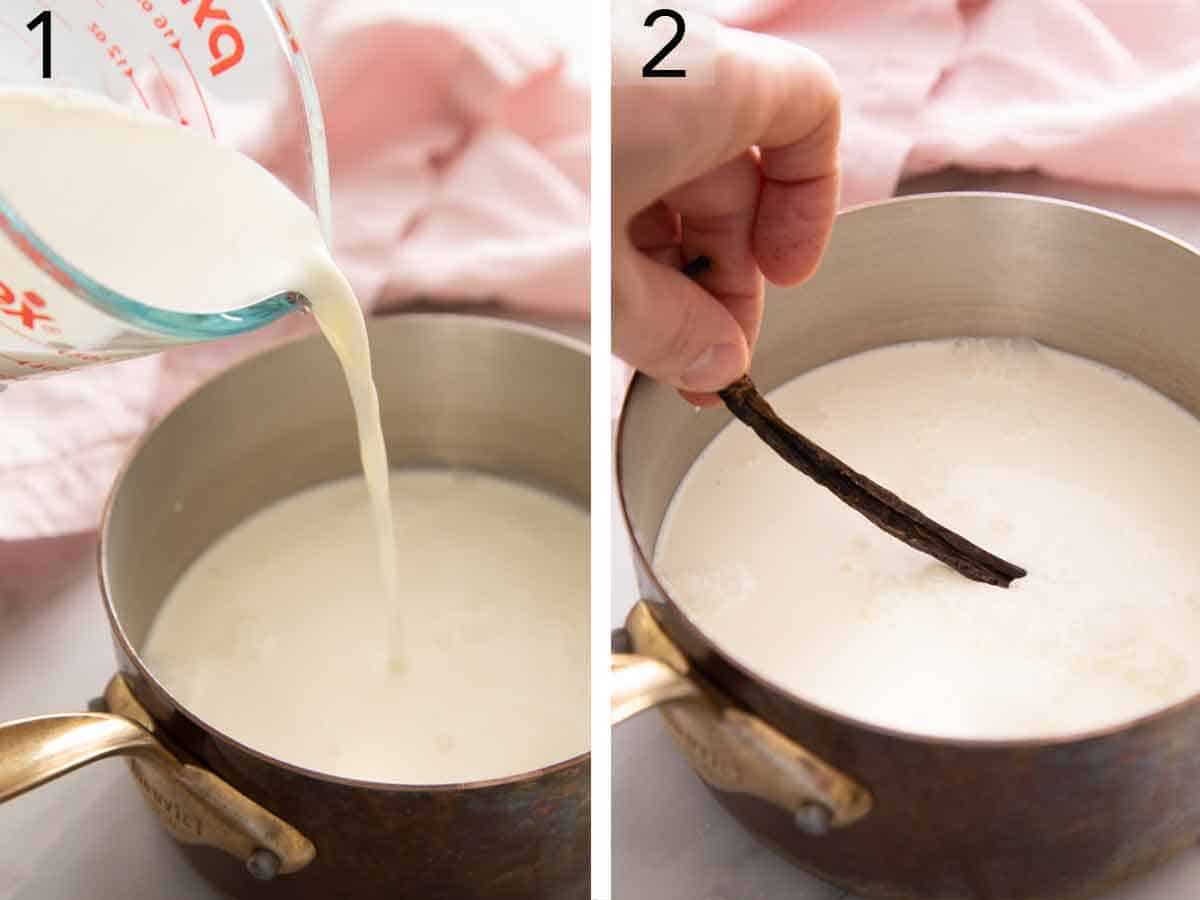
1. Simmer the cream until it is steaming, and a few bubbles start forming around the edges of the pot.
2. Steep the cream with the split vanilla bean and its seeds. Turn off the heat, and let it stand for 15 minutes. The vanilla will infuse the cream, and the cream cools down during this time.
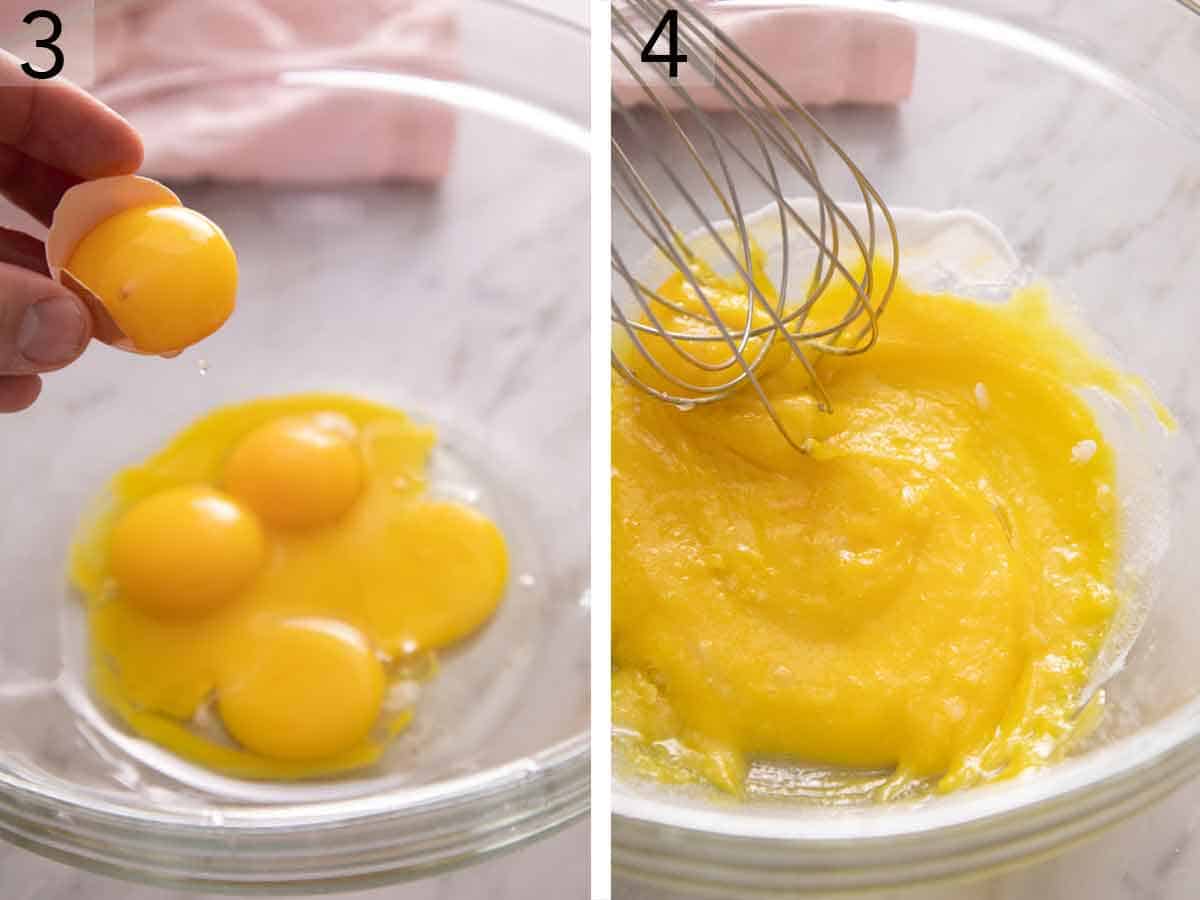
3. Separate the egg yolks into a large bowl. Save the egg whites for another recipe—they freeze great!
4. Whisk the yolks, sugar, and salt together in a large bowl. Whisk just until everything is combined—you don’t need to whip air into the eggs.
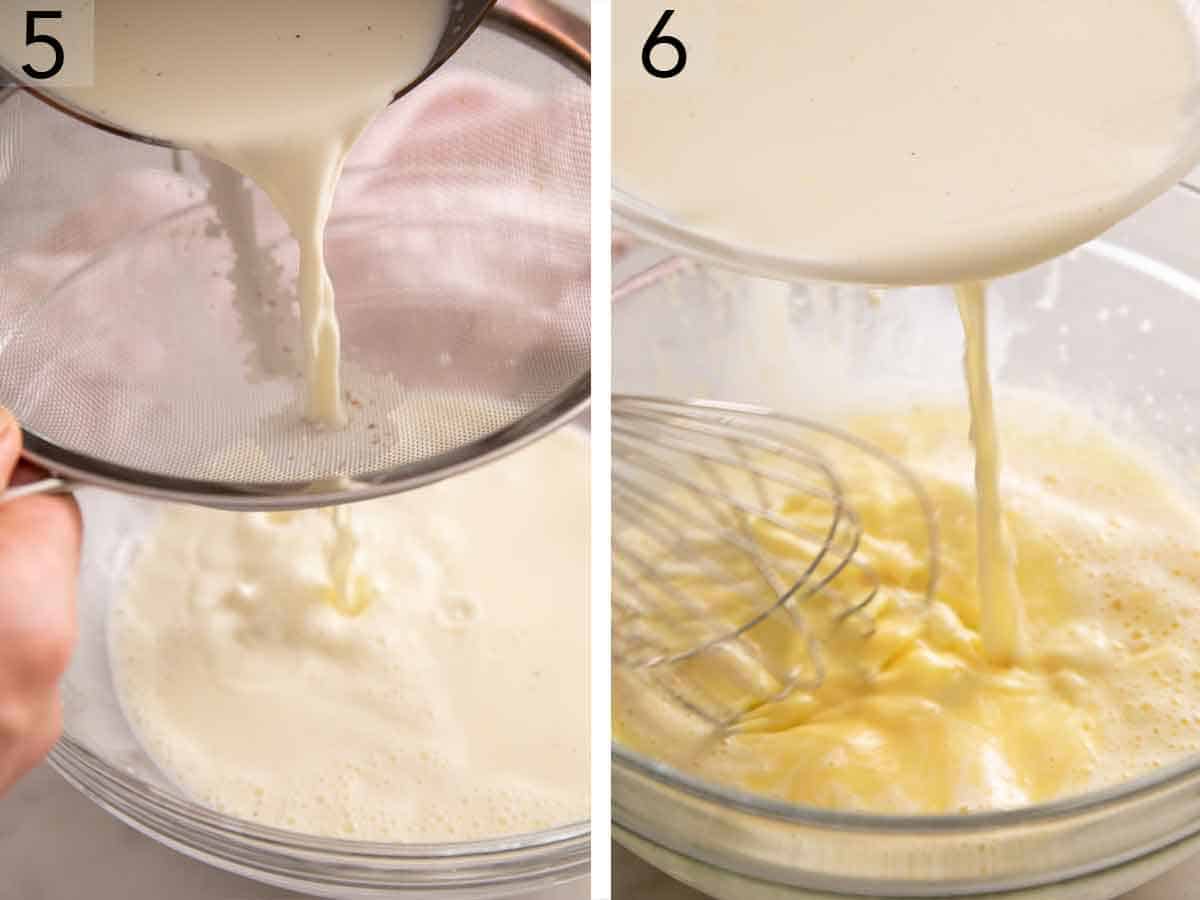
5. Strain the cream through a fine mesh sieve. Discard the pod and any solids caught, but save the strainer.
6. Whisk the warm cream into the egg yolks until well combined. Then strain the custard using the same sieve into a bowl or a measuring cup with a pouring spout.
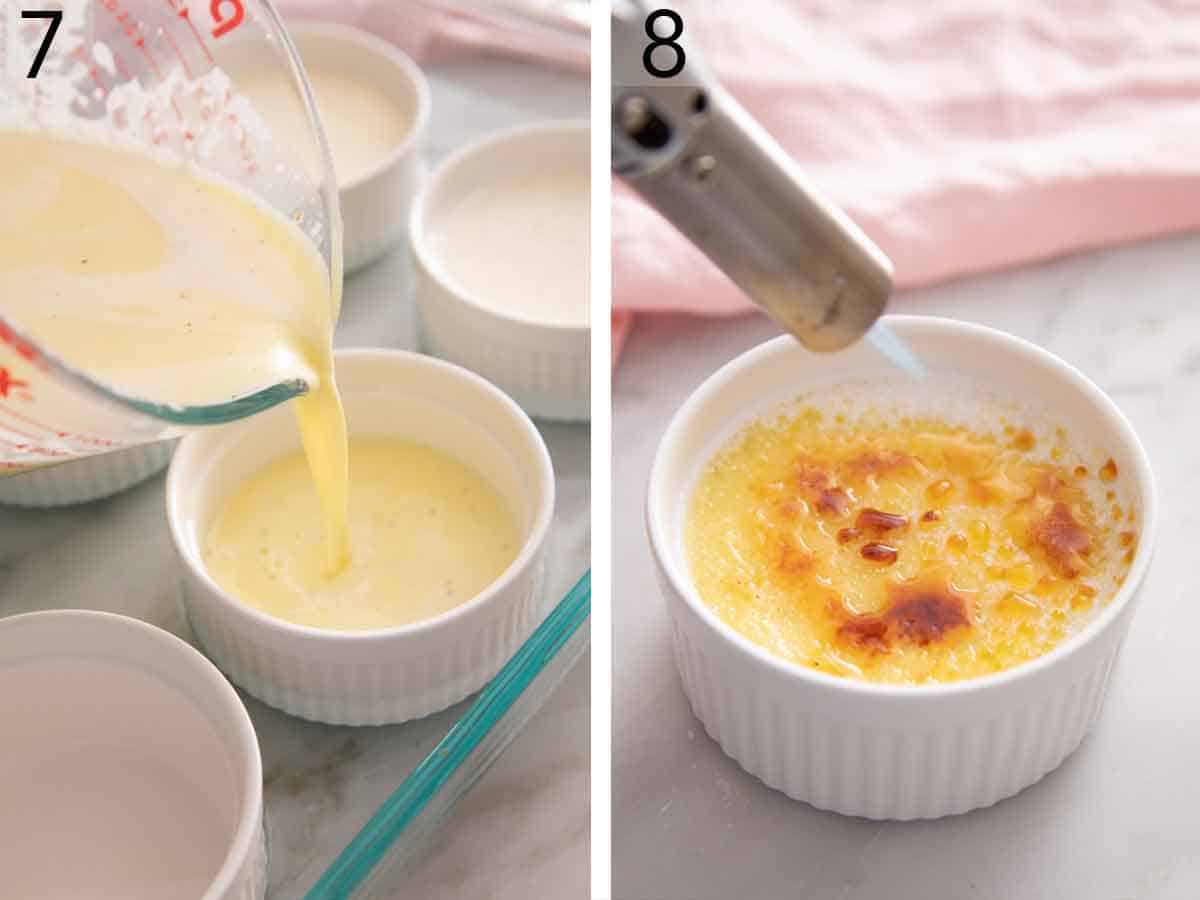
7. Divide the custard among six ramekins set in a large baking dish, then add boiling water halfway up their sides. Bake at 325°F for 30 to 40 minutes until the edges are set, and the center wobbles slightly. Carefully remove the pan from the oven, but let the ramekins cool completely in the water bath at room temperature, then remove them and chill for several hours. This isn’t only about serving temperature—the custard finishes setting as it cools, and a cold custard lets you torch the top without melting underneath it.
8. Sprinkle the top with sugar and torch it just before serving. If you don’t have a kitchen torch, you can also place the ramekins under a High broiler for 3-5 minutes.
Under-Baked, Just Right, and Over-Baked
This is an easy recipe to assemble, so it really all comes down to the correct bake! Here’s how to tell what each stage looks like and how it sets:
| State & Internal Temp | What the wobble looks like | Texture when chilled |
| Under-baked (Below ~160°F) | The whole surface ripples, center looks liquidy or sloshy, edges are barely firm. | Soupy or loose; never fully sets even after chilling. Fix? Yes—return to the oven with a water bath, check every 5 minutes. |
| Right (170–180°F) | Edges set firmly, a coin-sized center wobbles slightly as a whole, like set Jello | Silky, firm enough to hold its shape when a spoon scoops into it, no graininess |
| Over-baked (Above ~185°F) | Barely moves; surface may look puffed at the edges or slightly domed in the center. | Grainy, curdled, or firm and eggy; may weep liquid. Fix? No. You will need to remake them. |
The wobble is an easy cue, but a thermometer is the most accurate. An instant-read thermometer will tell you the exact temperature of the custard, which lets you know that the eggs have reached their point of coagulation (meaning the custard will be thick and set properly). The reading depends on exactly where the tip sits, though, so make sure you insert it in the center and don’t touch the bottom of the ramekin. I like to test with the wobble first and confirm with the thermometer if I’m unsure.
Err slightly under, not over, if you’re uncertain. Under-baked custard can be returned to the oven, but over-baked custard isn’t fixable. The proteins have curdled, and nothing can change that texture back into a silky custard.
Getting the Sugar Crust Right
Blot the surface first. Condensation forms on chilled custard, and any moisture dissolves the sugar into syrup instead of letting it melt and set into a glass-like crust. A paper towel pressed gently on top takes two seconds and will wick away the moisture.
Cover the whole surface thinly. Any bare patch of custard will take direct flame and burn. Sprinkle the sugar on top, then tilt and tap the ramekin to level it out. Don’t add more than 1½ teaspoons to the top. A thin, even layer shatters, but a thick one can turn chewy underneath.
Granulated sugar works great. It caramelizes fast enough that you’re not holding the torch flame over the custard for long. Superfine granulated sugar works even better if you have it—it will caramelize slightly faster.
Keep the flame moving. Hold it 1-2 inches above the surface, and sweep continuously across the sugared top. Stop when the sugar bubbles and turns a dark amber. I have tested holding the torch in one place until it browns, then moving it to another section, but I found it melts the surface of the custard beneath it. The sugar also burned more easily. Moving the flame melts the sugar more evenly, and it doesn’t hold such high heat in one spot, so the custard doesn’t get as warm.
Serve immediately. The crust starts absorbing moisture from the custard the moment it sets. Within about an hour, it’s soft. Brûlée the top right before you serve it. It’s a fun thing to do at the table for guests, too!
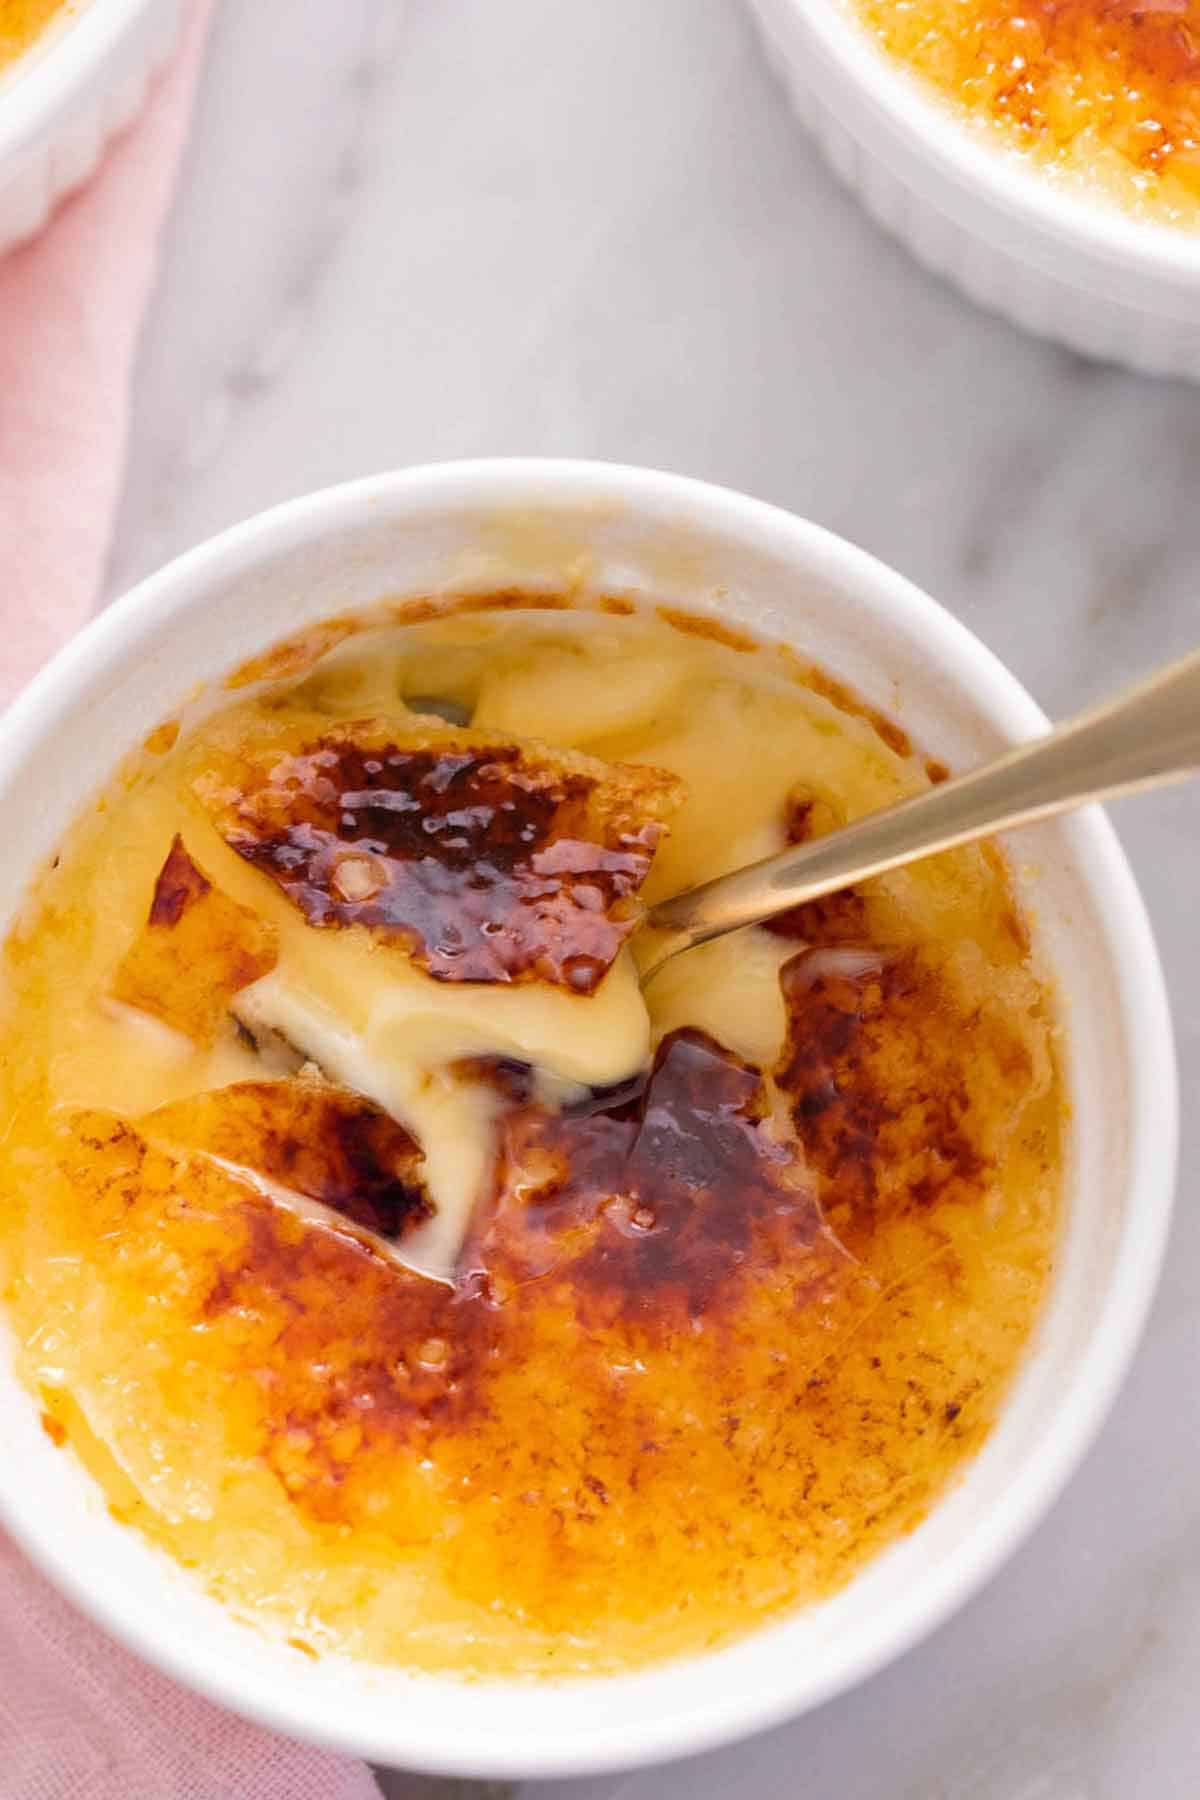
Two Ways To Brulee Without A Torch
The broiler. Set the ramekins on a sheet tray and broil on high, watching it the entire time and rotating the tray so they color evenly. While this works, it’s the riskier route. The heat is less controllable and is more intense all around the ramekin, so it can warm the custard underneath before the sugar has caramelized. When I tested this, I placed my ramekins on a tray about 6 inches below the broiler. They took 5 minutes to caramelize. The custard was softer but still very enjoyable! You can reference my guide on knowing your oven for advice on proper oven rack placement.
Pour caramel on top instead. This one doesn’t require any heat to be applied to the custard and works very well! Cook ¾ cup (150g) sugar with ¼ cup water over medium heat for about 2 minutes until dissolved, raise to medium-high, and swirl occasionally for about 5 minutes until amber in color. Brush down any crystals that form on the side of the pan with a wet pastry brush. Spoon 1½ to 2 teaspoons over each chilled custard, tilt to spread it into an even layer, and let it harden. You get a smooth glassy sheet rather than a mottled torched one. It’s actually neater, and no equipment is needed beyond a saucepan!
This is not the same as making a caramel sauce—you need to caramelize the sugar until it reaches a hard-crack stage so it sets hard. A caramel sauce adds other ingredients to keep it soft and pourable, so don’t make a swap.
Flavor Variations
I love a classic vanilla crème brûlée, but there are a few simple ways to add extra flavor to this tasty dessert:
- Add 2 teaspoons of citrus zest to the cream with the vanilla bean, then strain it out. Orange and lemon are wonderful options.
- Add spices such as cinnamon, cloves, and nutmeg to the cream mixture and strain it out. You can use a few whole spices or ¼ teaspoon ground spices.
- For a coffee-flavored crème brûlée, dissolve 1 to 2 teaspoons of instant espresso powder in the hot cream.
- To add a boozy kick, stir 1 to 2 tablespoons of Grand Marnier, brandy, spiced rum, or bourbon into the custard before straining it the second time.
Crème Brûlée Recipe

Ingredients
- 3 cups heavy cream (720mL)
- 1 vanilla bean split and seeds scraped
- 5 large egg yolks
- ½ cup granulated sugar plus more for topping (100g)
- ⅛ teaspoon salt
Instructions
- Preheat the oven to 325°F.
- In a small saucepan, bring the cream and vanilla bean pod and seeds to a simmer over medium heat. Remove from heat and let stand for 15 minutes.
- Strain through a fine mesh sieve into a bowl. Discard any solids and the vanilla bean pod.
- In a large bowl, whisk together egg yolks, sugar, and salt. Slowly whisk the warm cream into the egg yolks. Strain the custard through a fine mesh sieve and discard any solids caught by the sieve.
- Place 6 (6-ounce) ramekins in a large baking dish and divide the custard among them. Very carefully pour boiling water into the baking dish until it comes about halfway up the sides of the ramekins. (Go slow and take care not to splash water into the custard. See notes for an alternative method.)
- Bake for 30 to 40 minutes or until the custard edges are set, but the center wobbles slightly when gently shaken. (If you’d like to be more accurate, the internal temperature should be around 170-180F. Insert an instant-read thermometer into the center of one custard to check.)
- Carefully remove the pan from the oven and let the custards cool completely in the water bath at room temperature. Remove the ramekins from the water and chill for several hours. The custards can also be loosely covered and refrigerated for up to 2 days before topping and serving.
- When ready to serve, sprinkle sugar evenly over the top of each chilled custard (about 1 to 1½ teaspoons each). Using a blow torch, caramelize the sugar until dark amber and bubbling. Serve immediately to ensure the sugar is still crispy and cracks when spooned into it.
Notes
- Use 6-ounce ramekins. If you use larger or smaller ramekins, adjust the cooking time and cook until the edges are set but the center wobbles slightly. Shallower ramekins give you more surface area for the sugar topping but cook faster, so start checking early. I tested with narrower 6-ounce ramekins that were about 2 inches deep.
- Checking doneness. If you’re unsure, insert an instant-read thermometer into the center of a custard. They’re finished when the custard reaches between 170°F and 180°F.
- Try raw sugar or natural cane sugar for the topping for more caramel and molasses notes.
- Use one big dish instead of ramekins: a 9-inch glass or ceramic pie plate works, baked with the same water bath technique. One reader, Cindy, makes it this way for her mother. Check with the wobble or the thermometer, since the timing will change based on the depth of your pan.
Nutrition
Have you tried this recipe? Tag me today!
Mention @preppykitchen and tag #preppykitchen!
Storing and Making Ahead
Before torching: this is the best make-ahead window and the reason crème brûlée works so well for a dinner party! Cool and chill the custards, then cover tightly, and refrigerate for up to 3 days. Sugar and torch just before serving.
After torching: the crust softens within the hour, so torch only what you’re serving. If you do have brûléed leftovers, cover and refrigerate for up to 3 days. The top turns syrupy rather than crisp, but it still gives the custard delicious caramel flavor.
Frequently Asked Questions
It’s a baked custard, specifically a cream-and-yolk custard with no starch and no whites, which is what makes it softer for a spoonable texture rather than sliceable. What separates it from other custards is the finish: a layer of sugar caramelized directly on the chilled surface. The name translates to “burnt cream.” Take that crust away, and you have a vanilla pot de crème!
Crème brûlée specifically is French, with a recipe printed in a French cookbook in 1691. But Catalonia (Spain) has its own version, crema catalana, which predates crème brûlée. It is a caramelized custard, but the custard is stovetop-thickened with starch and then chilled rather than baked.
Ramekin depth and size are typically the reason. This recipe is written for 6-ounce ramekins, but those can be taller and narrower or shallow and wide. Shallow, wide ramekins hold a thinner layer of custard and can finish well before the low end of the range; deeper, narrow ones can take until the higher end of the range. The bake time is a guide, so always test the wobble or the temperature of the custard.
More Recipes To Try
Try one of these dessert recipes next:
- French Macarons — use the leftover egg whites to make these iconic French cookies.
- Pastry Cream — the stovetop, starch-thickened French custard used to fill éclairs and fruit tarts (also known as crème pâtissière).
- Mille Fuille — a thick pastry cream holds up crispy layers of buttery puff pastry.
- Tiramisu — a no-bake custard-and-mascarpone layered dessert.
- Chocolate Mousse — an egg-based dessert that is much easier to make than it sounds!
If you’ve tried this creme brulee recipe, then don’t forget to rate it and let me know how you got on in the comments below. I love hearing from you!