

This post may contain affiliate links. Please read our disclosure policy.
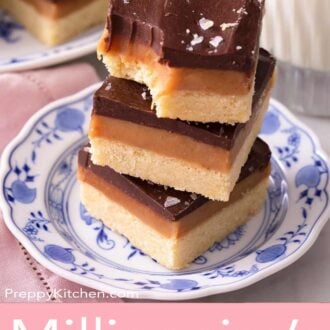
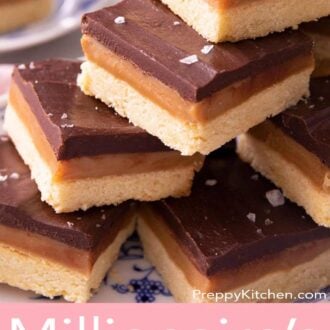
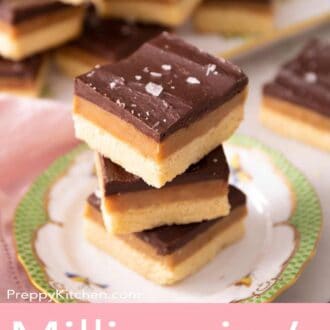
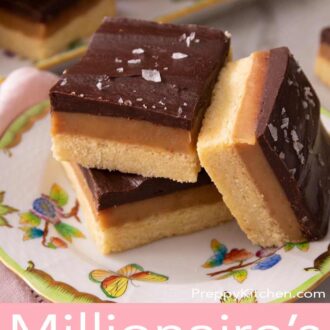
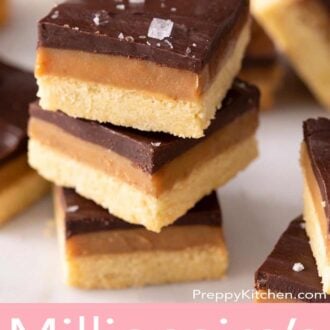
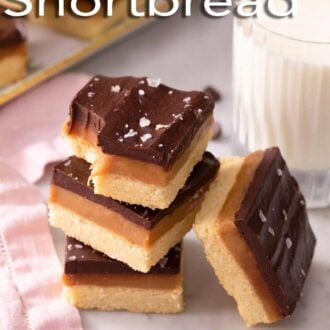

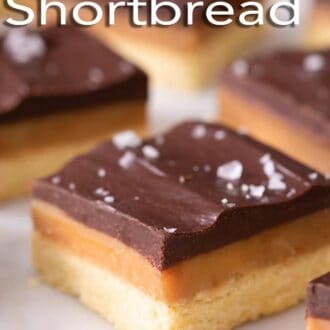
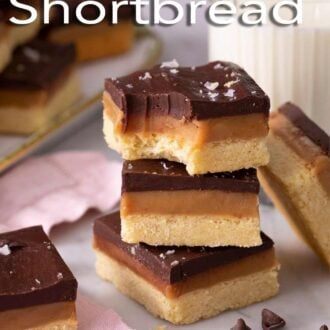
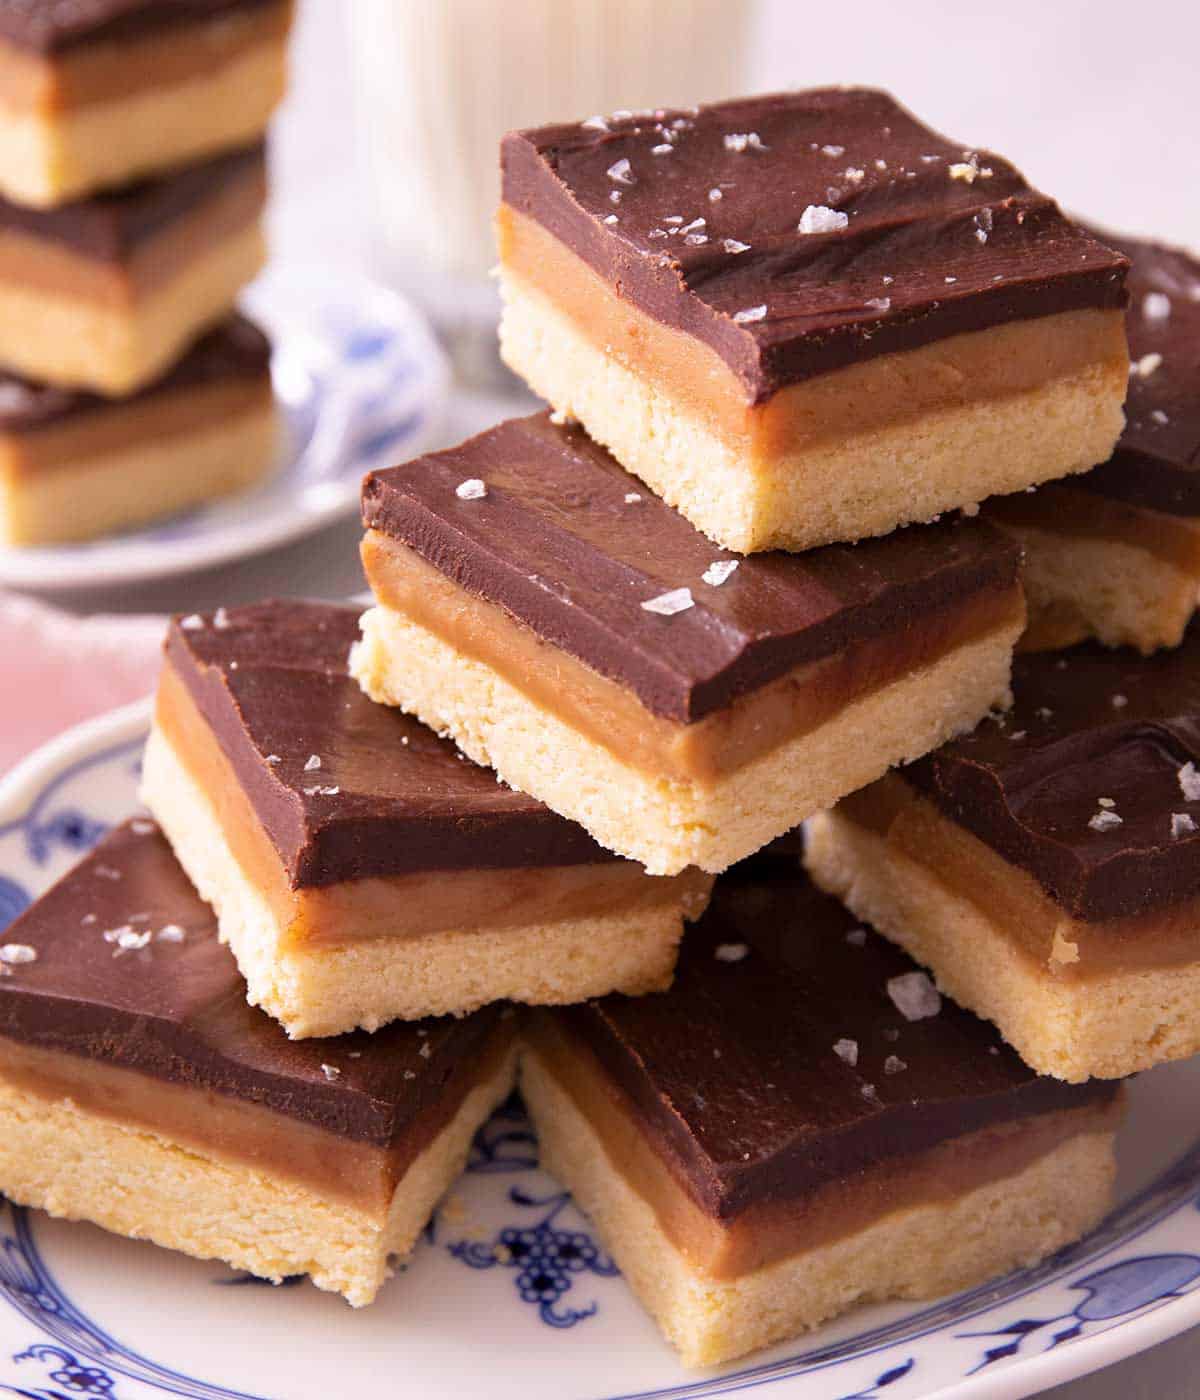
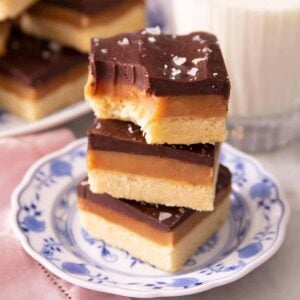
My decadent Millionaire’s Shortbread has a layer of buttery shortbread topped with thick caramel and a ganache that won’t crack when you cut it. The key is to cook the caramel to the right temperature. It takes under an hour to make, and once chilled, they slice perfectly!
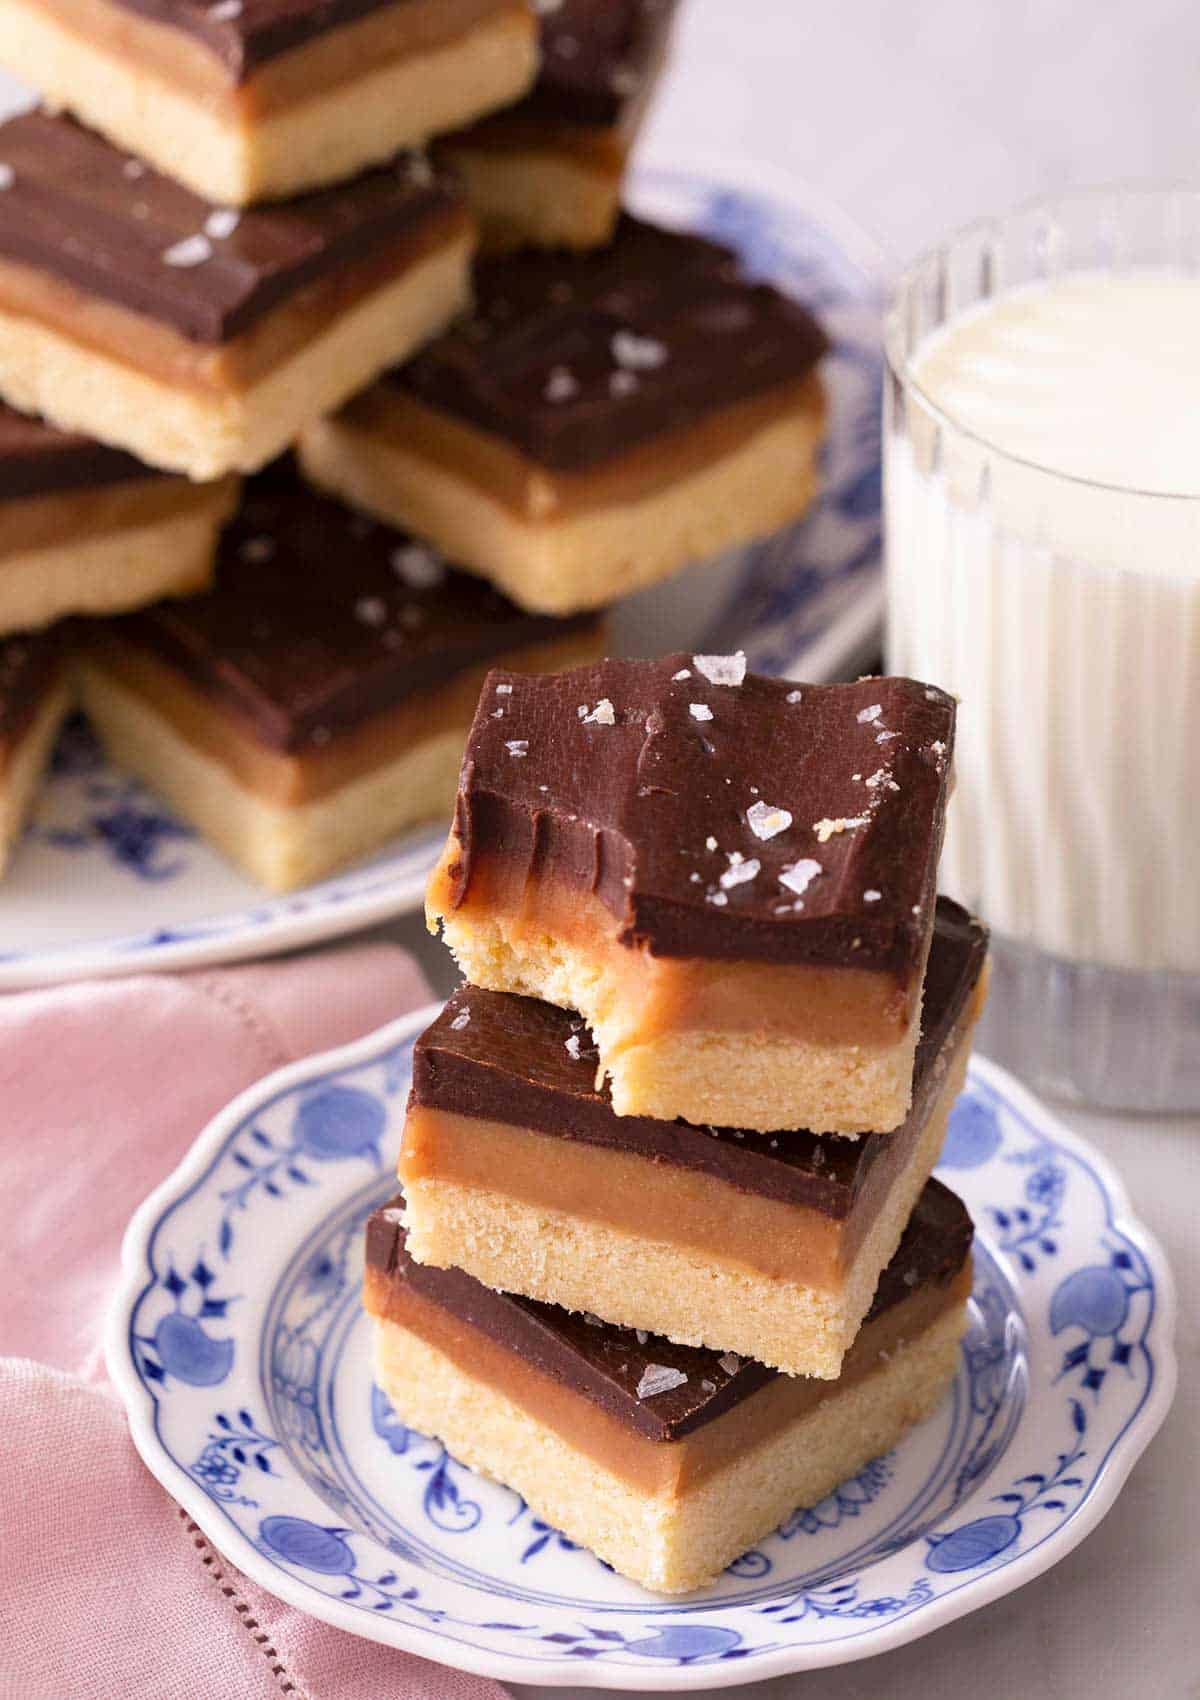
Two things separate a good millionaire’s shortbread and a happy baking experience from a frustrating one. It all comes down to temperature and texture. The first is caramel temperature. This caramel has to reach 225°F. Below that, it stays soft and oozes out of the sides when you cut, regardless of chilling. Above it, it’s so chewy it is unpleasant to eat. I tested the caramel consistencies, so you know exactly what to look for, even if you don’t have a thermometer.
The second is what goes on top. Most recipes melt chocolate straight onto the caramel, and set chocolate is brittle: it cracks and falls off the moment a knife goes through. My recipe uses ganache, which stays flexible enough to cut cleanly! I tested two different amounts, so you can make a thicker top if you love a chocolate-forward slice, or use less to let the caramel shine.
“The best millionaire’s recipe I’ve tried! The ganache works so much better than solid chocolate because it doesn’t fall off. Followed the recipe exactly and used an 8 inch tin because I don’t have a 9 inch, and it’s my new favourite. Just so delicious!!”
Natalie
Ingredient Notes
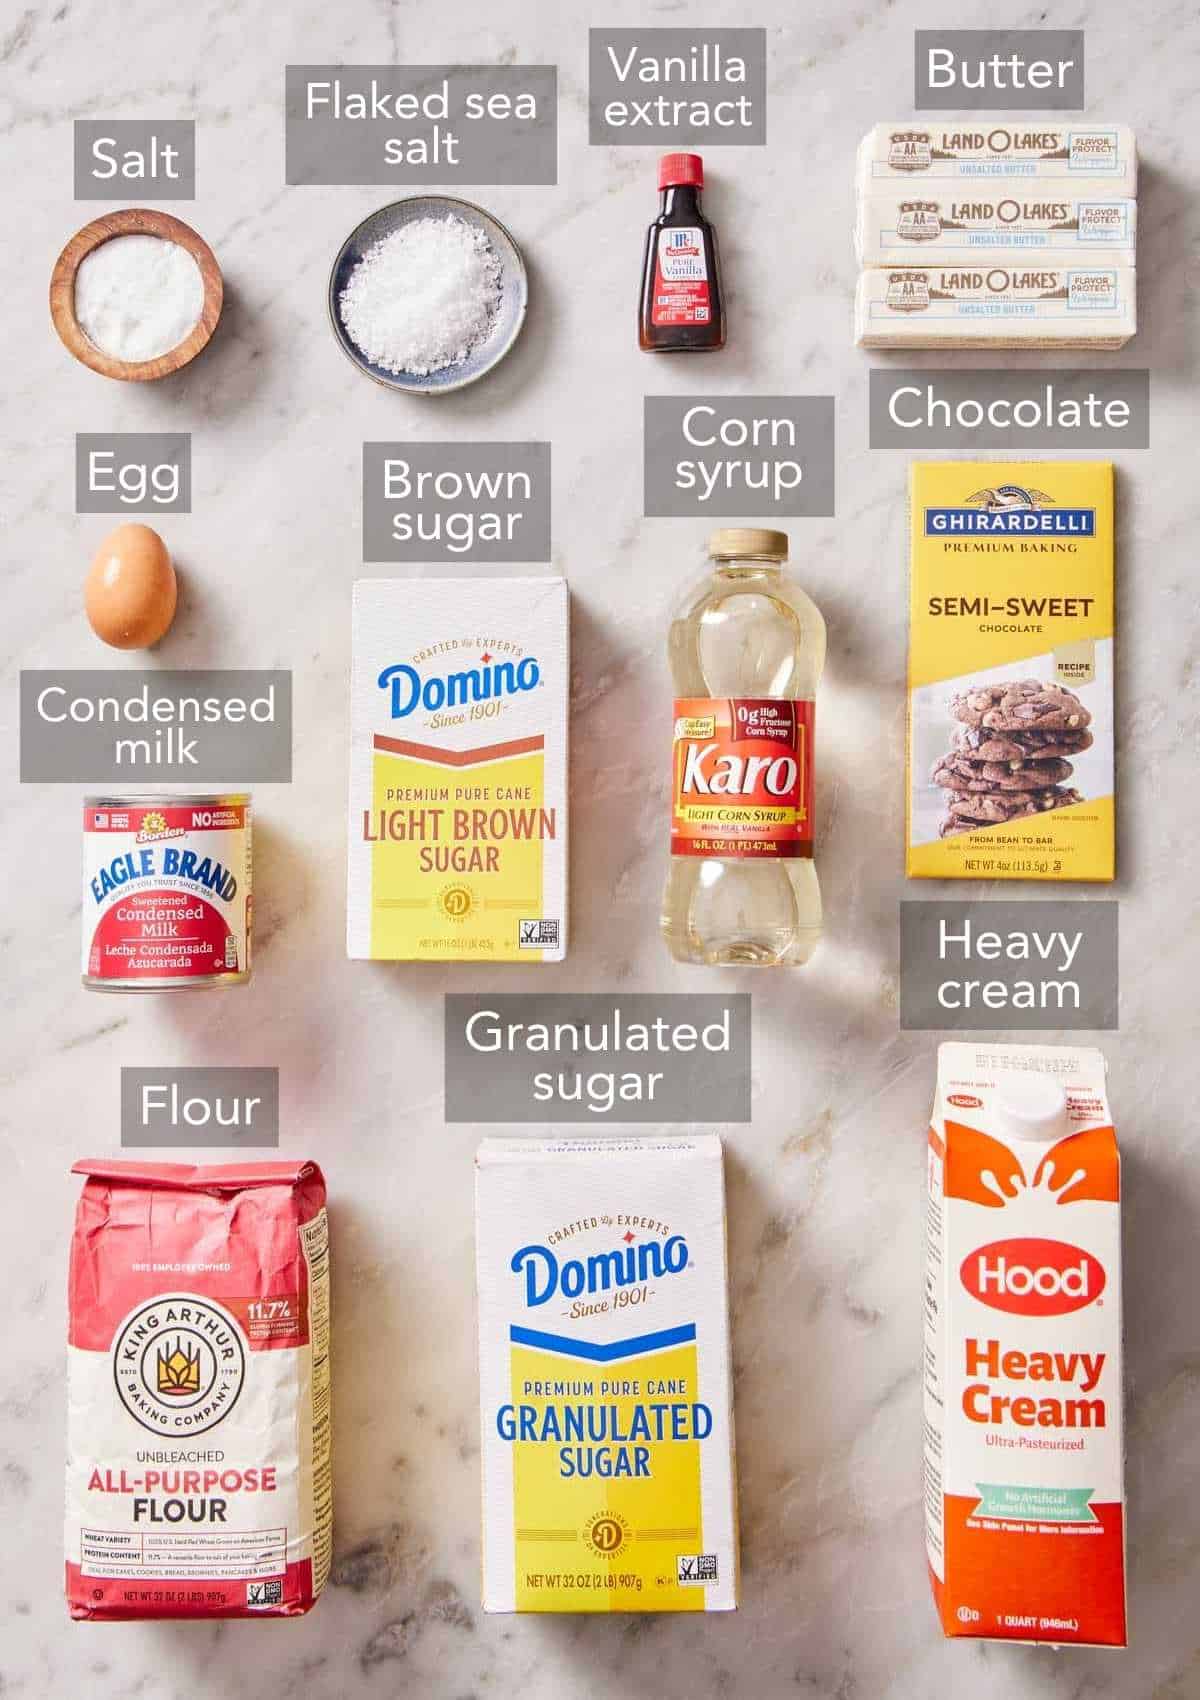
You can find the full list of ingredients and measurements in the recipe card below.
Sweetened condensed milk — the shortcut ingredient that makes this caramel achievable regardless of baking skill. This canned milk is sweet and thick to start. It doesn’t need to cook for as long, and you don’t have to fuss with caramelizing regular sugar, which can burn or turn grainy easily. Do not substitute evaporated milk — the cans sit next to each other on the grocery shelf and look almost identical, but evaporated has no sugar in it, so you’ll end up with a thin sweetened milk rather than a chewy caramel.
Light corn syrup — an invert sugar that interferes with sucrose crystals forming, so the caramel stays smooth and chewable rather than turning grainy.
Butter — this gets mixed with flour to create a buttery, short cookie base (aka shortbread) for the bars. It’s also added to the caramel for richness and a smoother texture. Cut it into small pieces for the caramel so it melts evenly. Uneven melting is the main cause of a caramel that separates into a greasy layer with grainy sugar underneath. I also prefer unsalted butter and to add a measured amount of salt to control the flavor. See my guide on Salted vs. Unsalted Butter to learn about the difference and how to make the swap if you only have salted butter on hand.
Chocolate — when updating this recipe, I switched to using a chopped bar rather than chips. Chips carry stabilizers that help them hold their shape in a cookie. In the ganache, depending on the brand, some readers found that it could make the ganache grainy or slightly gummy. A chopped baking bar melts more smoothly, is shinier, and has less risk of forming a bad texture.
Egg yolk — one in the shortbread is what makes this cut cleanly instead of crumbling. A traditional shortbread has no egg at all. I deliberately included it in this shortbread base because it has to survive being sliced. While it still has a shortbread consistency, I found in testing that the added egg made the base less crumbly, so the bars sliced more cleanly without falling apart.
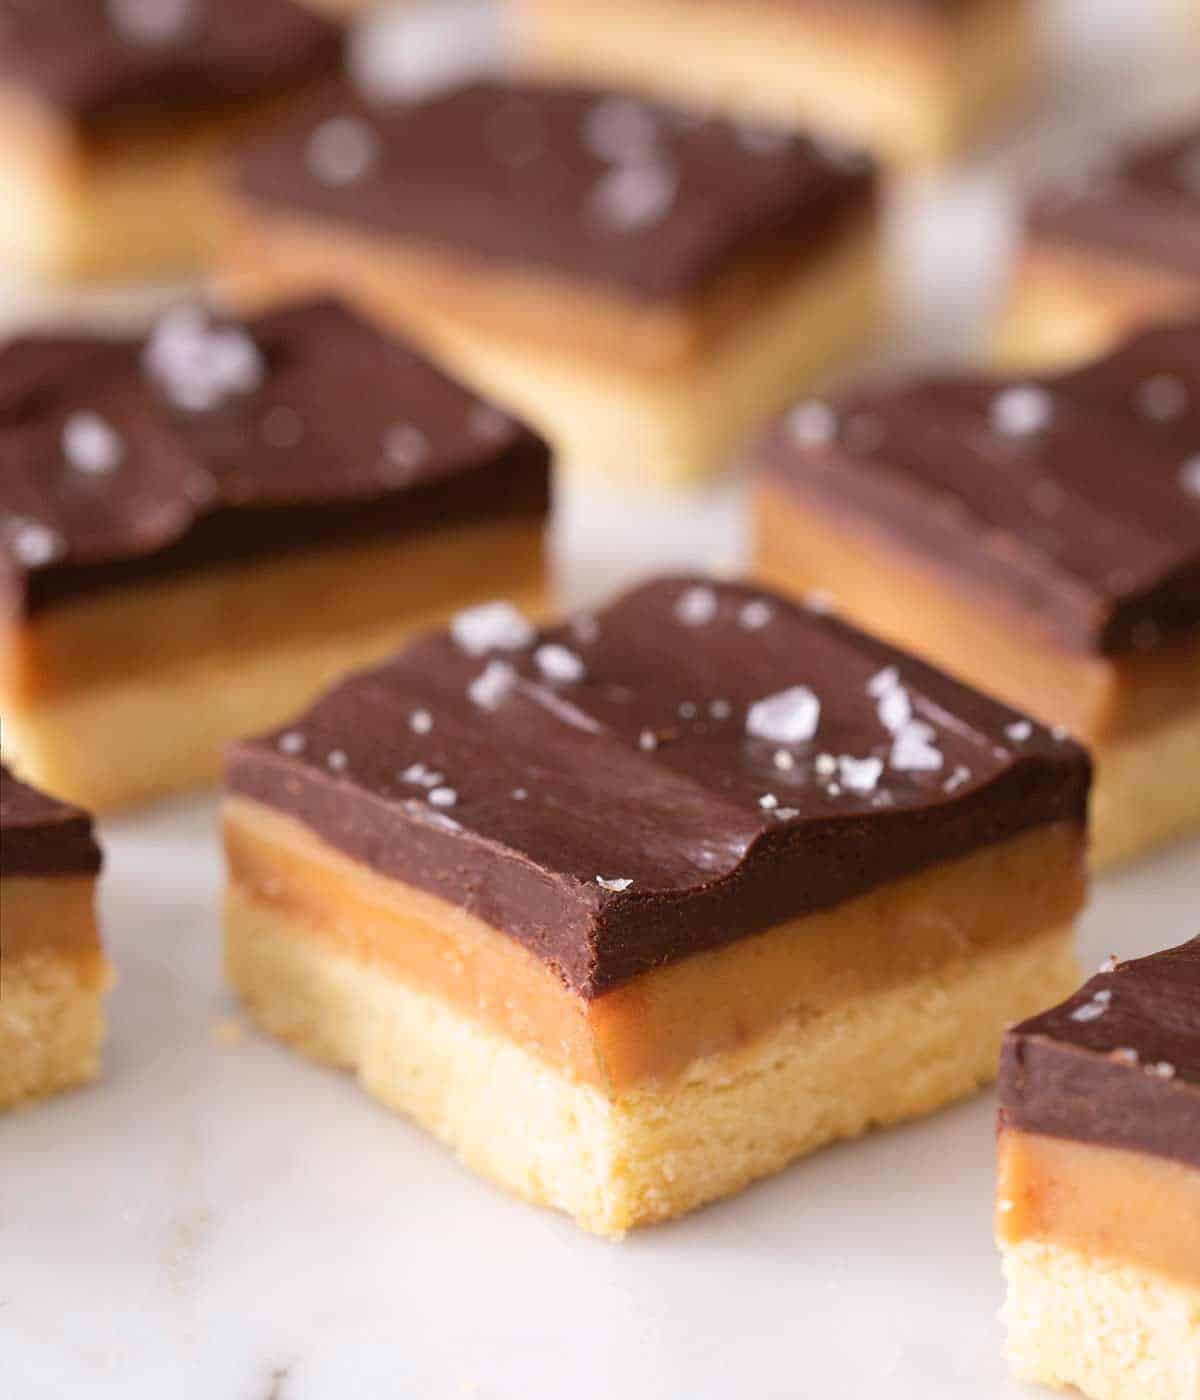
Getting the Caramel to The Right Consistency
This is the most crucial step of the recipe, so I wanted to dive into the details for you. I also get the most reader comments about this step—some found the caramel far too thick, and others said it was very runny despite cooking them for the same amount of time. Here’s how and why it varies and my tips for getting the right consistency.
Use a thermometer. When I first published this recipe, I said you didn’t have to have a thermometer. And while that is technically true, having one takes 100% of the guessing out of the equation. Having read a lot of reader comments about caramel that never set, I highly suggest you use an instant-read thermometer. Color and bubbling are unreliable cues here because color can be subject to the viewer. This is essentially a chemistry lesson—the sugar needs to reach a certain stage for the molecules to form the right bonds and the caramel to set up to the proper texture once cooled. Bringing the caramel mixture to 225°F guarantees it will set properly.
What 225°F actually means: the temperature is an indicator of how much water has boiled off. Sugar syrups have a fixed relationship between concentration and boiling point, so the thermometer is actually measuring dryness, not simply heat. That’s why a thermometer matters—the water has to physically leave to get the right texture. If it’s too cool, there’s too much water, and the caramel stays runny. If it’s too high, too much water has evaporated, making the caramel hard or too firm to chew. Even though this is a “short cut” caramel, it’s the same principle as making a true caramel sauce.
I tested this to show what the stages look like and why a thermometer matters. At 215°F, the caramel looks amber in color, but is still runny (image on the left). This won’t set and will slump out the sides when you try to slice the bars. At 225°F, the caramel looks slightly darker and is thicker, but it’s hard to tell if it’s not too thick and the color hasn’t shifted that much. At 235°F, the caramel only looks slightly darker and thicker than at 225°F. Some parts started to stick to the pan and burn by that point, so that’s an indicator it’s getting too hot.
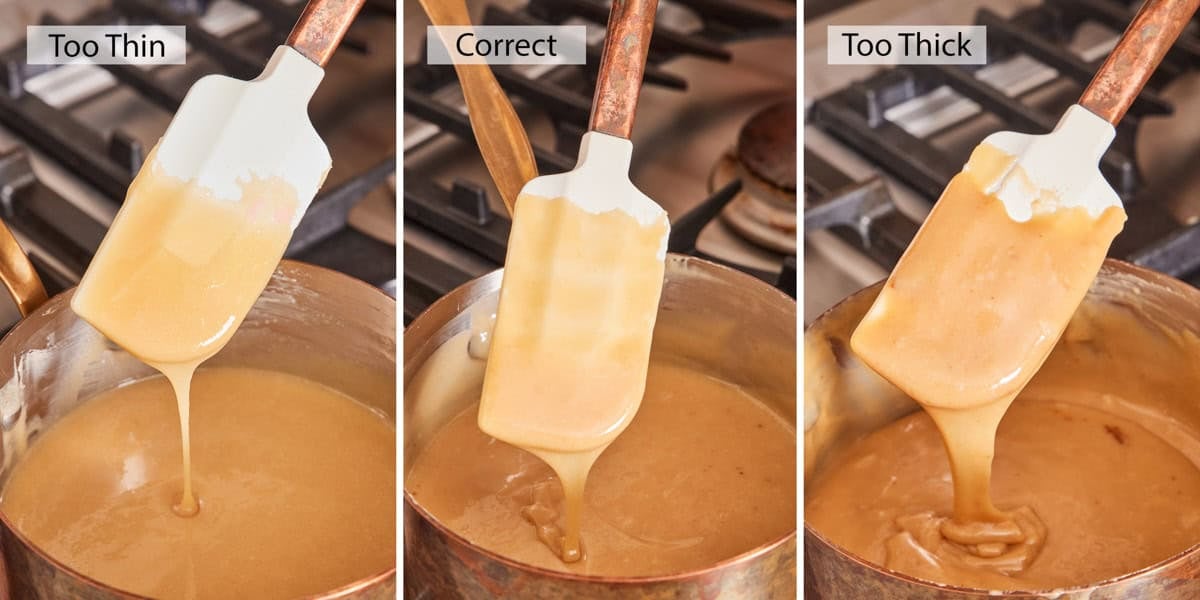
The visual confirmation if you don’t have a thermometer: look for the caramel to start pulling away from the sides of the pan as you whisk, leaving a clean trail for a moment before it flows back. If that isn’t happening, it isn’t ready regardless of the color.
Expect it to take longer than you think, but don’t change the burner. Six to ten minutes is the range on a responsive gas burner. On a glass-top electric stove it can take considerably longer. The instinct when a caramel sits at 215°F and refuses to climb is to turn the dial up. That’s what scorches the bottom and burns parts of the caramel. Keep the heat moderate and keep whisking. The temperature will get there!
If the caramel splits, you’ll see butter pooling on the surface and the texture turning grainy. Pull it off the heat immediately and whisk in a tablespoon or two of hot water, a little at a time. That will often bring the emulsion back. If it’s scorched, start over because a burnt caramel tastes burnt and that can’t be recovered.
Why I Top With Ganache Instead of Melted Chocolate
Melted chocolate sets hard and brittle. When you cut it after it has chilled, it fractures, and on a bar with a soft caramel layer underneath, it flakes off the top. It’s one of the most common complaints about homemade millionaire’s shortbread.
Cream changes the texture. Adding fat and water to chocolate interrupts the crystal network that makes set chocolate snap. Ganache firms up enough to hold a clean edge but stays pliable enough to cut through without shattering—and it doesn’t bloom, or develop a greyish powdery film, in the fridge the way melted-then-chilled chocolate can. One reader who’d made other versions before mine put it plainly: the ganache doesn’t fall off!
The trade-off is that ganache needs to be cool to stay firm, whereas a plain chocolate top is stable at room temperature. That’s why these are stored cold and why they cut best straight from the fridge. Once cut, you can serve them at room temperature; just note that the top will be softer.
Pro Tips For The Best Millionaire’s Shortbread
Make sure you fully line your baking dish. The caramel layer is very sticky, so lining all sides of the pan will help the slab release cleanly for slicing. Leave some excess going up the sides too, so it’s easy to remove. Use my Academy guide, How to Line a Baking Pan, for tips on fully lining the pan.
Chill the caramel layer before adding the chocolate. Otherwise, there’s a chance they will mix together when you spread the chocolate on top, and you won’t have even layers.
How To Make Millionaire’s Shortbread
I’ve highlighted portions of the recipe in step-by-step process images and instructions below. You can find the full set of instructions in the recipe card below.
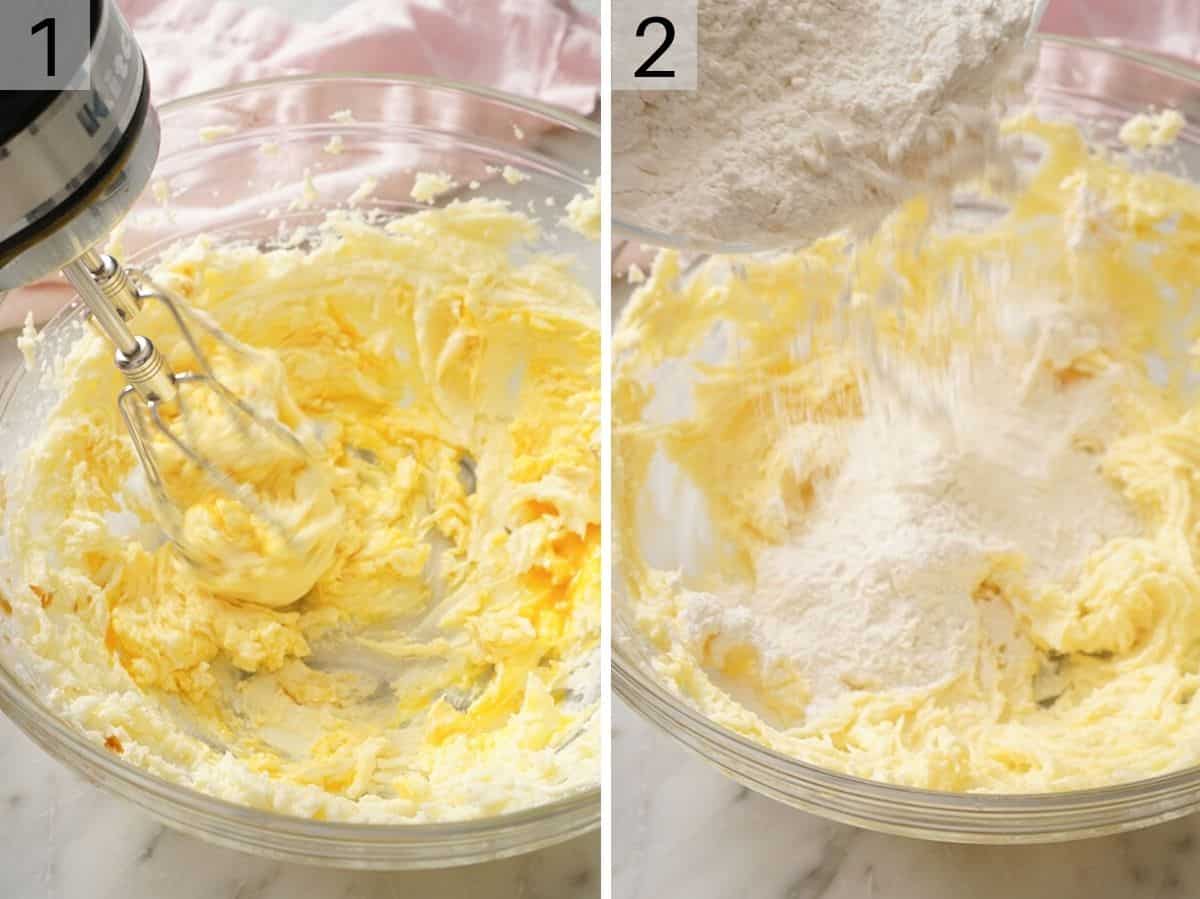
1. Make the shortbread. Beat the butter, sugar, and salt with a hand or stand mixer until it’s pale and fluffy. Add the vanilla and yolk and beat until combined.
2. While mixing on low speed, gradually add the flour and beat it just until the dry streaks of flour disappear. Give the bowl a scrape and mix by hand with a spatula to make sure all of the flour is mixed in.
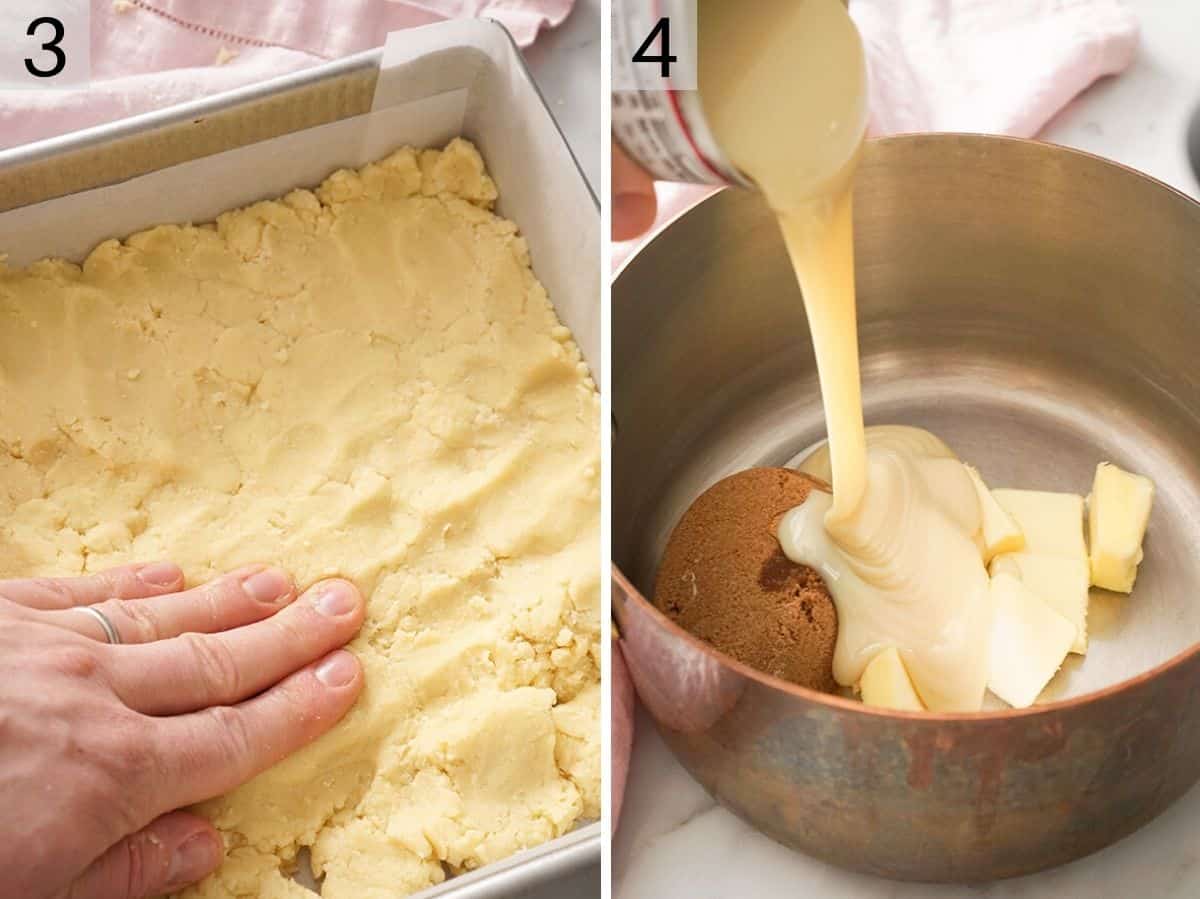
3. Press the dough into a fully lined 9×9” pan in an even layer. Check for holes and thin patches before it goes in the oven. The caramel finds any gap and seeps beneath it, which can cause the bars to fall apart when you lift the slab out later. Bake for about 22 minutes, until the shortbread has light golden edges.
4. Make the caramel while the base bakes. Combine the condensed milk, butter, brown sugar, corn syrup, and salt in a pot over medium heat. Whisk occasionally for about 3 minutes until the butter fully melts, then whisk constantly until it bubbles, darkens, and reaches 225°F. This usually takes 6-10 minutes, but that can differ based on your stove. Once off the heat, whisk in the vanilla.
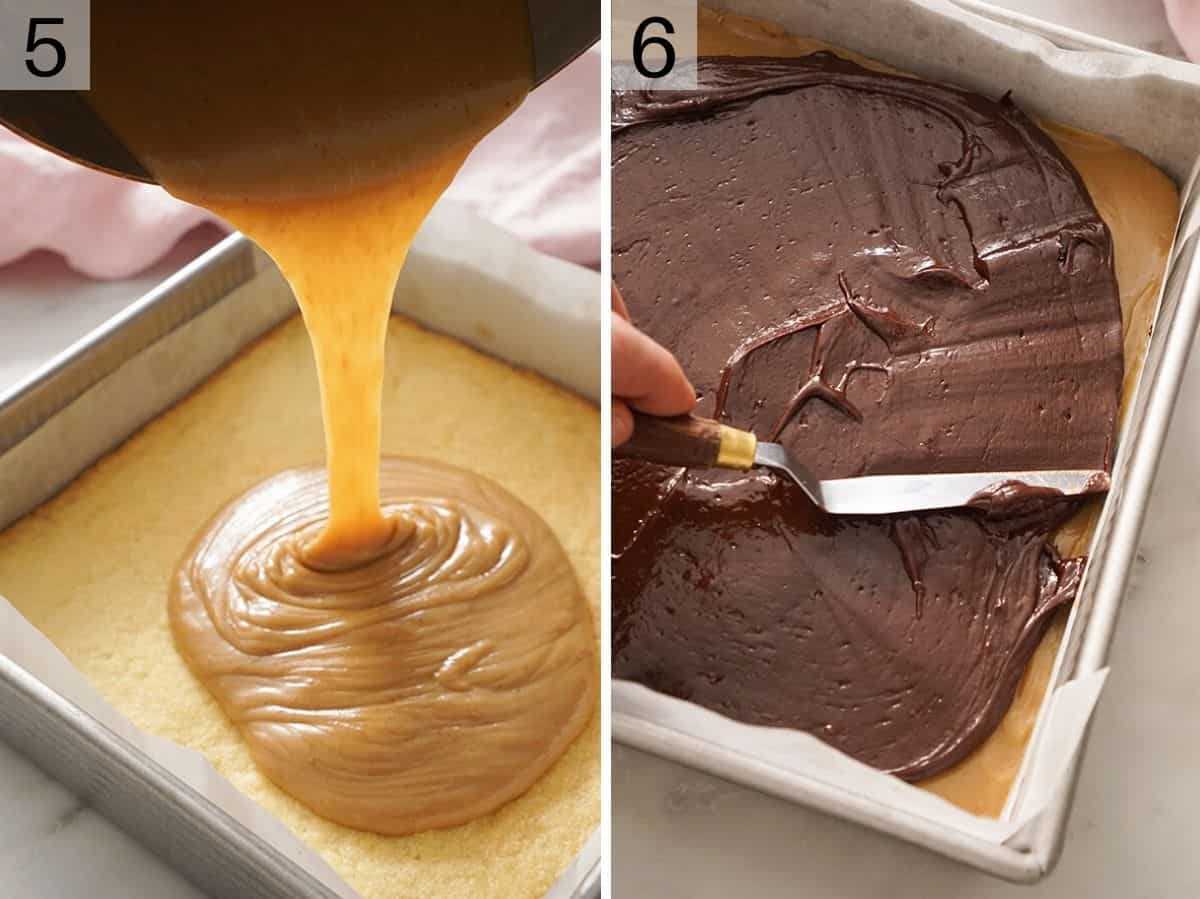
5. Pour the hot caramel onto the hot baked shortbread. This timing matters. You want to make sure both layers are still warm so the caramel settles into the surface of the shortbread instead of sitting on it as a separate slab. Smooth it out to the edges, then leave it to cool to room temperature. Don’t place it in the fridge to speed up either—it can form condensation, which can make the shortbread soggy and the ganache not stick to the caramel layer properly.
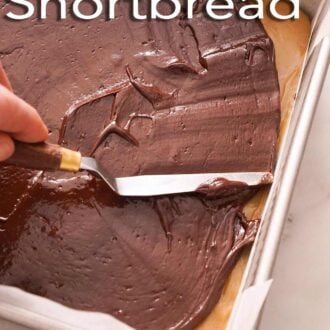
6. Make the ganache. Combine the chocolate and cream in a microwave-safe bowl; heat in 20-second bursts with a stir between each, for about 60 seconds total. Once smooth, pour over the cooled caramel, smooth, and scatter flaked salt over the top if you want it. Chill for at least 2 hours before cutting.
Cutting Clean Squares
Lift the whole slab out using the parchment overhang before you cut anything. Cutting in the pan compresses the layers and scratches the bakeware.
Warm the knife by running hot tap water over it, dry it completely, then cut. A warm blade passes through cold ganache and caramel with ease and without dragging. Rewarm and wipe clean between every few cuts. A hot knife is the difference between sharp squares and smeared edges.
Cut cold. Cut the slab straight from the fridge. A room-temperature slab has softer caramel and ganache that squeezes out sideways under the pressure of the blade (even when hot).
Millionaire’s Shortbread Recipe
Equipment
- 9×9 baking dish
- Medium Saucepan
- Electric hand or stand mixer
Ingredients
For the Shortbread Crust:
- 1 cup unsalted butter room temperature (226g)
- ½ cup granulated sugar (100g)
- 1 egg yolk
- 1 teaspoon vanilla extract
- ½ teaspoon salt
- 2 cups all-purpose flour (240g)
For the Caramel:
- 1 (14-ounce/396g) can sweetened condensed milk
- ½ cup unsalted butter cut into tablespoon-sized pieces, (113g)
- 1 cup packed light brown sugar (220g)
- ¼ cup light corn syrup (60ml)
- ½ teaspoon fine sea salt
- 1 teaspoon vanilla extract
For the Chocolate Ganache:
- 1 (4-ounce/113g) semisweet chocolate bar chopped (or ⅔ cup/118g chocolate chips)
- ⅓ cup heavy cream (80ml)
- Flaked sea salt for garnishing (optional)
Instructions
Make the Shortbread Crust:
- Preheat the oven to 350°F and fully line a 9×9 inch baking dish with parchment paper or foil.
- In the bowl of a stand mixer with the paddle attachment, or using a hand mixer, beat the butter, sugar, and salt at medium-high speed until light and fluffy, about 3 minutes. Add the vanilla and egg yolk, then mix until combined.
- While mixing on low speed, add the flour in a few batches and mix until just combined. Stop occasionally and scrape down the bowl to make sure everything is thoroughly mixed together. Transfer the dough to your prepared pan and press into an even layer. (Make sure there are no holes or gaps in the shortbread dough, or it can fall apart later on in the assembly process.)
- Bake for about 22 minutes or until the edges are a light golden brown.
Make the Caramel:
- While the shortbread base bakes, make the caramel. Combine the sweetened condensed milk, butter, brown sugar, corn syrup, and salt in a small pot.
- Place over medium heat and whisk occasionally until the butter is melted and combined, about 3 minutes. Then, begin whisking constantly until the caramel bubbles and darkens slightly, and reaches 225°F on an instant read thermometer. This will take 6-10 minutes. Once it reaches temperature, you’ll see it start to thicken and pull away from the sides of your pan. Remove the pot from the heat and whisk in the vanilla.
- When the shortbread is done, pour the hot caramel onto the hot shortbread base, and smooth it to the edges creating a flat layer. Set aside to cool to room temperature so the caramel can set on top.
Make the Ganache:
- Combine the chopped chocolate and heavy cream in a medium microwave-safe bowl. Microwave on high in 20-second bursts, stirring in between, until the chocolate is fully melted and the ganache is smooth, about 60 seconds. Pour the chocolate over the cooled caramel and smooth into an even layer. Sprinkle with salt if desired, then chill the pan for at least 2 hours.
- To cut into pieces, use the parchment paper to lift the slab out of the pan. Warm a knife by running it under hot water, then dry it off. Slice the slab into bars with the warm knife (rewarm and wipe it clean as often as needed.)
Notes
- One recipe update! I switched to using a chocolate bar in the topping. It melts more smoothly and sets better. I also reduced the ratio of chocolate to cream for a topping that had a softer texture after chilling. If you love a thicker ganache topping, use the original recipe with 1½ cups (270g) semisweet chocolate chips and ⅓ cup (80ml) of cream.
- Use chocolate chips for the ganache: You can use ⅔ cup of chocolate chips in place of the chocolate bar.
Nutrition
Have you tried this recipe? Tag me today!
Mention @preppykitchen and tag #preppykitchen!
Storing and Freezing
Room temperature: in an airtight container for up to 5 days. The ganache softens, but the bars will be safe to store out of the fridge.
Refrigerator: this is the better option if your kitchen is warm, and it keeps the cutting edges sharp. They’ll keep for a couple of weeks in the fridge. Let them sit out for 10-20 minutes before serving so the caramel isn’t too stiff.
Freezer: these freeze well! Wrap the cut bars individually in plastic or foil so they don’t fuse, and thaw completely in the fridge before serving. Any condensation that forms on the ganache surface when thawing will dull it, so unwrap only once they’re thawed.
Frequently Asked Questions
Most likely, it didn’t reach 225°F. Condensed milk caramel turns a convincing golden color and bubbles enthusiastically well before enough water has evaporated for it to firm up, so cooking by eye tends to undercook it. If it’s already poured and still soft after several hours, chilling may firm it enough to add the ganache and cut, but the bars will be soft at room temperature. Next time, use a thermometer to be certain.
Yes. Golden syrup is the traditional choice in Britain and Ireland, where this dessert comes from, and it works identically to corn syrup. Both are invert sugars that stop the caramel from crystallizing. Golden syrup brings a slight toffee note of its own that adds more flavor to the caramel. Substitute the same volume.
Yes, and a reader has done exactly that with good results. An 8-inch pan is about 21% smaller in surface area, though, so every layer comes out thicker, and the shortbread will need a few extra minutes to bake.
They’re a good make-ahead dessert! Assemble fully, chill, and keep covered in the fridge for up to a week before slicing. You can also bake the shortbread base a day early, cover it, and pick up at the caramel stage. Though pouring hot caramel onto a cold base loses the bond between the layers, and they can separate when you slice. I recommend warming the base in a 350°F oven for 10 minutes before you add the caramel.
More Dessert To Try
If you love the shortbread, caramel, and chocolate flavors of this bar, make one of these dessert recipes next:
- Shortbread Cookies — the plain classic. No egg, no layers, just butter, sugar, and flour done properly for a crisp cookie.
- Blondies — the brown sugar counterpart to a brownie, and a bar recipe worth making regularly!
- Soft Caramels — a similar caramel technique, cooked to a higher temperature, and cut into candies.
- Toffee — the combination of chocolate, caramel, and salt again, but cooked into a hard butter toffee.
- Peanut Butter Bars — layered, chilled and no-bake, for when you don’t want the oven on.
If you’ve tried this millionaire’s shortbread recipe, then don’t forget to rate it and let me know how you got on in the comments below. I love hearing from you!





