
This post may contain affiliate links. Please read our disclosure policy.
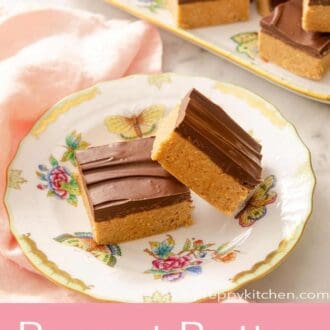
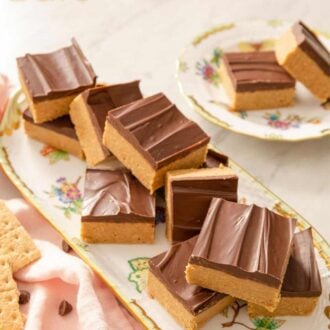
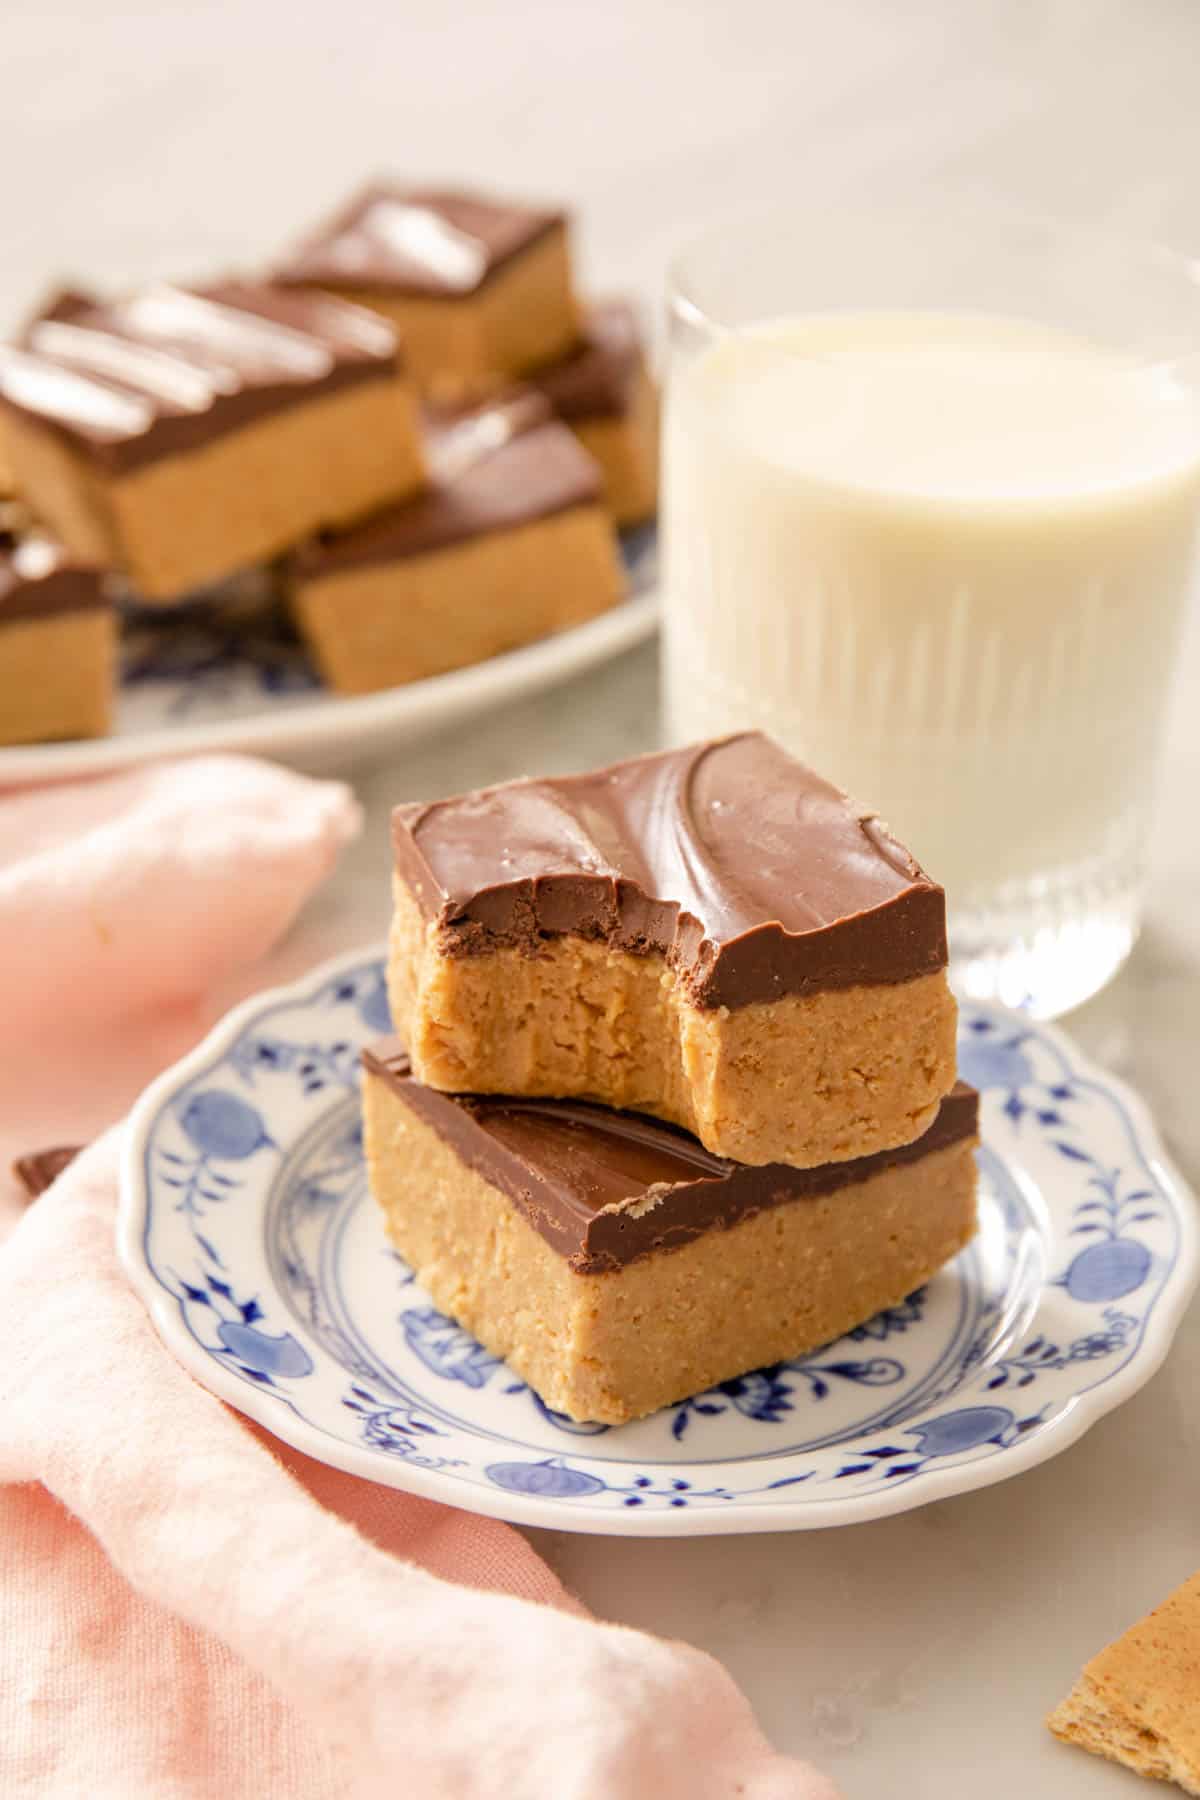
No-bake chocolate Peanut Butter Bars are a rich, delicious treat that lets a classic pairing shine. You only need 5 ingredients and about 10 minutes of hands-on prep time to make this super-easy treat. I’ve updated this post to include answers to some common reader questions and added some helpful tips. The recipe is the same one you’ve loved for years!
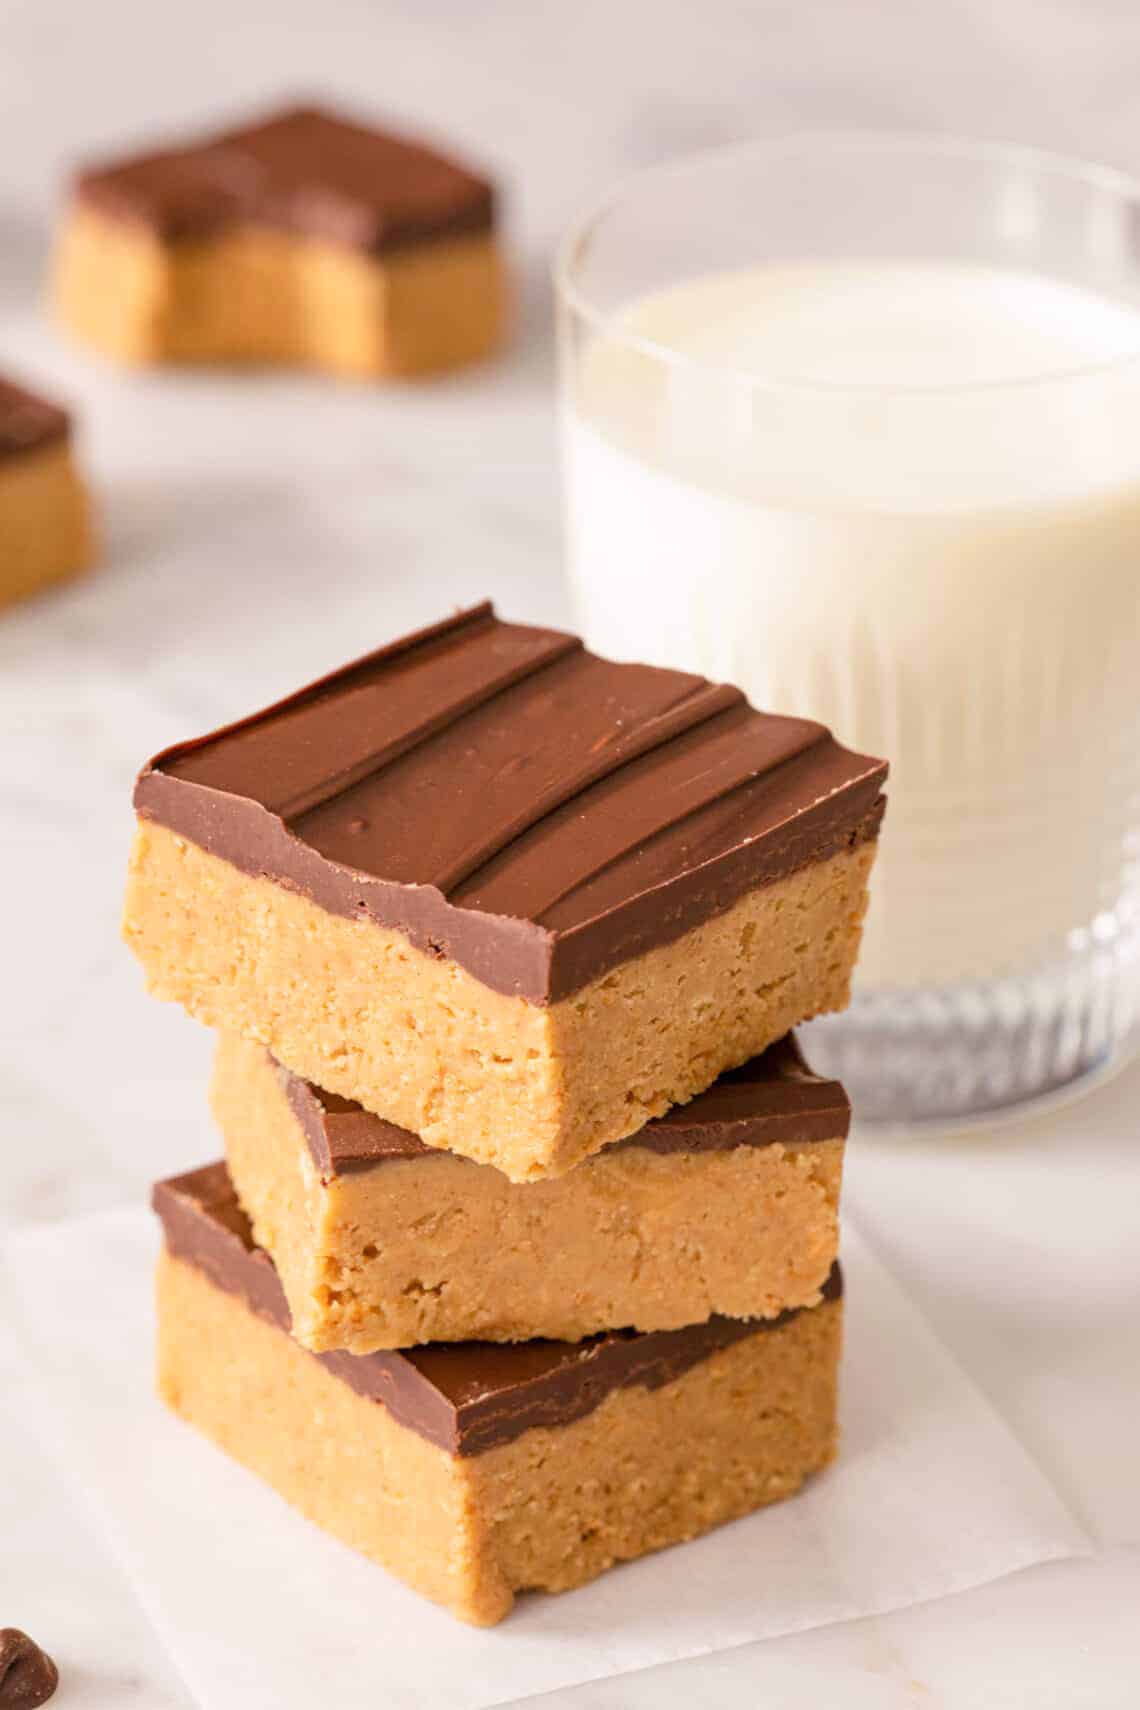
My peanut butter bars are a Preppy Kitchen essential, and it’s no surprise why! These beloved bars need just 5 ingredients, a few minutes, and no oven to whip up. These are a family-favorite in our house, and my kids go nuts (or, dare I say, peanuts) for them. I’ve received many questions over the years about the best peanut butter to use and why some people’s bars turned out crumbly. So, I retested the recipe using two common types—natural and no-stir peanut butter. A no-stir peanut butter is essential for bars that have the right creamy texture, and I show you why in the post below. While the type of PB is crucial, you can swap the graham cracker crumbs for other crispy cookies as well as mix up the type of chocolate you use, making these peanut butter bars very adaptable!
“Umm, these were amazing! From gathering the ingredients to putting it in the fridge was less than half an hour. And they are so good!”
Brittany
Key Ingredients
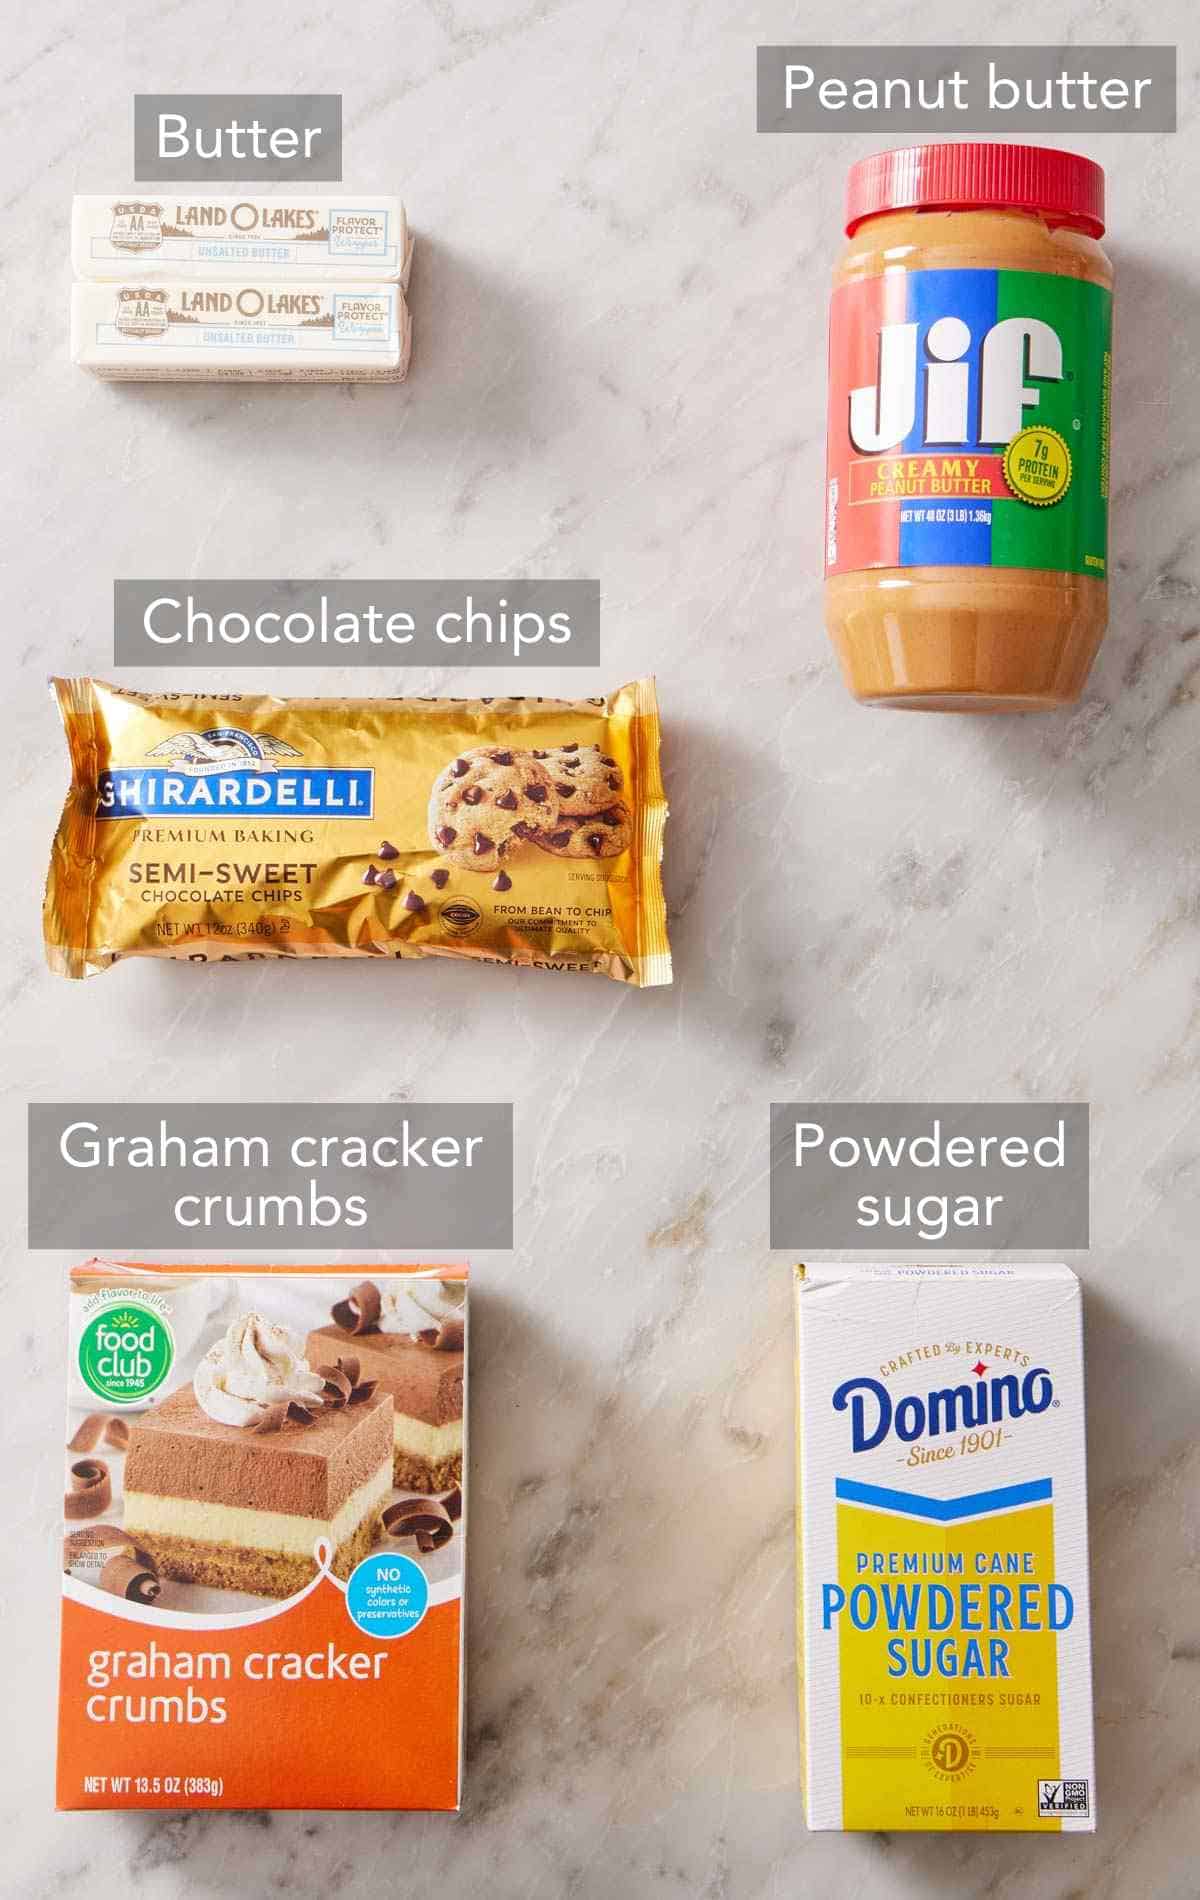
You only need 5 ingredients to make these easy peanut butter bars! You can find the full list of ingredients with measurements in the recipe card below.
Peanut butter — be sure to select a no-stir peanut butter (I typically use Jif brand). I prefer to use creamy peanut butter for this recipe as I prefer a smoother texture for the base. But feel free to use crunchy peanut butter if you want a bit more texture!
Unsalted butter — this helps the peanut butter layer set up to a sliceable consistency, and contributes to the bars’ melt-in-your-mouth texture.
Powdered sugar — not only does it add sweetness, but it also helps to bind the ingredients so the bars set properly.
Graham cracker crumbs — for convenience, I used store-bought graham cracker crumbs, but this no-bake peanut butter bars recipe is also an excellent way to use up leftover homemade graham crackers! Check out my Pro Tips for how to make your own graham cracker crumbs.
Chocolate chips — use semi-sweet chocolate chips or milk chocolate chips, depending on how sweet you want the chocolate topping (milk chocolate is sweeter). You’ll melt the chocolate with peanut butter, which gives the chocolate topping a creamier, slightly softer texture once set. This really helps when cutting and eating the bars, as it helps prevent the chocolate from cracking.
Can I Use Natural Peanut Butter?
Some readers have asked why their peanut butter bars turn out crumbly, and it’s often because they use natural peanut butter! Many natural peanut butter varieties separate in the jar, leaving a layer of oil on top, and have to be stirred before using them. They are much runnier than no-stir peanut butter and aren’t great for this recipe. (Some no-stir types are also listed as “natural,” but those don’t separate in the jar because they have added oil to keep them emulsified. As long as it is also labeled as “no-stir,” they are fine to use.)
I had my executive editor, Sarah, test this recipe using Smucker’s natural 2-ingredient peanut butter that separates in the jar, and the bars did, in fact, turn out hard, dry, and crumbly. You can see in the image below how the texture of the bars is crumbly instead of being creamy. The natural PB also left a grainy texture in the chocolate topping. I recommend using peanut butter labeled as “no-stir” in this recipe for the best results.

Can I Make This Gluten-Free?
Yes! With one easy ingredient swap, you can make gluten-free peanut butter bars: Just use gluten-free graham crackers. While the other ingredients are naturally gluten-free, please double-check labels if you are concerned about possible cross-contamination.
Pro Tips For Making The Best Peanut Butter Bars
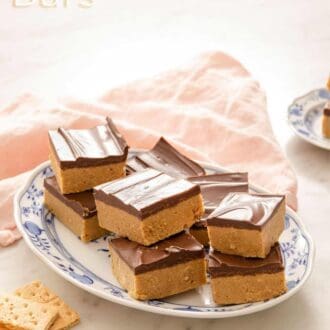
Use a smaller or larger square pan to vary the thickness of the bars. Use 8×8 inches for thicker bars or 9×9 inches for thinner bars. I like to use a larger pan when I want a higher yield for a party or holiday dessert tray. I can usually get 16 bars (or up to 25, if I cut them smaller) using a 9×9-inch pan.
Line the pan fully with parchment paper. This makes it a breeze to remove the slab from the pan, as you can simply lift it out before cutting.
Make your own graham cracker crumbs. You can use whole graham crackers for this recipe instead of store-bought crumbs. Place 16 sheets in a large zip-top plastic bag and crush them lightly with a rolling pin until coarsely ground. Or, break them apart and place them in the bowl of a food processor. Process for 15 to 30 seconds until coarsely ground. The crumbs do not need to be super finely ground — a little texture gives the finished bars some crunch!
How To Make Peanut Butter Bars
Below, I’ve highlighted portions of the recipe in step-by-step process images along with instructions for making peanut butter bars. You can find the full set of instructions in the recipe card below.
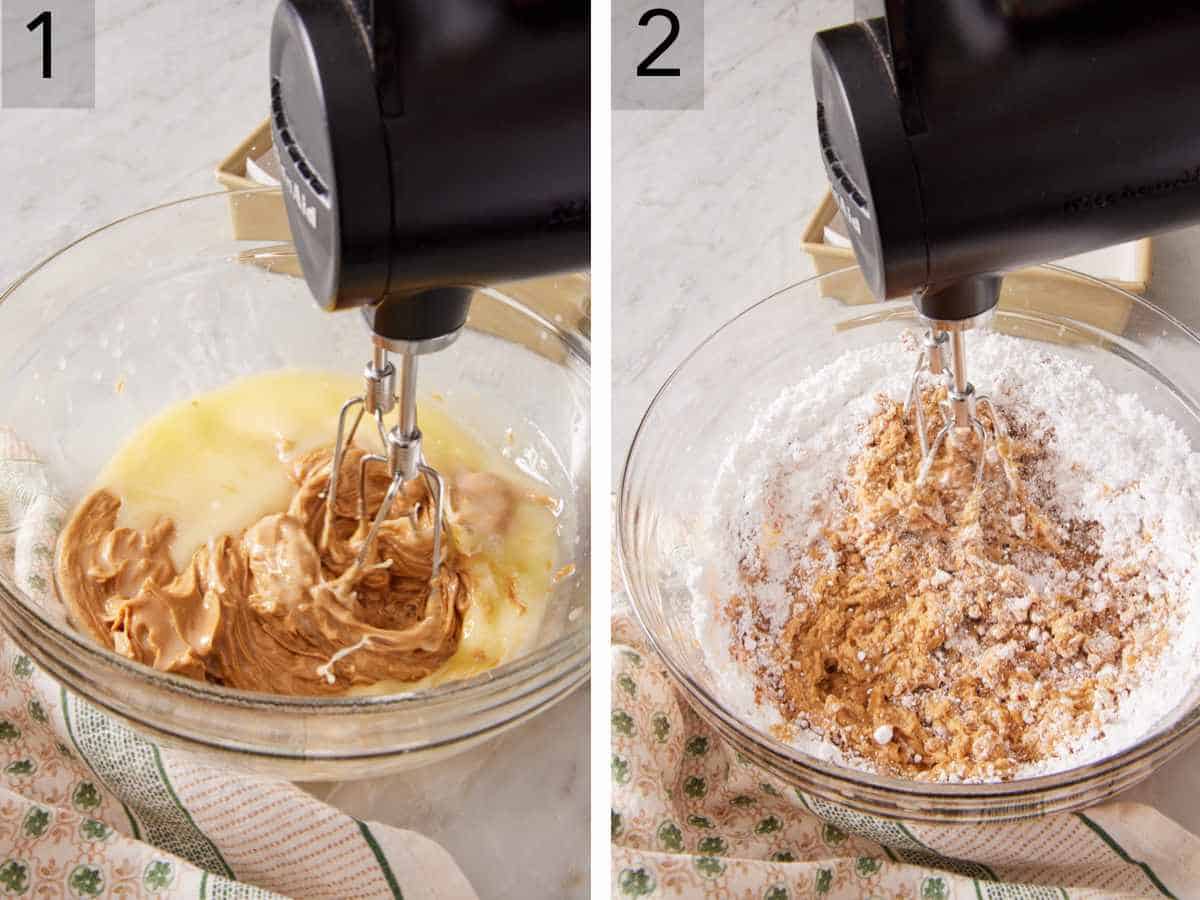
1. To make the bottom layer, combine the melted butter and 1¼ cups peanut butter in a large bowl. Mix on medium speed with a hand mixer to combine. (You can whisk this together by hand as well, if desired!)
2. Add the powdered sugar to the peanut butter mixture. Mix to fully combine, and no dry pockets of sugar remain.
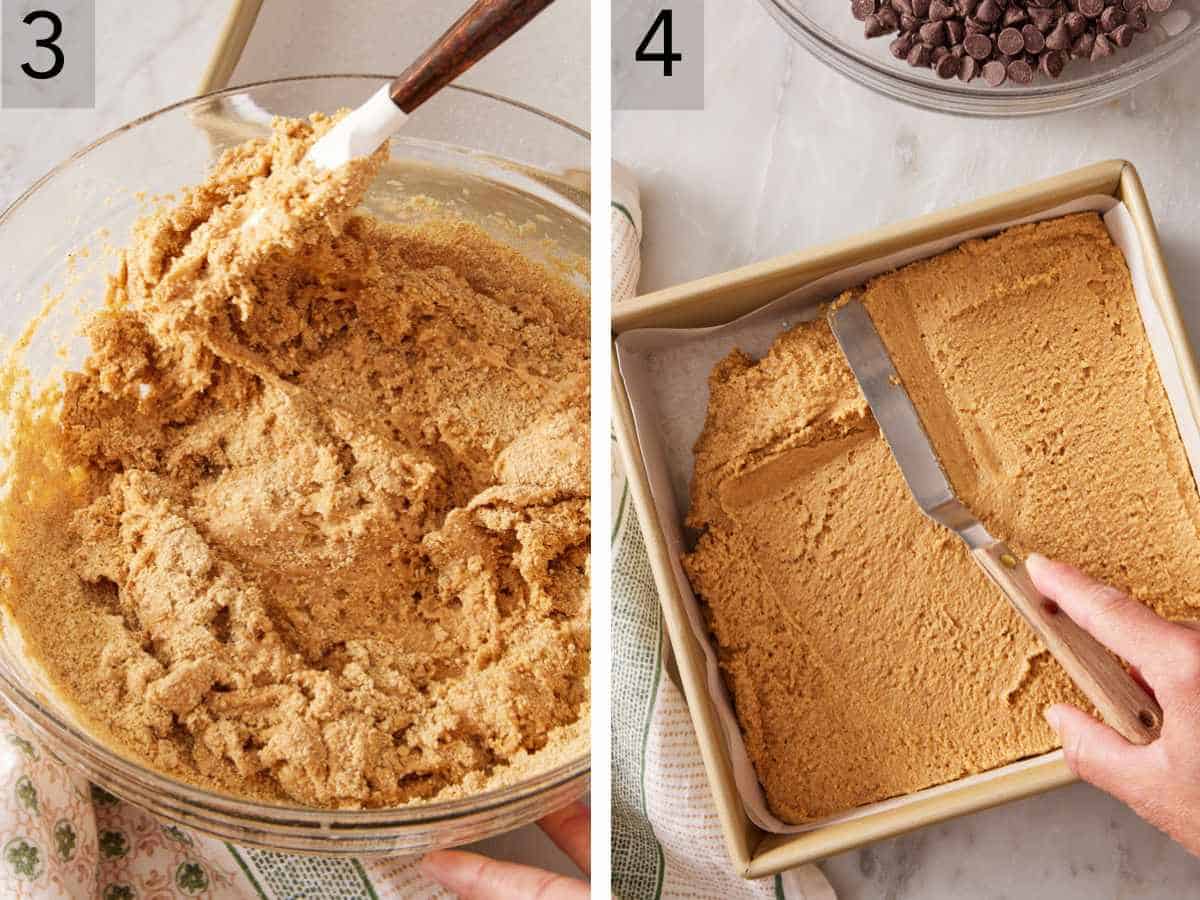
3. Add the graham cracker crumbs and fold them into the peanut butter mixture.
4. Transfer to an 8×8-inch or 9×9-inch dish lined with parchment paper or aluminum foil. Smooth into an even layer with an offset spatula and refrigerate while you make the chocolate topping.
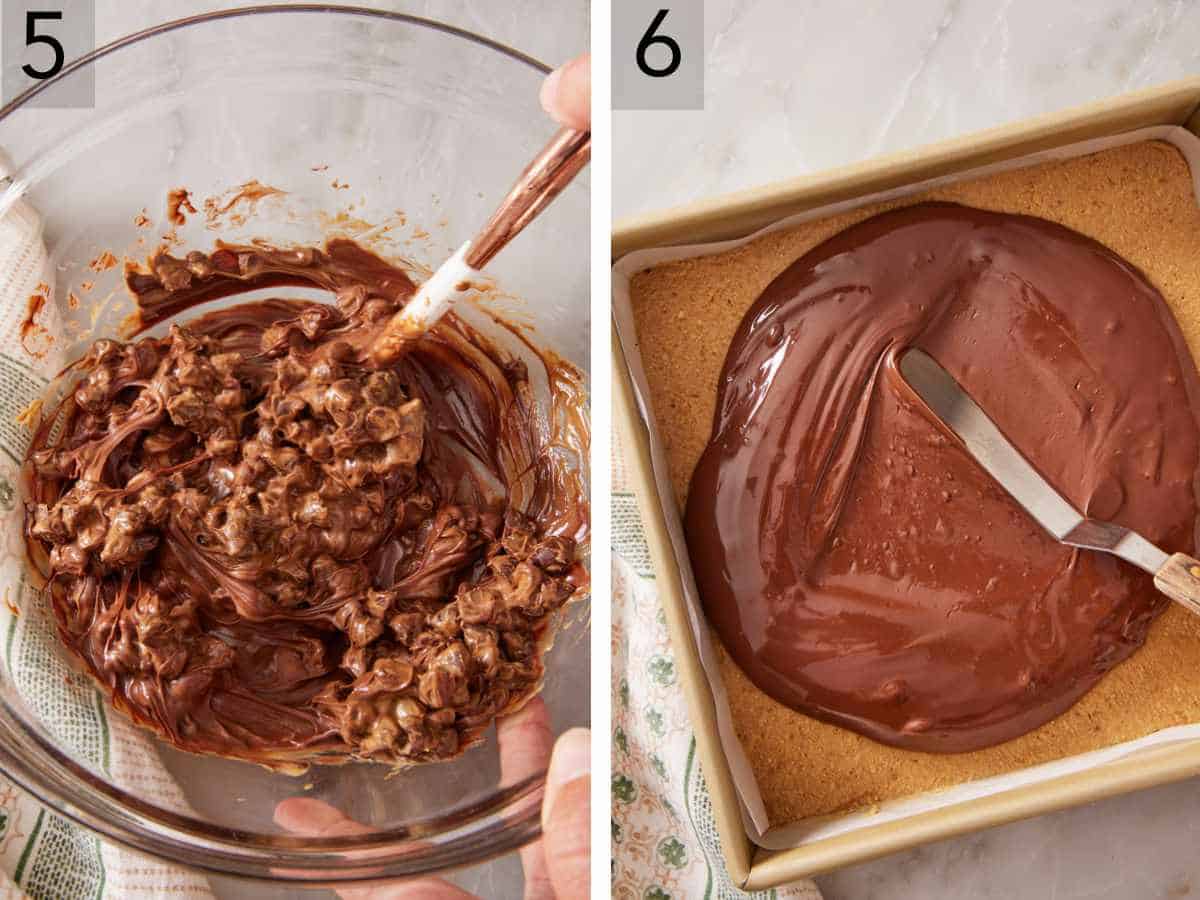
5. In a medium microwave-safe bowl, combine the chocolate chips and the remaining peanut butter (for even more peanut butter flavor!). Microwave, stirring every 30 to 40 seconds, until just a few small chocolate pieces are left. Then stir again until the mixture is completely smooth.
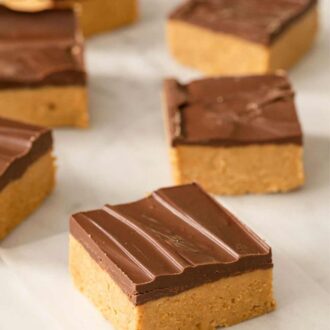
6. Pour the chocolate on top of the peanut butter layer and smooth it out. Chill for at least 2 hours, then cut into bars and enjoy.
Peanut Butter Bars Recipe
Equipment
- 8×8-inch or 9×9-inch square baking dish
- Mixing Bowls
- Handheld Electric Mixer
Ingredients
- 1 cup unsalted butter melted and slightly cooled (226g)
- 1½ cups creamy peanut butter divided (396g)
- 1¾ cups powdered sugar (210g)
- 2 cups graham cracker crumbs (240g)
- 1½ cups semi-sweet chocolate chips or milk chocolate chips (270g)
Instructions
- Line an 8-inch or 9-inch square dish with parchment paper or foil.
- In a large bowl, combine the melted butter and 1¼ cups (330g) of peanut butter. Use a handheld electric mixer and mix on medium speed until fully combined. (You can also whisk this together by hand!)
- Add the powdered sugar to the peanut butter mixture. Mix on medium speed until fully combined, scraping down the sides of the bowl as needed.
- Add the graham cracker crumbs and fold them into the mixture with a silicone spatula. Transfer to the lined dish and smooth into an even layer. Store in the refrigerator while you make the chocolate topping.
- In a medium microwave-safe bowl, combine the chocolate chips and the remaining ¼ cup (66g) of peanut butter. Cook at 100% power for 30 to 40 second bursts, stirring between each increment, until just a few small pieces of chocolate remain (about 2 minutes). Stir one last time until fully smooth.
- Pour over the peanut butter base, then smooth into an even layer. Chill for at least 2 hours for the bars to set. Cut into bars and enjoy.
Notes
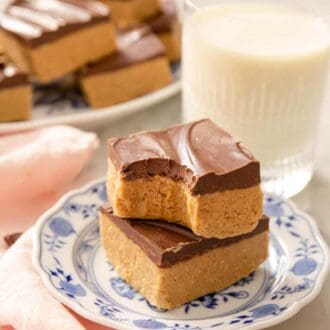
- Make sure the bars chill in the fridge for at least 2 hours before serving. The peanut butter mixture is quite soft at first, and it needs time to firm up and set for easy slicing.
- Use the right knife to slice the bars. A sharp chef’s knife is the best option for cutting clean slices. I also found that warming the knife to slice the cold bars actually made the process even easier and helped prevent the chocolate layer from cracking. Simply run the knife under hot water for a few seconds, dry it thoroughly, and then cut. Repeat occasionally as you cut more bars.
Nutrition
Have you tried this recipe? Tag me today!
Mention @preppykitchen and tag #preppykitchen!
Variations
This recipe makes delicious, classic peanut butter bars, but there are a few ways to change up the flavor if you’re looking for a twist! Here are some ideas:
- Use other cookies. You can use other types of crispy cookies for this recipe, such as Biscoff, shortbread cookies, or Nilla wafers.
- Add spices. To enhance the flavor of the bars, add up to 1 teaspoon of vanilla extract or ½ teaspoon of ground cinnamon or pumpkin pie spice to the peanut butter mixture in Step 2.
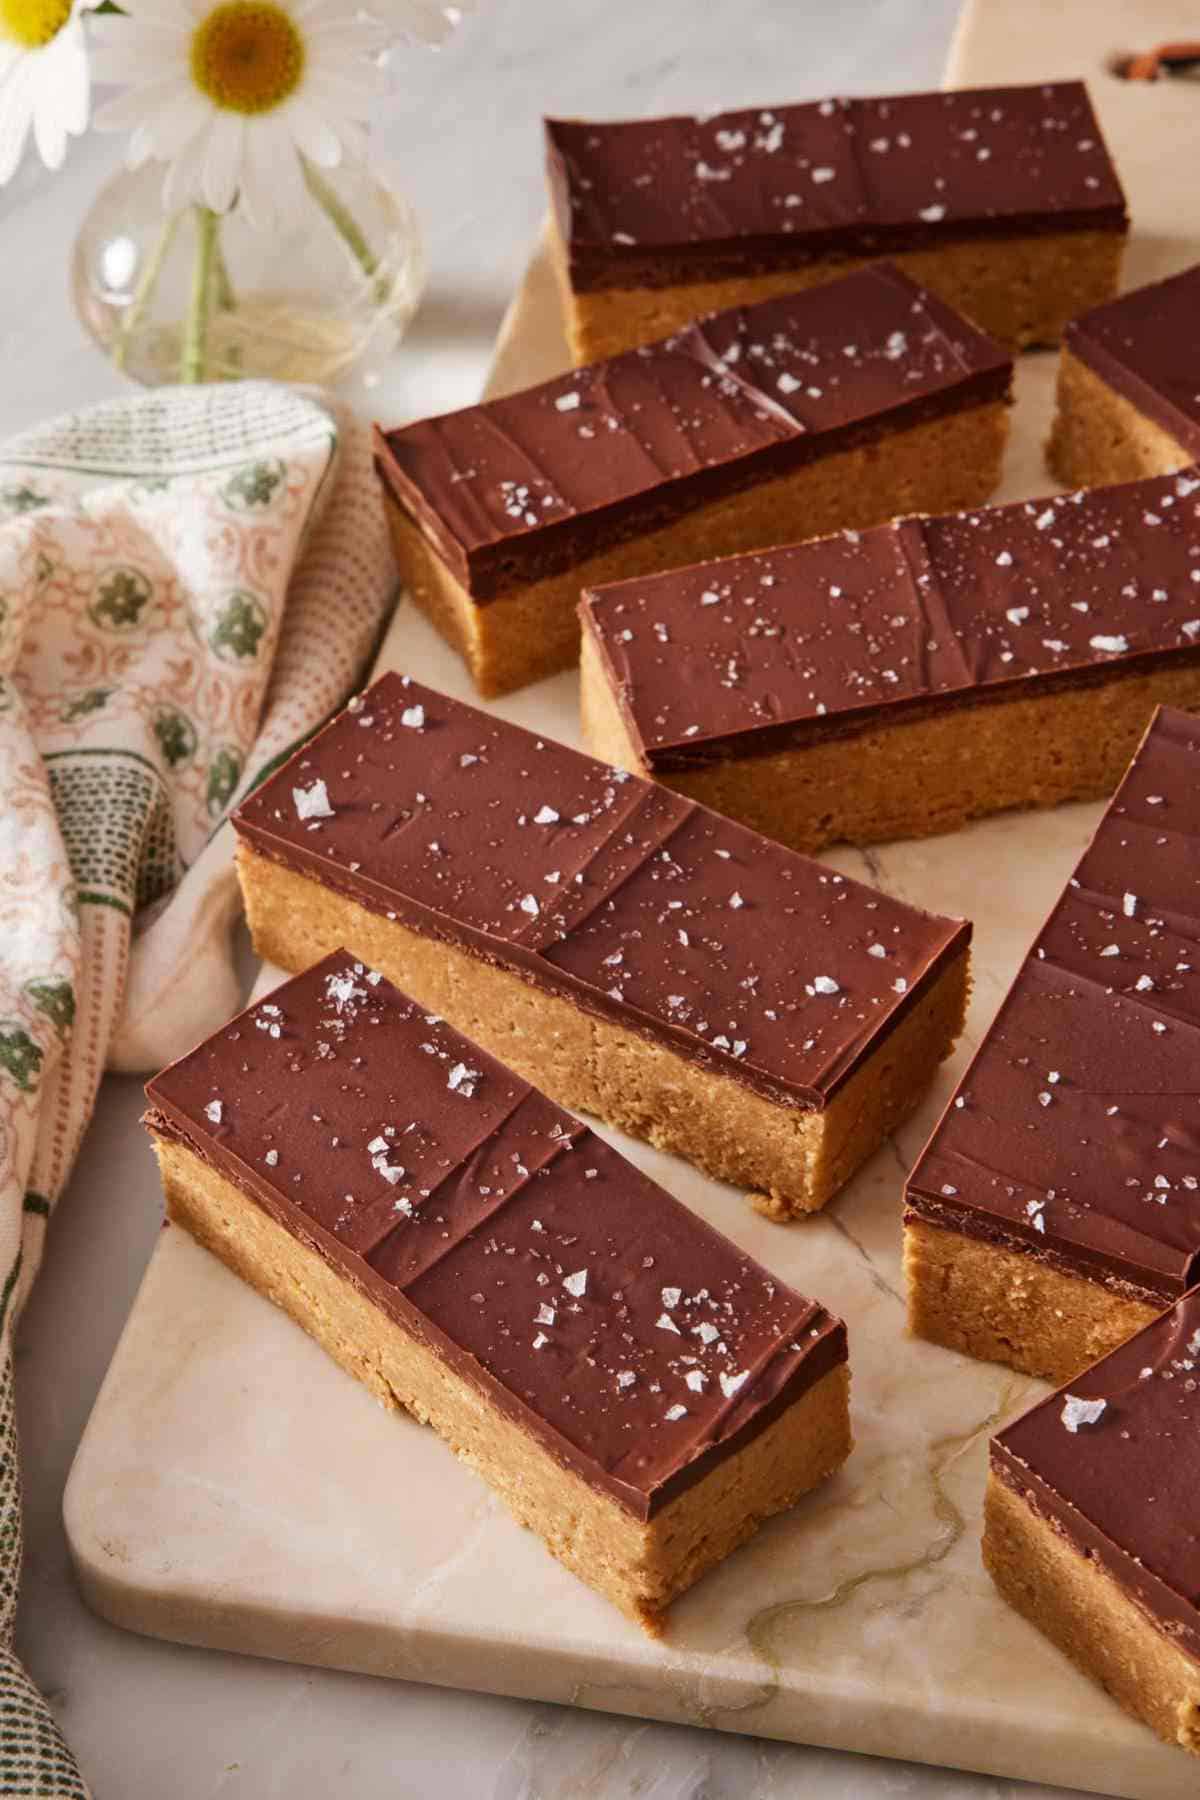
- Add toppings: You can sprinkle the chocolate layer with finely chopped salted peanuts, sprinkles, flaky salt, mini pretzels, mini chocolate chips, or other candies. This is a fun way to customize the bars and add a festive flair for holidays!
Storage and Make-Ahead Tips
Storage: My easy peanut butter bars keep very well in an airtight container in the refrigerator for up to two weeks.
Make-ahead: Since they need to chill for at least 2 hours so the layers firm up and are easy to cut, I actually like making these the night before I want to serve them! That way, they set while I’m asleep and are ready to slice the next morning.

Other No-Bake Dessert Recipes You’ll Love
Try one of my other popular no bake desserts!
These no-bake Buckeyes are an easy candy to make and share anytime of year. Peanut butter balls are dipped in chocolate and then chilled until firm– so easy!
My easy no bake cookies are a simple combination of chocolate, peanut butter, and oats that stir together and don’t require an oven!
This easy no bake strawberry cheesecake is flavored with fresh strawberries and gets a sweet layer of strawberry reduction spread on top.
For an easy fall or holiday dessert, try my no bake pumpkin cheesecake! It’s creamy, packed with pumpkin and spices, and great to make ahead of time.
If you’ve tried this peanut butter bar recipe, then don’t forget to rate it and let me know how you got on in the comments below. I love hearing from you!


