
This post may contain affiliate links. Please read our disclosure policy.
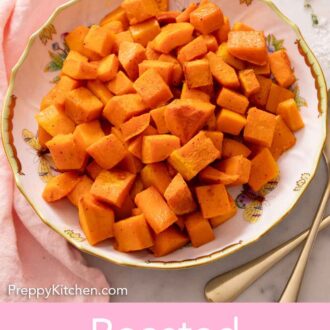

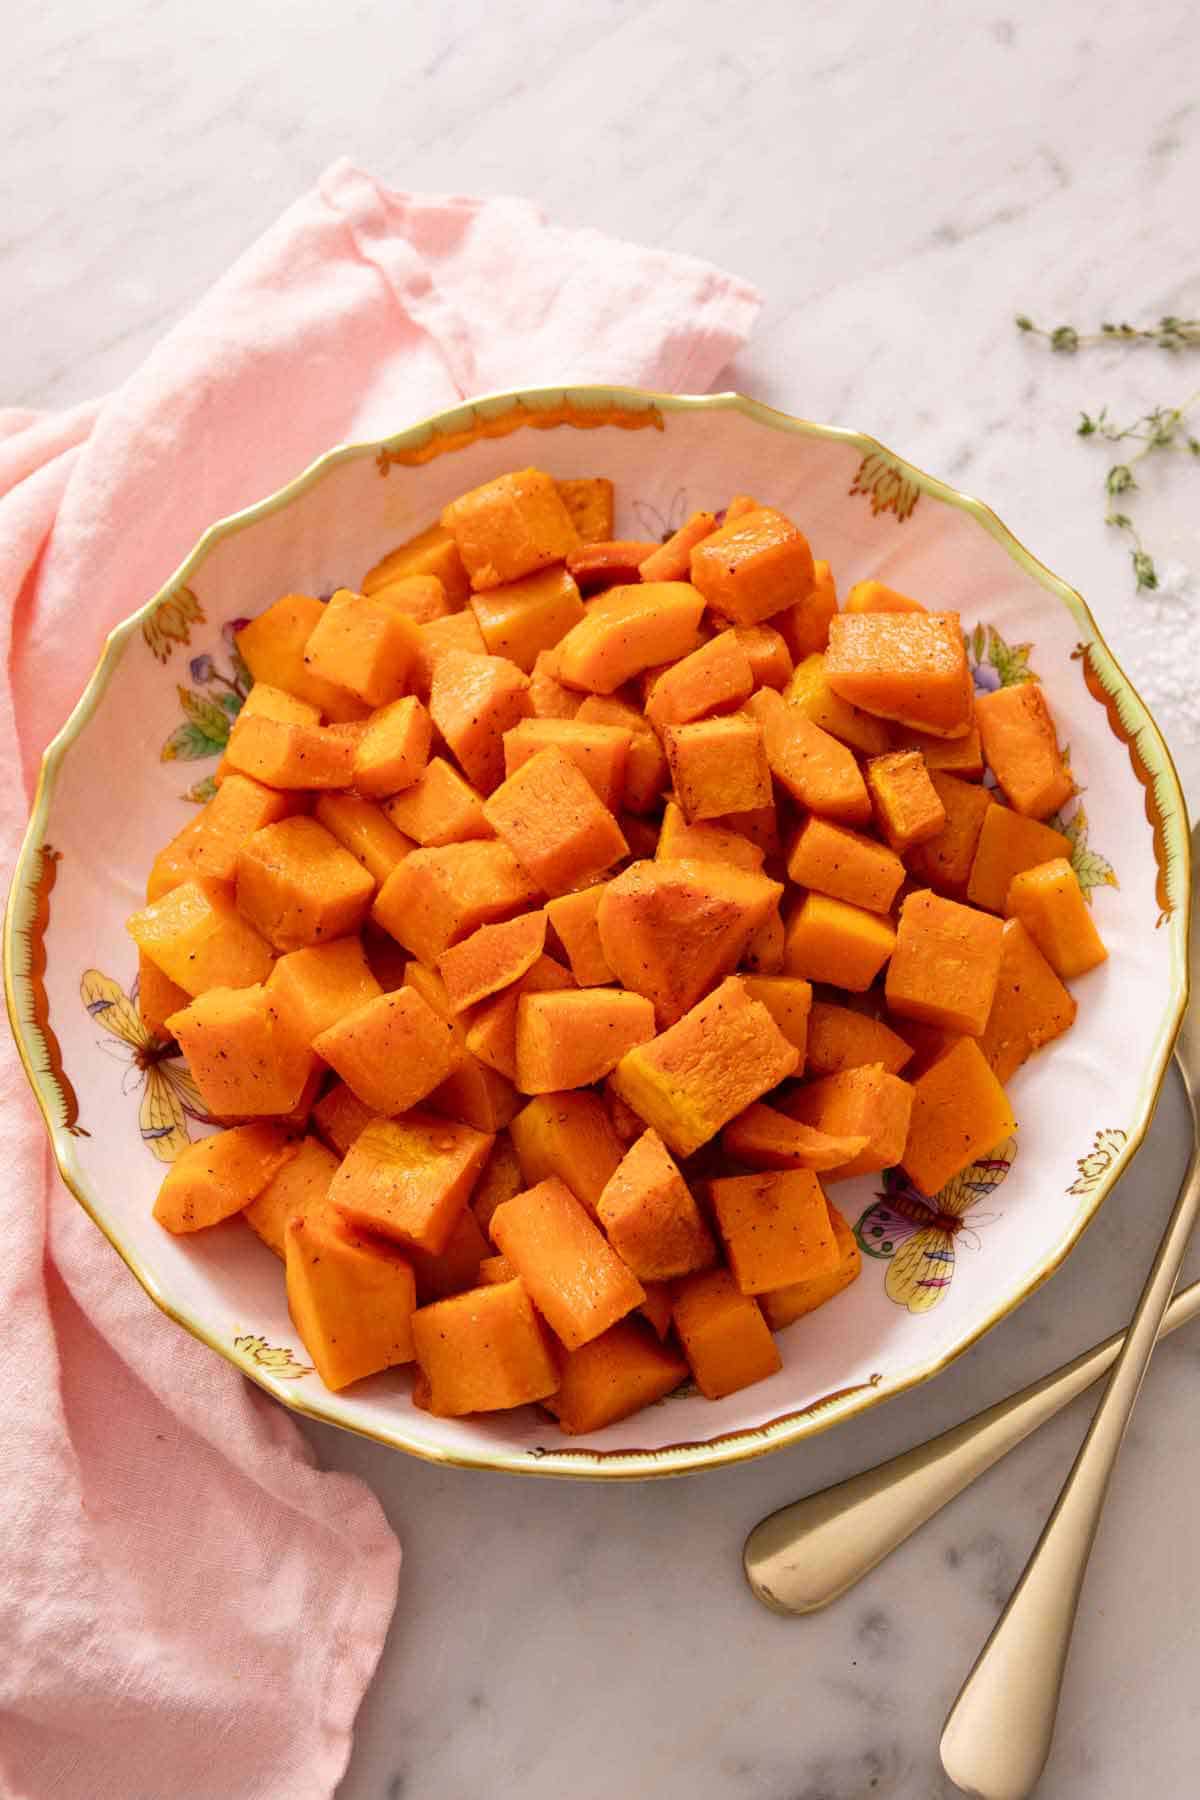
This fall-inspired Roasted Butternut Squash recipe is the perfect savory-sweet addition to quick-fix dinners or holiday meals. In less than 30 minutes, you can make tender, caramelized squash with just five simple ingredients!
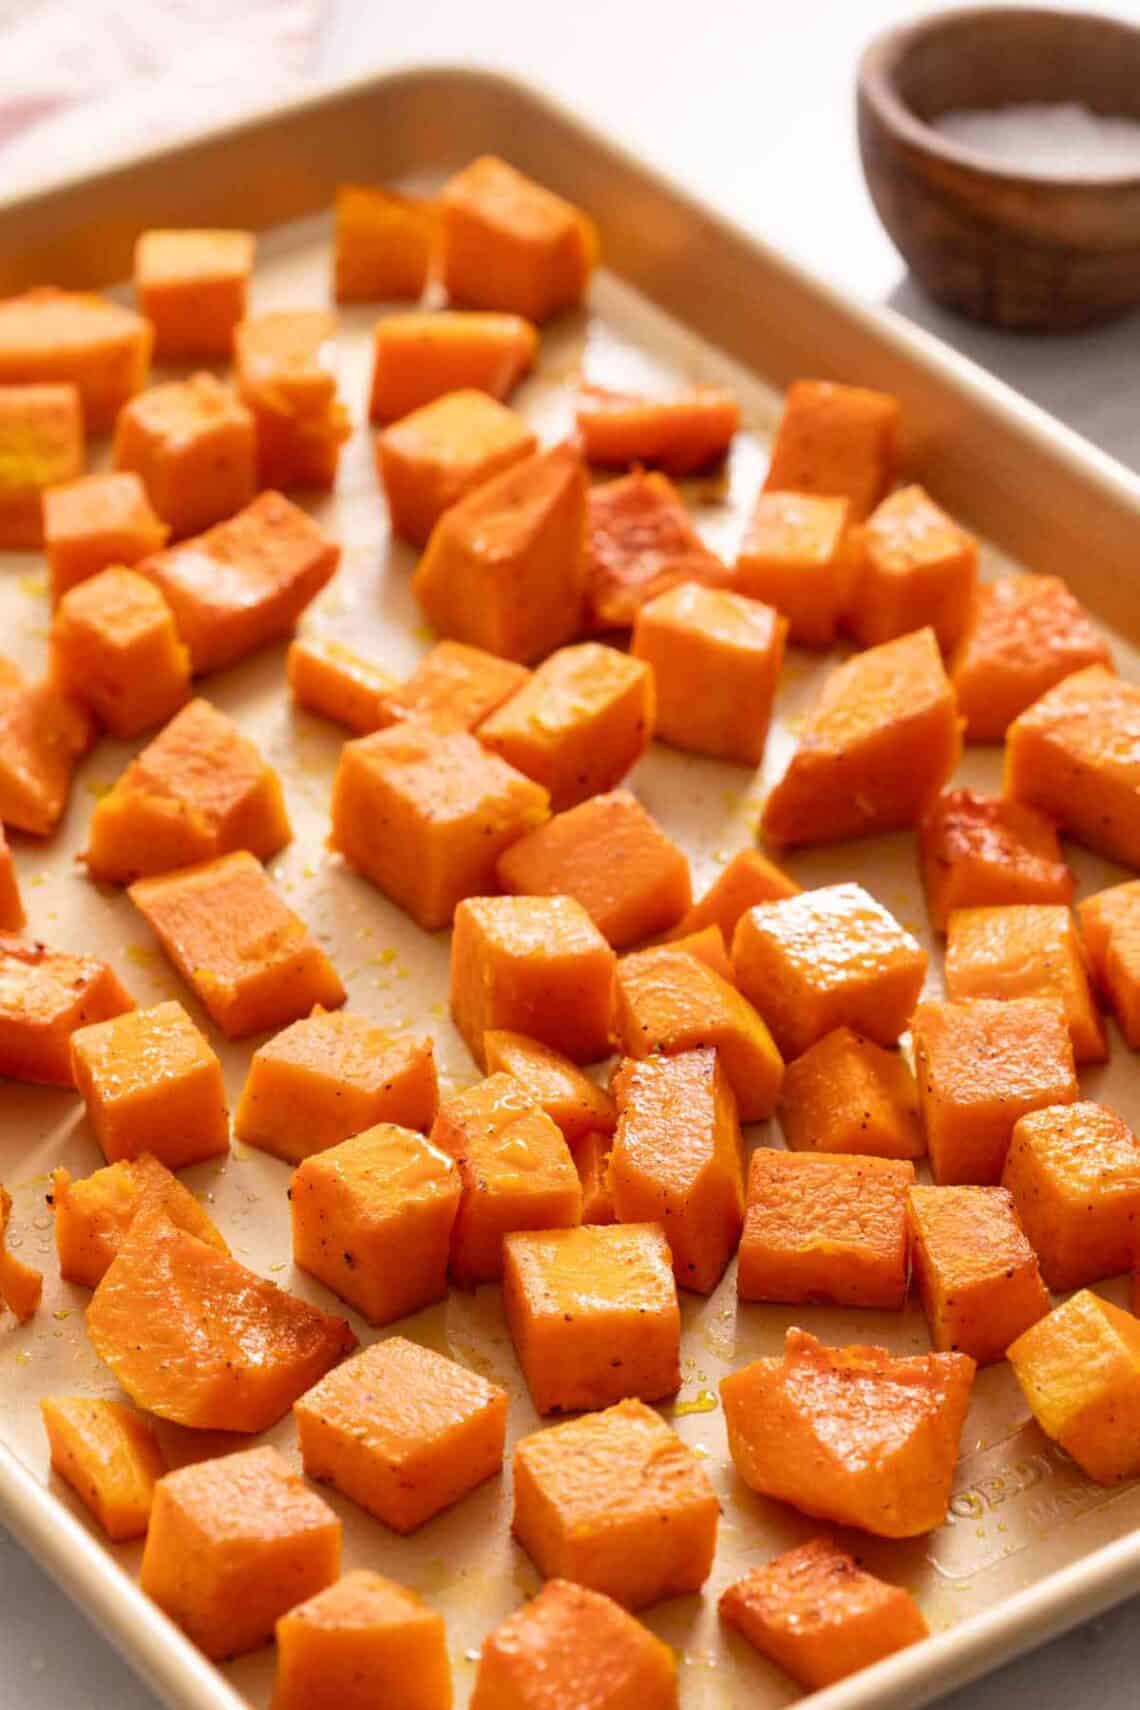
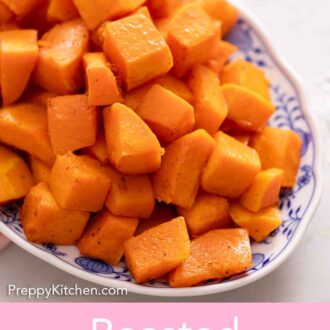
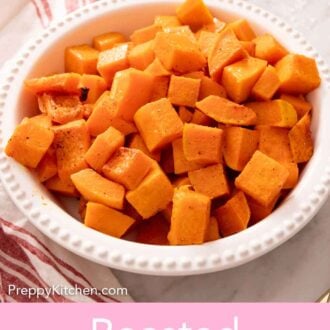
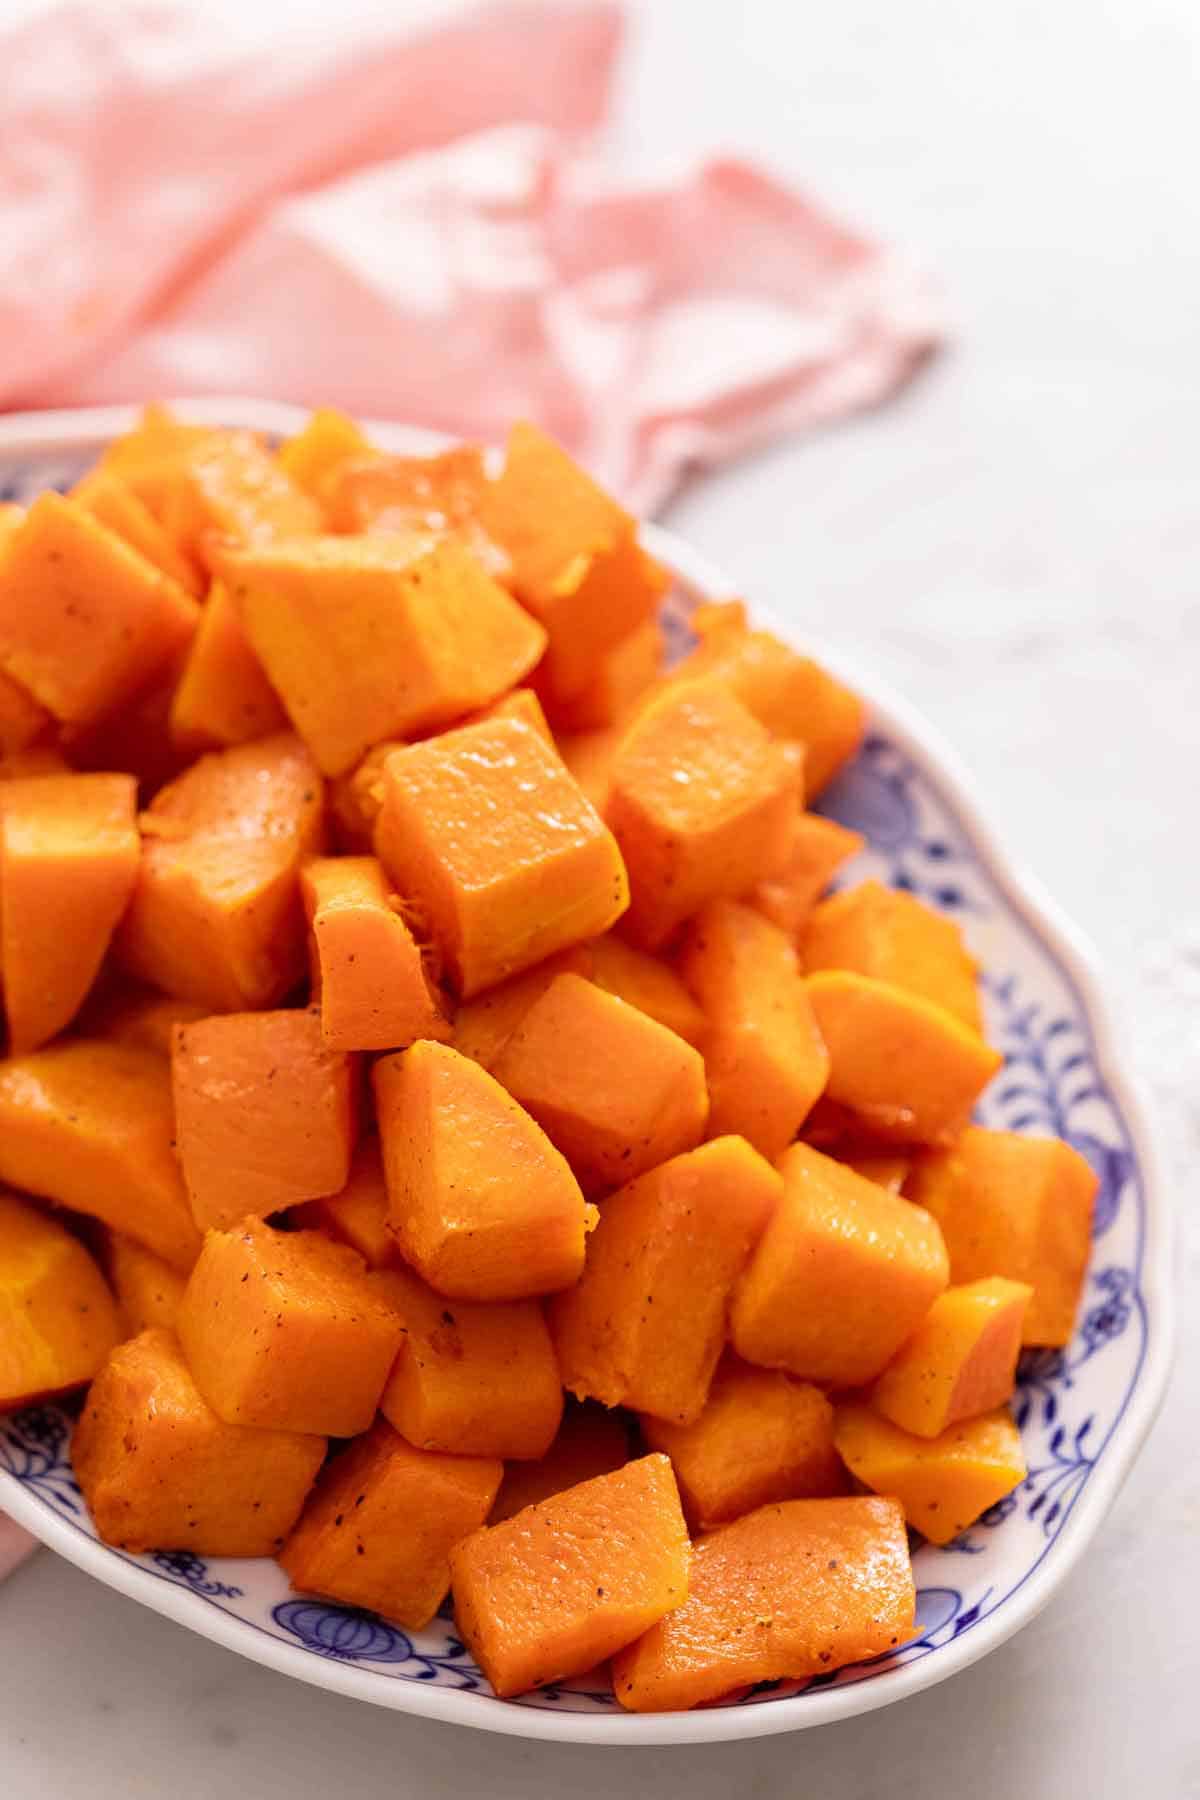
Naturally sweet and nutty, oven roasted butternut squash is a versatile and delicious side dish that complements your favorite comfort food dishes. Chopped butternut squash is tossed in rich olive oil, spiced with garlic, black pepper, and salt, then roasted in the oven until golden brown. As the squash cooks, its sugars caramelize to create tender, golden pieces with a sweet and savory flavor.
This delicious roasted vegetable makes an excellent side dish or topping for salads or grain bowls. It’s also an easy and festive Thanksgiving side! However you choose to serve it, roasted butternut squash brings plenty of delicious flavor to your table! For more side dish recipes, try my roasted Brussels sprouts, mashed potatoes, or green bean casserole.
What You Need To Make This Recipe
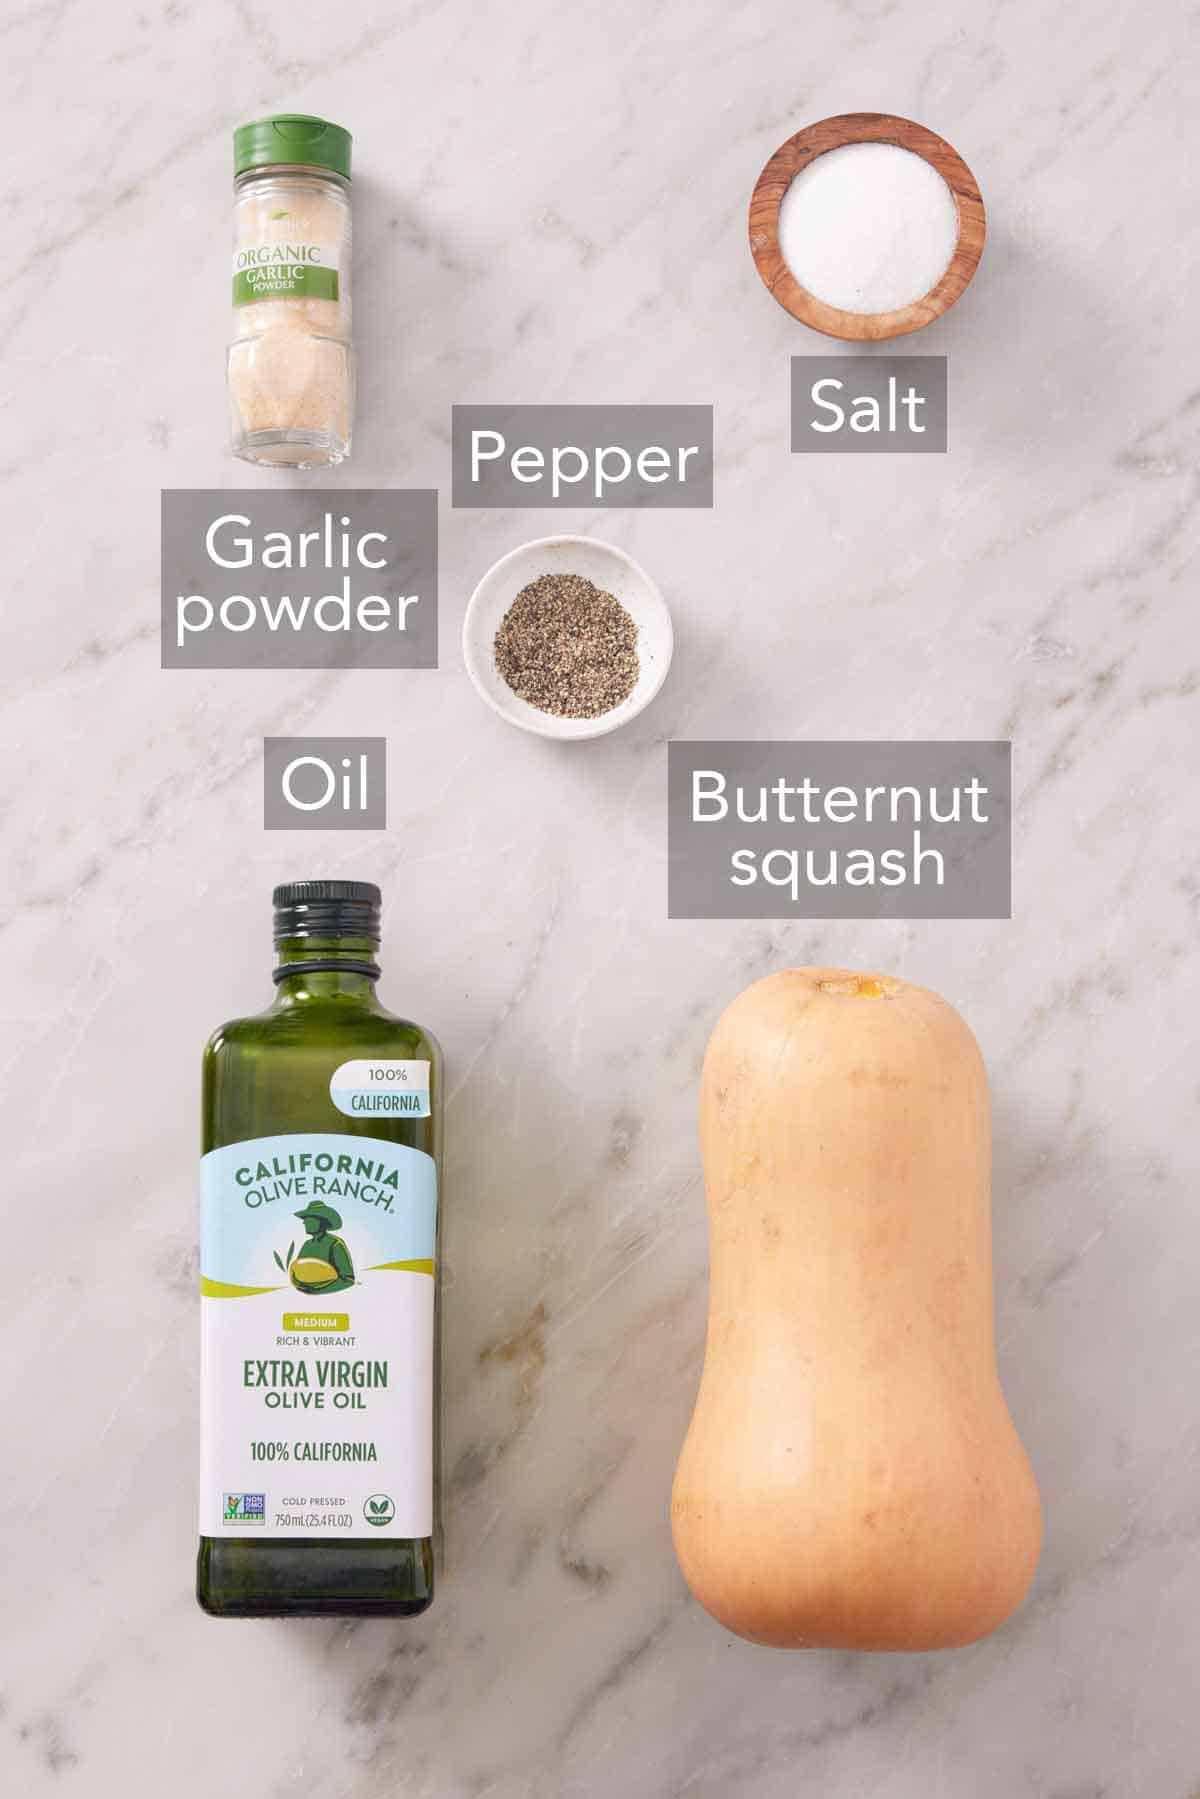
Butternut Squash — this vibrant winter squash has a naturally sweet taste and tender texture when roasted in the oven. Choose a medium-sized squash with a deep beige color and smooth outer skin.
Extra-Virgin Olive Oil — adds a rich flavor to the squash and produces a rich caramelized exterior when roasted.
Seasonings — a savory combination of garlic powder, ground black pepper, and salt enhances the squash’s flavor.
The Best Way To Cut Butternut Squash
- Peel it. Trim off the top (stem) and bottom ends of the butternut squash. Then, use a standard vegetable peeler or a Y peeler to remove the outer skin. Butternut squash releases a sticky sap when the peel is cut or removed, so you can wear food prep gloves if you prefer.
- Cut in half lengthwise. Cut the squash in half lengthwise. I like to use a sharp chef’s knife to cut the squash since it’s rather hard and slightly sticky when raw. If you don’t have a chef’s knife, just make sure you use a sharp knife!
- Scoop out the seeds. Use a spoon to scoop out the seeds and any soft, stringy flesh attached to the squash.
- Slice into 1-inch thick pieces. Cut across each half of the squash to make half circles or half moons about 1 inch thick.
- Chop into cubes. Cut each slice into 1-inch pieces. Pieces that are roughly even in size ensures even roasting.
How To Roast Butternut Squash
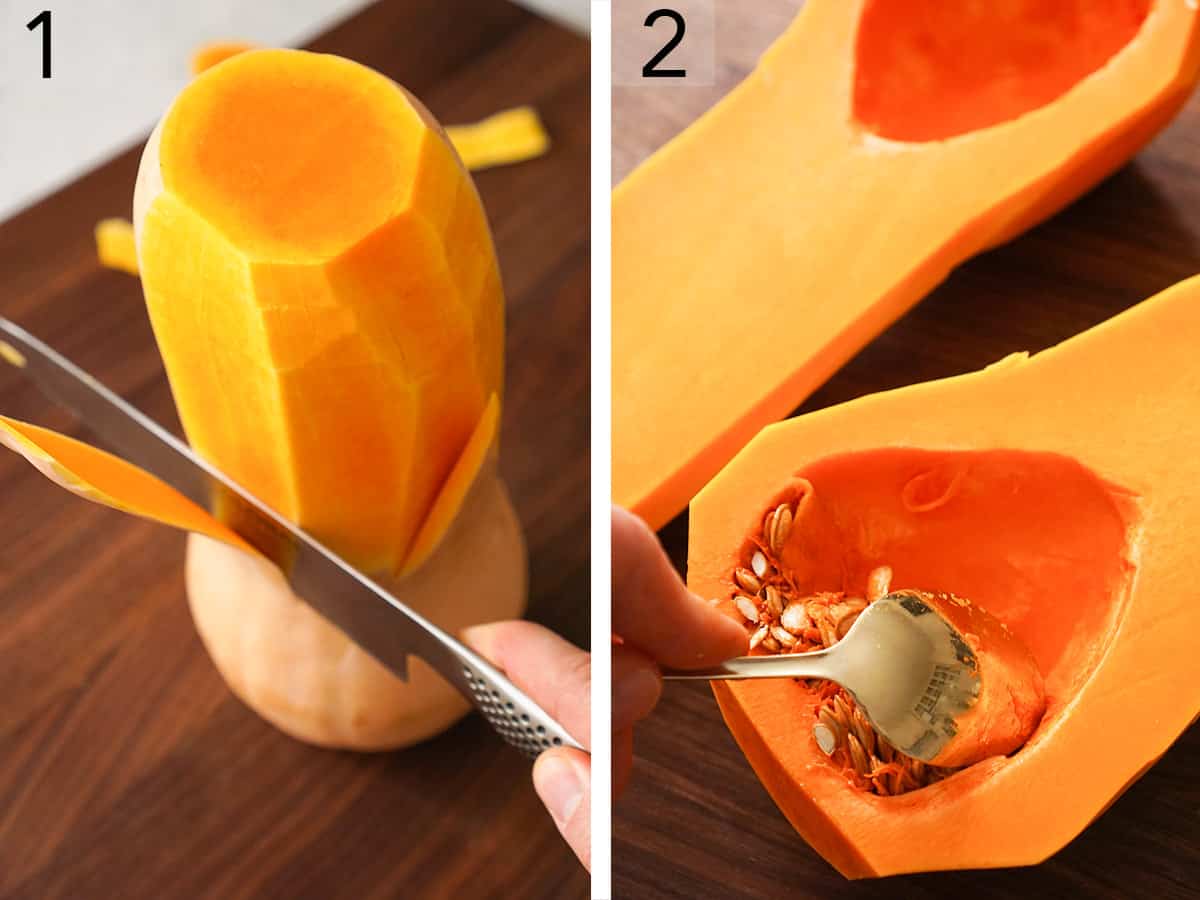
1. Preheat the oven to 400°F. Peel the squash and trim off the ends.
2. Cut the squash in half and scoop out the seeds.
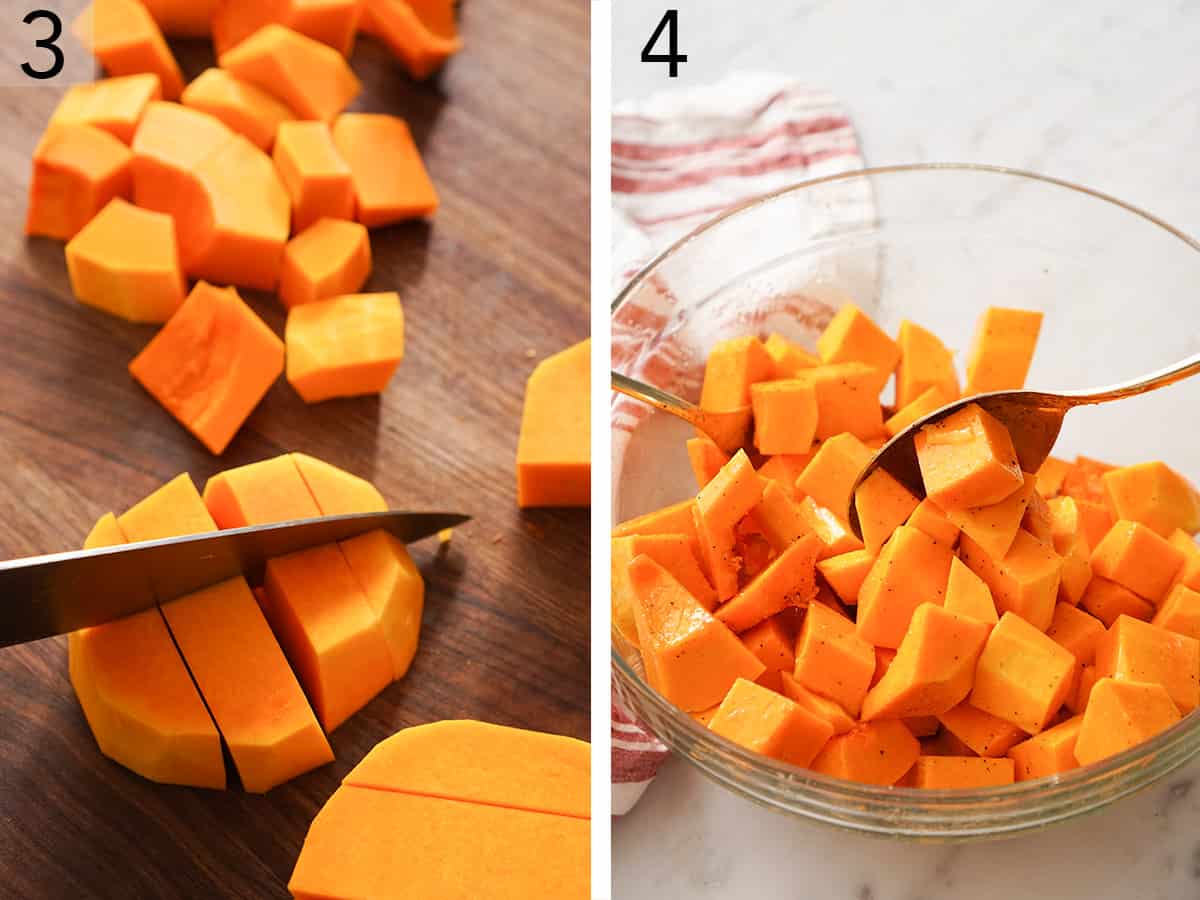
3. Cube the squash into roughly 1-inch cubes, making sure the pieces are roughly the same size for the most even cooking.
4. Transfer the squash cubes to a large bowl, drizzle with olive oil, and sprinkle with salt, garlic powder, and pepper. Toss well so the pieces evenly coat the squash.
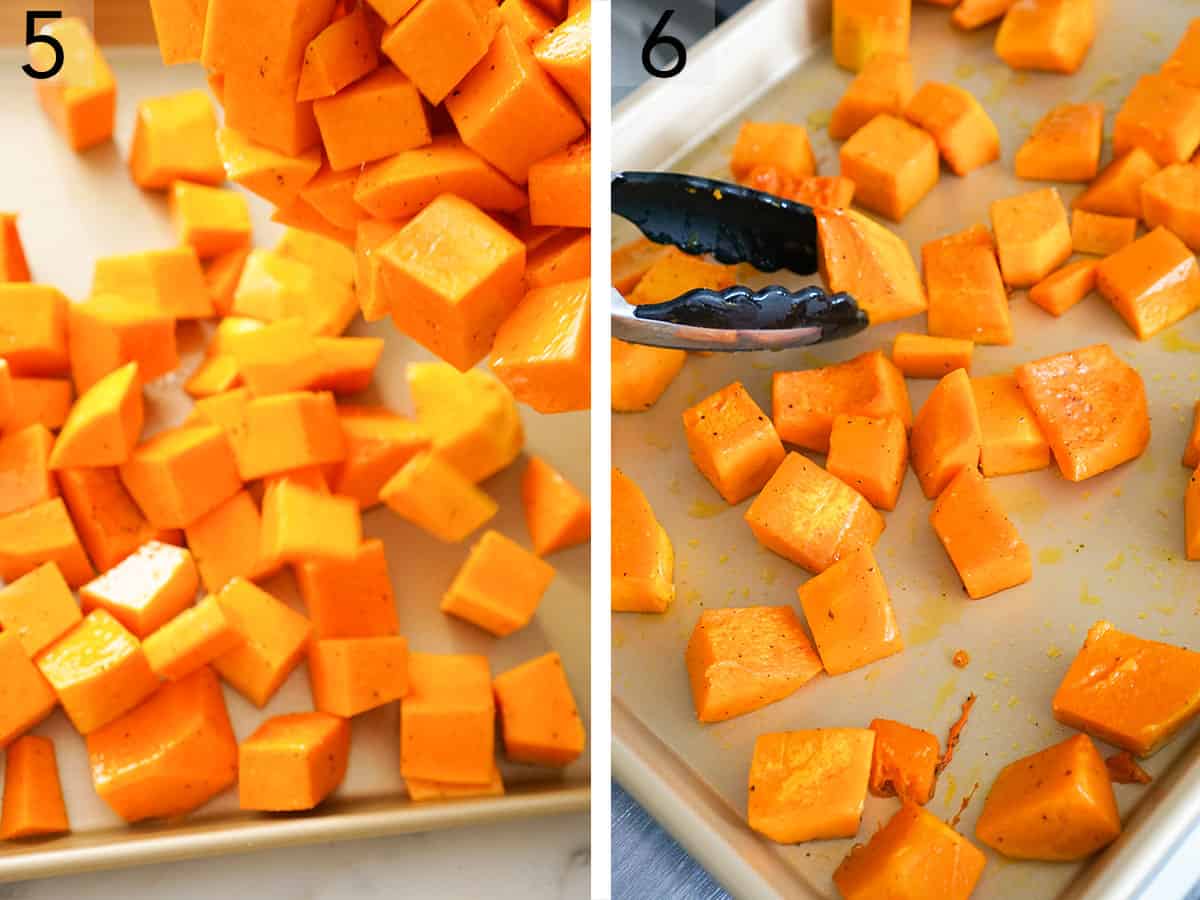
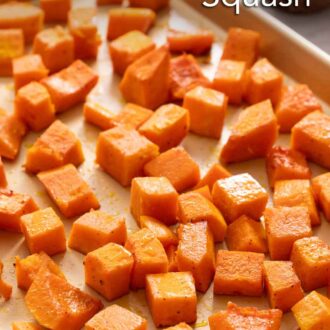
5. Spread the seasoned squash onto a large baking sheet or sheet pan so the pieces do not touch each other.
6. Bake for 15 minutes, then stir the squash and continue baking until tender and caramelized, for an additional 10-15 minutes. Sprinkle with more salt and pepper to taste, and serve immediately.
Variations
Below are optional ingredient variations to tweak this recipe as desired:
- Seasonings: Experiment with alternative savory flavors, like adding curry powder or chili powder for warmth or substituting the black pepper with smoked paprika or red pepper flakes.
- Cinnamon Maple: Instead of garlic powder, toss the squash cubes with 1 tablespoon of pure maple syrup, honey, or packed brown sugar and 1 teaspoon of ground cinnamon. Toss the vegetables 2-3 times throughout the cooking time.
- Herbs: Add 1 tablespoon of fresh herbs like rosemary, thyme, or sage before roasting. Or, toss the squash with 1 teaspoon dried Italian seasoning blend or other dried herbs.
- Cheese: After roasting the squash, sprinkle the cubes with grated parmesan, feta cheese, or goat cheese for a rich finish.
- Acid: Drizzle the roasted squash with a squeeze of fresh lemon juice or a drizzle of balsamic glaze for a bright finish.
How To Serve
This flavor-packed simple side dish pairs perfectly with savory main dishes like pork tenderloin, roasted chicken, or blackened salmon.
You can also repurpose leftover roasted squash as a ready-made filling for butternut squash risotto or the base of butternut squash soup!
How to Store
- Refrigerating: Allow the squash to cool completely to room temperature before transferring the cubes to an airtight container and storing them for 3-5 days.
- Freezing: Place cooled squash cubes in a single layer on a baking sheet and freeze until solid for 1-2 hours. Then, transfer the frozen cubes to an airtight freezer-safe container and store them in the freezer for up to 3 months. Thaw in the refrigerator for a few hours before reheating.
- Reheating: Warm squash in the oven at 350ºF for 10-15 minutes until heated through or in the microwave for 1-2 minutes.
Save And Roast The Seeds
Don’t throw out the butternut squash seeds! Instead, follow this recipe for roasted pumpkin seeds using the butternut squash seeds to make a delicious snack or crunchy salad topper.
Pro Tips For Making This Recipe
- Don’t crowd the pan. Spread the squash cubes in an even layer on the baking sheet with some space between them. This ensures even roasting and caramelization. Plus, it prevents the squash from steaming.
- Toss halfway through. After 15 minutes of roasting, gently turn over the squash pieces with a spatula. This allows all sides to cook evenly for the perfect tender texture and to prevent any side from burning.
- Use parchment paper. You can line the baking sheet with parchment paper to prevent the squash from sticking and to make clean-up easier! However, the squash will caramelize a bit better if cooked directly on the baking sheet.
- Mind the time. Keep an eye on the roasting time to ensure the perfect texture. The squash is done when it is fork-tender–soft yet slightly caramelized on the outside.
Frequently Asked Questions
Yes. Instead of cubing butternut squash, cut the unpeeled squash in half lengthwise and remove the seeds. Then, drizzle the cut side of the halves with olive oil and add the seasonings. Place the squash halves cut-side down on a baking sheet lined with parchment paper or foil and roast them at 425°F until the skin is wrinkled and the flesh is fork tender. For tips on this roasting technique, refer to my stuffed acorn squash recipe.
Yes! While I prefer it served right after roasting for the best texture and flavor, you can roast it ahead for easy lunch or dinner meal prep. You can also prepare the squash cubes and toss them with the oil and seasonings. Simply store the prepared squash in an airtight container in the refrigerator for up to 2 days before roasting. Then, roast right before you’re ready to serve!
Absolutely! This roasting method also works well with other types of winter squash, like acorn (no peeling needed!), honeynut, or kabocha squash. You can also apply it to pumpkin! Simply adjust the amount of seasonings depending on the size of the squash you use.
If you’ve tried this Roasted Butternut Squash recipe, then don’t forget to rate it and let me know how you got on in the comments below. I love hearing from you!
Roasted Butternut Squash Recipe

Equipment
- Large rimmed baking sheet
- mixing bowl
Ingredients
- 1 medium butternut squash (about 2 pounds/950g)
- 3 tablespoons extra-virgin olive oil
- ¾ teaspoon salt
- ½ teaspoon garlic powder
- ¼ teaspoon ground pepper
Instructions
- Preheat oven to 400°F.
- Trim the top and bottom from the butternut squash, then peel with a vegetable peeler to remove the skin. Cut the squash in half lengthwise and scoop out the seeds and soft flesh using a spoon. Cut into 1-inch cubes.
- Transfer cubes to a large bowl, drizzle with olive oil and sprinkle with salt, garlic powder, and pepper. Toss well so the pieces are evenly coated.
- Spread out onto a large baking sheet so the pieces are not touching each other.
- Bake for 15 minutes then stir and continue baking until tender and caramelized, 10 to 15 minutes more. Sprinkle with more salt and pepper to taste, and serve immediately.
Notes
- Don’t crowd the pan. Spread the squash cubes in an even layer on the baking sheet with some space between them. This ensures even roasting and caramelization. Plus, it prevents the squash from steaming.
- Toss halfway through. After 15 minutes of roasting, gently turn over the squash pieces with a spatula. This allows all sides to cook evenly for the perfect tender texture and to prevent any side from burning.
- Use parchment paper. You can line the baking sheet with parchment paper to prevent the squash from sticking and to make clean-up easier! However, the squash will caramelize a bit better if cooked directly on the baking sheet.
- Mind the time. Keep an eye on the roasting time to ensure the perfect texture. The squash is done when it is fork-tender–soft yet slightly caramelized on the outside.
Nutrition
Have you tried this recipe? Tag me today!
Mention @preppykitchen and tag #preppykitchen!


