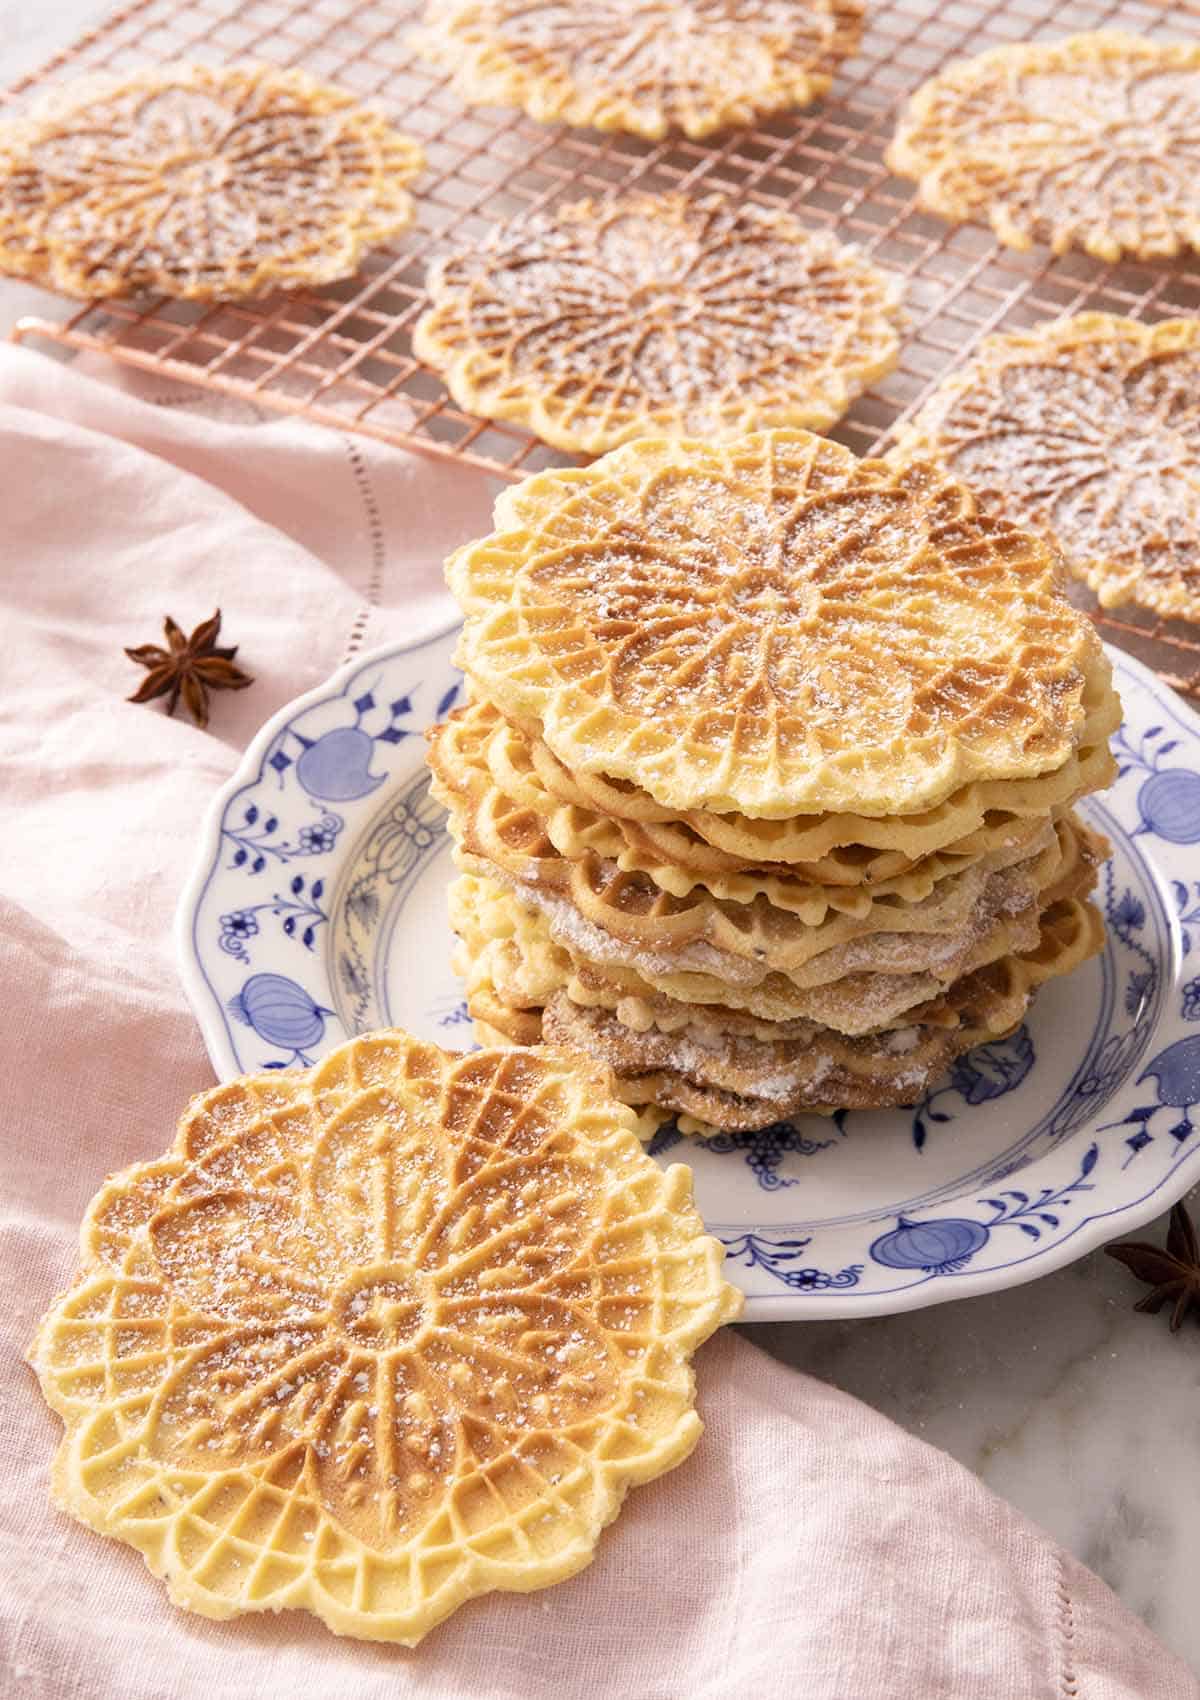
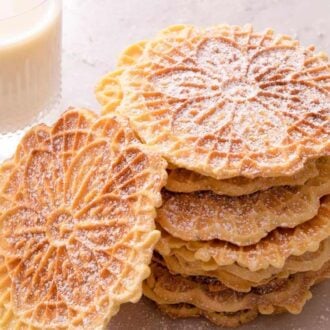
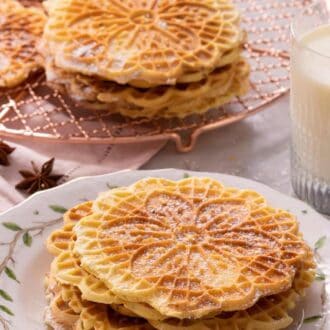
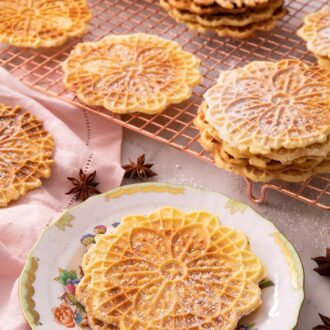
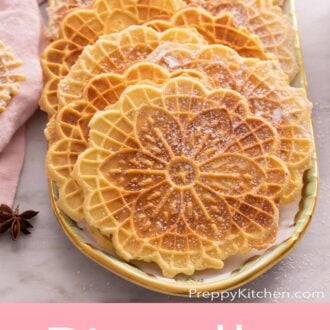
If you’ve ever wondered how to make perfect pizzelle, you’ve come to the right place. These traditional Italian waffle cookies are a delight all year round, but they’re especially popular at Christmas time—thanks in part to their beautiful aesthetic. The thin, crisp, golden-brown rounds are buttery, anise-scented, and almost too pretty to eat!
Despite their elegant appearance, pizzelle cookies are so simple to make. Quickly whip up your batter, then use a special pizzelle press to cook them like waffles! They’re also quite versatile—these traditional Italian cookies can easily be tweaked by using different flavorings (like citrus zest) or shaped into waffle cones or cannoli shells. For more Italian Christmas cookies, try my ricotta cookies, anise cookies, and rainbow cookies!
What are Pizzelle?
Italian pizzelle are some of the oldest cookies around, dating back to the 8th century in the Abruzzo region of Italy. They can also be referred to as ferratelle, nevole, catarrette, and cancelle. They are made by cooking batter between two decorated irons, like you would waffle cones, and can either be very crisp or slightly soft.
While they are most often flavored with anise seeds or anise oil that tastes similar to black licorice, other flavorings like lemon zest, orange zest, or almond extract may be used to make pizzelle as well.
Ingredients
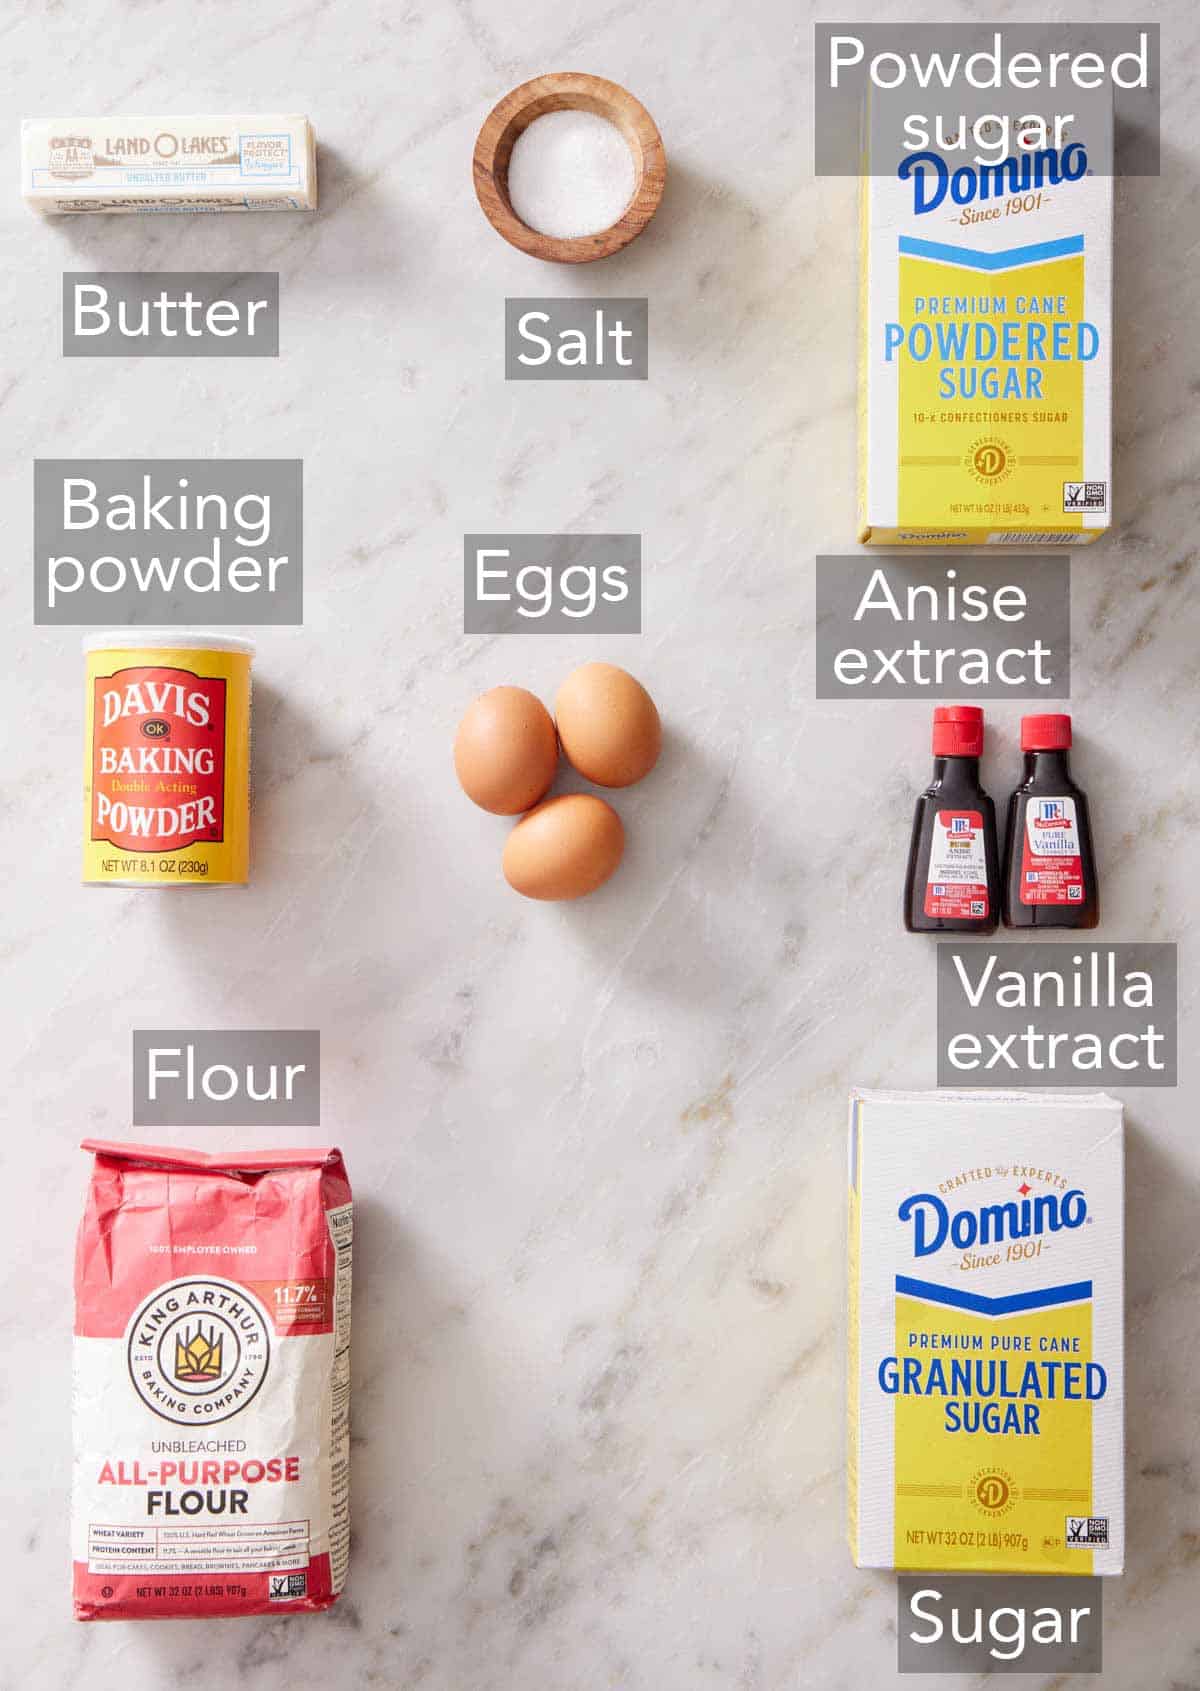
All-purpose flour — produces a tender and crisp pizzelle.
Baking powder — gives the batter a bit of rise so the pizzelle turn out light and crisp and not hard or dense.
Large eggs — remember to pull them from the fridge about 30 minutes in advance to make them easier to mix into the batter.
Granulated sugar — essential to achieving the signature crispness of pizzelle cookies and helps them develop a beautiful golden brown color.
Unsalted butter — if possible, use a good quality or European-style butter. Since these have a simple flavor profile, the quality of butter can shine through.
Vanilla extract — feel free to swap in an equal amount of vanilla paste for pretty flecks of vanilla bean throughout the cookies.
Anise extract — this is optional, but a delicious and traditional flavoring. If you don’t have any on hand, you can use 1 teaspoon anise seed or ¼ teaspoon anise oil.
Powdered sugar — a dusting of powdered sugar right before serving adds sweetness and a lovely appearance. If needed, make your own powdered sugar with white sugar and cornstarch.
How To Make Pizzelle
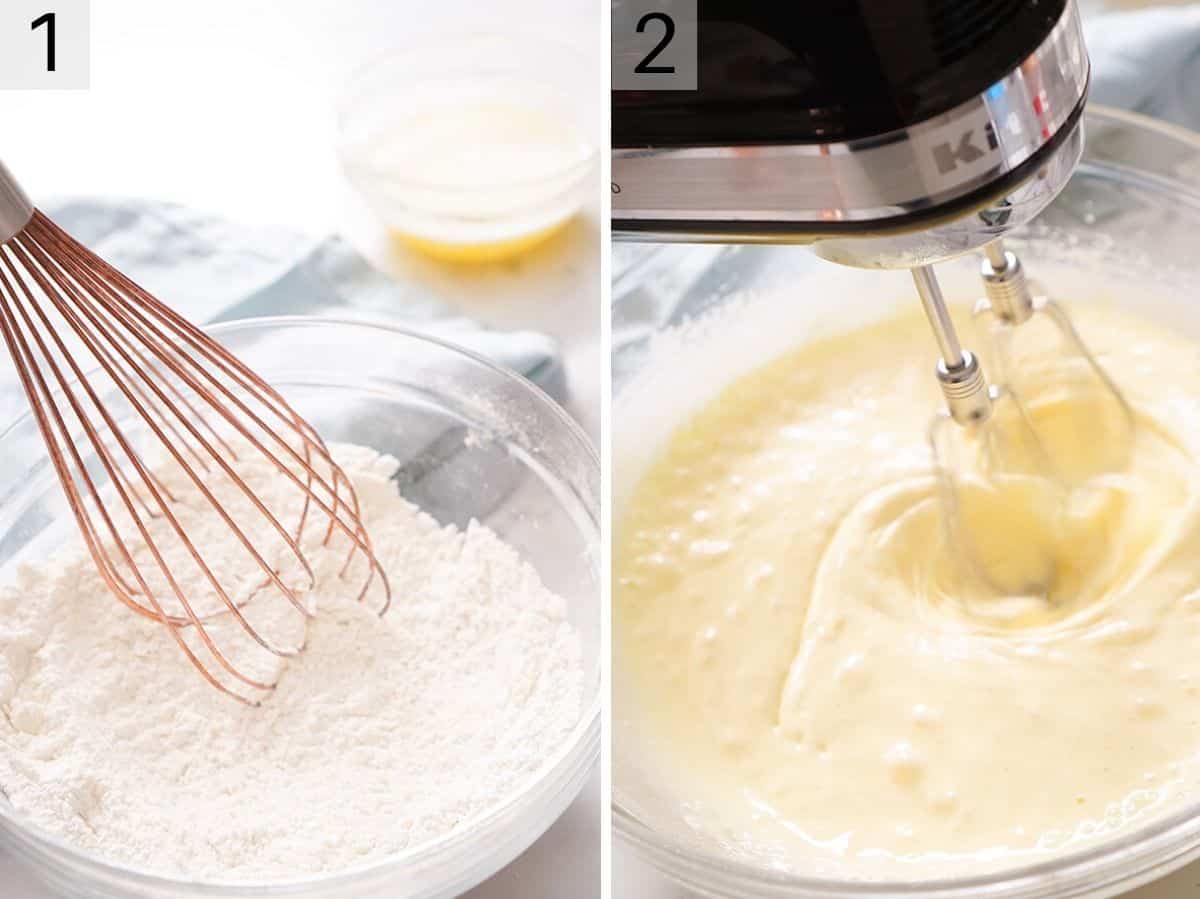
1. Preheat the pizzelle iron. In a medium bowl, whisk together flour, baking powder and salt.
2. In a large bowl, beat the eggs and sugar on high for 3-4 minutes or until thicker and light yellow.
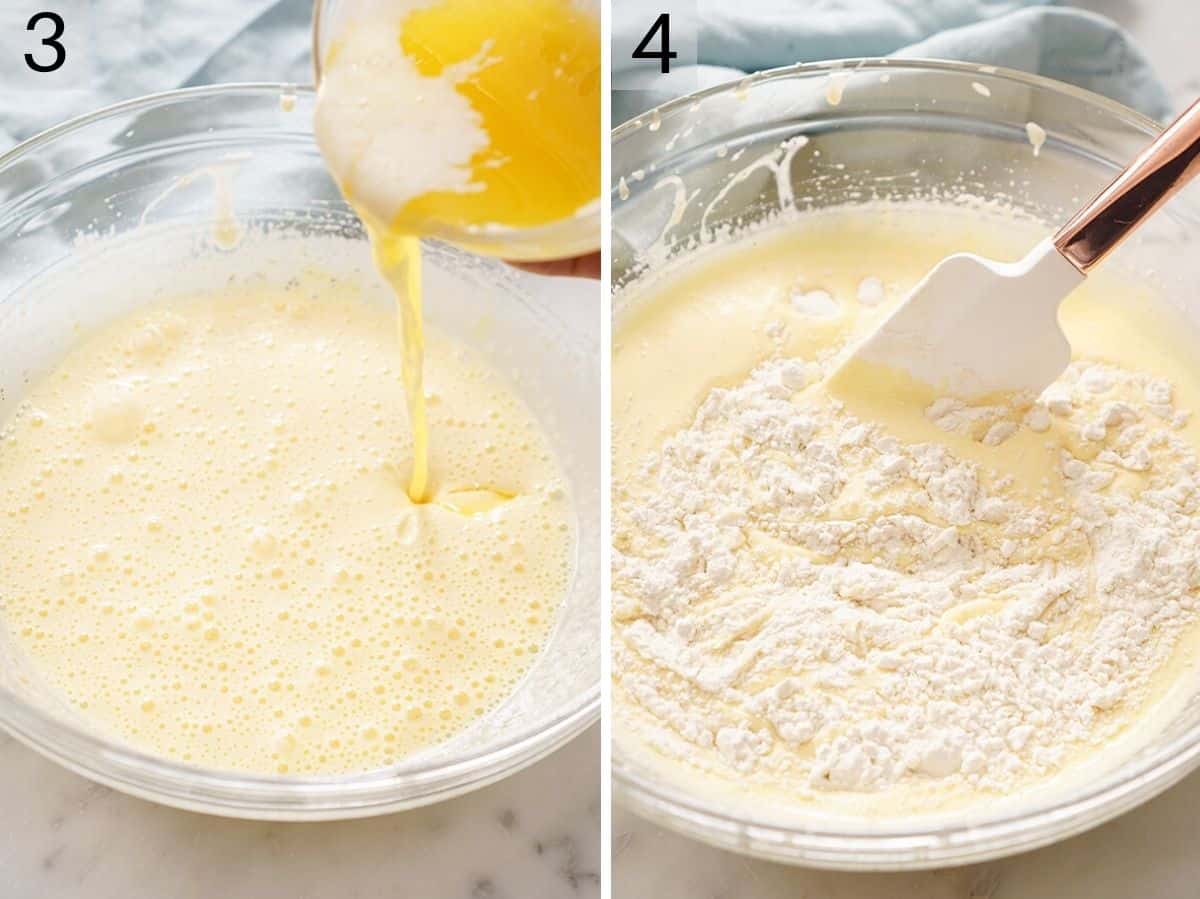
3. Add the melted butter, vanilla, and anise, if using, to the wet ingredients. Stir until well mixed.
4. Add the dry ingredients to the wet mixture and mix until just combined.
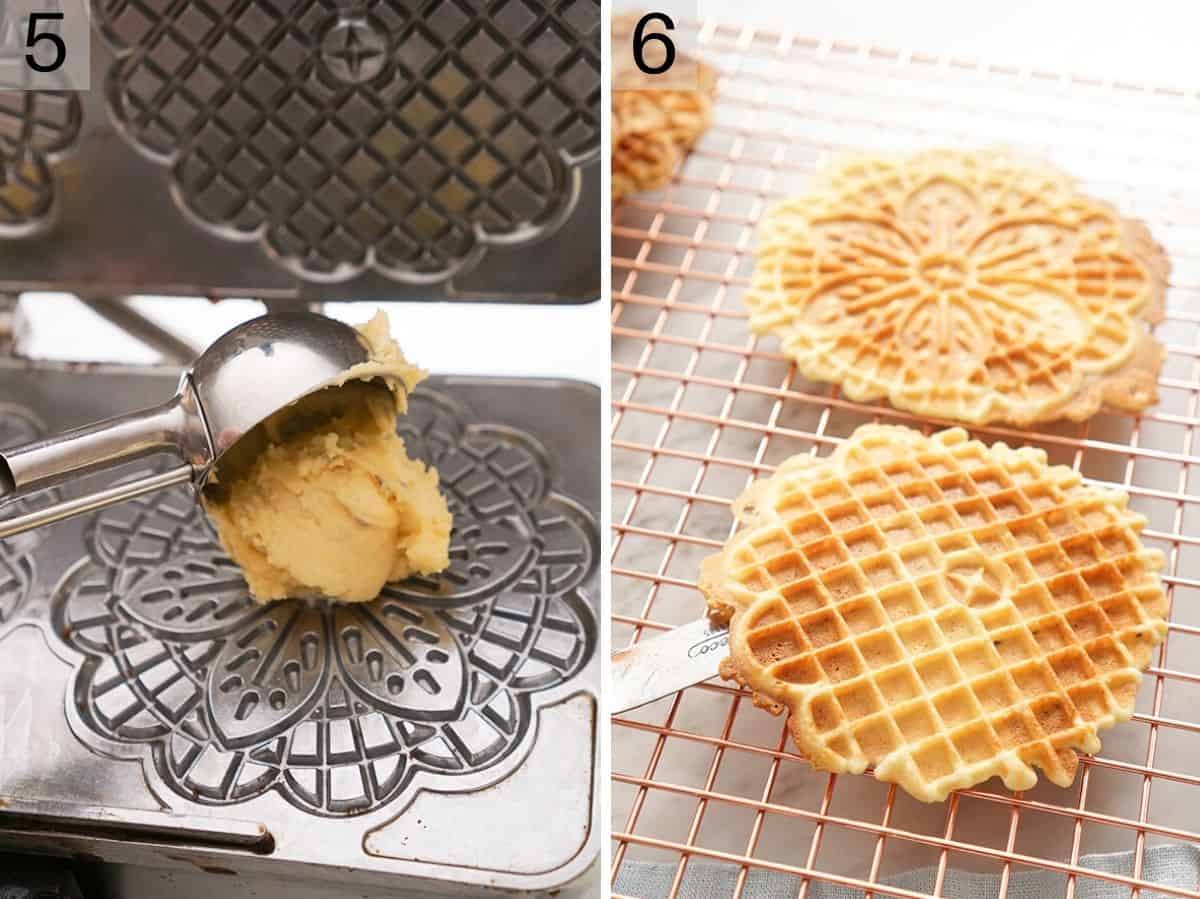
5. Brush the pizzelle iron lightly with oil or spray with nonstick spray. Add a heaping tablespoon of pizzelle batter to the hot iron. Place the batter just behind the center, closer to the hinge, then close and cook for 60-90 seconds or until golden.
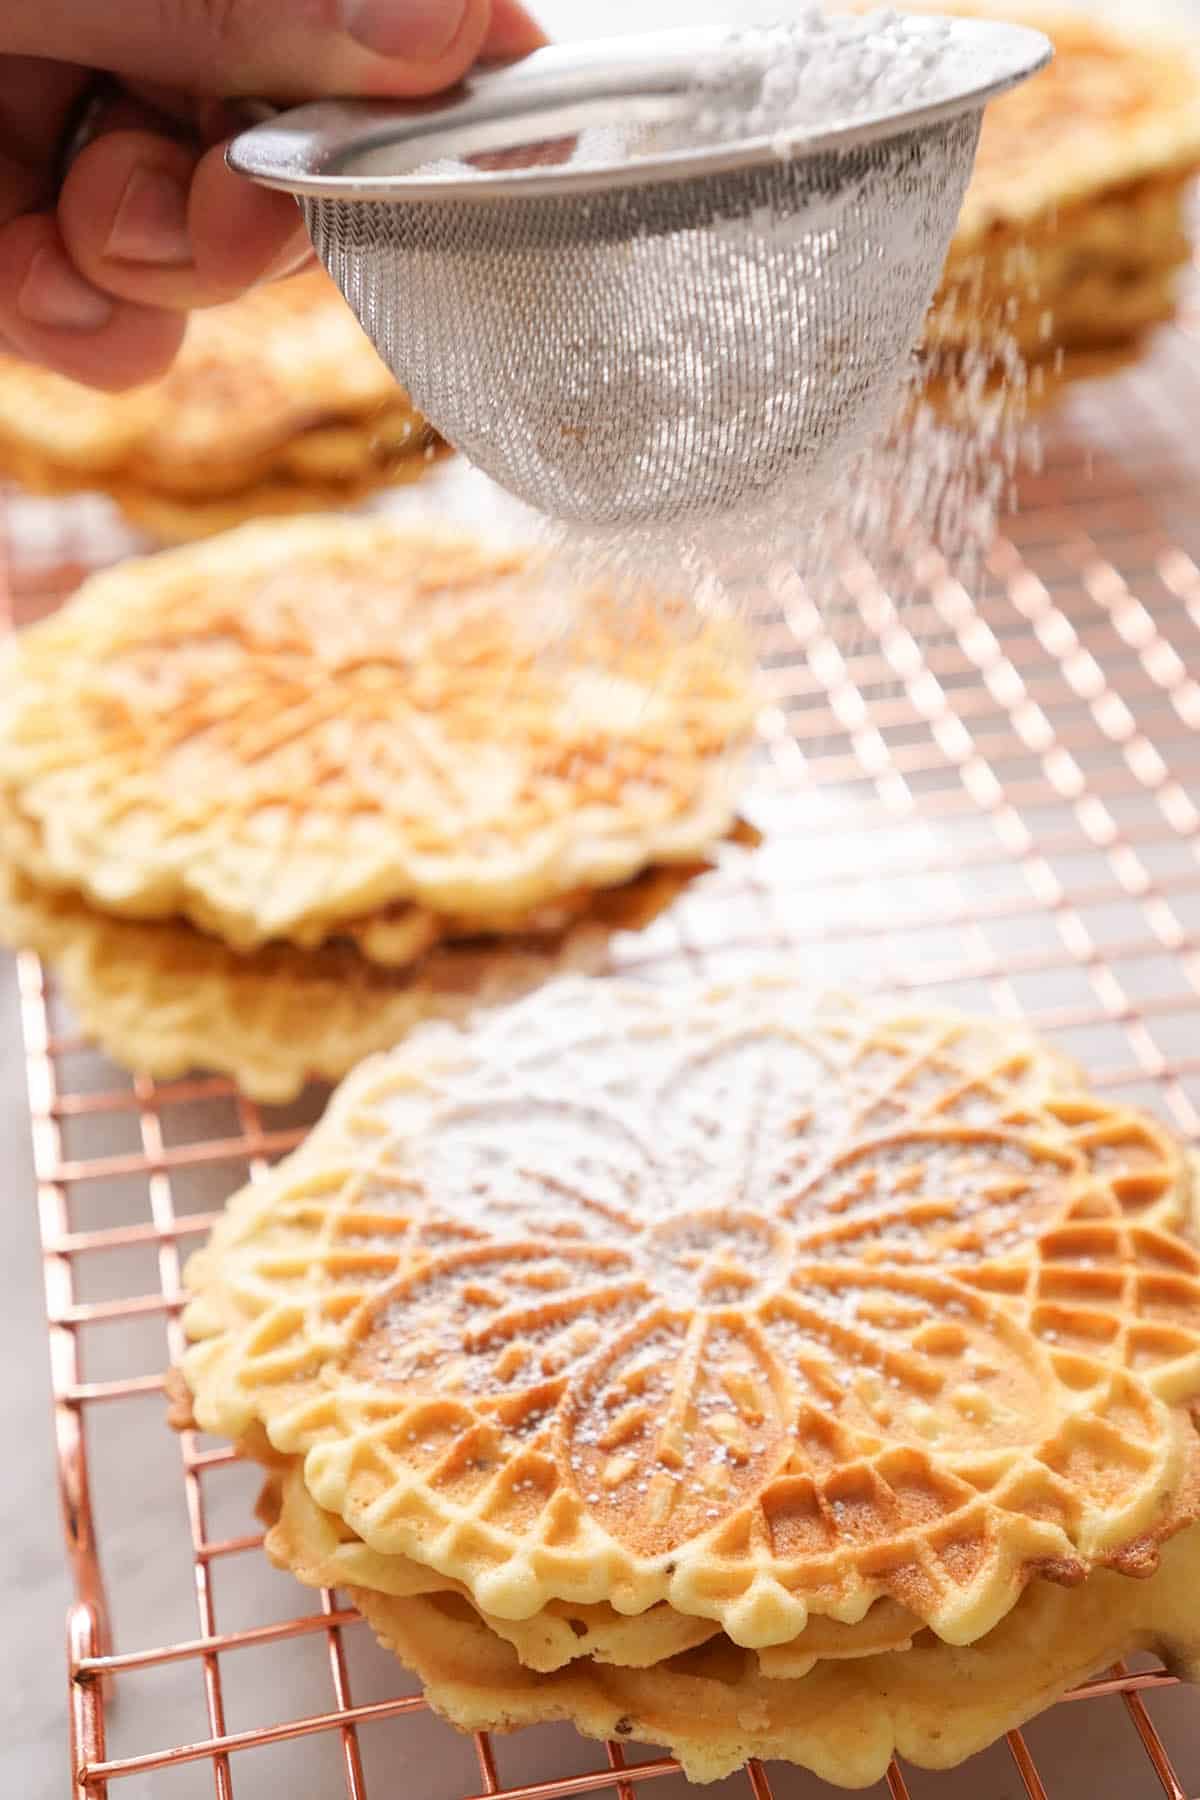
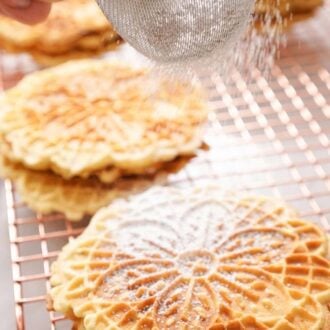
6. Remove the pizzelle to a cooling rack to cool completely to room temperature. Lightly dust with the powdered sugar before serving.
Do I Have to Use a Pizzelle Maker?
If you want the iconic lacy appearance this classic Italian cookie is known for, a pizzelle maker is the way to go. Most often, you’ll find electric pizzelle irons, but you can still find old-fashioned cast iron plates that can be used on the stove-top.
A good alternative would be to use a waffle cone maker, though the design will not be as intricate. Don’t try using a regular waffle iron; the wells are much too deep to work.
Variations
- Use other flavorings: Swap the anise for almond extract, lemon extract, or the flavoring of your choice. You can also add a teaspoon of lemon or orange zest if you like. Alternatively, have fun experimenting with other spices like ground cinnamon, cardamom, or nutmeg.
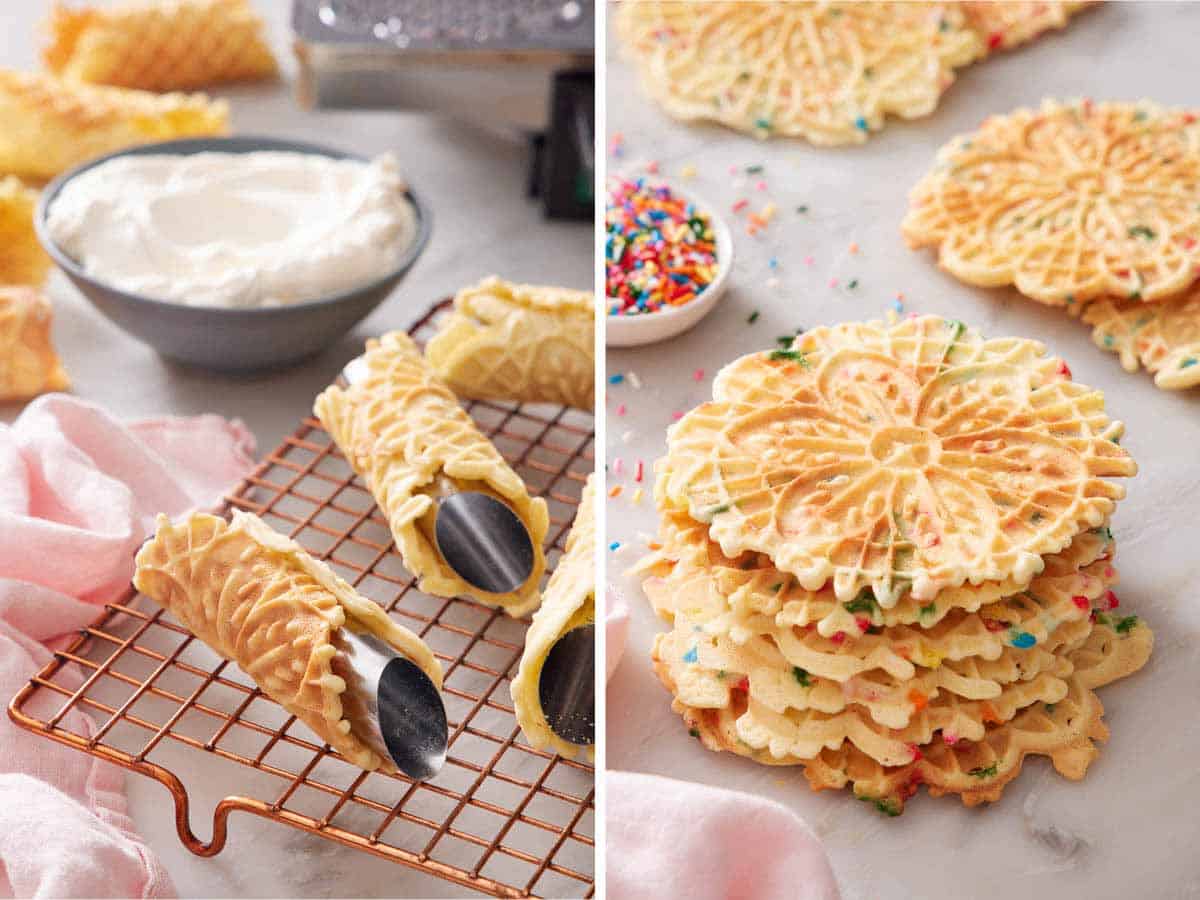
- Add sprinkles: You can stir ¼ cup of sprinkles like seasonal or rainbow jimmies into the batter before cooking the pizzelle to add cheerful pops of color.
- Make easy cannoli molds! To shape, grab a warm pizzelle from the press and drape it over a wide (approximately 1-2”) wooden dowel or cannoli shell mold, rolling as needed to seal the bottom (the ends should slightly overlap). As the cookie cools, it will harden into shape. If you use this method, I recommend grabbing two dowels or molds—most pizzelle presses cook two at a time, and it’s imperative to work while they’re warm and pliable. When you’re done, fill each shell with cannoli filling!
- Make waffle cones or waffle bowls: To make an ice cream cone from your pizzelle, place the warm cookie on a clean kitchen towel. Using a conical mold (a funnel works great!) with the tip about a centimeter from the edge, roll the pizzelle into a cone, using the kitchen towel to help as needed. To make a waffle bowl, turn a drinking glass upside down and drape the warm pizzelle over it, keeping it as centered as possible. As the cookie cools, it will harden into your preferred shape.
How to Serve
There are dozens of ways to enjoy these delicious cookies! Here are a few ideas to get you started:
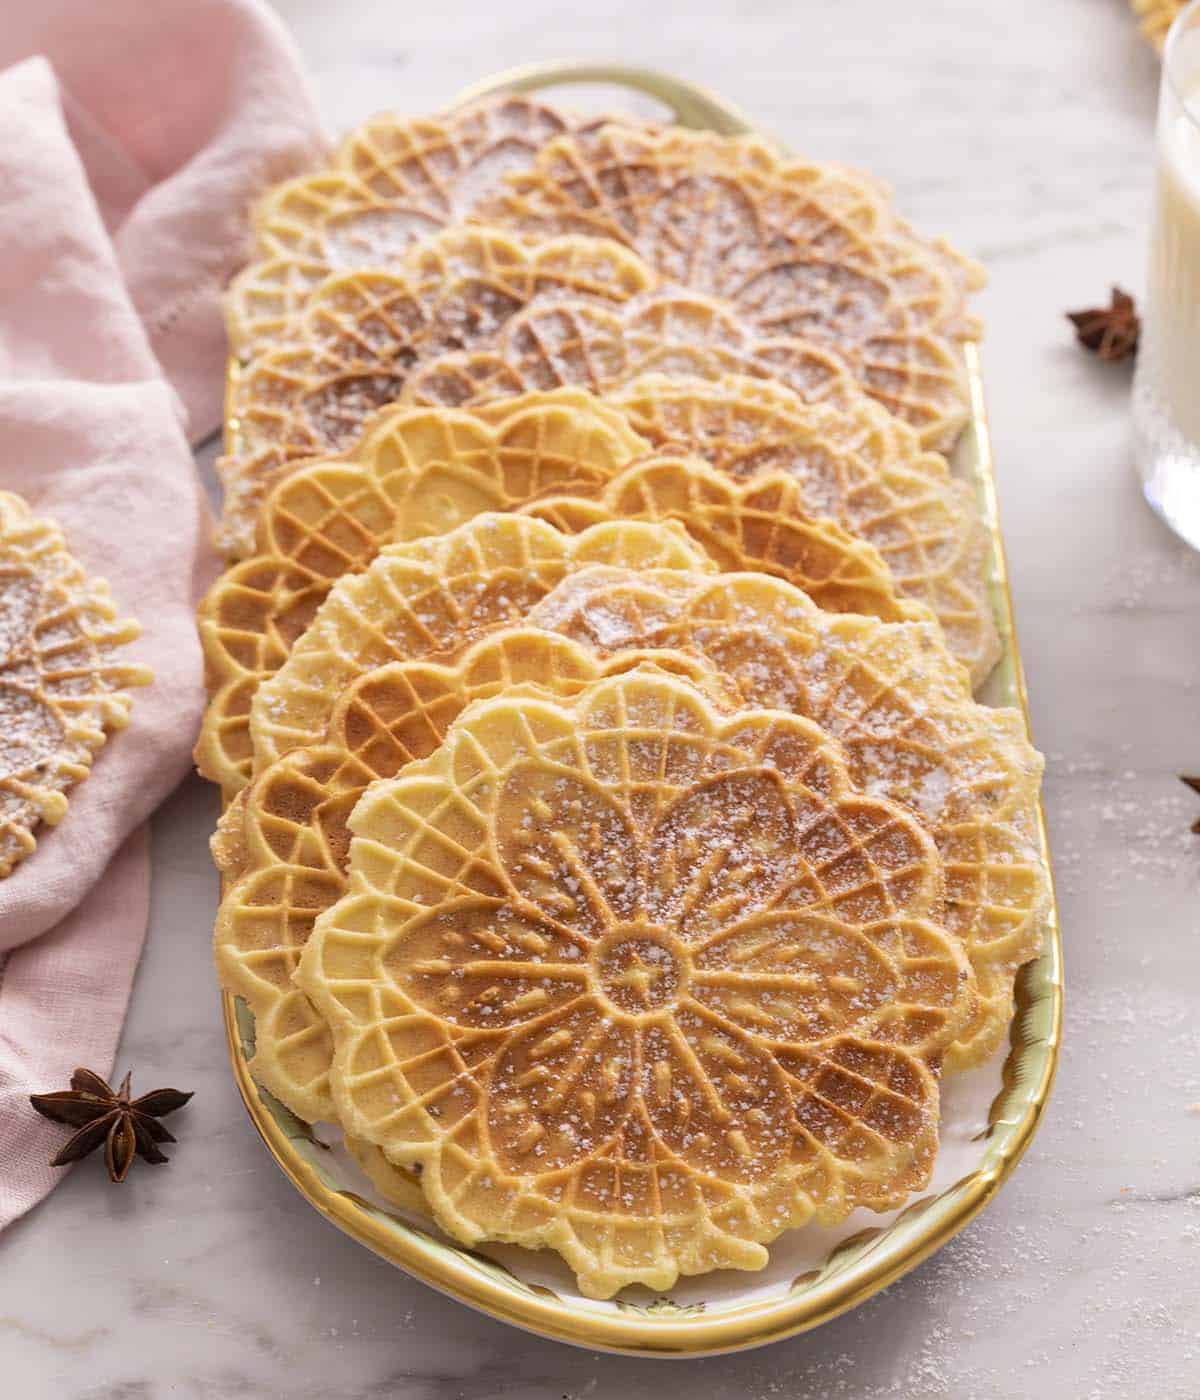
- Serve with tea, a boozy Irish coffee, or alongside an affogato.
- Garnish a scoop of vanilla ice cream by gently pressing the edge of the pizzelle in, creating a halo-like effect. If you need to stretch the batch for a group, you can also cut them into triangles while they’re still warm!
- Turn them into a cookie sandwich by spreading a thin layer of melted chocolate, chocolate ganache, buttercream frosting, or caramel sauce on one and place another one on top.
- They also make a very good ice cream sandwich—try stuffing them with pistachio ice cream or your favorite flavor.
How Should I Store Pizzelles?
Make sure to let the pizzelles cool completely before storing—this will help prevent any condensation from forming and causing the cookies to become soggy. They will keep well in an airtight container or zip-top bag at room temperature for up to a week.
Pro Tips For Making This Recipe
- Make a couple of test pizzelle to start. While some pizzelle presses have two wells, I recommend starting with just one at a time until you get the hang of it. Each press will cook at different rates, so learning how quickly you need to move will be imperative to your success. Generally speaking, they cook very quickly, so be ready with a spatula and cooling rack before you start!
- Make sure the press is preheated before you start. Much like pancakes, pizzelle need to start cooking immediately when the batter hits the pan to achieve the right color and texture. You can always test to see if your iron is hot by splashing a few drops of water on the iron—it should sizzle and evaporate almost immediately.
- If you skip the anise flavoring altogether, I recommend increasing the amount of vanilla to 1 tablespoon for added flavor.
Frequently Asked Questions
You sure can! Place the pizzelle on a parchment-paper lined baking sheet in a single layer, then pop the tray into an oven preheated to 275ºF. Bake for about 5 minutes. You can also put them in an air fryer at the same temperature for 3 to 5 minutes. Allow them to cool completely. Don’t worry if they feel soft when they come out; they’ll harden as they cool.
Yep! I recommend separating the pizzelle with small pieces of parchment paper before stacking atop one another. Wrap well in plastic wrap, then place in your preferred freezer-safe bag or container, removing as much air as possible to help ward off freezer burn. Freeze for up to 1 month. Re-crisp them as directed above before serving.
Most likely, you forgot to or didn’t coat the iron well enough with nonstick cooking spray. Make sure to give both sides of the press a good spritz (or brush with neutral oil) before cooking to prevent any sticking. Also, if you try to remove the pizzelle too soon, they may not release easily from the pan.
If you’ve tried this Pizzelle recipe, then don’t forget to rate it and let me know how you got on in the comments below. I love hearing from you!
Pizzelle Recipe
Equipment
- Pizzelle iron
- Vegetable oil
Ingredients
- 1¾ cups all-purpose flour (210g)
- 2 teaspoons baking powder
- ¼ teaspoon salt
- 3 large eggs
- ¾ cup granulated sugar (150g)
- ½ cup unsalted butter (113g), melted and cooled slightly
- 1½ teaspoons vanilla extract
- 1½ teaspoons anise extract (optional)
- Powdered sugar for serving
Instructions
- Preheat the pizzelle iron.
- In a medium bowl, whisk together flour, baking powder and salt.
- In a large bowl, beat the eggs and sugar on high for 3-4 minutes or until thicker and light yellow.
- Mix in the melted butter, vanilla, and anise if using.
- Add the dry ingredients to the wet and mix until just combined.
- Brush the pizzelle iron lightly with oil or spray with nonstick spray.
- Add a heaping tablespoon for each pizzella into the hot iron. Place the batter just behind the center, closer to the hinge, then close and cook for 60-90 seconds or until golden.
- Let the pizzelle cool on a wire rack. Lightly dust with the powdered sugar before serving.
Notes
- Make a couple of test pizzelle to start. While some pizzelle presses have two wells, I recommend starting with just one at a time until you get the hang of it. Each press will cook at different rates, so learning how quickly you need to move will be imperative to your success. Generally speaking, they cook very quickly, so be ready with a spatula and cooling rack before you start!
- Make sure the press is preheated before you start. Much like pancakes, pizzelle need to start cooking immediately when the batter hits the pan to achieve the right color and texture. You can always test to see if your iron is hot by splashing a few drops of water on the iron—it should sizzle and evaporate almost immediately.
- If you skip the anise flavoring altogether, I recommend increasing the amount of vanilla to 1 tablespoon for added flavor.







Leave a Reply