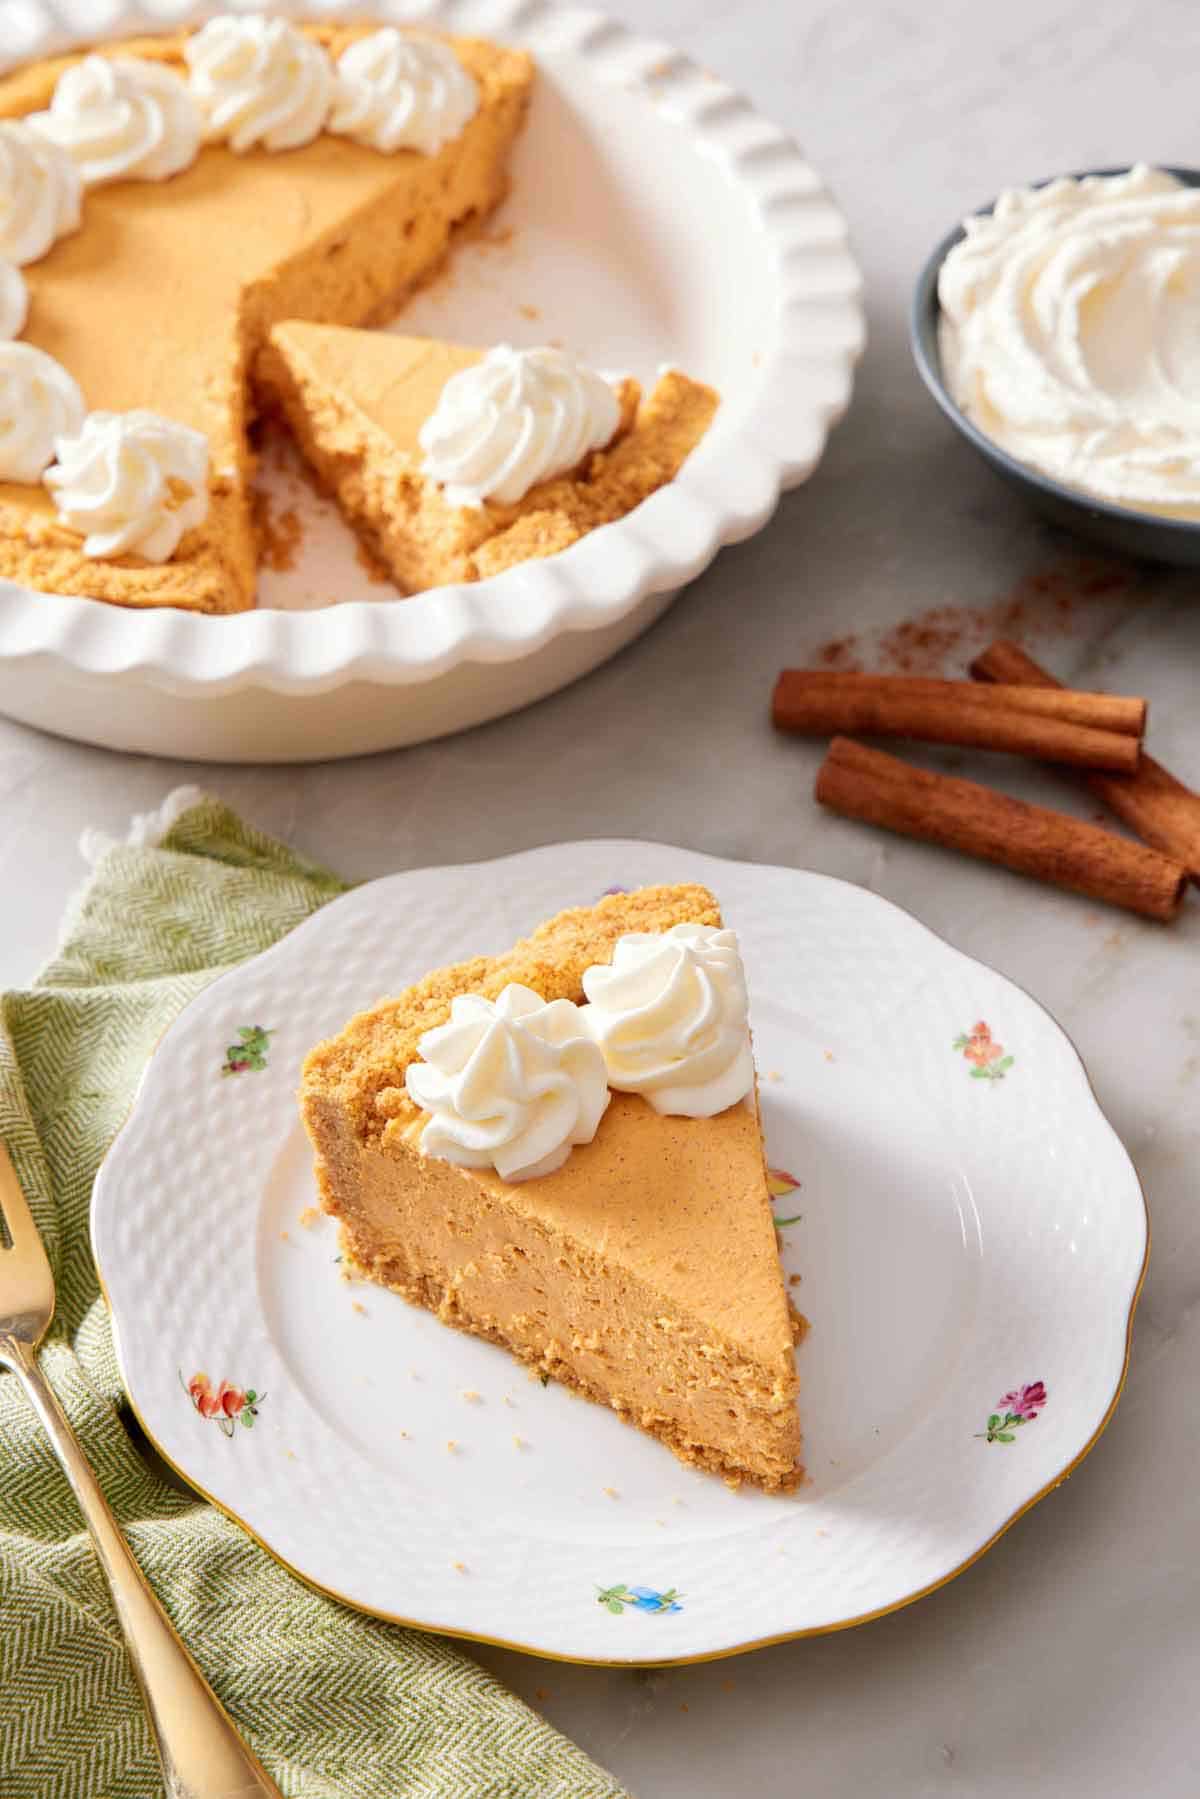
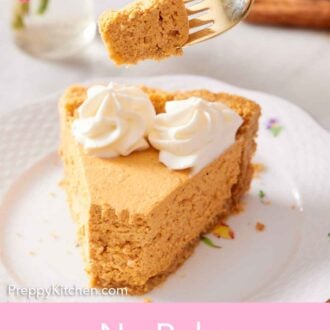
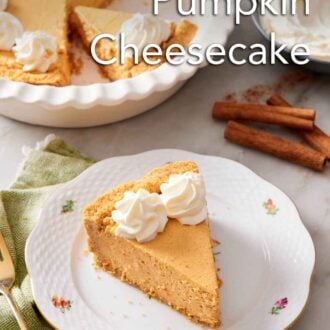
This autumnal no-bake pumpkin cheesecake treat is a decadent celebration of the season. The light, creamy filling made with pumpkin, cream cheese, powdered sugar, and homemade whipped cream filling is perfectly spiced with an aromatic blend of cinnamon, nutmeg, ginger, allspice, cloves, and vanilla extract. Nestled inside a graham cracker crust, the luxurious filling is contrasted with a crunchy crust in each bite.
Enjoy this rich dessert without the hassle of baking! You can make this dessert in less than 10 minutes, then let it sit in the refrigerator to set up–that’s it! If you’re looking for more pumpkin desserts, try my pumpkin cupcakes, pumpkin roll, or pumpkin cookies recipe.
What You Need To Make This Recipe
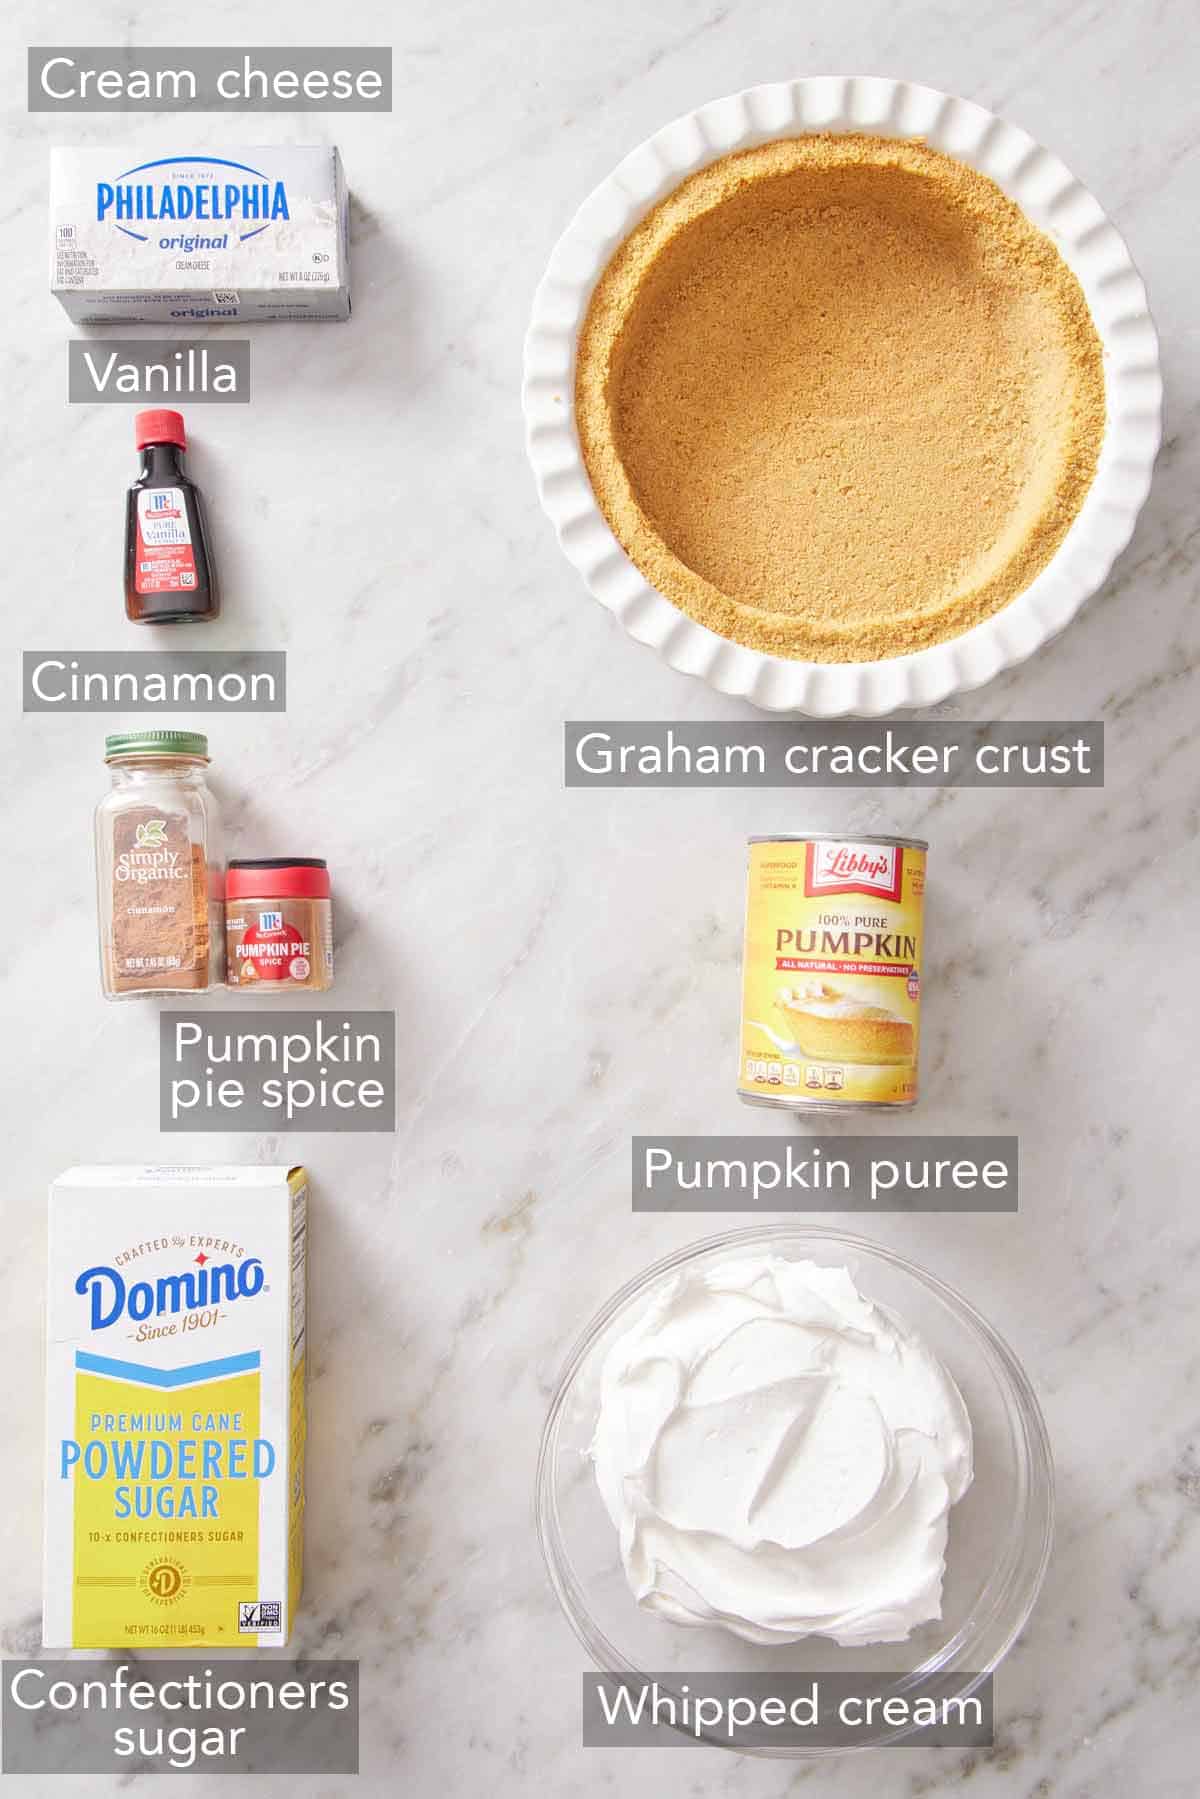
Cream Cheese — this key ingredient helps provide a classic cheesecake flavor and texture. Use blocks of full fat cream cheese for the richest, creamiest flavor, and bring it to room temperature for easy mixing.
Confectioners Sugar — powdered sugar easily dissolves into the other ingredients to sweeten the cheesecake filling.
Pumpkin Puree — use 100% pure pumpkin puree instead of pumpkin pie filling for the most robust pumpkin flavor. Canned pumpkin works well.
Pumpkin Pie Spice — pumpkin pie spice blends include ground cinnamon, nutmeg, ginger, allspice, and ginger to deliver an authentic seasonal flavor. Use your favorite store-bought blend or mix your own.
Whipped Cream — homemade whipped cream made with heavy cream, powdered sugar, and vanilla extract is the secret ingredient to add a lush airiness and volume to the filling.
Graham Cracker Crust — make an easy homemade graham cracker crust for the best crunchy texture and flavor, or use a store-bought graham cracker crust for convenience. Keep in mind a store-bought crust will be smaller (about 8 inches), so the filling may need to be mounded, or you may have some left over.
How To Make a No-Bake Pumpkin Cheesecake
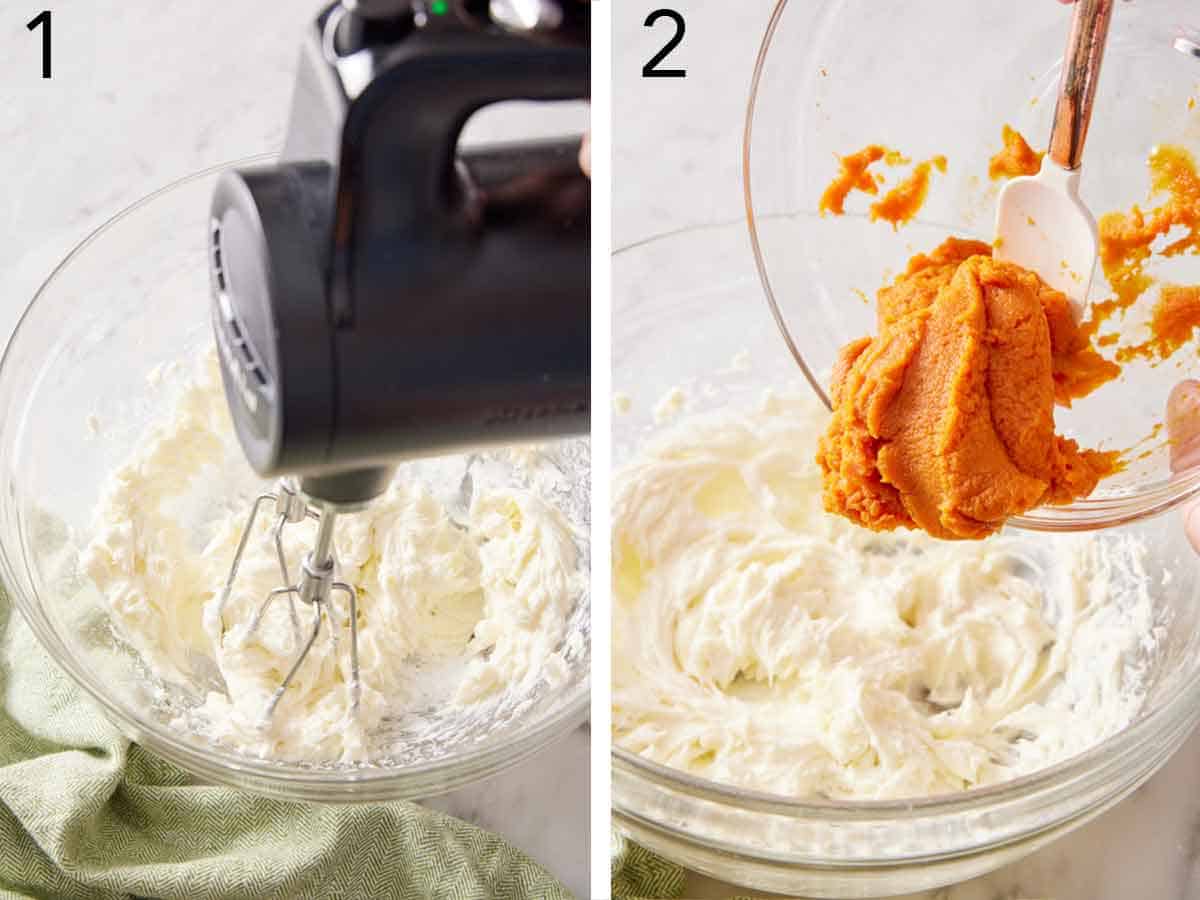
1. Add the softened cream cheese to a large bowl. Sift the powdered sugar over the top. With a handheld electric mixer (or in the bowl of a stand mixer with the paddle attachment), beat on medium speed for 1 minute or until well combined.
2. Add the pumpkin puree, pumpkin pie spice, cinnamon, and vanilla to the cream cheese mixture.
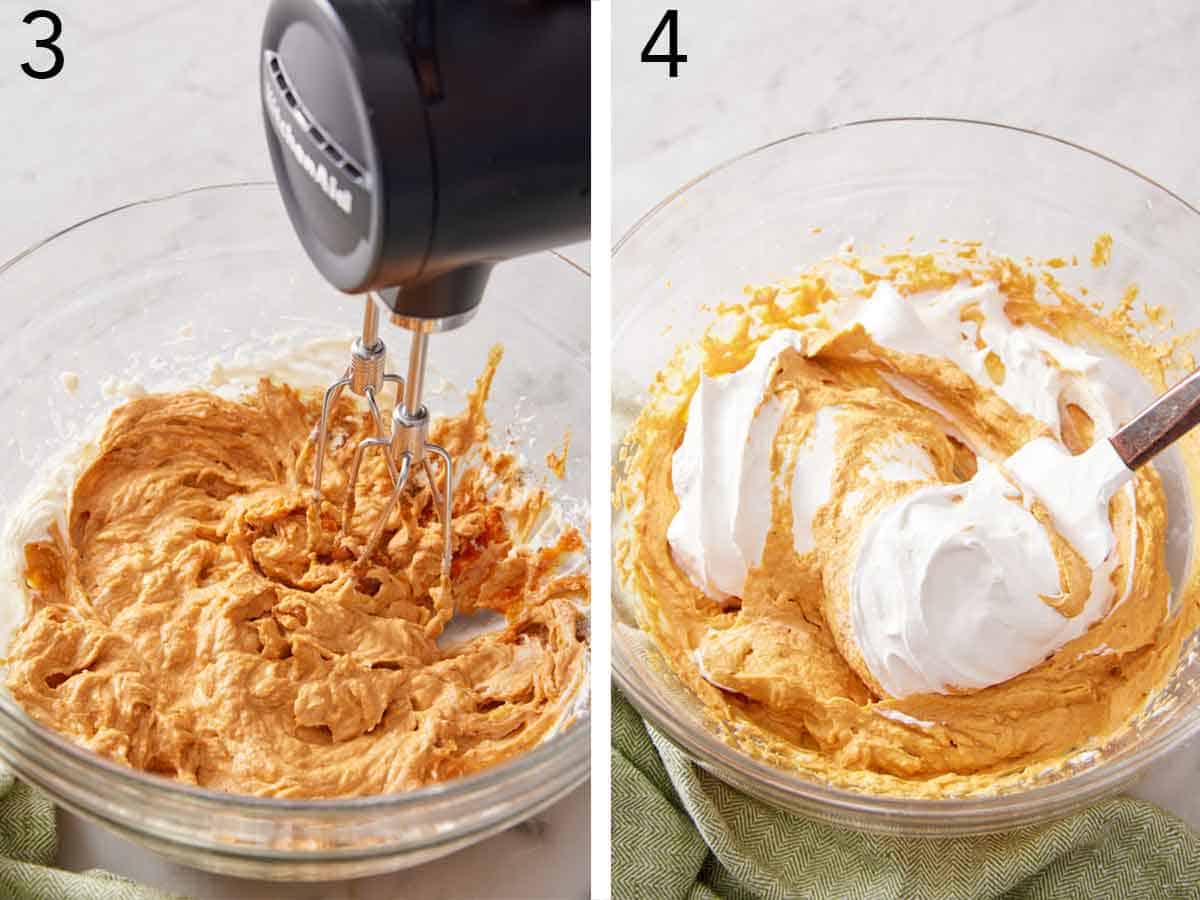
3. Beat with the electric mixer for 1 more minute until fully combined.
4. Gently fold in the whipped cream with a rubber spatula.
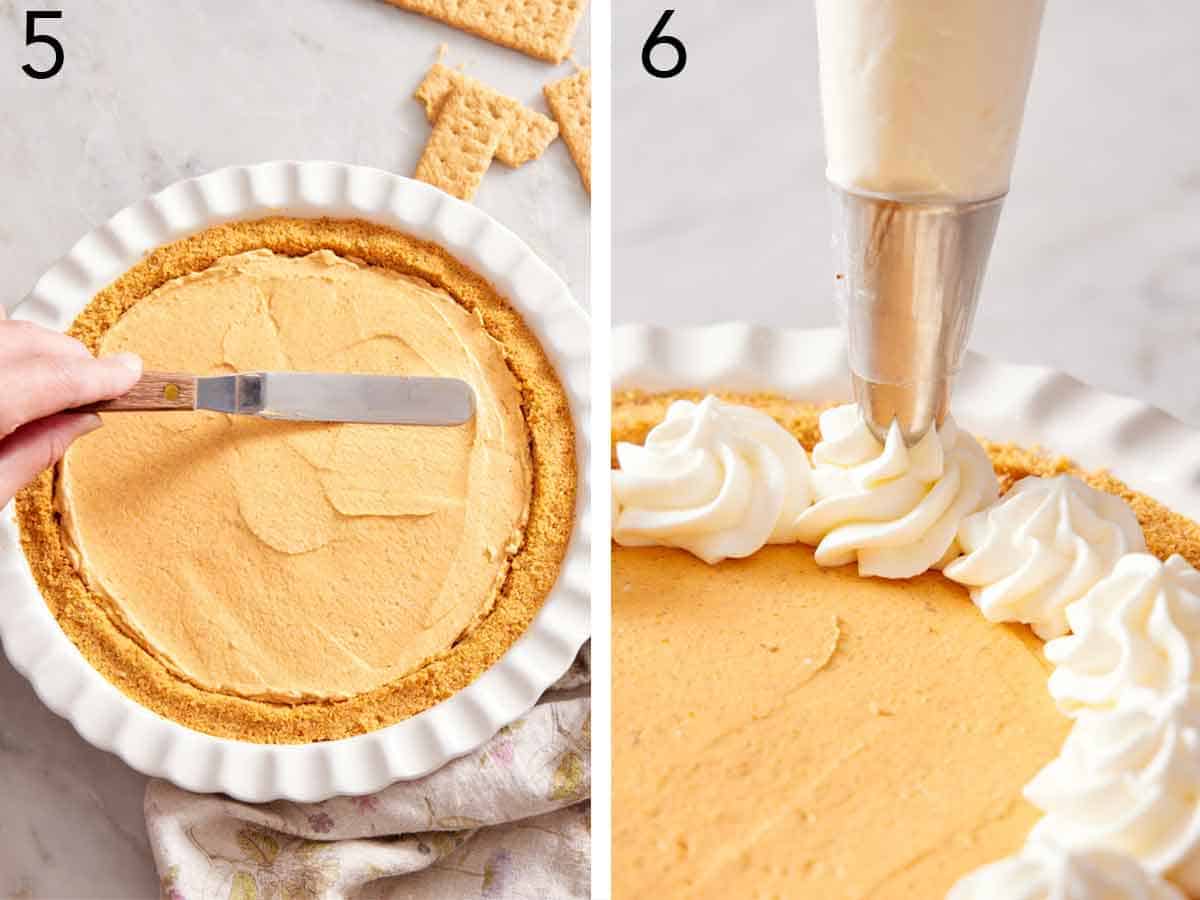
5. Spoon the filling into the crust and spread it into an even, flat layer using an offset spatula, or a rubber spatula will also work. Securely cover the cheesecake with plastic wrap or aluminum foil and chill in the refrigerator for at least 8 hours, or up to 48 hours, until the filling is set and sliceable.
6. Serve slices topped with another dollop of whipped cream.
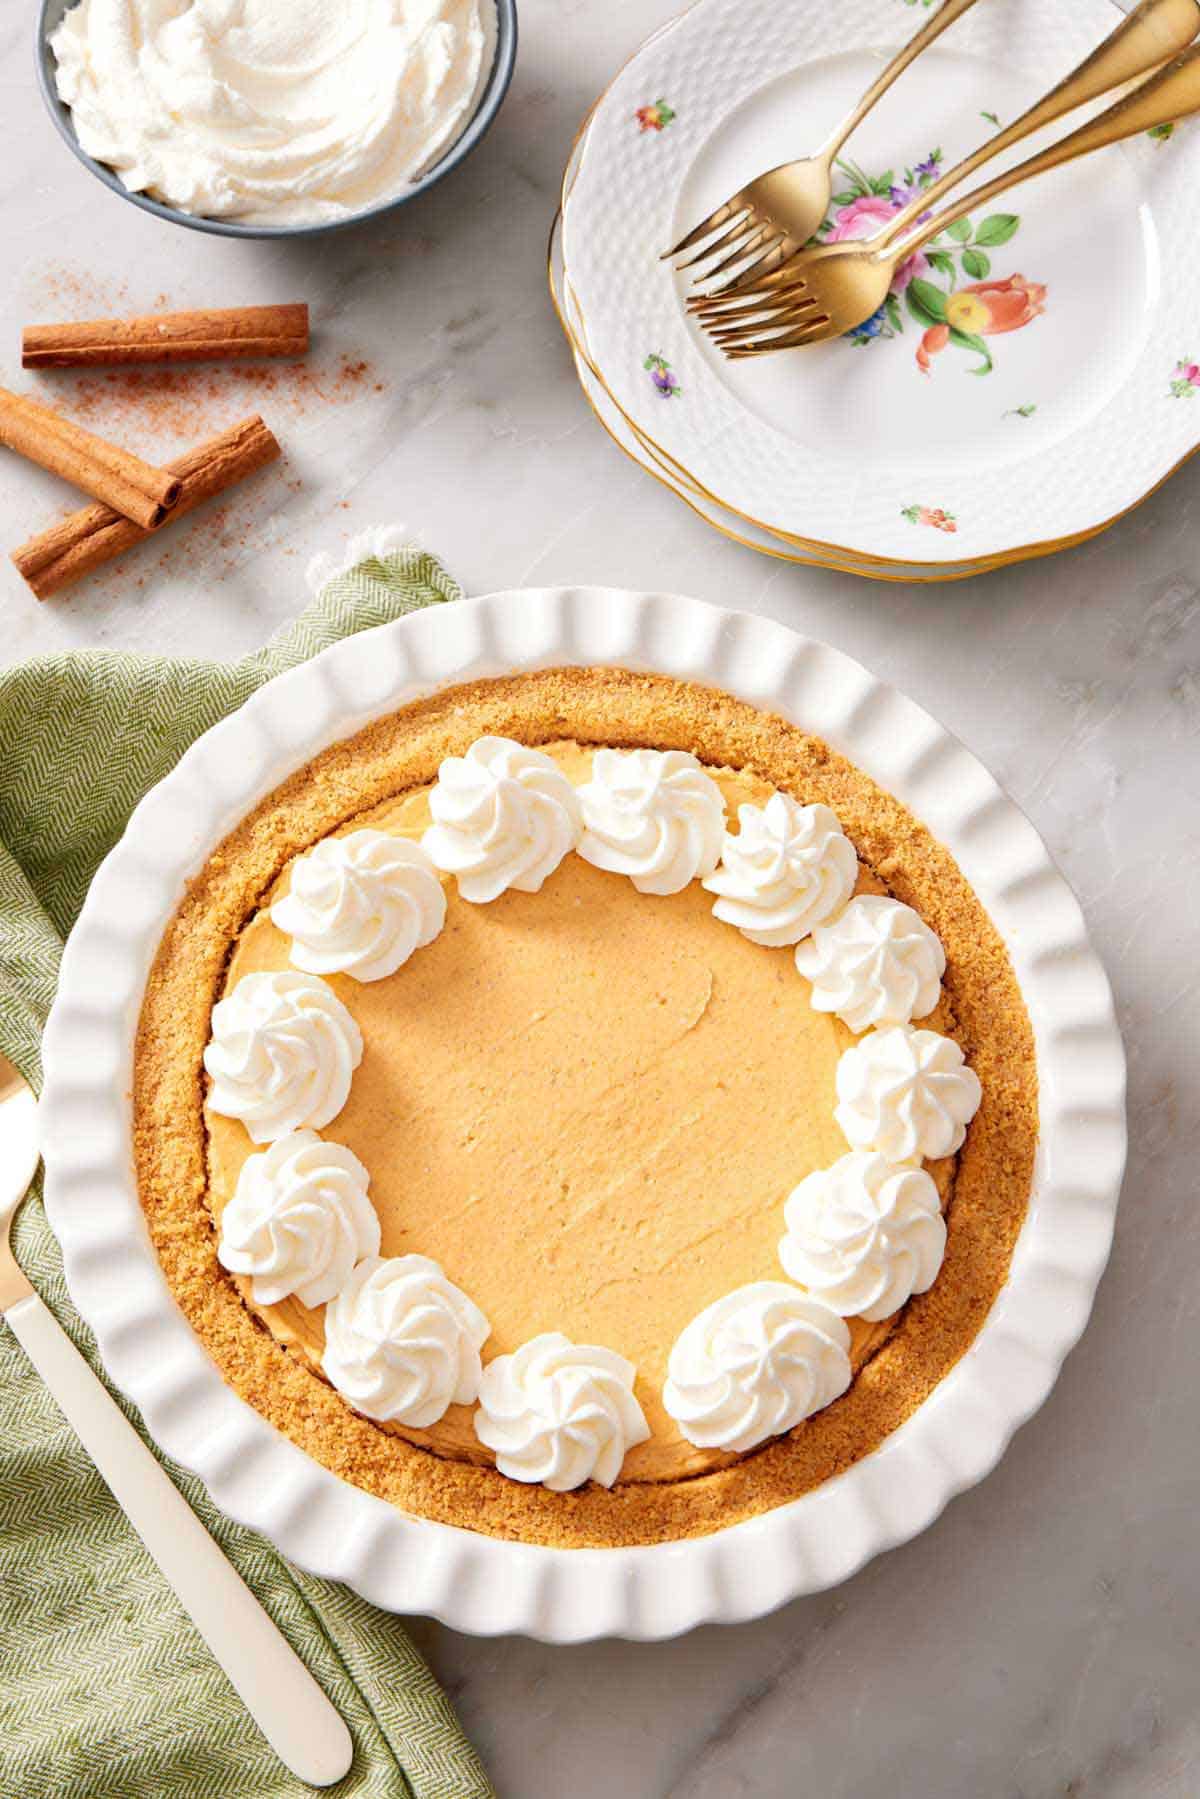
How Does This Cheesecake Filling Set Without Baking?
The cream cheese and whipped cream in the filling firm up when chilled in the refrigerator, creating a mousse-like consistency. This creates a creamy and fluffy texture that does not require baking!
The Perfect Crust
If you want to make a homemade graham cracker crust, follow my easy recipe! This recipe calls for baking the crust for a toasty flavor and crisp crust. I prefer this, as a baked crust holds up well to the creamy filling and longer refrigerated storage. However, if you want a no-bake crust, you can press the crust into the pan and freeze it for 30 minutes before filling it.
You can even switch up the flavor of the crust by using ginger snaps or Biscoff cookies instead of graham crackers. A store-bought graham cracker crust will also work well.
Serving Suggestions
Add this seasonal no-bake pumpkin cheesecake to the dessert table at fall parties or Thanksgiving dinners, or enjoy it as a fun, easy dessert for any weeknight.
Garnish chilled cheesecake slices with a fresh dollop of whipped cream, or add other toppings for an extra festive touch, such as crushed graham cracker crumbs, candied pecans, a dusting of cinnamon or pumpkin pie spice, or a drizzle of caramel sauce for extra indulgence.
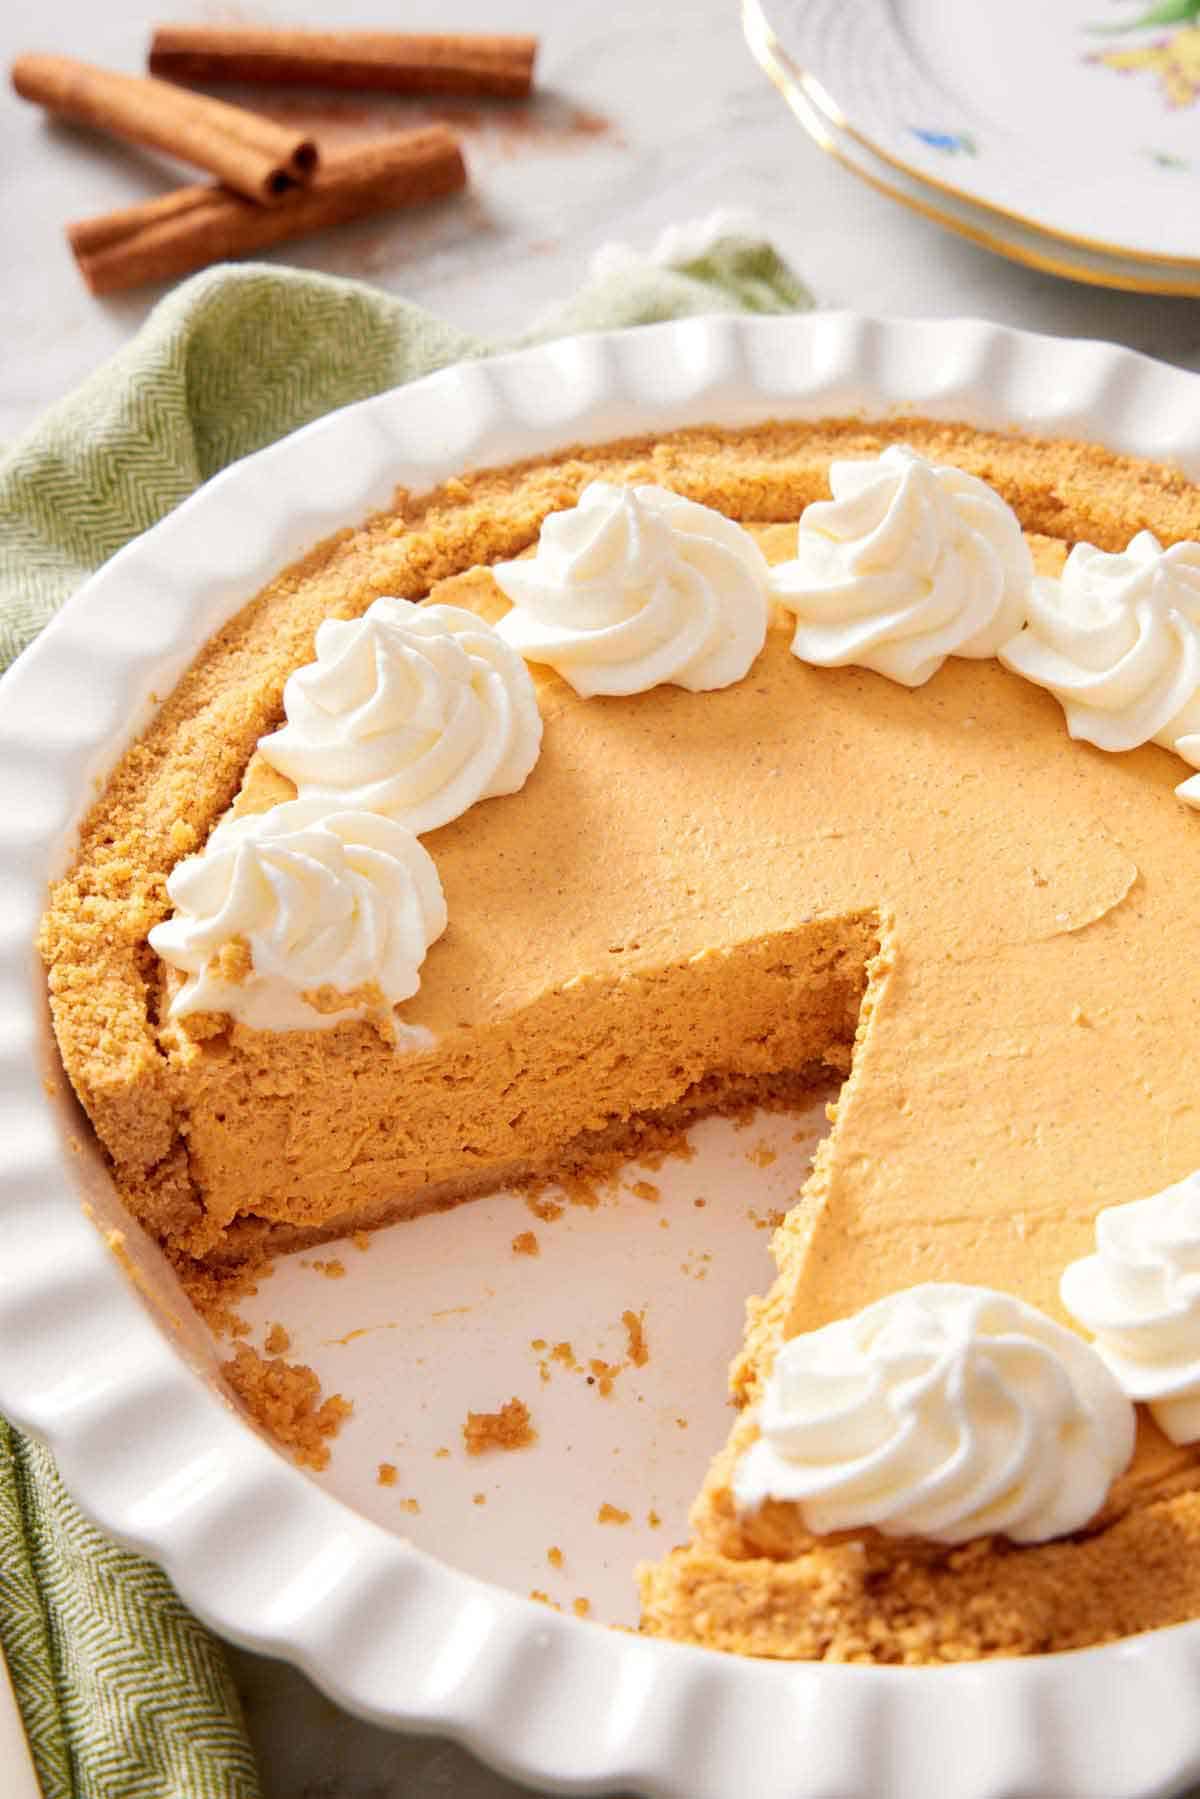
Can I Use Pumpkin Pie Filling?
Yes, you can substitute canned pumpkin pie filling if you prefer it to pure pumpkin puree. Remember that it will add extra sweetness and spices to the cheesecake filling, so you can reduce the powdered sugar to ¼ cup if desired. Don’t use homemade pumpkin pie filling, as it contains eggs and requires baking.
Variations
- Mini no-bake pumpkin cheesecakes: Instead of one large cheesecake, make 24 bite-sized desserts perfect for parties or grab-and-go servings. Simply follow my mini cheesecakes instructions for pressing the graham cracker crust into the liners. Top with the pumpkin filling, then chill until set. Or, fill store-bought mini pie crusts with the no-bake filling.
- Use whipped topping: If you don’t have time to make homemade whipped cream, substitute it with up to 2 cups of frozen, thawed whipped topping or Cool Whip. This is also an excellent swap if you plan to make the pie a day in advance. Fresh whipped cream will start to settle and lose some airiness after 24 hours.
How to Store
- Make-ahead: Prepare the cheesecake, cover it tightly with plastic wrap or aluminum foil, and refrigerate for up to 24 hours before slicing and serving. Wait to add the garnishes until just before serving.
- Refrigerating leftovers: Cover the cheesecake or transfer leftover cheesecake slices to an airtight container and refrigerate for up to 4 days. For the best results, keep the toppings separate and add when you’re ready to enjoy a slice.
- Freezing: Prepare the whole cheesecake in a freezer-safe pan or place cheesecake slices on a parchment paper-lined baking sheet and freeze for 2 hours until firm to the touch. Wrap the cheesecake or individual slices tightly in plastic wrap, then place them in a freezer-safe airtight container and store for up to 3 months. Thaw overnight in the refrigerator before serving.
Pro Tips For Making This Recipe
- Whip the cream to stiff peaks. When making your own whipped cream for the filling, be sure to whip the cream until stiff peaks form so that the filling is firmer and holds air for longer. To make 2 cups of homemade whipped cream, start with 1 cup of heavy whipping cream.
- Don’t cut the chilling time short. Allow the no-bake pumpkin cheesecake to set properly by leaving it in the refrigerator for at least 8 hours before serving. The filling will become firmer the longer it chills. You can refrigerate it for up to 48 hours, but for the best texture, serve it within 24 hours.
- Add toppings just before serving. For the freshest taste and texture, wait to add any garnishes or toppings until you’re ready to serve.
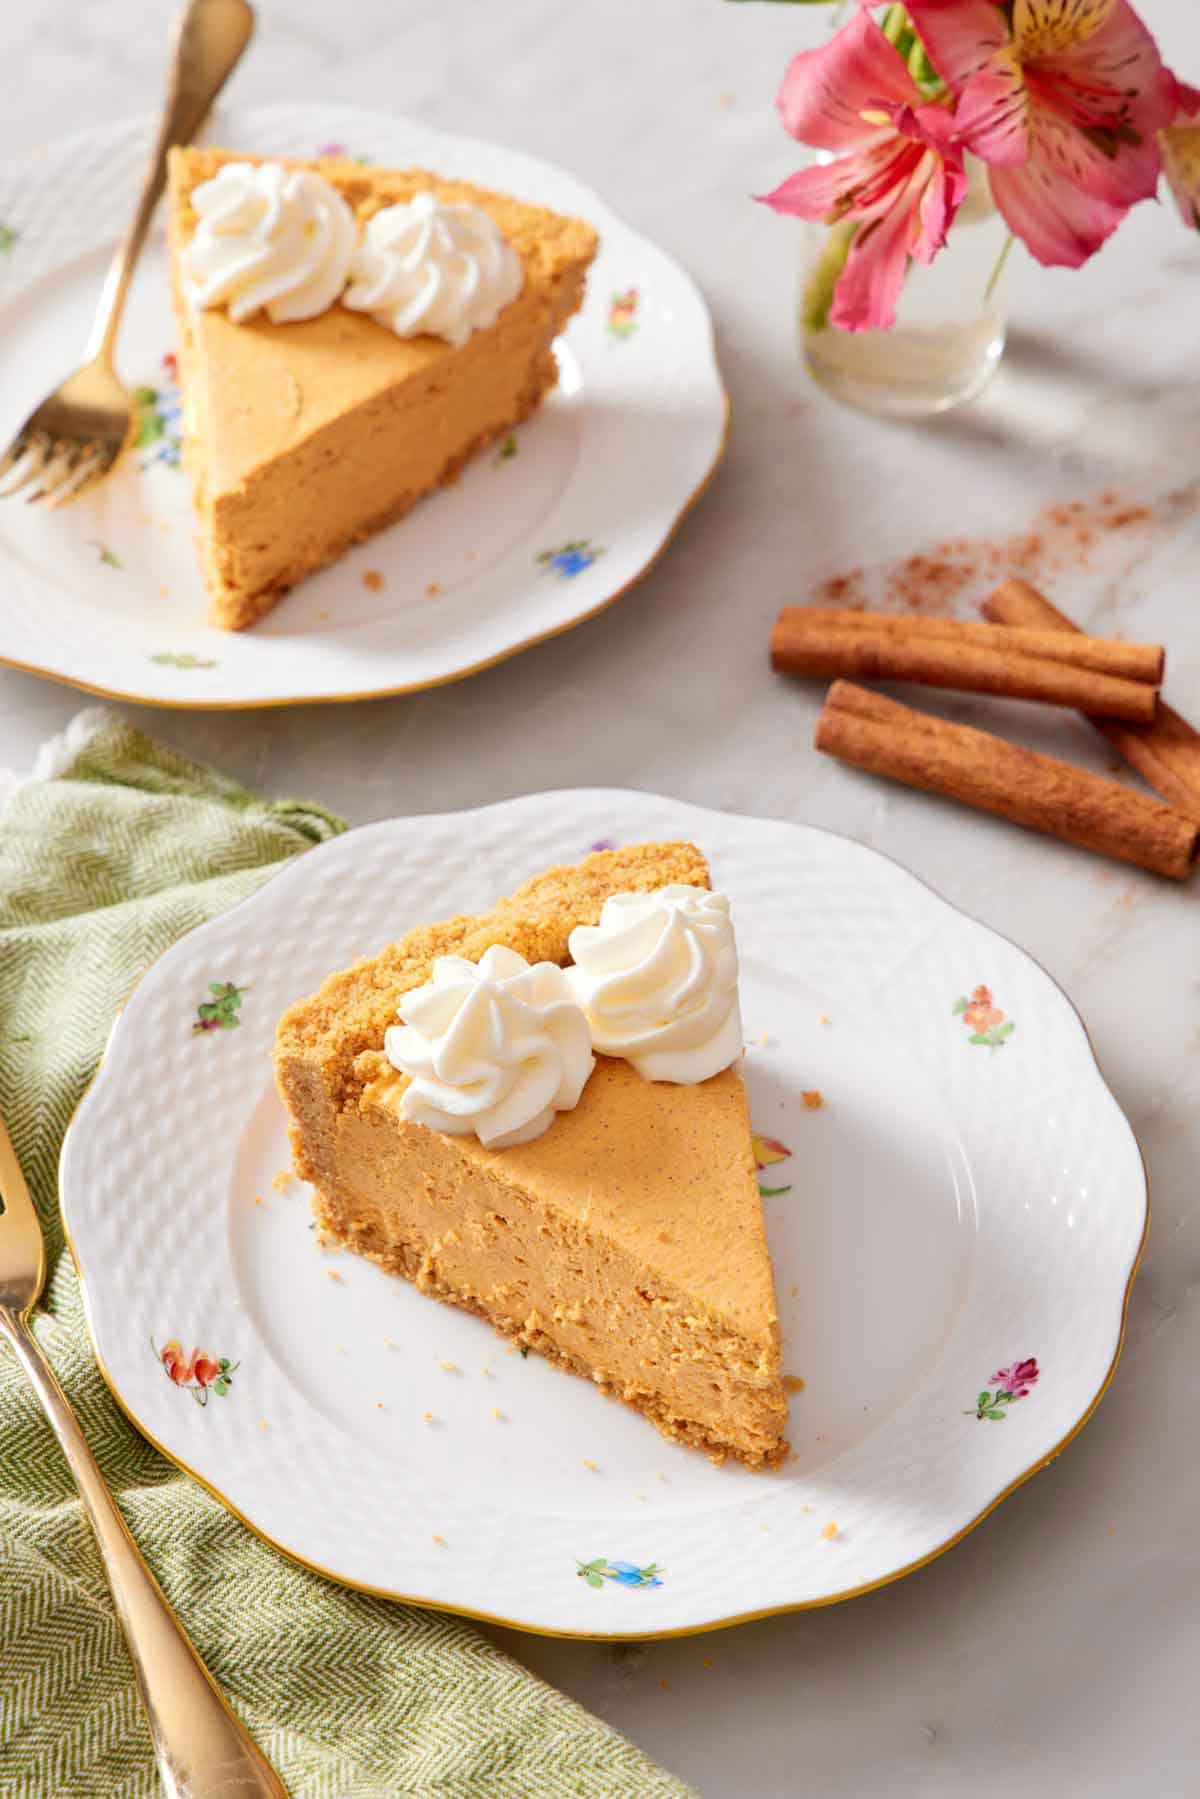
Frequently Asked Questions
If the cheesecake filling did not firm up properly, it may have needed more time to chill in the refrigerator. It needs at least 8 hours, ideally up to 24 hours, to firm up in the refrigerator before slicing and serving.
Thoroughly incorporating the filling ingredients is also essential. Whip the ingredients until they are fully combined. Be careful when folding the whipped cream into the pumpkin mixture, as it can deflate, which will soften the texture. Gently fold it in with a rubber spatula until just combined.
Yes. If you would like to remove the cheesecake from the pan for serving, use a springform pan. Use a 9-inch springform pan and push the graham cracker crumbs 1½ inches up the side of the pan. You can freeze or bake the crust, then add the filling. Once chilled, run a thin knife around the sides to release the crust before removing the sides of the pan.
Yes, you can use homemade pumpkin puree instead of canned. Before adding it to the recipe, spread 1 cup of puree onto paper towels and let it sit for 10 minutes to blot out extra moisture. This will prevent the cheesecake filling from becoming too watery.
If you’ve tried this No Bake Pumpkin Cheesecake recipe, then don’t forget to rate it and let me know how you got on in the comments below. I love hearing from you!
No Bake Pumpkin Cheesecake Recipe
Equipment
- 9-inch deep dish pie plate
- Handheld electric mixer or stand mixer
Ingredients
- 1 (8-ounce/226g package) cream cheese room temperature
- ½ cup confectioners sugar (60g)
- 1 cup pumpkin puree (245g)
- 1 teaspoon pumpkin pie spice
- 1 teaspoon cinnamon
- 1 teaspoon vanilla extract
- 2 cups whipped cream (150g)
- 1 graham cracker crust
Instructions
- Add the softened cream cheese to a large bowl. Sift the powdered sugar over the top. With a handheld electric mixer (or in the bowl of a stand mixer with the paddle attachment) beat on medium speed for 1 minute, until well combined.
- Add the pumpkin puree, pumpkin pie spice, cinnamon, and vanilla. Beat for 1 more minute until fully combined.
- Fold in the whipped cream. (You can also use 2 cups of frozen, thawed whipped topping instead of the freshly whipped cream.)
- Pour the topping into the crust and spread into an even layer.
- Refrigerate for at least 8 hours or up to 48 hours until the filling is set and sliceable. Serve slices topped with another dollop of whipped cream.
Notes
- Whip the cream to stiff peaks. When making your own whipped cream for the filling, be sure to whip the cream until stiff peaks form so that the filling is firmer and holds air for longer. To make 2 cups of homemade whipped cream, start with 1 cup of heavy whipping cream.
- Don’t cut the chilling time short. Allow the no-bake pumpkin cheesecake to set properly by leaving it in the refrigerator for at least 8 hours before serving. The filling will become firmer the longer it chills. You can refrigerate it for up to 48 hours, but for the best texture, serve it within 24 hours.
- Add toppings just before serving. For the freshest taste and texture, wait to add any garnishes or toppings until you’re ready to serve.



Laura says
This cheesecake is absolutely delicious and easy to make.