
This post may contain affiliate links. Please read our disclosure policy.
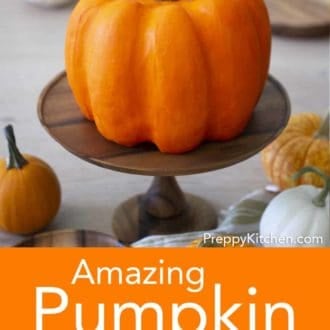
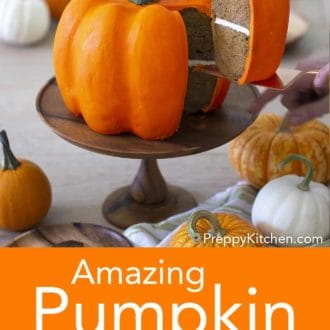
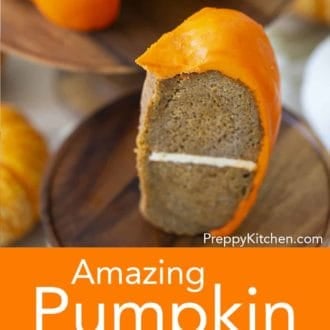
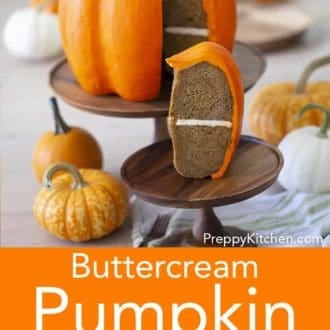
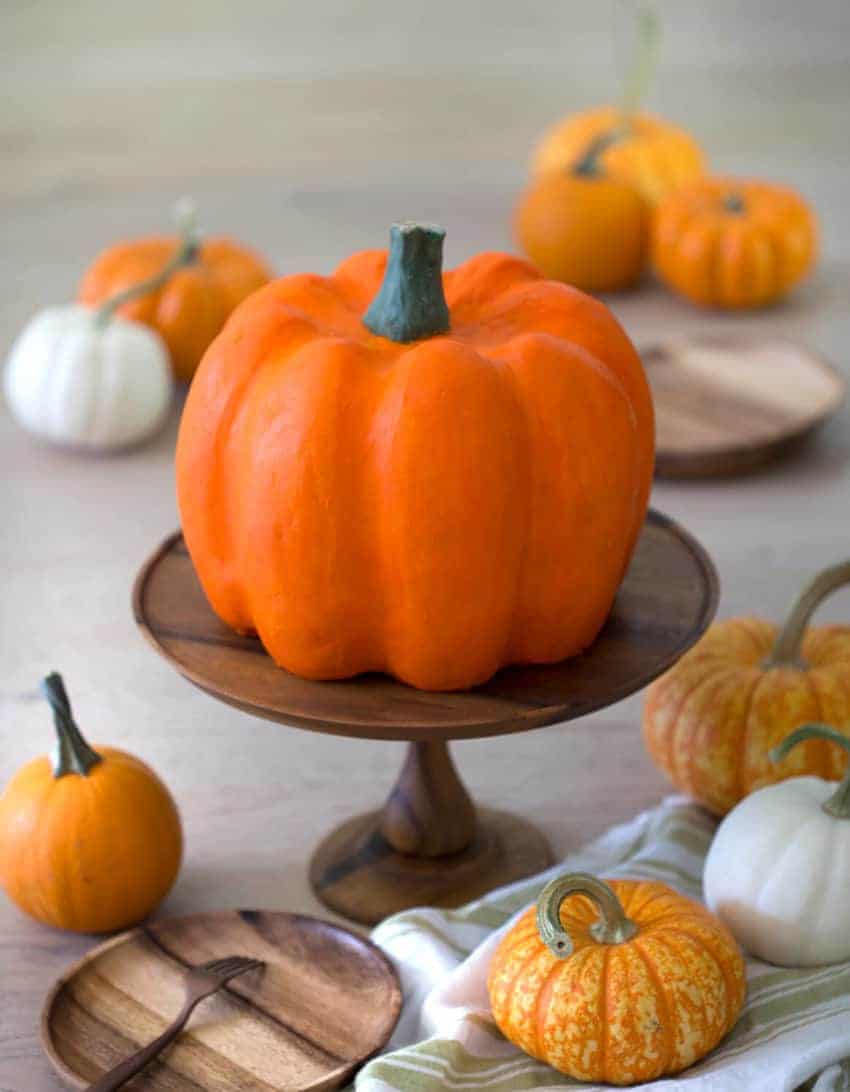
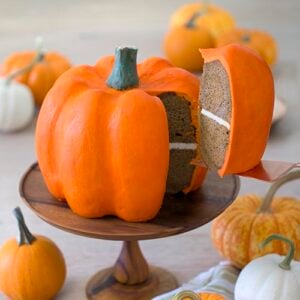
This show-stopping pumpkin bundt cake might look just like a real pumpkin but don’t forget, it tastes amazing too! A moist pumpkin bundt cake loaded with all your favorite fall spices, filled with cream cheese frosting and enrobed in vanilla buttercream!
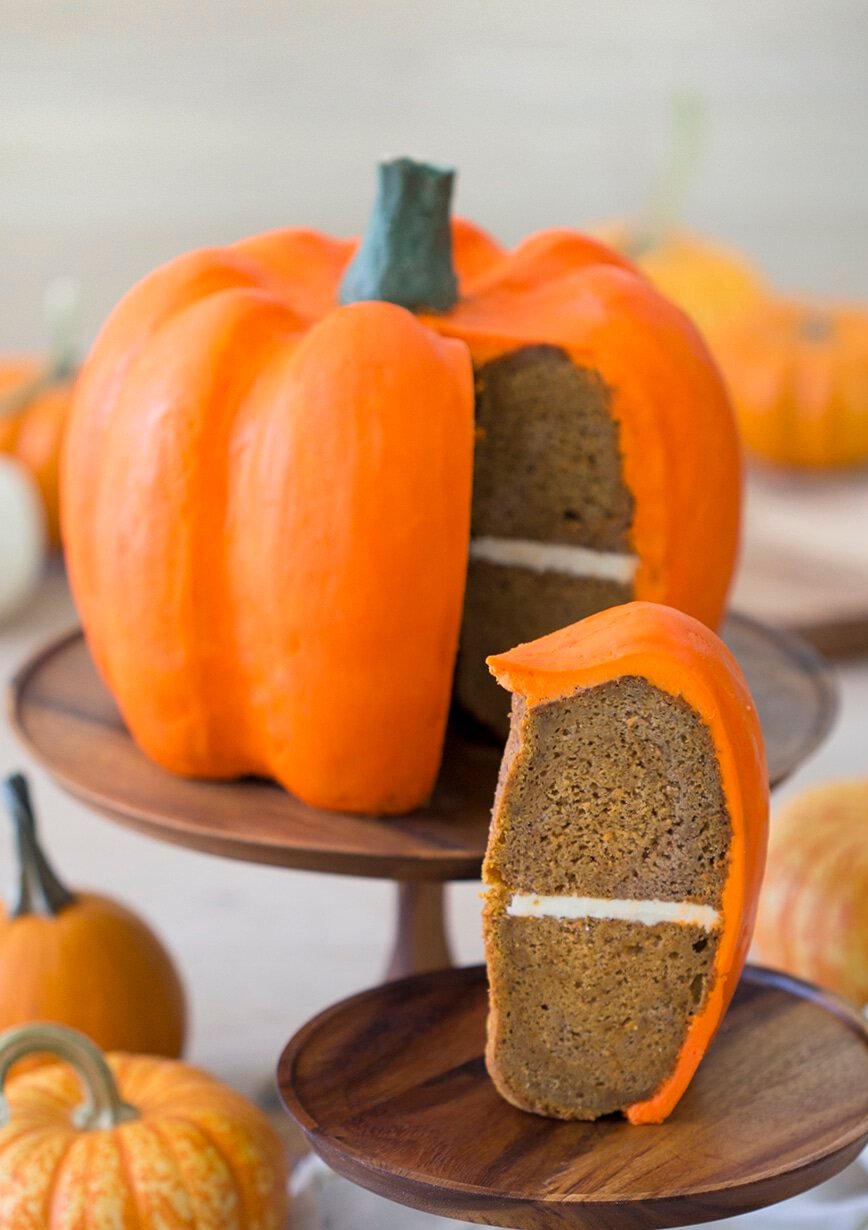
It’s a bird, it’s a plane, it’s a giant pumpkin cake! OK first off I know many of you won’t have time to go all out and make an almost real looking pumpkin, but that’s OK! Just make the cake and serve with the glaze of your choice, slather it in cream cheese frosting, or eat it plain!
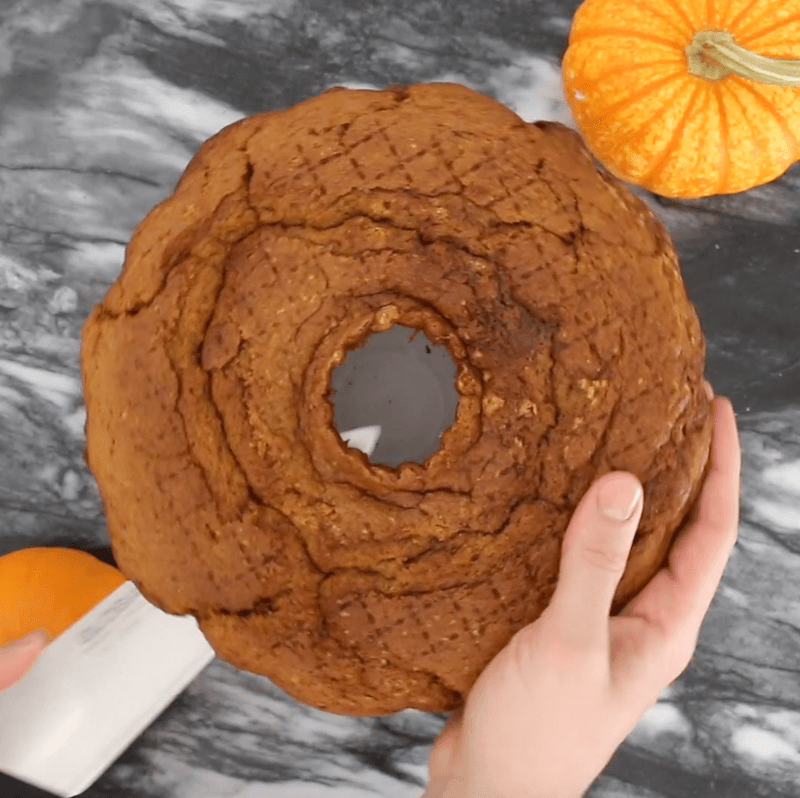
I used a Nordicware Heritage 12 cup Bundt pan for this cake, CLICK HERE to buy one!
Pro Tips for The BEST Pumpkin Bundt Cake
- Measure your flour correctly! Adding too much flour to the recipe is the most common mistake. The best, and easiest way to measure flour is by using a scale. If you don’t have one then fluff your flour with a spoon, sprinkle it into your measuring cup, and use a knife to level it off.
- If you want to go for added realism then whip up two batches of buttercream in similar shades of orange. Cover your pumpkin in one batch and begin shaping it.
- Pop the cake into the fridge and let it chill to harden, then add highlights or lowlights (your choice) on the pumpkin’s ridges and smooth them out to blend.
- The best shaping tool I can recommend is the back of a spoon, a yogurt container you cut into half circles and rounded points. These pieces will flex and give you better control when shaping and smoothing the pumpkins.
- Dipping your spoon into HOT water will help you smooth the chilled cake for a nicer surface.
I have a couple of things to say about the stem.
- At first I tried to make one by covering an inverted cupcake in green buttercream and then sculpting. It looked OK but kind of cartoonish and out of proportion.
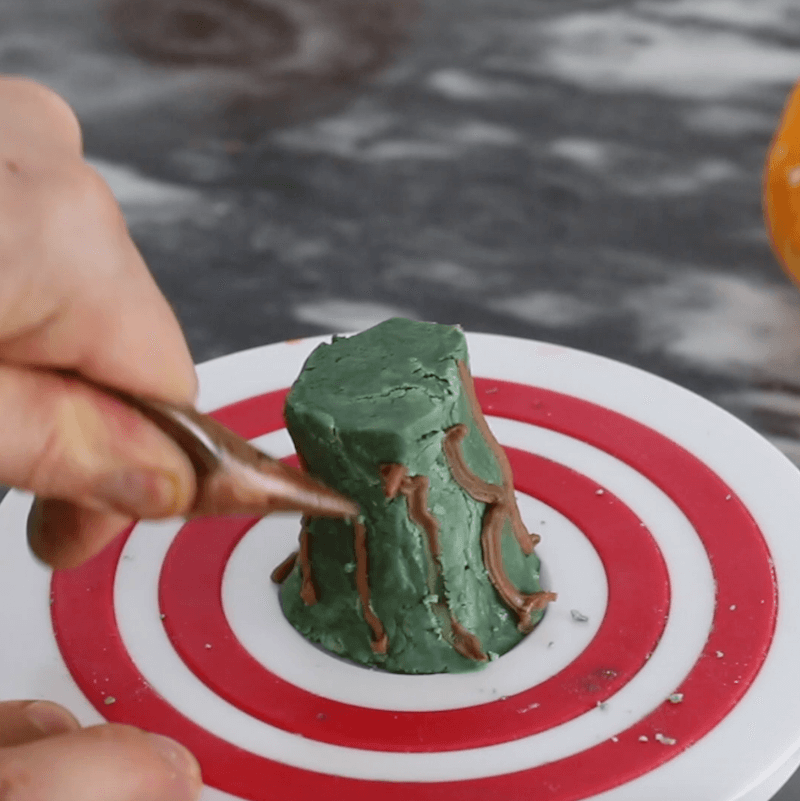
- I ended up mixing up a very thick batch of buttercream and rolling it into the desired shape then carved away at it, added some brown streaks and an off-white top. The result was significantly more realistic and easier to make.
- Your third option is to shape one from fondant, in which case you can totally go to town and make the most realistic but inedible pumpkin stem ever!.
So hear’s the secret to smoothing a crazy shape coated in buttercream. First make sure you chill the cake once it’s frosted. To smooth it I used the back of a spoon and a yogurt container that I cut into a half circle shape. (you can see this in my video at the bottom of the page. )
When you’re doing the final smoothing on your chilled cake get a cup of HOT water and dip your spoon in it regularly. This will allow it to glide over the surface and not gouge into the cake.
How Make a Pumpkin Bundt Cake

1. Preheat oven to 350F. Butter and flour 2 large bundt pans and pop two cupcake liners into a cupcake tin. Sift the dry ingredients (except the sugar) together and give a good whisk to mix well.
2. Cream the butter and sugar together in a stand mixer fitted with a paddle attachment for approximately 4 minutes on medium. Add the eggs one at a time making sure each is incorporated well before adding the next. Mix the buttermilk and sour cream in a large glass or bowl and set aside. Add the flour mixture in three batches alternating with the milk mixture. Making sure you start and end with the flour mixture. Do not over-mix, just beat until combined. Scrape the bowl down when towards the end. Mix in the pumpkin puree. Scrape down the sides of the bowl and make sure the pumpkin is well incorporated.
Pour batter into bundt pans but reserve a bit of batter for the two cupcakes. Bake for about 60 minutes or until a skewer inserted in the center comes out clean. Allow cakes to rest in pans for about 20 minutes then invert onto a wire rack to cool. The cupcakes will bake for about 18 minutes, so don’t forget to take them out!
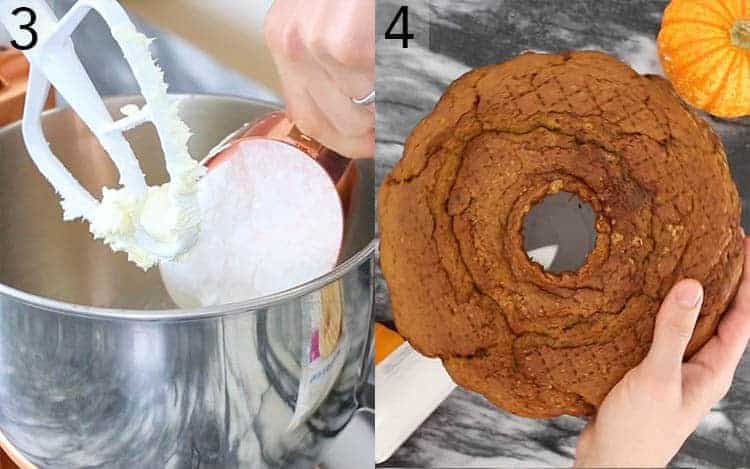
3. Make the cream cheese and vanilla buttercreams. If you’re not a fan of food coloring try making a white pumpkin!
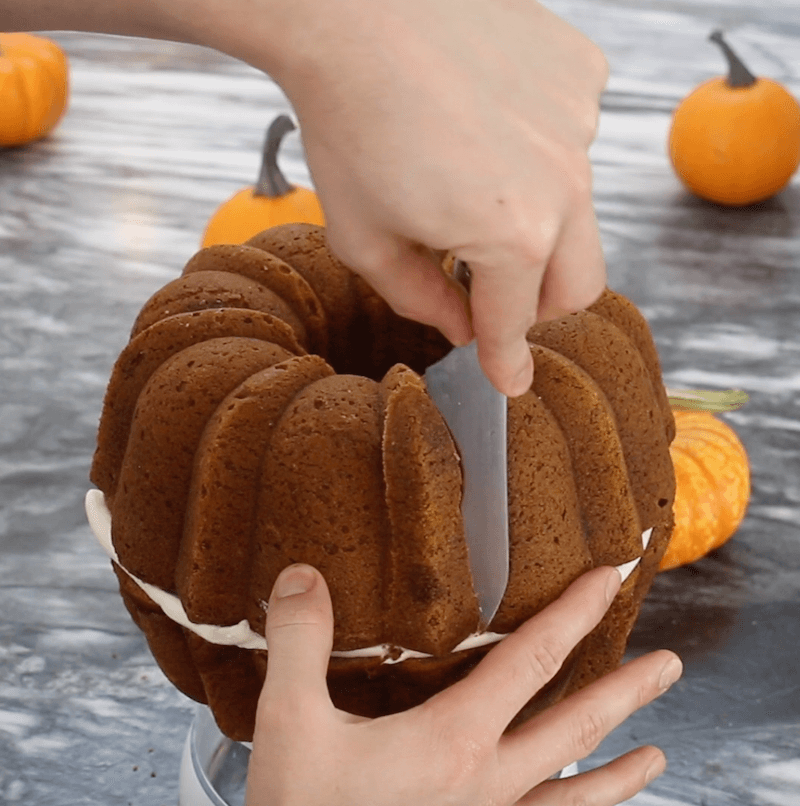
4. Once the cakes are completely cool trim the bottoms off so you can sandwich them together neatly. These trimmings are great for snacking or you can make cake pops.
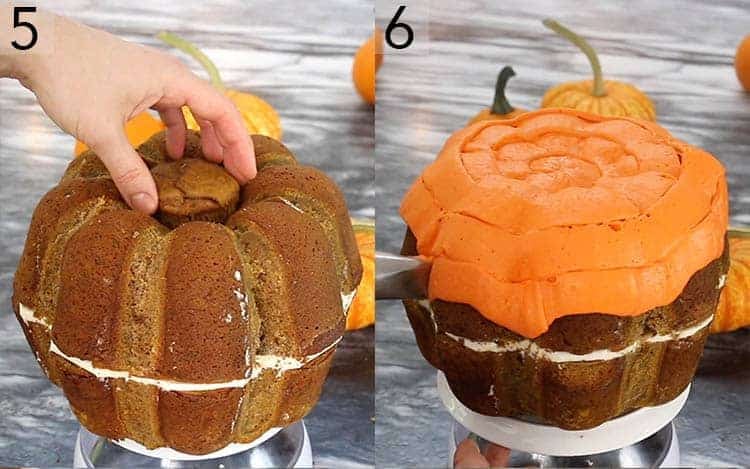
5. Pipe or smear cream cheese frosting onto bottom of one of the cakes. Sandwich together and place a cupcake into the hole on top.
8.) Depending on the shape bundt pan you use, you may need to contour the outside using a knife to sculpt into a pumpkin shape.
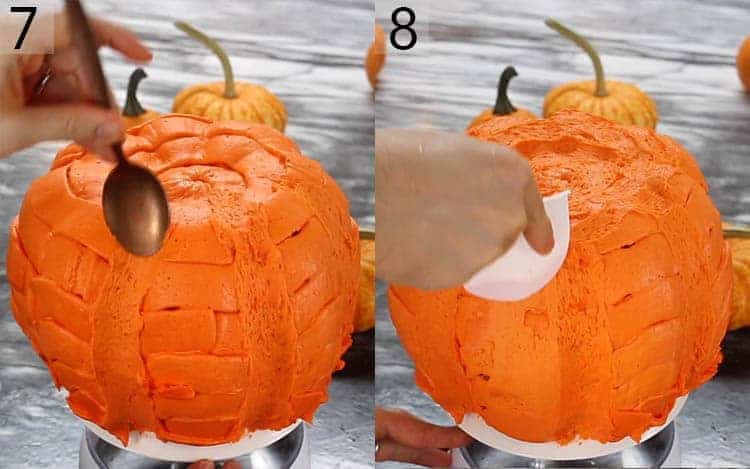
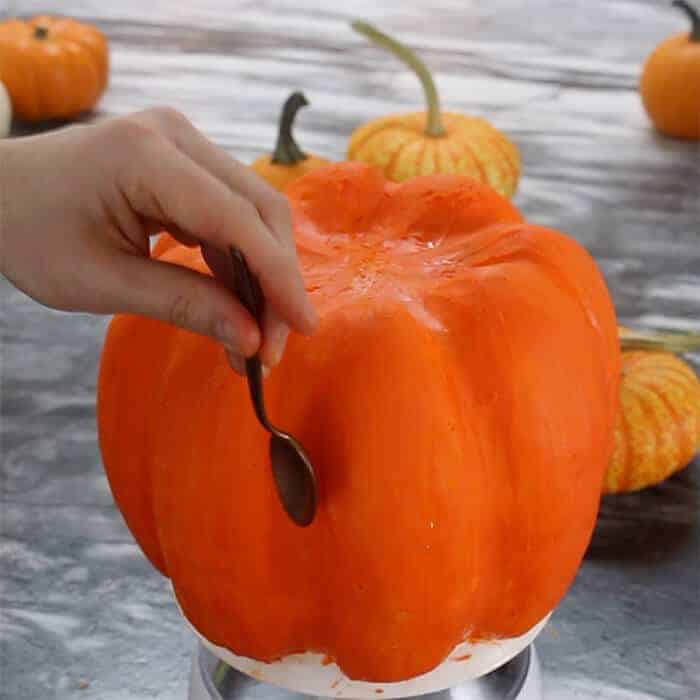
7. Use the back of a spoon to start smoothing out the pumpkin. A spoon will be great for the indentations and top.
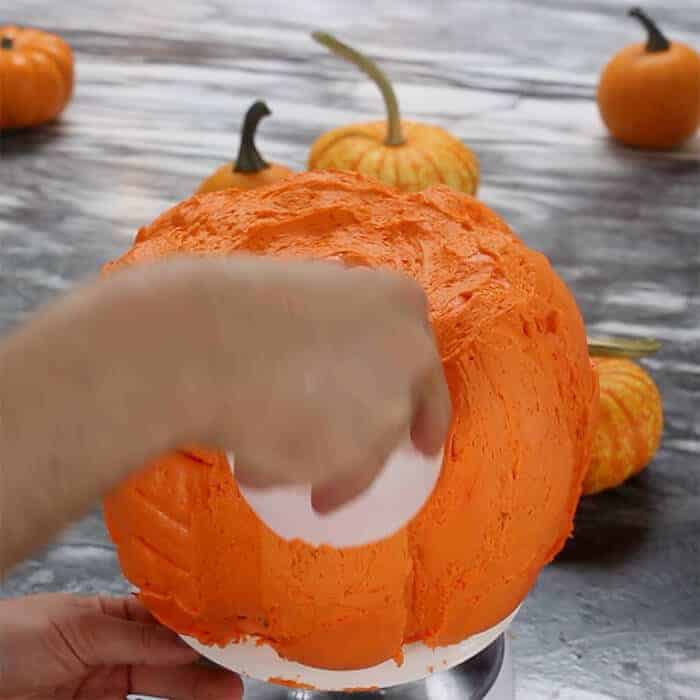
8. For the convex parts of the pumpkin you’ll want a special tool. I like to cut a rounded piece from a yogurt or sour cream container and use that as a smoothing tool. Give the cake a general smooth then Refrigerate to help the sculpting process. Otherwise the pumpkin will be too gooey and unmanageable.
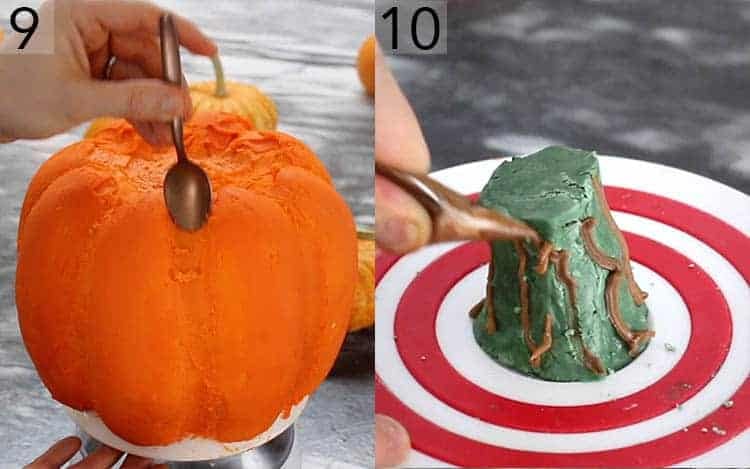
9. Continue smoothing buttercream. You can add more frosting if desired. Sometimes I’ll add a slightly lighter color to accentuate the highlights and create dimension. For the final smoothing chill the pumpkin and use the back of a spoon dipped in hot water.
10. For the Stem: Mix together butter and sugar until you get a consistency that is similar to clay. Mix in green food coloring. Sculpt into a stem figure. Use a piping bag with brown food coloring to create a natural look. Add stem to the top of the pumpkin.
If You Liked This Recipe Try These Out
If you’ve tried this pumpkin cake recipe out then don’t forget to leave a rating and let me know how you got on in the comments below, I love hearing from you!
Pumpkin Bundt Cake
Ingredients
For the Cake
- 3 cups pumpkin puree
- 4 tsp cinnamon
- 4 tsp ground ginger
- 1 tsp ground nutmeg
- 1 tsp ground cloves
- 1 tsp allspice
- 2 tsp salt
- 2 tsp baking soda
- 8 tsp baking powder
- 8 cups all-purpose flour
- 5 cups dark brown sugar packed
- 8 large eggs
- 2 cup buttermilk
- 2 cup unsalted butter room temp
- 1 cup sour cream
For the Cream Cheese Frosting:
- 16 oz cream cheese softened
- 4 cups powdered sugar
- 2 tsp vanilla extract
For the Buttercream
- 2 lb confectioner's sugar
- 2 cup salted butter room temp
- 1/4 cup milk
- 2 tsp vanilla extract
- 20 drops orange food coloring Depends on brand used and desired color.
For the Stem:
- 4 tablespoons un salted butter room temperature
- 2 cups confectioners sugar
- 5 drops food coloring Green and brown
Instructions
For the Cake
- Preheat oven to 350 degrees.
- Butter and flour 2 large bundt pans.
- Mix the buttermilk and sour cream in a bowl and set aside.
- Sift the dry ingredients (except the sugar) together and give a good whisk to mix well.
- Cream the butter and sugar together in a stand mixer fitted with a paddle attachment for approximately 4 minutes on medium.
- Add the eggs one at a time making sure each is incorporated well before adding the next.
- Add the flour mixture in three batches alternating with the milk mixture. Making sure you start and end with the flour mixture. Do not over-mix, just beat until combined.
- Mix in the pumpkin puree. Scrape down the sides of the bowl and make sure the pumpkin is well incorporated.
- Pour batter into bundt pans. Bake for about 60 minutes or until a skewer inserted in the center comes out clean.
- Allow cakes to rest in pans for about 20 minutes then invert onto a wire rack to cool.
For the Cream Cheese Frosting:
- Beat the cream cheese in a bowl until it is smooth. Add in vanilla and powdered sugar. Mix until ingredients are well-incorporated and desired consistency is reached.
For the Buttercream:
- Beat butter until light and fluffy. Add vanilla and then slowly add sugar. Add milk a few tablespoons at a time until desired consistency is reached. If want a stiffer buttercream, use less milk. Add in the food coloring.
For the Assembly:
- Cut bottoms off cakes.

- Pipe or smear cream cheese frosting onto bottoms. Sandwich together.

- Depending on the shape bundt pan you use, you may need to contour the outside using a knife to sculpt into a pumpkin shape.

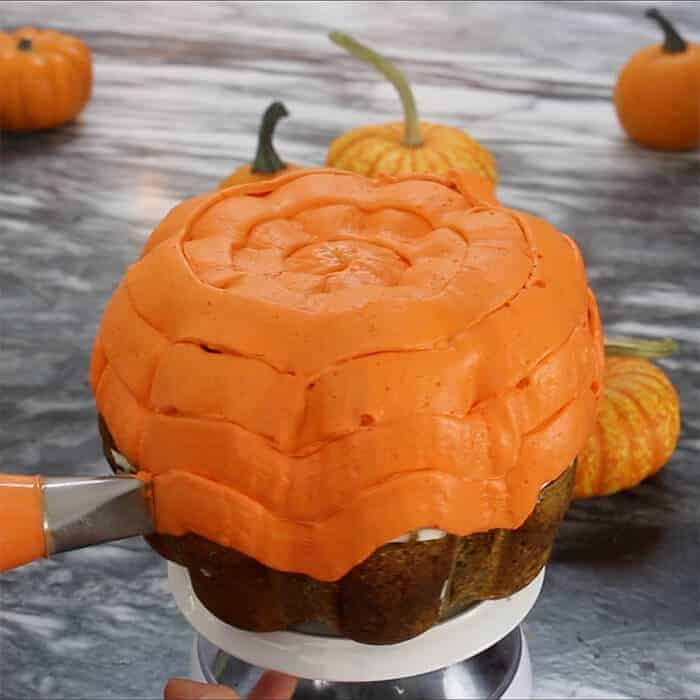
- Cover in orange buttercream. Refrigerate to help the sculpting process.

- Using a knife, smooth into ridges. Add a second layer of dark buttercream to create dimension.
- Smooth the buttercream. I cut a yogurt cup into a half circle-shaped tool. It's flexible and doesn't gouge the buttercream.
- For the final smoothing chill the pumpkin in the freezer and use the back of a spoon dipped in hot water.

For the Stem:
- Mix together butter and sugar until you get a consistency that is similar to clay. Mix in green food coloring. Sculpt into a stem figure. Use a piping bag with brown food coloring to create a natural look.

- Add stem to the top of the pumpkin.
Notes
- If you want to go for added realism then whip up two batches of buttercream in similar shades of orange. Cover your pumpkin in one batch and begin shaping it.
- Pop it into the fridge and let it chill to harden, then add highlights or lowlights (your choice) on the pumpkin's ridges and smooth them out to blend. I have a couple of things to say about the stem.
- At first I tried to make one by covering an inverted cupcake in green buttercream and then sculpting. It looked OK but kind of cartoonish and out of proportion. I ended up mixing up a very thick batch of buttercream and rolling it into the desired shape then carved away at it, added some brown streaks and an off-white top the result was significantly more realistic and easier to make. Your third option is to shape one from fondant.
Nutrition
Have you tried this recipe? Tag me today!
Mention @preppykitchen and tag #preppykitchen!


