

This post may contain affiliate links. Please read our disclosure policy.
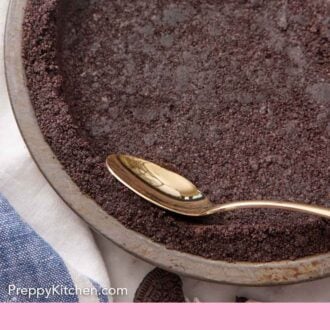
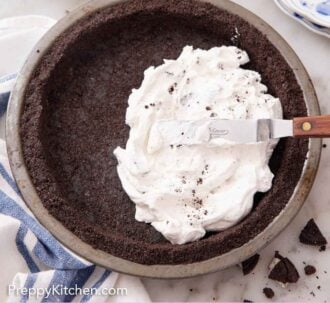
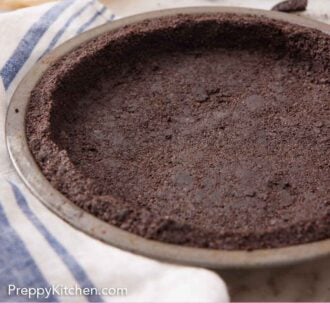
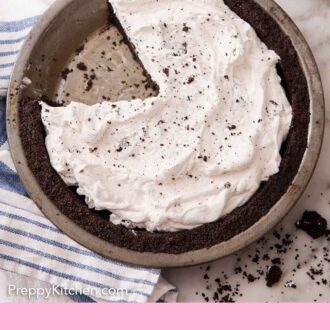
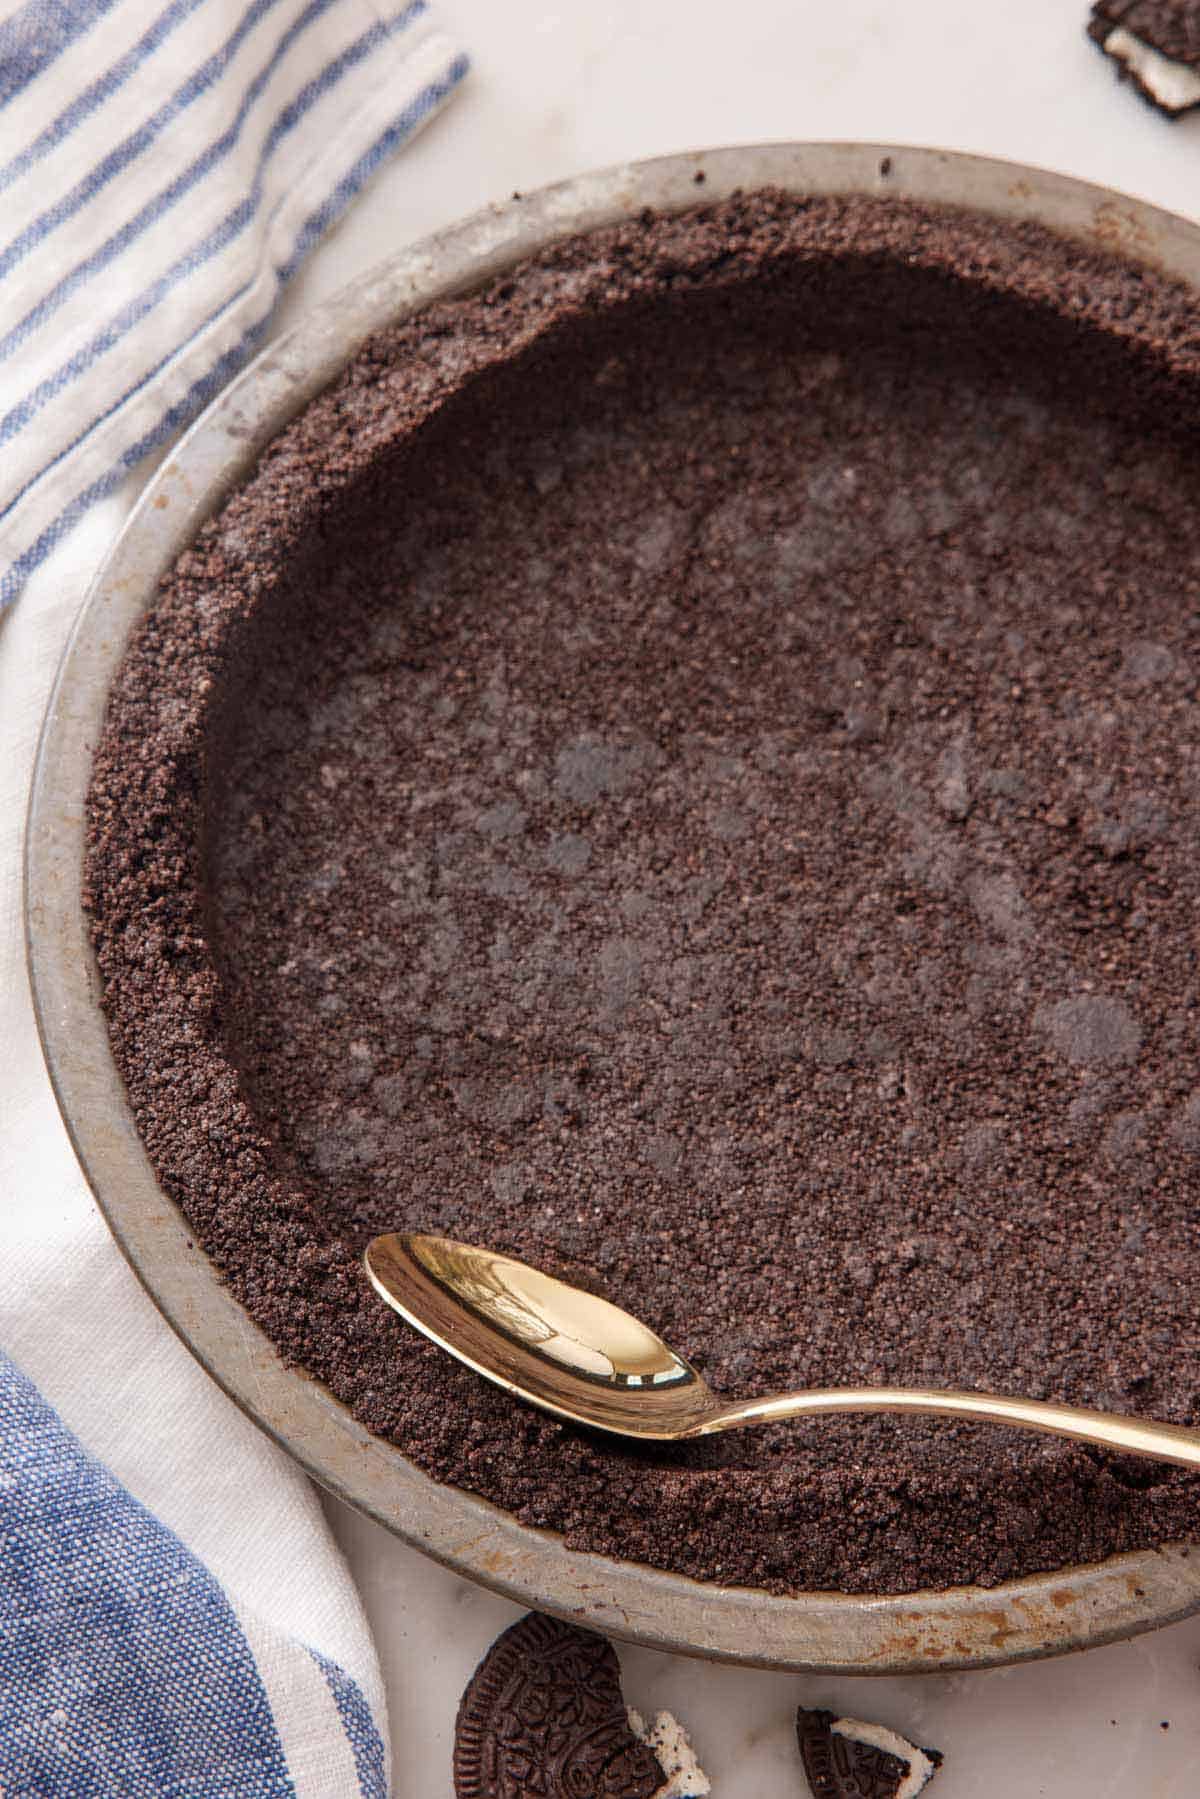
A homemade Oreo Pie Crust only takes ten minutes to make and uses two ingredients—Oreos and butter! Replace the store-bought cookie crust with this easy recipe that can fit any pie pan.
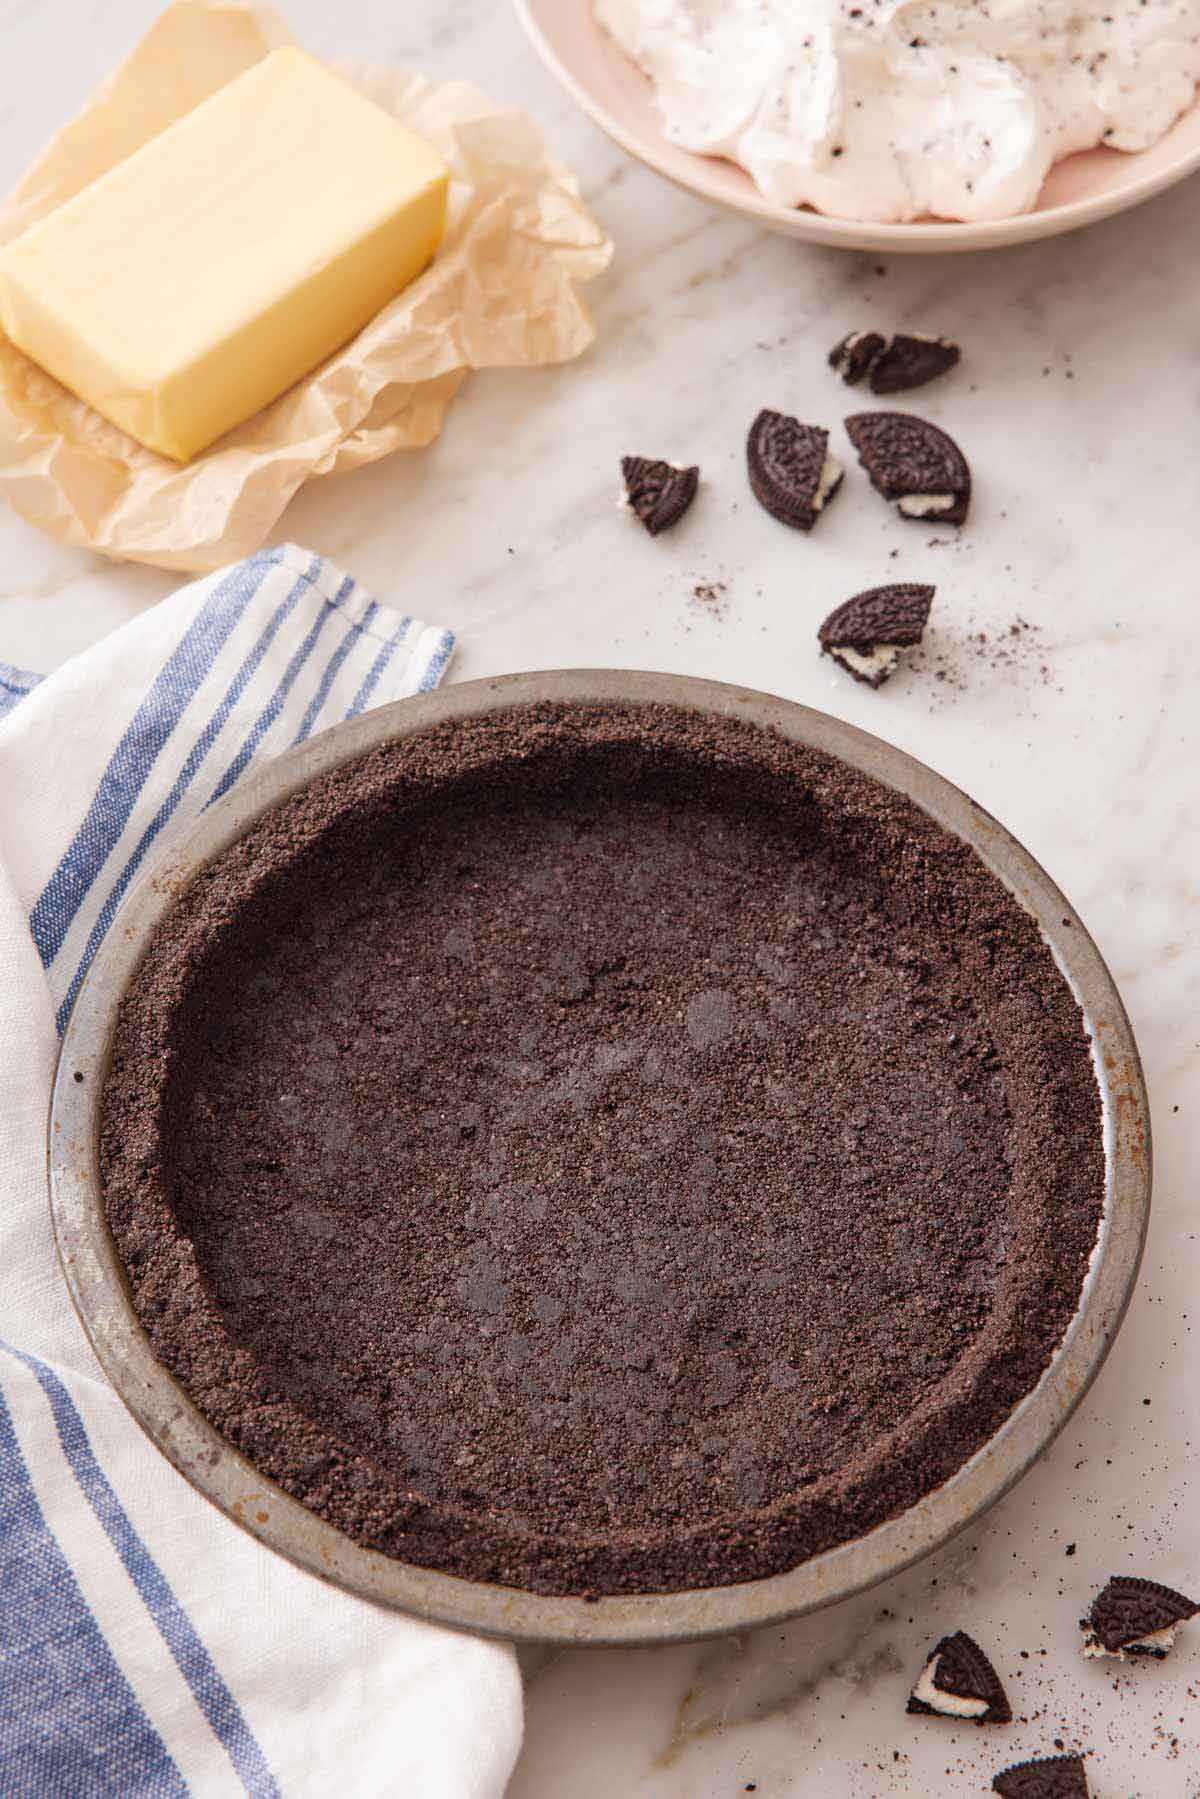
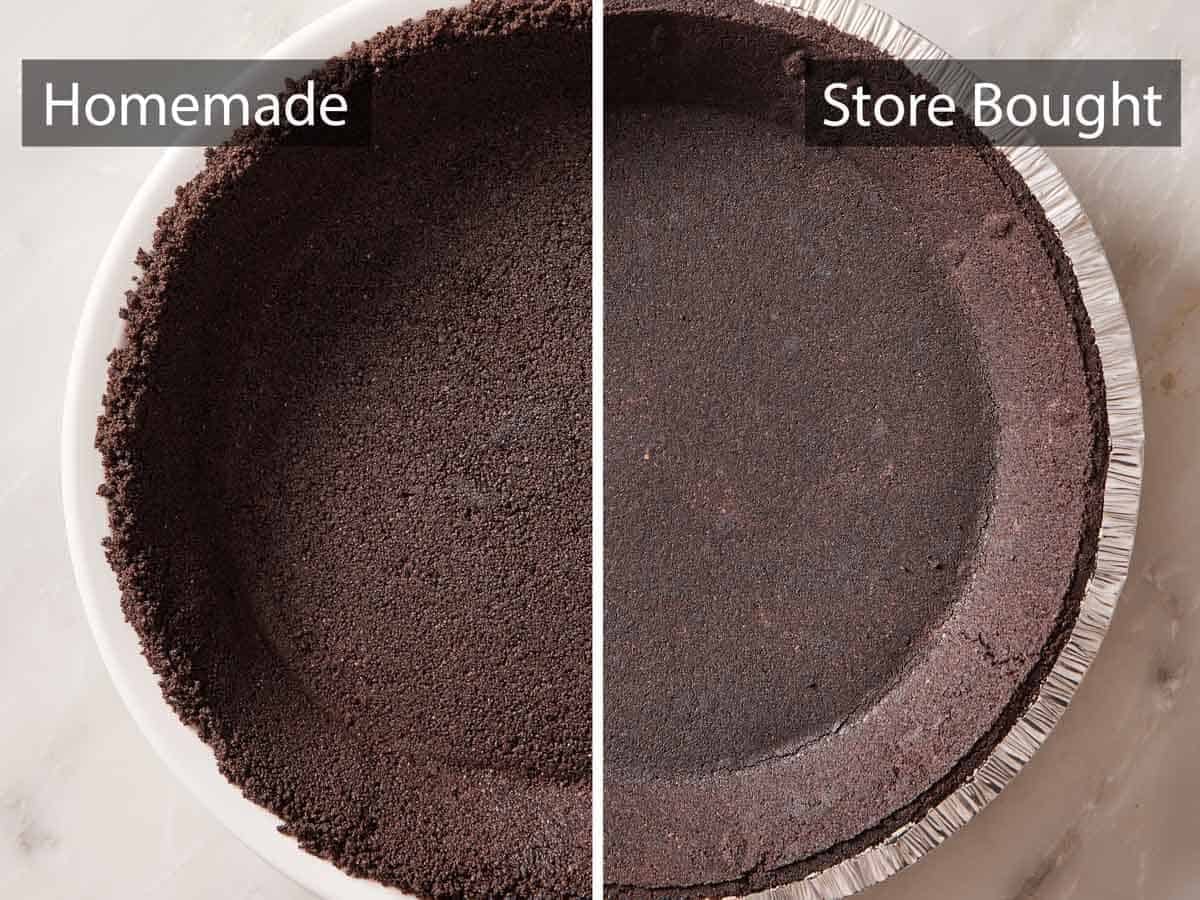
Oreo pie crusts used to be easy to find in grocery store baking aisles, but since Oreo discontinued them in 2023, making it from scratch might be your only option. The good news: a homemade Oreo pie crust is far better than the packaged kind! The flavor and texture are superior to store-bought, and you can shape it into any pie pan or baking pan you want.
All you need is a package of Oreos, a stick of butter, and ten minutes. The homemade version comes out noticeably thicker than the packaged crust did, which means it doesn’t fall apart. Plus, I’ve tested this recipe with other Oreo flavors and boxed crumbs and given you my findings below so you can make the best crust for your filling.
“Thank you for this recipe! It makes the Oreo crust that’s just thick enough but doesn’t fall apart. I was frustrated when they weren’t sold in stores anymore, but I’m glad now because your recipe is SO much better!”
Sam
Why You’ll Love A Homemade Crust
There are brands of store-bought pie crusts made with chocolate wafer cookies that replace the Oreo brand, but it’s still worth the 10 minutes it takes to make it from scratch!
Homemade has better flavor: Using real butter with the Oreo cookie crumbs gives the crust a rich flavor, and it’s fresh! Packaged crusts can taste stale or have a fake flavor.
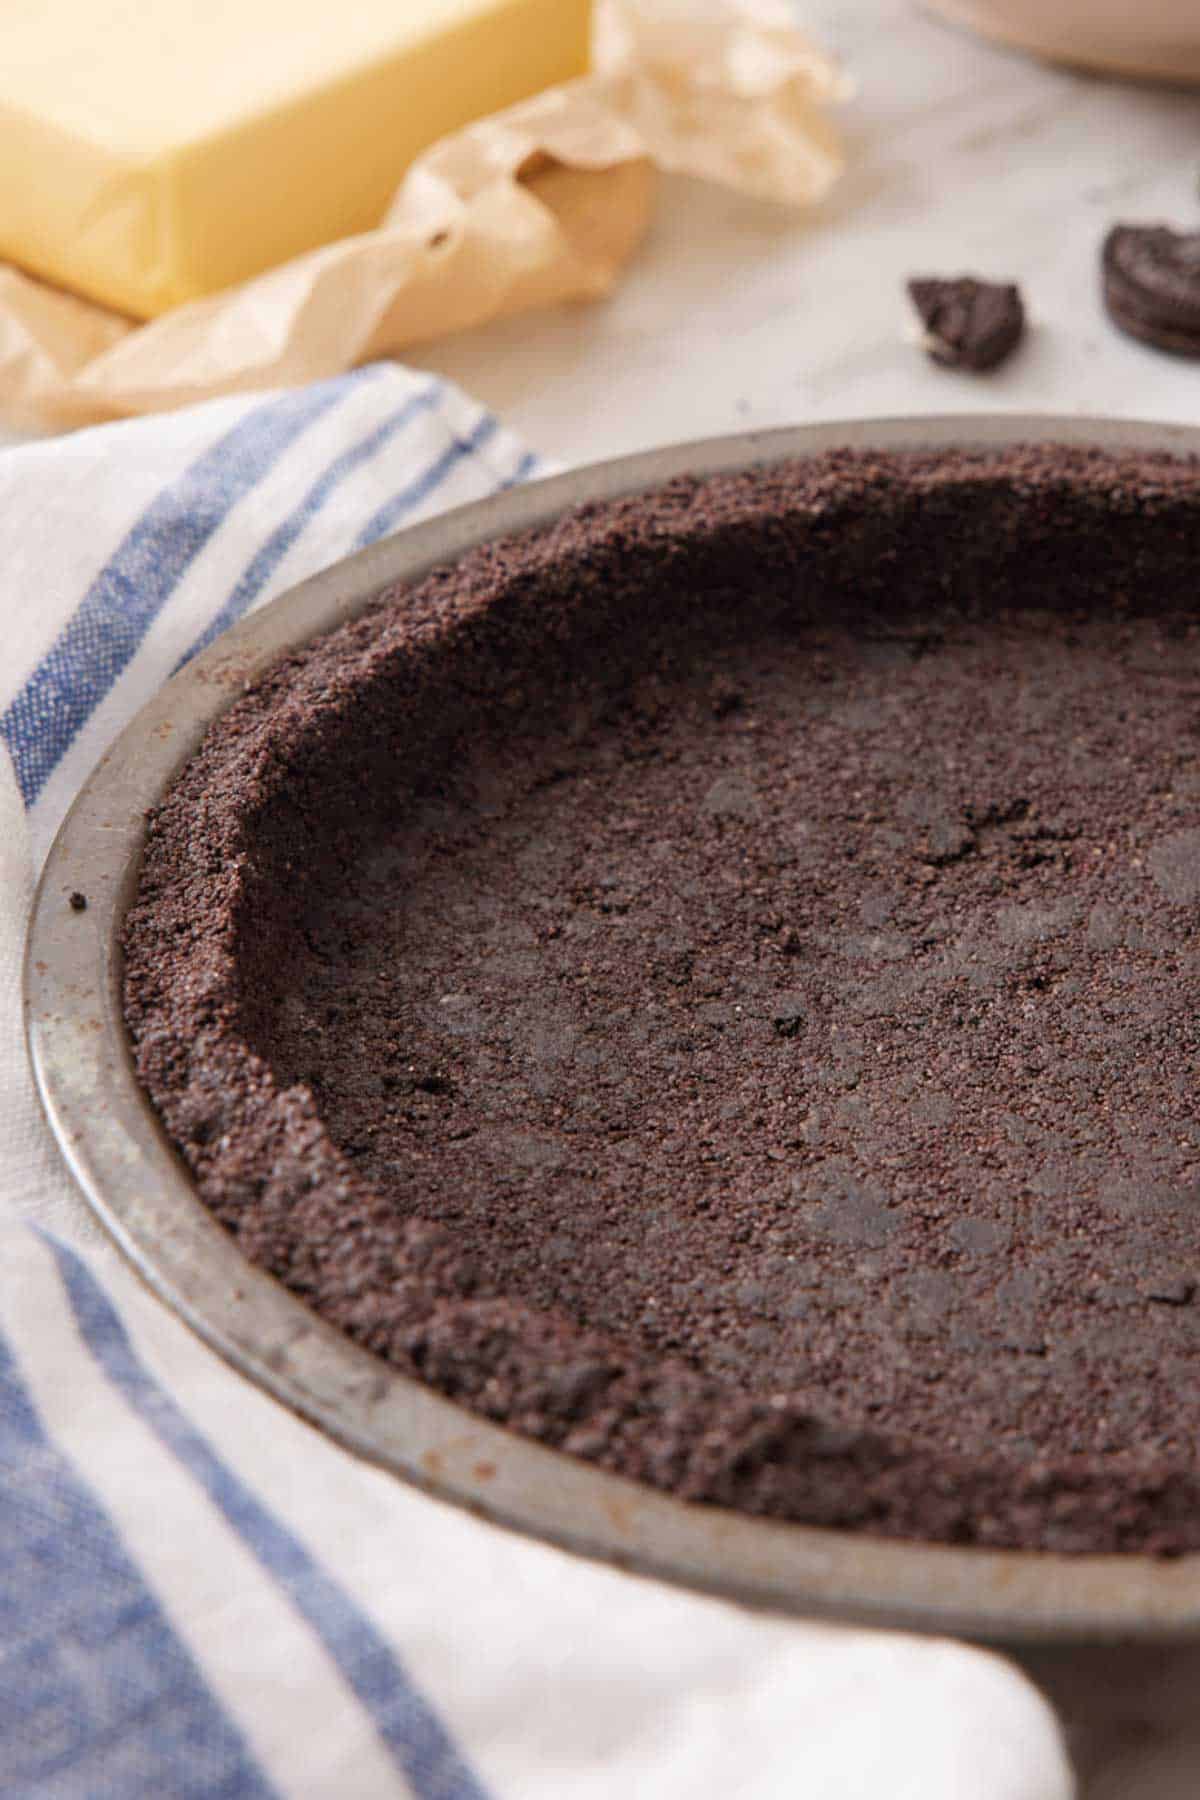
You get a thicker, sturdier crust. Packaged crusts are very thin and tend to fall apart when sliced. My homemade crust has just the right balance of thickness for flavor and sturdiness without overwhelming the filling or being hard to eat.
You Only Need 2 Ingredients
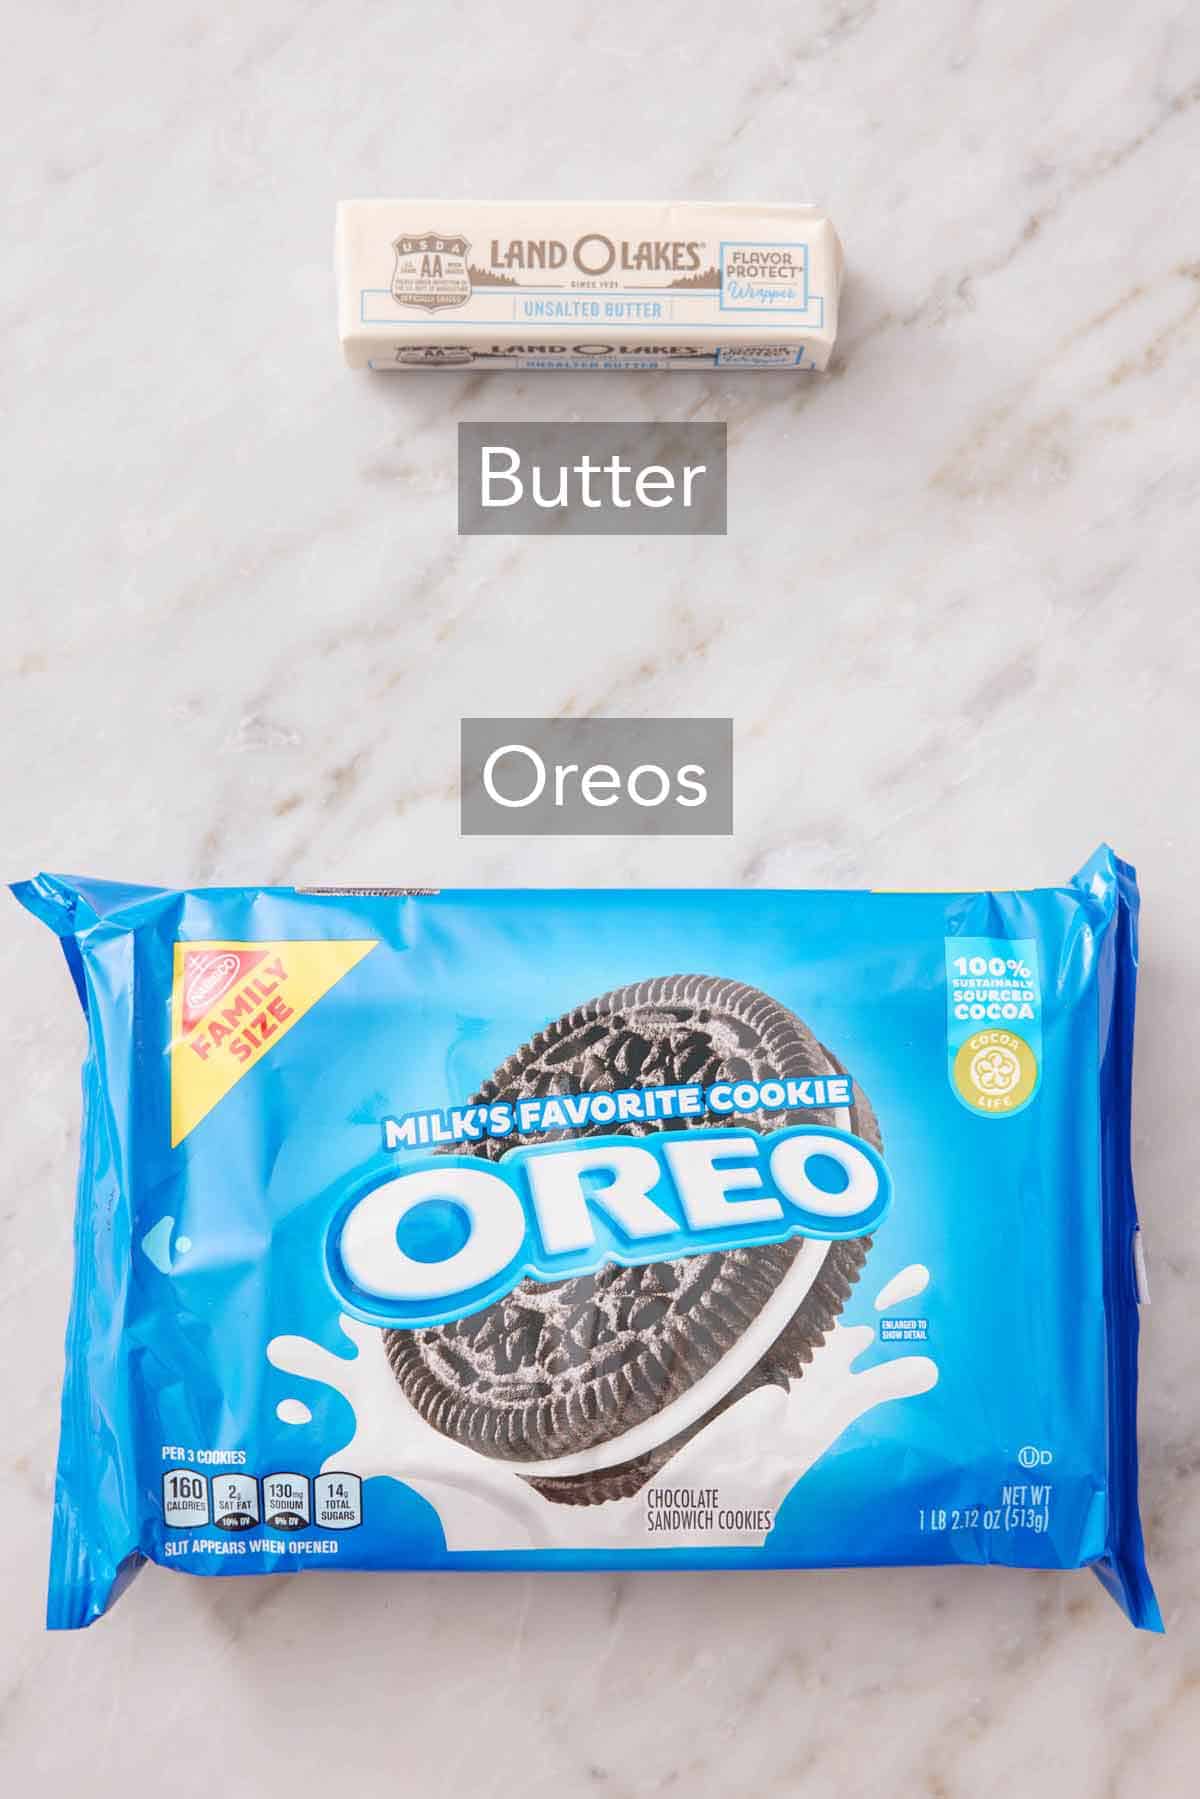
This easy Oreo crust only needs two ingredients! You can find measurements and instructions in the recipe card below.
Oreos — you need 24 regular Oreos for this pie crust (about 1 regular package). You can use flavored Oreos as well! I have tested Peanut Butter Oreos with chocolate cheesecake, Mint Oreos with my grasshopper pie, as well as Birthday Cake and Golden Oreos with my classic cheesecake filling. Gluten-free Oreos also work well! The only Oreo I’d avoid is Double Stuf—I found during my recipe development there’s enough extra creme filling to make the crust greasy.
Butter — melted butter helps to bind the crust and adds rich flavor. I call for unsalted butter, but if you like a less sweet crust or want a little bit of saltiness to contrast a sweeter filling, feel free to use salted butter.
Do You Remove The Filling From The Oreos?
This is by far the most common question I get asked on any Oreo recipe, and the answer is no. Don’t scrape the creme out—it’s actually an asset to the crust!
The creme is made of sugar and fat, and both of those are binders. If you scrape it out, you’re left with plain chocolate wafers, which are drier, less sweet, and need noticeably more butter to hold together. Leaving it in is why this works with only two ingredients. Plus, it saves you so much time!
Boxed Crumbs Aren’t a Straight Swap
You can buy pre-crushed Oreo crumbs near the baking supplies if you’re looking for a time saver, but you need to adjust the recipe slightly.
Boxed crumbs are wafer only. They’re made from the chocolate cookies without the creme filling. So when you swap them in, you lose the sugar and the fat that the filling was contributing as a binder and sweetener.
Add 2 tablespoons of sugar when using boxed crumbs. That will replace the sweetness and some of the binding powder the creme brought. But you are still missing some fat. If the mixture still looks dry after the butter goes in, add another tablespoon of melted butter until the mixture holds together when squeezed.
Pro Tips For The Best Oreo Pie Crust
Weigh rather than count if you’re using another brand of sandwich cookies. You want about 275g of cookies to make enough crumbs for a 9-inch pie crust.
Use firm and even pressure, but don’t press hard when shaping the crust. An over-compacted crumb crust will bake up very hard, shattering apart instead of slicing cleanly when cut.
How To Make An Oreo Cookie Crust
Step-by-step images of the recipe are highlighted below. Find the full set of instructions in the recipe card.
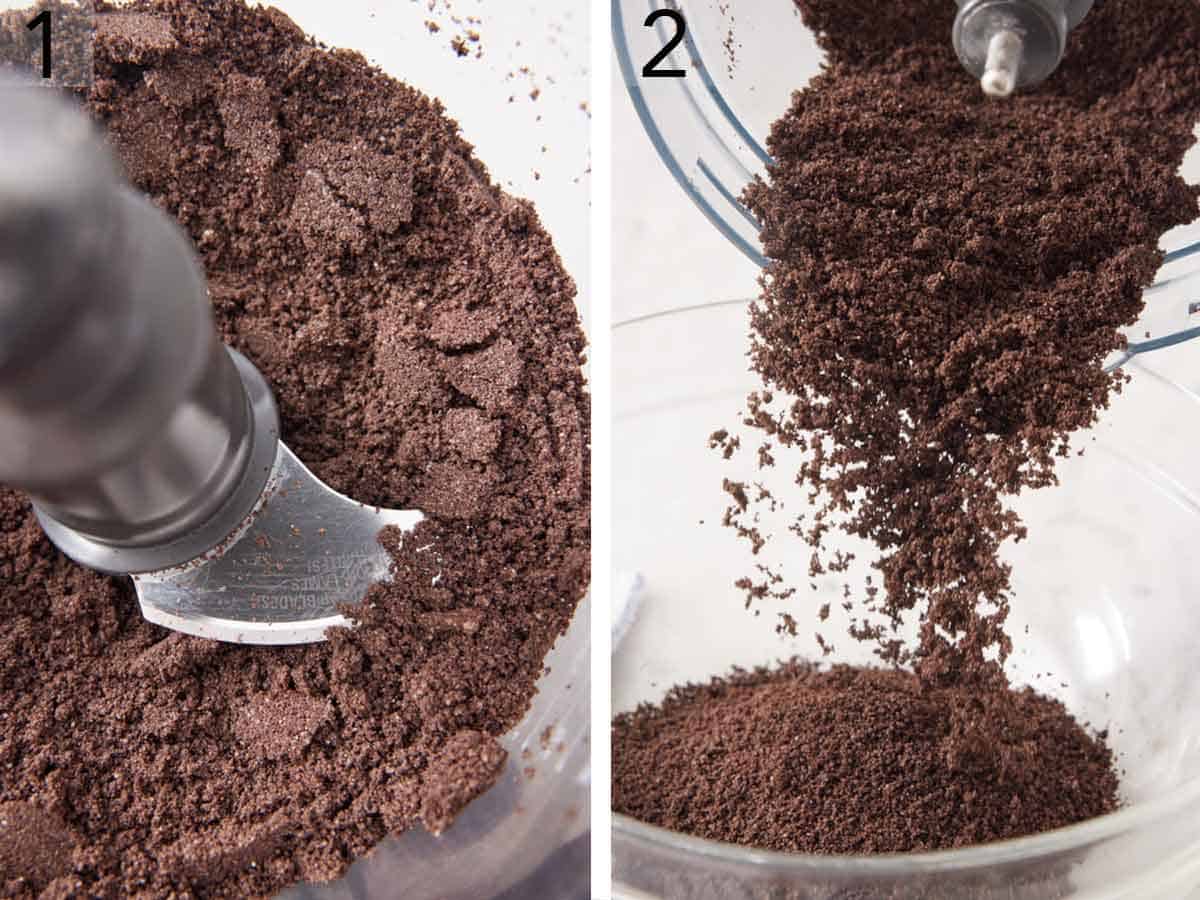
1. Process the whole cookies (filling and all) for 30 to 45 seconds, until they’re fine crumbs. Bigger chunks won’t compact well, and the crust can crumble when you cut it.
2. Drizzle in the melted butter and pulse until the crumbs look evenly moistened and darkened. Doing it in the processor saves washing a bowl; if you’d rather, tip the crumbs into a bowl and stir the butter in with a spatula.
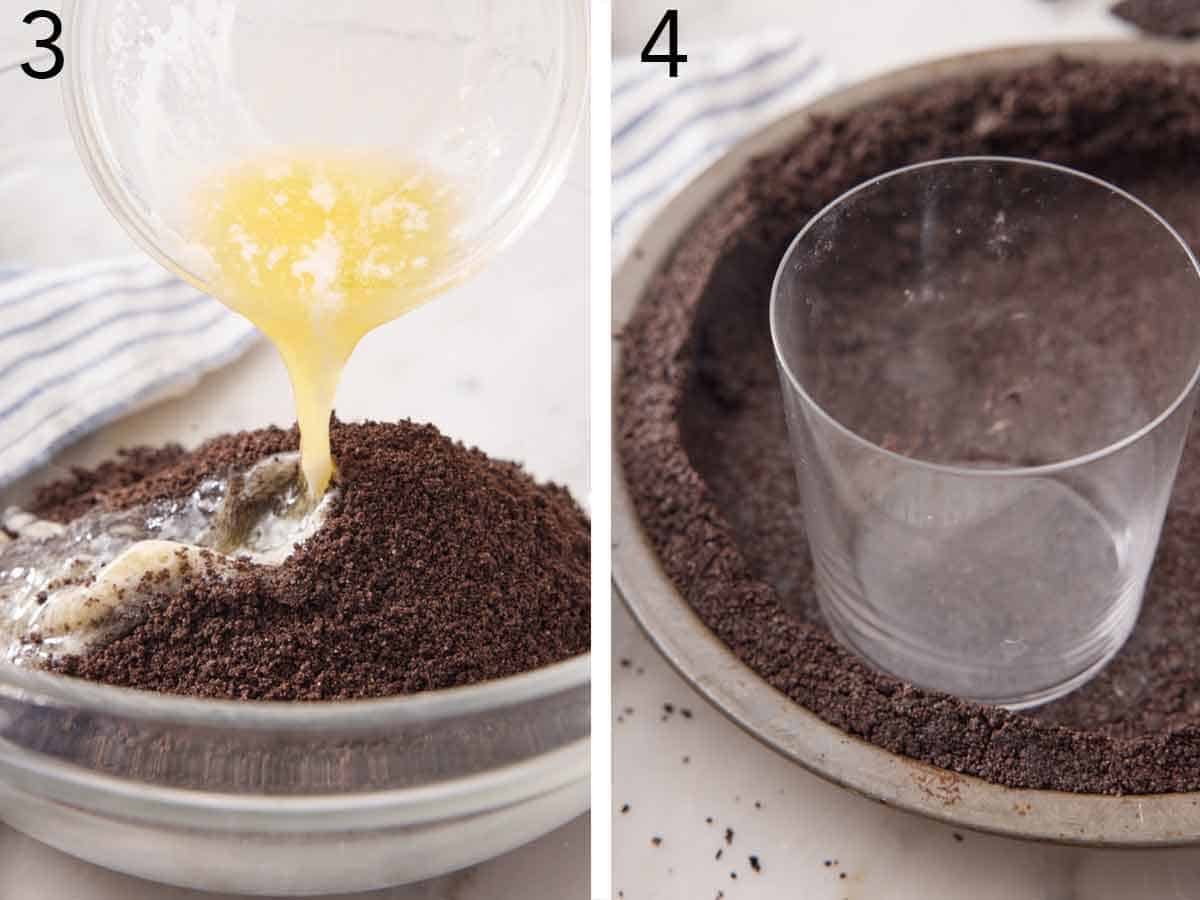
3. Press it in. Transfer the crust mixture to your pie dish. Starting with the bottom first, use a glass or measuring scoop with a flat base, and press the crumbs into an even layer, then work up the sides. Get into the crease where the base meets the wall with a spoon if needed (that’s where crumb crusts crack most often).
4. Then either freeze it or bake it, depending on your recipe!
Crush The Oreos Without A Food Processor
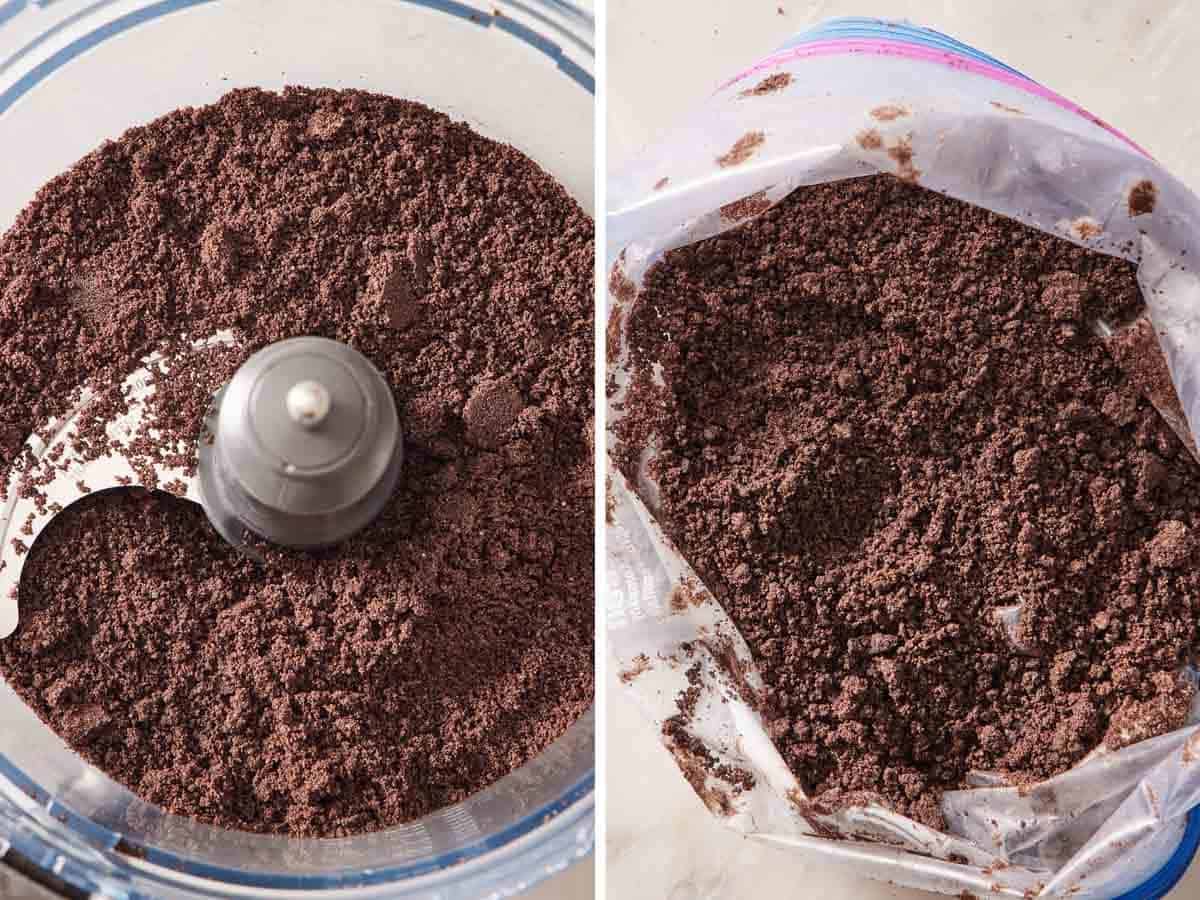
If you don’t have a food processor, you can crush the cookies in a Ziploc bag with a rolling pin. Place the cookies in the bag, press out the air, and seal it. Place the bag on a cutting board or a kitchen towel, and gently beat the bag with the rolling pin until the cookies are finely crushed. Shake the bag around occasionally to keep larger parts from pushing out to the sides.
Hand-crushed crumbs are going to have more natural variation in size than cookies crushed in a food processor. Sift through the cookie crumbs in the bag and remove any large chunks or crush them with your fingers. I have tested pie crusts with both food processor and hand-crush cookie crumbs, and I discovered they work equally well, as long as you crush the cookies into fine crumbs!
Bake It or Freeze It
This crust works great either way; it just depends on your recipe. If the recipe you’re following specifies one, follow that.
Freeze it for 30 minutes when the filling is no-bake. No-bake cheesecake, an icebox pie, a chilled custard filling. The butter firms up and holds the crumbs together without any heat involved. This is the faster route, and it’s what most Oreo-crust desserts call for.
Bake it at 350°F for 10 minutes when the filling gets baked, or when you want a firmer, crisper crust under a chilled filling. Baking melts the butter fully through the crumbs so it re-sets for sturdier structure and toasts the cookie crumbs, removing moisture for a crisper texture. Cool it completely before filling. A warm crust meeting a cold filling makes the filling melt and forms a soggy layer between the two.
I have tested pies with both baked and chilled Oreo cookie crusts and found that they both work well. I prefer the baked version when I have the time or if my oven will already be used because I find it produces a crispier texture which I personally prefer.
Pan Size Options
One batch of this recipe is adaptable across several different baking pan sizes and styles.
| Pan | One batch gives you | Use it for |
| 9-inch pie dish | Bottom and full sides—my tested standard for just the right thickness on the sides and bottom | Oreo pie, peanut butter pie |
| 8-inch pie dish | Bottom and sides; a thicker crust throughout | Any recipe calling for an Oreo pie crust |
| 10-inch pie dish; or 9-inch deep-dish pie | Bottom and sides; a thinner crust throughout | Mud pie |
| 9-inch springform | Bottom and 1-2 inches up the sides | Oreo cheesecake, turtle cheesecake |
| 8- or 9-inch square pan | Bottom only; thicker crust | Oreo cheesecake bars |
| 9×13-inch pan | Not enough — scale up by another 50% (36 Oreos and 6 tablespoons of butter) | Chocolate lasagna, dirt cake |
It also works anywhere a graham crust is called for—no-bake cheesecake, banoffee pie, key lime pie and no-bake pumpkin cheesecake among them.
Keep in mind, a 9” homemade crust is thicker than a store-bought crust. If you are used to using the packaged kind, you might think you’ve done something wrong, but you haven’t! It’s sturdier and slices better without breaking apart.
Oreo Pie Crust Recipe
Equipment
- Food Processor
- 9” pie plate
Ingredients
- 24 Oreos (regular) (275g)
- ¼ cup unsalted butter melted (56g)
Instructions
- Place the Oreos in a food processor (do not remove the filling), and process the cookies until finely ground, about 30 to 45 seconds.
- Drizzle in the butter and pulse until the crumbs are well moistened. (You can also transfer the crumbs to a medium bowl, and stir in the melted butter into the crumbs with a spatula until well combined.)
- Press the mixture into the bottom and sides of a 9-inch pie pan, or if you are following a specific recipe, use the pan called for in that recipe.
- For a frozen crust: Freeze for 30 minutes, or according to the recipe instructions.
- For a baked crust: Preheat the oven to 350°F. Bake for 10 minutes, then cool completely before filling it.
Notes
- Don’t use Double Stuf Oreos. They have far more filling than regular Oreos and will yield a greasy crust.
- For a gluten-free Oreo crust, replace the regular Oreos with gluten-free Oreos. The taste and texture will differ slightly, but it turns out great.
Nutrition
Have you tried this recipe? Tag me today!
Mention @preppykitchen and tag #preppykitchen!
Storing and Making Ahead
Refrigerator: Press it into the pan, wrap well in plastic, and chill for up to 3 days.
Freezer: Shape the crust, then double-wrap it to guard against freezer burn, and freeze for up to 3 months. You can use it straight from frozen if the recipe uses a frozen crust, or thaw overnight in the fridge and bake it or use it at room temperature. My Pie Academy has more helpful tips for freezing pie crust!
This is a great make-ahead recipe, and helps to get a start on holiday prep!
Frequently Asked Questions
Oreo discontinued the ready-made crust around 2023. You can find other brands of chocolate cookie crusts (I have found them locally in my grocery store). But this recipe takes ten minutes and produces a thicker crust that tastes better than the packaged one does anyway!
Only if you bake the filling, or if you want a crisper crust. Otherwise, freeze it for 30 minutes and fill it. Baking gives a sturdier result because the butter melts fully through and re-sets as a better binder. It’s worth the ten minutes if you have them.
You pressed the crumb mixture in too hard, or your pan wasn’t nonstick. Firm, even pressure compacts the crumbs enough to hold them in place. Excessive pressure fuses them into the dish. If your pan doesn’t have a nonstick surface or feels sticky in any spots, it will make the crust harder to release. A glass pie plate is the worst offender, so keep that in mind when choosing your dish.
If it sticks, let the pie sit at room temperature for ten minutes before trying again. A fully chilled crumb crust is more brittle and more prone to sticking, as the butter is very solid against the pan.
More Recipes To Try
Love Oreos? Try one of these dessert recipes:
- Oreo Balls — finely crush Oreos and roll them into balls to make cookie truffles!
- Oreo Cake — a fluffy vanilla cake filled with crushed cookies and Oreo frosting.
- Oreo Cupcakes — cookies-and-cream cake batter topped with the same flavor of frosting.
- Cookies and Cream Cookies — mix chopped Oreos into cream cheese cookie dough for flavor and crunch.
- Chocolate Covered Oreos — use any flavor of Oreo and simply coat them in melted chocolate.
If you’ve tried this Oreo pie crust recipe, then don’t forget to rate it and let me know how you got on in the comments below. I love hearing from you!






