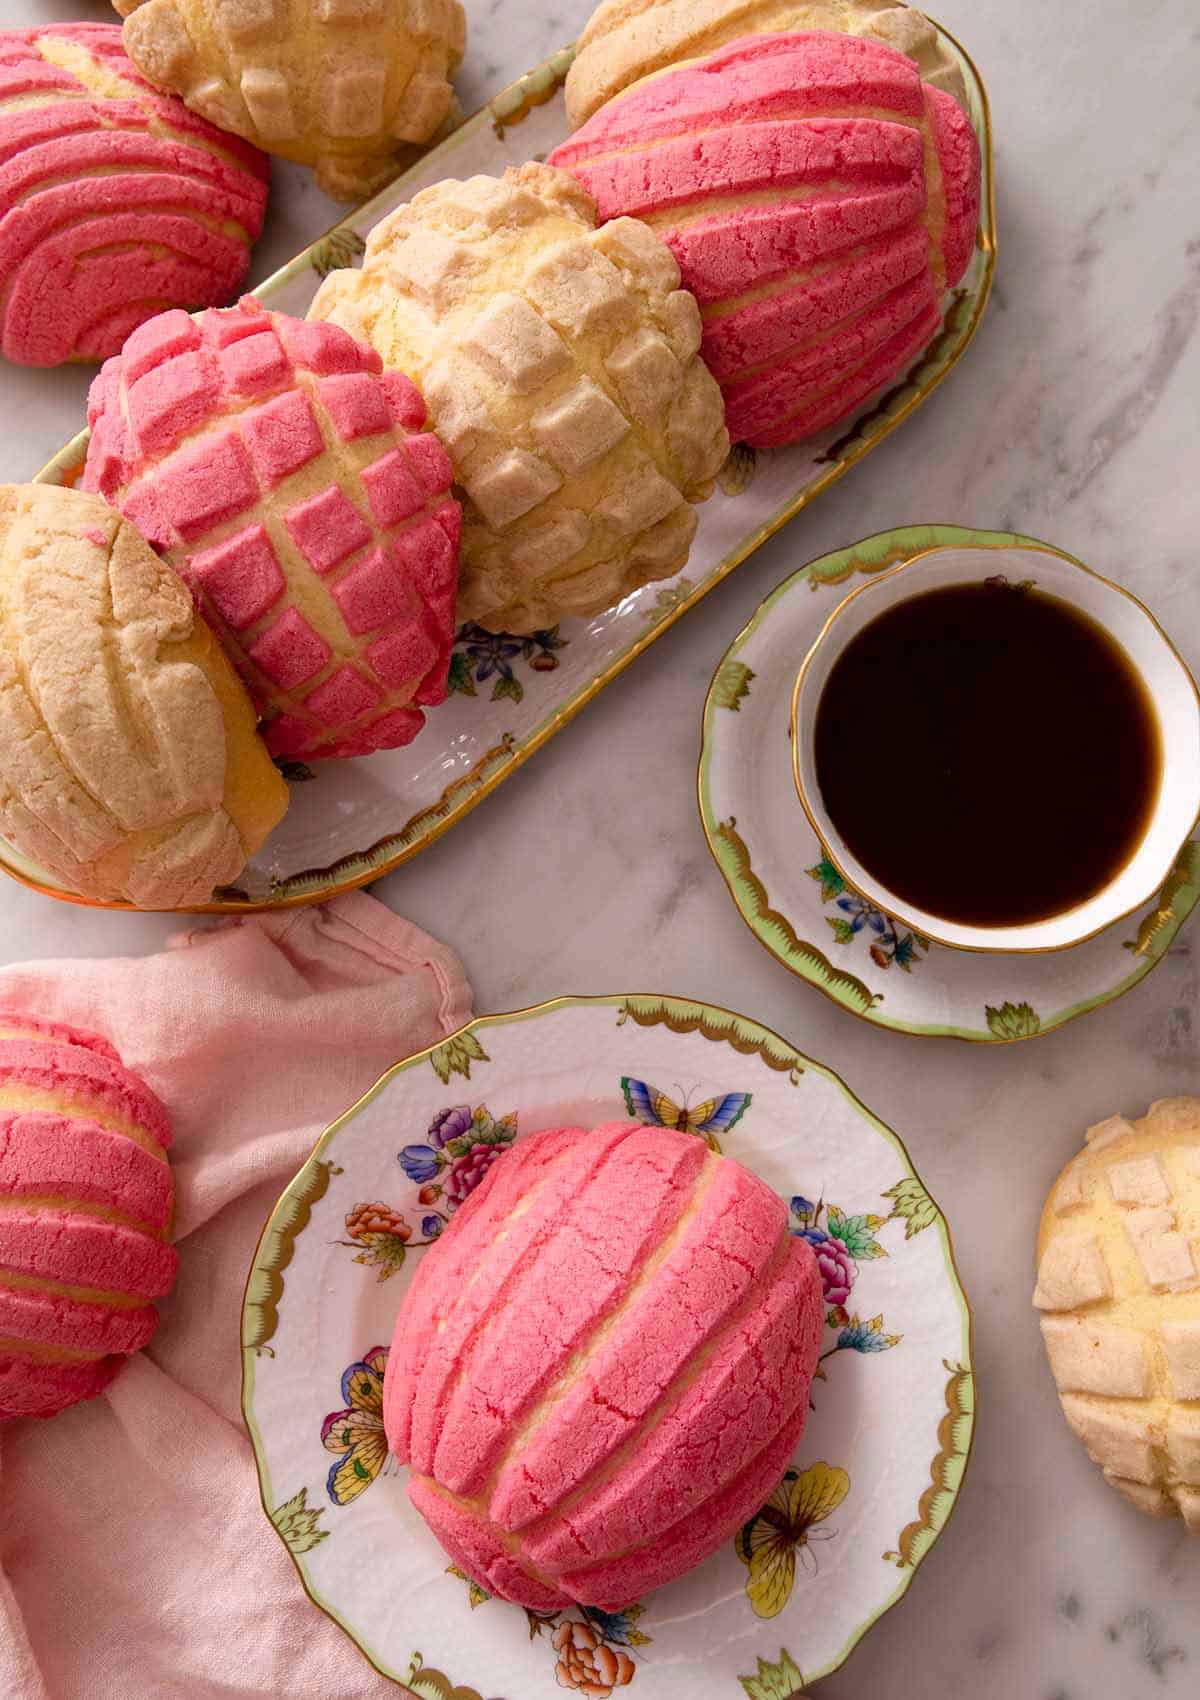
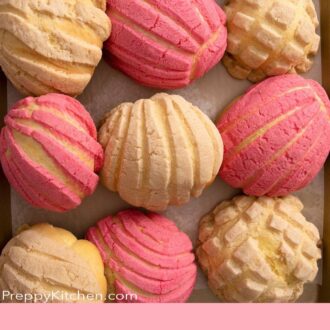
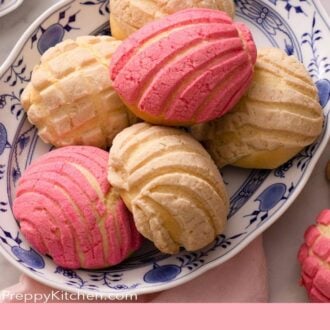
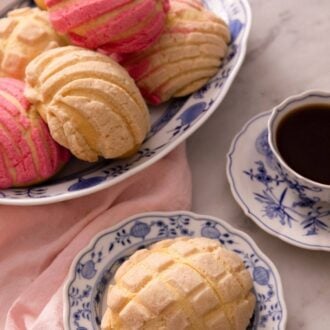
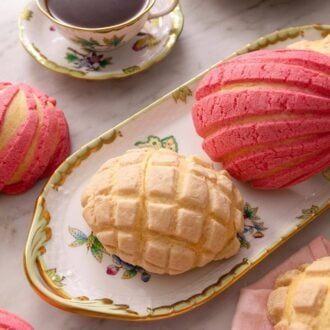
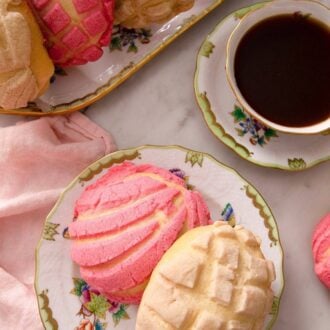
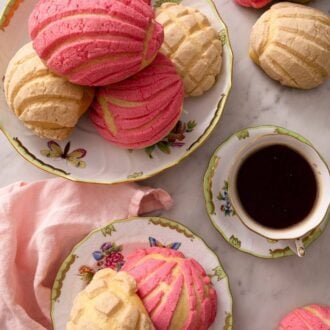
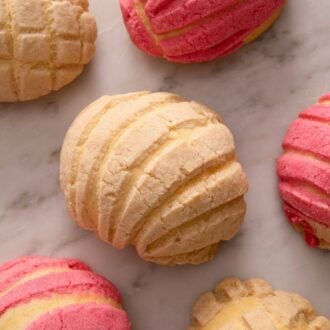
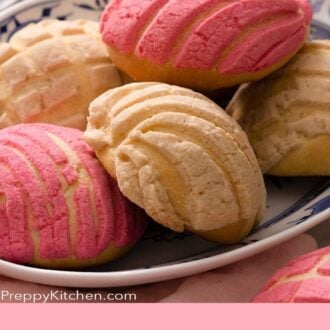
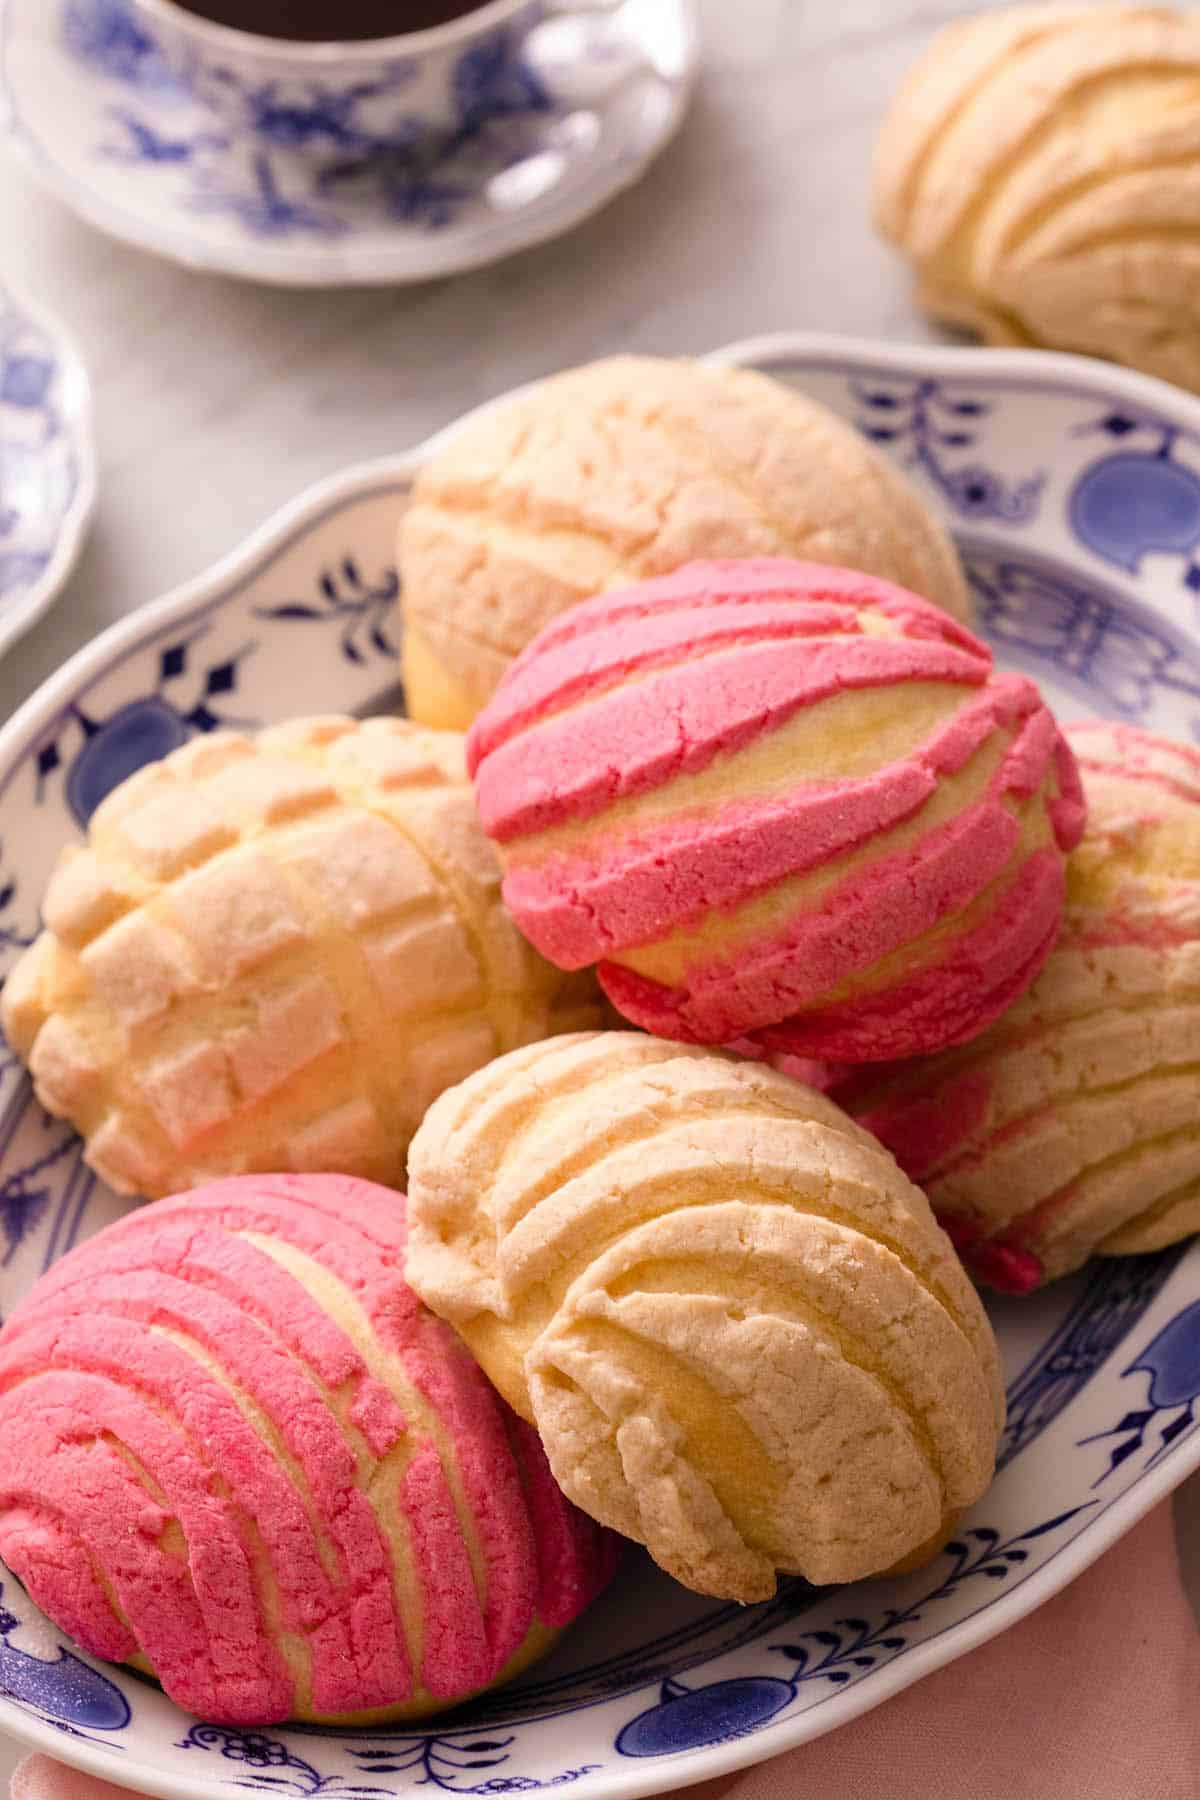
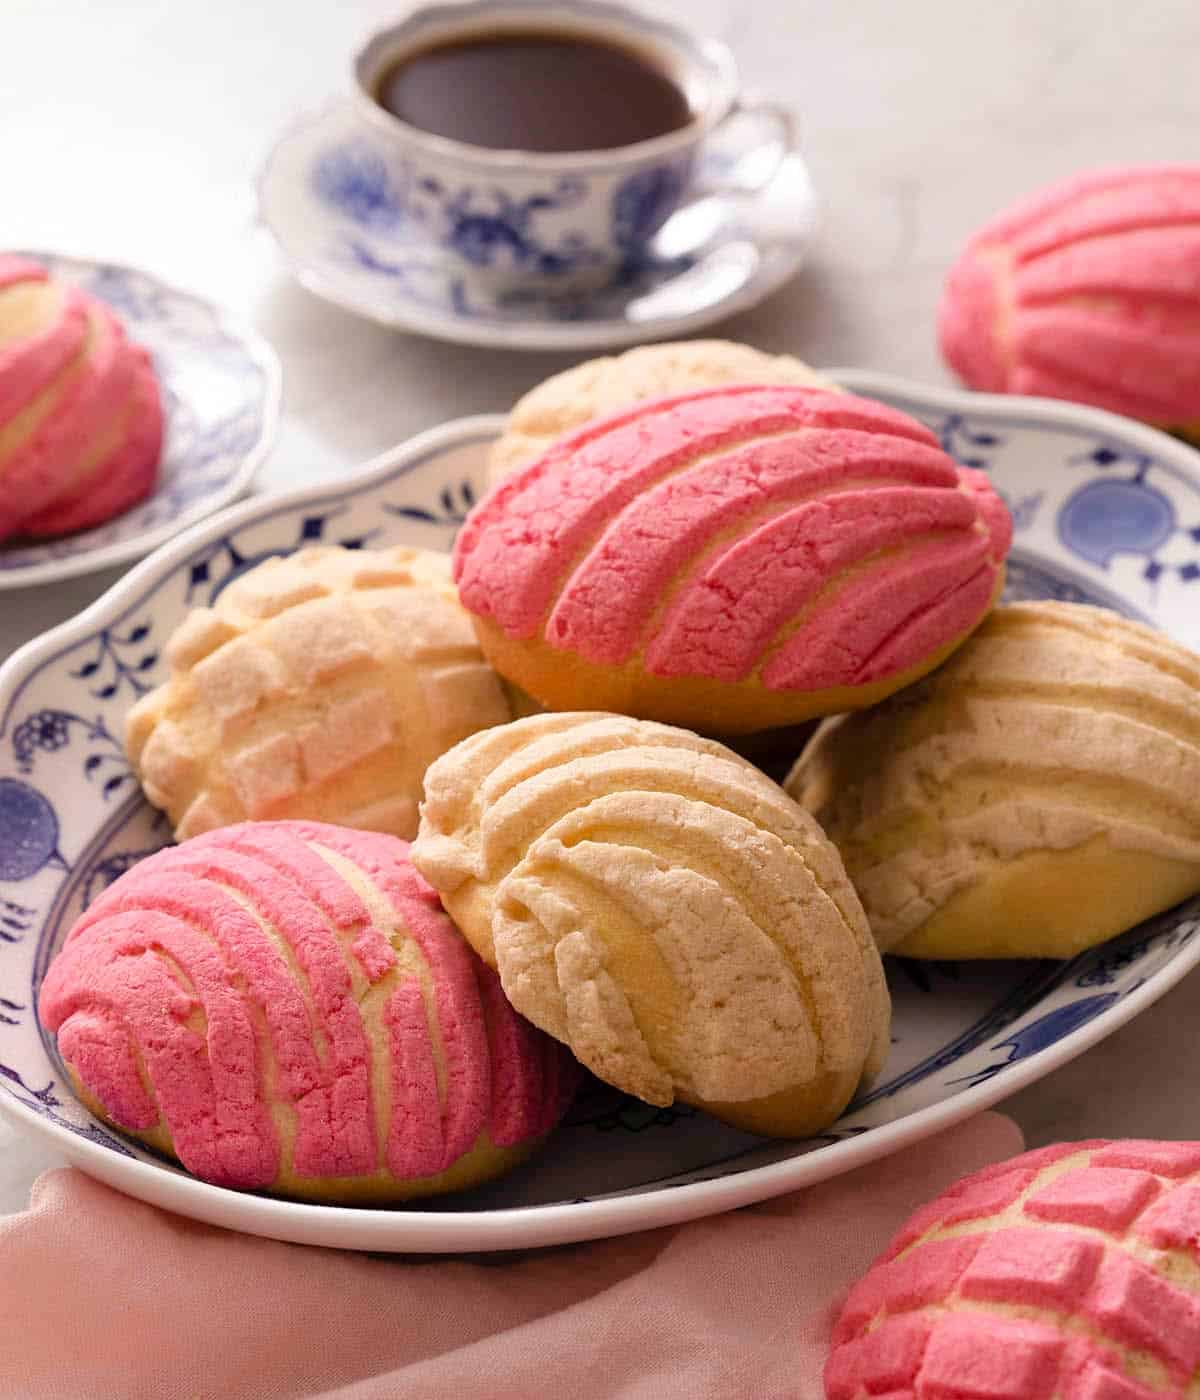
Pan Dulce literally means Sweet Bread in Spanish and comes in many varieties often sold in Panaderías (bakeries) in Mexico. This recipe makes a type of pan dulce called Conchas, concha meaning shell because of their pretty seashell shape and patterns. You’ll find this type of pan dulce in a variety of colors and flavors, from vanilla, cinnamon, chocolate, and anise, and can also come stuffed with fruit and cream. Most commonly the conchas are eaten with a glass of milk, coffee, or hot chocolate for breakfast.
Although there are a few steps involved in making these, the stand mixer does most of the work for you, and the rest is pretty simple. See my full recipe tutorial below that shows you everything you need to make this iconic Mexican sweet bread including step-by-step photos and helpful tips.
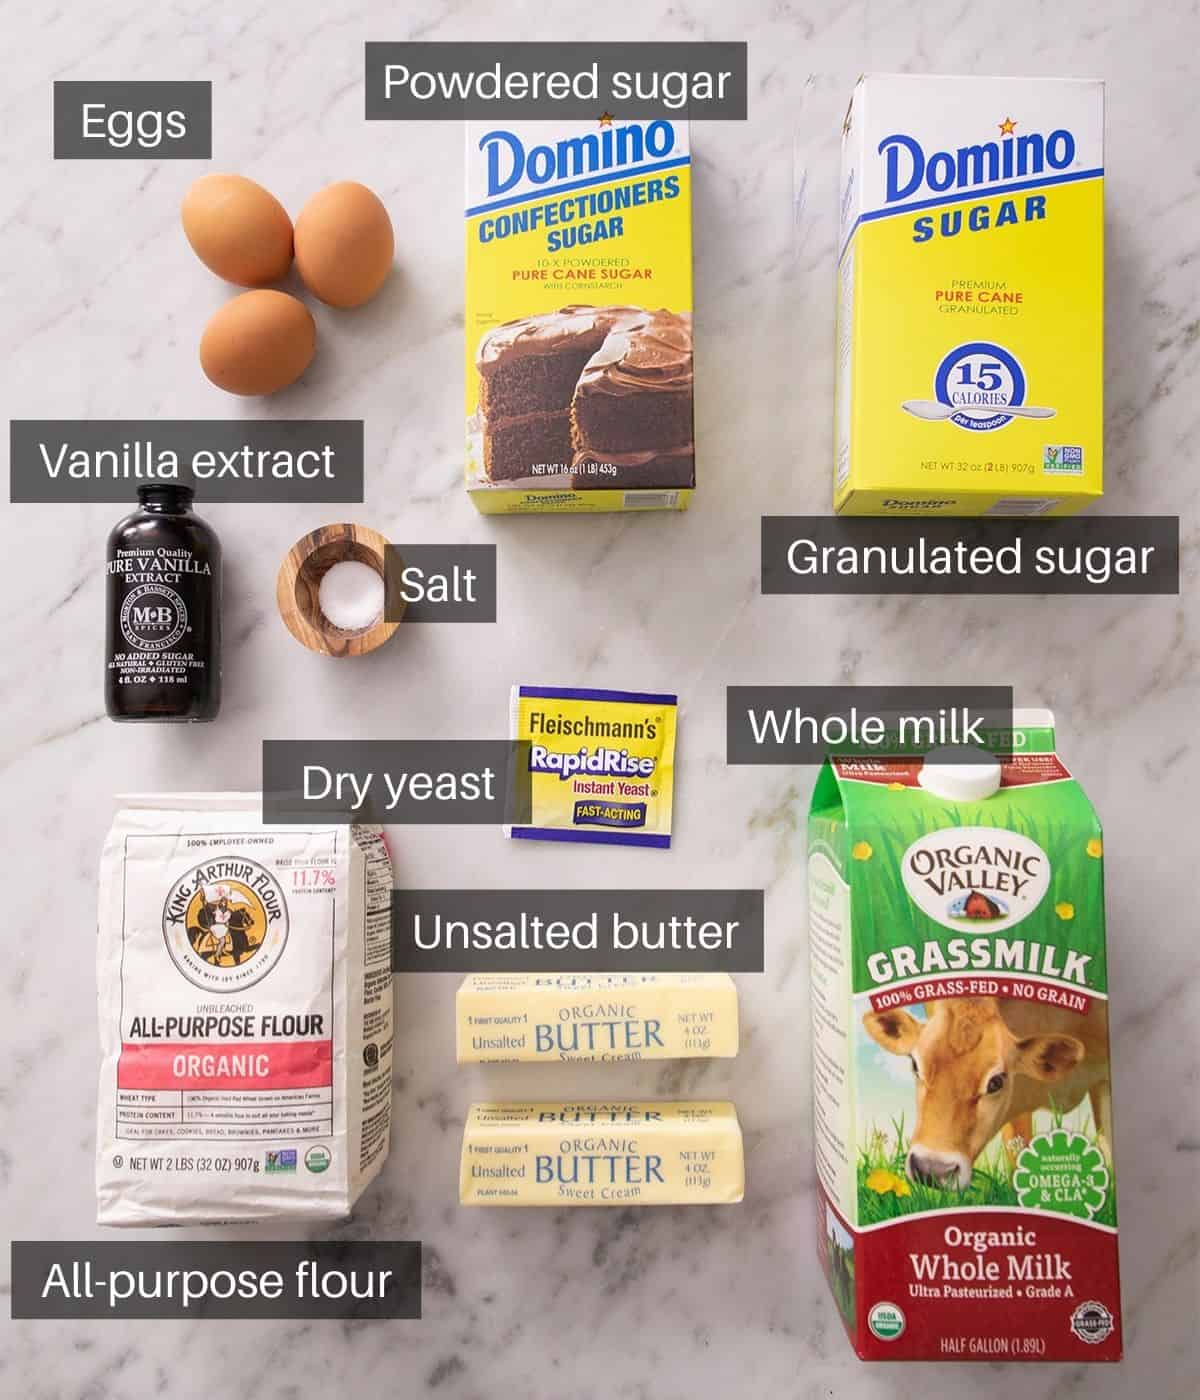
What you need to make this recipe
Flour – I use all-purpose flour for this recipe, you can use bread flour but it’ll give a slightly softer texture.
Butter – make sure you use unsalted butter, this recipe uses a small amount of salt to enhance the flavor but if you use too much (like in salted butter) it can damage the yeast.
Milk – you want to use whole milk for a rich, soft bread. It really makes a difference in the overall flavor of the bread too.
Eggs – your eggs need to be at room temperature so remove them from the fridge in advance.
Vanilla – vanilla adds a wonderful sweetness to the pan dulce, make sure to use vanilla extract and not essence. Also, see my tips section below for more concha flavor variations.
How to make Pan Dulce
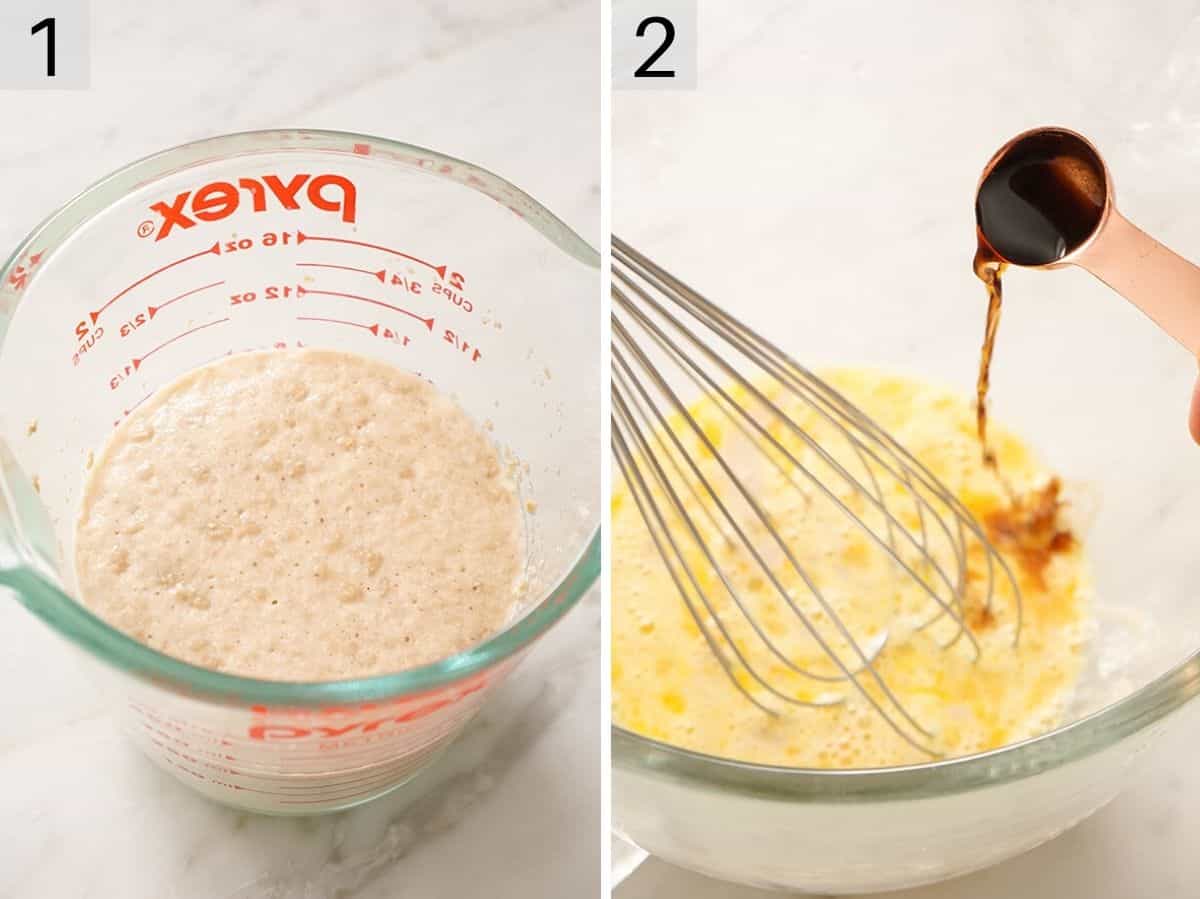
1. Add the yeast and half of the sugar to the warm milk and set aside until the yeast is nice and bubbly. Add the yeast mixture to a stand mixer.
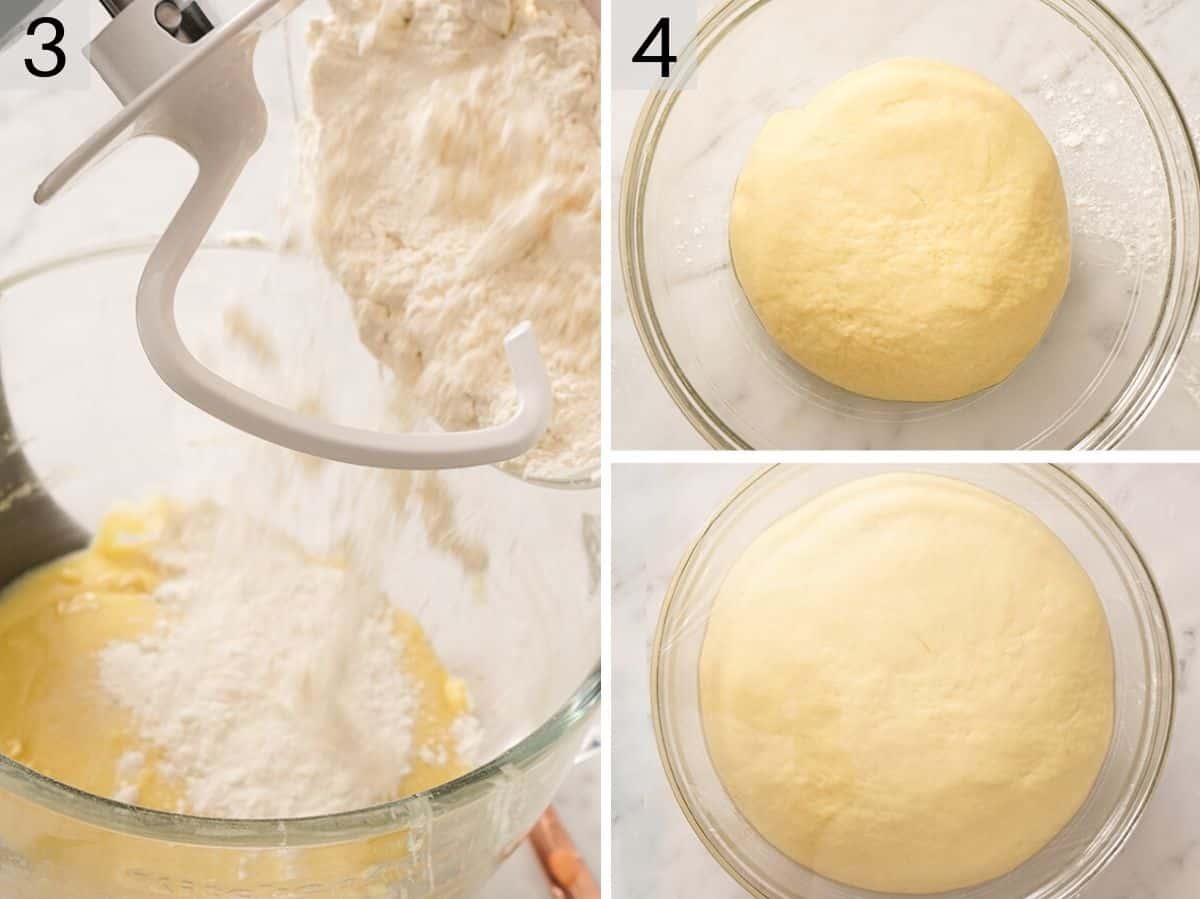
2. Once activated, whisk in the eggs, vanilla, salt, and remaining sugar.
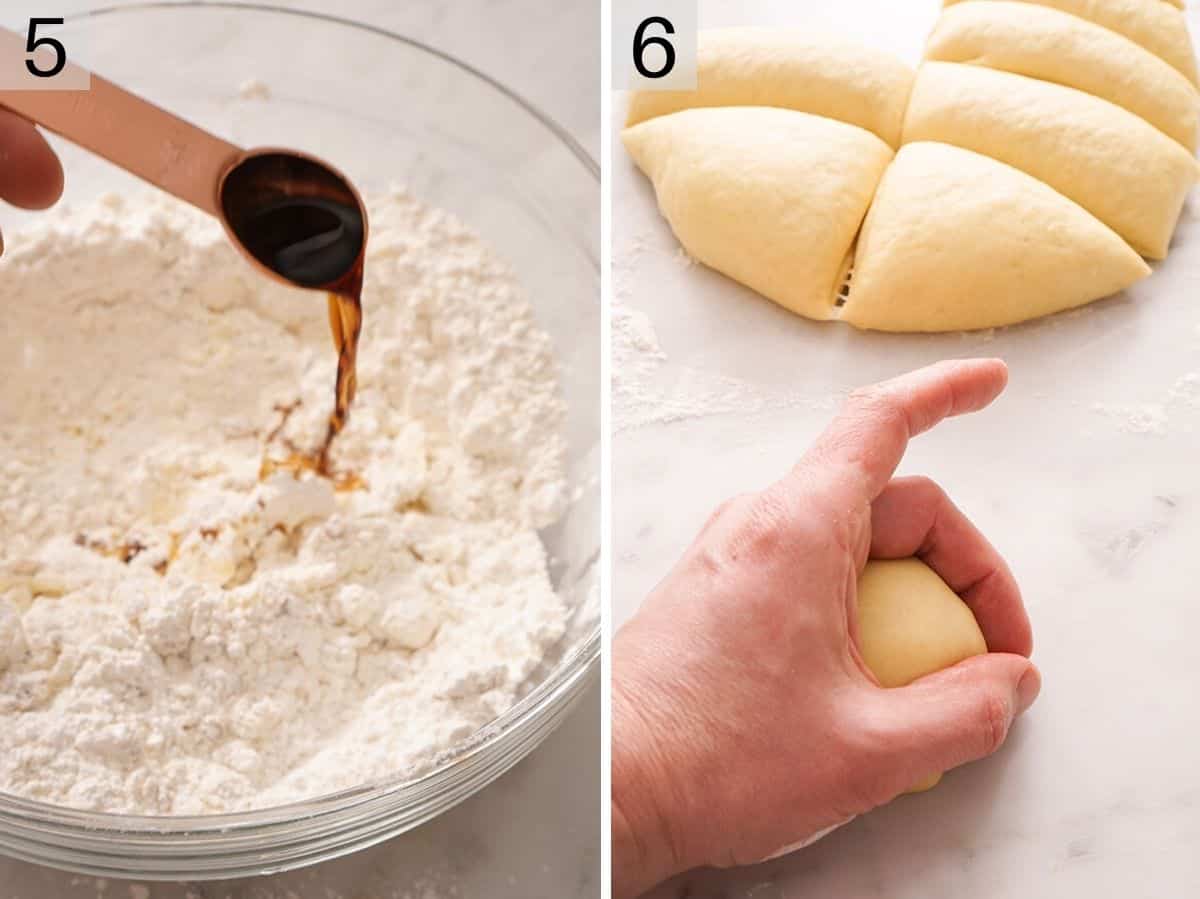
3. Whisk in half the flour to create a paste then add the melted butter and mix in. Add a dough hook to your stand mixer and mix in the remaining flour. Mix the dough on medium speed until the dough comes together, is smooth, and will not stick to your finger when pressed lightly. You can sprinkle in a touch of flour if it’s too sticky.
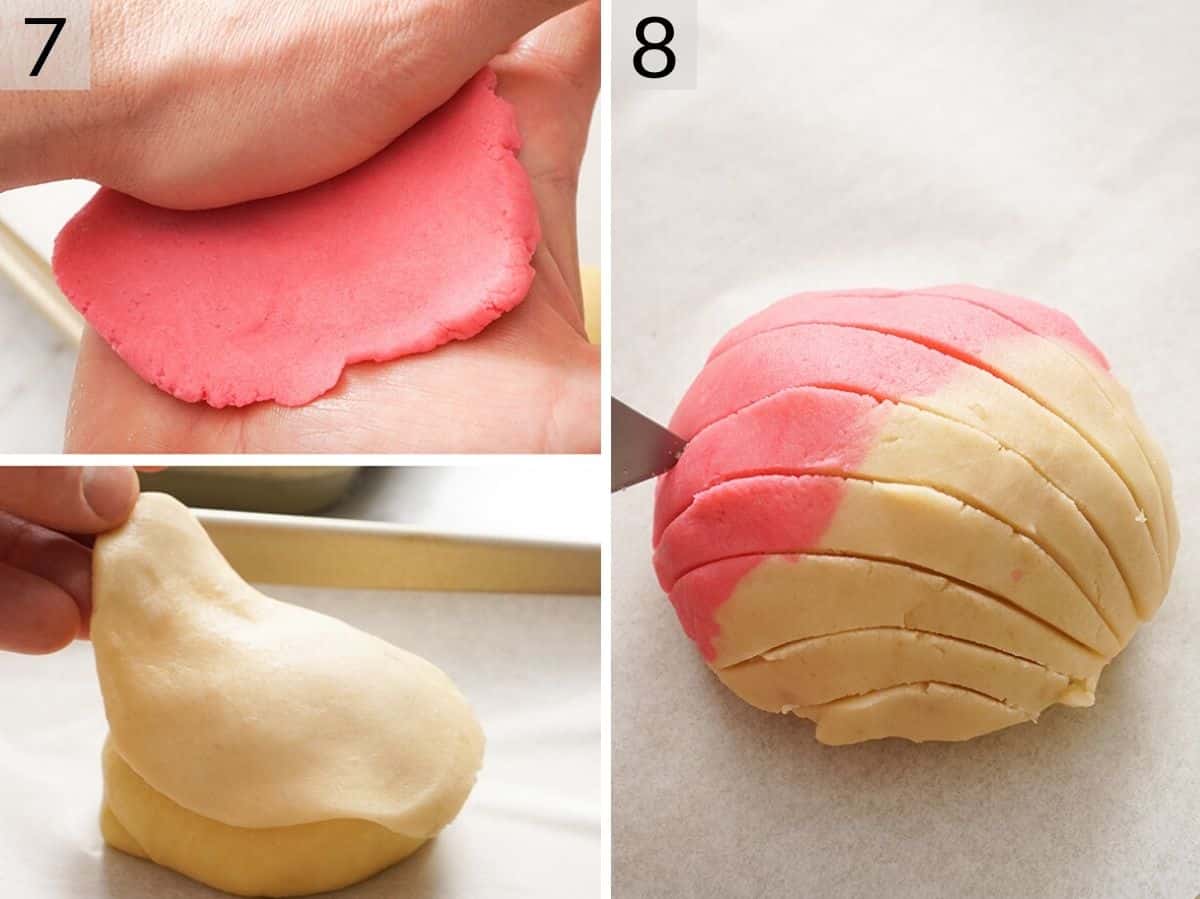
4. Place the concha dough in a large lightly oiled bowl then cover and place in a warm place to rise until doubled in size.
5. To make the topping, mix the flour and powdered sugar together in a medium bowl then add the butter and vanilla. Work together with a spatula until a smooth paste forms. You can divide the mixture into batches and add additional flavorings and colors.
6. Divide the dough into 12 equal pieces. Place your thumb and middle finger together then cup the dough in your hand and move in small circles on the counter to create a roll shape. Place six rolls onto each lined baking sheet.
7. Portion out balls of the concha topping. Flatten into thin disks large enough to cover your buns then place over the bun.
8. Use a very sharp knife or concha cutter to cut the Concha pattern into the top, you can go for the classic pattern (photo 8) or design your own. Cover loosely with plastic wrap and allow them to rise until doubled in size then bake until the bottoms are golden.
Pro tips for making this recipe
- Read the expiration date on the yeast, if you don’t bake often it may have expired which means your dough won’t rise.
- I like to warm my mixing bowl by filling it with warm water and pouring it out before I add the milk. Ice cold bowls make for sleepy yeast.
- Activate the yeast in warm milk, this helps speed up the proving process. It’s super important that your milk is warm and not hot or it’ll damage the yeast and prevent the dough from rising.
- The yeast should bubble and froth as it activates, no bubbles mean dead yeast so you’ll have to start over if this happens.
- I make the disks by flattening them with my palms but you can use a rolling pin on the counter or a tortilla press. With either option, you may want to use plastic wrap to prevent sticking and tearing.
- Flavor variations – you can add additional flavorings into the topping of the conchas. Try adding 1/2 tsp of cinnamon for a delicious cinnamon flavor or 1 tbsp of cocoa powder for a chocolate version.
- Colors – the classic color variations for conchas are yellow, pink (like the photos in this recipe), white or brown (chocolate). You can achieve different colors by adding a few drops of food coloring or cocoa powder. For white conchas use shortening instead of butter which will give you a yellow color.
Frequently Asked Questions
What does Pan Dulce taste like?
The taste of these Mexican conchas is almost brioche-like it’s sweet, soft, rich, and buttery with a crunchy and sweet topping. They truly are delicious and can be flavored with vanilla, cinnamon, cocoa, or anise.
How do you eat them?
You eat pan dulce or conchas like a pastry or doughnut, bite right into it and enjoy it with a glass of milk, coffee, or hot chocolate for breakfast or as a snack. You can also cut them in half and spread them with anything you like fruit preserves or chocolate spread.
Can I prepare this in advance?
You can prepare the dough 1 day in advance and allow it to prove in the fridge instead of in a warm place for a shorter amount of time.
How long do they last, can they be frozen?
Baked Pan Dulce will keep well in an airtight container for up to 3 days. You can also freeze them after baking for up to 3 months, thaw completely before serving. The thawed bread can be warmed up in an oven. Raw dough can also be frozen for up to 3 months, thaw before shaping and baking.
If you’ve tried this Pan Dulce recipe then don’t forget to rate the recipe and let me know how you got on in the comments below, I love hearing from you!

Pan Dulce
Video
Ingredients
For the Dough
- 1 package dry yeast or 1 tablespoon
- 3/4 cup milk
- ½ cup butter melted
- 1/2 cup sugar divided
- 3 eggs room temperature
- 1 teaspoon salt
- 1 tsp vanilla extract
- 4 1/2 cups flour
For the Topping
- 1/2 cup unsalted butter very soft
- 1 cup powdered sugar
- 1 cup flour
- 1 tbsp vanilla extract
- Optional: food coloring cocoa powder cinnamon
Instructions
For the Dough
- Warm your milk to about 110F then transfer to the bowl of your stand mixer or a large bowl if using an electric hand mixer. Mix in half the sugar and the yeast. Set aside for about 5 minutes or until the yeast is nice and bubbly. No bubbles mean dead yeast so you’ll have to start over if this happens.
- Whisk in the eggs, vanilla, salt and remaining sugar then whisk in half the flour to create a smooth paste.
- Add the melted butter and mix once more then place on your stand mixer add the remaining flour and attach a dough hook. Run the mixer on medium speed for 5-7 minutes or until the dough comes together, is smooth and will not stick to your finger when pressed lightly. You can sprinkle a couple teaspoons of flour on the edge of the bowl to discourage the dough from sticking.
- Transfer the dough to a large lightly oiled bowl then cover and place in a warm place to rise for one and a half to two hours, or until doubled in size.
For the Topping
- Mix the flour and powdered sugar together in a medium bowl then add the butter and vanilla. Work together with a spatula or your clean hand until a smooth paste forms. You can divide the mixture into batches and flavor with ½ tsp cinnamon, 1 tbsp cocoa powder, etc. A few drops of food coloring can be worked into the batched for some visual interest if desired.
For the Assembly
- Lightly flour your counter and invert the dough onto it then divide into 12 equal pieces, about 90g each. Place your thumb and middle finger together then cup the dough in your hand and move in small circles on the (unfloured) counter to create a roll shape. Place six rolls onto each baking sheet lined with parchment paper.
- Portion out 1 ½ tbsp balls of the topping, about 30g. Flatten into thin disks large enough to cover your buns then place over the bun. Use a very sharp knife to cut the Concha pattern into the top. You can also cut a grid, or any other pattern you enjoy.
- Cover loosely with plastic wrap and allow your conchas to rise for about 30 minutes or until roughly doubled in size. Preheat oven to 350F.
- Bake at 350F for 18 to 20 minutes or until the bottoms are golden.
Notes
- Read the expiration date on the yeast, if you don't bake often it may have expired which means your dough won't rise.
- I like to warm my mixing bowl by filling it with warm water and pouring it out before I add the milk. Ice cold bowls make for sleepy yeast.
- Activate the yeast in warm milk, this helps speed up the proving process. It's super important that your milk is warm and not hot or it'll damage the yeast and prevent the dough from rising.
- The yeast should bubble and froth as it activates, no bubbles mean dead yeast so you’ll have to start over if this happens.
- I make the disks by flattening them with my palms but you can use a rolling pin on the counter or a tortilla press. With either option, you may want to use plastic wrap to prevent sticking and tearing.
- Flavor variations - you can add additional flavorings into the topping or the conchas. Try adding 1/2 tsp of cinnamon for a delicious cinnamon flavor or 1 tbsp of cocoa powder for a chocolate version.
- Colors - the classic color variations are yellow, pink (like the photos in this recipe), white or brown (chocolate). You can achieve different colors by adding a few drops of food coloring or cocoa powder. For white conchas use shortening instead of butter which will give you a yellow color.
- Raw dough or baked pan dulce can be frozen for up to 3 months. Once baked they can be stored in an airtight container for up to 3 days.


