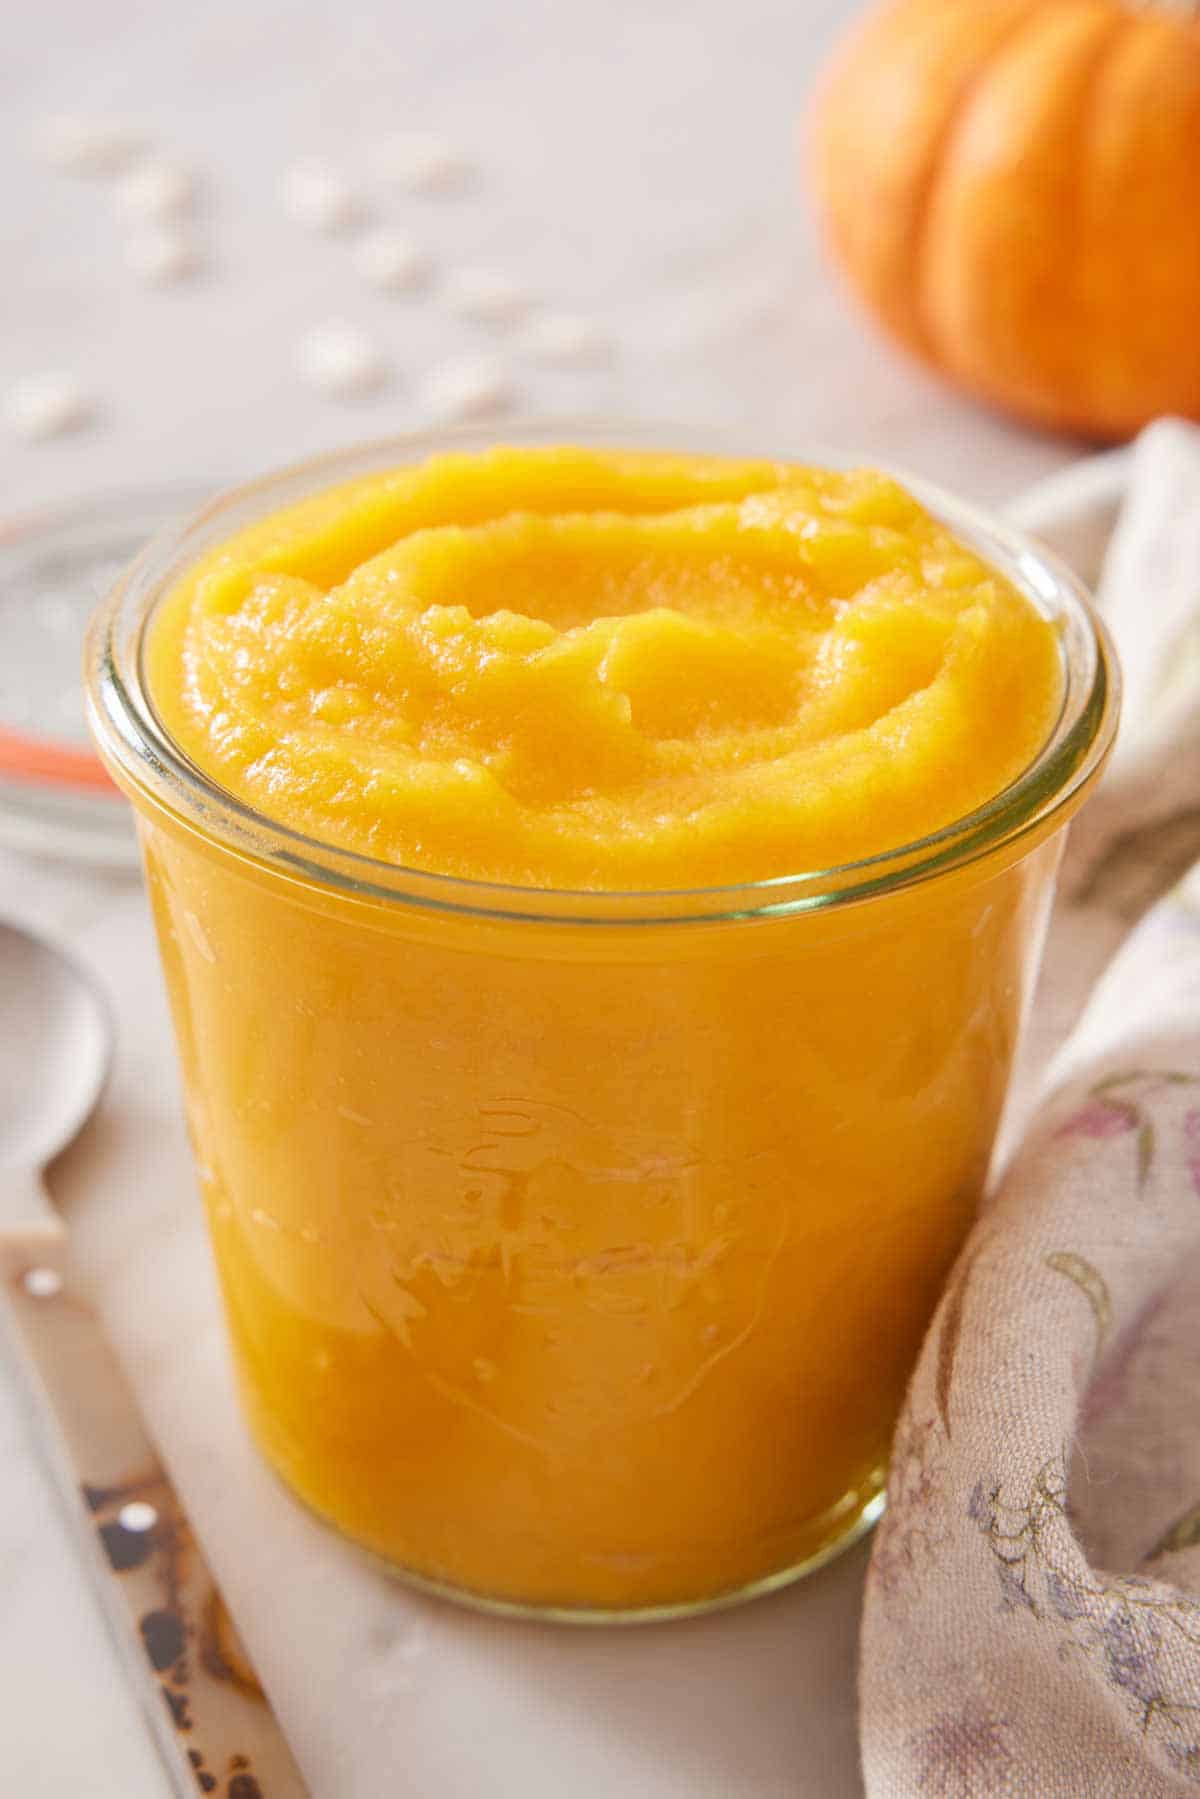
It is much easier to make your own pumpkin puree than you may think! Whether you live in an area where you can’t easily find canned pumpkin puree, recently stumbled upon farm-fresh pie pumpkins at the farmers market or pumpkin patch, or simply are craving an afternoon of baking therapy, this recipe is for you!
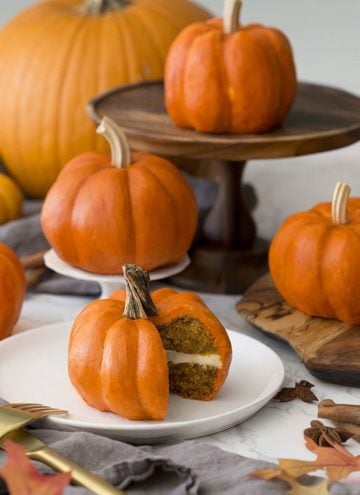
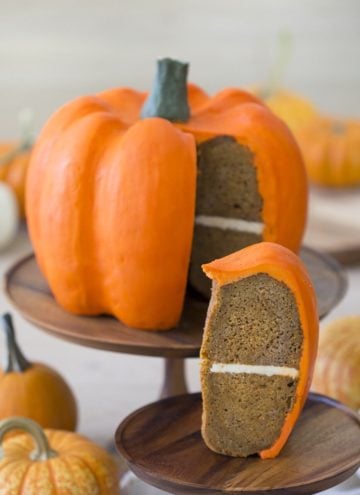
As a one-ingredient recipe, you can find everything you need to make your own homemade pumpkin puree in most major grocery stores, though farm-fresh pumpkins are always a great option if they are available. If you have big fall baking plans, this recipe is easy for doubling and tripling, too. Just see my notes below on how to store and save the pumpkin for later, making for the easiest substitution for canned! For my favorite pumpkin recipes to make with this pure pumpkin purée, check out my pumpkin bread recipe, pumpkin whoopie pies recipe, and pumpkin cake recipe.
What You Need to Make This Recipe
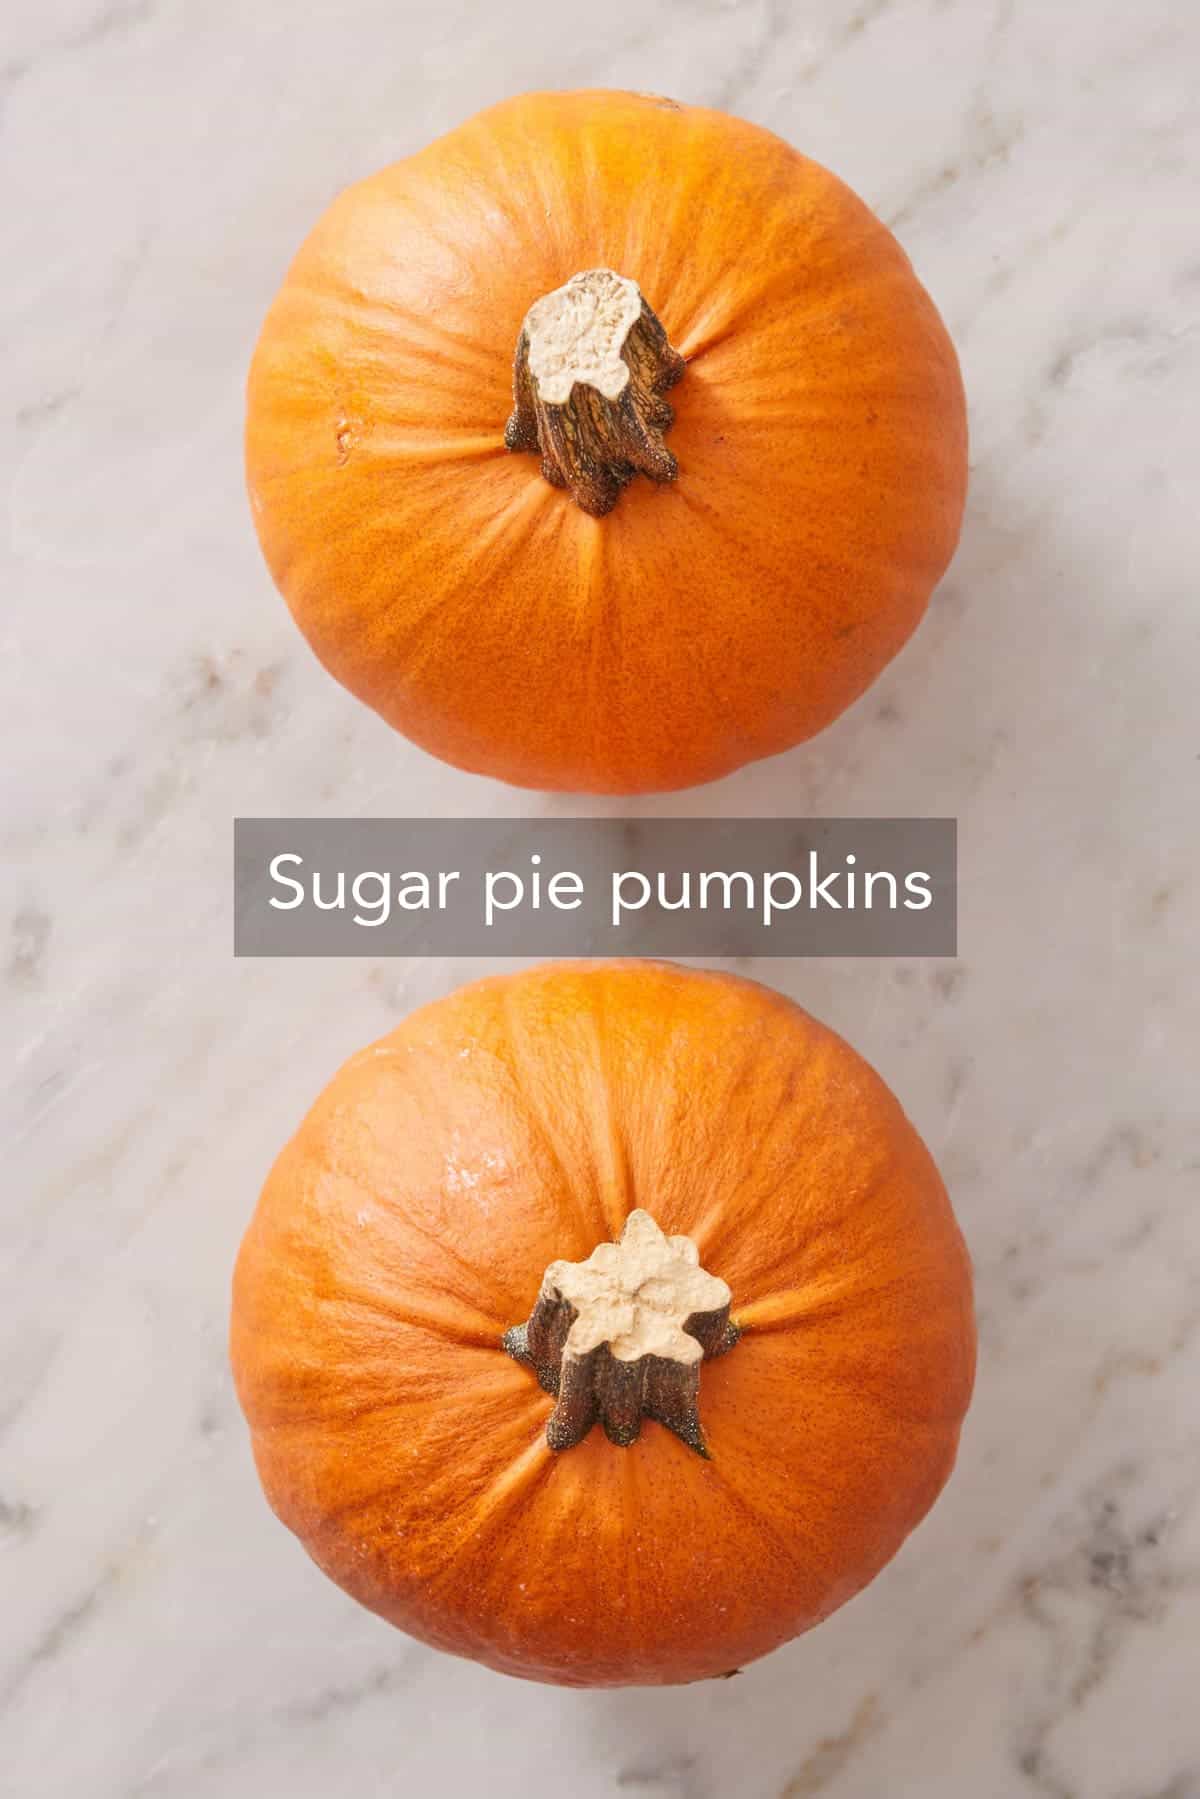
Pumpkin – choose pumpkins that are labeled as “sugar pumpkin” or “pie pumpkin.” This type of pumpkin consists of various pumpkin varieties that are sweeter and good for making puree. If you are ever in doubt, ask the produce department or farmer’s market attendant. Regardless, avoid using carving pumpkins, as they lack flavor and are too stringy and fibrous to make a smooth puree.
How to Make Pumpkin Puree
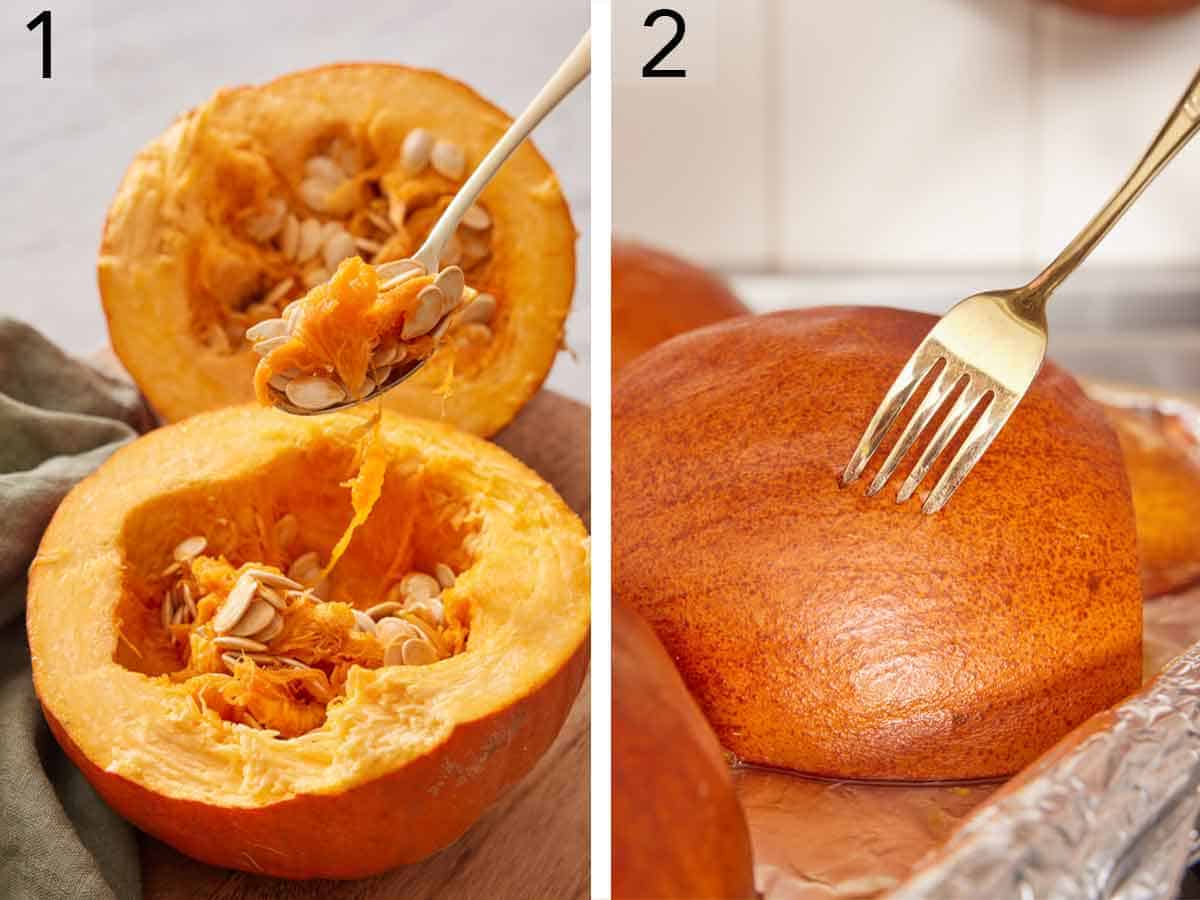
1. Preheat the oven to 400°F. Line a baking sheet with parchment paper or aluminum foil. Cut the pumpkins in half and scoop out the seeds.
2. Place the pumpkin halves cut side down on the baking sheet. Roast the pumpkins for 40 to 60 minutes, depending on their size, or until they are easily pierced with a fork. The skin will turn darker in color and turn a golden brown when they are done.
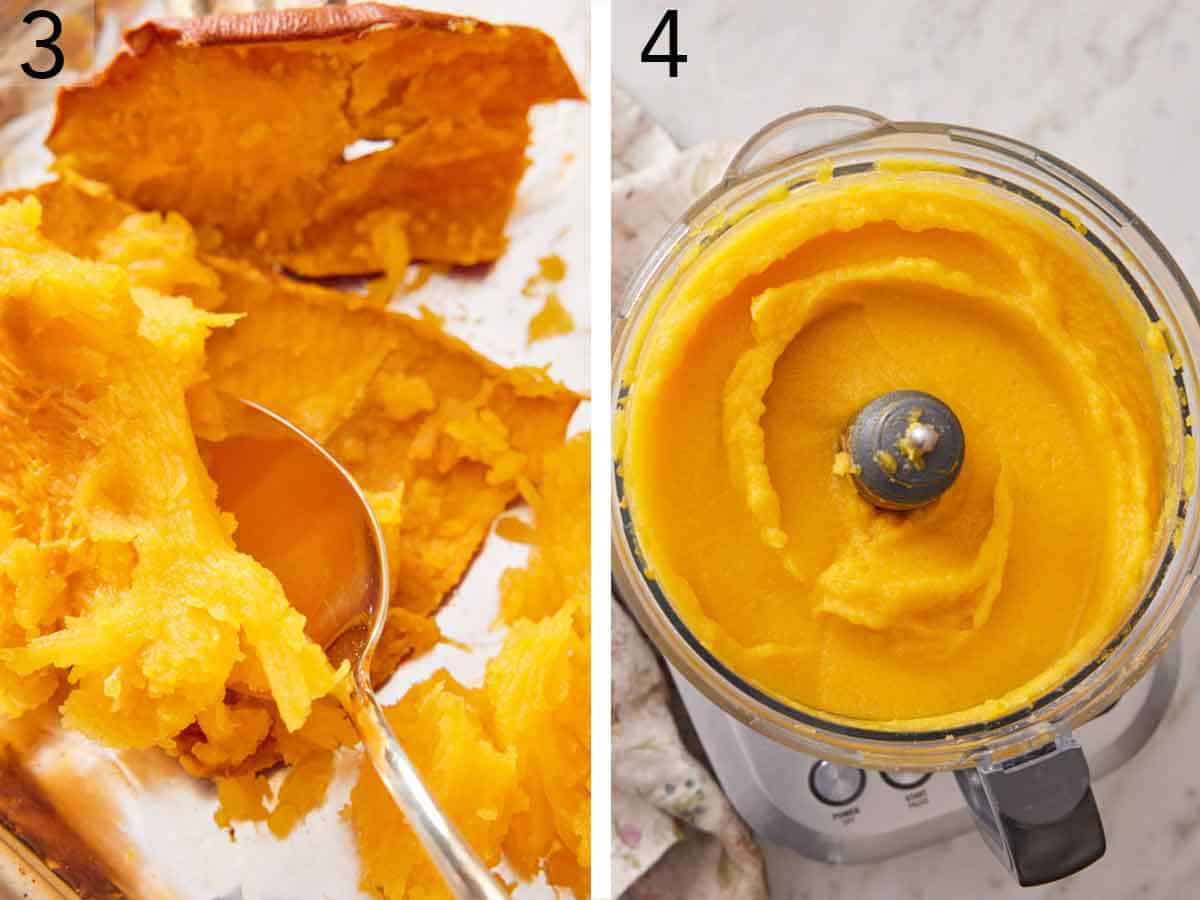
3. Cool the pumpkins at room temperature until they are easy to handle, or for about 30 minutes. Scoop out the soft pumpkin flesh.
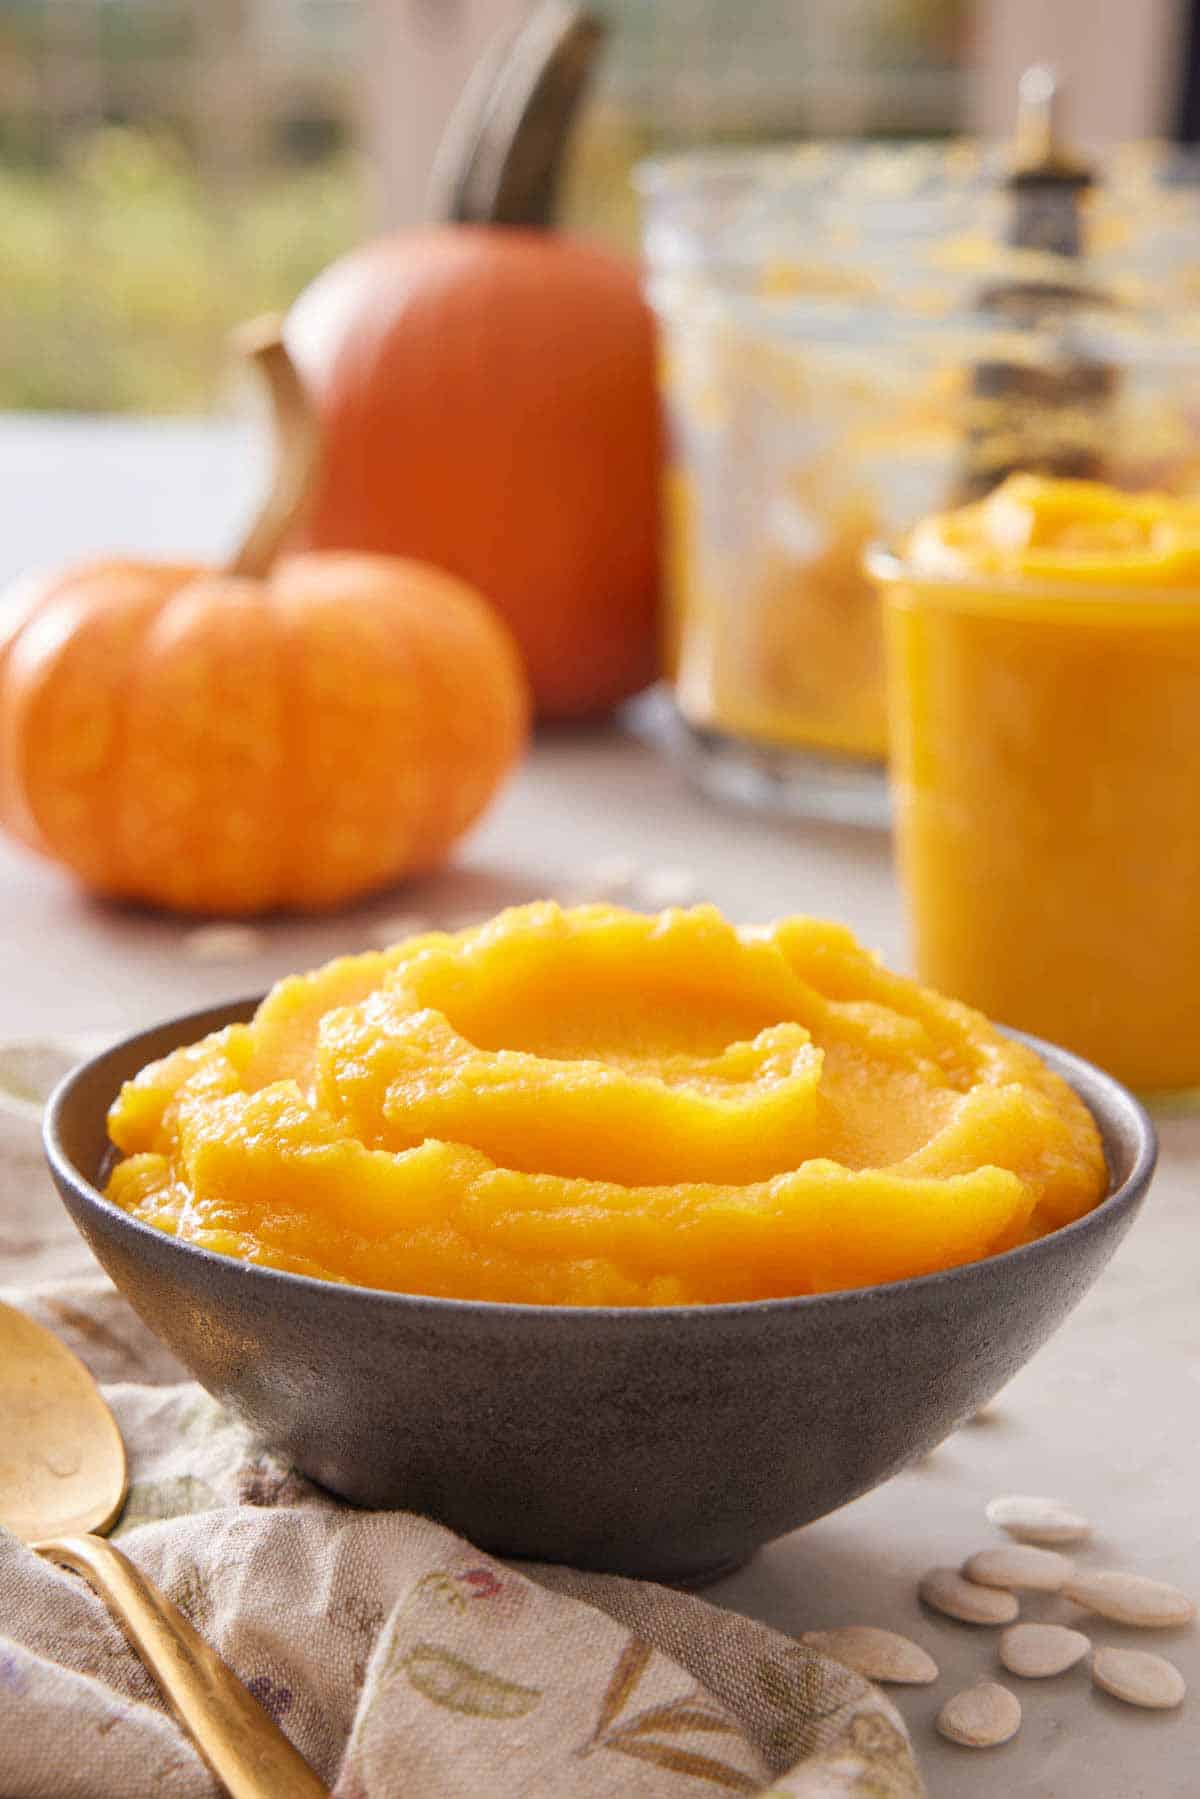
4. Add the flesh to the bowl of a food processor and puree until very smooth, or for about 2 minutes. Use the puree as a substitute for canned pumpkin in your sweet or savory recipes or transfer to airtight containers for storage.
Pro Tips For Making This Recipe
- Carefully cut the pumpkin. Given the tough exterior of the squash, pumpkins can be tricky to cut. Use caution when cutting the pumpkin, holding it in place with one hand out of the way of the sharp knife while cutting with the other. Furthermore, avoid cutting directly through the stem, as they can be very difficult to cut and can be hard to dislodge knives from. I prefer cutting through the equator of the pumpkin with the stem end and bottom on opposite sides of the cut.
- Option: strain runny puree to remove excess liquid. Some varieties of pie pumpkins can have more moisture than others. If your puree is more watery than canned puree, you should strain it in a cheesecloth-lined mesh strainer for 15-30 minutes or until thickened before using the puree in your favorite pumpkin pie recipe. You can also spread it out on a baking sheet and bake it at 300°F, stirring frequently, until thickened. I’d recommend puree again to make sure it’s totally smooth.
- Make other purees with this recipe. Follow the same steps to make butternut, honeynut, or even acorn squash purees. The roasting time until they are tender may vary depending on the size of the squash, but otherwise, the cooking method and directions stay the same.
Frequently Asked Questions
Leftover pumpkin puree will keep covered in an airtight container in the refrigerator for up to 5 days. It also can be frozen in a freezer-safe container for up to 6 months. Defrost the pumpkin overnight in the refrigerator before using. For easy use in any pumpkin recipe, measure out the puree into 15-ounce portions by weight and store or freeze. This is equal to one can of store-bought pure pumpkin, ready to use in any pumpkin recipe when you are! You can also freeze it in ice cube trays for smaller portions.
You can use this puree anywhere that you would use canned pure pumpkin. It’s delicious in savory dishes as well as classic baking recipes, such as pumpkin bars, pumpkin muffins, pumpkin cookies, and even pumpkin pancakes.
Roasted pumpkin seeds make for a delicious fall snack! I always recommend reserving and cleaning off the seeds after scooping them to make roasted pumpkin seeds. Bonus: roasting the seeds is a fantastic way to use the whole pumpkin and reduce food waste!
If you’ve tried this homemade pumpkin puree recipe, then don’t forget to rate the recipe and let me know how you got on in the comments below, I love hearing from you!

Pumpkin Puree
Ingredients
- 1 large or 2 small sugar pie pumpkins
Instructions
- Preheat the oven to 400°F. Line a rimmed baking sheet with parchment paper or foil.
- Cut the pumpkins in half and scoop out the seeds. Place them cut side down on the baking sheet.
- Roast for 40 to 60 minutes, depending on the size of you pumpkins, or until the pumpkins are easily pierced with a fork. The skin will be dark in color and turn a golden brown when they are done. Cool until they are easy to handle, about 30 minutes.
- Scoop out the soft flesh and place in a food processor. Discard the skins.
- Process the pumpkin until very smooth, about 2 minutes. Transfer the puree to airtight containers. Store refrigerated for up to 5 days or freeze for up to 6 months.
Notes
- Carefully cut the pumpkin. Given the tough exterior of the squash, pumpkins can be tricky to cut. Use caution when cutting the pumpkin, holding it in place with one hand out of the way of the sharp knife while cutting with the other. Furthermore, avoid cutting directly through the stem, as they can be very difficult to cut and can be hard to dislodge knives from. I prefer cutting through the equator of the pumpkin with the stem end and bottom on opposite sides of the cut.
- Option: strain runny puree to remove excess liquid. Some varieties of pie pumpkins can have more moisture than others. If your puree is more watery than canned puree, you should strain it in a cheesecloth-lined mesh strainer for 15-30 minutes or until thickened before using the puree in your favorite pumpkin pie recipe. You can also spread it out on a baking sheet and bake it at 300°F, stirring frequently, until thickened. I’d recommend puree again to make sure it’s totally smooth.
- Make other purees with this recipe. Follow the same steps to make butternut, honeynut, or even acorn squash purees. The roasting time until they are tender may vary depending on the size of the squash, but otherwise, the cooking method and directions stay the same.








Leave a Reply