

This post may contain affiliate links. Please read our disclosure policy.





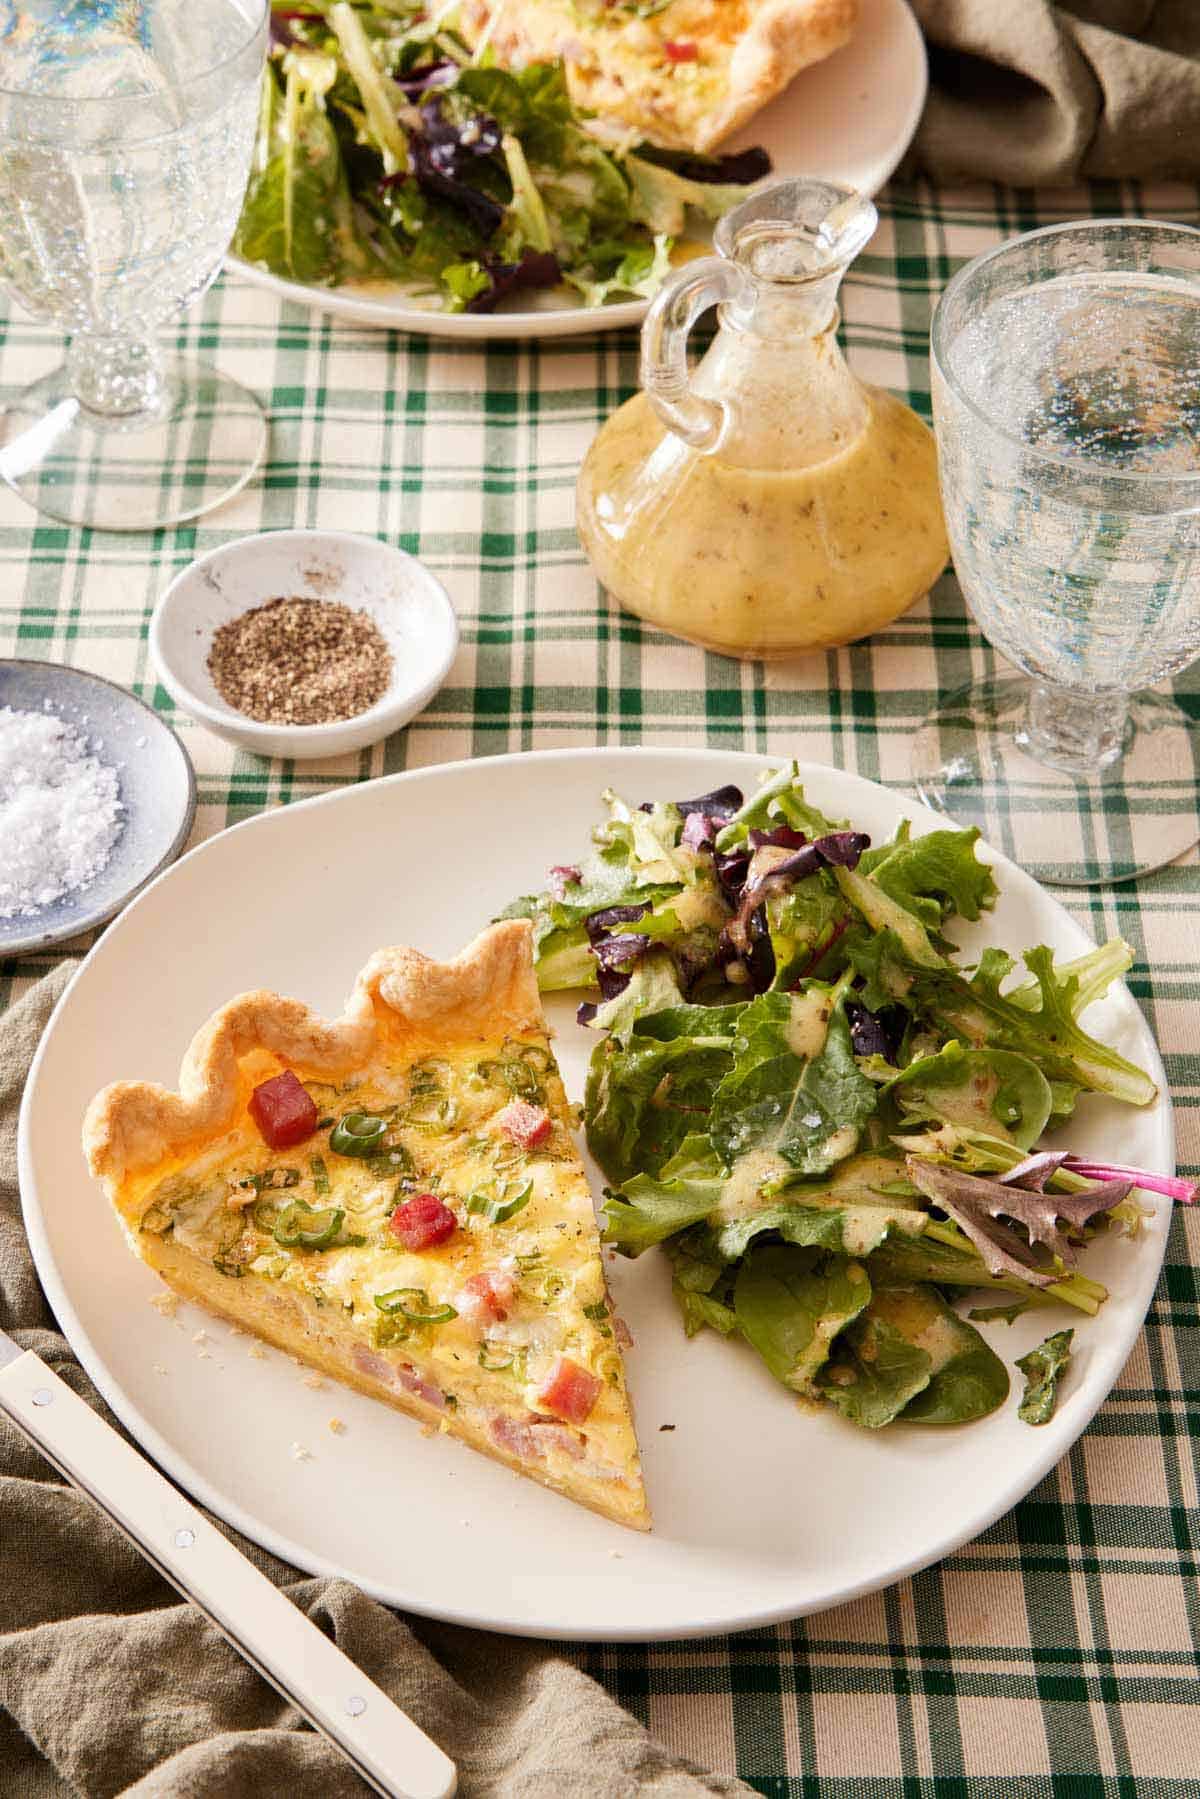
My endlessly adaptable and exceptionally easy Quiche Recipe is the back-pocket brunch recipe everyone should have. The savory egg custard filling is flavored with your choice of mix-ins and baked into a buttery crust—it’s the perfect canvas for your culinary creativity!
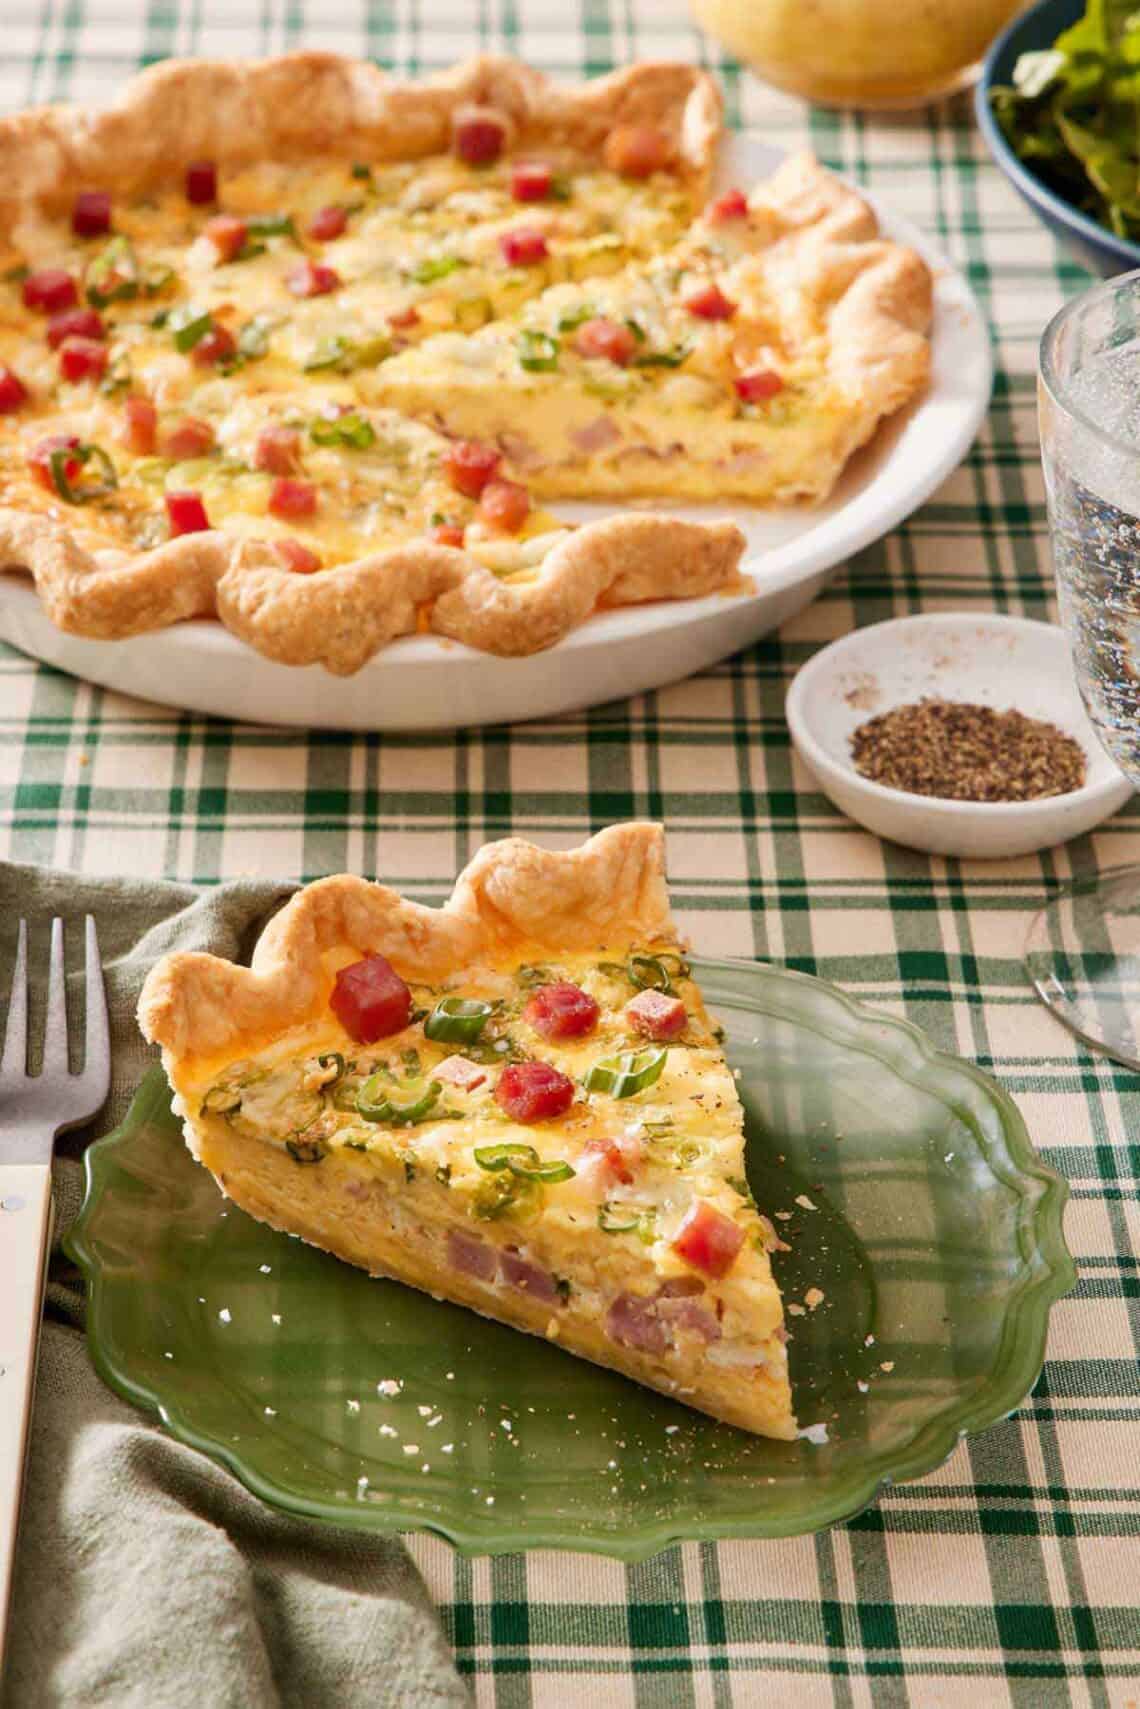
When you want a delicious brunch at home that is both impressive and satisfying, this classic quiche recipe comes to the rescue. This showstopper can even be made ahead of time (or use a store-bought crust as a shortcut, if needed) and requires zero specialized skills or tools.
Aside from being easy enough for even a novice to master, it’s one of those kitchen chameleons that can be adapted to fit whatever you have knocking around the pantry and crisper drawer. No wonder it’s my favorite quiche recipe! For more breakfast recipes, try my savory breakfast casserole, sweetly spiced french toast casserole, or crumbly blueberry scones next!
Ingredients
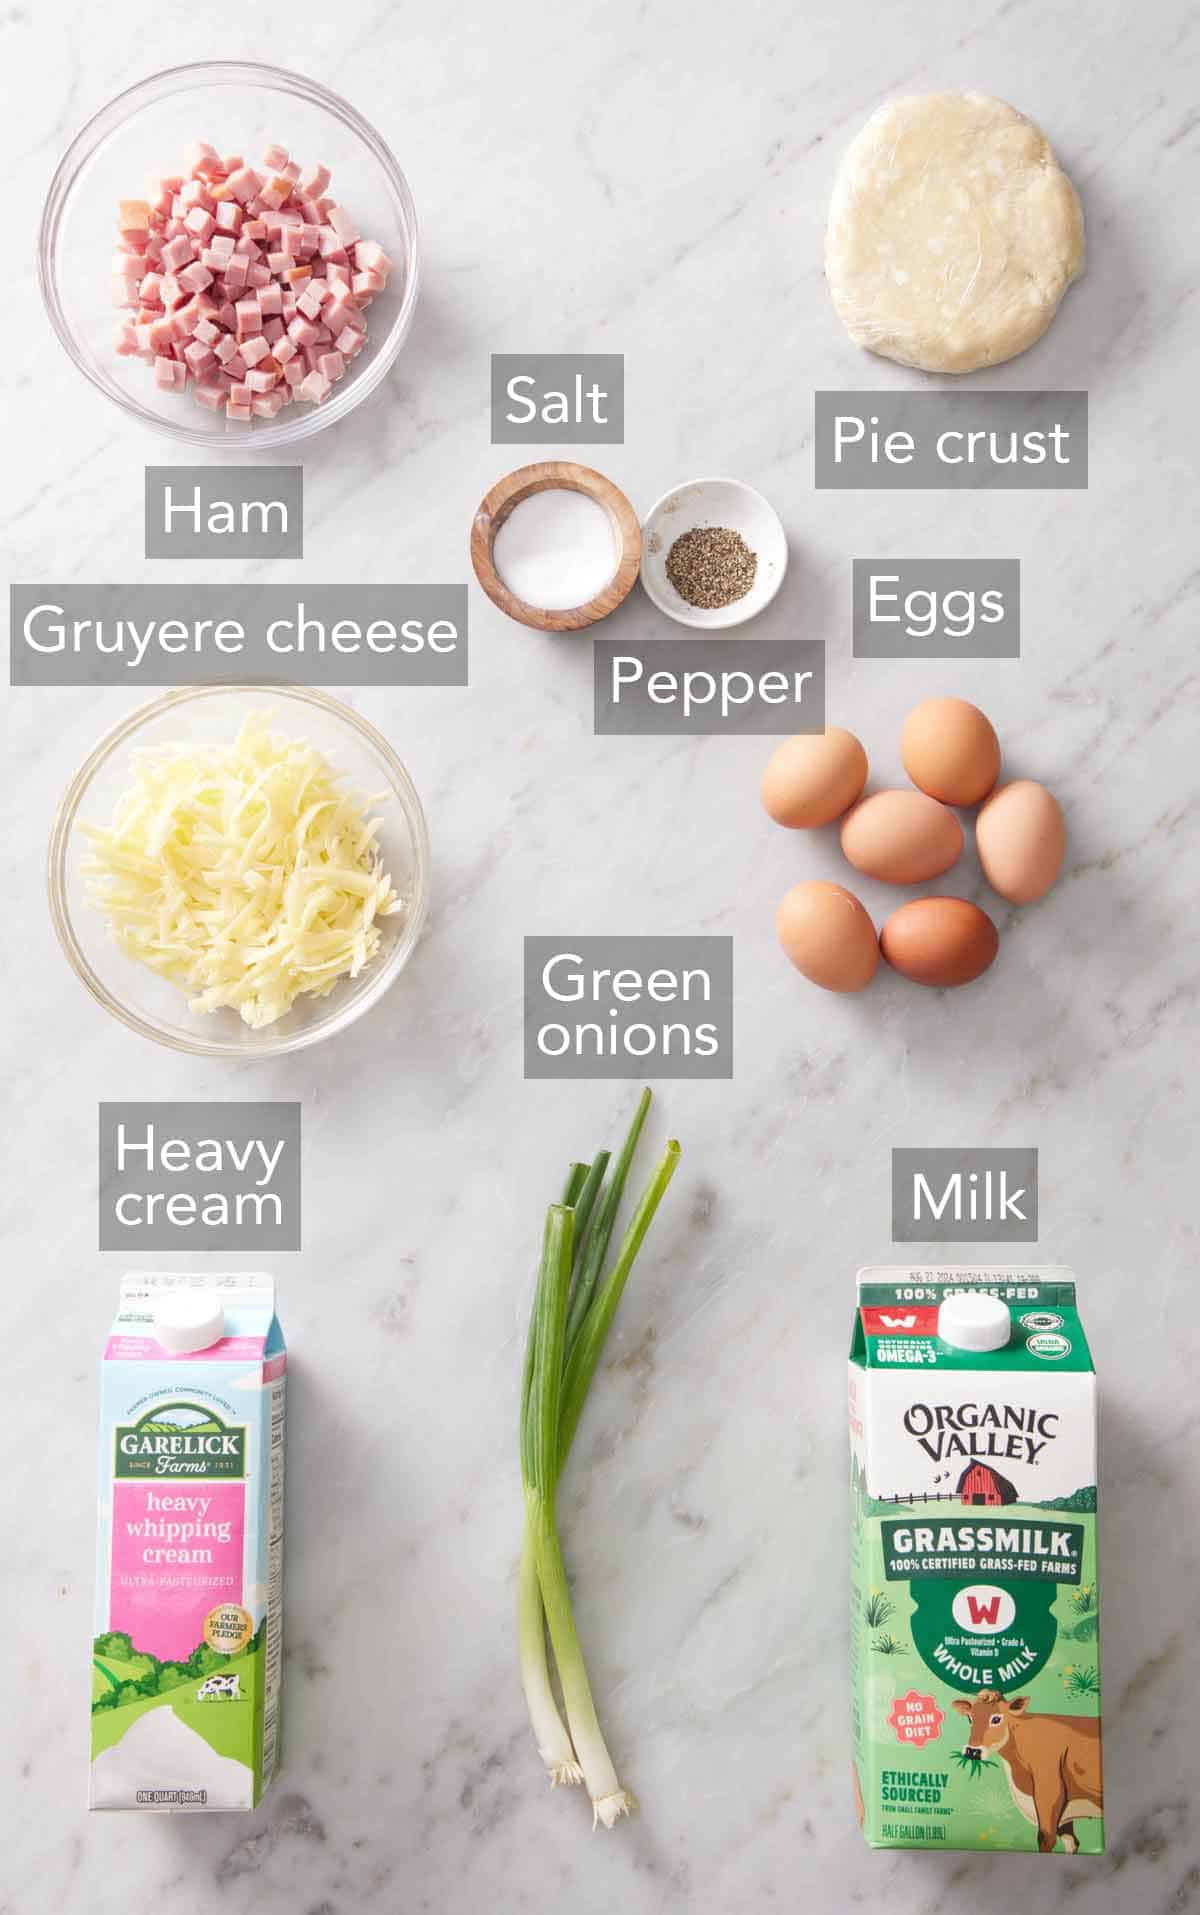
Pie crust — you can make half of my homemade pie crust recipe or freeze the second dough for a future quiche! While nothing can compare to the flaky, buttery texture of a homemade pie shell, you’re more than welcome to swap in a store-bought pie crust for convenience.
Large eggs — since we’re using more than one, size matters. If you’re using smaller eggs, add one extra per size down (7 for medium, 8 for small), or reduce by one egg if sizing up to extra large.
Heavy cream and whole milk — using a 50/50 blend of this rich dairy duo ensures a beautifully fluffy yet creamy custard. While I prefer the texture of using both cream and milk, you can also use an equal amount of half & half in place of both.
Gruyère cheese, ham, and green onions — salty ham, shredded cheese, and alliums make for a classic quiche filling. Read on below for more ideas!
How To Make Quiche
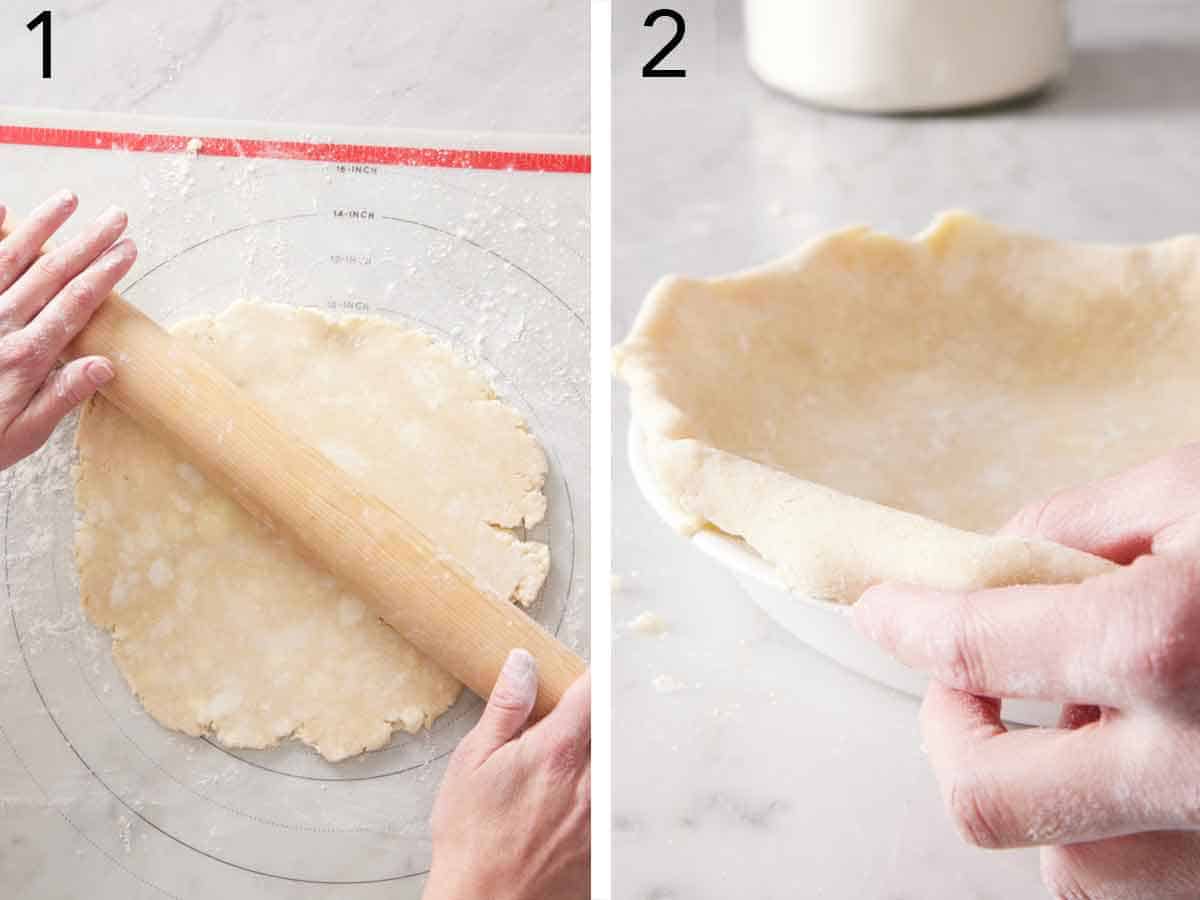
1. Let the pie crust soften at room temperature until it is ready to roll. On a lightly floured surface with a lightly floured rolling pin, roll the pie dough into a 13-inch circle, about ⅛-inch thick. Press the dough into a 9-inch pie plate. Trim any uneven edges, leaving a 1-inch overhang.
2. Tuck the excess dough under and crimp the edges with your fingers or as you like. Place in the freezer for 20 minutes. While the crust is chilling, preheat the oven to 425°F.
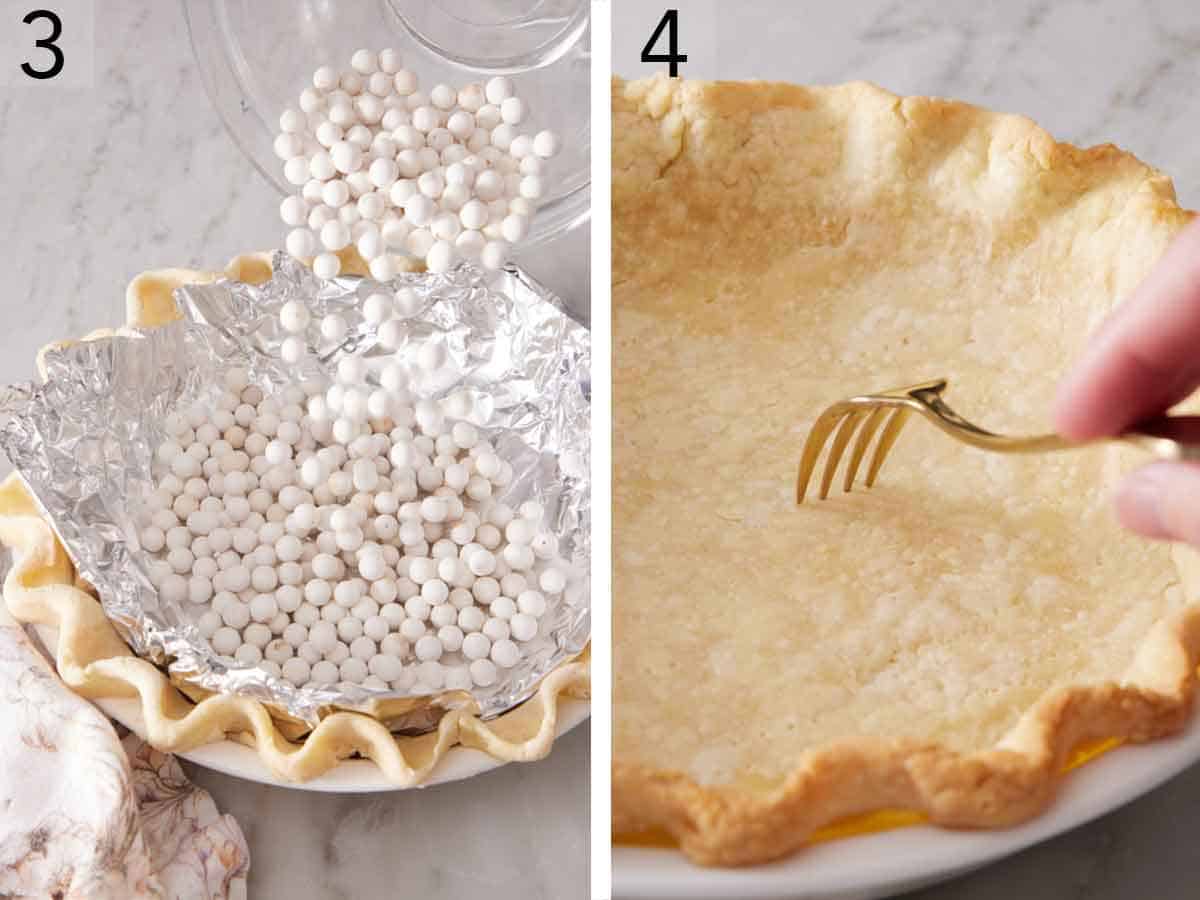
3. Press a piece of parchment paper inside the crust to fully cover it, then fill it with pie weights or dry baking beans. Bake for 10 to 12 minutes until the edges of the crust look dry.
4. Remove the weights and paper. Poke the crust 10 to 12 times all over with the tines of a fork. Return to the oven for 6 to 8 more minutes until the inside looks dry and the crust is lightly golden brown. Let the crust cool while you make the filling. Reduce the oven temperature to 350°F.
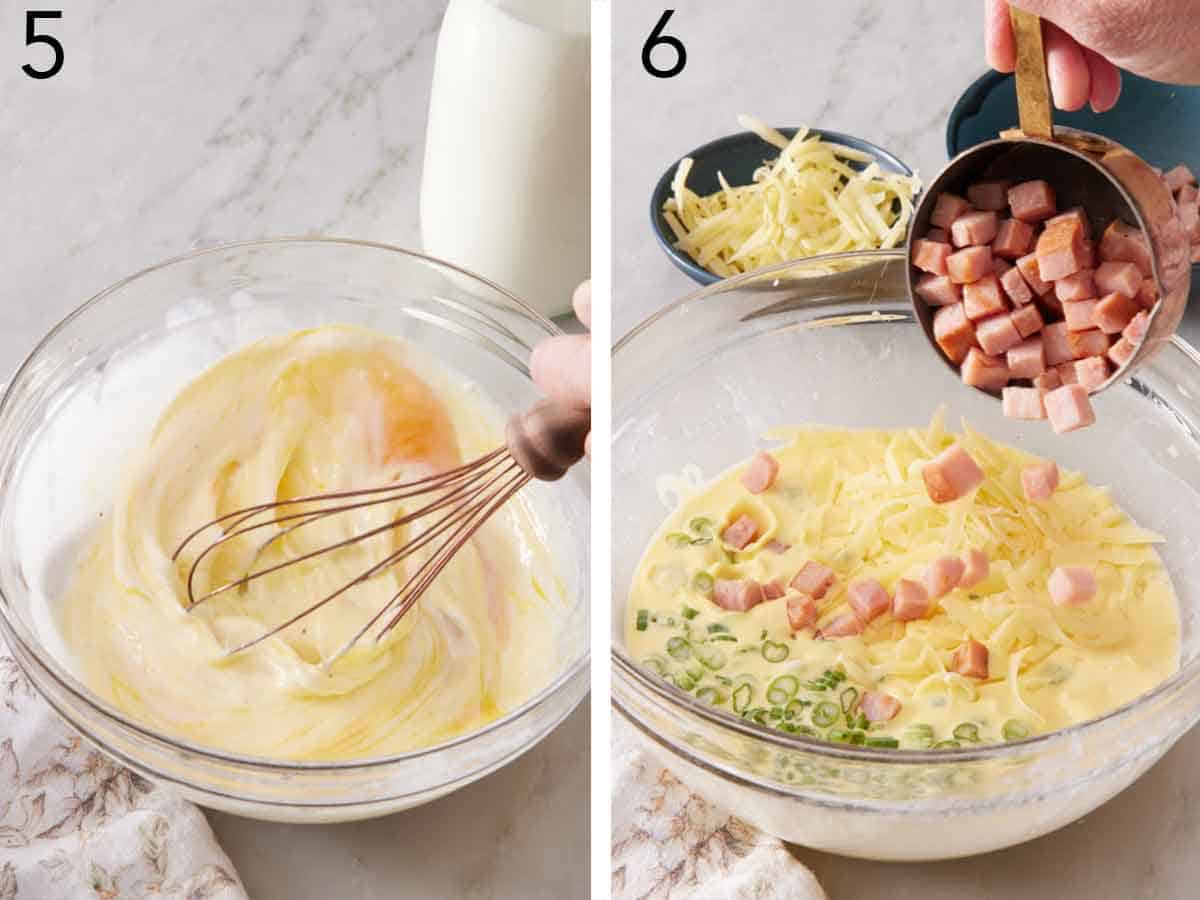
5. In a large bowl, whisk together the eggs, cream, milk, salt, and pepper.
6. Stir in ¾ cup ham (135g), ¾ cup cheese (75g), and the green onion.
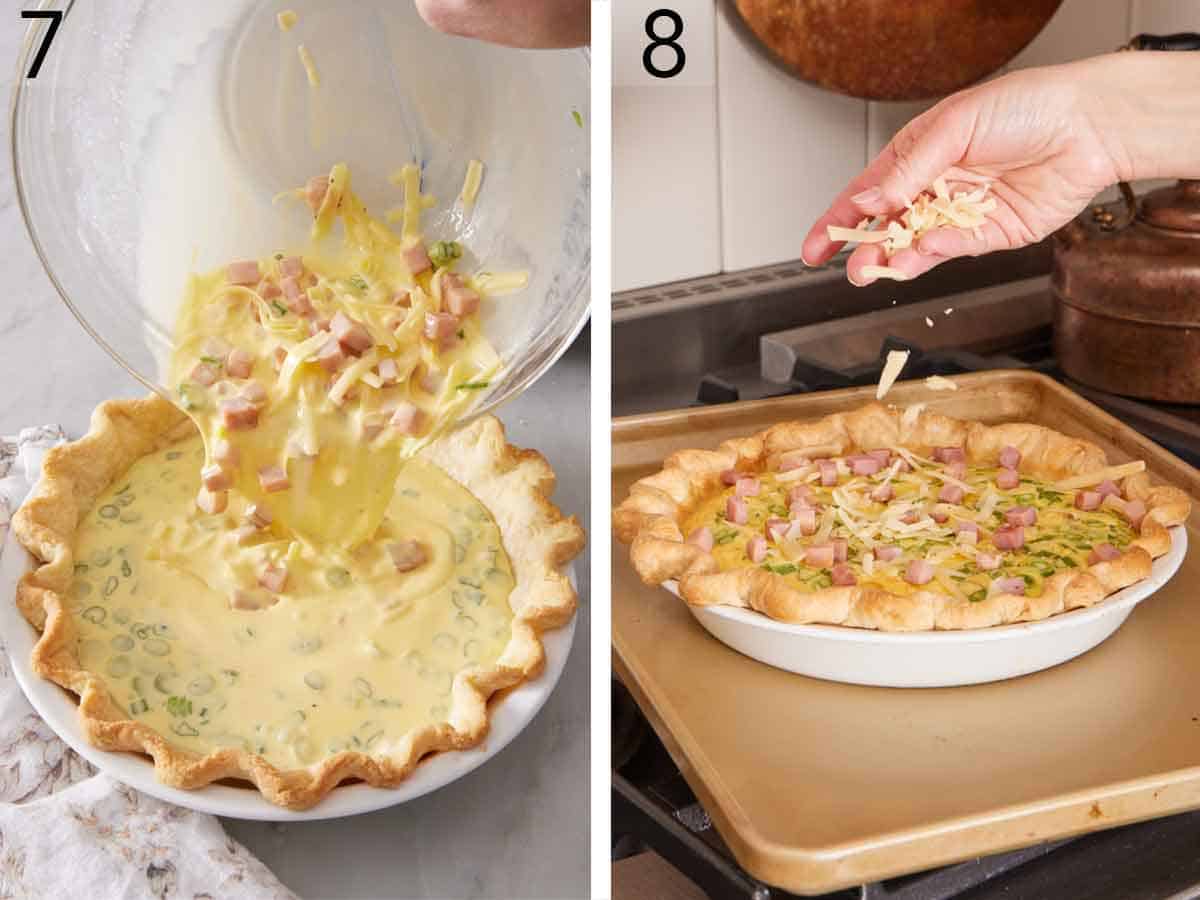
7. Pour the egg mixture into the prepared crust. Place on a rimmed baking sheet. Bake for 30 minutes.
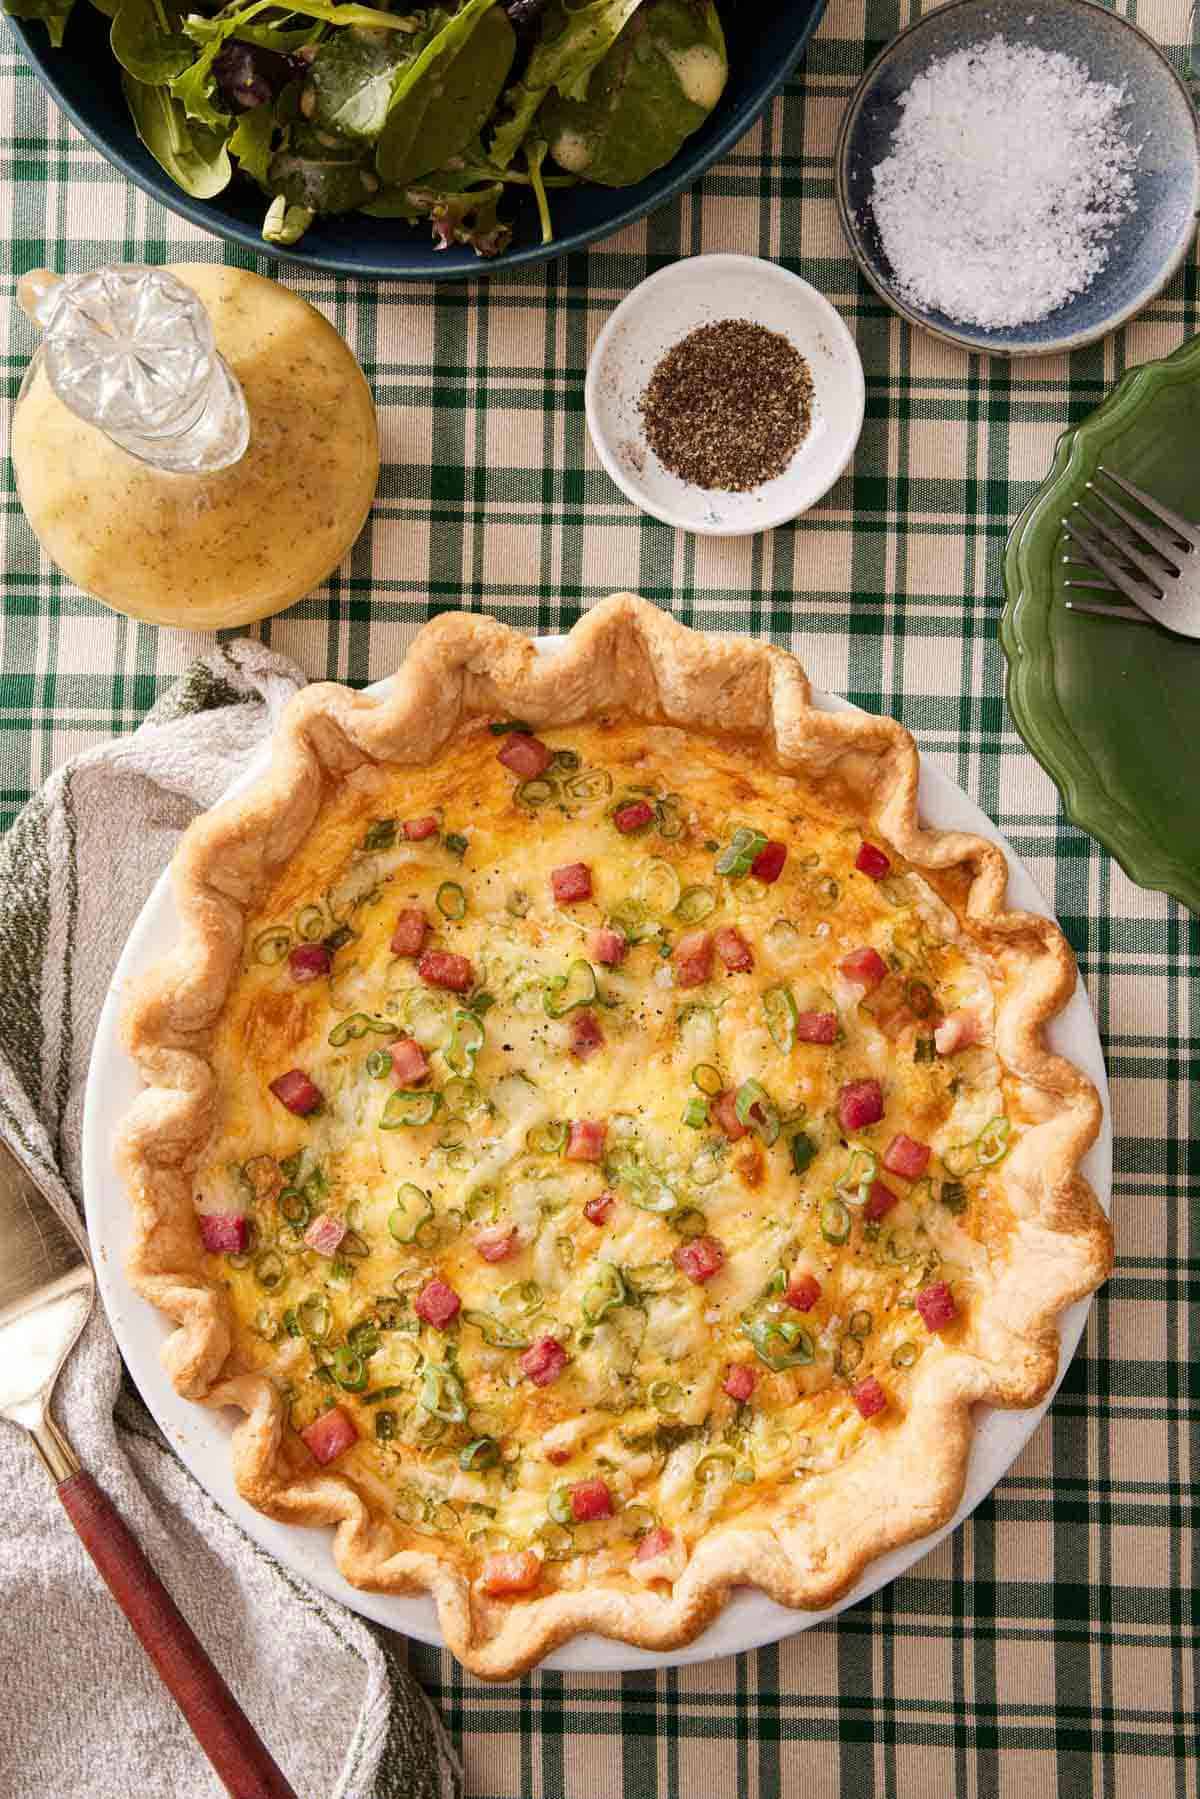
8. Sprinkle the top of the egg filling with the remaining ¼ cups of ham (45g) and cheese (25g). Continue baking for 20 to 25 minutes more or until the filling is puffed and completely set. Cool for 30 minutes before slicing and serving. Garnish with additional thinly sliced green onion, if desired.
Why Blind Bake The Crust?
If you’ve ever watched the Great British Baking Show, you know having a soggy bottom on your pie crust is bad news. Blind baking helps ensure that doesn’t happen! If you were to add the very wet filling to the uncooked dough, the crust wouldn’t be baked fully before the filling is done. You can check out my post about how to blind bake a pie crust for all of the details!
If you’re using a store-bought frozen crust, you don’t have to blind bake it. (This is because these types of pie crusts are made differently than homemade crusts.) Just be sure to buy one that is labeled “deep-dish” or divide the filling among two regular pie shells.
Filling and Flavor Variations
You can also use this basic quiche recipe as a base for a variety of mix-ins. Here are some of my other favorite combinations:
- Bacon, cheddar, and chive: ¾ cup cooked bacon, 1 cup of cheddar and 2 tablespoons of finely chopped chives
- Spinach, roasted red pepper, and goat cheese: ¾ cup cooked chopped spinach (wrung very dry if using frozen), ¼ cup chopped roasted red peppers, and 1 cup of crumbled goat cheese
- Mushroom and Swiss: ¾ cup cooked mushrooms, 1 cup shredded Swiss cheese, 2 tablespoons chopped parsley or dill.
- Or try my classic quiche Lorraine recipe that’s loaded with bacon, onions, and cheese!
- I also love adding up to 1 tablespoon of Dijon mustard to my ham and cheese quiche for an additional, sharp flavor that is reminiscent of a croque monsieur.
Or, try making mini quiche for a fun appetizer or packable lunch!
Can I Make Quiche Ahead Of Time?
Absolutely! This is one of my favorite breakfast recipes for meal prep. After baking, allow the quiche to cool to room temperature, then wrap it well with plastic wrap or aluminum foil, being careful not to break the crust. It will keep well in the fridge for up to 3 days or in the freezer for up to 2 months.
Pro Tip: Pre-slice the quiche before freezing, then wrap individual slices for an easy grab-and-go meal when you need it.
To reheat, defrost the frozen quiche in the fridge overnight (or let your individually wrapped slice defrost in your lunchbox). If your crust is already nice and brown (it should be), wrap it gently in foil to prevent it from burning, then bake it in a 350ºF oven until warmed through—about 30-40 minutes for a whole defrosted quiche, or 15 to 20 minutes for individual slices. Individual servings can also be warmed in the air fryer at 300ºF for 5 to 10 minutes.
Pro Tips For Making The Best Quiche
- Pat the diced ham very dry before adding it to the filling. Too much moisture can keep the filling from setting properly. If time allows, I recommend you also cook the ham in a dry skillet over medium heat for 5 to 6 minutes, stirring frequently, until it releases some liquid and is lightly browned. Let it cool slightly before adding to the filling.
- If you want to use “wet” ingredients for your mix-ins, do what you can to remove excess moisture first. This means cooking raw veggies until the pan is dry or squeezing out excess liquid from ingredients like defrosted frozen spinach or grated raw potatoes (though not frozen hash browns—they’re already pressed).
- If you are cooking a filling, make sure to let it cool after cooking so you don’t accidentally scramble or curdle the custard mixture when you add it.
- Use a pastry mat with measurements to help you roll out the dough to the appropriate size for your pie plate.
- If the edges of your pie crust are browning too quickly, tent them with foil or use a pie shield.
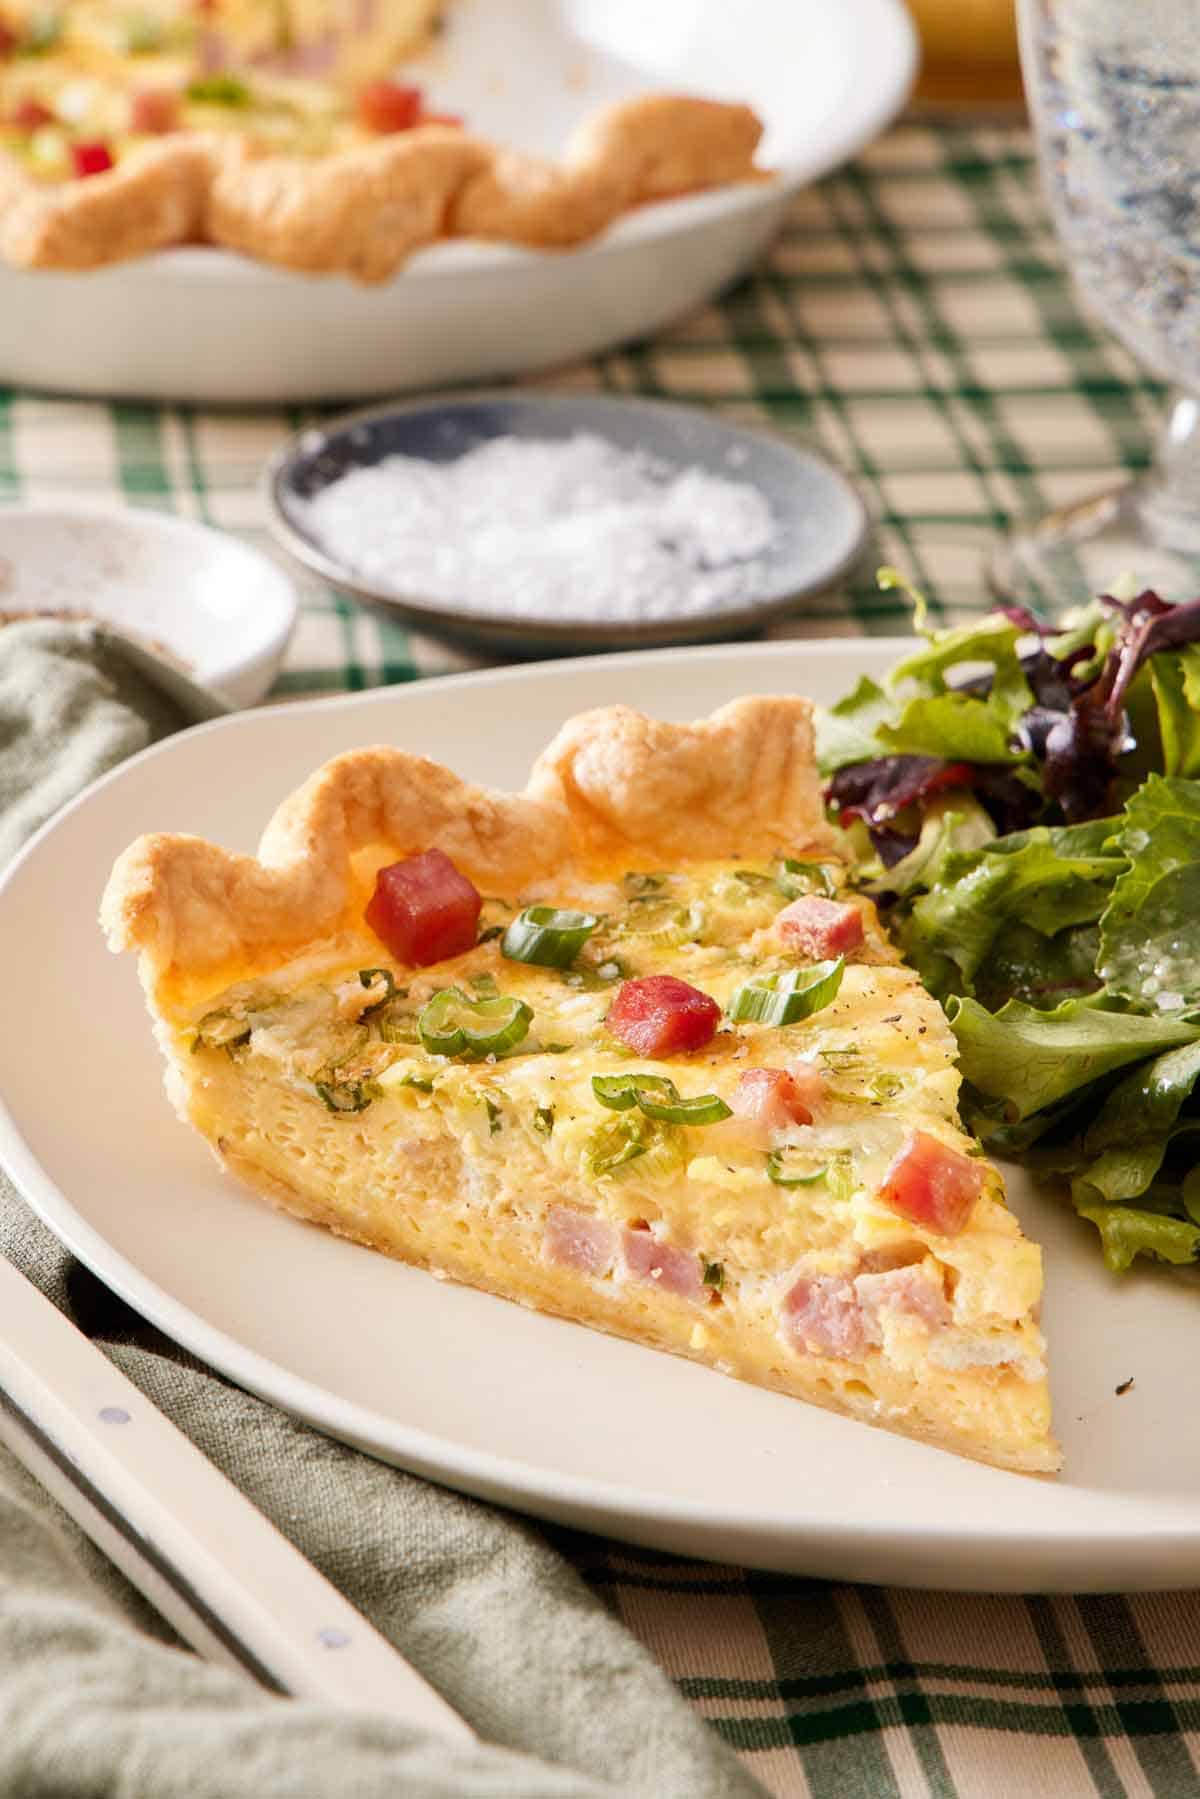
- Let the quiche rest for a full 30 minutes before slicing. Otherwise, they won’t be as clean or sturdy, and the filling may ooze out.
Frequently Asked Questions
Sure! To turn this into a crustless quiche recipe, generously butter your pie dish, then pour the filling directly into the pan and bake until the eggs are puffed and the center has just a hint of wobble left. If you need more tips and tricks for going crustless, check out my frittata recipe.
Any leftovers can be stored in an airtight container in the fridge for up to 3 days or in the freezer for up to 2 months. Hop back to the “Can I make it ahead of time” section for more details.
Sounds like one of two things happened: You just need to let it continue cooking. Make sure the filling appears puff and only has a slight wobble in the center. I also recommend using an oven thermometer to make sure your oven is cooking at the right temperature. Also, resist the urge to open the door while the quiche is cooking until you check for doneness. Every time the door opens, you’re losing 30+ degrees of heat!
It’s also possible the mix-ins you added needed to be cooked or dried before adding them to the custard mixture. Also, don’t go overboard with how much you add. In total, ¾ cup to 1 cup of non-cheese mix-ins are more than enough to add flavor to every bite and let the filling set properly.
If you’ve tried this Quiche recipe, then don’t forget to rate it and let me know how you got on in the comments below. I love hearing from you!
Quiche Recipe

Equipment
- 9-inch pie plate
- Parchment paper
- pie weights
- Rolling Pin
Ingredients
- 1 pie crust
- 6 large eggs
- ½ cup heavy cream (120mL)
- ½ cup whole milk (120mL)
- ½ teaspoon salt
- ¼ teaspoon ground black pepper
- 1 cup shredded gruyere cheese divided (100g)
- 1 cup diced ham divided (180g)
- 2 green onions thinly sliced
Instructions
- Let the pie crust soften at room temperature until it is ready to roll.
- On a lightly floured surface, roll the pie dough into a 13-inch circle, about ⅛-inch thick. Press the dough into a 9-inch pie plate. Trim any uneven edges, leaving a 1-inch overhang. Tuck the overhang under and press the crust to the rim of the pie plate. Crimp the crust with your fingers or as you like. Place in the freezer for 20 minutes.
- While the crust is chilling, preheat the oven to 425°F.
- Press a piece of parchment paper inside the crust to fully cover it, then fill it with pie weights or dry baking beans. Bake for 10 to 12 minutes until the edges of the crust look dry.
- Remove the weights and paper. Poke the crust 10 to 12 times all over with the tines of a fork. Return to the oven for 6 to 8 more minutes until the inside looks dry and the crust is lightly golden. Let the crust cool while you make the filling. Reduce the oven temperature to 350°F.
- In a medium bowl, whisk together the eggs, cream, milk, salt, and pepper. Stir in ¾ cup ham (135g), ¾ cup cheese (75g), and the green onion. Pour the egg mixture into the prepared crust. Place on a rimmed baking sheet.
- Bake for 30 minutes. Sprinkle the top of the filling with the remaining ¼ cups of ham (45g) and cheese (25g). Continue baking for 20 to 25 minutes more or until the filling is puffed and completely set.
- Cool for 30 minutes before slicing and serving. Garnish with additional thinly sliced green onion, if desired.
Notes
- Pat the diced ham very dry before adding it to the filling. Too much moisture can keep the filling from setting properly. If time allows, I recommend you also cook the ham in a dry skillet over medium heat for 5 to 6 minutes, stirring frequently, until it releases some liquid and is lightly browned. Let it cool slightly before adding to the filling.
- If you want to use “wet” ingredients for your mix-ins, do what you can to remove excess moisture first. This means cooking raw veggies until the pan is dry or squeezing out excess liquid from ingredients like defrosted frozen spinach or grated raw potatoes (though not frozen hash browns—they’re already pressed).
- If you are cooking a filling, make sure to let it cool after cooking so you don’t accidentally scramble or curdle the custard mixture when you add it.
- Use a pastry mat with measurements to help you roll out the dough to the appropriate size for your pie plate.
- If the edges of your pie crust are browning too quickly, tent them with foil or use a pie shield.
- Let the quiche rest for a full 30 minutes before slicing. Otherwise, they won’t be as clean or sturdy, and the filling may ooze out.
Nutrition
Have you tried this recipe? Tag me today!
Mention @preppykitchen and tag #preppykitchen!






