
This post may contain affiliate links. Please read our disclosure policy.


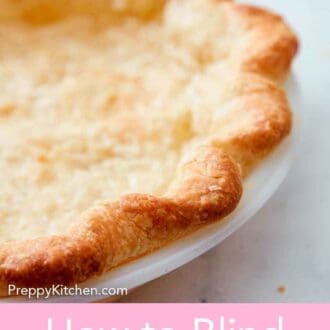
Learn everything you need to know about How to Blind Bake a Pie Crust. Many pie recipes require fully baking or par-baking pie crust, and this tutorial will walk you through the steps of how to do that successfully.
Have you read a recipe that tells you to blind bake a pie crust? It’s an important step that you shouldn’t skip over. So why do it? Blind baking a pie crust ensures a crispy crust that won’t shrink, get soggy, or bubble up during baking. It’s also a key step if you want to make a no-bake filling, such as in a banana cream pie, where the pie crust must be fully baked beforehand.
Don’t let the terminology scare you, though. Blind baking or par-baking a pie crust is quite straightforward. While it’s not as simple as throwing a pie crust into the oven, this post will guide you through the steps to get the perfect crust! Want more pie recipes? Try my apple pie recipe, pumpkin pie recipe, or lemon meringue pie recipe.
What You Need to Make This Recipe
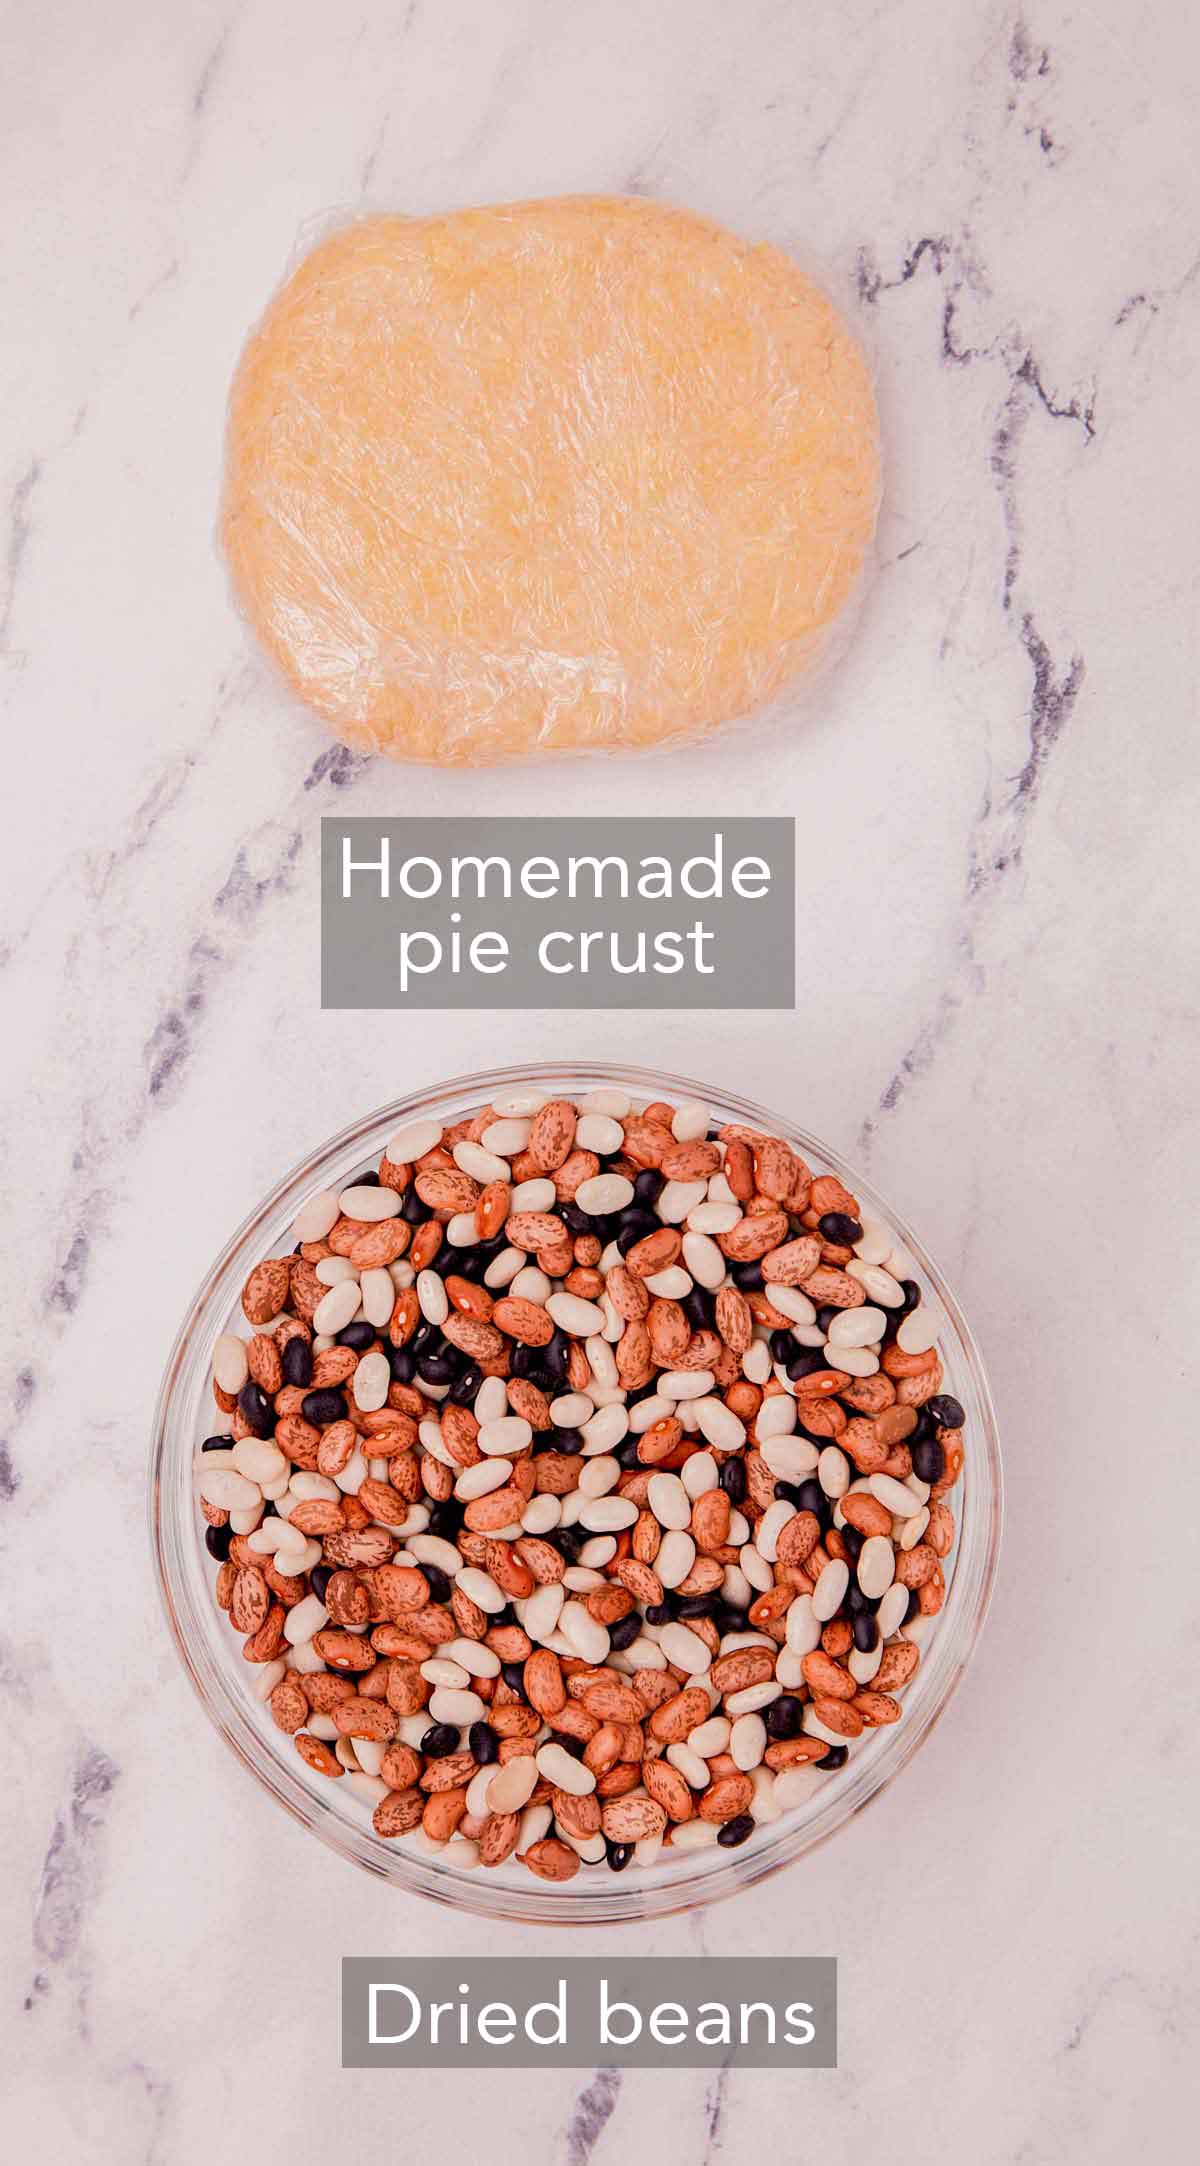
Pie crust — this homemade pie crust recipe is my go-to recipe. It’s buttery, flaky, and tender. It is very easy to make from scratch, and it’s much better than store-bought frozen dough.
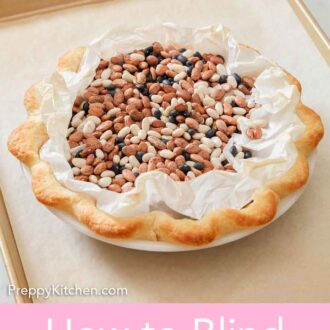
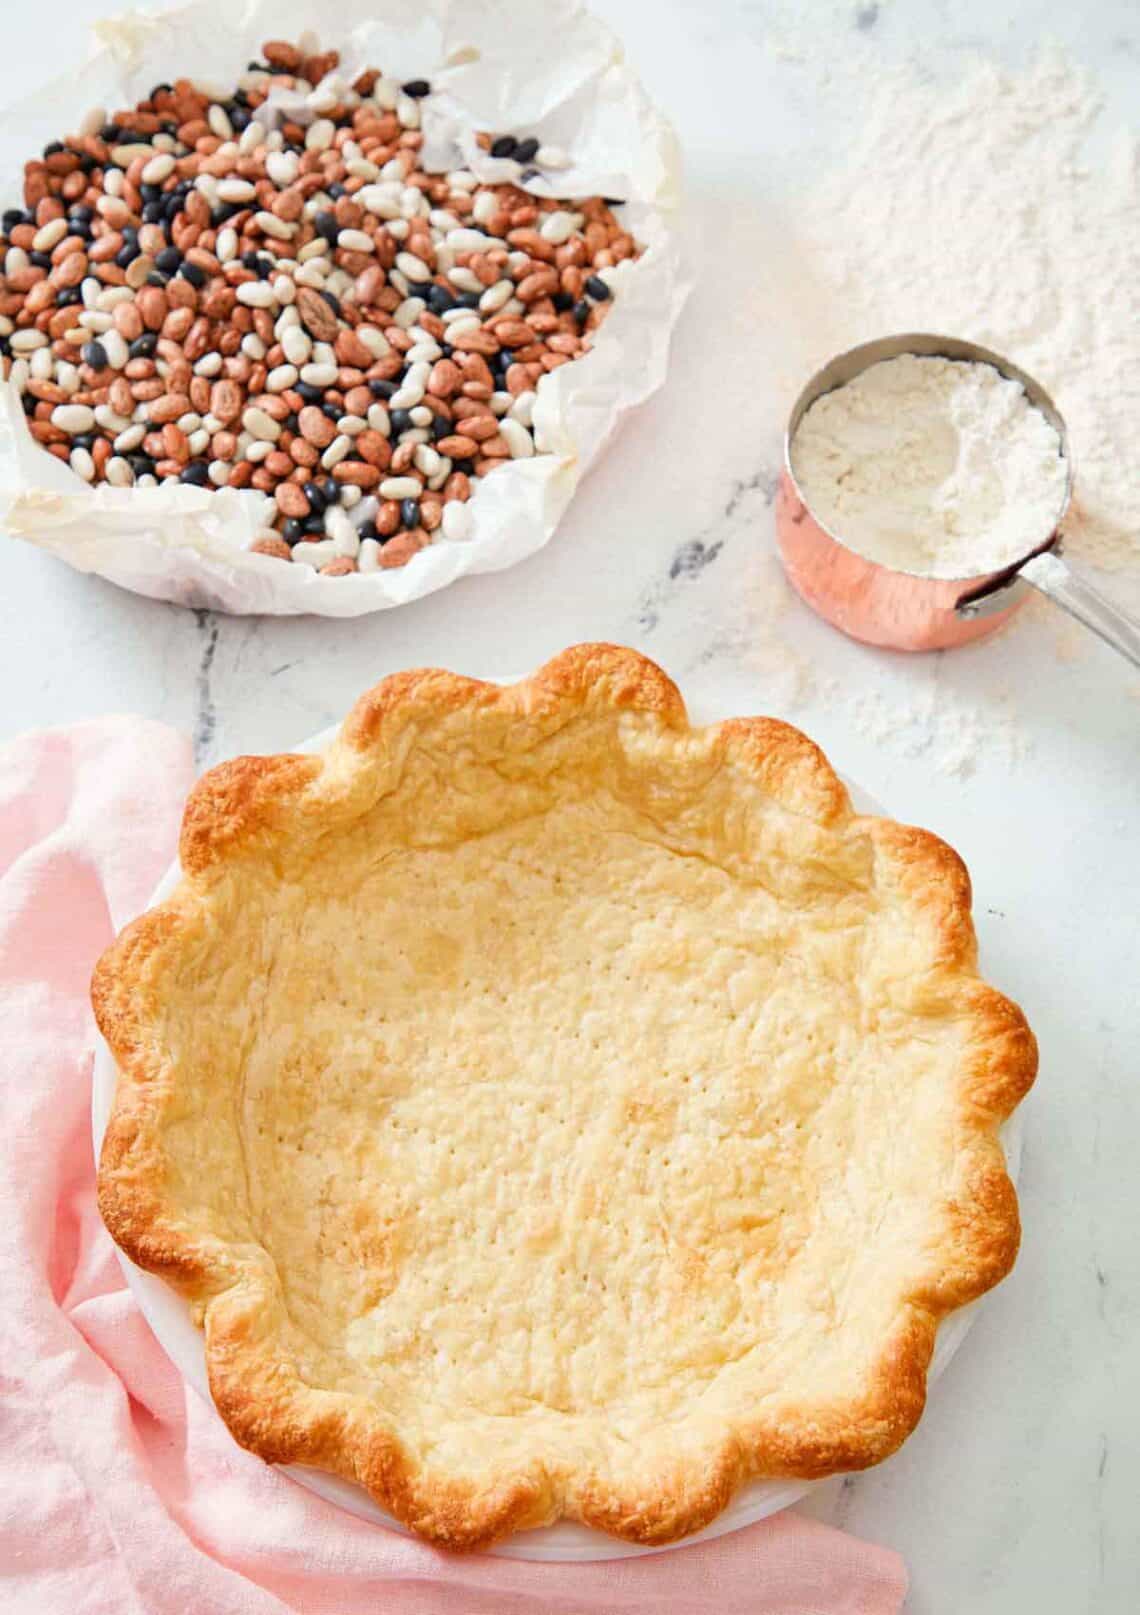
Pie weights — you can use pie weights or dried beans, rice, or lentils. Keep in mind that once you’ve baked with them, you cannot cook the beans, rice, or lentils afterward, so hold onto them to reuse them as pie weights another time!
How to Make How to Blind Bake a Pie Crust
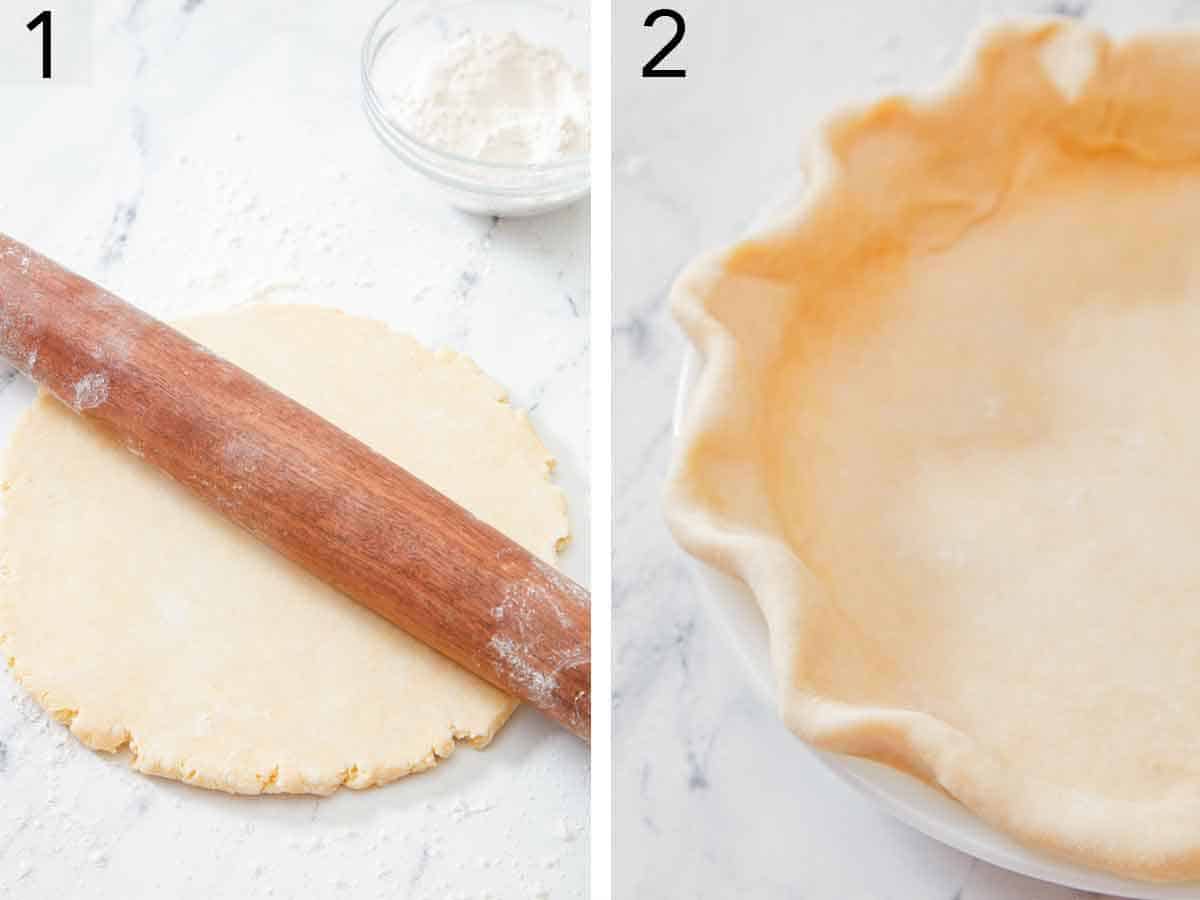
1. Roll the pie crust into a 14-inch circle.
2. Line a pie pan with the dough. Fold the ends under and crimp the edges as desired.
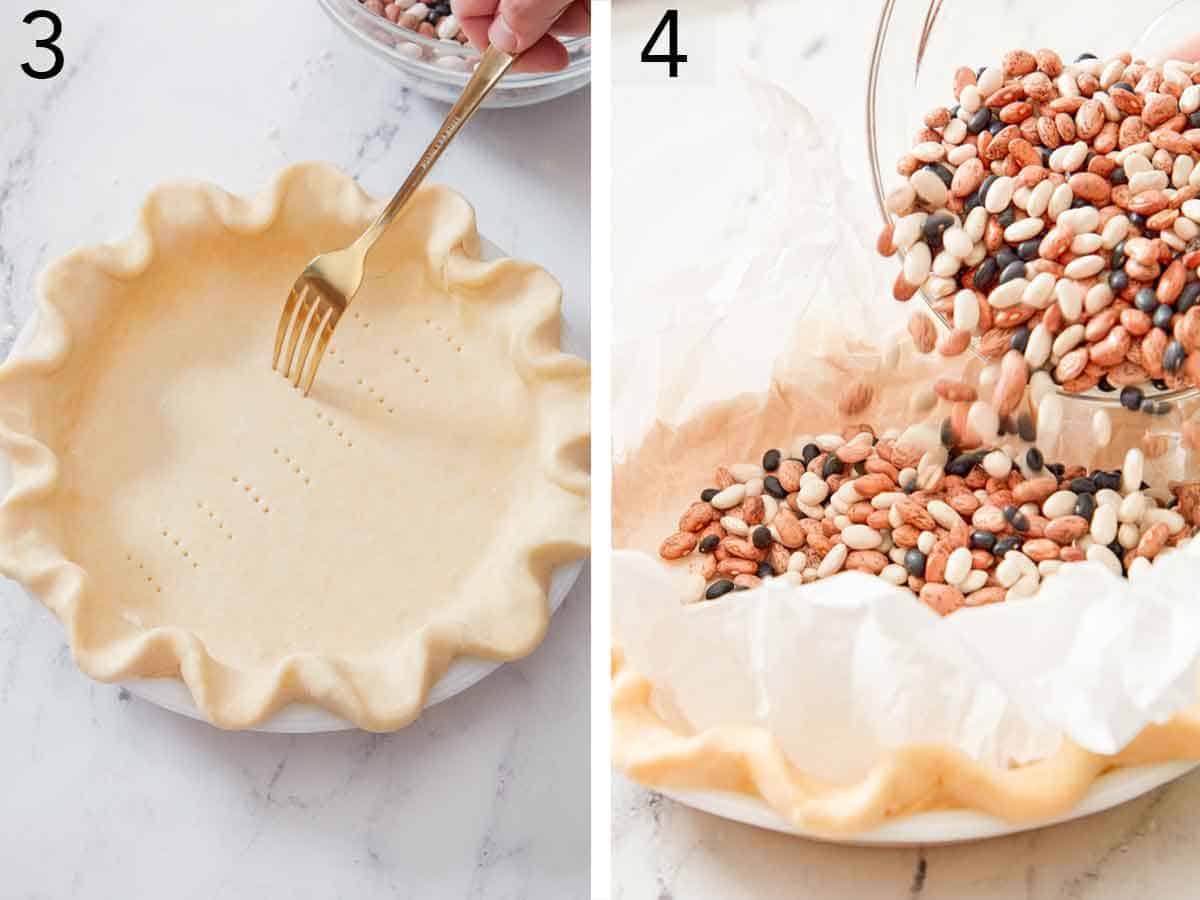
3. Poke the bottom all over with the tines of a fork. Freeze for 30 minutes.
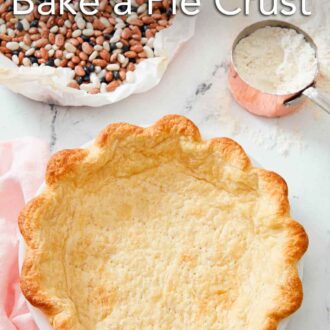
4. Place the pie crust on a rimmed baking sheet and line the inside of the dough with a square of parchment paper. Add dried beans or pie weights to the center. Bake for 20 minutes and if the bottom of the crust is pooled with melted butter, cook for another 5 minutes. Remove the pie crust from the oven. Carefully lift out the parchment paper and pie weights and set them aside to cool. At this point, your pie crust is par-baked and could be used in recipes that call for partially baking the crust before filling or continue baking for another 10 minutes and let the pie crust cool completely before filling.
Pro Tips for Making This Recipe
- Freezing the pie crust is essential. As the homemade pie crust is made with butter and not shortening, it shrinks more in the oven as it bakes. Keeping the pie crust cold will keep the crust from shrinking.
- You must line the pie dough with parchment paper. This will prevent you from baking the pie weights into the dough.
- If you do not have parchment paper on hand, you can also line the pie dough with foil.
- Make sure to use enough weights to hold down the dough, as the pressure against the sides of the dough will keep it from shrinking.
- While an egg wash helps keep the pie crust from becoming soggy from a pie filling, I recommend following the instruction of the pie recipe you’re following if you’re not sure if you should make an egg wash.
- If you use a store-bought pie crust, keep in mind that they’re usually on the thinner side, so they’ll bake faster. I recommend following the directions on the package if using a frozen store-bought crust.
Frequently Asked Questions
A partially blind baked crust is also known as a par-baked crust. This is used when you bake the pie filling with the crust, such as in my pumpkin pie recipe or pecan pie recipe. A fully blind baked crust is for when you want the crust fully cooked before adding a filling, such as in a French silk pie or coconut cream pie.
If you’re not using the crust immediately, store it in an airtight container for up to 2 days. While it’s freezer-friendly, I suggest freezing it after you’ve filled the pie or simply freezing the pie dough before baking.
When the pie crust bakes, steam is released. Docking the crust prevents air pockets from forming bubbles on your crust, giving it little holes for the steam to release.
If you’ve tried this How to Blind Bake a Pie Crust guide, then don’t forget to rate the recipe and let me know how you got on in the comments below, I love hearing from you!
How to Blind Bake a Pie Crust

Equipment
- Pie pan
- Parchment paper
- Pie weights, dried beans, or rice
- Baking Sheet
Ingredients
- 1 disk homemade pie crust my recipe makes two
- dried beans or pie weights
Instructions
- Prepare the crust as directed in the recipe until it’s ready to use.
- Roll the pie crust into a 14-inch circle and line a pie pan with the dough. Fold the ends under and crimp the edges as desired. Poke the bottom all over with the tines of a fork. Freeze for 30 minutes.
- Meanwhile, position an oven rack in the bottom third and preheat the oven to 425F.
- Once the oven is hot, remove the pie from the freezer and place on a rimmed baking sheet. Line with a square of parchment paper. Add enough dried beans or pie weights to fill the center.
- Bake for 20 minutes. Take a peak under the parchment by carefully lifting up an edge. If the bottom of the crust is pooled with melted butter, cook for another 5 minutes. (It should still appear wet and underbaked.)
- Remove the pie crust from the oven. Carefully lift out the parchment paper and pie weights and set them aside to cool. At this point, your pie crust is parbaked and could be used in recipes that call for partially baking the crust before filling. (If a shiny crust is desired, you can brush the crust all over with egg wash.)
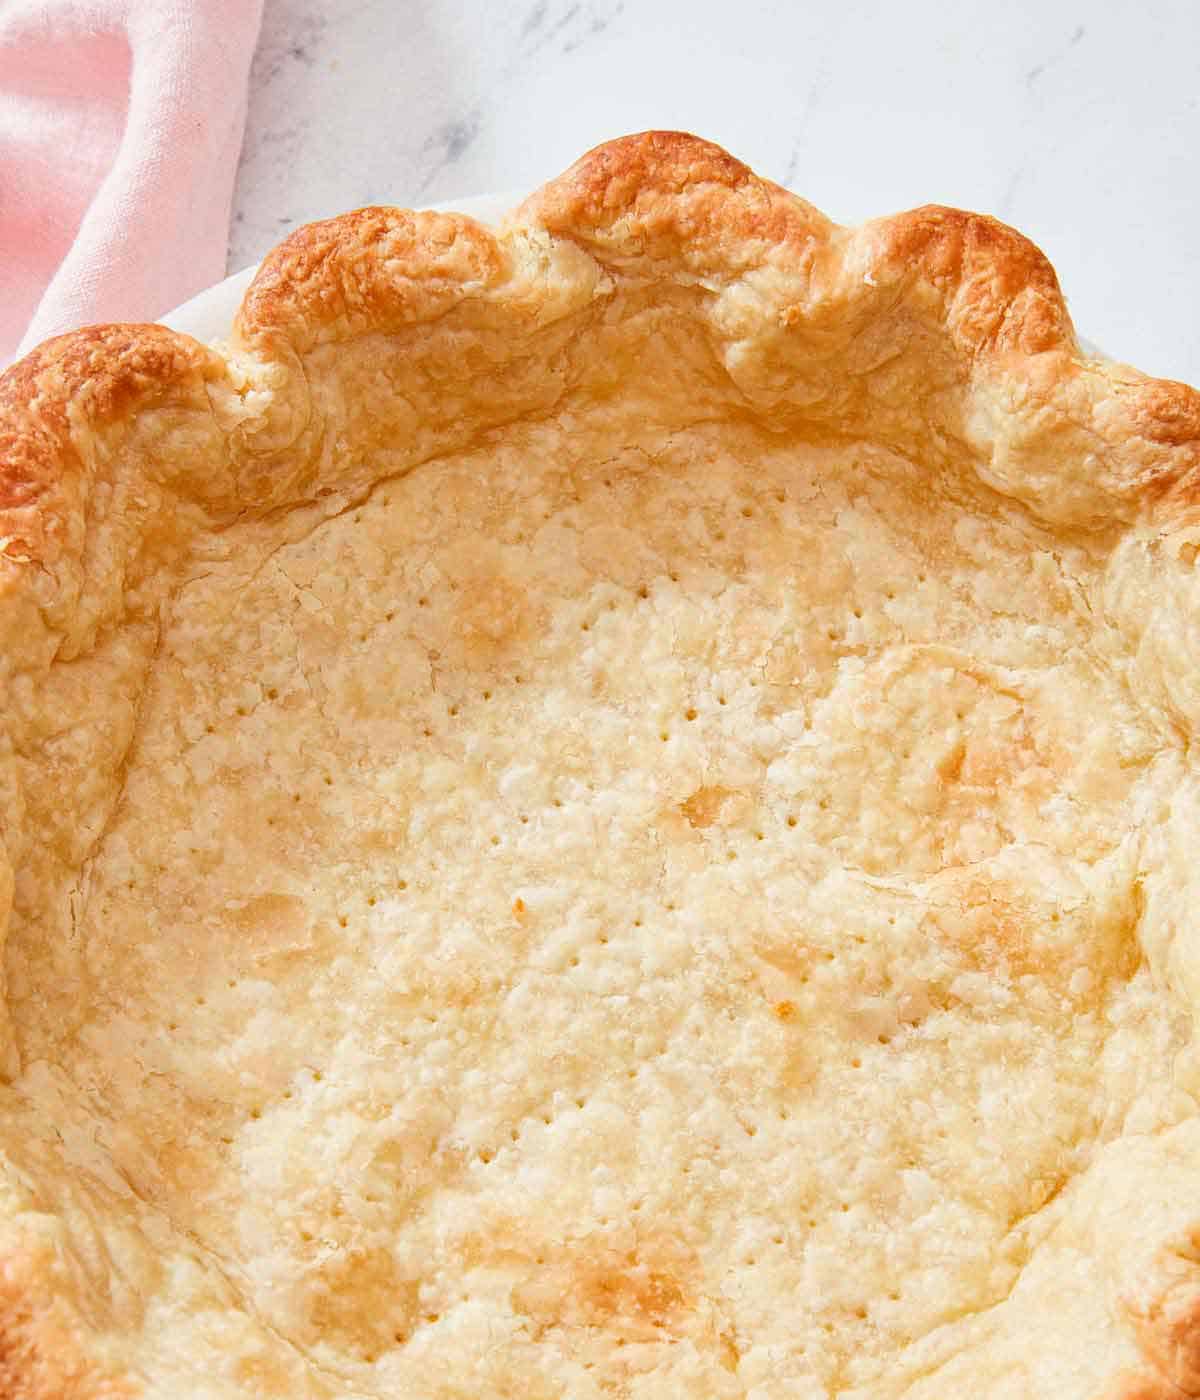
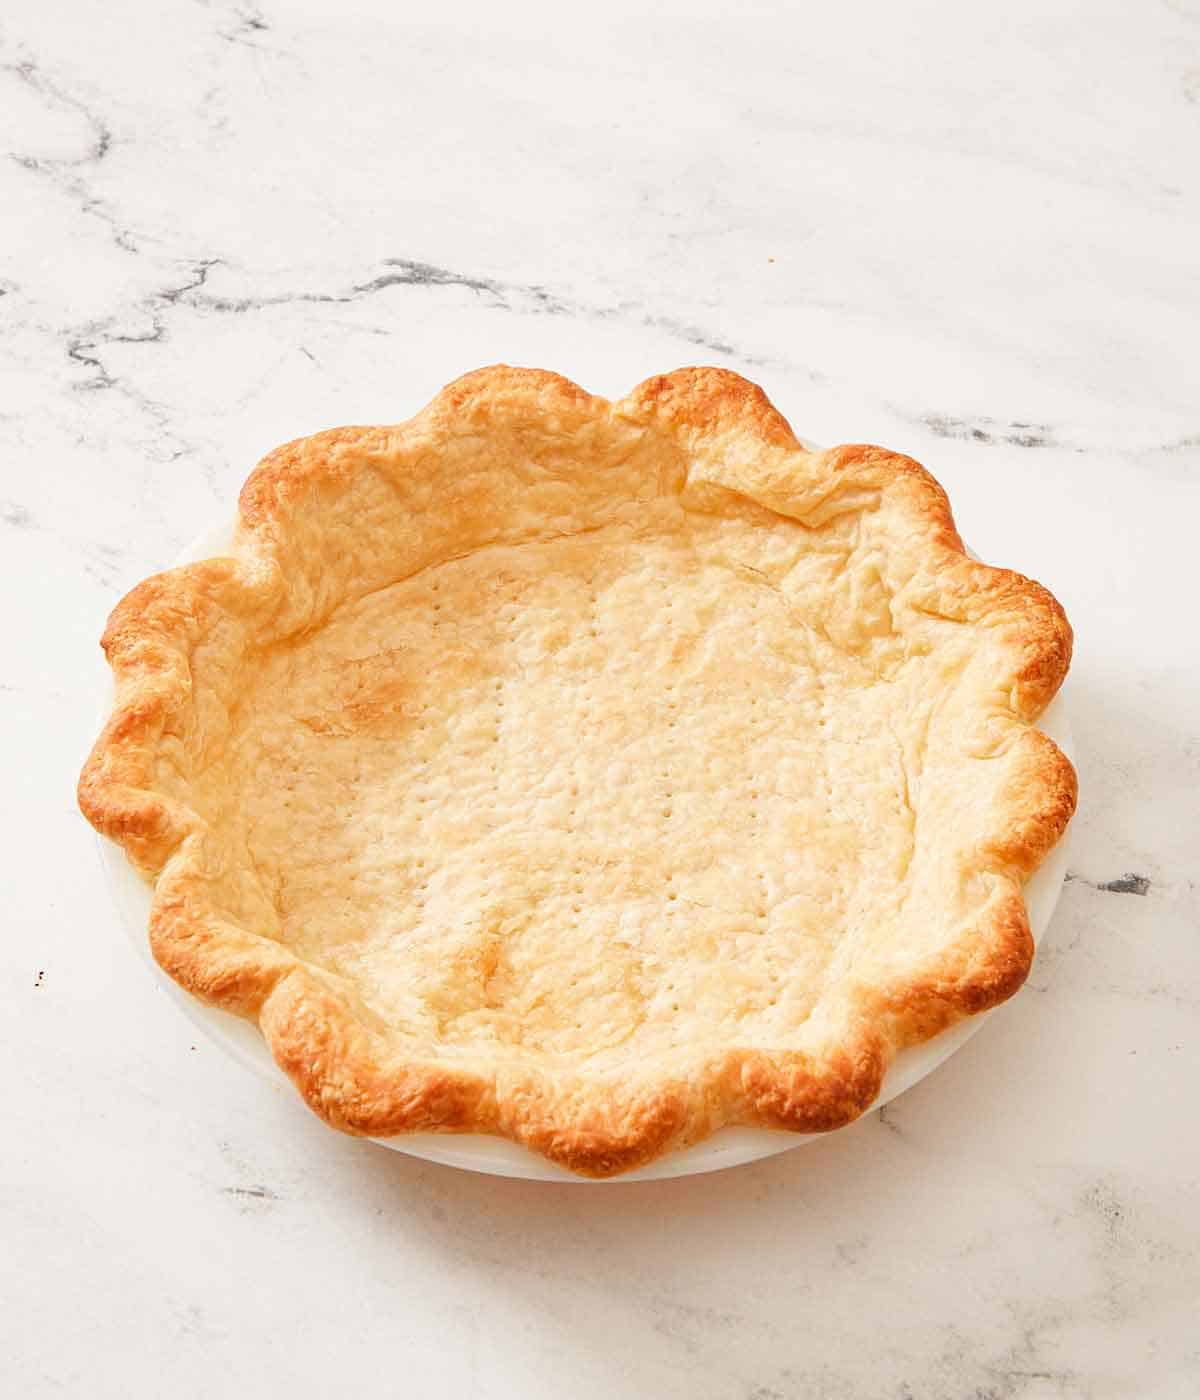
- Return the crust to the oven and continue baking until the bottom appears dry and begins to brown, about 10 more minutes.
- Let the pie crust cool completely before filling.
Notes
- Freezing the pie crust is essential. As the homemade pie crust is made with butter and not shortening, it shrinks more in the oven as it bakes. Keeping the pie crust cold will keep the crust from shrinking.
- You must line the pie dough with parchment paper. This will prevent you from baking the pie weights into the dough.
- If you do not have parchment paper on hand, you can also line the pie dough with foil.
- Make sure to use enough weights to hold down the dough, as the pressure against the sides of the dough will keep it from shrinking.
- While an egg wash helps keep the pie crust from becoming soggy from a pie filling, I recommend following the instruction of the pie recipe you’re following if you’re not sure if you should make an egg wash.
- If you use a store-bought pie crust, keep in mind that they’re usually on the thinner side, so they’ll bake faster. I recommend following the directions on the package if using a frozen store-bought crust.
Nutrition
Have you tried this recipe? Tag me today!
Mention @preppykitchen and tag #preppykitchen!


