

This post may contain affiliate links. Please read our disclosure policy.
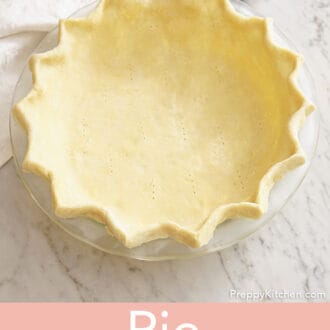
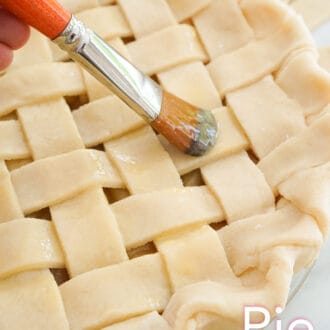
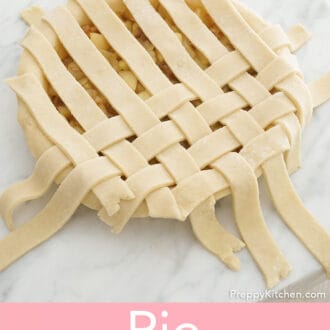
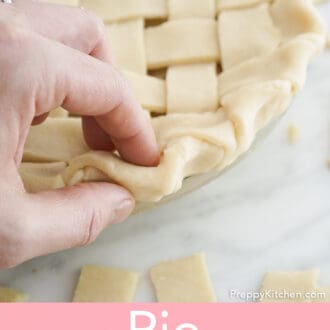
This easy pie dough recipe turns out buttery and flaky every time with my two-stage butter method. You can make two 9-inch pie crusts in 15 minutes, then chill them! Learn how wide to roll it, how to bake it, or how to freeze it for later, plus my tips for crimping the perfect edge.
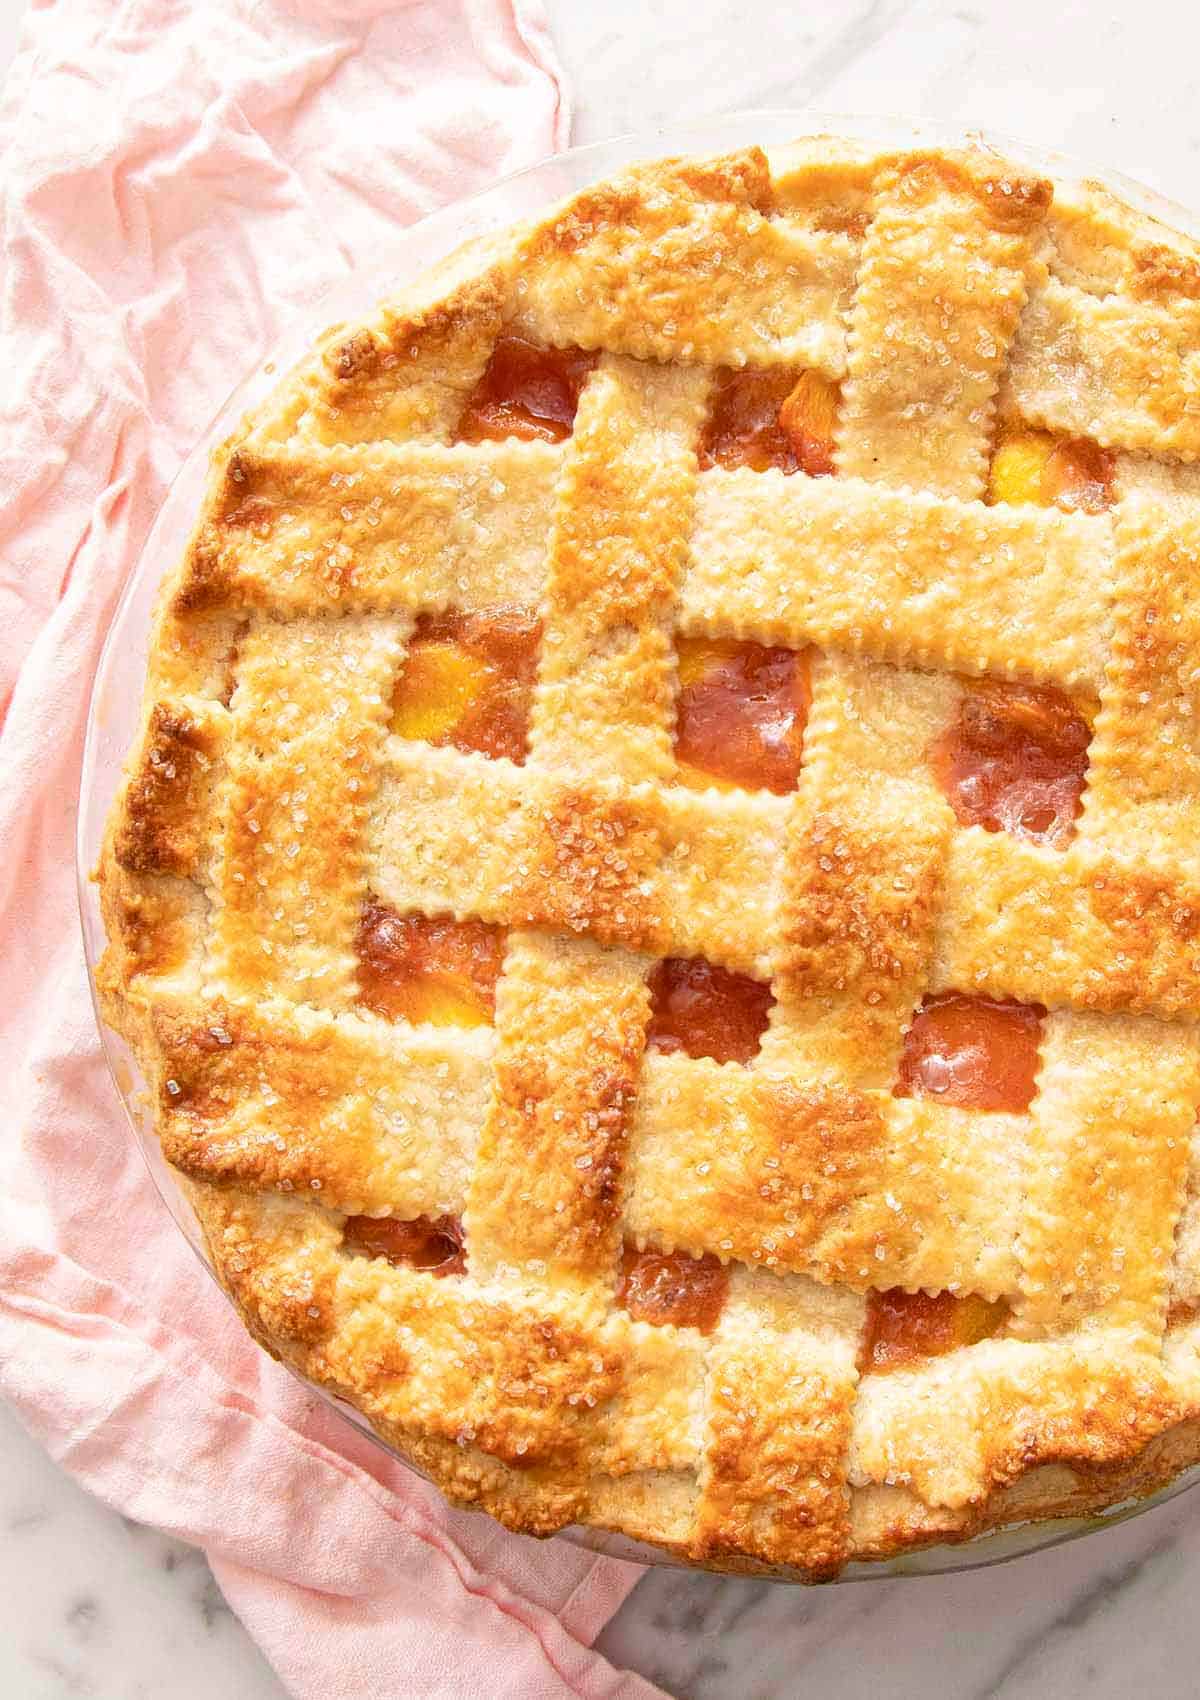
I retested this recipe to use a food processor several years ago because of what readers kept telling me: making pie dough by hand felt like a guessing game, and it was easy to end up with a tough, dry crust that shrank in the pan. The processor allows for a different technique—coating flour with butter before any liquid is added. This keeps the dough incredibly tender, reduces the amount of water needed, and lessens the risk of overworking the dough.
The recipe makes two 9-inch crusts, which is enough for one double-crust pie, two single-crust pies, or one pie now and one disc in the freezer. If you don’t have a food processor, I give you instructions to make the dough by hand, too!
“This is the best pie crust recipe!! I have used it multiple times with different pies and the one comment across all the pies is – “that crust is amazing!” I had given up making pie crusts because they were hard and did not consistently come out great. This is a no-fail recipe.”
Lori
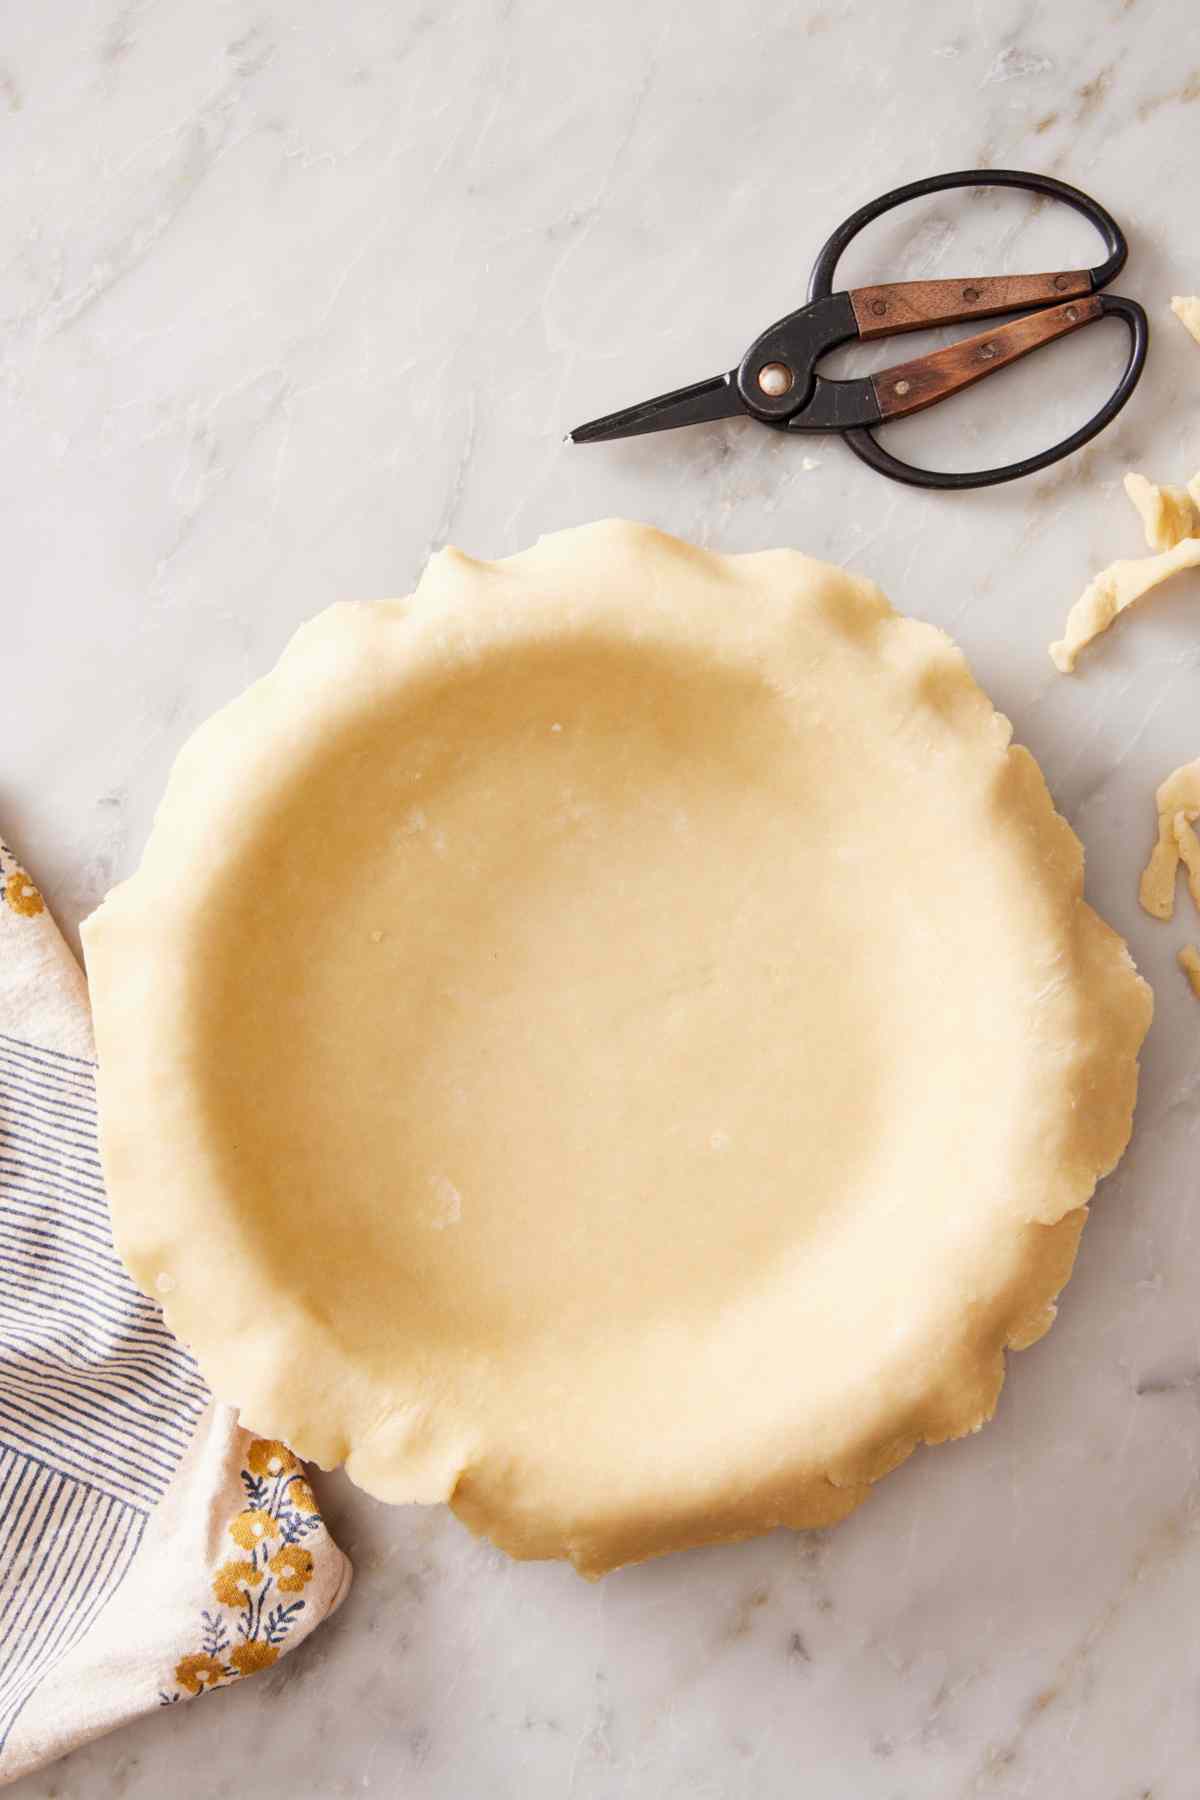
Cold Is Key To A Flaky Crust
Flakes in pie crust are produced by steam. Solid pieces of butter trapped in the dough hit a hot oven, the water inside the butter turns to steam, and that steam pushes the surrounding dough apart into layers. If the butter has already softened and is warm before it goes in the oven, there isn’t enough contrast between temperatures for the water to steam before the butter fully melts. Instead, you get a crust that is short and crumbly rather than layered.
Everything about handling this dough follows the rule that cold is king. Butter comes out of the fridge, is cubed, and goes straight back in until the moment I need it. The water is iced, not just cold from the tap. If the kitchen is warm, put the flour and the processor bowl in the fridge for 20 minutes before you start to keep all of the other ingredients cold while you work. If you have a cooked filling, like apple pie filling or cherry pie, make sure you cool it first or it will melt the butter.
Butter, Shortening, Or Both?
I use all butter. When Sarah, my executive editor, cross-tested this recipe, she made it with shortening as well and found that the shortening crust was slightly less flaky but a bit more tender, so the texture felt like a wash—neither better nor worse. Shortening is 100% fat, so there’s no water to steam. Instead, pockets are left where the shortening pieces melted, still creating gaps in the dough, but less significant than steaming butter. What it did do was cost flavor. Butter won on taste, and that is the most important aspect to me, so it’s my recommendation.
There is one real reason to reach for shortening: Its higher melting point makes the dough more forgiving to roll and handle, because it tolerates sitting at room temperature longer, and it holds a crimped edge more crisply through the bake. An all-butter crust shrinks more in the oven than one cut with shortening, which is why the chilling step before baking matters so much.
If your kitchen runs hot, or you are making an intricate decorative edge, swap up to half the butter for shortening. Use a stick rather than the tub, cube it, and add it alongside the butter at each stage. This half-and-half method gives you the flavor benefits of butter with the handling benefits of shortening. Read more about my pie crust tests and the differences I found between using types of fat in my complete guide to pie crust.
Key Ingredients
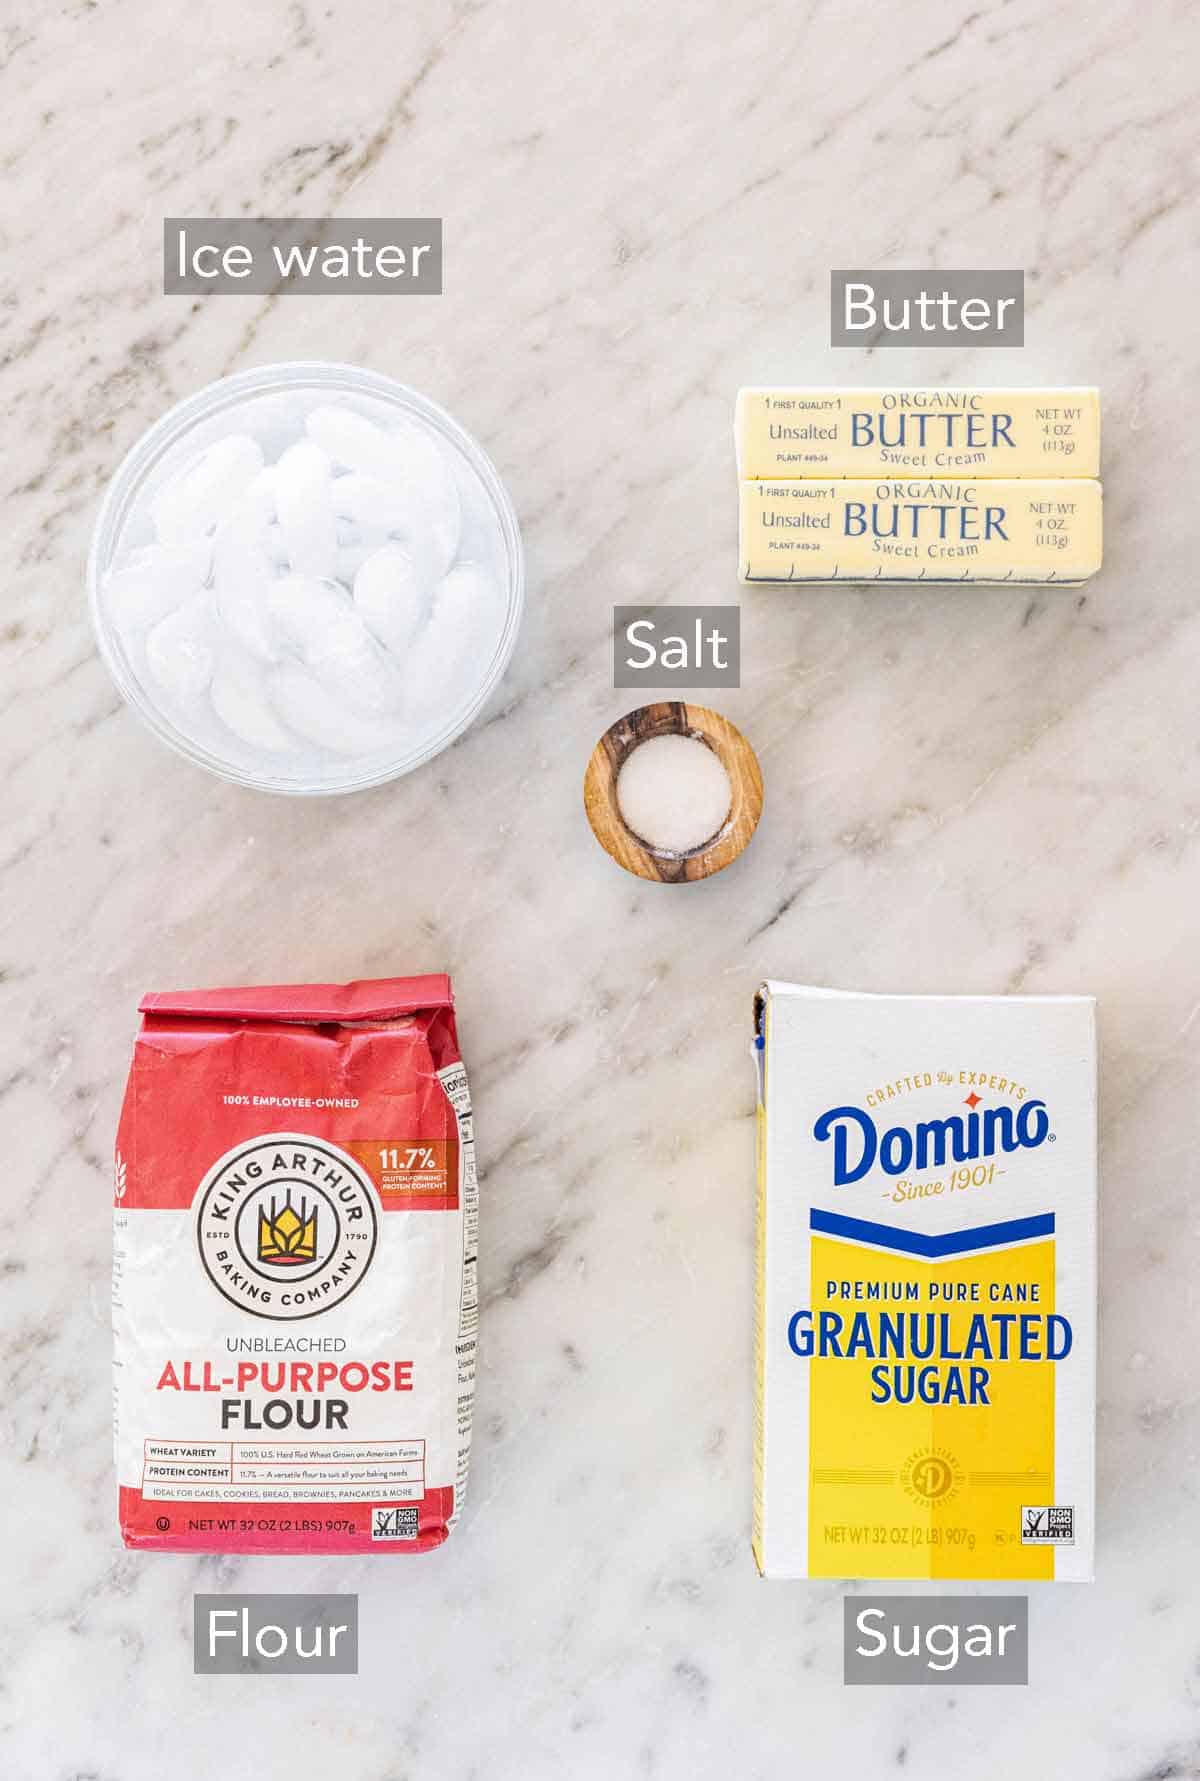
You only need 5 ingredients to make this easy pie crust recipe! You can find the full list of ingredients and measurements in the recipe card below.
All-Purpose Flour — its medium protein content is ideal. Bread flour builds too much gluten and gives you a chewy crust that shrinks. Cake flour is too weak, and the crust falls apart when you lift a slice.
Butter — use unsalted since the salt is measured separately. Both American sticks and European-style butter work here, but they handle a bit differently, so it’s worth knowing before you purchase your butter. European butter has more fat (82%) and less water than American butter (80% butter fat), so it browns deeper and the raw dough looks richer, more golden. That same extra fat makes the dough softer at room temperature and more prone to sticking while you roll. If you use it, chill harder at every stage and work faster. I like to pop my cubed Kerrygold butter into the freezer for 10 minutes before I mix it into the dough since it warms up faster.
Ice water — I fill a measuring cup with 6-8 ice cubes and cold tap water, and let it sit while I cut in the butter so it is well chilled. The recipe calls for a range rather than a specific amount because how dry your flour is, what type of butter you use, and exactly how the ingredients are measured will vary the amount of water you actually need. You are looking for a texture vs. adding a specific amount. You can swap some or all of the water for cold orange juice, rum, or apple cider if you want to flavor the dough while also hydrating it.
Sugar and salt — these lightly flavor the dough so it doesn’t just taste like flour. The sugar is not there to sweeten, but rather to help the crust brown, which is why this dough works for quiche as readily as it does for pumpkin pie.
Pro Tips For The Best Pie Crust
Use a scale to measure your flour. This will yield the most accurate results, so your crust turns out the right size and not too dry or sticky. If you don’t have a scale, follow my fluff and scoop method in my Academy guide on How To Measure Ingredients Correctly.
You should still see lumps of butter in the finished dough. Remember, these are future flakes! When you mix in the water, try to pulse as minimally as possible so you don’t blend the second batch of butter in too much. (Bigger pieces of butter result in bigger flakes in the crust.)
My Two-Step Butter Trick For Perfect Pie Dough
At first, the recipe might look wrong, but I promise it’s right! You process half the flour with half the butter until there are no butter pieces left at all—it looks pale and crumbly. Conventional wisdom says you have just destroyed your flakes, but in reality, you have just helped your dough immensely.
What that stage actually does is waterproof that portion of the flour. Flour coated in fat cannot absorb much water, and gluten only forms where flour and water meet. So half your flour is taken out of the gluten equation before any liquid arrives. This provides tenderness for the baked crust. Then, the second half of the flour and the second half of the butter go in with two pulses, and those butter pieces are the ones that stay whole, becoming big flakes.
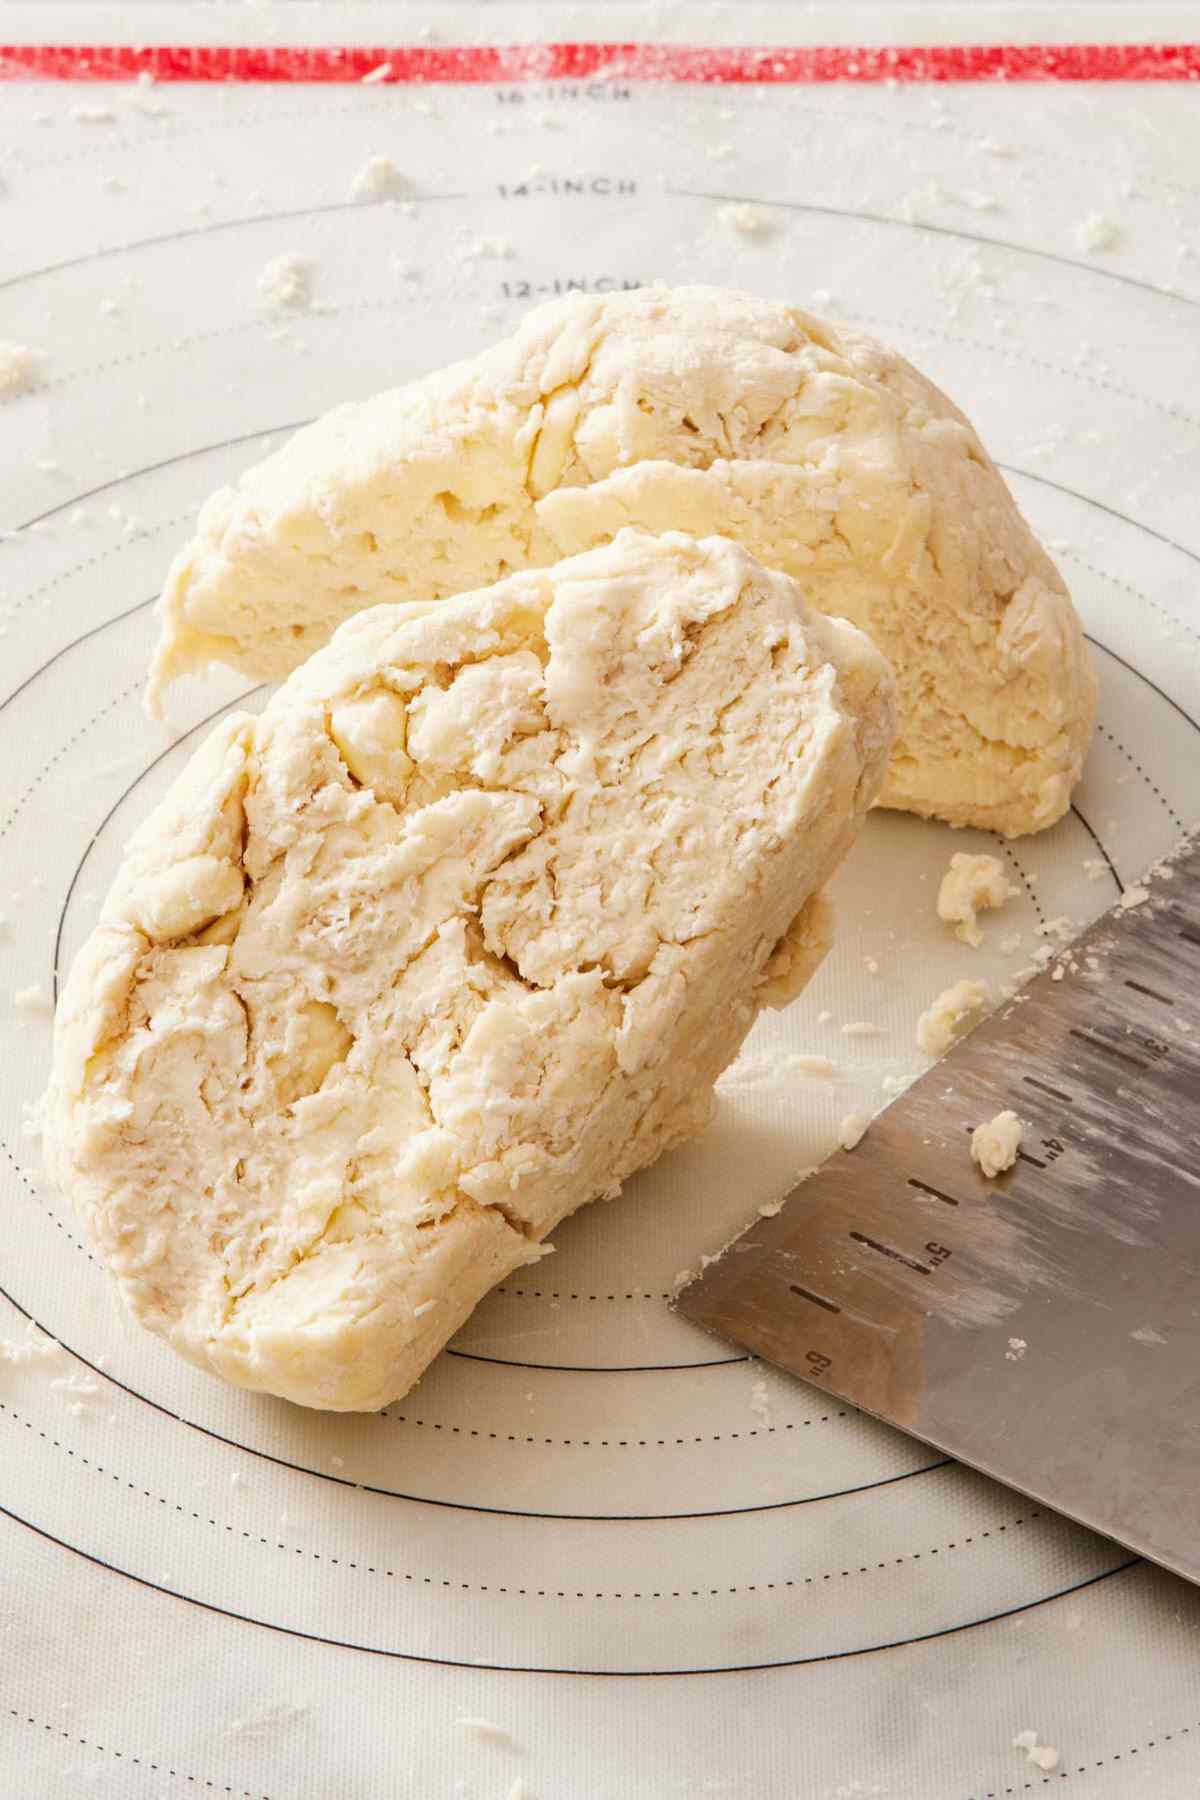
The result is a dough that is tender, because half the flour never developed a strong gluten network, and flaky, because the other half of the butter is still in pieces. The principle is a classic French method used for making tarts—coating flour in fat before liquid is known as the sablage method, which I go into detail on in my tart crust recipe.
After testing this method several times to refine ingredient ratios and timing before updating my recipe, I found that it repeatedly made an incredibly good dough that was easy to roll and crimp, and turned out flaky and delicious, regardless of other variables that can plague homemade pie dough.
Some bakers avoid a processor entirely on the grounds that it overworks the fat, making the pieces too small for the crust to bake with big flakes. But the benefits gained from the two-stage method, because the first stage is supposed to fully incorporate, make the appliance worth using. You are no longer fighting the machine; you are giving it a job it is good at.
How To Tell When You Have Added Enough Water
Because the water is a range, you may or may not need all of it called for in the recipe. Instead, you want to test the feel of the dough.
The pinch test: once you have mixed in 4 tablespoons, squeeze a small handful of the dough. If it holds its shape without being powdery or crumbling apart, you are done. If it crumbles, add another tablespoon, mix, and test again.
Dough with too little water stays floury and cracks into pieces when you press it into a disc, and it will split at the edges the moment you try to roll it. Unfortunately, a dry dough after it has been chilled is not fixable. Dough with too much water feels sticky on the outside. That one is salvageable: flour your surface generously when you roll it, and accept that the baked crust may be slightly less tender.
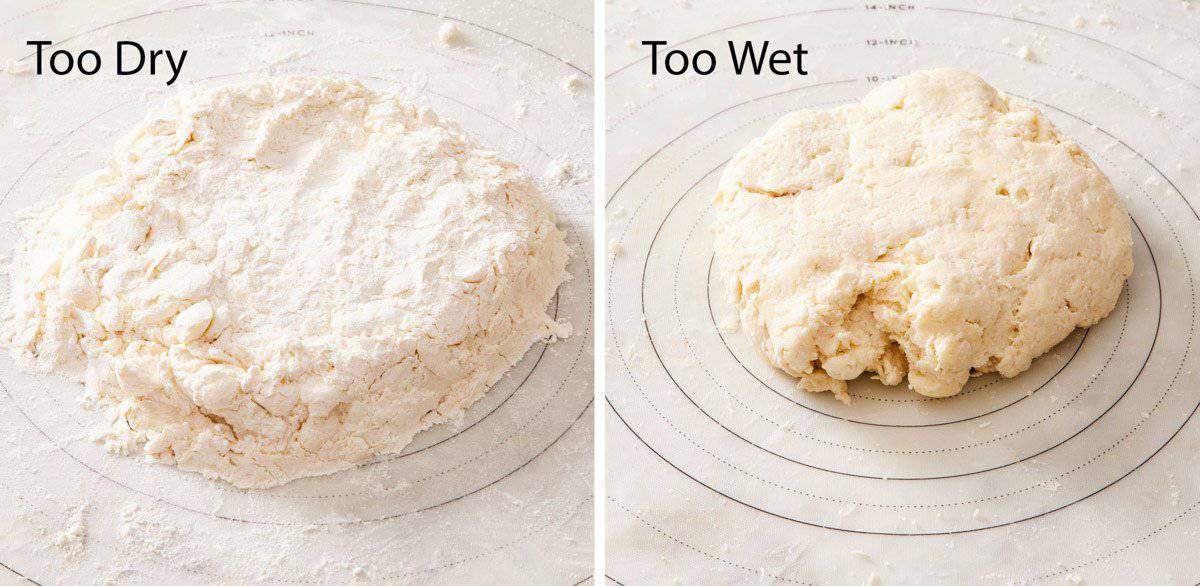
In recipe development, I needed all 6 tablespoons. Other times I have only needed 4 tablespoons. Humidity, how your flour was measured, what butter you used, and how much the first round of butter was mixed in shift the required liquid.
How To Make Pie Crust
I have highlighted the steps of the recipe for making homemade pie crust using a food processor. You can find the full set of instructions in the recipe card below.
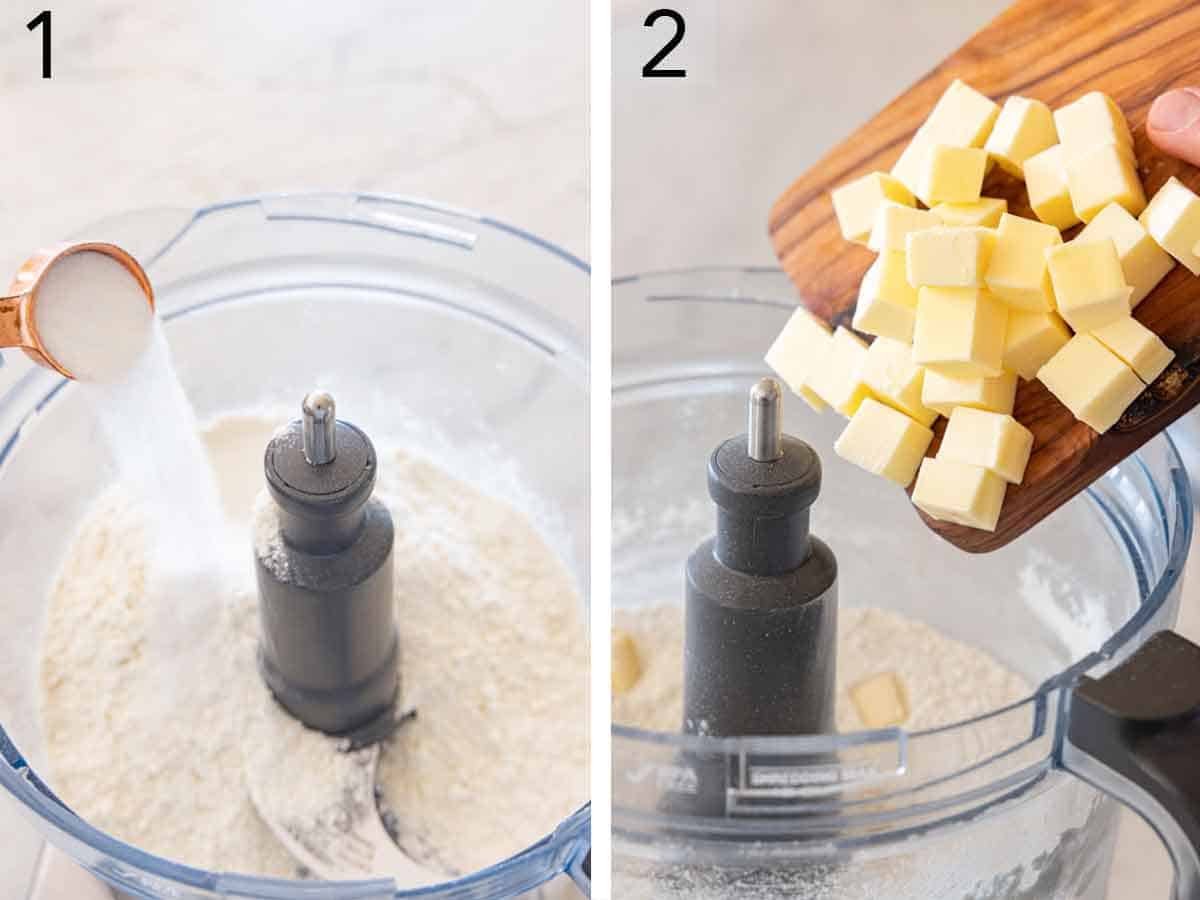
1. In the bowl of a large food processor, combine half of the flour along with the sugar and salt. Pulse a few times to mix the dry ingredients together.
2. Add half of the butter. (It doesn’t matter if the cubes are larger or smaller for this step.)
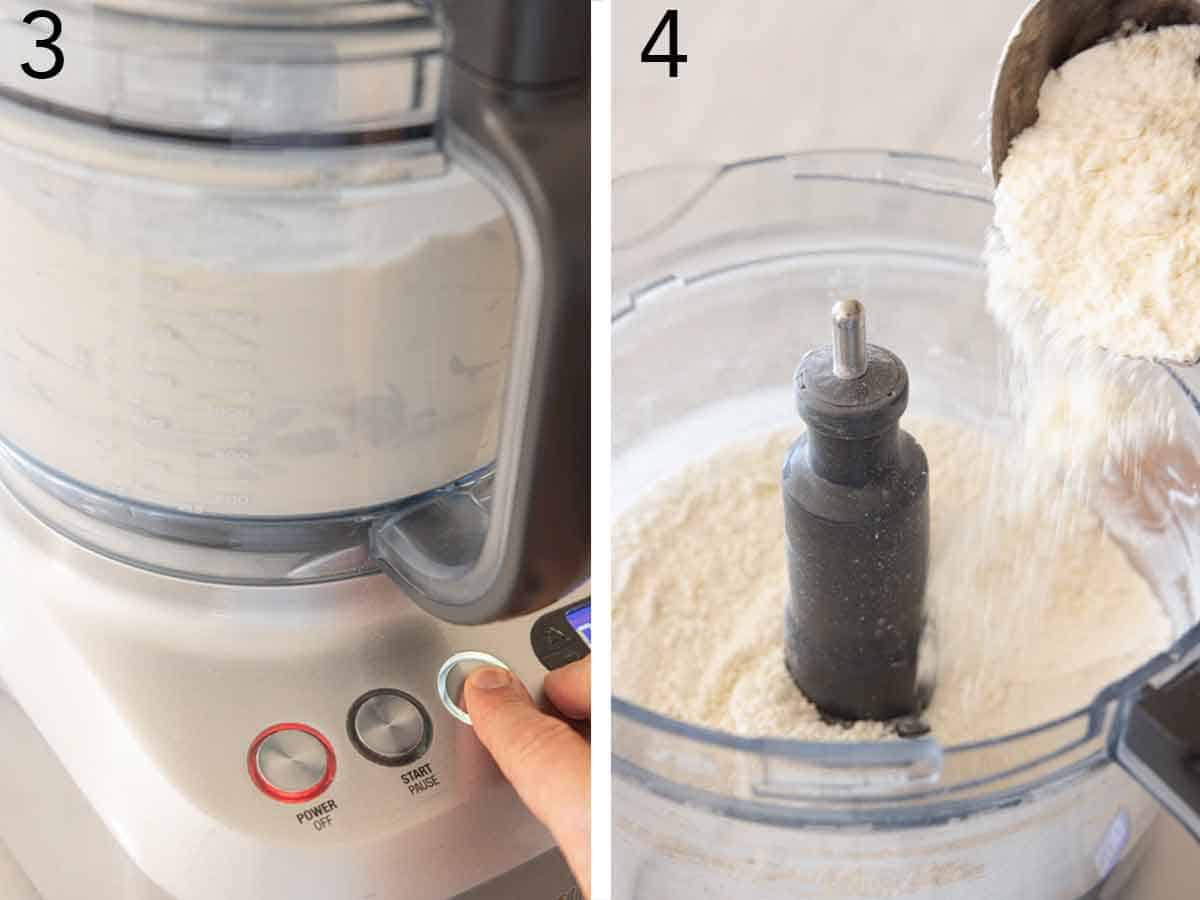
3. Process until the mixture is very crumbly and starts to form tiny balls, 30 seconds to 1 minute. You should not see any chunks or large pieces of butter at this stage.
4. Add the remaining flour to the food processor, then scatter the remaining butter pieces throughout the bowl. Cover and pulse twice to coat the butter with flour.
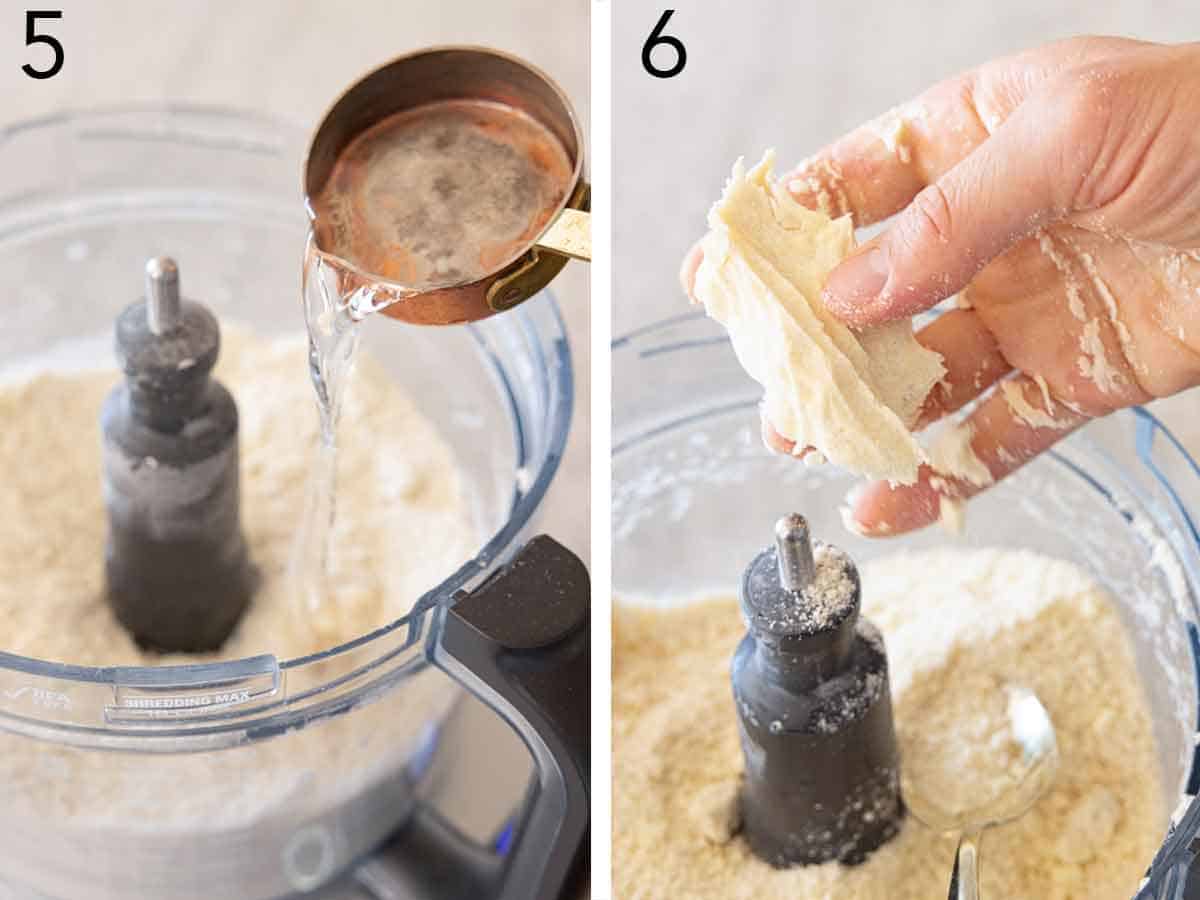
5. Drizzle in 4 tablespoons of water and pulse a few times just to work the water into the flour mixture.
6. Check the dough by pinching a small amount in your hand. If it holds together, you’re good to go. If it falls apart, drizzle in more water and pulse again as needed.
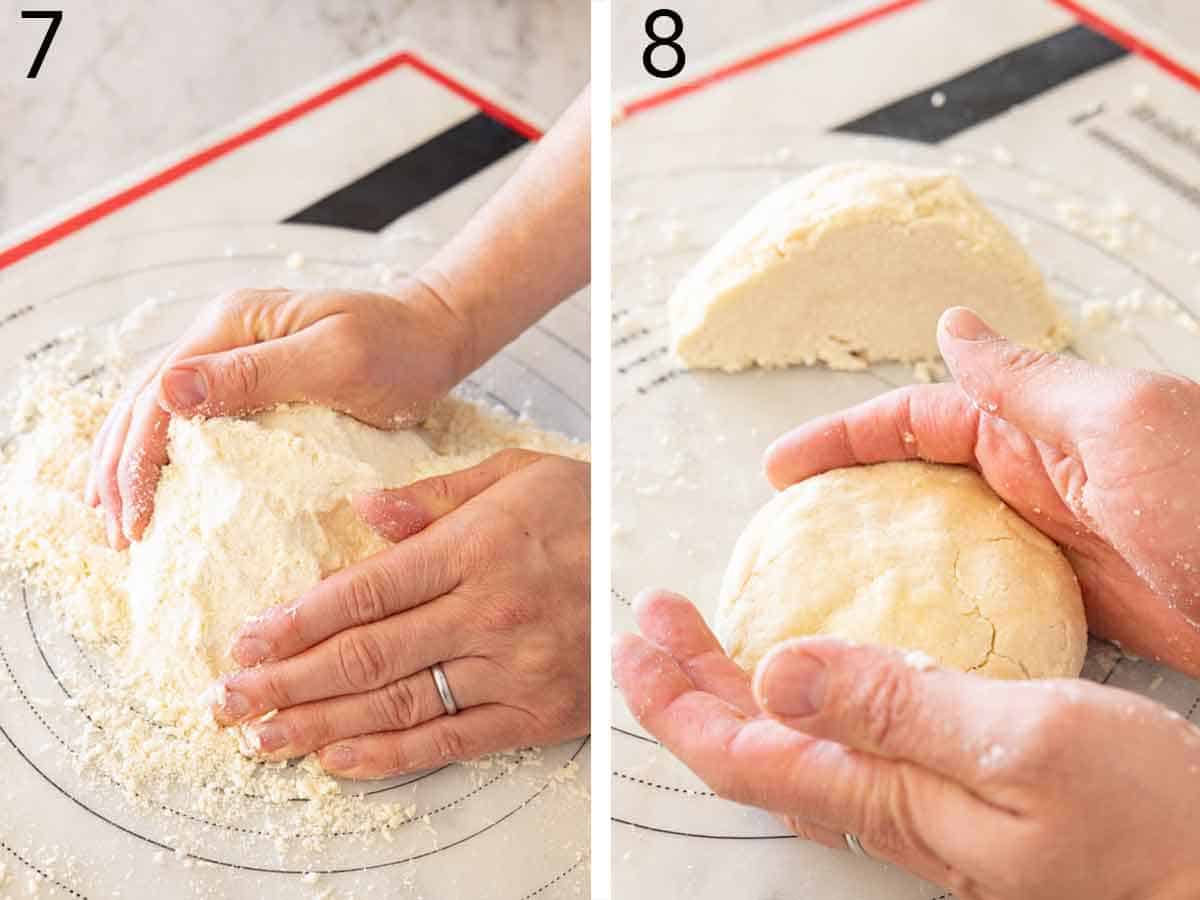
7. Dump the crust mixture onto your work surface and press it together to form a ball. You can gently knead the dough a few times as well to get it to stick together.
8. Cut the large dough ball in half, then shape each half into a ½-inch thick disc. Wrap tightly in plastic wrap and refrigerate for at least 1 hour before rolling it.
Making Pie Dough By Hand
If you don’t have a food processor, you can use this same recipe with a few modifications. Here’s how to make it, along with process images to show you how each step looks.
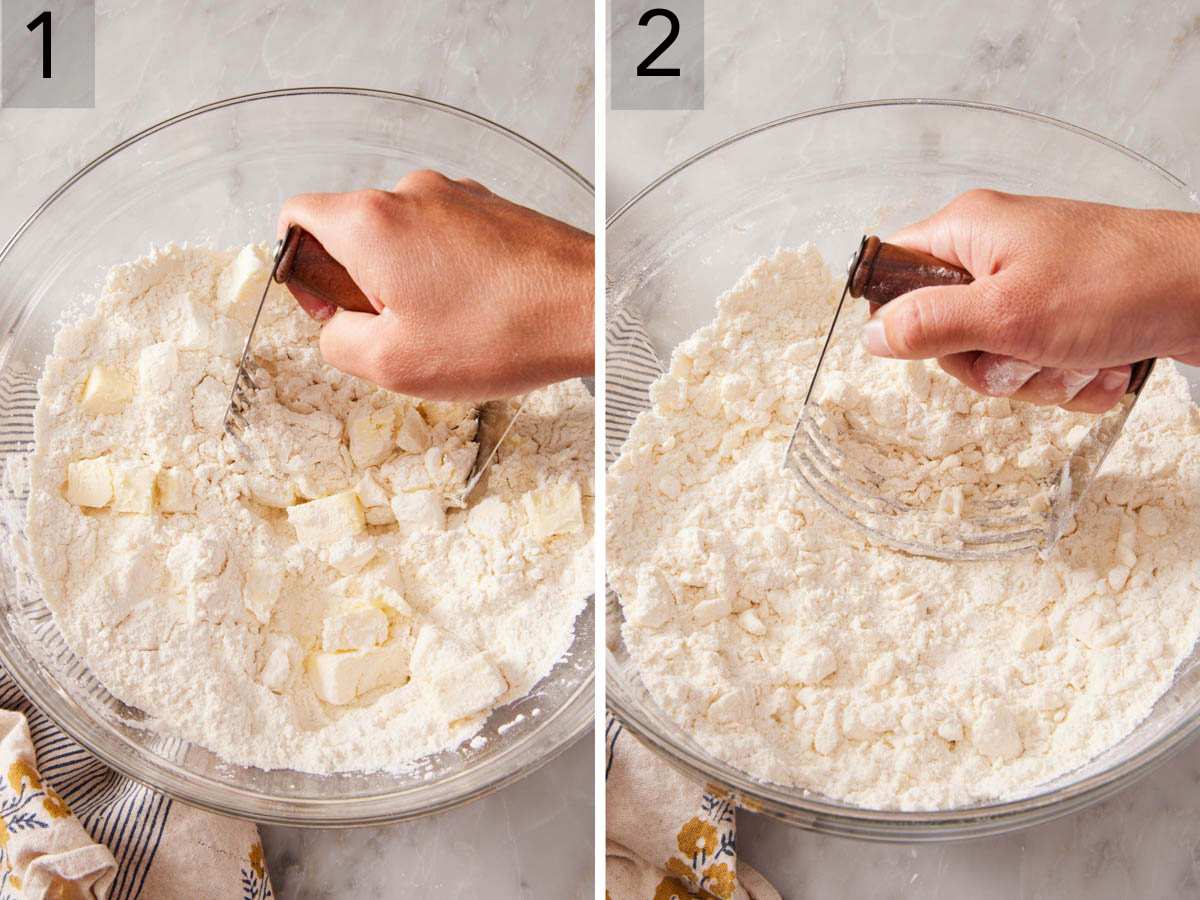
1. Combine all the flour, sugar, and salt in a large bowl, skipping the two-stage split entirely. Toss the butter to coat it.
2. Then, cut it in with a pastry blender, or rub it between your thumbs and fingertips, until the pieces range from pea-sized to almond-sized. You can also use two butter knives, pulling them through the bowl in opposite directions like scissors to slice through the butter pieces.
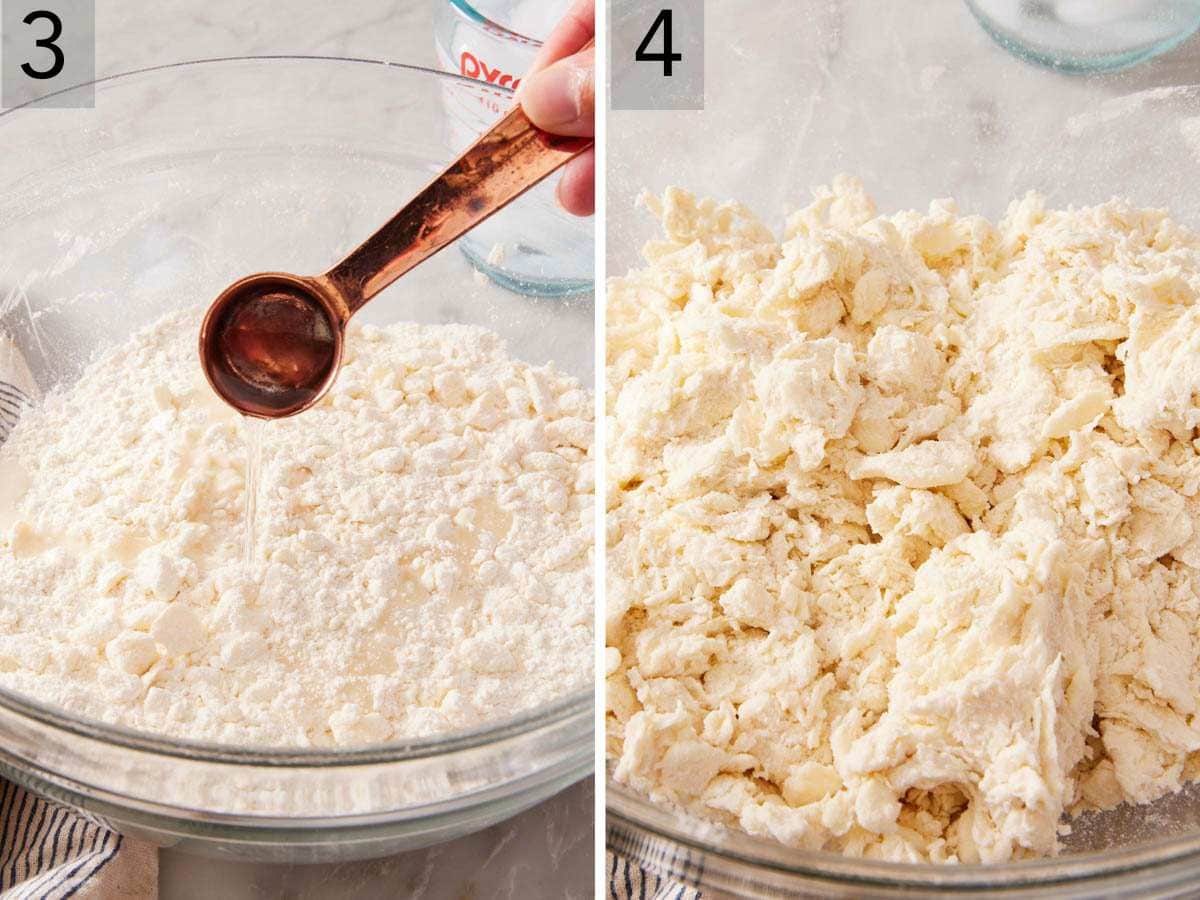
3. Drizzle in 4 tablespoons of cold water and stir it in with a spatula or fork. Add another teaspoon of water as needed to work in any dry pockets of flour.
4. Once the water is incorporated, the dough will look shaggy and start to clump together. There shouldn’t be any very dry or floury places left in the dough. If there are, sprinkle a little more water on those areas. Then, very gently knead the dough just until it forms a solid mass. Divide the dough in half, shape each half into discs, then wrap and chill as directed.
The two-stage butter coating is added insurance against overworking the dough (either from the processor’s aggression or a beginner’s hand). But if you are gentle once the water is added, you are not working the dough hard enough to need it.
Pie Crust Recipe
Equipment
- Food Processor
- Plastic wrap
Ingredients
- 3 cups all-purpose flour divided (360g)
- 1 tablespoon granulated sugar
- 1 teaspoon salt
- 1 cup cold unsalted butter cut into cubes (227g)
- 4 to 6 tablespoons ice water (60-90ml)
Instructions
- In the work bowl of a food processor, combine 1½ cups (180g) of flour, sugar, and salt. Pulse a few times to combine.
- Add half of the butter. Process until very crumbly and starting to ball up, about 30 seconds. Scatter in the remaining butter and the remaining 1½ cups of flour. Pulse 2 times just to distribute.
- Drizzle 4 tablespoons (60ml) of ice water over the mixture. Pulse a few times. Add additional water, a tablespoon at a time, as needed, and pulse once or twice after each addition. The mixture should easily stick together when squeezed, but not feel wet or dry.
- Transfer the dough onto the counter and form into a ball. Cut the ball in half and press each half into a disc. Wrap tightly in plastic wrap and refrigerate for at least 1 hour or up to 3 days. The disks can also be frozen for a few months and thawed in the fridge overnight before using.
Notes
- Can I make this ahead of time? Yes! Since pie dough keeps well in the fridge for up to 3 days, I often make the dough at least a day before I plan to make the pie. (It makes pie baking day that much easier!) After that, it may start to turn grey as the flour and butter oxidize. For longer storage, freeze the discs for up to 6 months.
- Use this dough for a sweet or savory pie recipe! Even though there’s a small amount of sugar in the crust, this pie dough isn’t sweet. It works just as well for pot pie as apple pie!
- If you need more than two pie crusts, don’t double the recipe. Instead, make separate batches to not overfill the food processor or overwork the dough.
Nutrition
Have you tried this recipe? Tag me today!
Mention @preppykitchen and tag #preppykitchen!
Storing And Freezing Pie Dough
In the fridge: Wrapped discs keep for 3 days. I often make the dough a day ahead on purpose, because it splits the work and the dough rolls better if it has longer to chill. After 3 days, it starts to grey as the flour and butter oxidize. It is still safe; it just looks wrong.
In the freezer: Wrap the discs, then bag them or wrap again in foil, and freeze for up to 3 months. Longer is safe, but the quality degrades, and the risk of freezer burn climbs. Thaw for 24 hours in the fridge, then let the disc sit out 10 to 15 minutes before rolling.
You can also freeze the crust already shaped in the pan, which is what I do when I know I am blind baking. Freezing a shaped crust before it goes in the oven is the main thing that stops it from slumping down the sides. Get more details in my Baking Academy guide on How To Freeze Pie Dough!
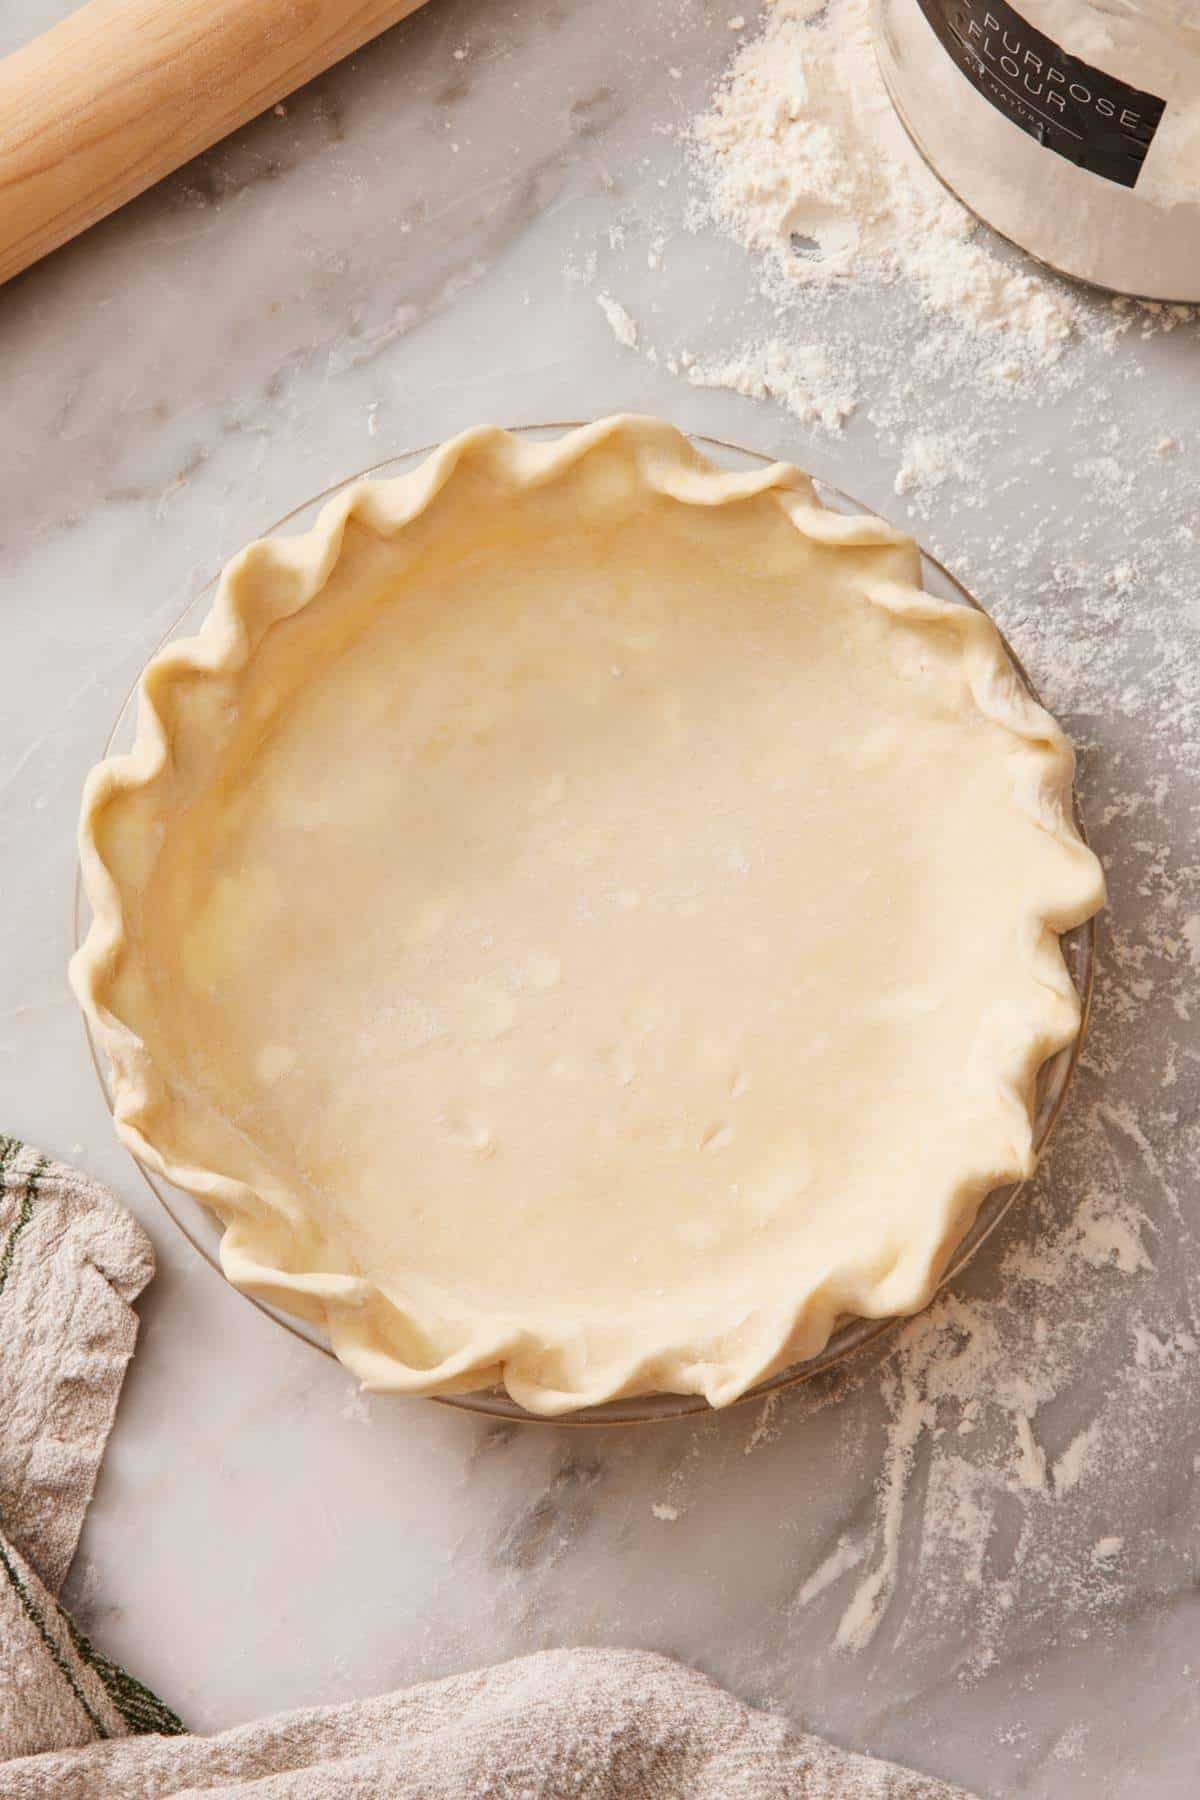
Rolling And Shaping
Make sure the dough has chilled for at least 1 hour before you roll it. This time in the fridge brings the butter back down in temperature so it steams properly, and it gives time for the flour to hydrate. If you roll it immediately, it will crack under the rolling pin or tear when you try to shape it in the pan.
Rolling Technique
Let the disc sit out 10 to 15 minutes if it has been chilling longer than an hour, because very cold, firm dough cracks at the edges rather than gently spreading. Flour the surface and the rolling pin lightly.
Start with the pin in the center and press outward to one edge. Use medium pressure—you don’t want to press so firmly that you break the dough, but press too lightly, and it won’t spread. Rotate the dough a quarter turn and roll again. Rotating as you go is what keeps the circle round and the thickness even, and it stops the dough from sticking. If a big crack opens at the edge, dip your fingers in ice water, pinch it closed, wait a moment, and keep rolling. To move the dough, roll it loosely up onto the pin, or fold it into quarters, and unroll it over the dish.
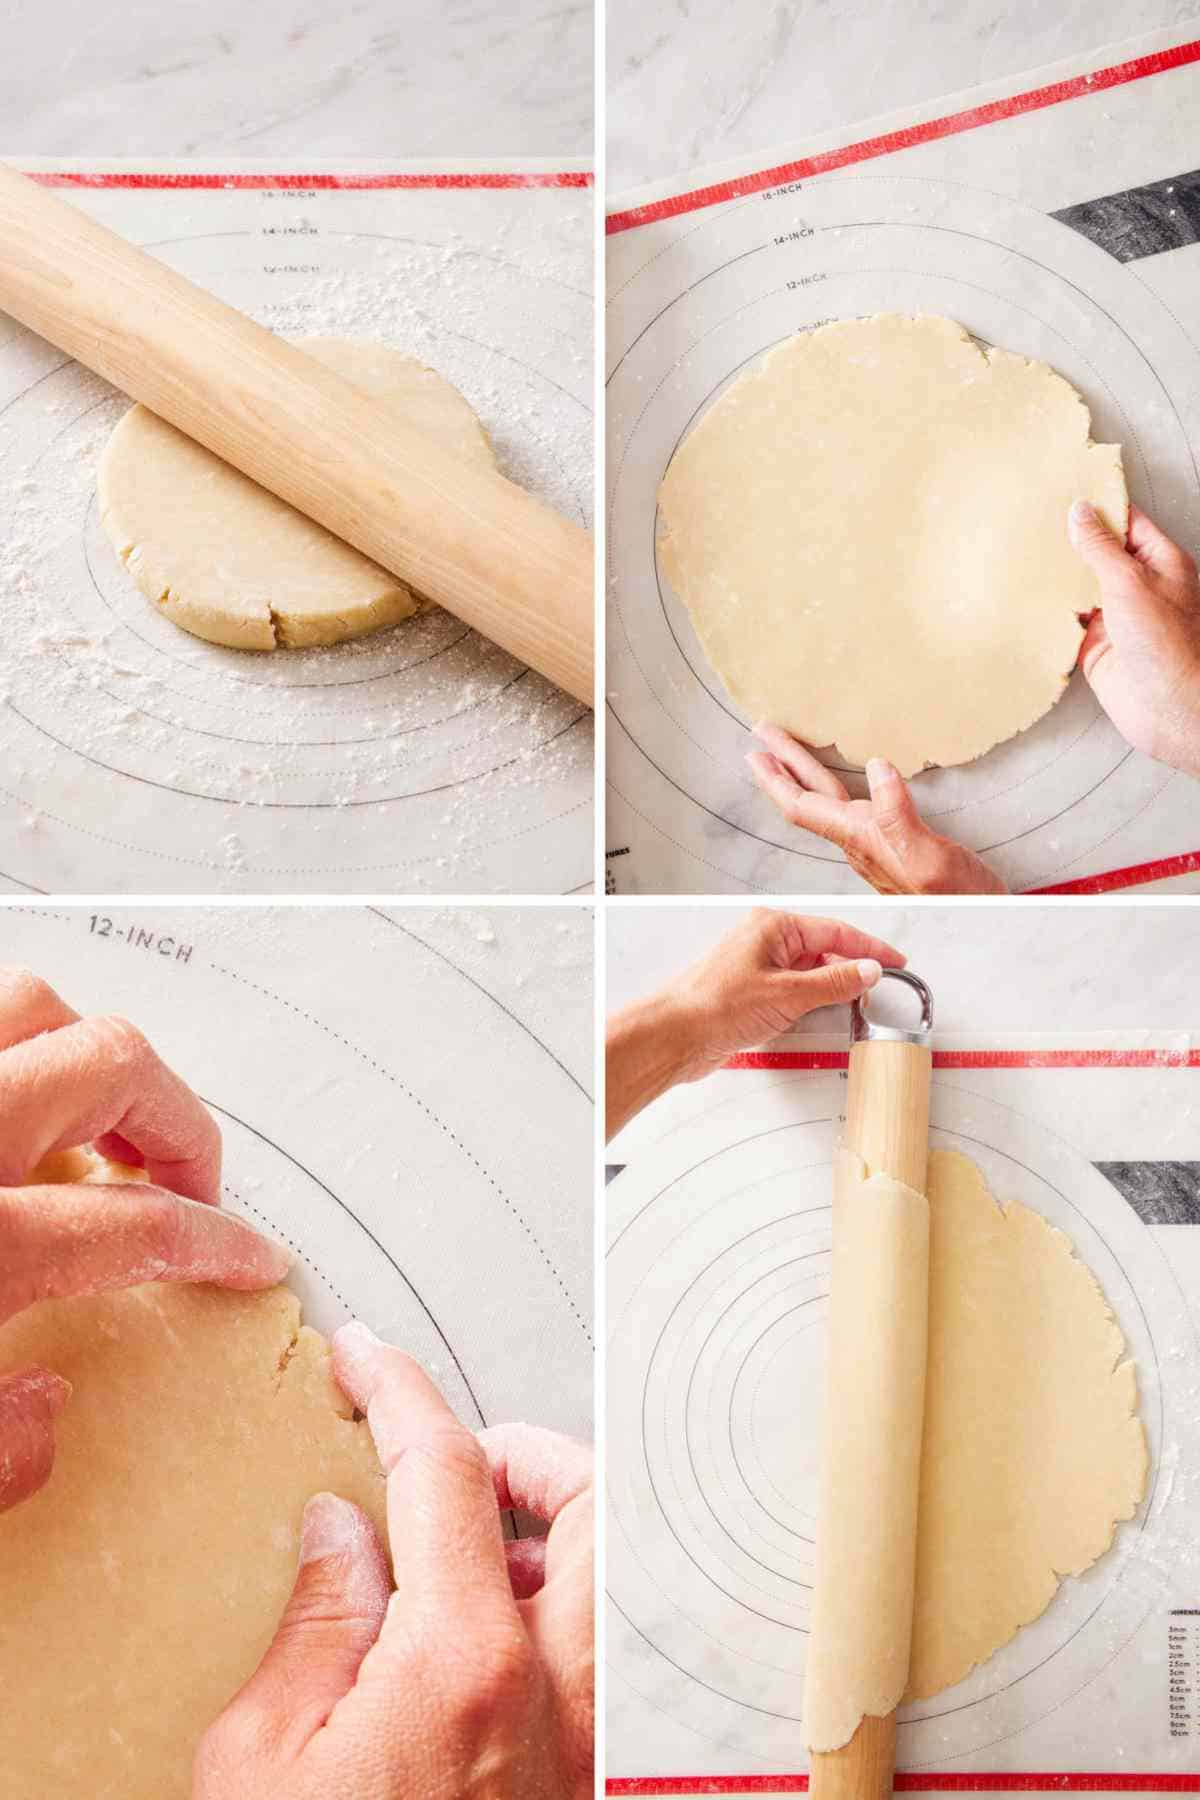
How Wide To Roll It
Roll each disc to a 12- to 14-inch circle for a standard 9-inch pie plate. That gives you enough dough to line the plate, come up the sides, and leaves enough overhang for trimming evenly and crimping.
This is the step where most people stop too early, then find they have to stretch the dough to reach the edges, and stretched dough shrinks back down the sides in the oven. The easiest check if you don’t have a ruler is to invert your empty pie plate over the rolled dough.
You want dough visible a couple of inches past the rim all around the pan. If the dough is turning very thin to the point of being translucent before you reach 14 inches, the disc was too small to begin with (it may not have been divided equally in half). Stop and do your best to cover the pie pan and crimp the edges, or if you are making a double crust pie, roll the other disc out and keep the first one for the top.
Shaping In The Pan
Lift the dough into the plate and press it against the bottom and sides. Do not stretch it. Stretching is the main cause of a crust that shrinks during baking. Trim the excess dough to about an inch beyond the rim, tuck the excess under itself, and crimp. For double-crust pies like peach pie or apple pie, wait and trim both crusts together once the top is on.
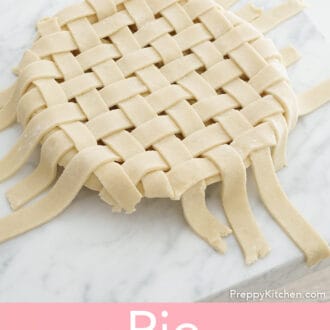
Get my full step-by-step tutorial in my guide on How to Crimp Pie Crust. I cover 5 different decorative edge techniques. If you are making a double crust pie and want to add a lattice top, use my tutorial on How To Lattice Pie Crust to form the perfect lattice. I like using a lattice top for fresh fruit filling that are extra juicy, like blueberry pie and strawberry rhubarb pie, because it allows some steam to escape during baking. That helps the fruit thickens better and the top crust gets crispier.
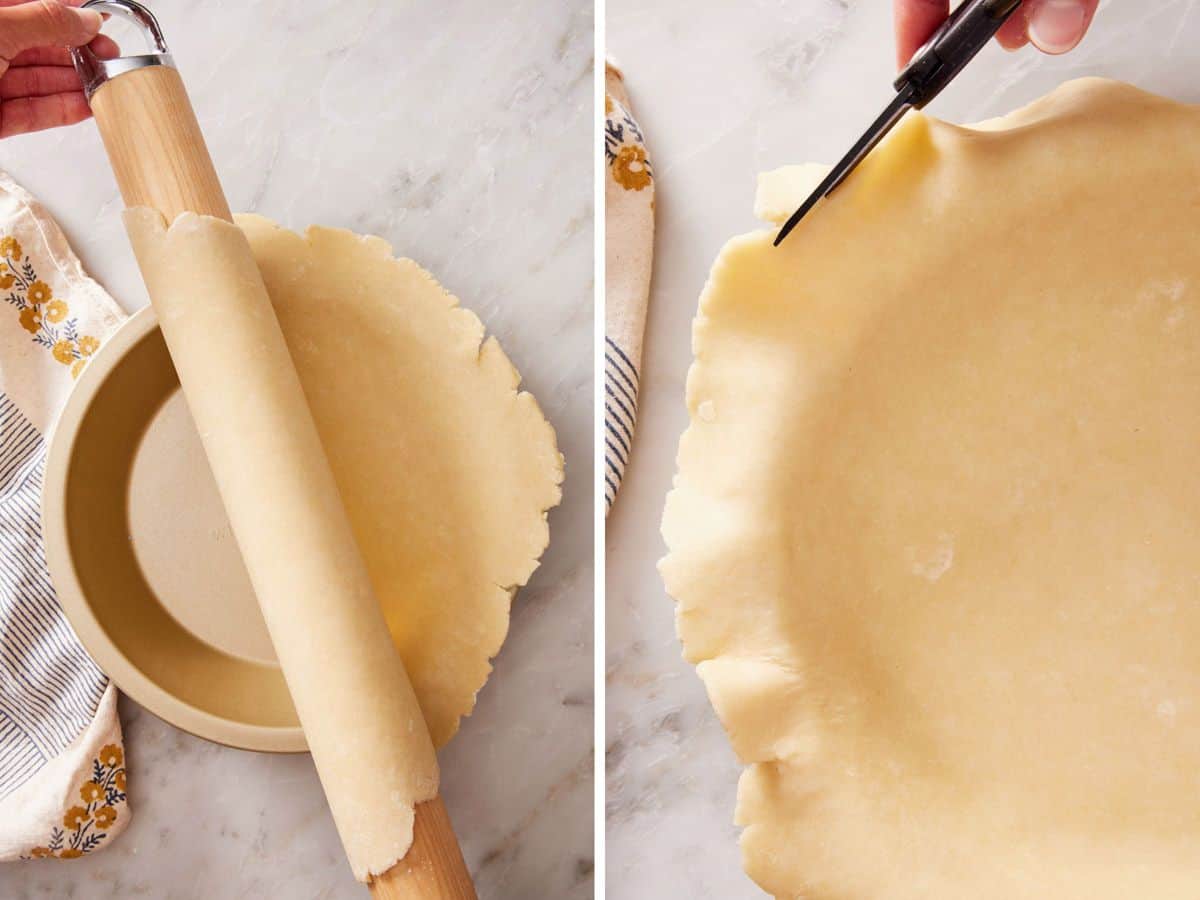
Baking Your Crust
There is no single bake time for this recipe because it is a dough, not a finished pie. The oven temperature and the time come from whatever you are filling it with.
If you are filling it raw (double-crust fruit pies, pot pies, most baked custard pies), follow the temperature and timing in that recipe. The crust should go in cold and bake with the filling.
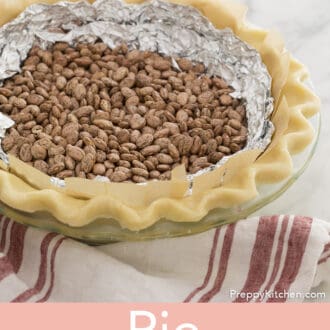
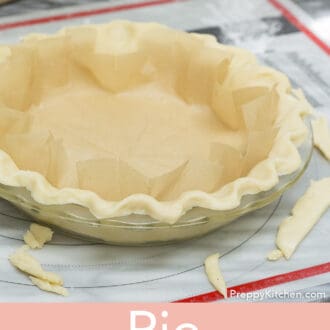
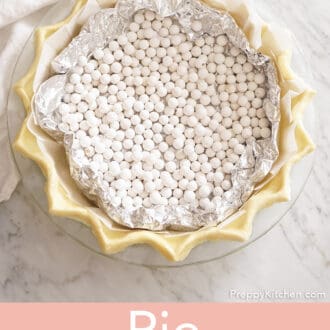
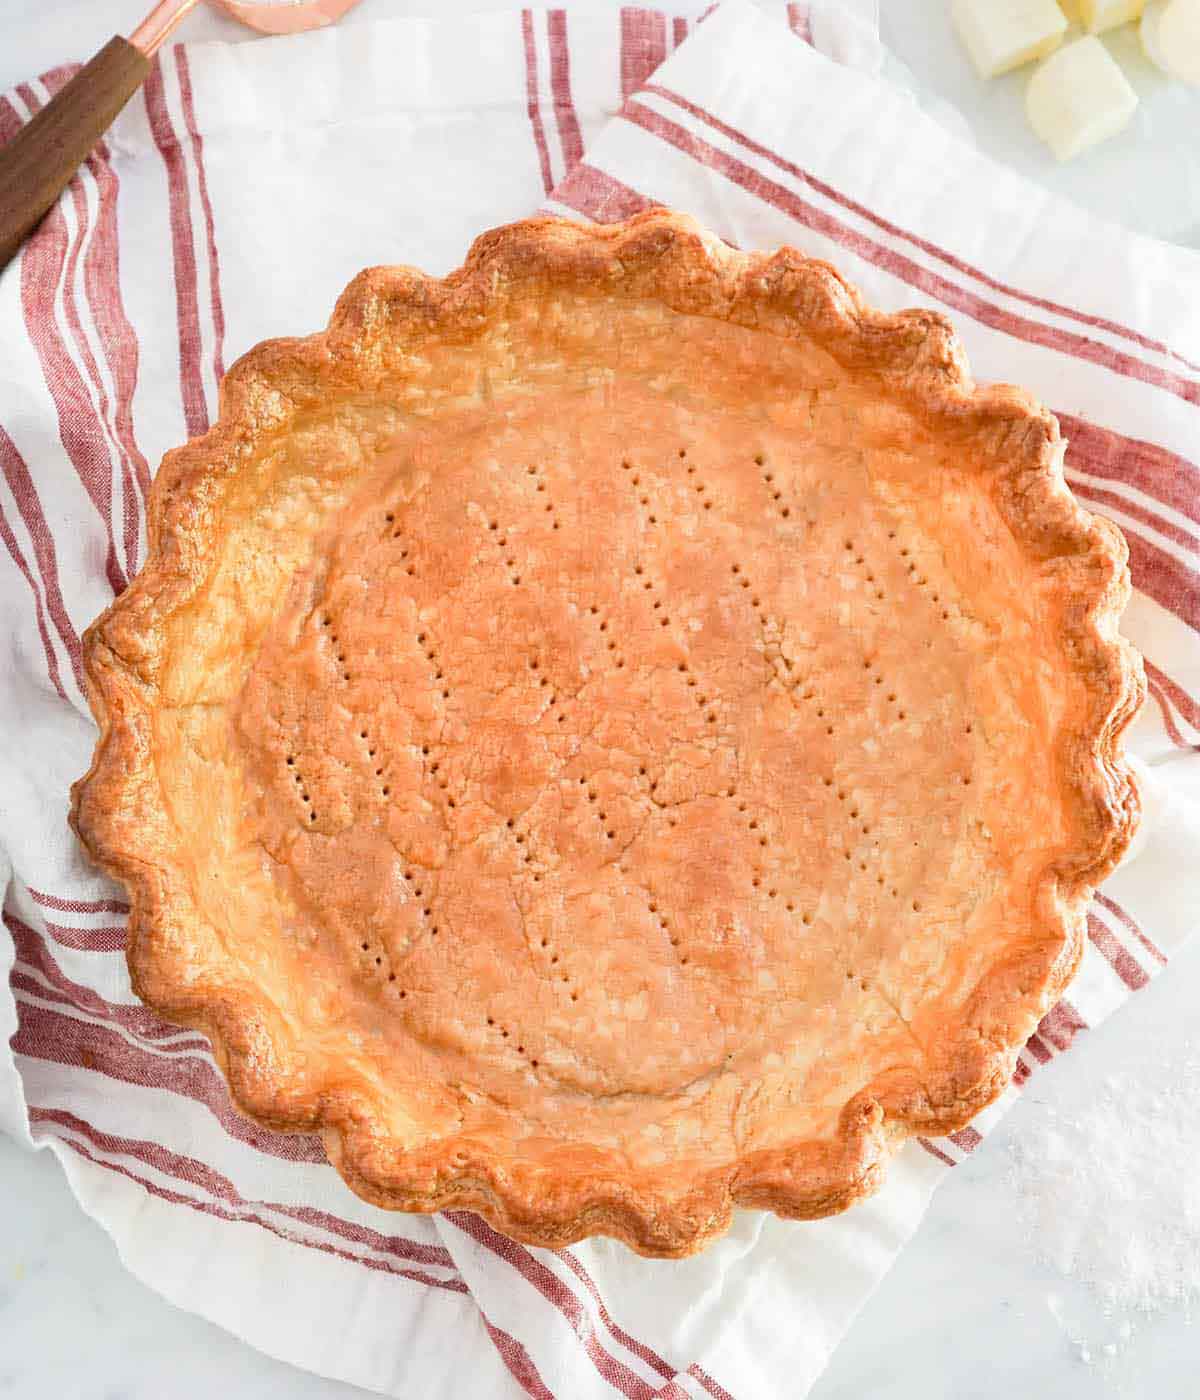
If you are baking it empty first, which is what a no-bake filling like banana cream pie or French silk pie needs, follow the recipe, or use my guide on how to blind bake a pie crust. It covers the process with step photos and specific baking instructions.
If your recipe requires a par-baked crust, you will partially bake the crust without a filling first, following the blind baking instructions, then add the filling and finish baking.
Frequently Asked Questions
I recommend slightly changing the disc sizes. Instead of cutting the dough into two even discs, cut off about a third and use the larger piece for the deep or wider bottom, saving the smaller piece for decorative cutouts around the rim.
If you need a top crust as well, increase the recipe 1.5 times if you have a 12-14-cup food processor, and cut the dough in half. Otherwise, make it in two batches, then combine the dough and divide it. Rolling a standard disc thinner for a bigger pie plate means you risk a thin crust that either burns or tears and leaks the filling.
You can halve the recipe, but I would make the full batch and freeze the second disc. The processor works better with the full volume in the bowl, and a spare crust in the freezer is worth it! It takes the same amount of time to make one as it does two!
Almost always stretching. If the rolled circle was slightly too small and you pulled it to reach the rim, the gluten stretched, the dough was under tension, and heat snapped it back. Roll to a full 14 inches and lower and press the dough into the pan, rather than stretching it out. Overworked dough shrinks too, which is what the two-stage butter method guards against. Chilling the shaped crust before it bakes reduces shrinking in all of these cases because the crust is firm and starts to set before it gets soft enough to slide or shrink.
Yes, it’s my go-to! The tablespoon of sugar is a browning agent rather than a sweetener, so the dough does not taste sweet. It works for recipes like quiche Lorraine and pot pies without any adjustment.
It turns tough and slightly greasy, and you lose the flaky layers, because all of the butter has smeared into the flour instead of staying in pieces. The sign is dough that feels smooth and elastic rather than shaggy. You want to still see streaks and specks of butter when you cut the ball in half. Those chunks are what turn into the flakes.
Pie Recipes To Try
Use your pie dough to make one of these homemade pie recipes:
- Strawberry Pie — the buttery blind baked crust is a delicious contrast to the fresh strawberry filing.
- Chocolate Pie — the crust is fully blind baked and cooled, since the filling never sees the oven.
- Pecan Pie — the pie is baked in the lower third of the oven so the pie crusts crisps up without having to par-bake it.
- Lemon Meringue Pie — an ice-box classic with a lemon filling and billowy meringue that is tucked in a crisp baked pie shell.
- Apple Cranberry Pie — a double-crust pie with a fresh fruit filling that is perfect for Thanksgiving.
If you’ve tried this pie crust recipe, then don’t forget to rate it and let me know how you got on in the comments below. I love hearing from you!





