
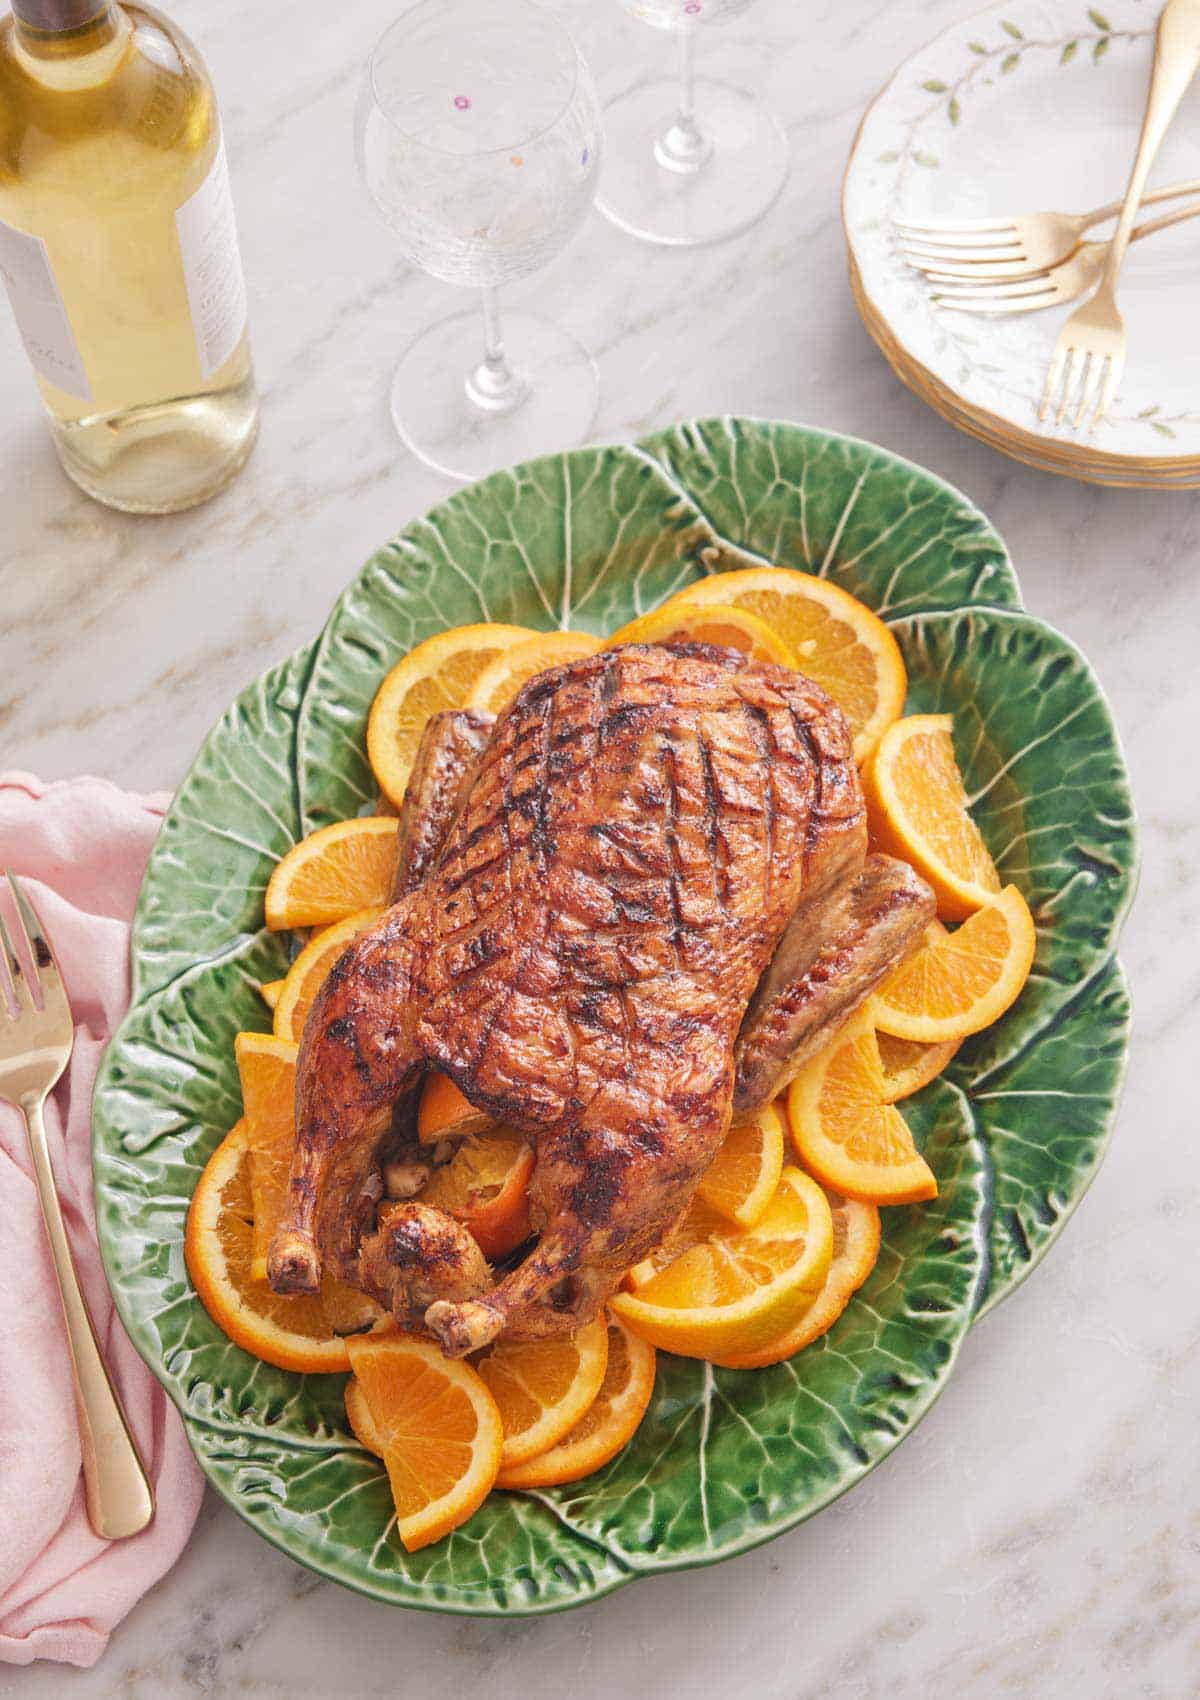


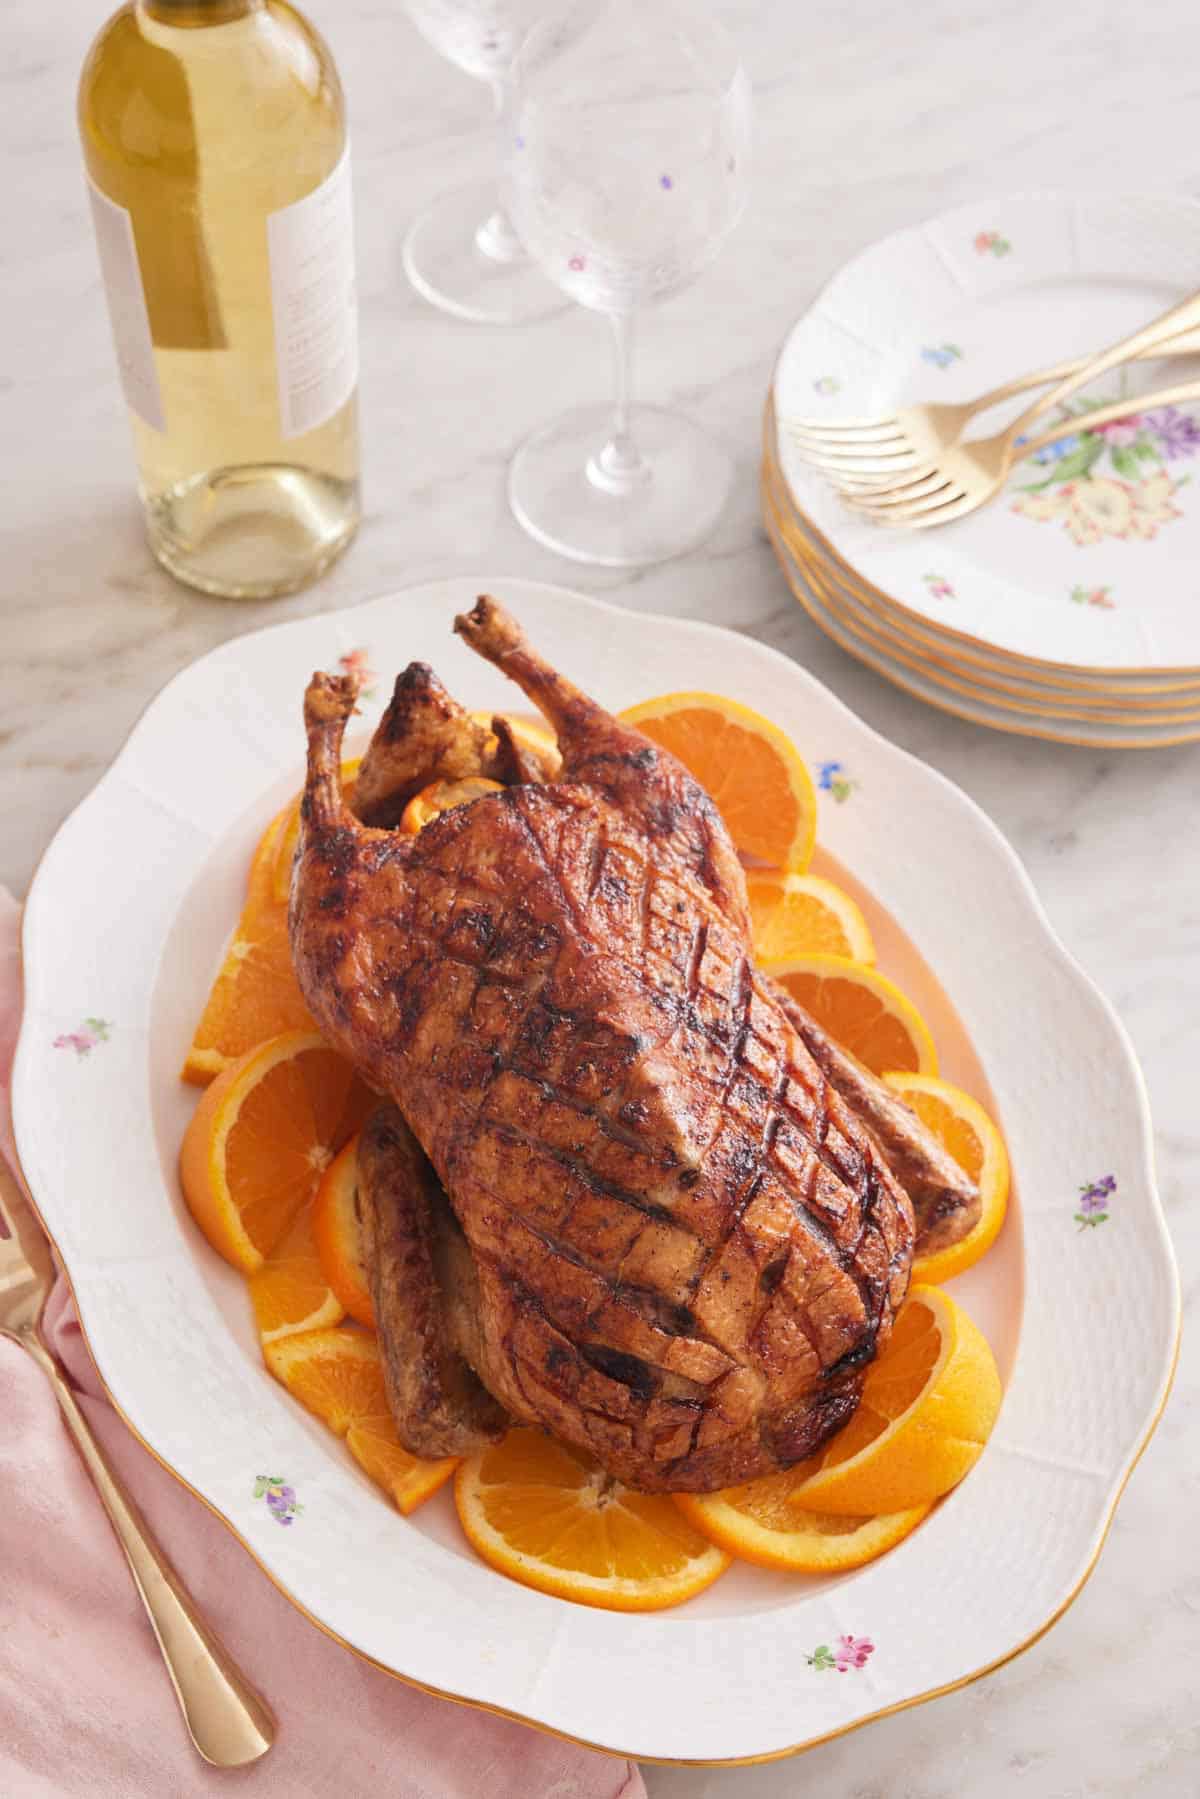
If you want to mix things up from the usual roasted turkey or roasted chicken for your next special occasion or holiday celebration, make this easy roasted duck recipe! It is so easy to make, tastes fantastic, and its beautiful roasted skin is always a showstopper. Don’t feel intimidated by the idea of roasting a whole duck if its your first time. This recipe will show you how how to do it perfectly.
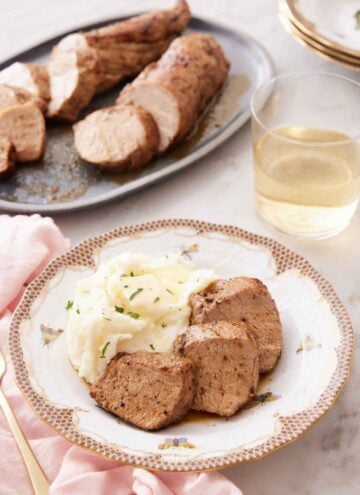
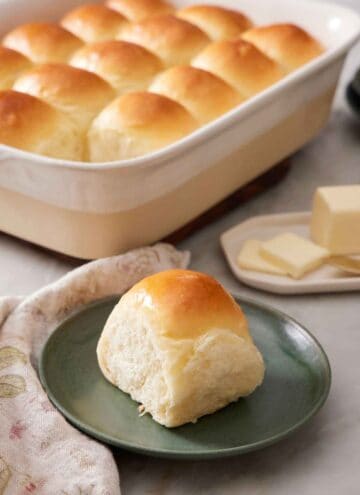
If you’ve never tried roasted duck before, its flavor is closer to red meat than chicken. It tastes richer than roasted chicken, and its tender meat will melt in your mouth! The best part about this recipe? The oven does most of the work, as the thick layer of fat under the skin means you don’t have to spend time basting it, leaving you with time to make some delicious side dishes. If you need some side dish recipes, then try my Brussels sprout salad, mashed potatoes, or glazed carrots.
What You Need to Make This Recipe
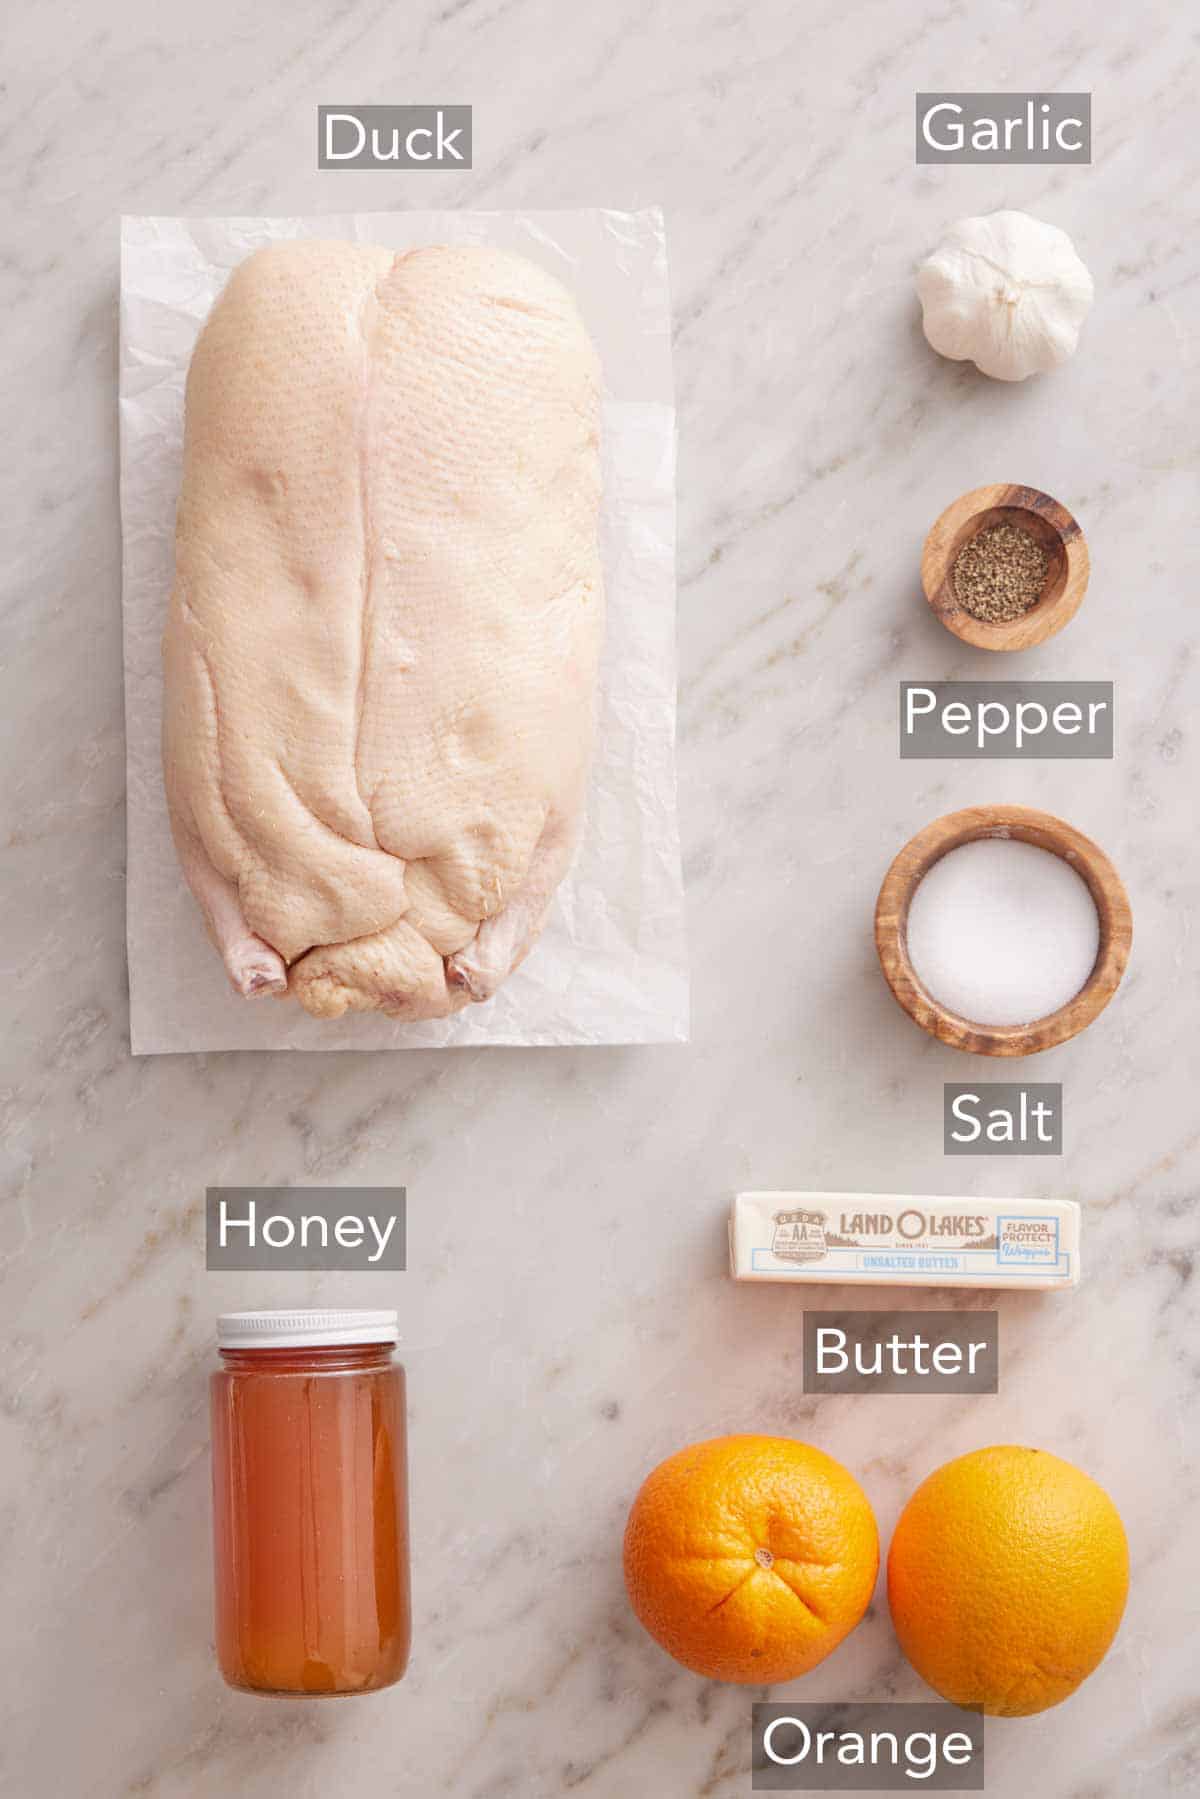
Duck — if you buy a frozen duck, it’s important to thaw it thoroughly to ensure the duck cooks properly.
Orange — stuffing the cavity of the duck with orange and brushing it with orange juice adds bright, tart notes that balance out the gamey flavor of the duck.
Garlic — when stuffed into the cavity, fresh garlic, not dried garlic powder, adds a fantastic savory flavor to the duck.
Honey — don’t worry about the honey adding too much sweetness to the duck. Instead, it’ll help crisp up the duck skin and give it a beautiful caramelized look.
How to Make Roasted Duck
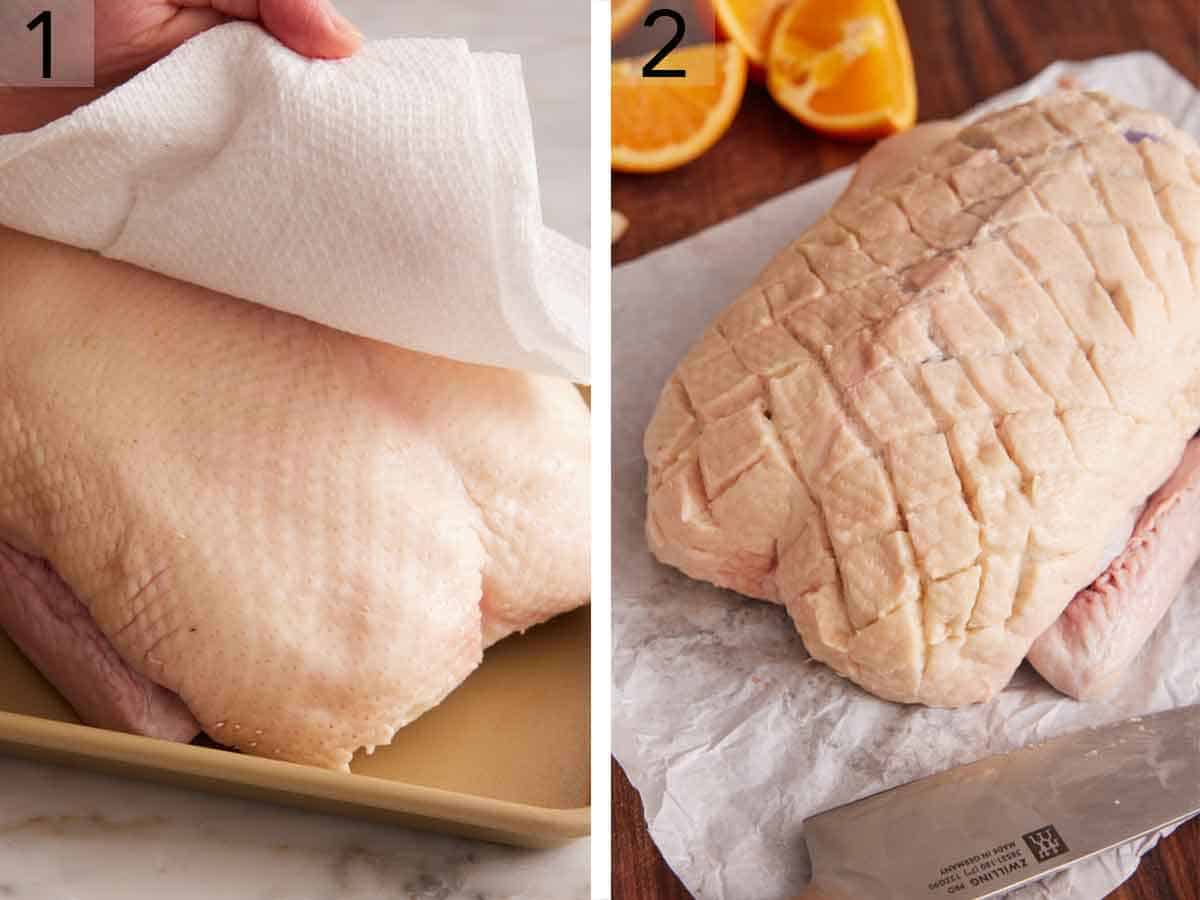
1. Remove the giblets and neck from the duck cavity and discard. Trim off any excess fat from the duck cavity. Pat the duck dry with paper towels, and let stand, uncovered, at room temperature for 30 minutes.
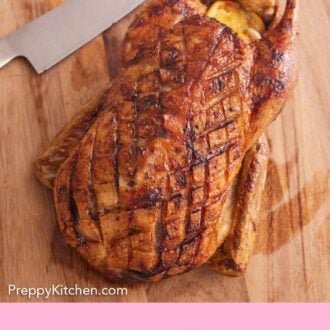
2. Using a sharp knife, score the skin on the breast side of the duck in a crosshatch pattern and then lightly prick the skin all over with the tip of a small knife.
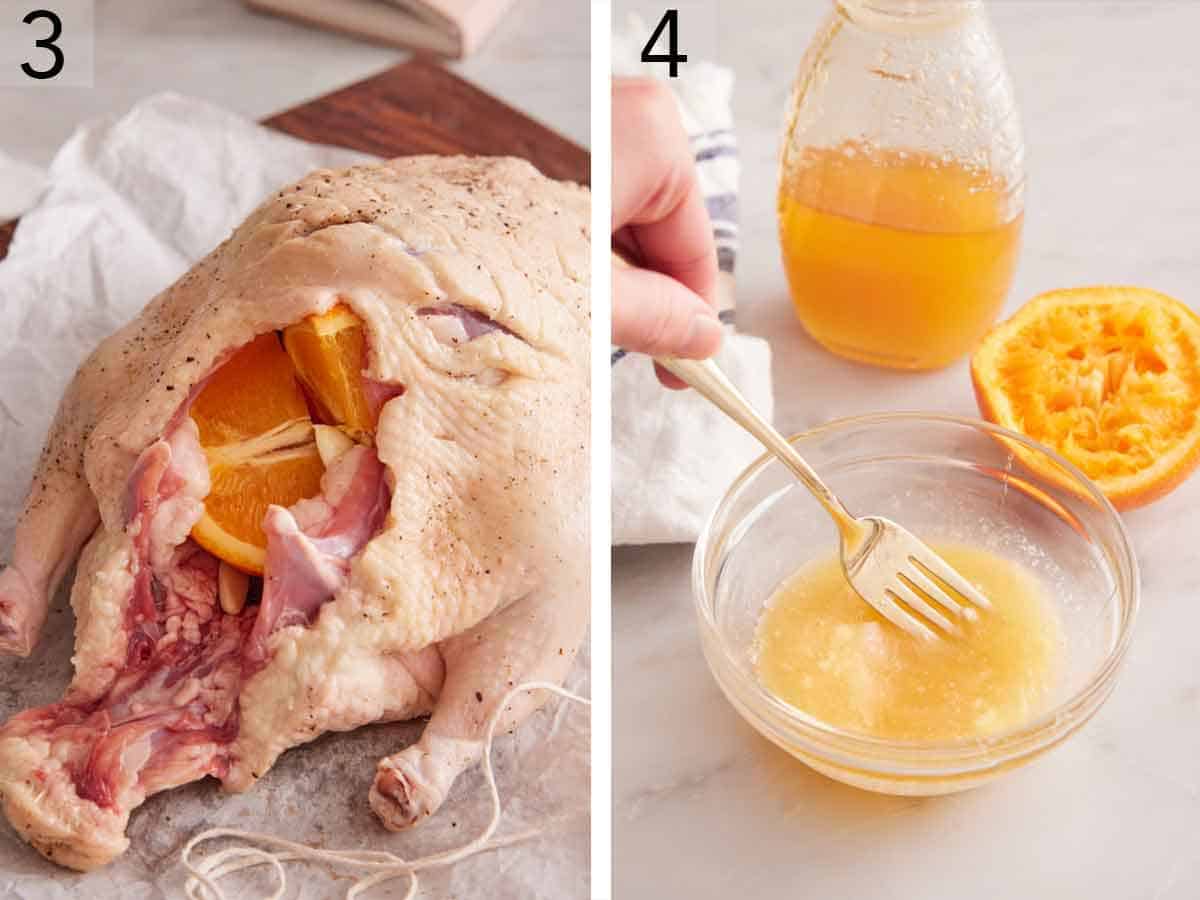
3. Sprinkle the salt and pepper inside and outside of the duck. Stuff the cavity with the orange and garlic. Tie the legs together with butcher’s twine and roast the duck breast-side down on a rack inside of a roasting pan for an hour. Remove from oven and carefully turn the duck breast-side up, prick the skin again, and roast for 1 hour more.
4. While the duck is roasting for the second time, stir together the orange juice, honey, and butter in a small mixing bowl.
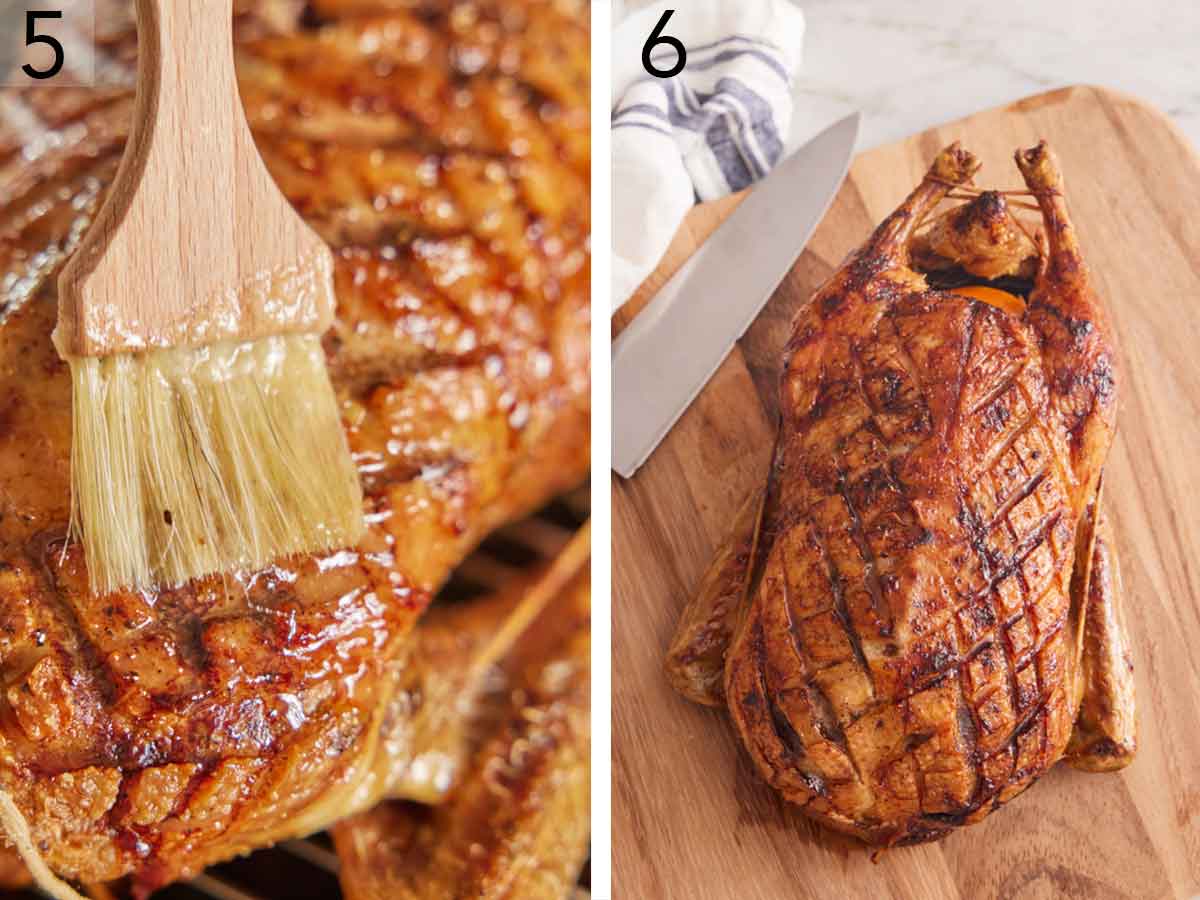
5. Brush the orange juice mixture over the top and sides of the duck. Return to the oven and roast for 15 minutes. Brush with the orange juice mixture again and roast until the skin is crispy.
6. Remove the duck from the roasting rack and place on a cutting board. Let the duck rest for 10 minutes before slicing.
Pro Tips for Making This Recipe
- When you score the skin of the duck, it helps release some of the fat during the cooking process, leading to crispier skin. Pricking the skin help render the fat faster from the skin to make the skin crispy as well.
- Make sure to remove as much moisture from the duck as possible before you start seasoning it. The more dry your duck, the crispier the skin will be.
- Don’t skip resting the duck after it comes out of the oven. Resting the duck allows the juices to soak back into the meat so the duck is more moist. If you cut into the duck too soon, the juices will run out onto the cutting board and be less moist.
- Don’t tie the duck up with just anything, make sure to use kitchen twine to truss the duck, as it’s oven-safe. You shouldn’t skip tying the duck legs together as it creates a uniform shape that helps the duck cook evenly.
- Line the roasting pan with foil for easy cleanup, as a lot of fat will render off the duck. This is also why you should roast it on a rack, so the duck is not sitting in the rendered fat.
- Don’t discard the duck fat. You can save leftover duck fat in an airtight container in the fridge and use it just like you would use leftover bacon grease, such as using it for roasting potatoes or vegetables.
- Make sure you start the duck breast-side down. Placing it breast-side down ensures even browning and fat rendering.

Frequently Asked Questions
If you have any leftovers, it keeps in the fridge for up to 4 days in an airtight container after it has cooled to room temperature. If you didn’t carve the entire duck, you can cover the duck tightly with plastic wrap on the platter. You can also freeze leftover roasted duck.
While you can microwave leftovers of this roast duck recipe, the skin won’t be as crispy. To reheat leftover duck, roast it on a foil-lined tray at oven temperature 350F until warm. Reheating in the oven will keep the skin crispy.
I recommend roasting the duck at 350°F as it takes around 2 hours to roast a whole duck, and you don’t want the duck to dry out if the temperature is too high.
The most accurate way to tell if a duck is ready is by using a meat thermometer. Insert the thermometer into the thickest portion of the thighs. If the internal temperature registers 155°F, it’s ready!
If you love this recipe try these out!


If you’ve tried this Roasted Duck recipe, then don’t forget to rate the recipe and let me know how you got on in the comments below, I love hearing from you!

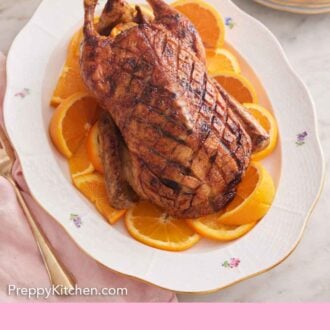
Roasted Duck
Equipment
- Roasting pan with a rack
- mixing bowl
- Small knife
- Basting brush
- Kitchen twine
Ingredients
- 5 to 5 ½ pound whole duck
- 1 tablespoon salt
- 2 teaspoons ground black pepper
- 1 orange quartered
- 5 garlic cloves
- 2 tablespoons orange juice
- 2 tablespoons honey
- 1 tablespoon unsalted butter melted
Instructions
- Remove the giblets and neck from the duck cavity, if necessary, and discard. Trim off any excess fat from the duck cavity. Pat the duck dry with paper towels, and let stand, uncovered, at room temperature for 30 minutes. (This will help dry the skin for better crisping.)
- Preheat oven to 350°F.
- Using a sharp knife, score the skin on the breast side of the duck in a crosshatch pattern. (You don’t want to cut through the skin and into the meat so be light with the scoring.) Lightly prick the skin all over with the tip of a small knife so that melting fat doesn’t get trapped under the skin during baking.
- Sprinkle the salt and pepper inside and outside of the duck. Stuff the cavity with the orange and garlic. Tie the legs together with butcher’s twine. Fold the neck skin under and secure it with a toothpick. Place duck breast-side down on a rack inside of a roasting pan.
- Roast for 1 hour. Remove from oven and carefully turn the duck breast-side up. Prick skin again all over breast and around the legs and thighs area. Return to oven and roast for 1 hour more.
- While the duck is roasting for the second time, stir together the orange juice, honey, and butter in a small mixing bowl.
- After the second hour of roasting is finished, remove the duck from the oven. Increase oven temperature to 475°F.
- Brush the orange juice mixture over the top and sides of the duck. Return to the oven and roast for 15 minutes. Brush with the orange juice mixture again and roast until the skin is crispy, about 10 minutes.
- Remove the duck from the roasting rack and place on a cutting board. Let it rest 10 minutes before slicing.
Notes
- When you score the skin of the duck, it helps release some of the fat during the cooking process, leading to crispier skin. Pricking the skin help render the fat faster from the skin to make the skin crispy as well.
- Make sure to remove as much moisture from the duck as possible before you start seasoning it. The more dry your duck, the crispier the skin will be.
- Don’t skip resting the duck after it comes out of the oven. Resting the duck allows the juices to soak back into the meat so the duck is more moist. If you cut into the duck too soon, the juices will run out onto the cutting board and be less moist.
- Don’t tie the duck up with just anything, make sure to use kitchen twine to truss the duck, as it’s oven-safe. You shouldn’t skip tying the legs together as it creates a uniform shape that helps the duck cook evenly.
- Line the roasting pan with foil for easy cleanup, as a lot of fat will render off the duck. This is also why you should roast it on a rack, so the duck is not sitting in the rendered fat.
- Don’t discard the duck fat. You can save leftover duck fat in an airtight container in the fridge and use it just like you would use leftover bacon grease, such as using it for roasting potatoes or vegetables.
- Make sure you start the duck breast-side down. Placing it breast-side down ensures even browning and fat rendering.
Rita says
Duck is one of my favorite dishes to prepare and this Preppy Kitchen recipe is just perfect to enjoy with a good glass of wine!
Elyse says
I showed my dad this recipe and he made it for the family.
It was really good, great flavor.
Thanks Preppy Kitchen!