
This post may contain affiliate links. Please read our disclosure policy.
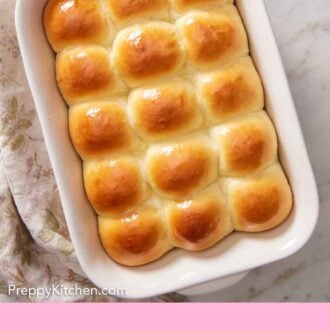
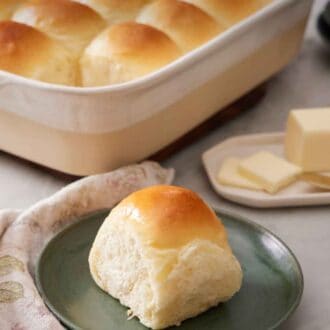
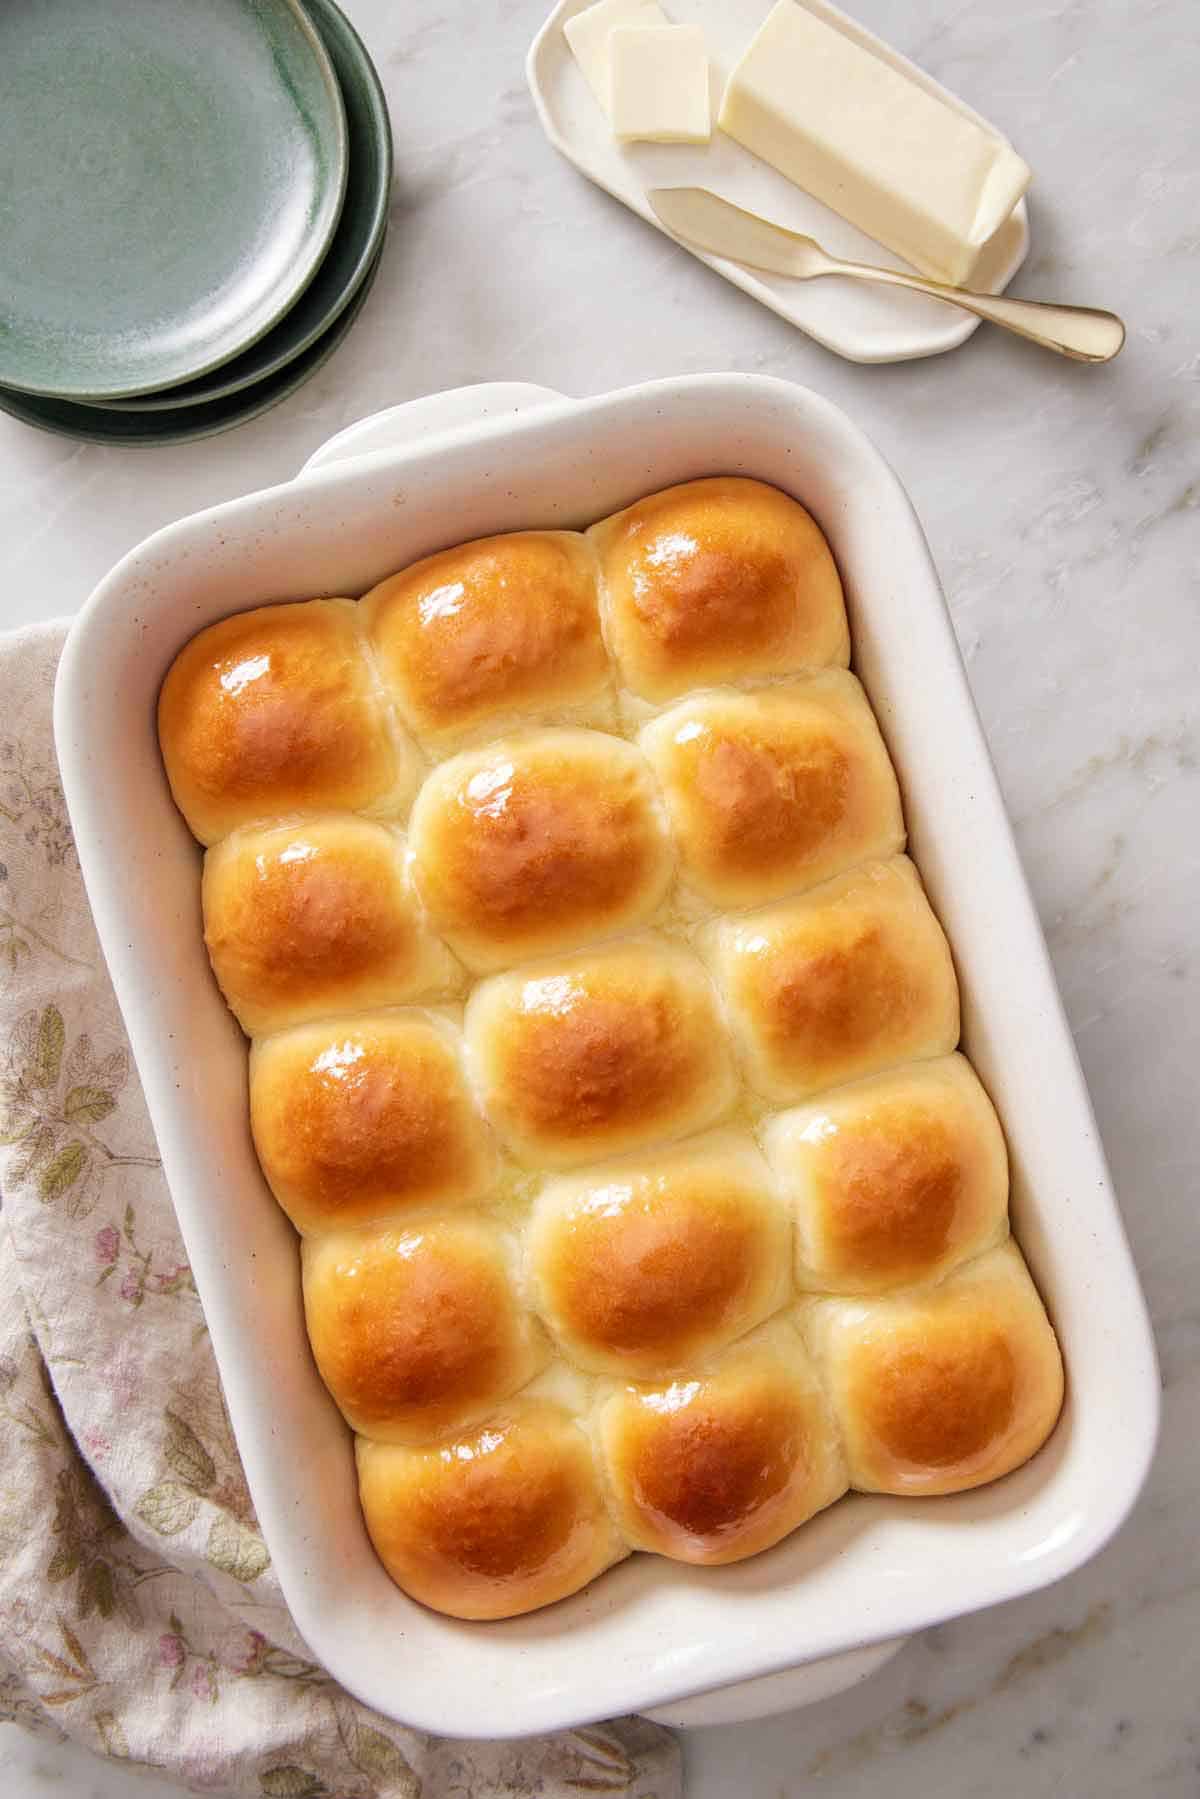
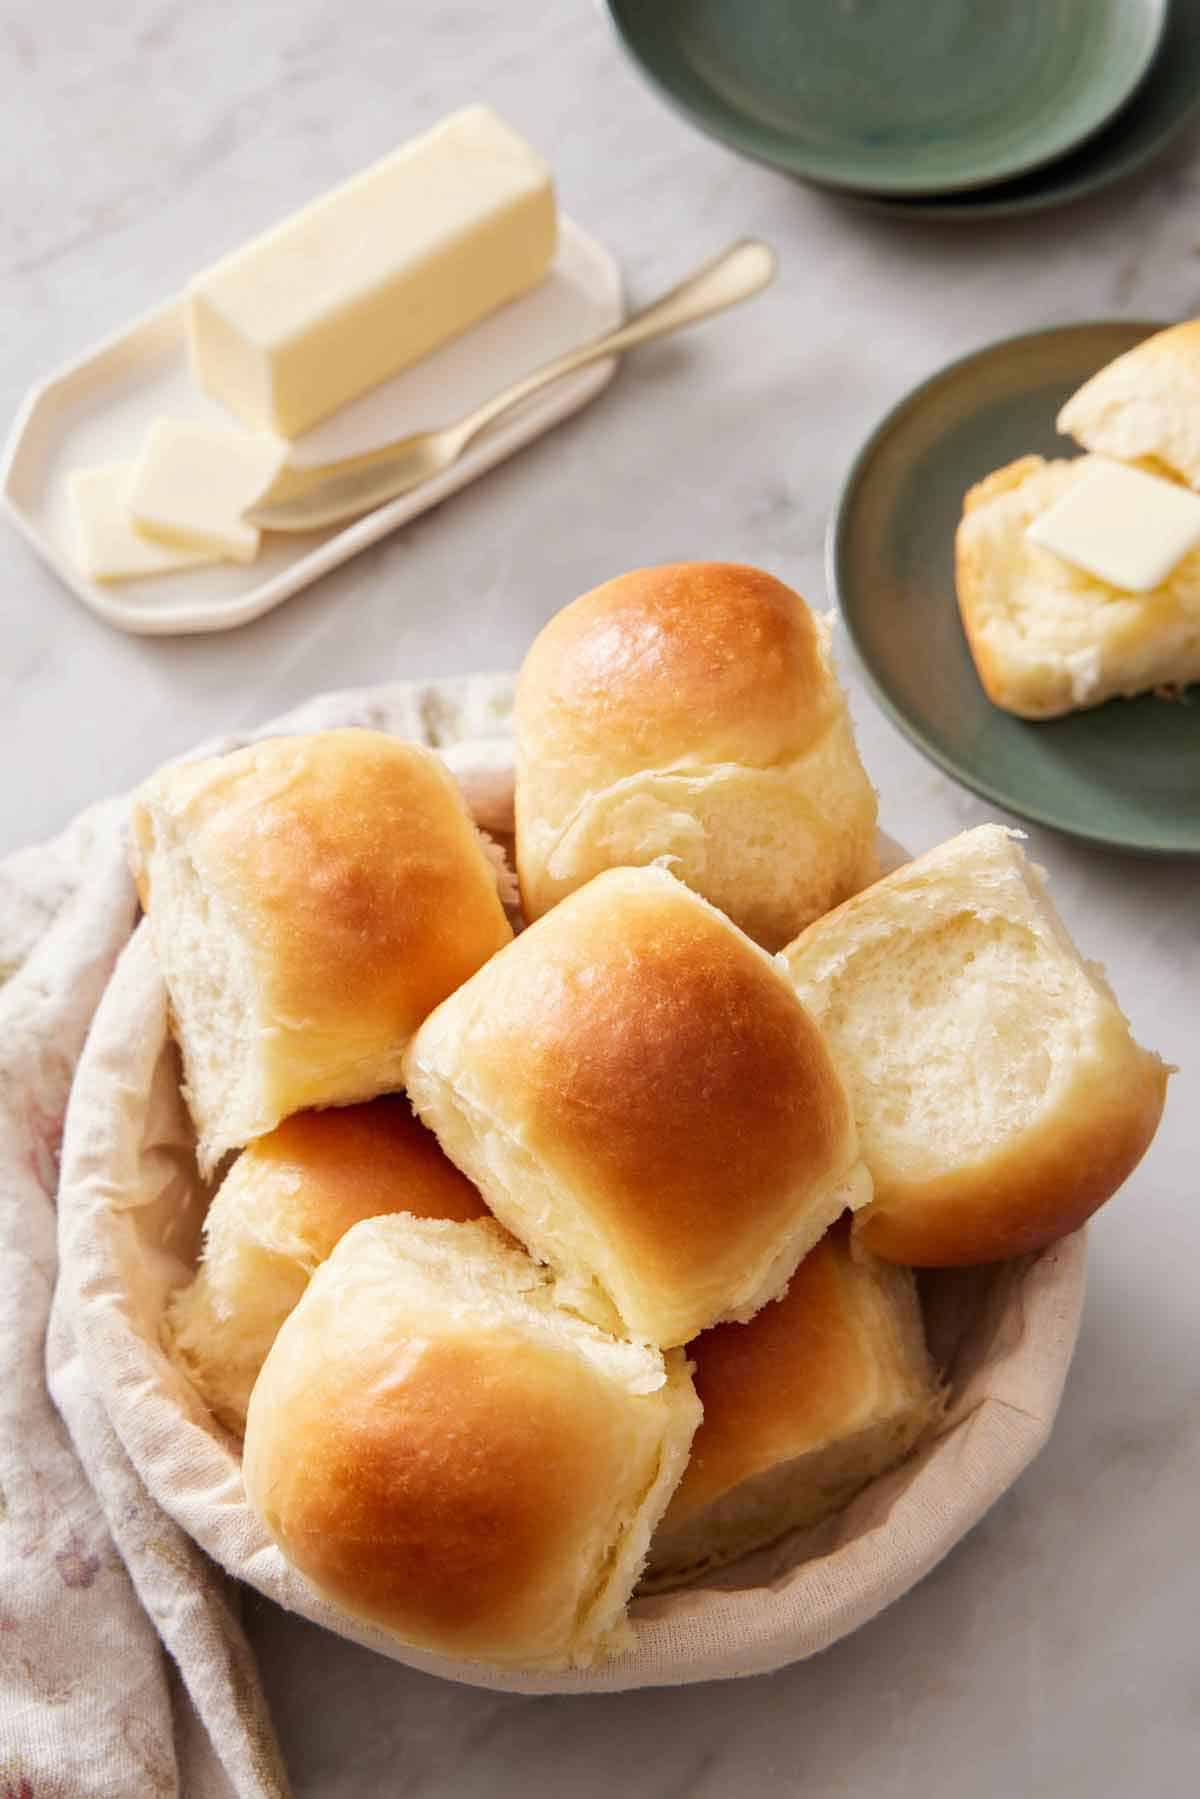
Add a special touch to any meal with these homemade Dinner Rolls! They’re made with a handful of common ingredients and are incredibly fluffy, soft, light, and buttery. Thanks to my easy tips, they’re perfect for even beginner bakers!
Take any meal from delicious to extraordinary with a pan of these buttery, light and fluffy dinner rolls! If you’ve never made yeast rolls or are intimidated by them, don’t be! I share easy-to-follow tips to help even beginner bakers make these rolls perfect every time.
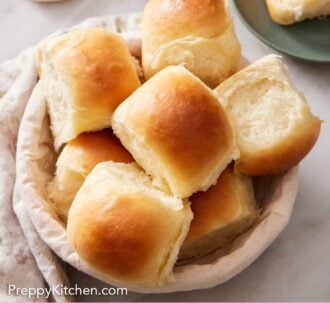
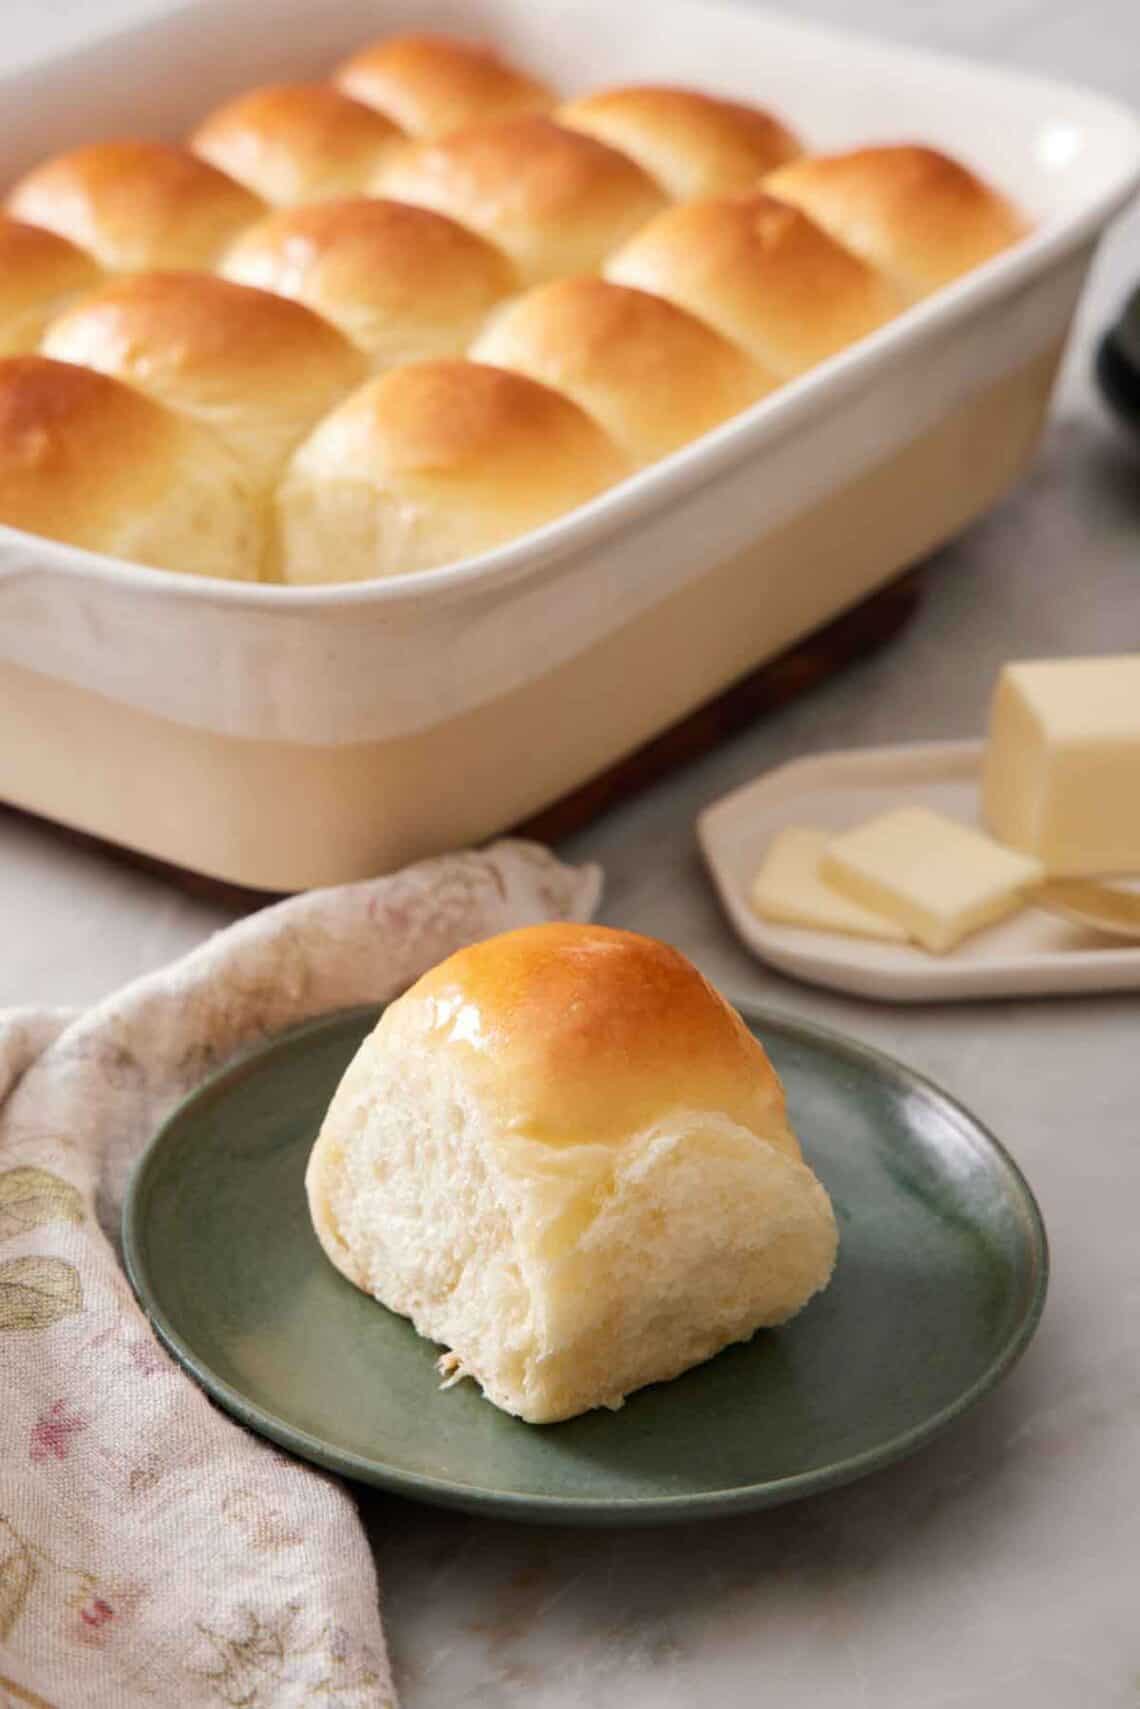
Whether you serve these rolls with Thanksgiving dinner or a family meal, your guests and family will love their soft, pillowy texture and buttery flavor. You can even prep them ahead of time to save on holiday meal stress, or try any of my flavor variations to make them your own! For more bread recipes, check out my crescent rolls, flaky biscuits, or easy drop biscuits.
What You Need To Make This Recipe
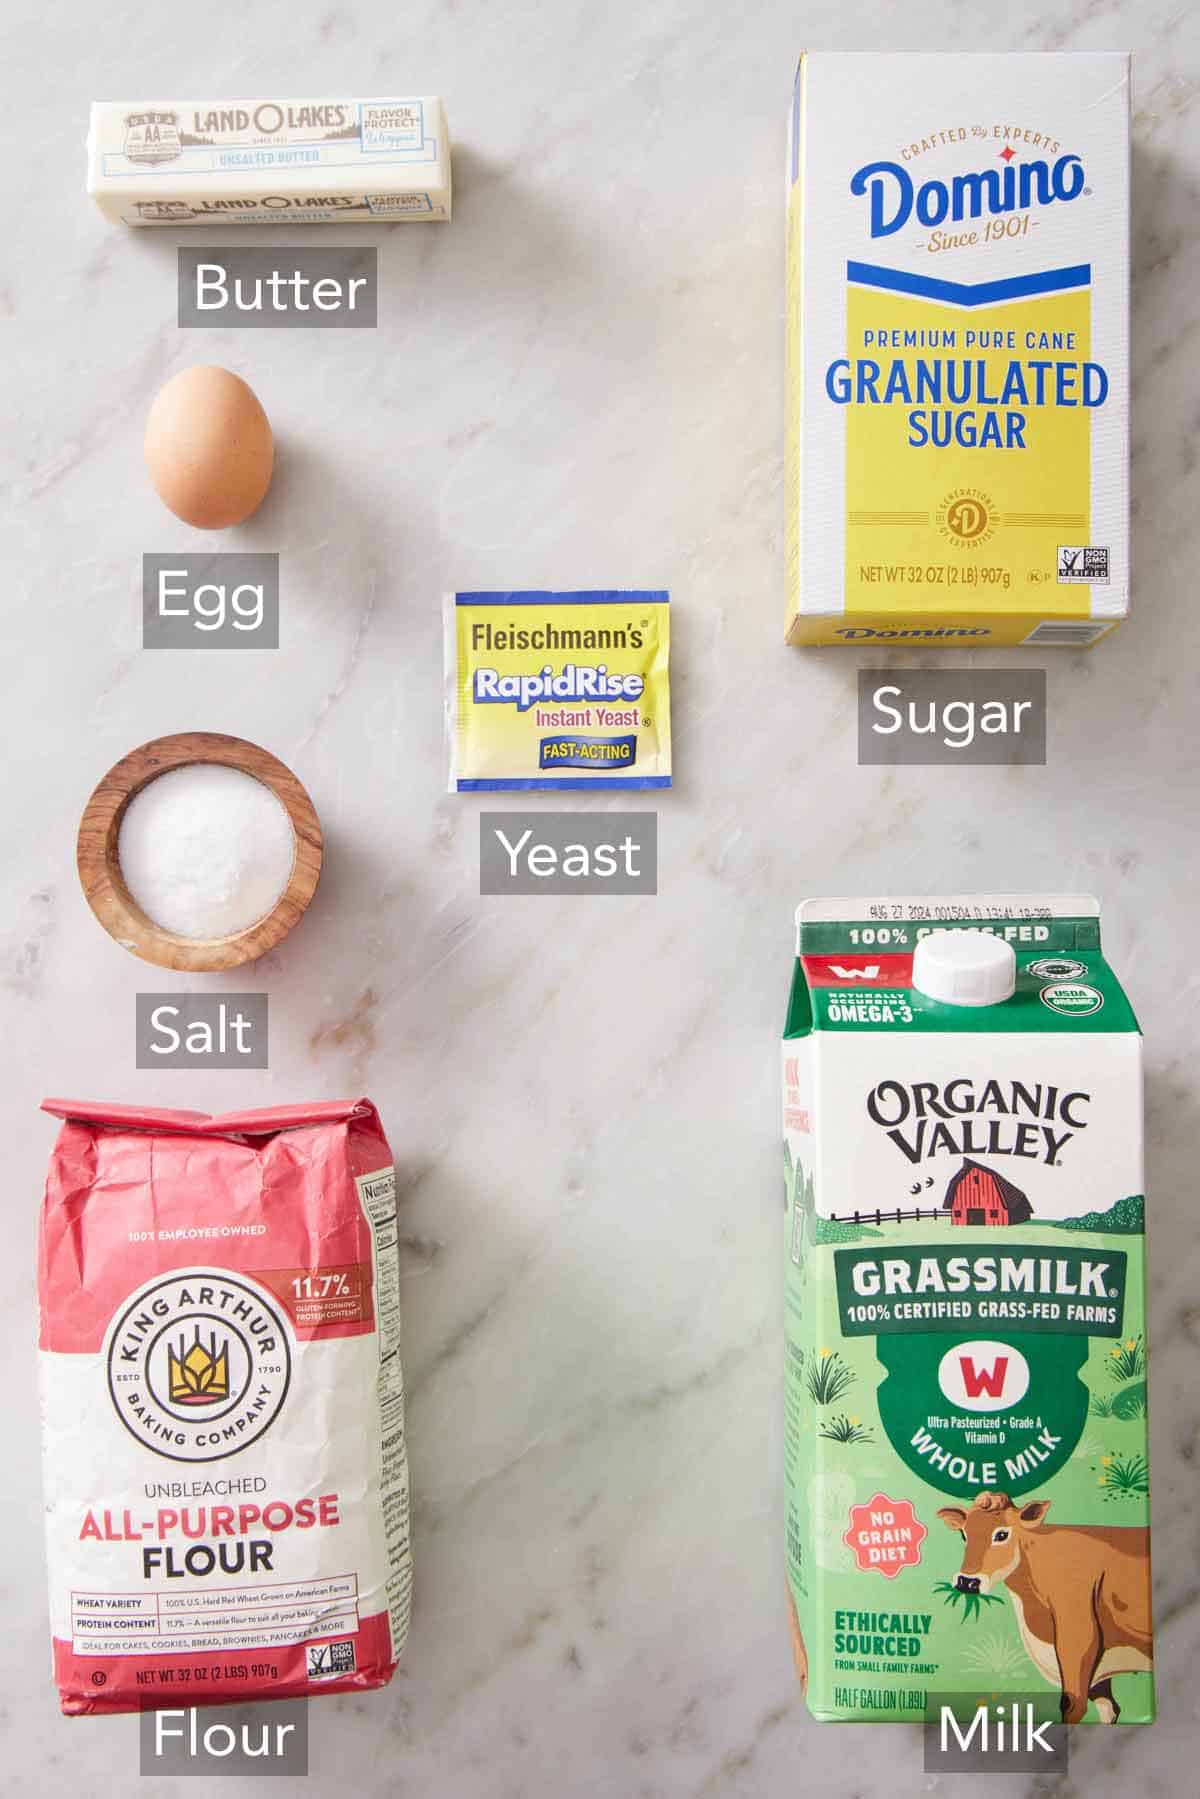
Milk — whole milk makes rich and tender rolls. Heat it until it is just warm to touch, or about 110°F. You can substitute 2% milk or warm water if needed, but they won’t be as soft and fluffy.
Instant Yeast — this rapid-rise yeast doesn’t need to be bloomed in a liquid, saving time and making the recipe foolproof. This type of yeast also rises faster, so you can make homemade rolls in less time! Do not substitute active dry yeast directly into this recipe. If you want to use it instead of instant, you will need to bloom it in the milk first.
All-Purpose Flour — you don’t need high-protein flour for this bread recipe. In fact, AP flour produces fluffy dinner roll that are tender and light rather than firm and chewy. For the best results, weigh it. If measuring the volume, fluffy the flour and spoon it into a scoop, then level off the top.
Unsalted Butter — enriches the dough for delicious, buttery rolls. Use unsalted when possible, as it allows you to control the seasoning best. You will need 7 tablespoons in total for the rolls, or a bit less than one stick. You can use the leftover tablespoon to grease the baking pan!
Egg — a large egg also helps to enrich the dough, providing structure and a soft texture. Bring it to room temperature for 20-30 minutes before adding it. You can also warm it quickly by soaking it in a bowl of lukewarm water for 5 minutes.
How To Make Dinner Rolls
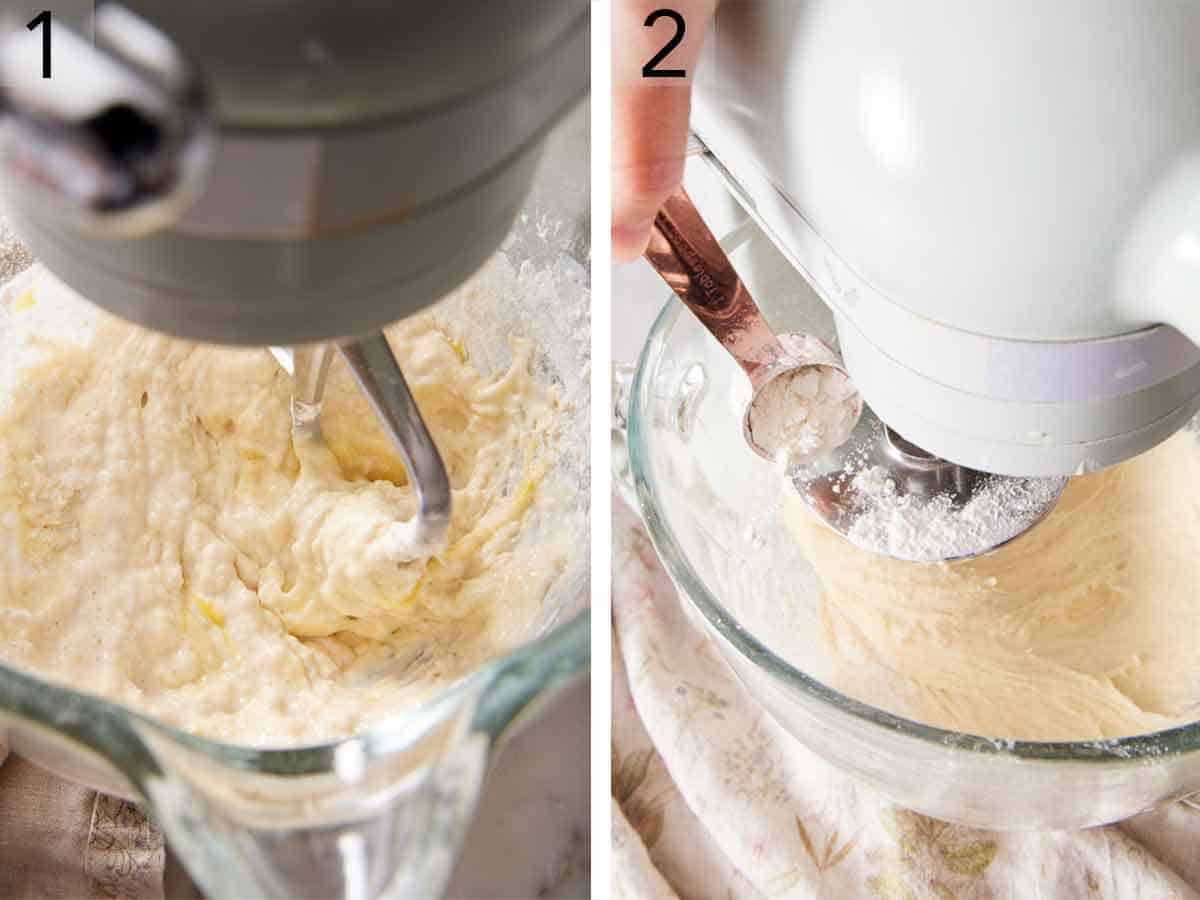
1. In the bowl of a stand mixer, stir together the warm milk and yeast. Add 1½ cups of flour, sugar, and salt. Add the butter and egg. Beat with the paddle attachment at medium-low speed for about 1 minute until combined. Scrape down the bowl and beater and switch to the dough hook.
2. Add 1¾ cups of flour and mix on medium until the dough begins to pull away from the sides of the bowl, about 2 minutes. If the dough is still very wet and sticking to the sides of the bowl, add the additional ¼ cup of flour a tablespoon at a time.
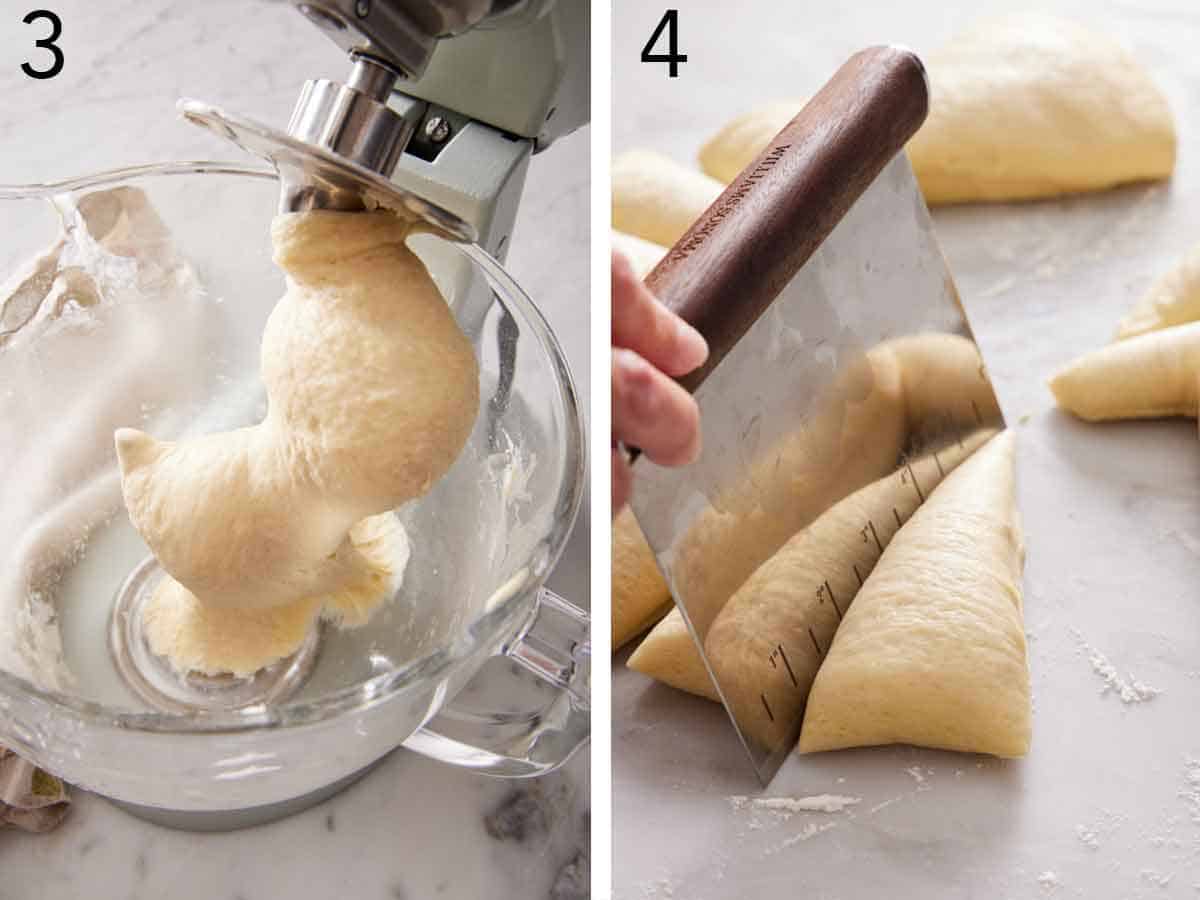
3. Continue mixing for two more minutes at medium speed until the dough balls up around the dough hook and pulls away from the sides of the bowl (the bottom may still stick to the bowl). Place the dough in a lightly greased bowl. Cover the bowl with plastic wrap, and place in a warm place – about 75°F– to rise until doubled in size, 45 minutes to 1 hour.
4. Once risen, grease a 9×13-inch baking dish with softened butter or nonstick spray. Punch down the dough and turn it onto a lightly floured surface. Divide into 15 equal pieces (about 55g each). Keep the floured side of the dough on the countertop and cover the pieces loosely with plastic wrap or a kitchen towel. (This keeps them moist as you shape each piece.)
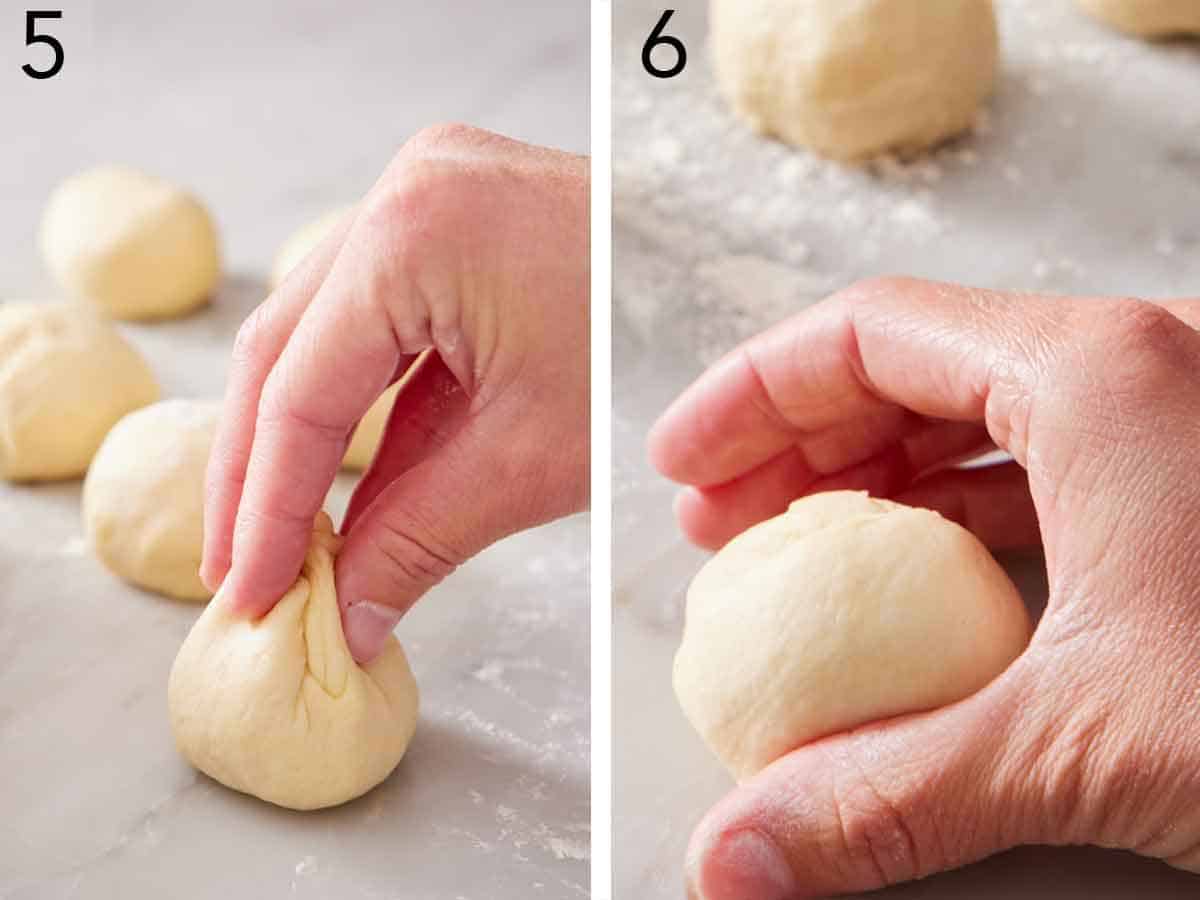
5. Working with one piece at a time, pinch the corners of each dough ball together at the center (keeping the floured side of the dough on the outside), then flip over to place the pinched side on a clean, not floured surface.
6. Cup your hand over the ball and move in a tight circular motion to shape each ball. This will pull the edge in, creating a tight ball and smooth roll.
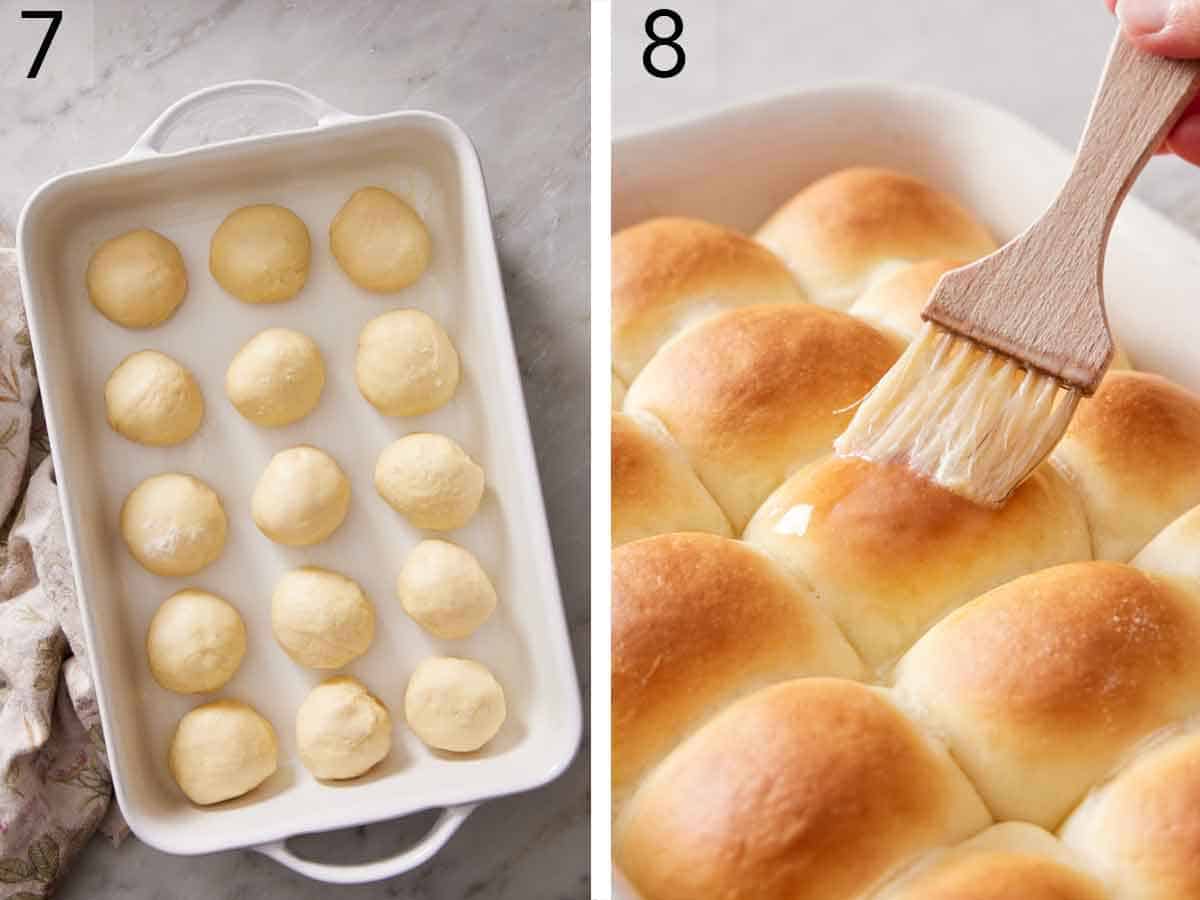
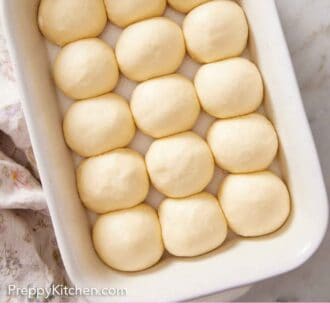
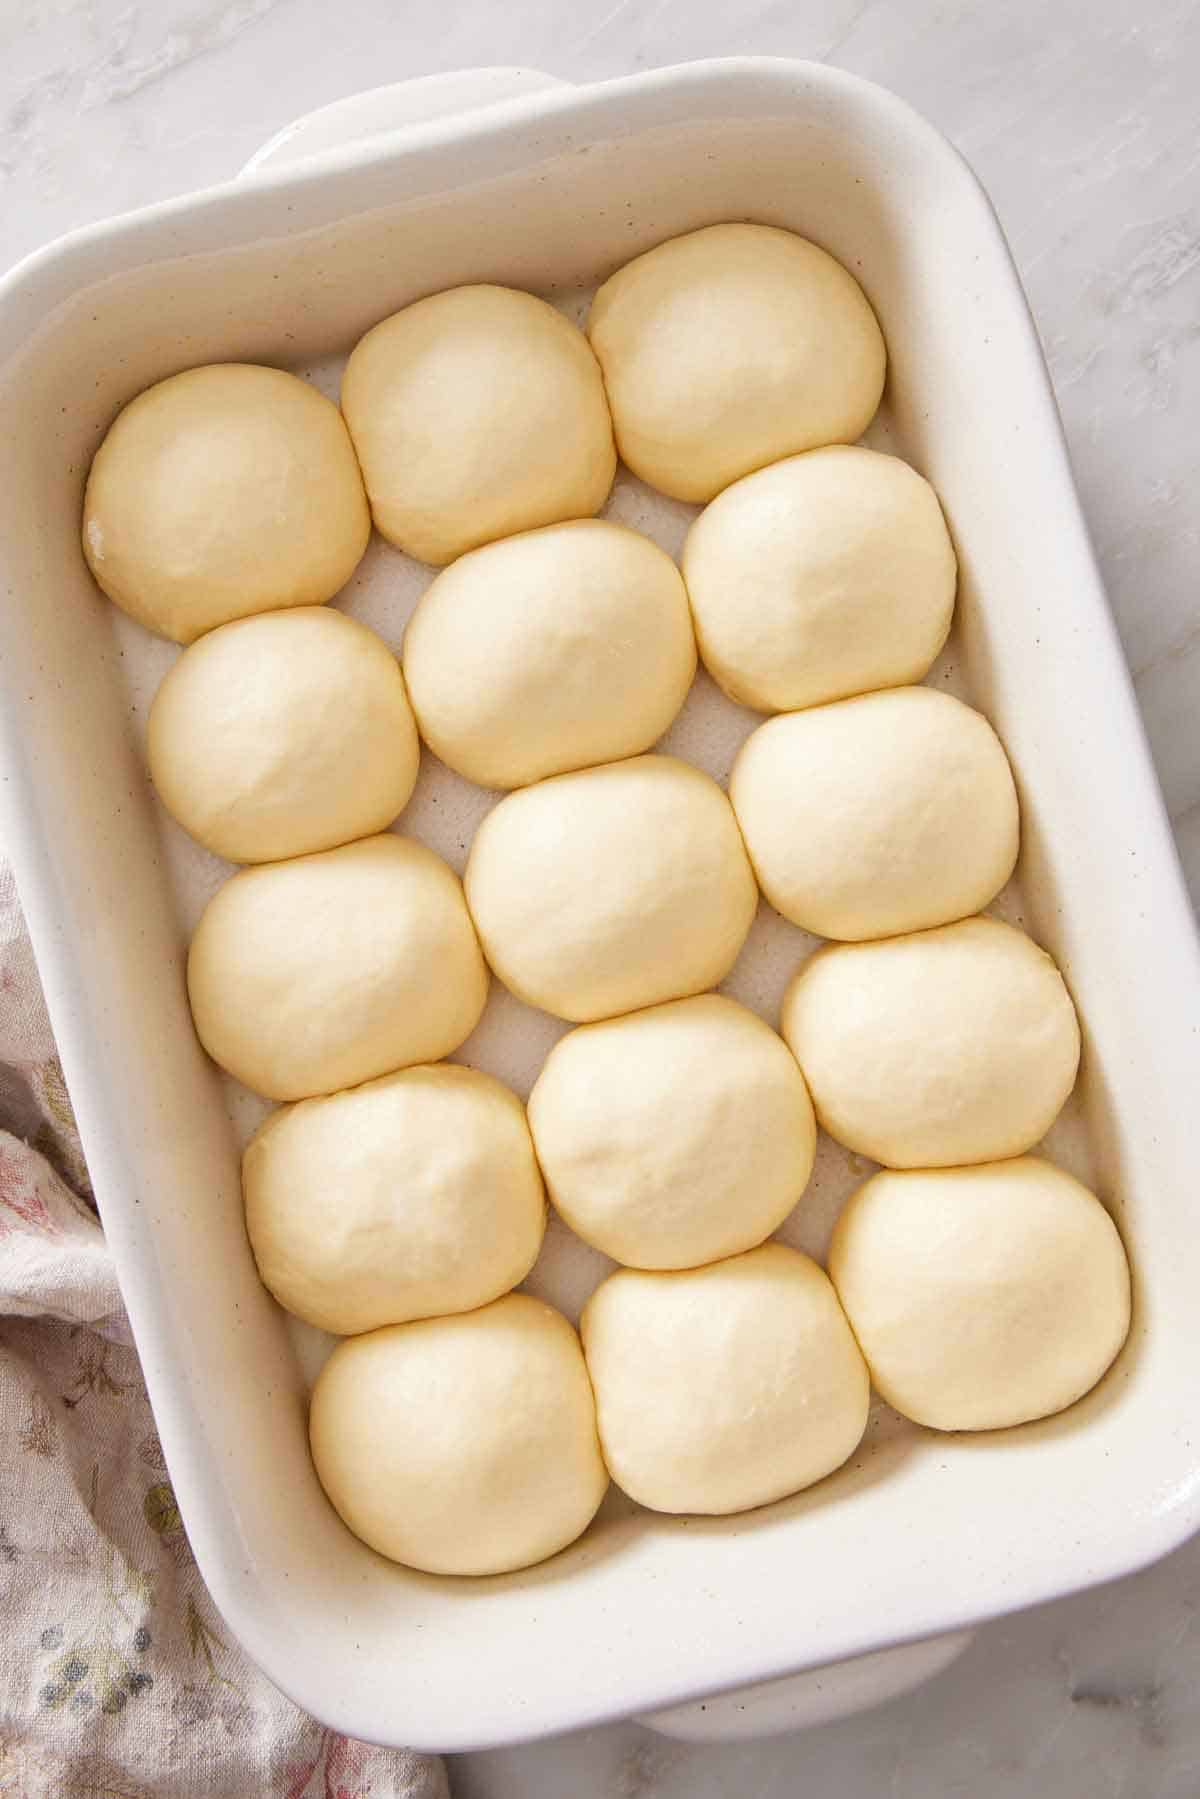
7. Arrange the dough balls in the prepared pan evenly spaced apart, cover with plastic wrap, and place the dough in a warm place for a second rise until visibly puffed or almost doubled in size, 30 to 45 minutes. After 15 minutes of rise time, preheat the oven to 350°F. Bake for 20 minutes or until very puffed and the tops are a deep golden brown.
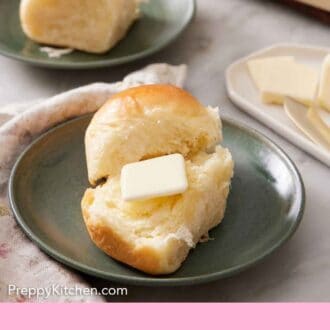
8. Brush the hot rolls with melted butter. You can serve them immediately or let them cool before serving.
Use A Clear Bowl For The First Rise
A clear bowl helps you monitor the bread as it rises, seeing when it has doubled in size. I recommend a glass mixing bowl or a large glass measuring cup with volume markers on the side to make it easy to track progress. If your bowl doesn’t have volume markings, you can mark the starting point of the top of the dough by making a line with a dry-erase marker or piece of tape on the outside of the bowl.
If you don’t have a glass bowl, just do your best to eyeball it. When well-proofed, the dough will appear puffy and jiggle or bounce slightly if you shake the bowl.
Tips For Shaping Rolls
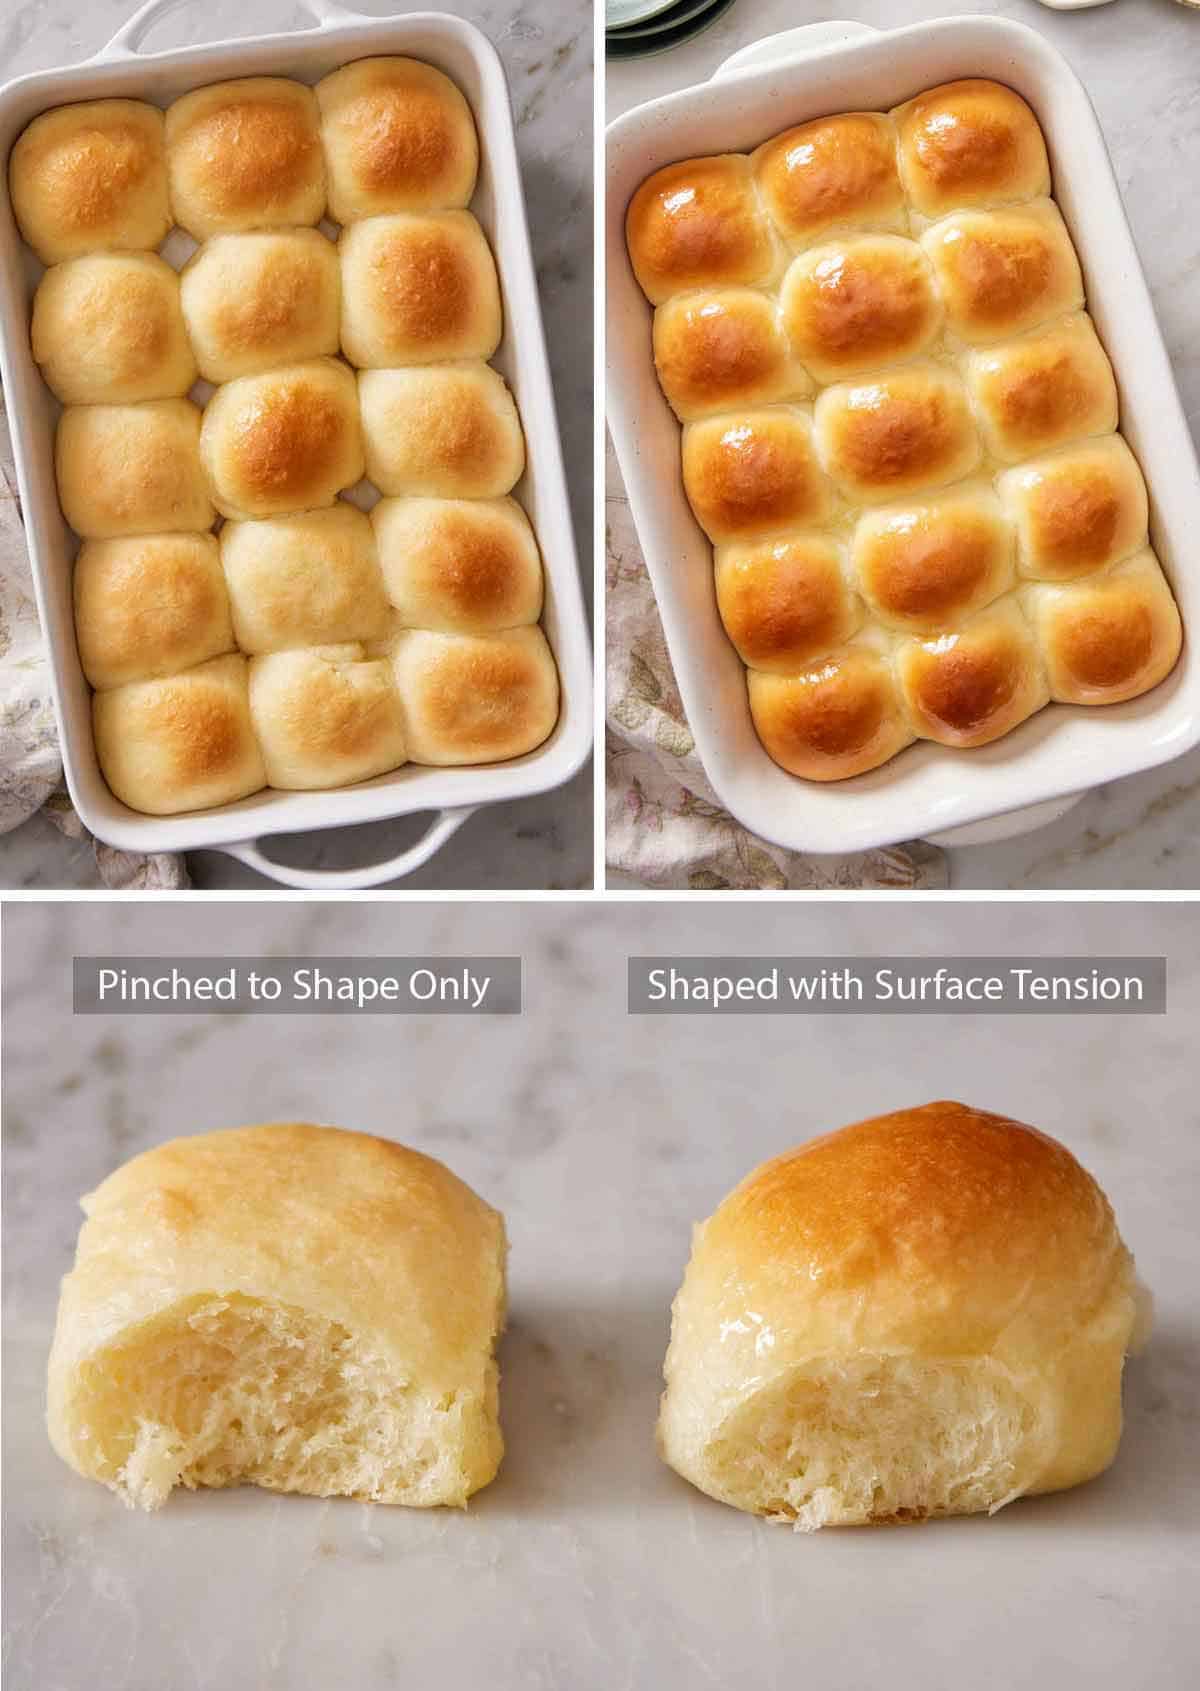
There are two key elements for baking the perfect rolls– even sizing and creating proper surface tension on the outside of the dough balls.
- Weigh each piece of dough. This is the most accurate way to make sure each roll is equal in size. Each one should weigh about 55 grams, but I recommend weighing your whole dough ball and then dividing it by 12 to get the exact weight. If you don’t have a digital scale, pat or roll the dough into a rectangle 6 inches long by 10 inches wide. Cut the rectangle into 15 2×2-inch squares, then shape the pieces.
- Don’t flour the surface. The dough needs a clean work surface so that it sticks slightly, forming tension on the outside of the ball as your hand moves the ball across the surface. This affects the rise and bake of the rolls. A floured surface is too slippery, and the dough balls will simply slide around instead of tightening into balls.
In the image below, you can see how shaping affects the rolls before and after baking. If the dough balls are simply pinched together and set to rise with no surface tension on the outside created, they will bake up flat and less springy with uneven browning. If pinched and then shaped on a clean surface to create proper surface tension, the rolls will have a nice dome and even browning on top. This surface tension is essential to baking tall, fluffy rolls. (Taste-wise, both are delicious!)
Can I Make These Without A Stand Mixer?
Yes, you can knead the dough by hand instead of using a stand mixer. To mix the dough, whisk the milk and yeast in a large bowl, and then whisk in the butter, sugar, salt, and egg until combined. Add 1½ cups of flour and stir together with a wooden spoon until smooth and well combined. Stir in another 1¾ cups of flour, and when it gets too thick to handle with the spoon, turn it onto a lightly floured surface and knead for 4-5 minutes until smooth and elastic. Add the remaining ¼ cup of flour or more as needed to make a soft dough that isn’t sticky. Follow the remaining recipe steps as directed.
How To Make Overnight Rolls
You can make these ahead of time by shaping the rolls and chilling them overnight before baking them the next day, but you will need to make one modification: Use regular active dry yeast instead of instant yeast.
Stir the yeast and warm milk together, but let it bloom for 10 minutes or until very foamy before adding any other ingredients. Then, proceed with the recipe as directed. Once you have shaped the rolls and placed them in a prepared baking pan, cover the pan of rolls with plastic wrap and refrigerate it for up to 12 hours. Set the pan out at room temperature for 1 hour before baking, omitting the second dough rise.
Recipe Variations
- Garlic Herb: Add 2 tablespoons each of chopped fresh herbs such as thyme, rosemary, parsley, and basil, and 1 teaspoon garlic powder or 4 minced garlic cloves along with the second addition of flour.
- Rosemary: Add 1-2 tablespoons of chopped fresh rosemary or 2-4 teaspoons of dried rosemary with the flour.
- Whole Wheat: Swap 1 cup of all-purpose flour with whole wheat flour and add 2 extra tablespoons of milk.
- Honey: Substitute the sugar with honey. Serve with honey butter!
- Cheese: Knead in 1 cup of shredded sharp or white cheddar, gruyere, pepper jack, parmesan, or asiago in the final minute of kneading.
Pro Tips For Making This Recipe
- Mind the temperature of the ingredients. Use warm milk (not hot milk) and softened butter to activate the yeast and support the proofing process. The milk should be about 110°F or warm to the touch. Too high of a temperature (typically above 120°F) can kill the yeast, making it unable to rise.
- Bake in a glass or ceramic dish for the softest rolls. Metal pans are less insulated and form a firm crust where the rolls come in contact with them. Some prefer this texture, but if you do not, use a thicker glass or ceramic dish to ensure soft and pillowy rolls.
- Check the expiration date on the yeast. It can expire, limiting its effectiveness, so only use yeast with a good expiration date.
- Use the correct kind of yeast. Instant yeast doesn’t need to be bloomed in a warm liquid, so it can be directly stirred into the dough. Active dry yeast must be bloomed in order to activate it, so if you do not do that first, the rolls will not rise.
Frequently Asked Questions
Yes! Shape the rolls and place them on a parchment paper-lined baking sheet (skipping the second rise), freezing them until solid. Transfer the frozen rolls to a freezer bag and freeze for up to 3 months.
To thaw and bake, place the frozen rolls in the greased baking dish, cover them with plastic wrap, and let them defrost and rise at room temperature for a second time until almost doubled in size, 5 to 7 hours. Bake as directed.
Yep, bread flour can be substituted for all-purpose! This flour has more protein, so the rolls will be slightly more chewy and less soft but they will still be very good.
You can store leftover rolls at room temperature in an airtight container for up to 4 days. For best results, freeze the rolls while they are still fresh. Place cooled rolls in a freezer-safe container before freezing for up to 2 months. Defrost on the counter for 2-3 hours. To warm them, place them in a pan or wrap the rolls in foil and place them in a 200°F oven for about 5 minutes. Brush the tops with melted butter before serving.
If you’ve tried this Dinner Roll recipe, then don’t forget to rate it and let me know how you got on in the comments below. I love hearing from you!
Dinner Rolls Recipe
Equipment
- Stand mixer with paddle and dough hook attachments
- Large mixing bowl
- 9×13″ baking pan
Ingredients
- 1 cup warm whole milk about 110°F (240ml)
- 1 (0.25oz/7g) packet instant yeast (rapid rise)
- 3½ cups all-purpose flour divided (420g)
- 5 tablespoons unsalted butter softened (71g)
- 3 tablespoons granulated sugar
- 1 large egg room temperature
- 1 teaspoon salt
- 2 tablespoons unsalted butter melted (optional)
Instructions
- In the bowl of a stand mixer, stir together the milk and yeast. Add 1½ cups of flour (180g) followed by the butter, sugar, egg, and salt.
- Beat with the paddle attachment at medium-low speed for about 1 minute until combined. Scrape down the bowl and beater and switch to the dough hook.
- Add another 1¾ cups of flour (210g) and mix on medium until the dough begins to pull away from the sides of the bowl, about 2 minutes. If the dough is still very wet and sticking to the sides of the bowl, add the additional ¼ cup of flour a tablespoon at a time. (The dough has the right amount of flour when it feels very moist, but does not stick to your fingers when pressed.)
- Continue mixing for 2 more minutes at medium speed, until the dough balls up around the dough hook and pulls away from the side of the bowl (the bottom may still stick to the bowl). The dough should look smooth and bounce back quickly when pressed.
- Place the dough in an oiled bowl, cover with plastic wrap, and place in a warm place (about 75°F) to rise until doubled in size, 45 minutes to 1 hour.
- Once risen, grease a 9×13-inch baking dish with softened butter or spray with nonstick spray.
- Punch down the dough and turn it onto a lightly floured surface. Divide into 15 equal pieces (about 55g each). Keep the floured side of the dough on the countertop and cover the pieces loosely with a piece of plastic wrap or a kitchen towel. (This keeps them moist as you shape each piece.)
- Working with one piece at a time, pinch the corners of each piece together at the center (keeping the floured side of the dough on the outside), then flip over to place the pinched side on a clean, not floured surface. Cup your hand over the ball and move in a tight circular motion to shape each ball. This will pull the edge in, creating a tight ball and smooth roll.
- Arrange the dough balls in the prepared pan evenly spaced apart, cover with plastic wrap and allow to rise until visibly puffed or almost doubled in size, 30 to 45 minutes.
- After 15 minutes of rising, preheat the oven to 350°F.
- Bake for 20 minutes or until very puffed and the tops are a deep golden brown. Brush the hot rolls with melted butter. You can serve them immediately or let them cool before serving.
Notes
- Mind the temperature of the ingredients. Use warm milk (not hot milk) and softened butter to activate the yeast and support the proofing process. The milk should be about 110°F or warm to the touch. Too high of a temperature (typically above 120°F) can kill the yeast, making it unable to rise.
- Bake in a glass or ceramic dish for the softest rolls. Metal pans are less insulated and form a firm crust where the rolls come in contact with them. Some prefer this texture, but if you do not, use a thicker glass or ceramic dish to ensure soft and pillowy rolls.
- Check the expiration date on the yeast. It can expire, limiting its effectiveness, so only use yeast with a good expiration date.
- Use the correct kind of yeast. Instant yeast doesn’t need to be bloomed in a warm liquid, so it can be directly stirred into the dough. Active dry yeast must be bloomed in order to activate it, so if you do not do that first, the rolls will not rise.
Nutrition
Have you tried this recipe? Tag me today!
Mention @preppykitchen and tag #preppykitchen!


