
A reader says: “I made this apple cobbler yesterday with Honeycrisp apples and it was a hit with my family and guests. I will definitely be making this again in the very near future. Best cobbler recipe ever!” ★★★★★
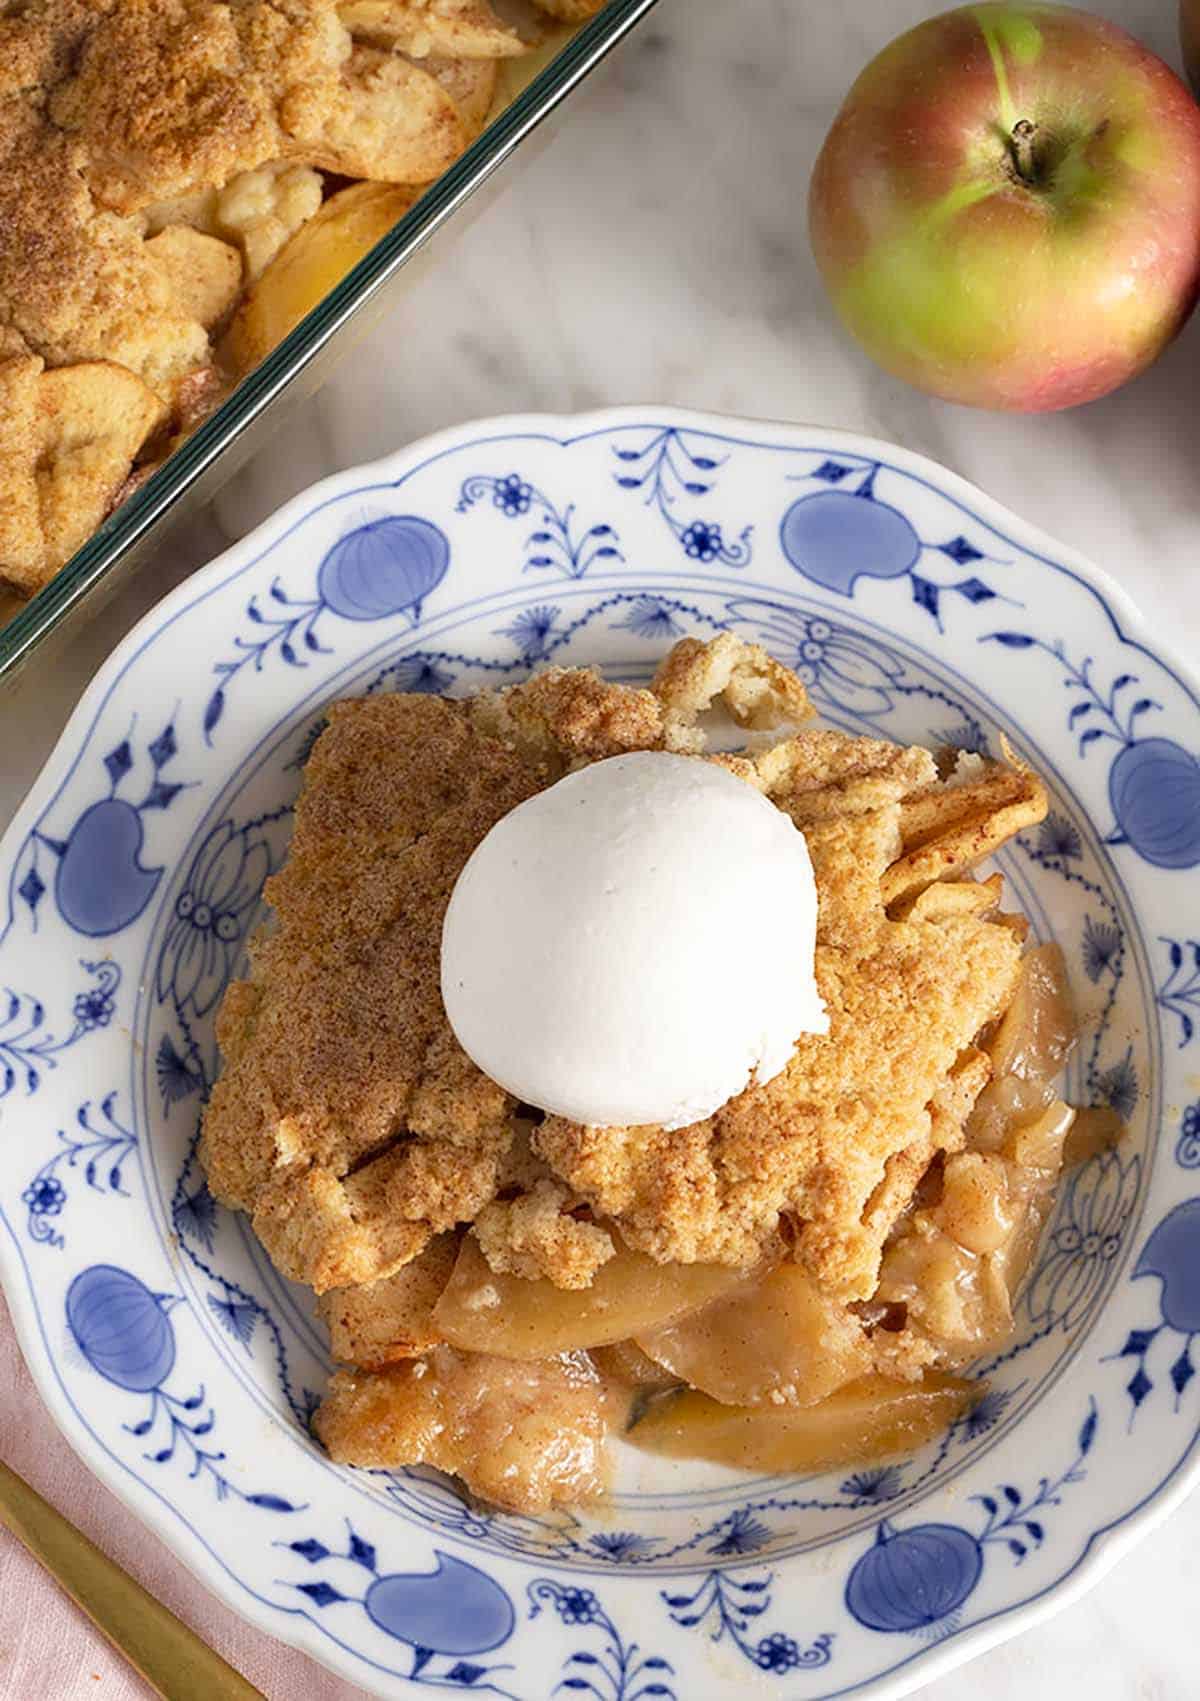
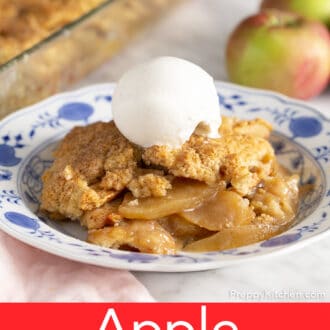
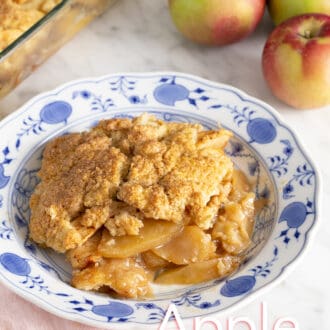
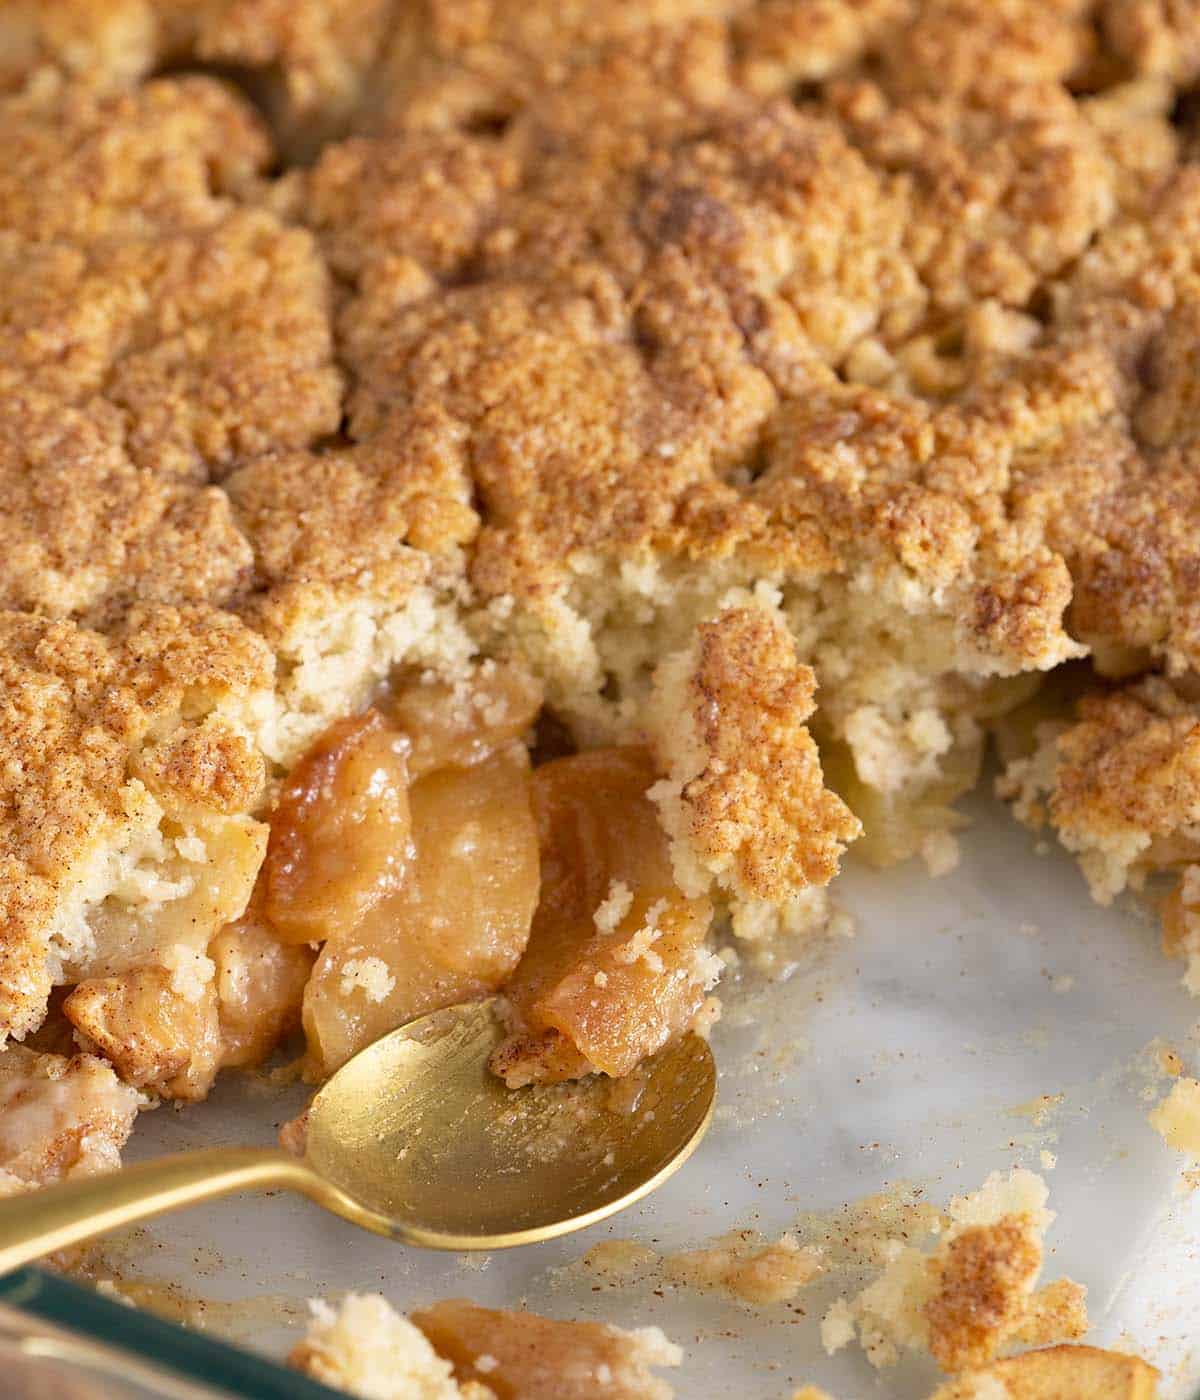
This comforting apple cobbler recipe is one of my favorite apple desserts! Chock-full of flavor from warming spices, brown sugar, and a hint of vanilla, the apple filling is silky and perfectly tender. I developed this apple cobble recipe with a biscuit topping, unlike some of my other cobblers that have a cake-like batter. During recipe testing, I found that the apples baked up better with this more scoopable topping versus using a more runny batter.
The apple cobbler comes together with simple ingredients and is really easy to prepare, too. Once the apples are peeled and sliced, simply toss them with lemon juice and spices before nestling them under the biscuit batter. Bake until golden brown and bubbly, and voilà — your rustic, delicious dessert is ready. I give you all of my best tips for making this easy dessert, plus which apple varieties are best for baking, in the post below!
Table of Contents
- What’s The Difference Between A Cobbler And A Crisp?
- Key Ingredients
- Choosing And Preparing The Best Apples For Cobbler
- Why I Don’t Cook The Filling First
- Can I Make The Cobbler A Day In Advance?
- Pro Tips For Making The Best Apple Cobbler
- How To Make Apple Cobbler
- How To Serve
- Storage, Reheating, and Freezing Tips
- Can I make this gluten-free?
- More Of My Favorite Cobbler Recipes
What’s The Difference Between A Cobbler And A Crisp?
The main difference between these apple recipes is the type of topping that is used. Apple cobbler is topped with a golden, biscuit-like crust that is soft and fluffy. Apple crisp is sprinkled with a buttery crumble topping similar to a streusel, made with oats, flour, cinnamon, butter, and sugar, that bakes up sugary and crisp.
Key Ingredients
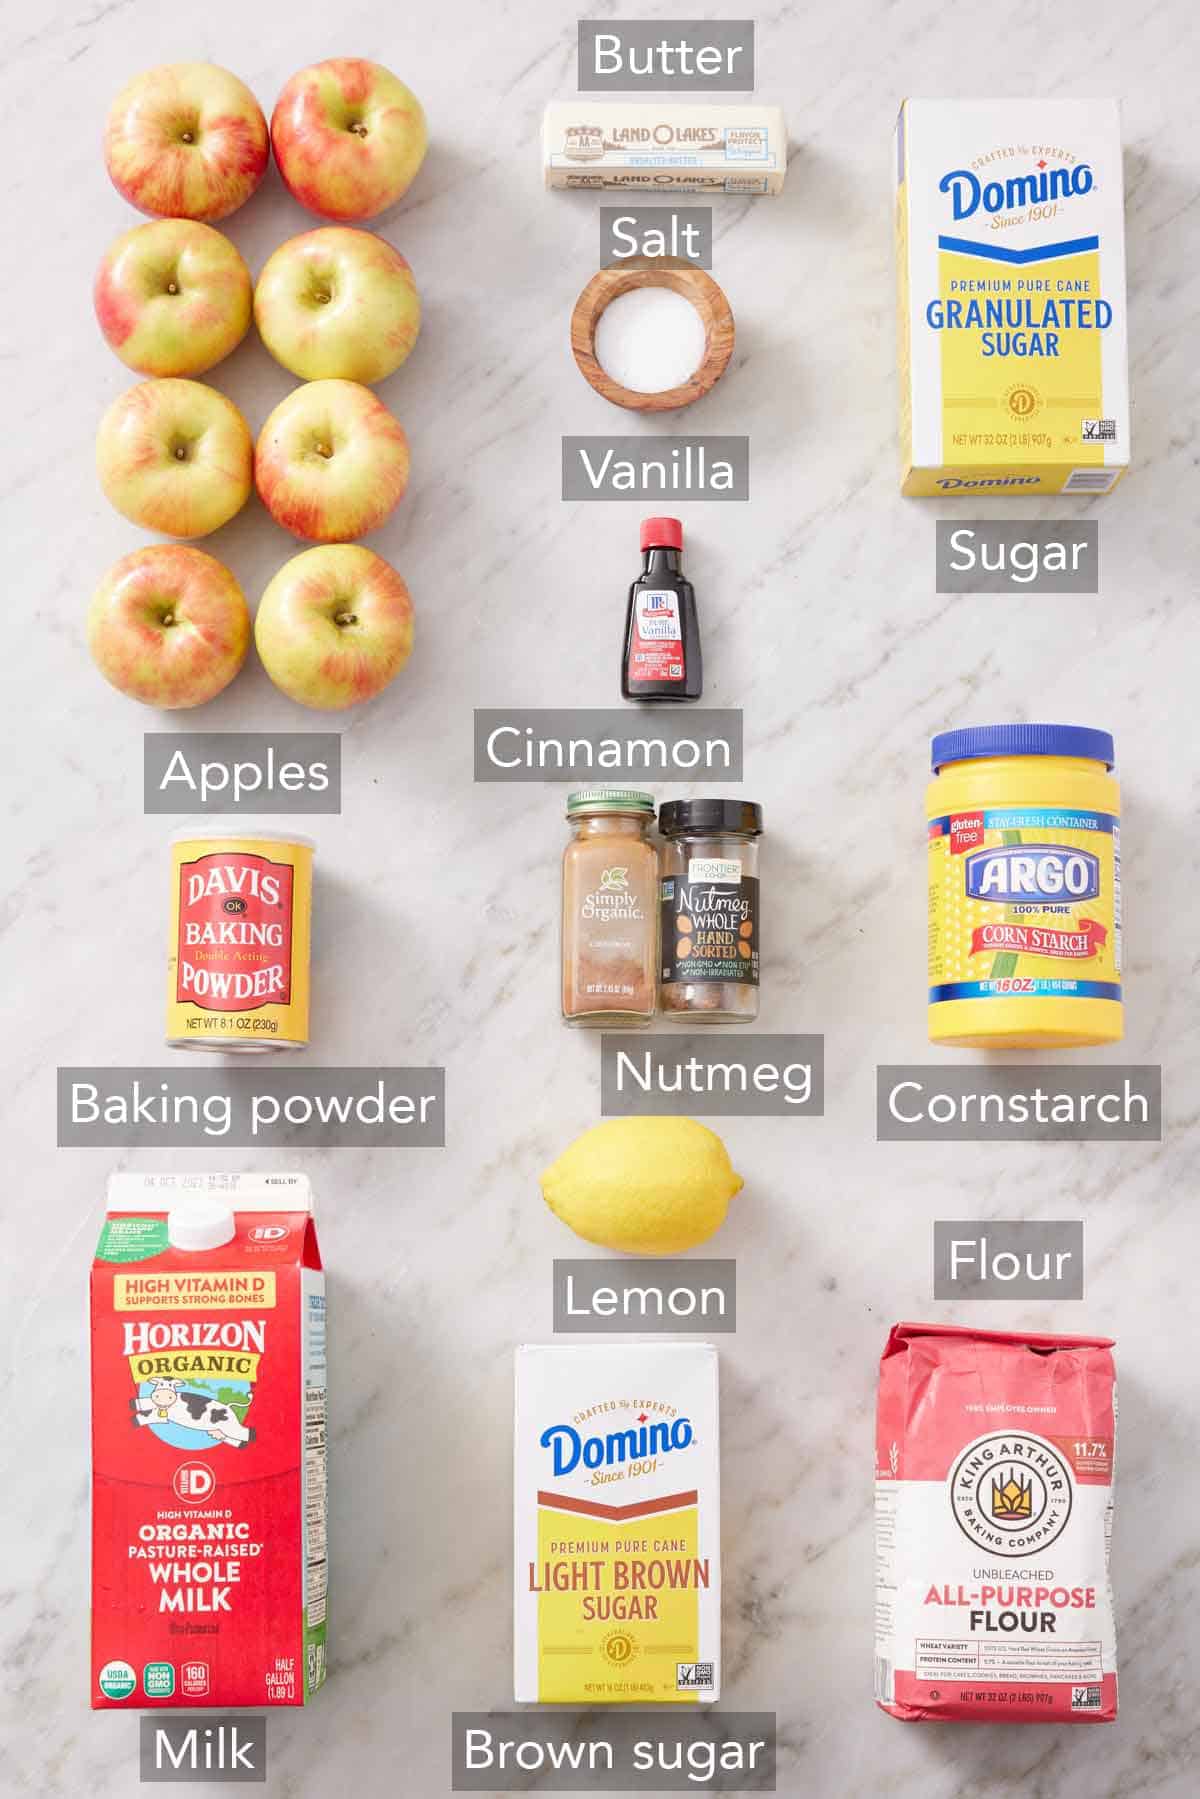
Here are the main ingredients you’ll need to make the best apple cobbler recipe! You can find the full list of ingredients with measurements in the recipe card below.
Apples — peel, core, and slice 4 pounds of baking apples to prepare. I like to use a mixture of sweet and tart apples (more on that just below).
Lemon juice — not only does lemon juice prevent the apples from oxidizing (turning brown), it also adds a subtle tangy flavor.
Brown sugar — light brown sugar adds lovely caramel flavor to the filling, but you can also use dark brown sugar for a deeper molasses flavor.
Cornstarch — cornstarch thickens the filling and gives the cobbler its signature gooey texture. Without it, the cobbler would be very runny, which can cause the biscuit topping to not bake up properly.
Topping — for the biscuit-like topping, the main ingredients are all-purpose flour, white sugar, baking powder, milk, and melted butter.
Choosing And Preparing The Best Apples For Cobbler
I recommend using firm baking apples so they hold up as you bake them, as well as a mix of sweet and tart apples for the best flavor. The best apples that I always use for apple cobbler are Granny Smith apples, Honeycrisp apples, and Pink Lady apples. These range in flavor from tart to sweet, so if you use a mix of at least two, you’ll have a delicious cobbler filling! Softer apple varieties like Jonagold and Golden Delicious have a sweet flavor but turn very soft when baked. I prefer a crisp-tender apple filling, so I typically avoid those varieties.
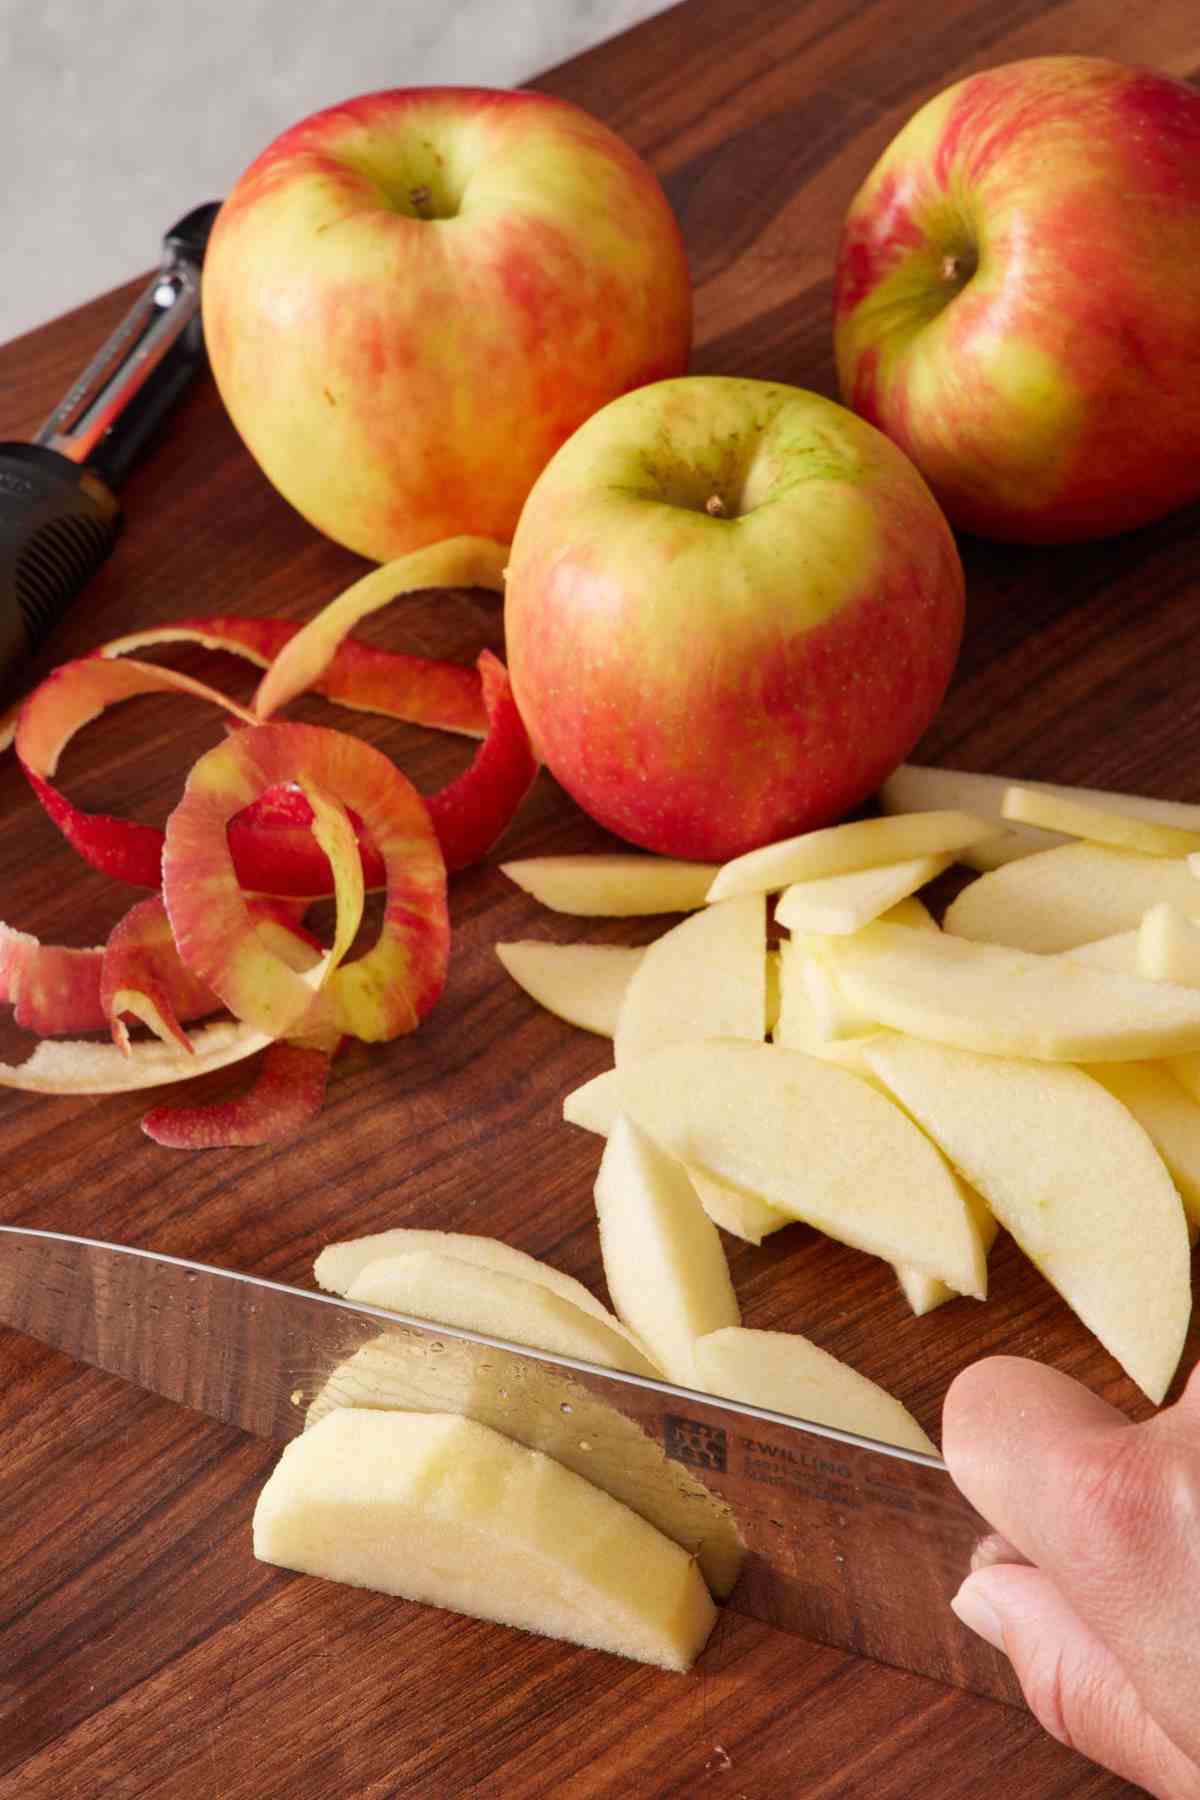
To prep the apples, always start by peeling them. Just like I recommend for an apple pie filling, this step is non-negotiable for a silky apple cobbler filling. The peels become tough and rubbery when baked, which can make the texture of the filling unappealing. Once peeled, cut the apples in half, then in half lengthwise again, and cut out the core. Then, slice the apple chunks into equal-sized pieces so they cook evenly. I prefer longer slices about ¼-inch-thick, but you can also chop them if you wish.
Why I Don’t Cook The Filling First
During recipe testing, I found that cooking the fresh apples prior to baking was an unnecessary step. It softened the apples before they went into the oven, so once they were baked, they were too soft and mushy rather than being perfectly tender.
Because my cobbler has a biscuit topping, the apples cook well under the topping, trapping in moisture and softening to the perfect level — softened, but still retaining a good amount of texture. As a bonus, skipping the pre-cooking step saves time (and means one less dish to wash!).
Can I Make The Cobbler A Day In Advance?
Yes! Assemble the cobbler, then cover the pan, and refrigerate it for up to 24 hours before baking. When you are ready to bake, set it out at room temperature for 30 minutes, then bake at 350°F as directed. The bake time will increase to closer to an hour (instead of 45 minutes) since the cobbler is starting out cold.
Pro Tips For Making The Best Apple Cobbler
Measure your flour correctly! Adding too much flour to the recipe will yield a dry topping. The best and easiest way to measure flour is by using a scale. If you don’t have one, fluff your flour with a spoon, sprinkle it into your measuring cup, and use a knife to level it off.
Keep the butter for the filling in the fridge until ready to use. Cold butter will melt into the topping while baking and make the apple cobbler light and tender.
For a sugary crunch on the topping, sprinkle the dough with cinnamon sugar before baking. I usually mix 1 tablespoon of sugar with ¼ teaspoon of cinnamon for extra flavor.
For more texture in the cobbler topping, you can swap ¼ cup of the flour with ¼ cup of quick-cooking oats.
How To Make Apple Cobbler
Here are some helpful process images and instructions for making apple cobbler. You can find the full instructions in the recipe card below.
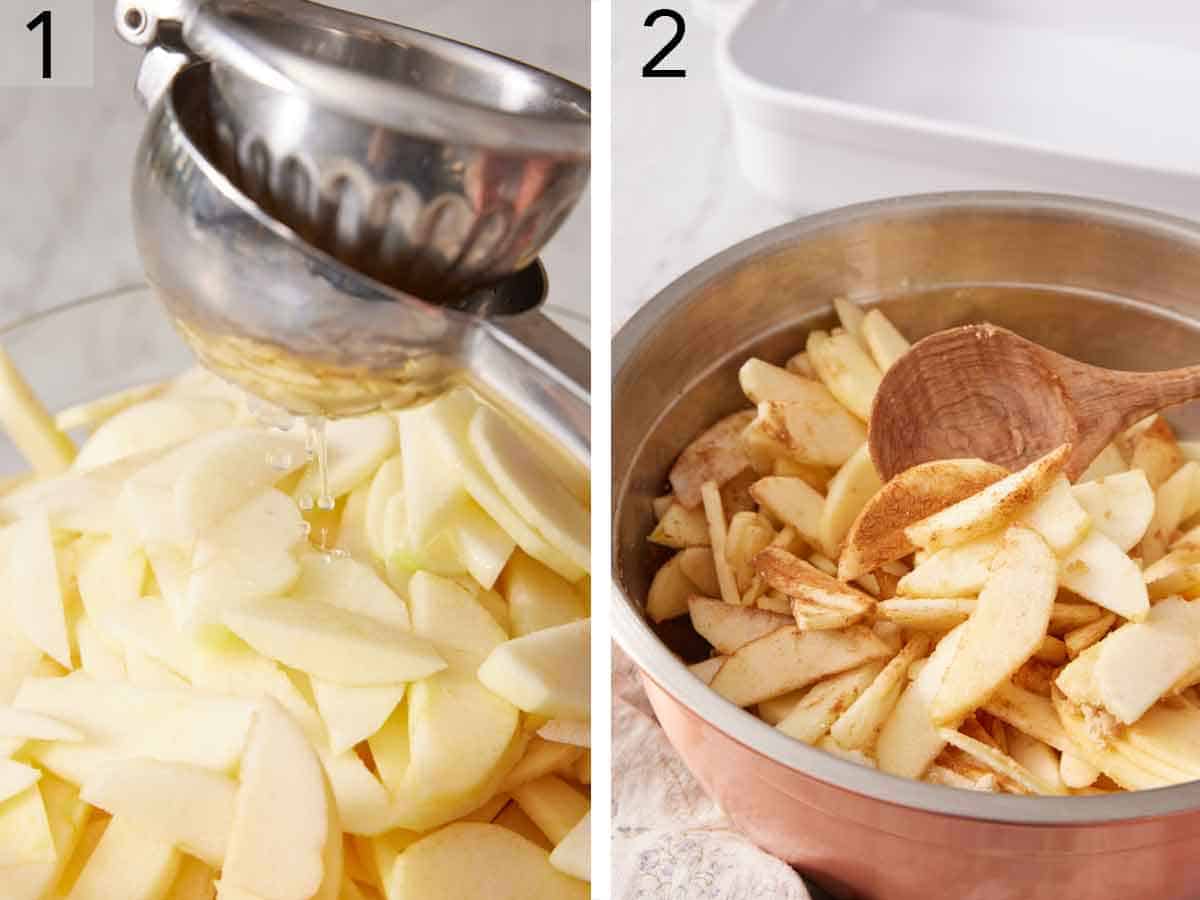
1. Toss the apple slices with lemon juice until they are well coated. (This slows oxidation, keeping the apples fresh!)
2. Add the brown sugar, cornstarch, spices, and vanilla extract and mix well until all of the apple slices are coated in the sugar and spices.
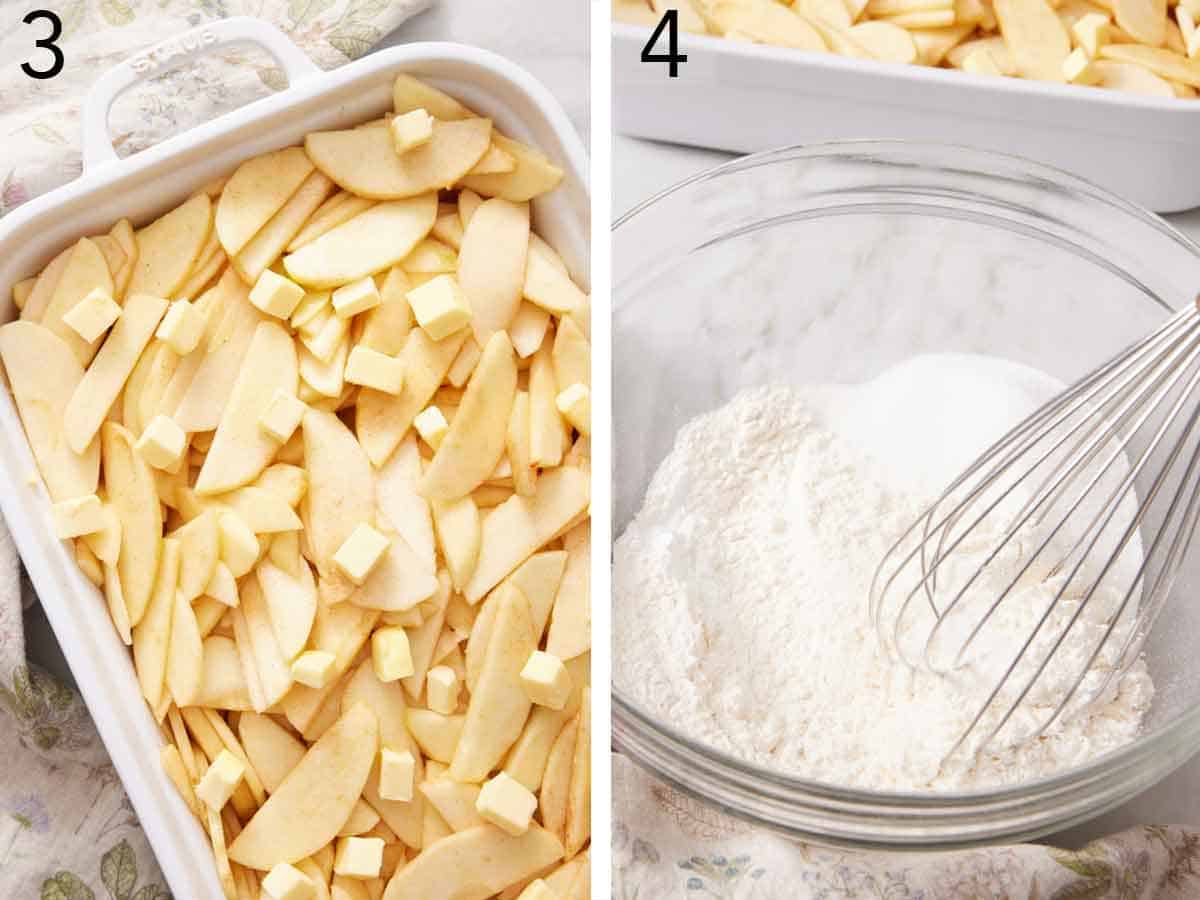
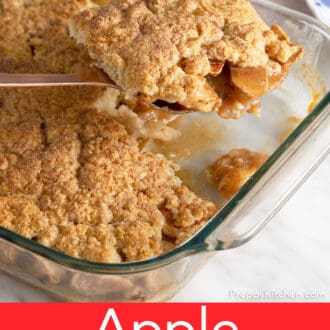
3. Transfer the apple mixture to a 9×13-inch baking dish and dot the top with cold cubed butter. Use a ceramic or glass dish if you have one! This will keep the edges of the apple filling from caramelizing too much.
4. In a large bowl, whisk together the flour, sugar, baking powder, and salt for the topping.
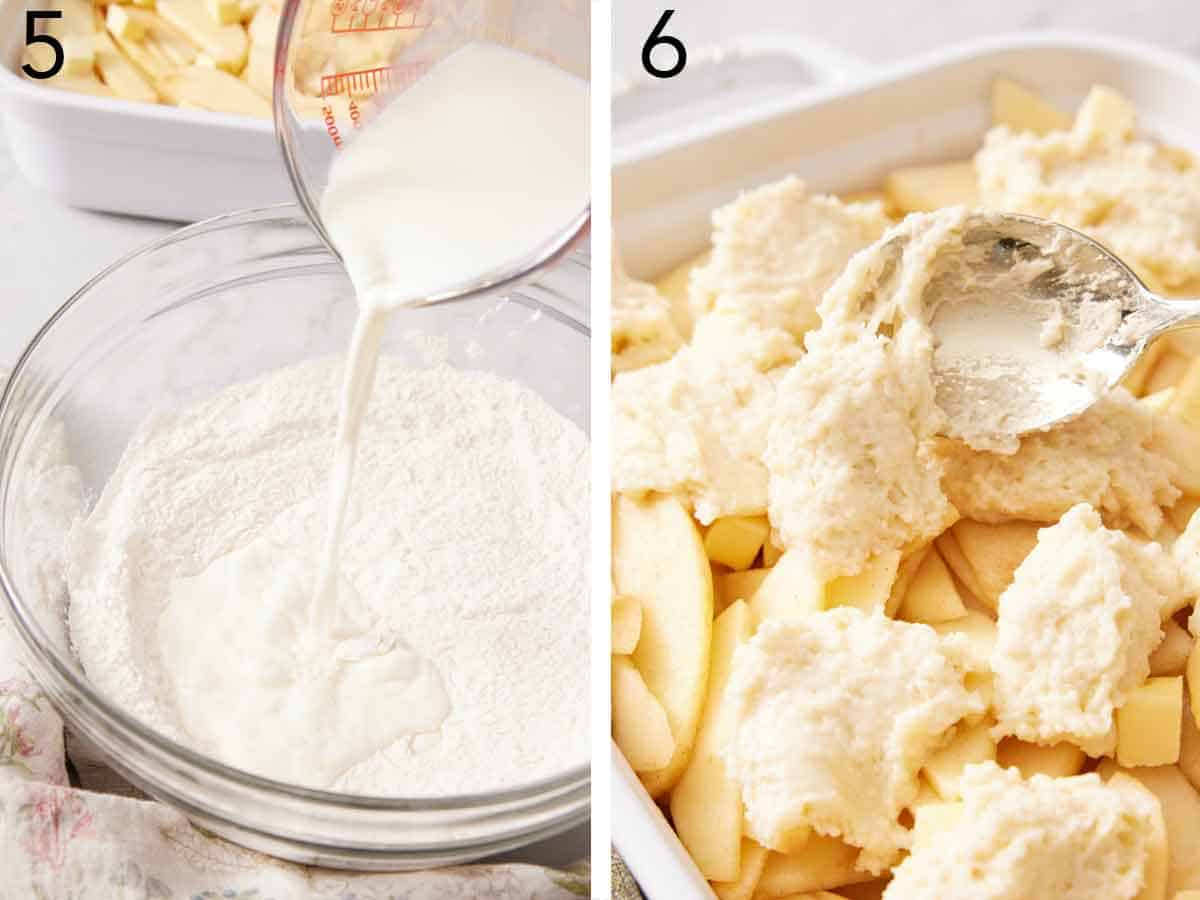
5. Add the milk and melted butter and stir together just until the dry ingredients are fully combined with the wet ingredients.
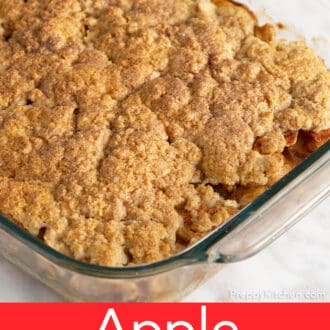
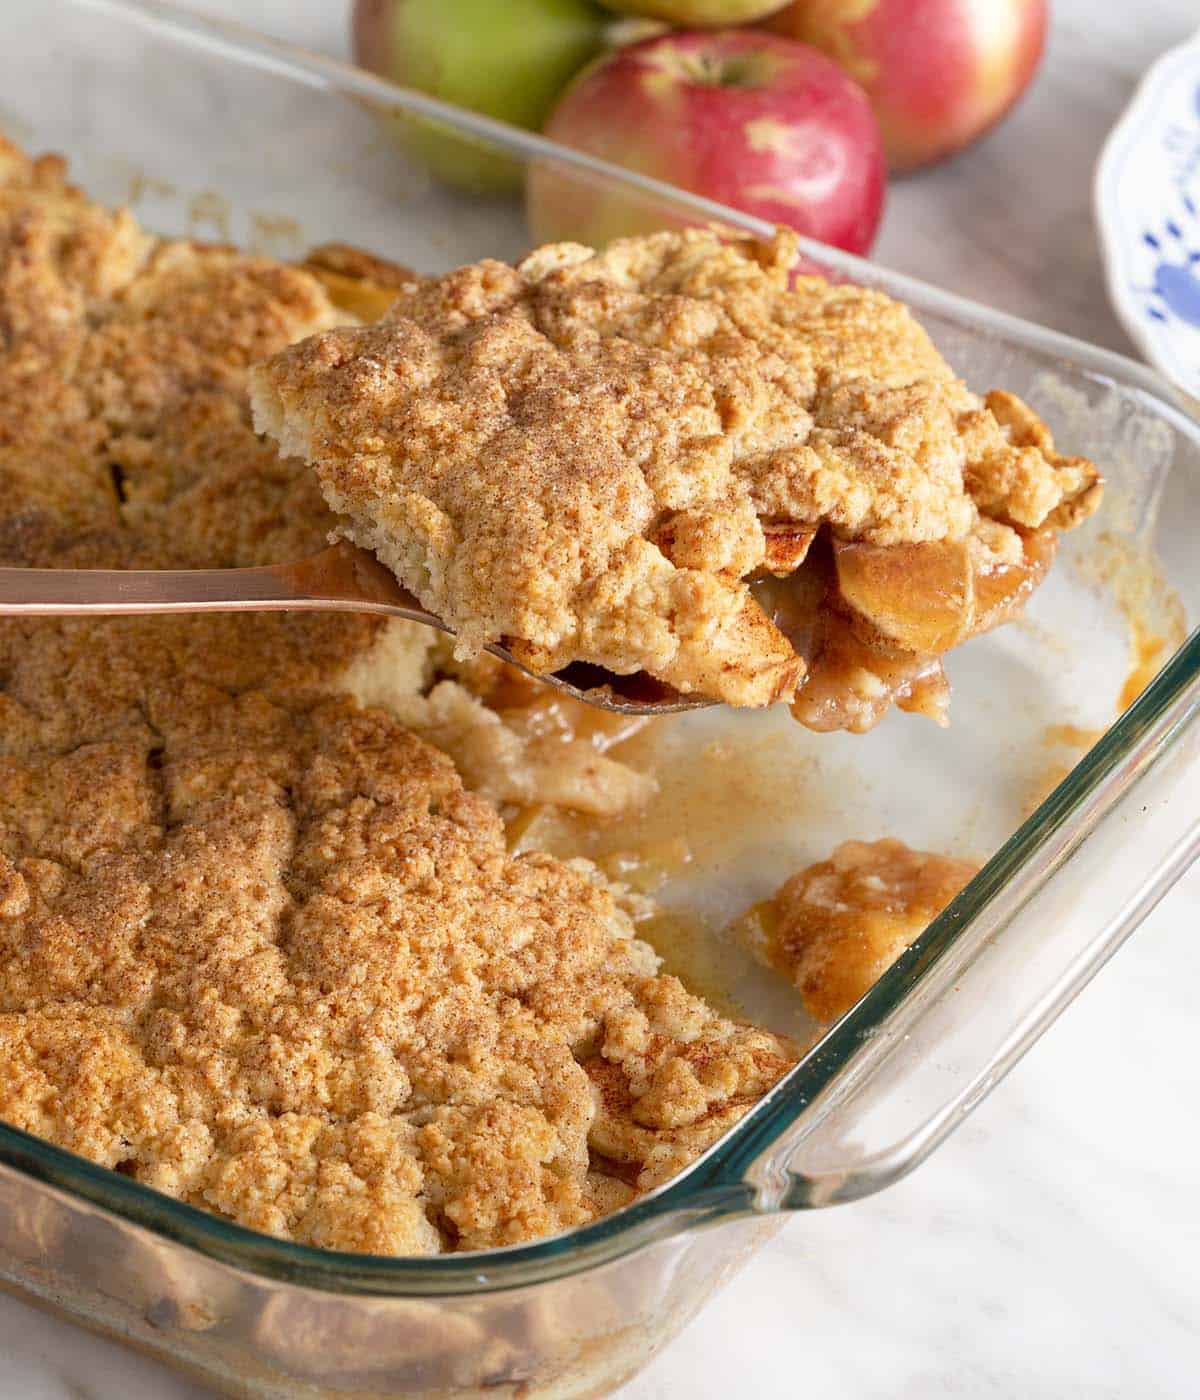
6. Dollop the batter on top of the apples with a spoon. Keep in mind that it doesn’t need to completely cover the apples– it will spread as it bakes. Bake at 350°F for 45 minutes or until golden brown on top and bubbly around the edges. Then let cool for 10 minutes so the juices have time to firm up a bit.
Apple Cobbler Recipe
Video
Equipment
- Mixing Bowls
- 9×13 baking dish
Ingredients
Apple Filling:
- 4 pounds apples peeled, cored, and sliced to ¼-inch thickness (1.8kg)
- 2 tablespoons fresh lemon juice
- ⅓ cup packed light brown sugar (73g)
- 1 tablespoon cornstarch
- ½ teaspoon ground cinnamon
- ¼ teaspoon ground nutmeg
- 1 teaspoon vanilla extract
- ¼ cup cold unsalted butter cut into small cubes (56g)
Topping:
- 2 cups all-purpose flour (240g)
- ½ cup granulated sugar (100g)
- 1 tablespoon baking powder
- 1 teaspoon salt
- ¾ cup whole milk (180ml)
- ¼ cup unsalted butter melted (56g)
Instructions
For the Apple Filling:
- Preheat the oven to 350°F.
- In a large mixing bowl, toss the apples with the lemon juice until well coated. Add the brown sugar, cornstarch, cinnamon, nutmeg, and vanilla extract and mix well to combine. Pour the mixture into a 9×13-inch baking dish. Dot the top with the cubed butter.
For the Topping:
- In a large mixing bowl, whisk together the flour, sugar, baking powder, and salt. Add the milk and butter and stir together with a spatula until all of the flour is moistened. Scatter the topping over the filling. (It doesn’t need to completely cover the apples.)
- Bake for 45 minutes or until the topping is golden brown and the filling is bubbling around the edges. Let cool for 10 minutes. Serve topped with vanilla ice cream. Cover any leftovers and refrigerate for up to 5 days.
Notes
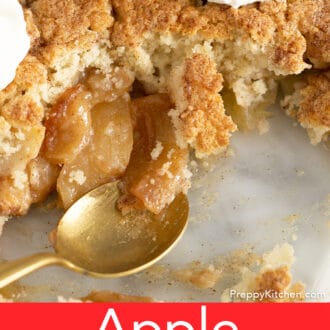
- Allow the cobbler to cool for a few minutes before serving. This gives time for the juices from the apples to set up slightly, so you have a luscious and velvety cobbler instead of a runny mess when you scoop into it.
Nutrition
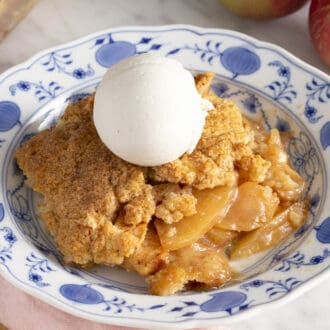
How To Serve
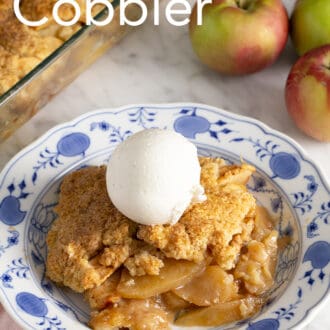
Apple cobbler and a scoop of vanilla ice cream are a classic pairing and my favorite! Or, try it with a drizzle of caramel sauce and a dollop of homemade whipped cream.
Storage, Reheating, and Freezing Tips
Storing: Once completely cooled, cover any leftovers tightly with plastic wrap and refrigerate for up to 5 days.
Reheating: Cover the cobbler with foil (removing plastic wrap first) and place in an oven heated to 350°F for about 10 to 15 minutes or until warmed through.
Freezing: Transfer the baked cobbler to a freezer-safe container and freeze for up to 3 months. (If you intend to freeze it from the start, bake the cobbler in a freezer-safe pan!) Thaw overnight in the refrigerator before reheating in the oven and enjoying.
Can I make this gluten-free?
I haven’t personally tested it, but you should be able to make the topping by substituting the all-purpose flour with an all-purpose gluten-free baking flour. You may need to add a little more liquid to the biscuit batter (2 to 4 tablespoons) since gluten-free flours tend to absorb more liquid and can cause the batter to become dry.
More Of My Favorite Cobbler Recipes
If you loved this apple cobbler, try another fruit cobbler!
This super-easy blueberry cobbler is perfect for peak summer berry season.
If you’re looking for a good potluck dessert, make my strawberry cobbler using fresh strawberries.
It isn’t summer without a peach cobbler, and my classic recipe is perfect with fresh or frozen peaches.
My cherry cobbler recipe is an easy, crowd-pleasing dessert for any occasion.
If you’ve tried this apple cobbler recipe, then don’t forget to rate it and let me know how you got on in the comments below. I love hearing from you!
Erin Hawthorne says
This Apple colbler was amazing thank you
Donna says
Delicious! I made this for a church fellowship gathering and took home an empty baking dish. I used a combination of Granny Smith’s and Honeycrisp apples with a couple of Gala apples thrown in. The spice mixture in the apples made them especially delicious. I could have easily eaten the apples without the topping but the topping was great, too! This recipe is definitely a keeper.
PL Wilke says
I made this apple cobbler yesterday with Honeycrisp apples and it was a hit with my family and guests. I will definitely be making this again in the very near future. Best cobbler recipe ever!
Paul Morse says
I have tried several of your recipes before…..all excellant!!
I made the Apple Cobbler today, using Granny Smith apples….the results were perfect!! My guests just loved it…the best dessert to welcome the Fall season! 👍