

This post may contain affiliate links. Please read our disclosure policy.
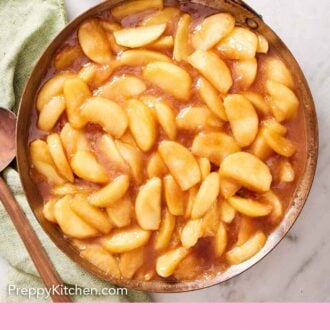

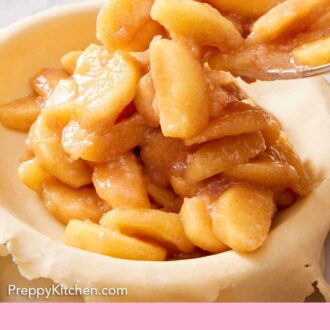
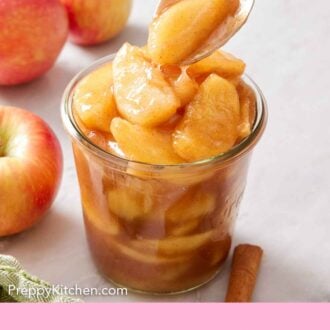
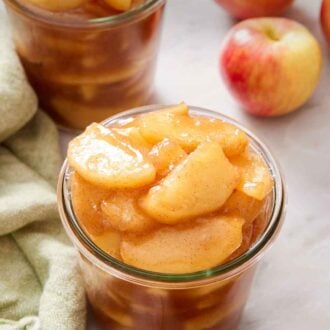
Homemade apple pie filling is easy and loaded with flavor from fresh apples, brown sugar, and cinnamon. It takes 10 minutes to cook in a skillet, then use it in a pie or freeze it for later!
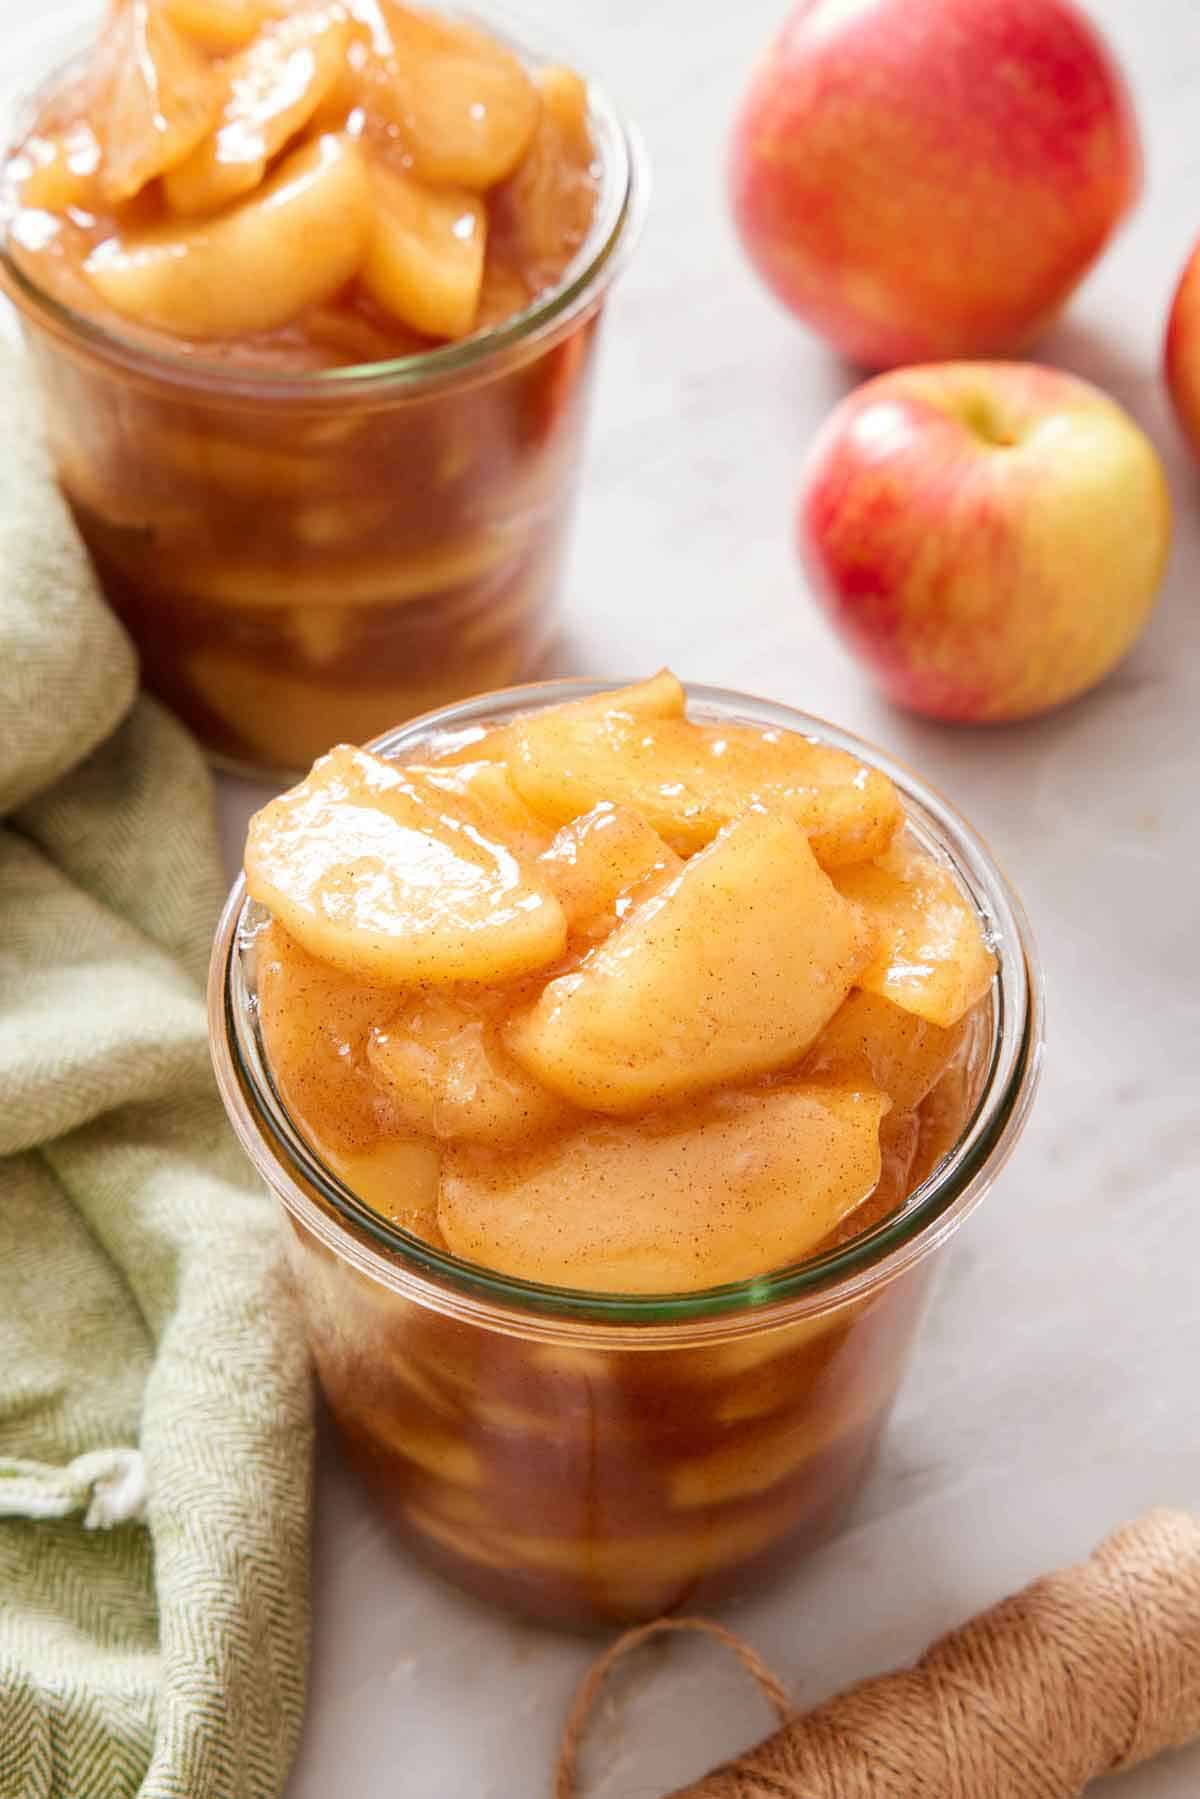
Apple pie filling is so easy to make from scratch! There’s no need to buy a can ever again. It takes 20 minutes from start to finish, and you only need 6 ingredients, including the apples. This recipe makes 6 cups, enough to fill one 9-inch pie or replace roughly three 20-ounce cans.
One thing to note before you start: this filling sets up thick. It’s glossy thanks to the addition of butter, and it holds a slice very well when baked into a pie crust. That’s the whole point! But if you plan to use this for other desserts, like a topping or cobbler, I include ways to vary the thickness.
“Oh my, this was so simple to make and tastes oh so yummy!! I’m looking forward to using this for apple crisp at Thanksgiving.”
Cheri
Key Ingredients
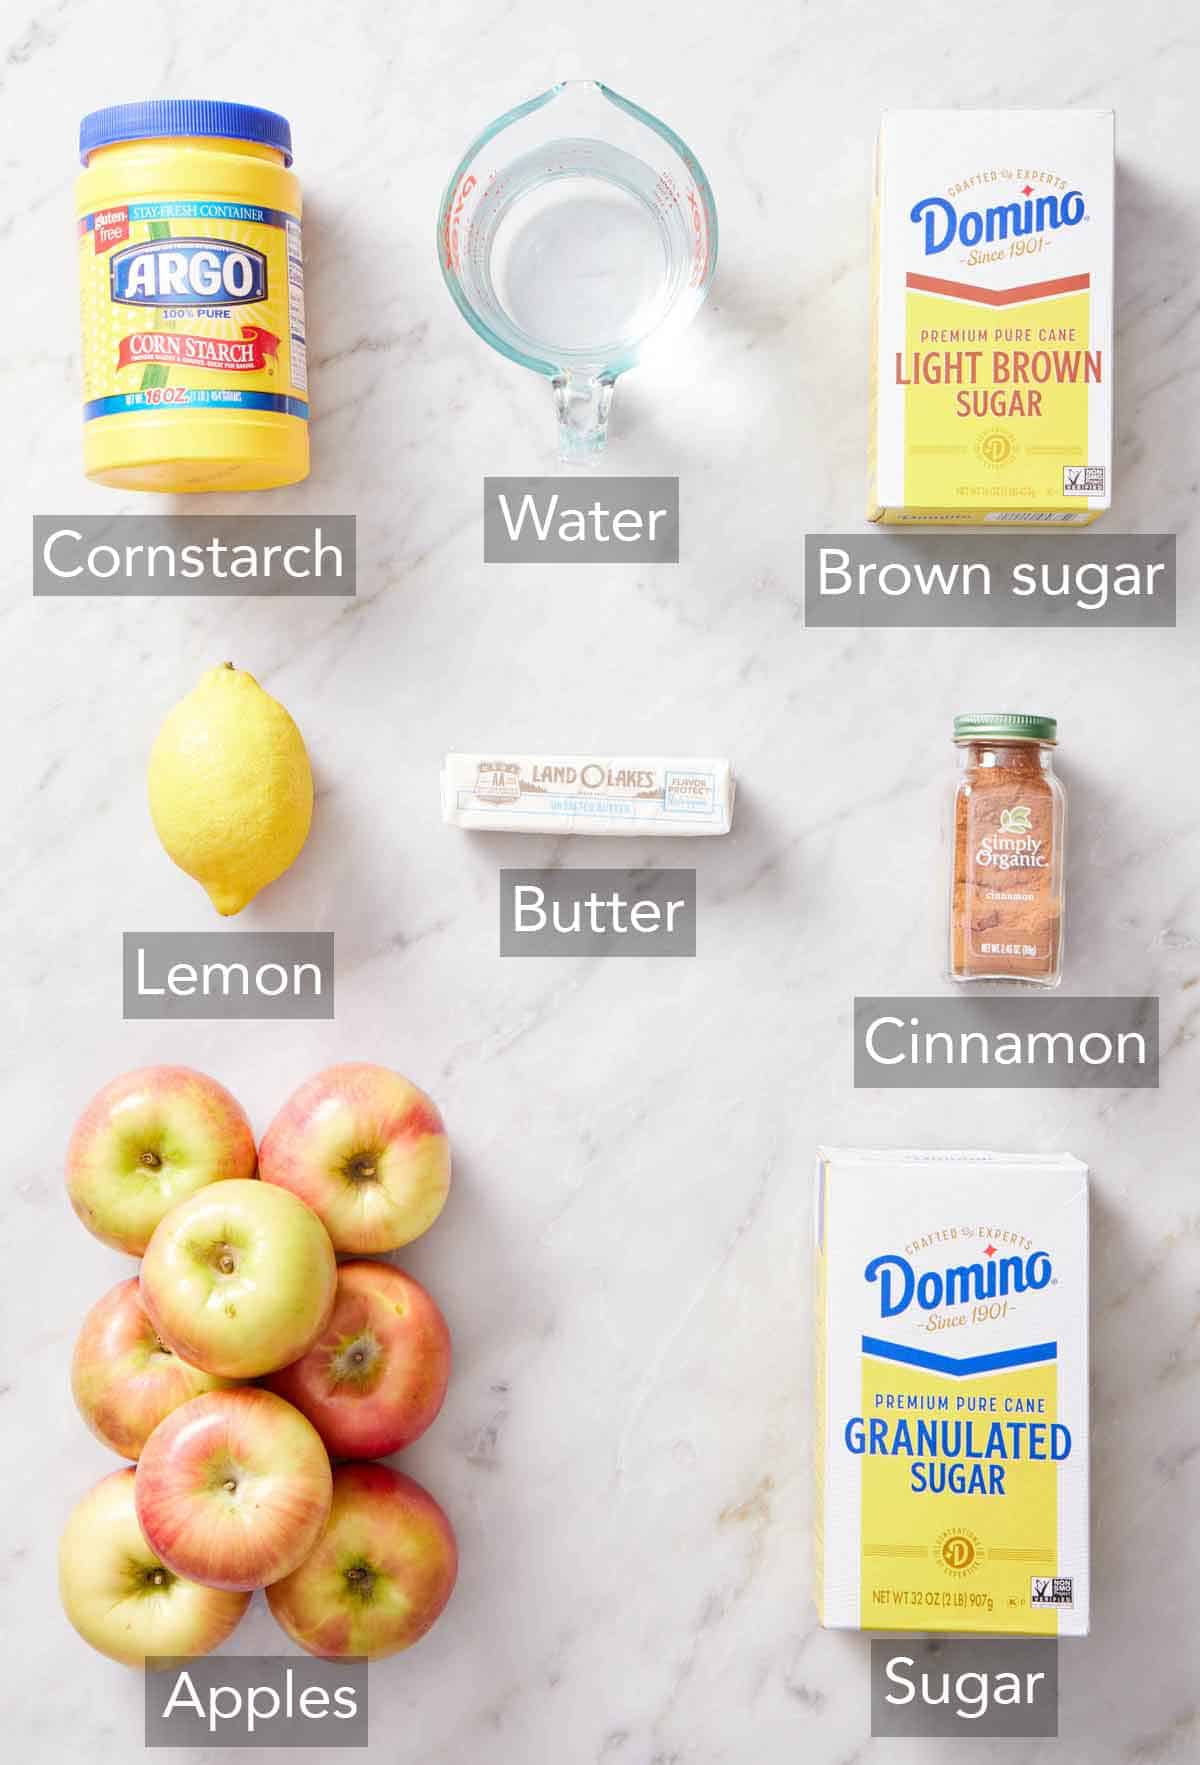
These are the main ingredients you need to make this easy apple pie filling. You can find the full list of ingredients and measurements in the recipe card below.
Apples — peel and core them before slicing. Apple skins turn tough and rubbery once cooked. You will need about 3 pounds of whole apples to start. Since peeling and coring will remove some flesh and weight from the apples, you will end up with roughly 2¼ pounds once sliced.
Lemon juice — the acid in the juice helps prevent the apple slices from oxidizing and turning brown. I use more than some other recipes because I like the acidity the lemon juice brings to the filling. It balances the sweetness from the sugar, and without the lemon juice, the filling tastes flat.
Sugar — I use two types: granulated sugar for a neutral sweetness that boosts the apples’ flavor, and brown sugar for the molasses note. If you’d prefer, you can use all of one type.
Butter — the apples cook in melted butter rather than in water, which gives this filling its richness and glossy appearance. It also helps the filling turn the right thickness in the baked pie since butter firms up when cooled, so you get a slice that doesn’t fall apart.
Cornstarch — this is a crucial ingredient for pie filling! Without a thickener, the pie filling would be very soupy and wouldn’t hold a sturdy slice. Whisk it with water into a slurry before you add it to the skillet. Adding dry cornstarch to the hot apple will cause it to clump and form gummy chunks rather than thickening the juices.
Spices — I only call for cinnamon because I wanted to keep the filling classic but adaptable. The addition of nutmeg, pumpkin pie spice, ginger, allspice, or cardamom all work if you want more going on!
The Best Apples To Use
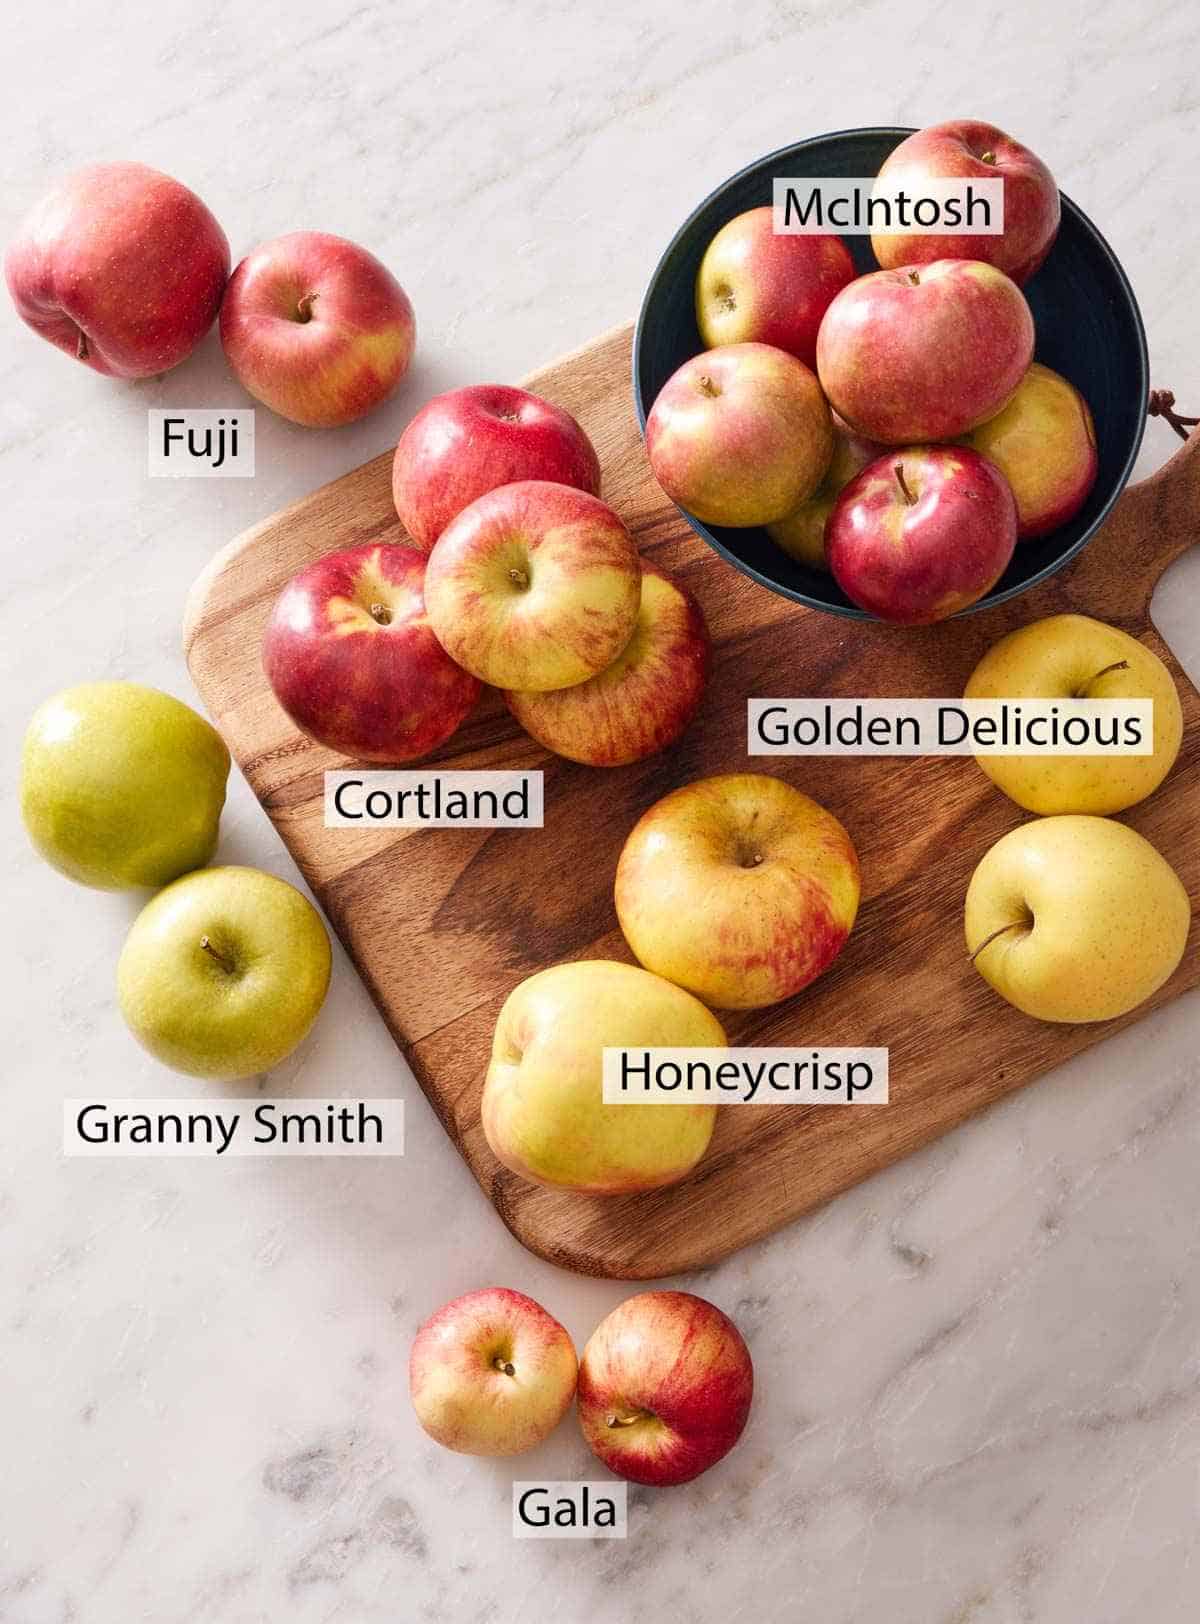
In general, you want to use apple varieties that hold up well when cooked and do not become watery or mealy. I prefer firm apple varieties like Granny Smith, Honeycrisp, Fuji, and Pink Lady. I also like to use a mix of sweeter and tarter apples when I have more than one variety to choose from. Choosing a tart apple balanced by a sweeter variety gives the filling a more complex flavor. (It’s the same advice I give for my apple pie. After all, that is the destined use for this filling! )
Softer apples like Braeburn, Golden Delicious, Cortland, Gala, Jonagold, and McIntosh tend to break down easily when cooked. I typically avoid them for this recipe because the pie filling will be cooked again when it bakes.
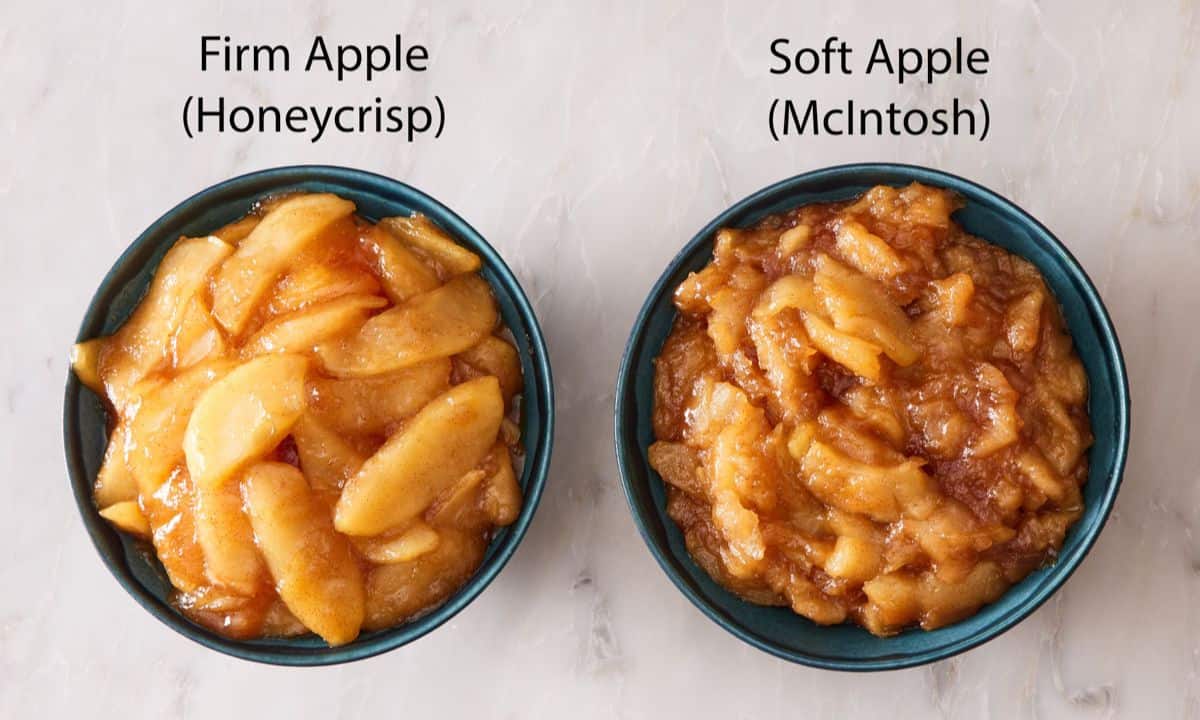
I tested this to show you how the apple variety makes a big difference. I made two batches of filling, once with Honeycrisp apples and once with McIntosh apples. The Honeycrisp slices held their shape and kept a little bite in the center after cooking (10 minutes in the skillet). The McIntosh had collapsed into mush by the time the filling thickened, also after 10 minutes. If you have a softer variety you want to use, pair it with a crisper one to help balance the texture, or add the cornstarch after cooking the apples for 4 minutes.
Pro Tips For Making This Recipe
Add the cornstarch slurry at the end. If you add the thickener at the beginning, the apple filling can become too thick before the apples are cooked and can burn.
If you plan on using it as a topping (not a pie filling), cook the apples until they are as soft as desired before adding the cornstarch. Since they won’t be cooked again, you can get them softer at this stage without future issues.
How To Make Apple Pie Filling
Below, I’ve highlighted portions of the recipe in step-by-step process images along with instructions for making apple pie filling. You can find the full set of instructions in the recipe card below.
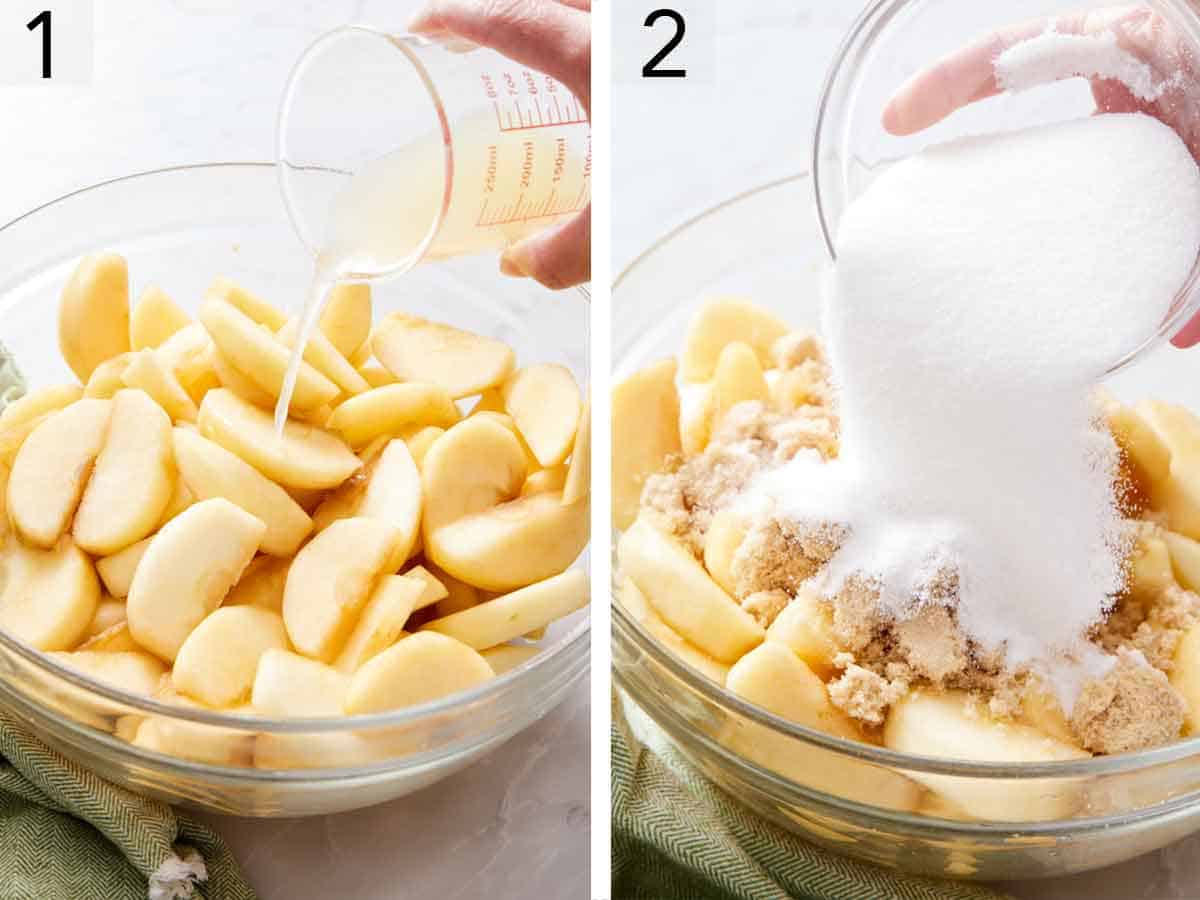
1. Toss the sliced apples with the lemon juice in a large bowl. This adds flavor and coats the apples in acid so they don’t oxidize and turn brown.
2. Add both sugars and the cinnamon, and toss again to coat.
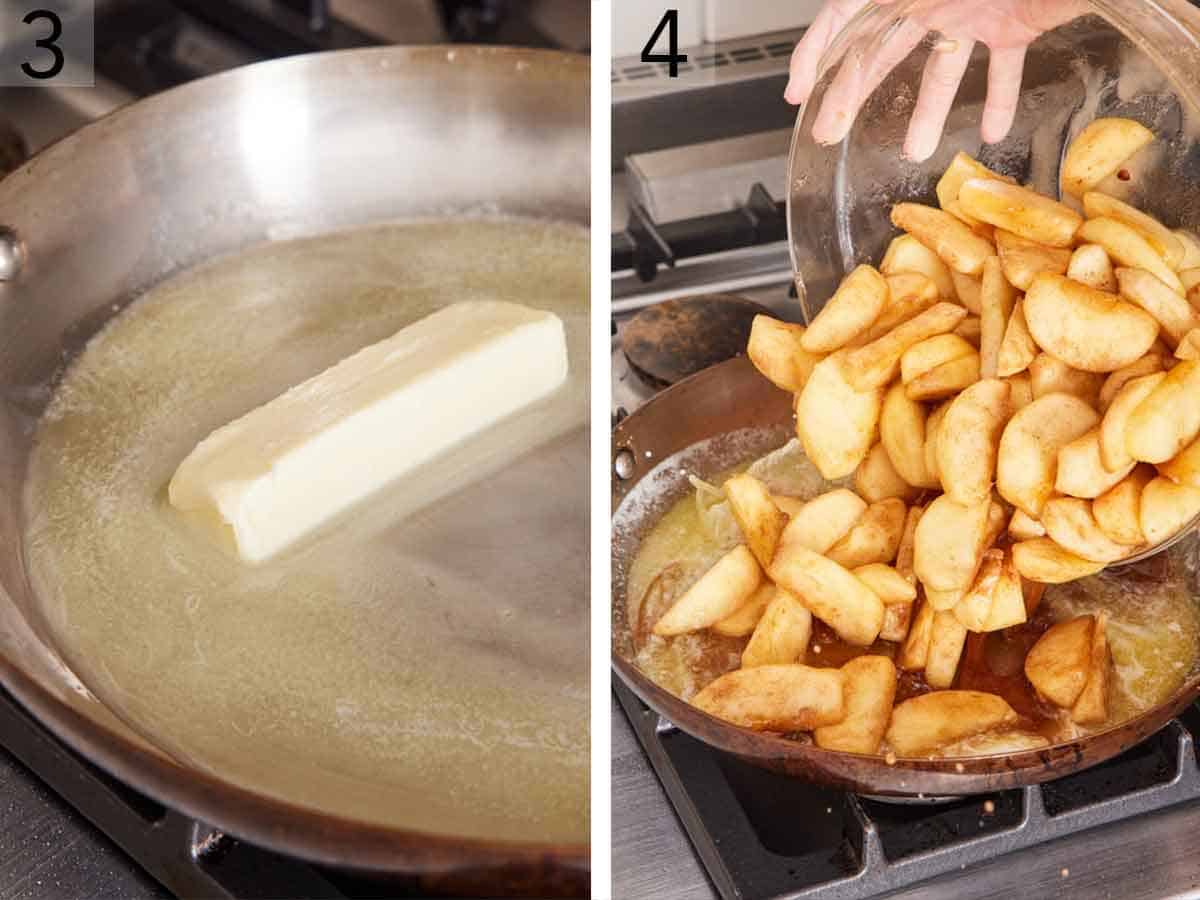
3. Melt the butter in a large skillet or pot over medium-high heat. You can keep cooking the butter to brown it if you’d like to add a nutty flavor! Just be sure the butter doesn’t burn.
4. Add the spiced apples and cook, stirring, until the sugar dissolves and the juices start to simmer, about 2 minutes. Cover, drop the heat to medium-low, and cook for about 7 minutes, until the apples soften and release most of their juices.
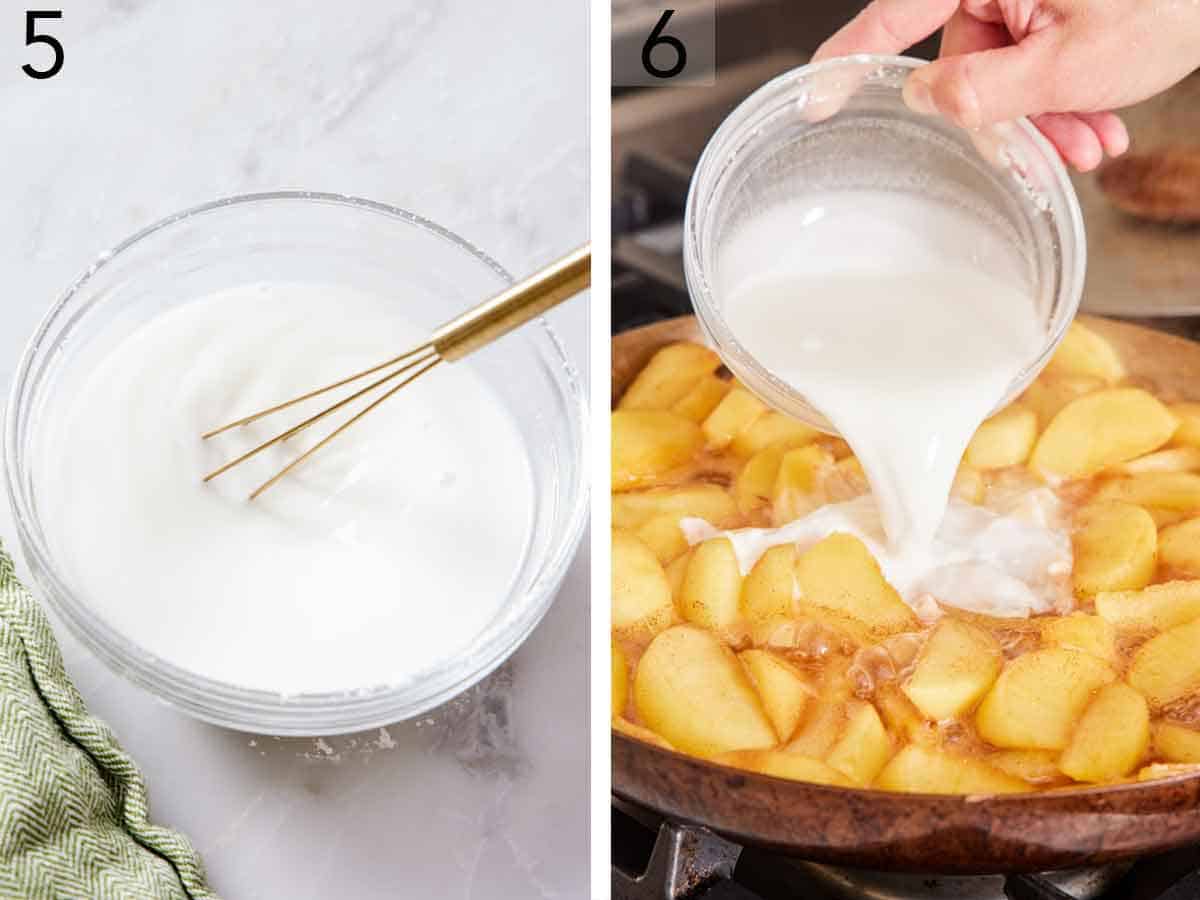
5. Meanwhile, whisk the cornstarch and water together in a small bowl.
6. When the apples are ready, slowly pour in the slurry while stirring, and cook for 1 to 2 minutes more until thickened and the juices turn translucent again. Take it off the heat and cool completely.
Cool It Faster On A Sheet Pan
Cooling completely is not optional—a warm filling poured into raw pastry starts softening the crust or melts the butter before the pie ever reaches the oven, creating a pie with a soggy bottom or dense crust.
The fastest way to cool it is with more surface area. Spread the filling out on a rimmed sheet pan rather than leaving it in the warm pan, and stir it every few minutes. Stirring it brings warmer parts of the filling to the surface so it cools even faster.
I’ve tested this by transferring the filling to a bowl and to a baking sheet. The baking sheet cooled in half the time as the bowl (about 20 minutes). A shallow layer sheds heat far quicker. Once it is at room temperature, transfer it to a container.
How Thick Is The Filling Supposed To Set?
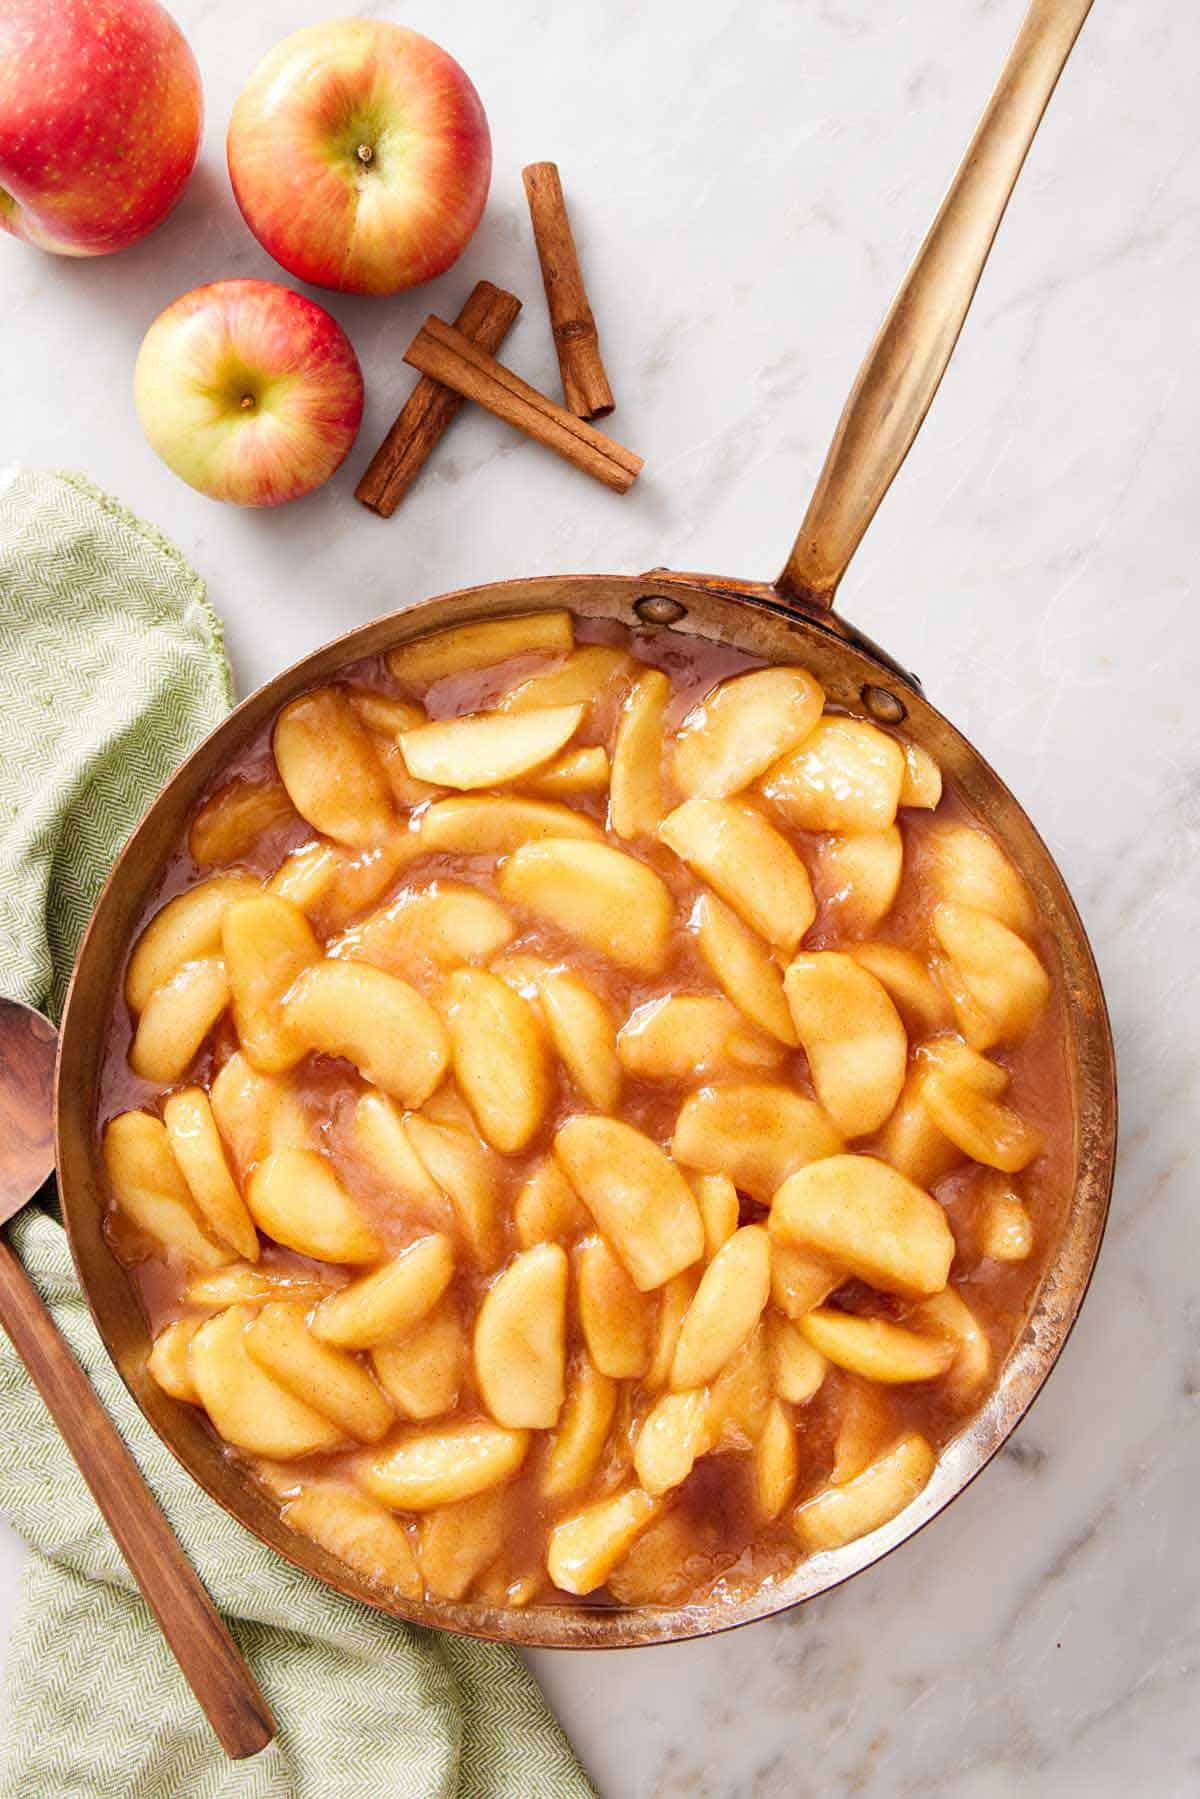
This filling is meant to go in a pie, and a loose filling makes a soggy bottom crust and a slice that falls apart. When it is hot, you should be able to pull a clean streak through the bottom of the pan at the end of cooking, but the syrup will slowly fill the line back in within a few seconds. Cornstarch continues to set as it cools. When the filling comes to room temperature, it sets up quite thick, but isn’t firm or gummy.
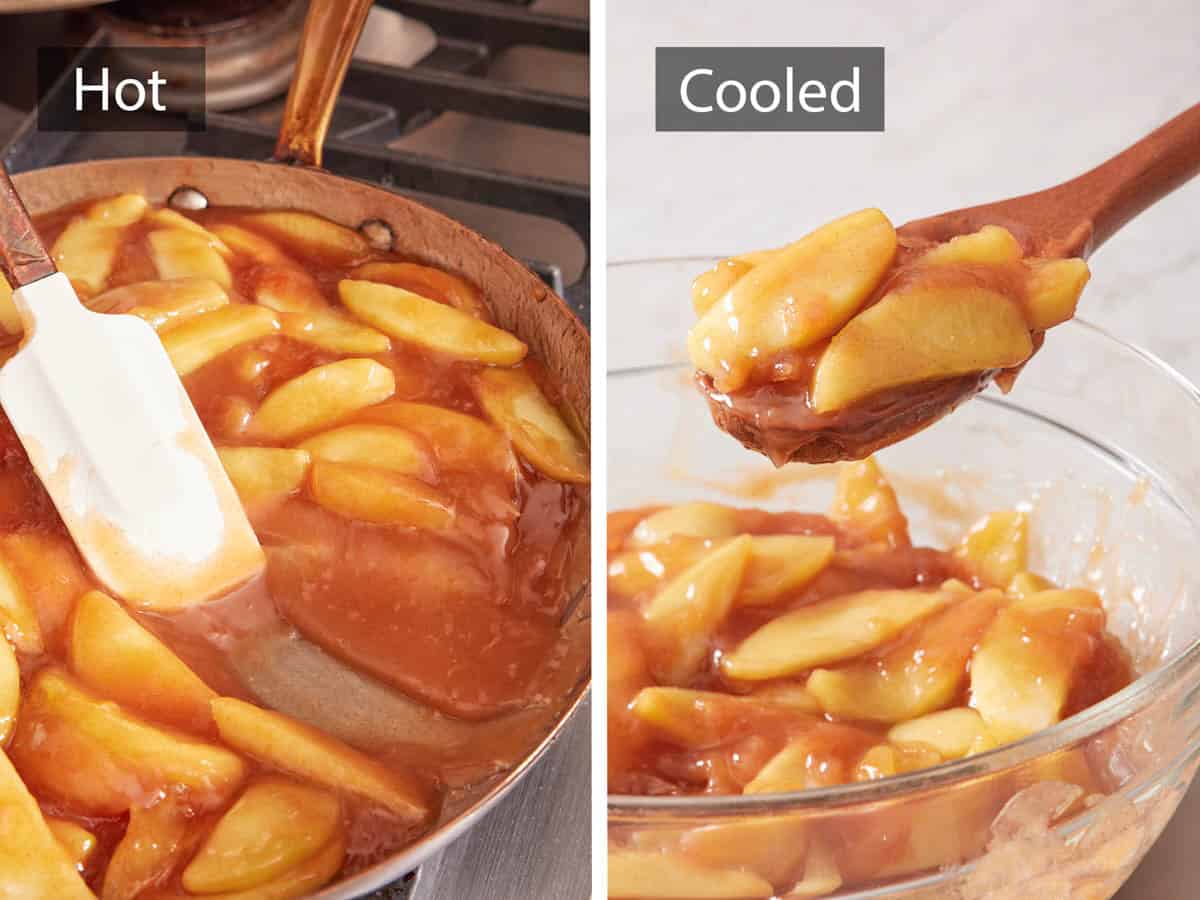
If it is chilled, it will set up quite firm. If making the pie filling ahead of time, gently reheat it just until it’s loosened up but not hot. If you are making it to spoon over ice cream or stir into oatmeal rather than to bake into a pie, you can drop the cornstarch to five tablespoons. You will get a looser, more spoonable topping.
How To Use It In A Pie
You can substitute this pie filling in most recipes that call for a cooked apple filling or as a substitute for canned apple pie filling. This recipe yields 6 cups of pie filling, perfect for one 9-inch apple pie, or equivalent to just about three 20-ounce cans.
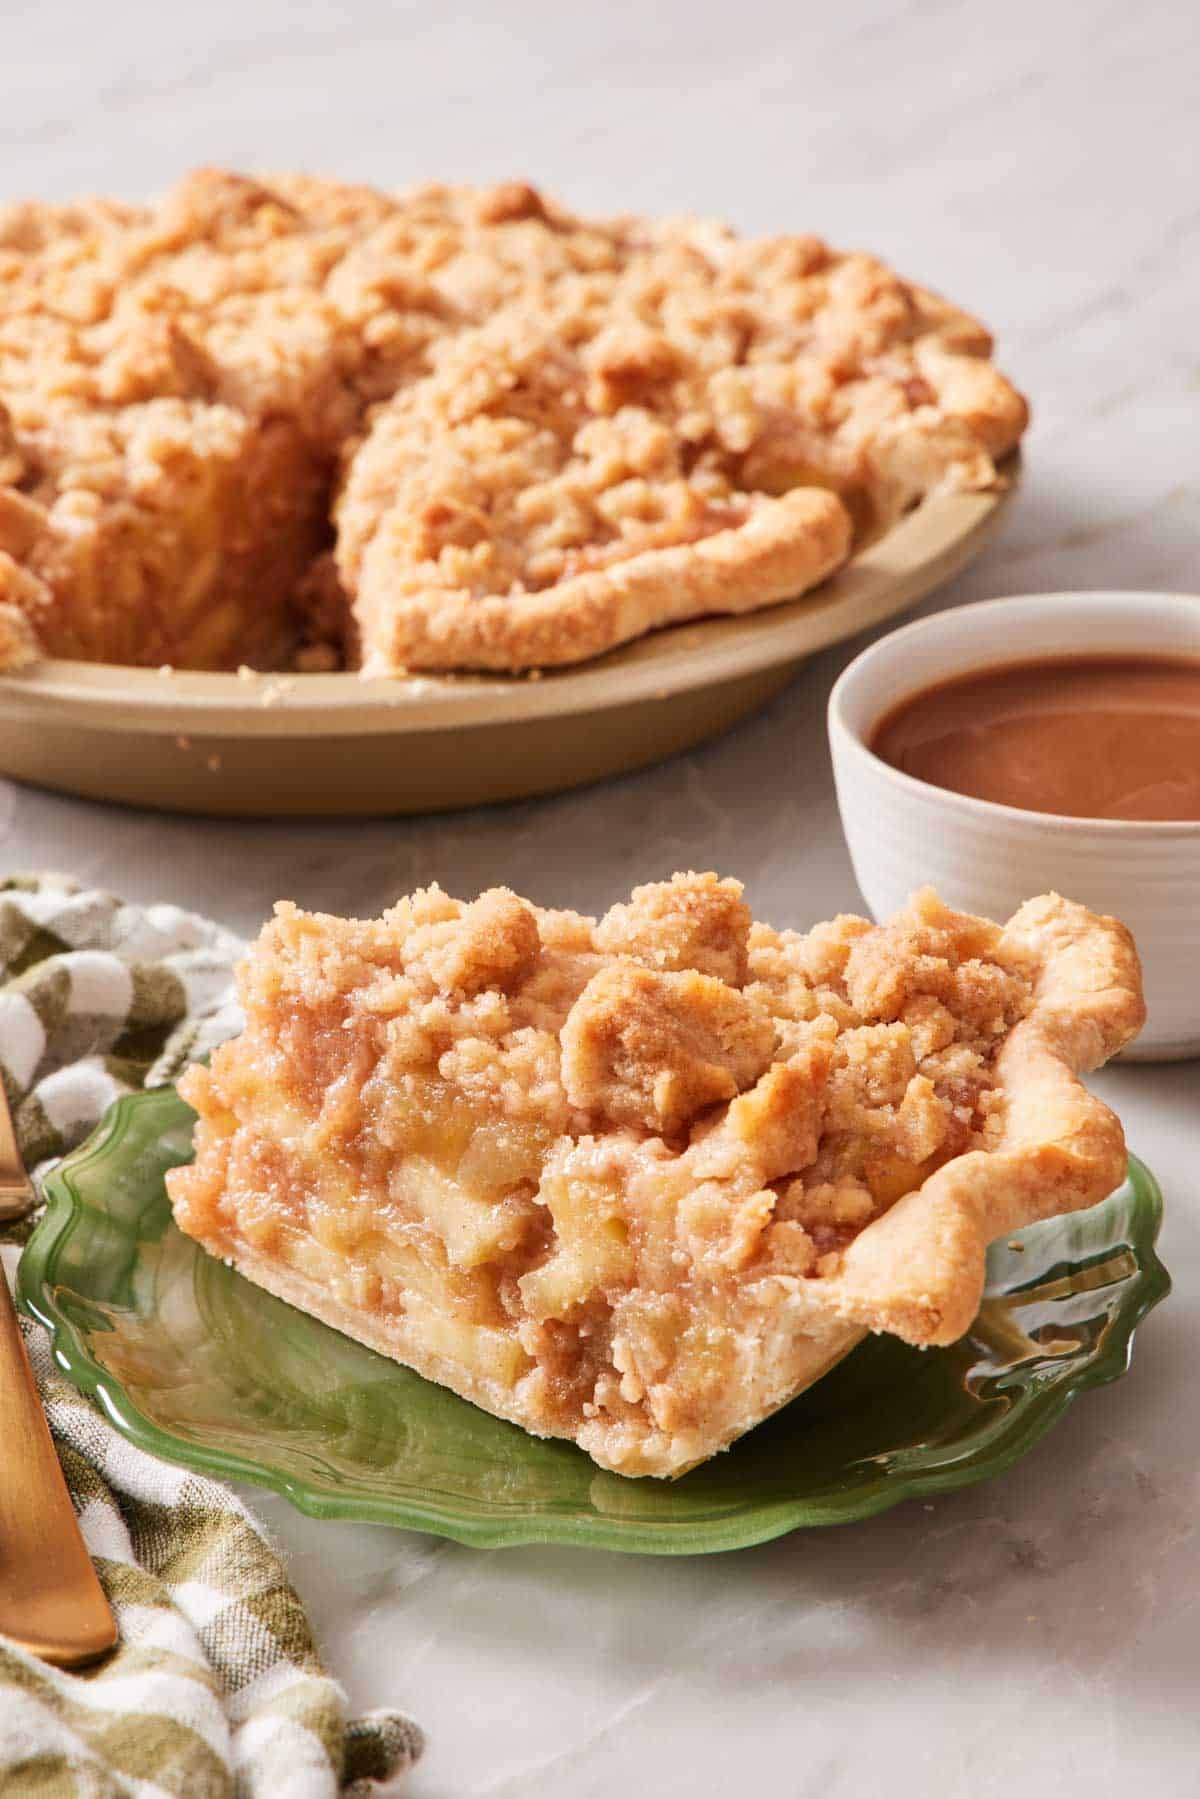
Cool the filling completely, fill your crust, and bake 10 to 15 minutes less than a fresh apple pie filling would need, since the apples are already tender. It also works in an apple crumble pie.
Just be sure to let the pie filling cool completely to room temperature before adding it to a pie crust, or else you might end up with a soggy bottom crust. You can even make the pie filling a night in advance and refrigerate it to ensure it is completely cool before assembling your pie.
Apple Pie Filling Recipe
Equipment
- Large Pot
Ingredients
- 8 medium apples peeled, cored, and sliced (3 pounds, 1.35kg)
- ⅓ cup lemon juice (80mL)
- ⅔ cup granulated sugar (133g)
- ⅔ cup brown sugar light or dark (140g)
- ½ cup unsalted butter (113g)
- 2 teaspoons ground cinnamon
- 6 tablespoons cornstarch
- ½ cup water (120mL)
Instructions
- In a large mixing bowl, toss the apples with the lemon juice.
- Add the granulated sugar, brown sugar, and cinnamon, then toss to combine.
- In a large skillet or pot, melt the butter over medium-high heat. Add the apples and cook, stirring, until the sugar dissolves and the mixture begins to simmer about 2 minutes. Cover, reduce the heat to medium-low, and cook until the apples soften and release most of their juices, about 7 minutes.
- In a medium bowl, whisk together the cornstarch and water. Add it to the apples and continue cooking, stirring frequently, for 1 to 2 minutes, until the mixture has thickened. Remove from the heat and let cool completely. Store in an airtight container in the refrigerator for up to 4 days.
Notes
- For a more intense apple flavor: You can substitute the water for apple juice or apple cider.
- Use different warm spices: You can add a pinch of freshly grated nutmeg. Or, swap the cinnamon for apple pie spice. Play around with other baking spices like ginger, allspice, and cardamom to suit your taste.
- Add vanilla: After removing the filling from the heat, you can mix in two teaspoons of vanilla extract or a scraped vanilla bean. Vanilla complements the apple flavor very well and adds depth of flavor.
- Add liquor: A splash of bourbon, aged or spiced rum, or amaretto stirred in at the end will liven up the flavor! I love jazzing up the apples this way when I plan to use them as a topping on ice cream.
Nutrition
Have you tried this recipe? Tag me today!
Mention @preppykitchen and tag #preppykitchen!
Storing And Freezing
Refrigerated: Once cooled, store it in an airtight container for up to 4 days.
Frozen: It keeps for 3 months in a freezer bag or freezer-safe container. Thaw overnight in the fridge before using.
Making it a day ahead is a great option because it has to be completely cooled before it goes into your pie shell. If the filling is cold, reheat it slightly so it’s not so thick. Microwave it for 1 minute, stir, and continue in 30-second bursts with stirring until it’s loosened but not hot. You can also do this over low heat on the stove.
Other Ways To Use It
Here are more delicious ways to use my easy apple pie filling recipe other than filling a pie crust:
- As a topping: Use the cooked apple pie filling as a topping for desserts like mini cheesecakes or vanilla ice cream.
- For breakfast: Turn it into a delicious breakfast by using it in a yogurt parfait, cooked oatmeal, or stirred into overnight oats. You can also serve it as a delicious topping for pancakes, waffles, or French toast.
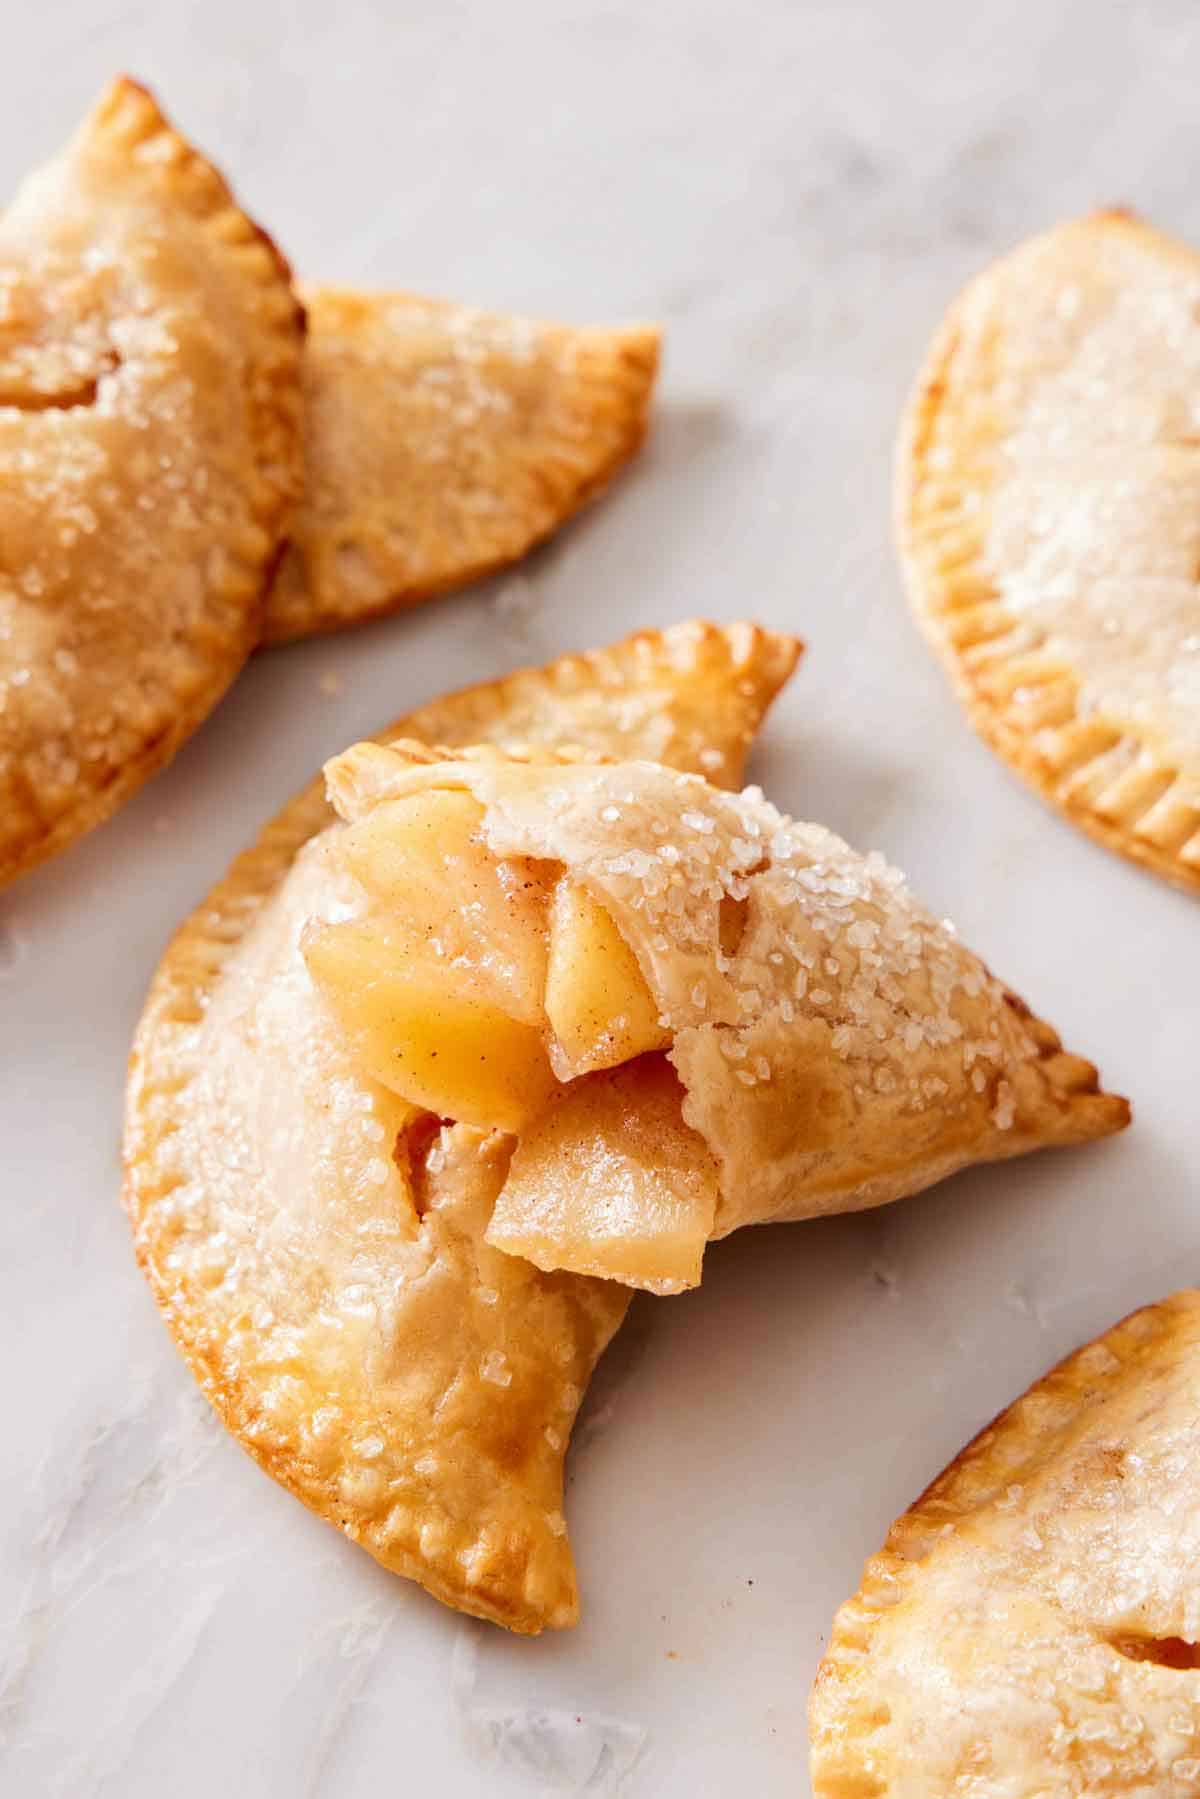
- Hand pie and pastry filling: You can dice the apples to fill smaller pastries like apple turnovers, mini apple pies, and air fryer hand pies
- Tart and cobbler filling: Use it as the filling for an apple crisp, apple cobbler, or an apple galette.
Frequently Asked Questions
No. Cornstarch is not an approved thickener for home-canned pie fillings. They thicken the contents enough to interfere with heat penetrating the center of the jar during processing, which can cause the food to spoil during storage. The USDA and the National Center for Home Food Preservation recognize only cook-type Clear Jel, a modified starch that stays thin while hot and gels as the jar cools. If you want shelf-stable filling, follow a tested canning recipe written around Clear Jel rather than adapting this one. Freezing is the safe make-ahead route for this recipe!
It’s possible it cooked for too long in the skillet, but this filling is meant to set firm. If you want it looser for spooning rather than baking, use five tablespoons of cornstarch instead of six next time. To loosen a batch you have already made, warm it gently with a splash of water or apple juice and stir.
Six cups, which fills one 9-inch pie, and is about the same as three 20-ounce cans of pie filling. If you only need the equivalent of a single can, make a third of the recipe.
More Apple Recipes To Try
Make the most of apple season with one of these homemade apple treats:
- Baked Apples — a simple dessert made by stuffing an apples, sugar, butter, and spices and baking them until tender.
- Caramel Apples — dip your favorite apples in an easy homemade caramel coating.
- Apple Tart — a simpler take on apple pie with a buttery tart crust and thinly sliced fresh apples laid inside it.
- Apple Pie Cookies — apple pie filling tucked into cookie-size rounds of pie dough.
- Apple Cider — making this from scratch is so easy in a crock pot and it has the same flavors as this apple pie filling!
If you’ve tried this apple pie filling recipe, then don’t forget to rate it and let me know how you got on in the comments below. I love hearing from you!






