

This post may contain affiliate links. Please read our disclosure policy.
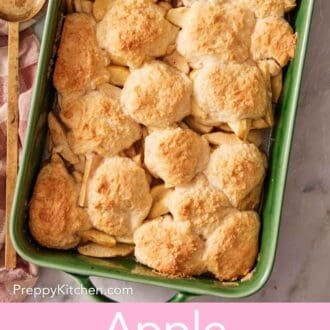
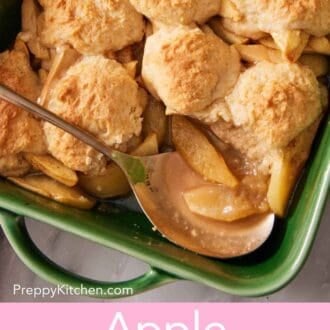
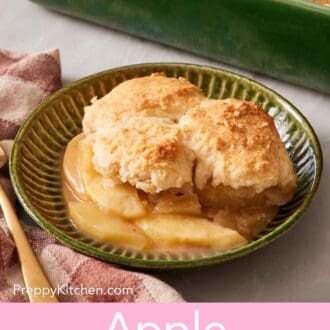
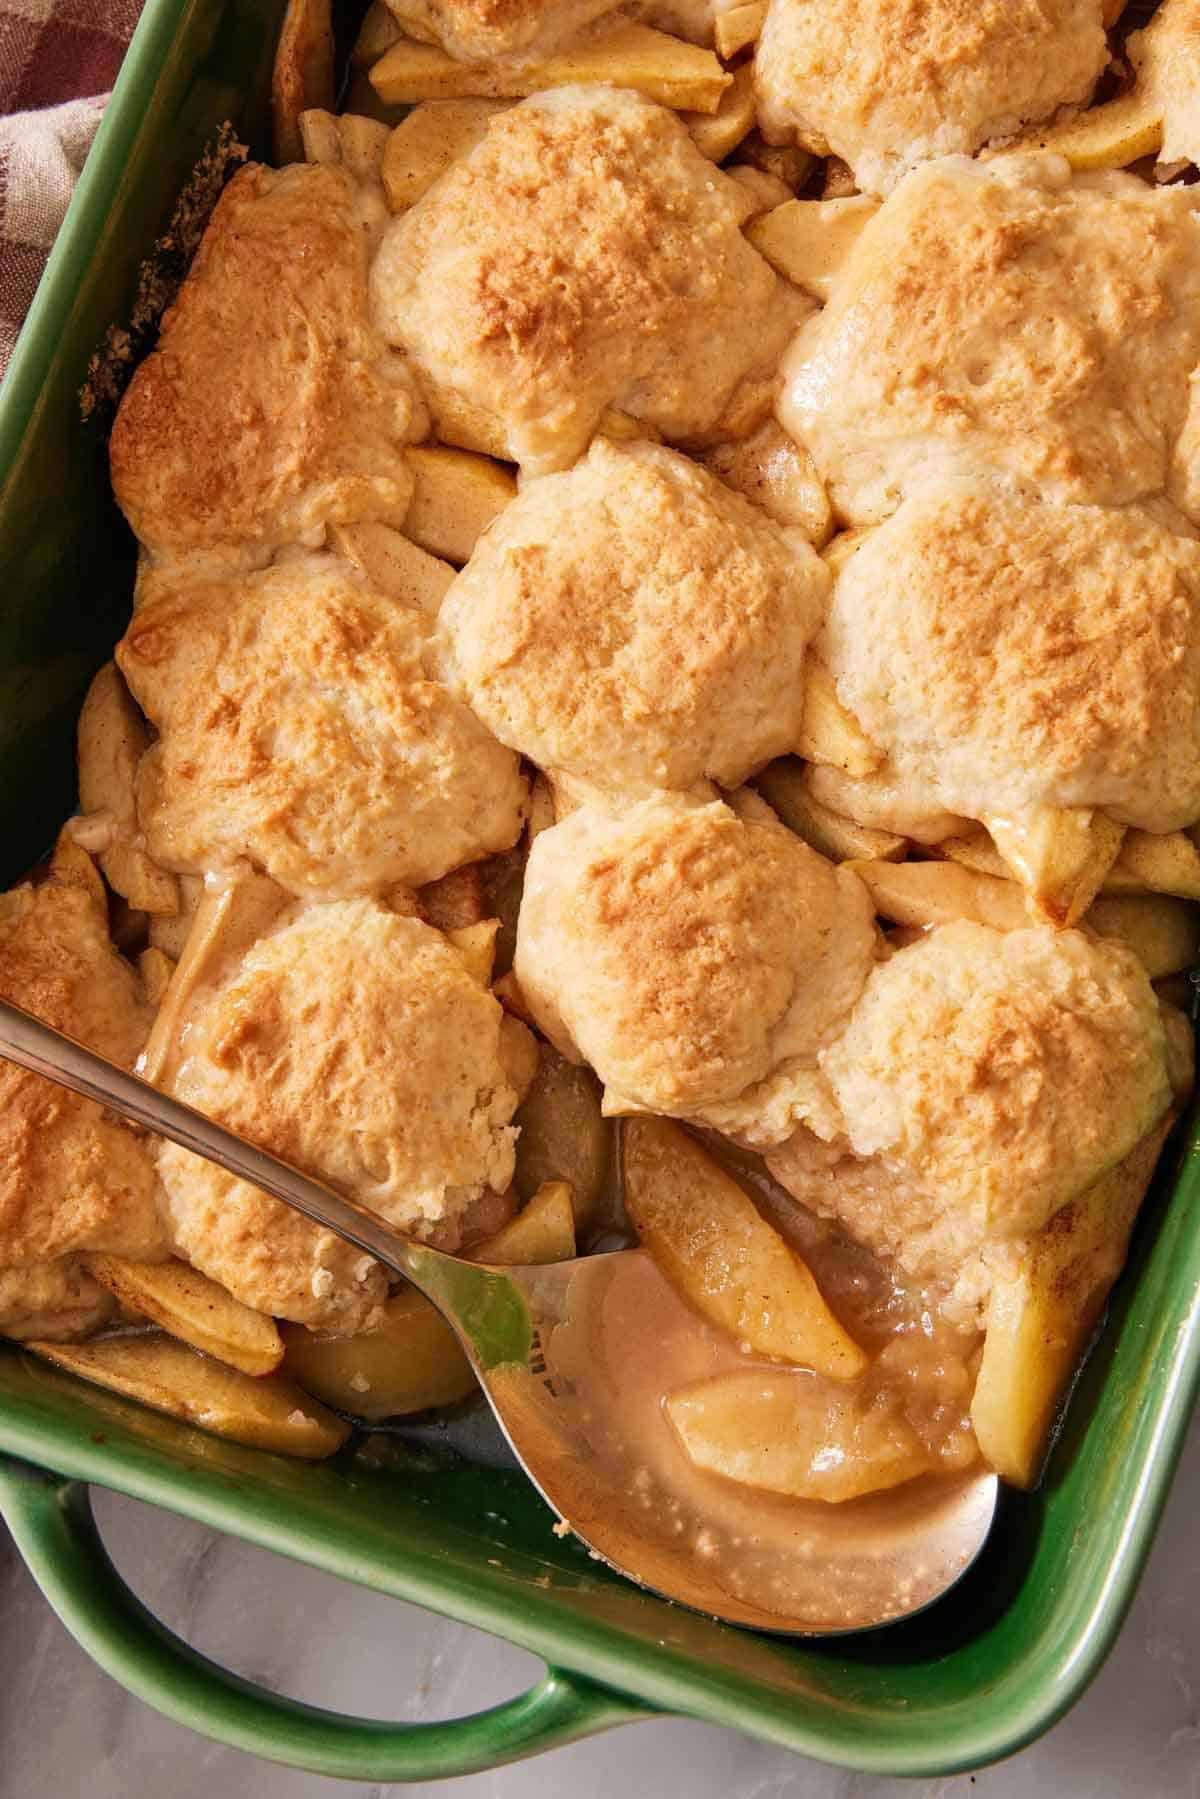
My easy Apple Cobbler recipe is a classic fall dessert for a reason! The biscuit-topped cobbler doesn’t require precooking the filling, so it’s quick to throw together and bakes in under an hour.
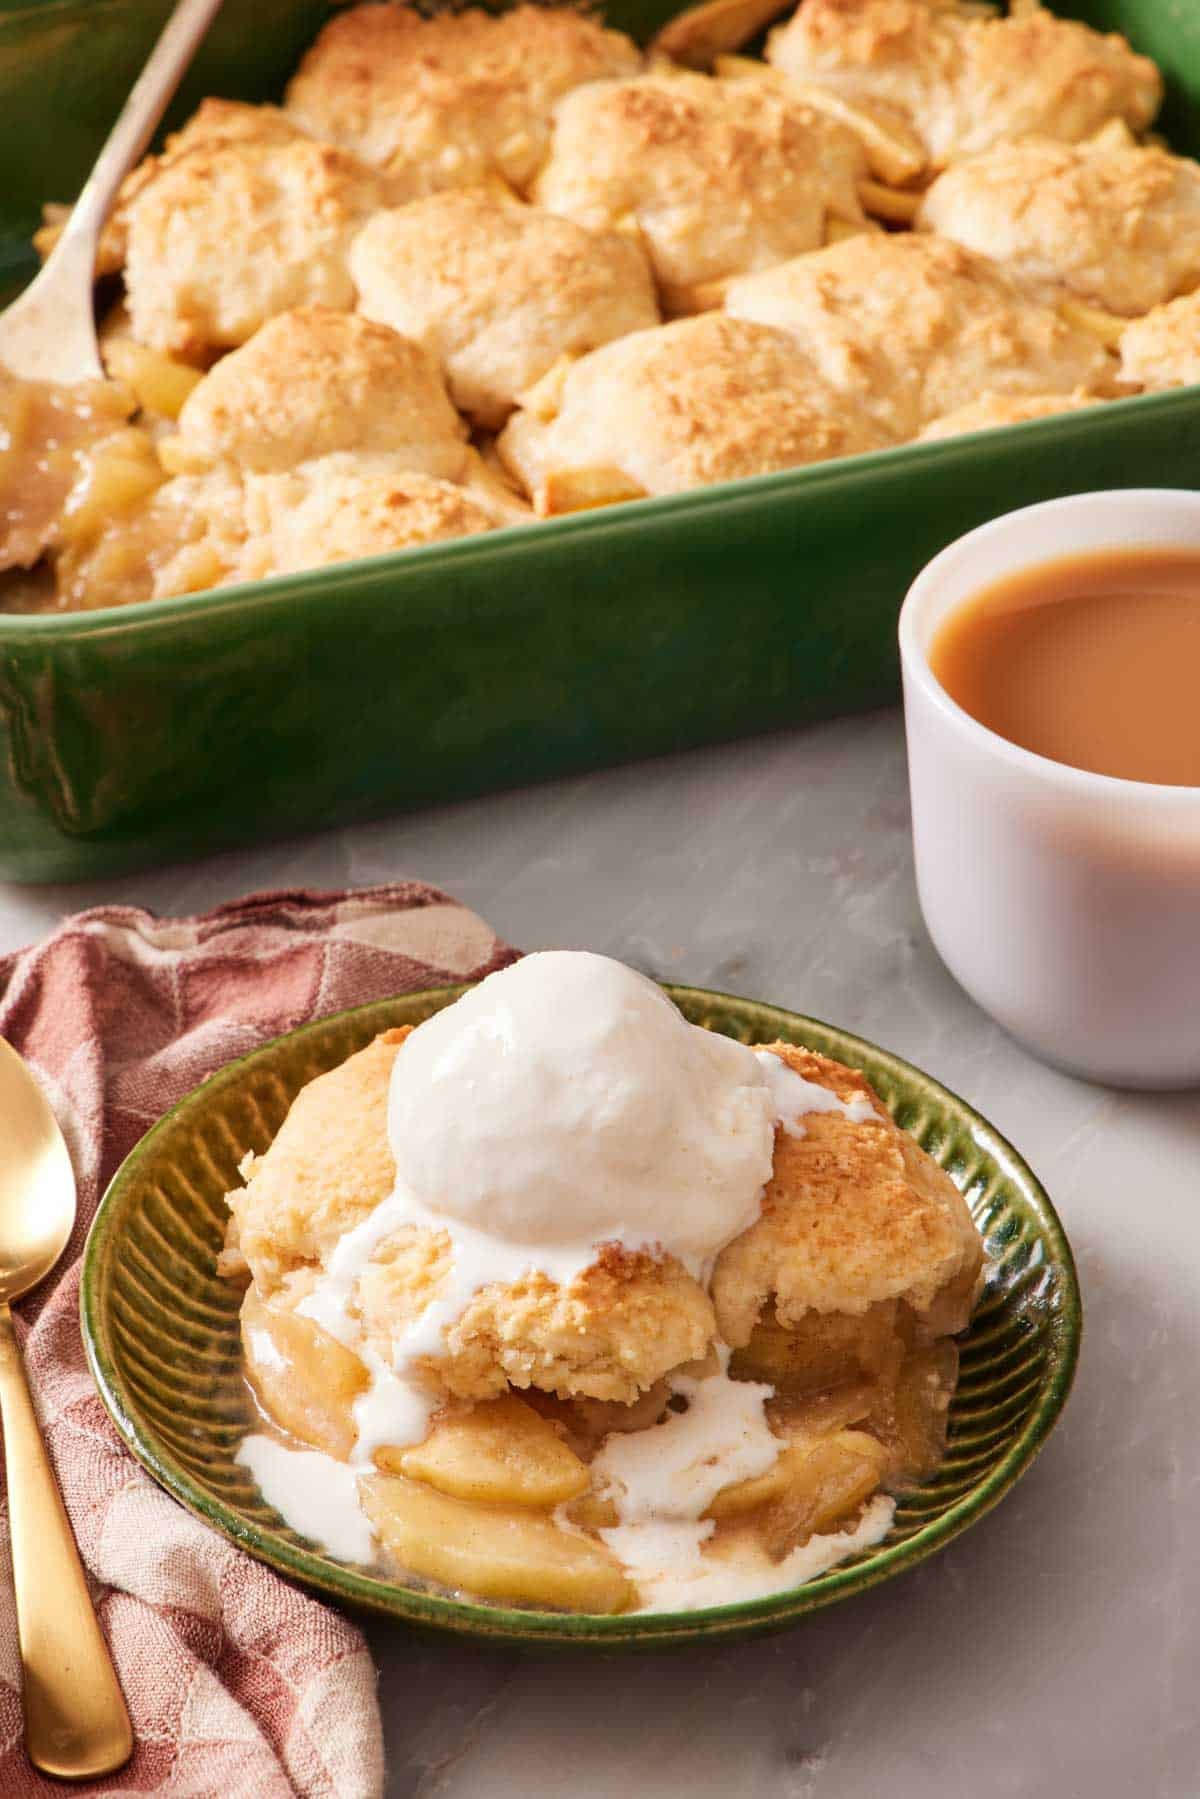
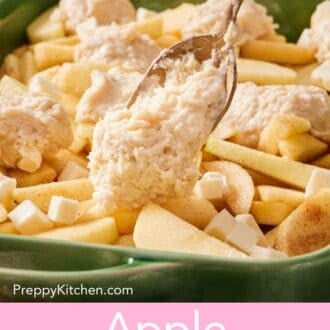
Before anything else, a word about what my recipe is, because “cobbler” means different things depending on who raised you! This is not a cake batter poured over the top, and I don’t use a sheet of pie dough for the top. Mine has a biscuit topping. The thick batter is scooped over the apples in rough dollops; it bakes into a layer that is soft and fluffy with crisp, golden edges, and it doesn’t cover the fruit completely.
I chose the biscuit route deliberately. When I tested this against a thinner, more pourable batter, the apples baked better under the scoopable topping. The runnier batter did not hold up over this much fruit. If you grew up on a Southern cobbler with a thick, syrupy filling under a fluffy top, this is its delicious cousin.
“I made this apple cobbler yesterday with Honeycrisp apples and it was a hit with my family and guests. I will definitely be making this again in the very near future. Best cobbler recipe ever!”
A reader
Key Ingredients
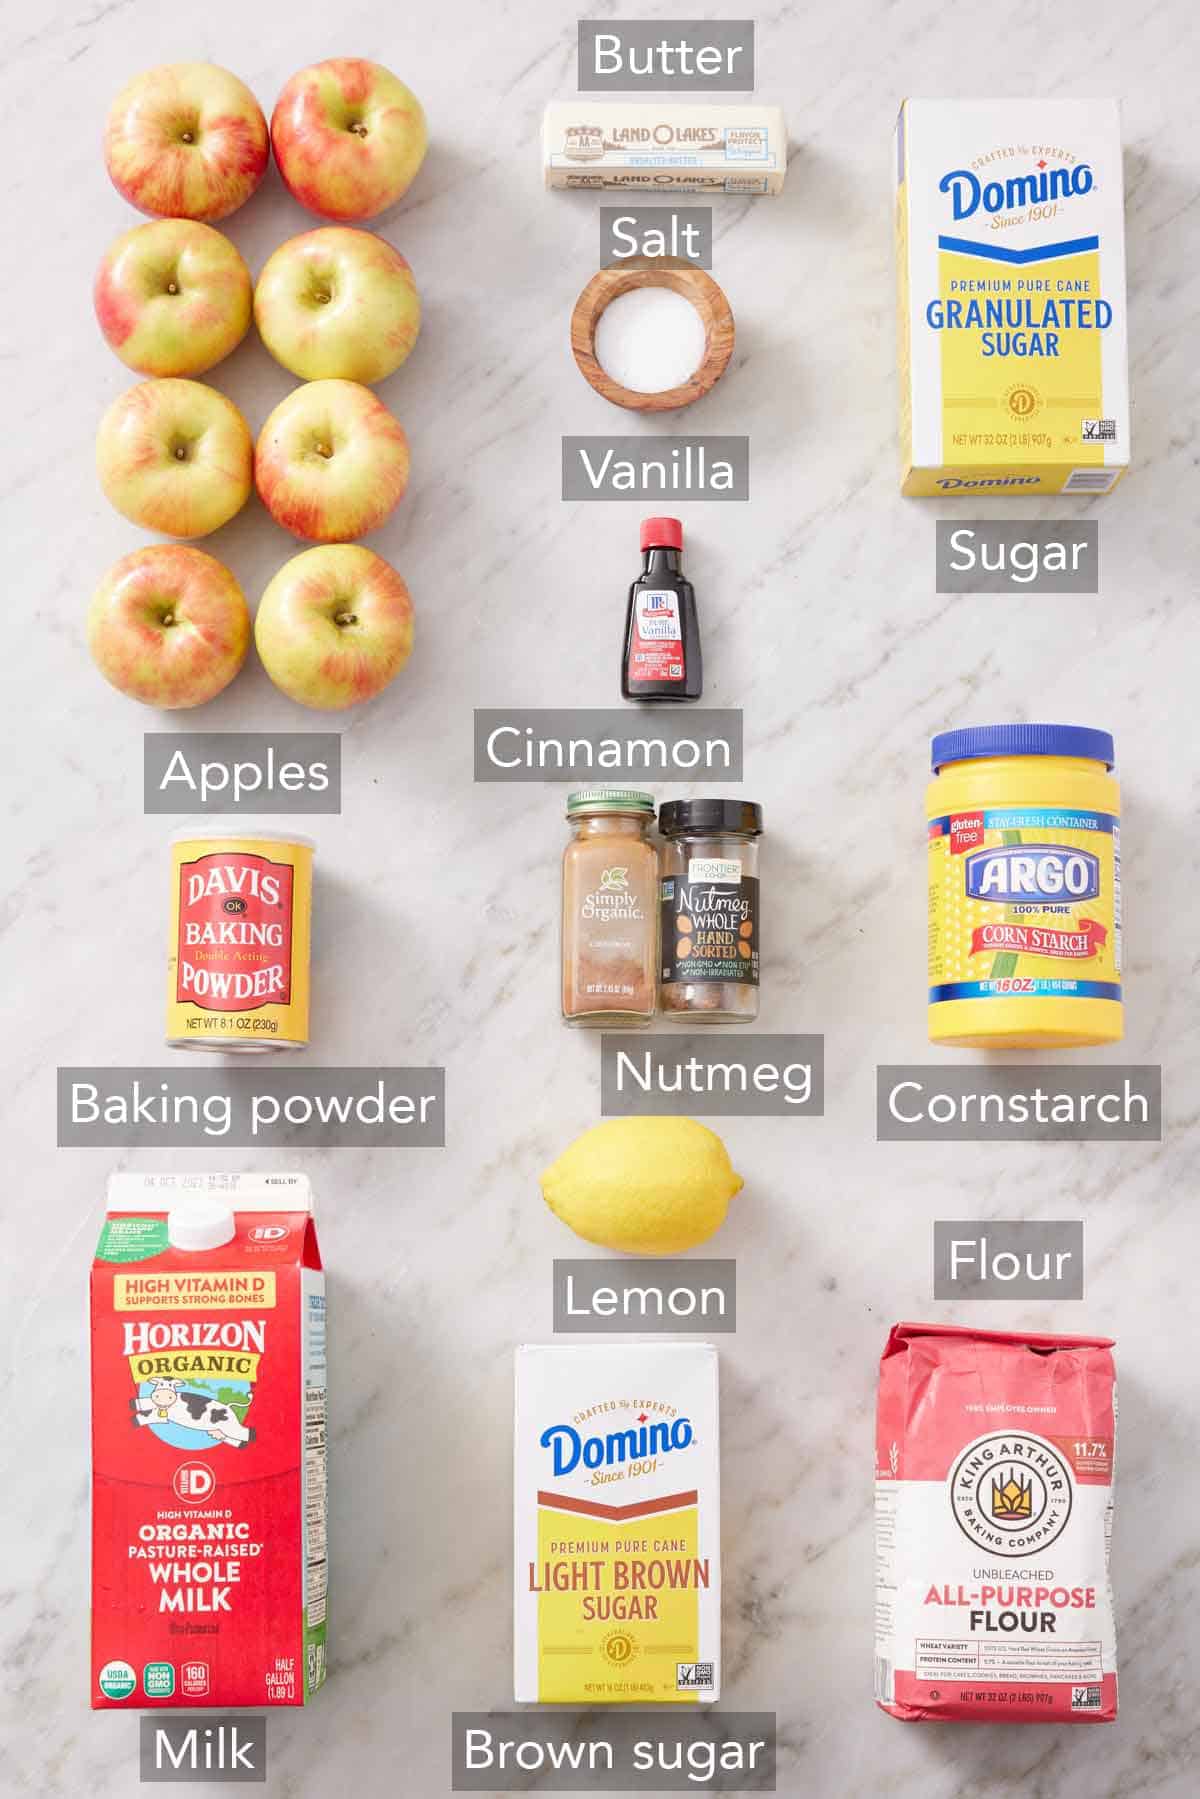
These are the main ingredients you need to make apple cobbler. You can find the full list of ingredients and measurements in the recipe card below.
Apples — peel, core, and slice 4 pounds of baking apples for the filling. I like to use a mixture of sweet and tart apples for the best flavor and texture (more on that just below).
Lemon juice — not only does lemon juice prevent the apples from oxidizing (turning brown), it also adds a subtle tangy flavor. The fresh lemon balances the sweetness of the added sugar and complements the apples’ flavor.
Brown sugar — light brown sugar adds lovely caramel flavor to the filling. You can also use dark brown sugar for a deeper molasses flavor or white granulated sugar if that is what you have on hand.
Cornstarch — cornstarch thickens the filling and gives the cobbler its signature gooey texture. Without it, the cobbler would be very runny, which can cause the biscuit topping to not bake up properly. I give a range in the recipe depending on your preference for a more syrupy filling or a thicker one.
Topping — for the biscuit-like topping, the main ingredients are all-purpose flour, white sugar, baking powder, milk, and melted butter. This makes an easy batter that’s familiar to drop biscuits!
The Best Apples For Cobbler
I recommend using firm baking apples so they hold up as you bake them, as well as a mix of sweet and tart apples for the best flavor. The ones I always use for apple cobbler are Granny Smith apples, Honeycrisp apples, and Pink Lady apples. These range in flavor from tart to sweet, so if you use a mix of at least two, you’ll have a delicious cobbler filling! All three hold their shape through 45 minutes in the oven.
Jonagold and Golden Delicious taste good but collapse. I avoid them here because I want the filling crisp-tender rather than soft or mushy. If you have a soft variety, pair it with a firm one for balance.
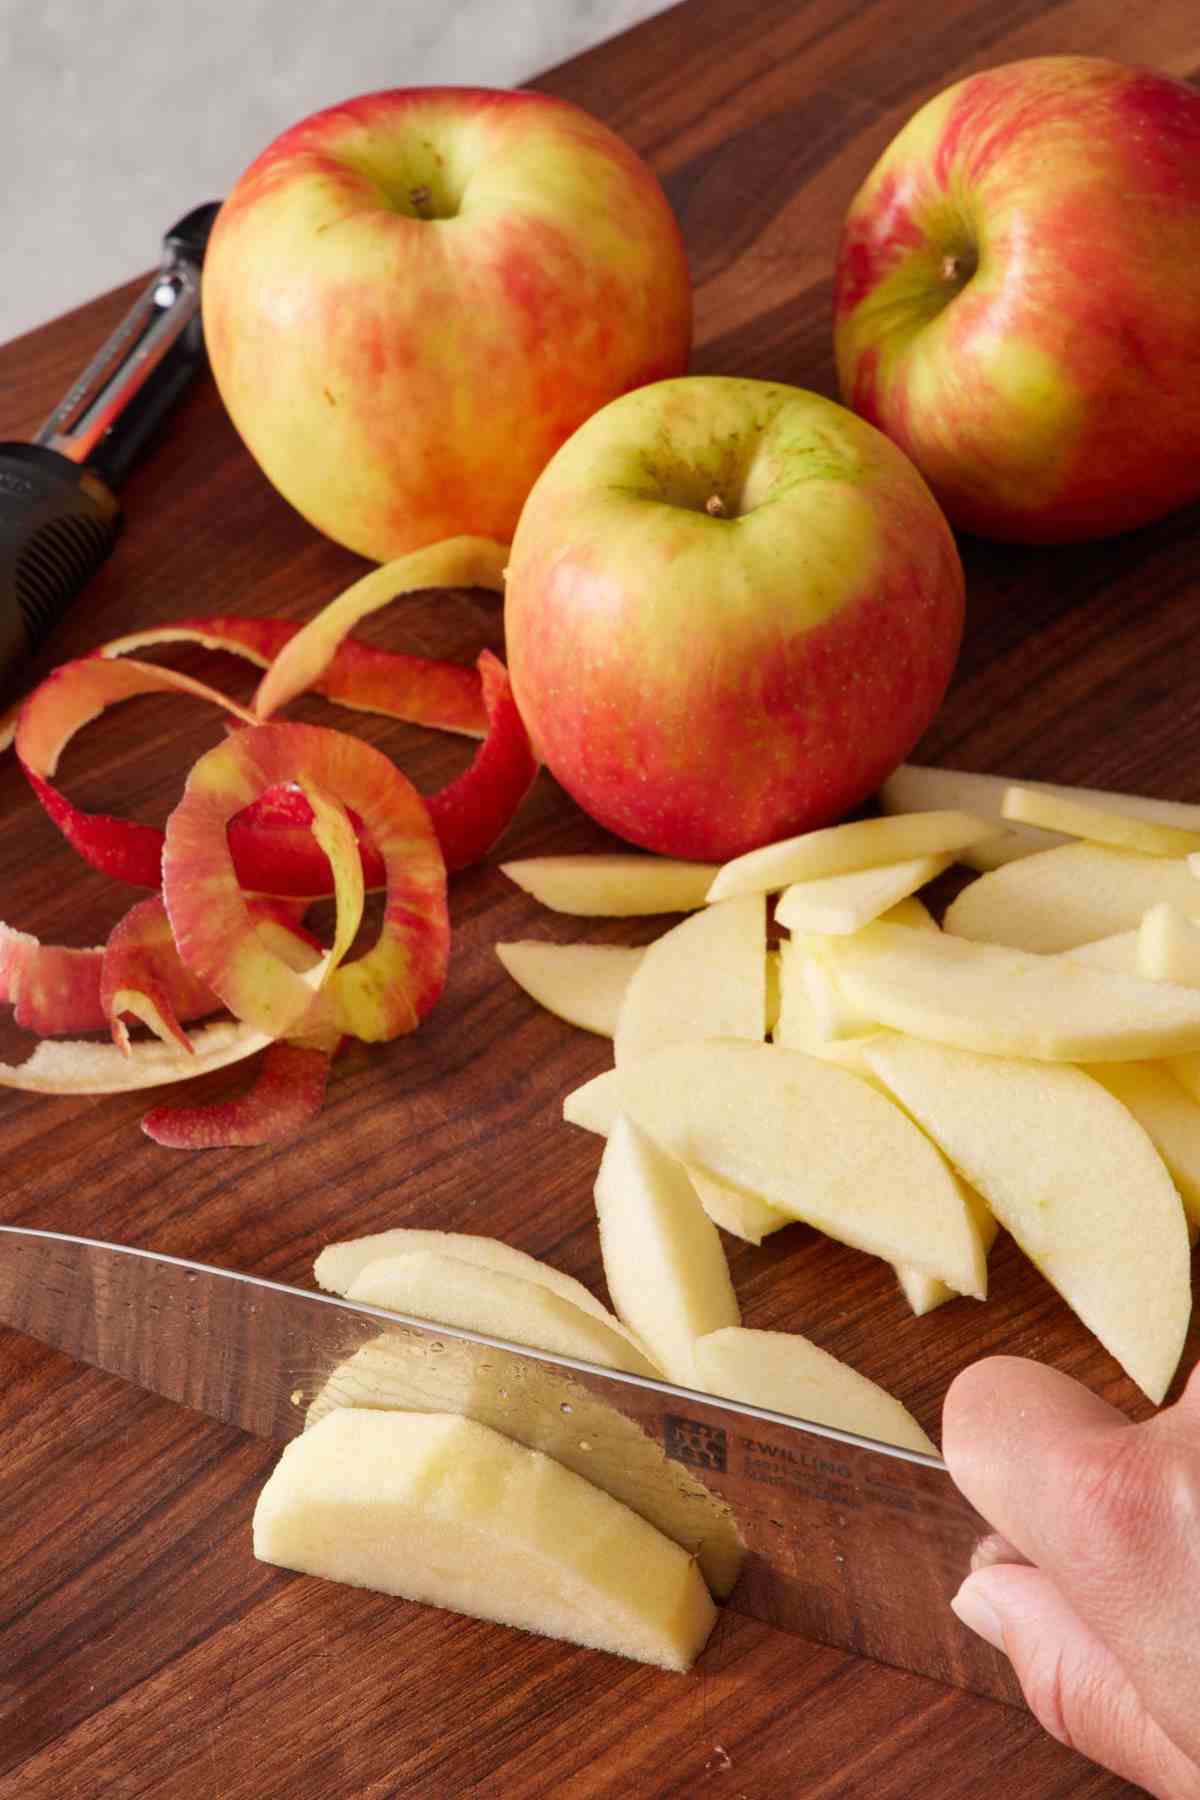
Peel any variety. The peels become tough and rubbery when baked, which can make the texture of the filling unappealing. Slice the apples evenly, about a quarter inch, so everything cooks at the same rate. I prefer longer slices about ¼-inch-thick, but you can also chop them into cubes if you wish.
Why There Is No Water In This Filling
If you look at the ingredient list again, you’ll notice there is no water, apple juice, or cider. Many recipes use added liquid, but in my testing, I found that 4 pounds of apples brought enough of their own liquid to make the cobbler saucy without the fruit swimming in juice.
This is a common way an apple cobbler goes wrong. Not too dry, not underbaked, just soupy at the bottom with a topping sitting in a puddle. Adding liquid to a filling that is already going to make its own is what causes it. So, no added liquid here!
Why I Do Not Cook The Filling First
I tested precooking the apples, but I felt that it took the texture a step backward. Softening the apples on the stove before they went into the oven meant they came out of the oven overcooked, closer to mush than tender.
The biscuit topping is why this works without precooking. It sits over the fruit and traps steam, so the apples soften properly underneath without being softened twice. 45 minutes in the oven is enough time to make the fruit tender without losing all of its texture.
Pro Tips For The Best Apple Cobbler
Use a glass or ceramic baking dish. Metal conducts heat faster and caramelizes the edges of the filling, making the apples and biscuit topping harder than you want. Glass and ceramic insulate better, which prevents overbaking.
Measure your flour correctly. Adding too much flour to the recipe will yield a dry topping. The best and easiest way to measure flour is by using a scale. If you don’t have one, fluff your flour with a spoon, sprinkle it into your measuring cup, and use a knife to level it off. Get the exact method in my Academy guide, How To Measure Ingredients Correctly.
How To Make Apple Cobbler
I’ve highlighted some parts of the recipe in step-by-step process images below. You can find the full set of instructions in the recipe card.
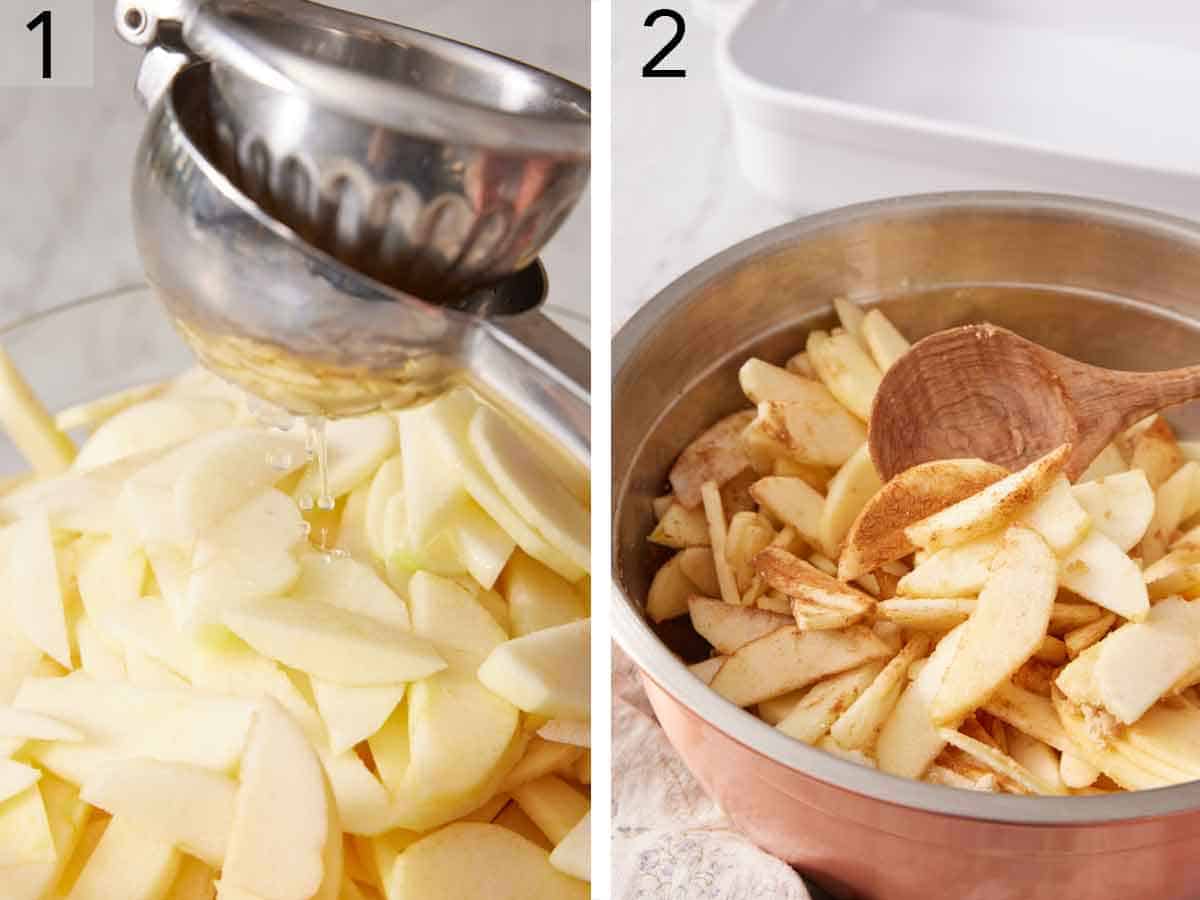
1. Make the apple filling: Toss the apple slices with lemon juice until they are well coated. (This slows oxidation, keeping the apples fresh!)
2. Add the brown sugar, cornstarch, spices, and vanilla extract, and mix well until all of the apple slices are coated in the sugar and spices.
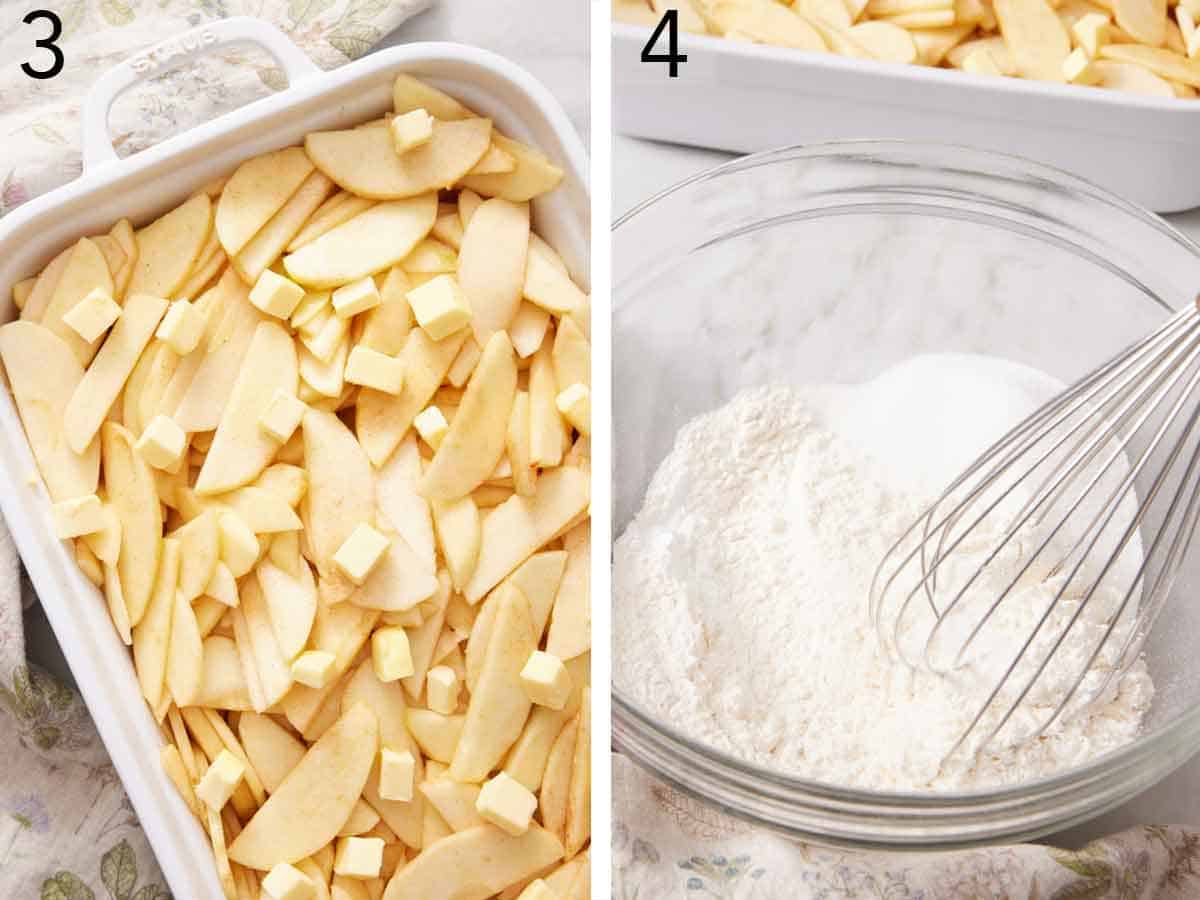
3. Transfer the apple mixture to a 9×13-inch baking dish and dot the top with cold cubed butter. Use a ceramic or glass dish if you have one! This will keep the edges of the apple filling from caramelizing too much.
4. Make the topping: In a large bowl, whisk together the flour, sugar, baking powder, and salt.
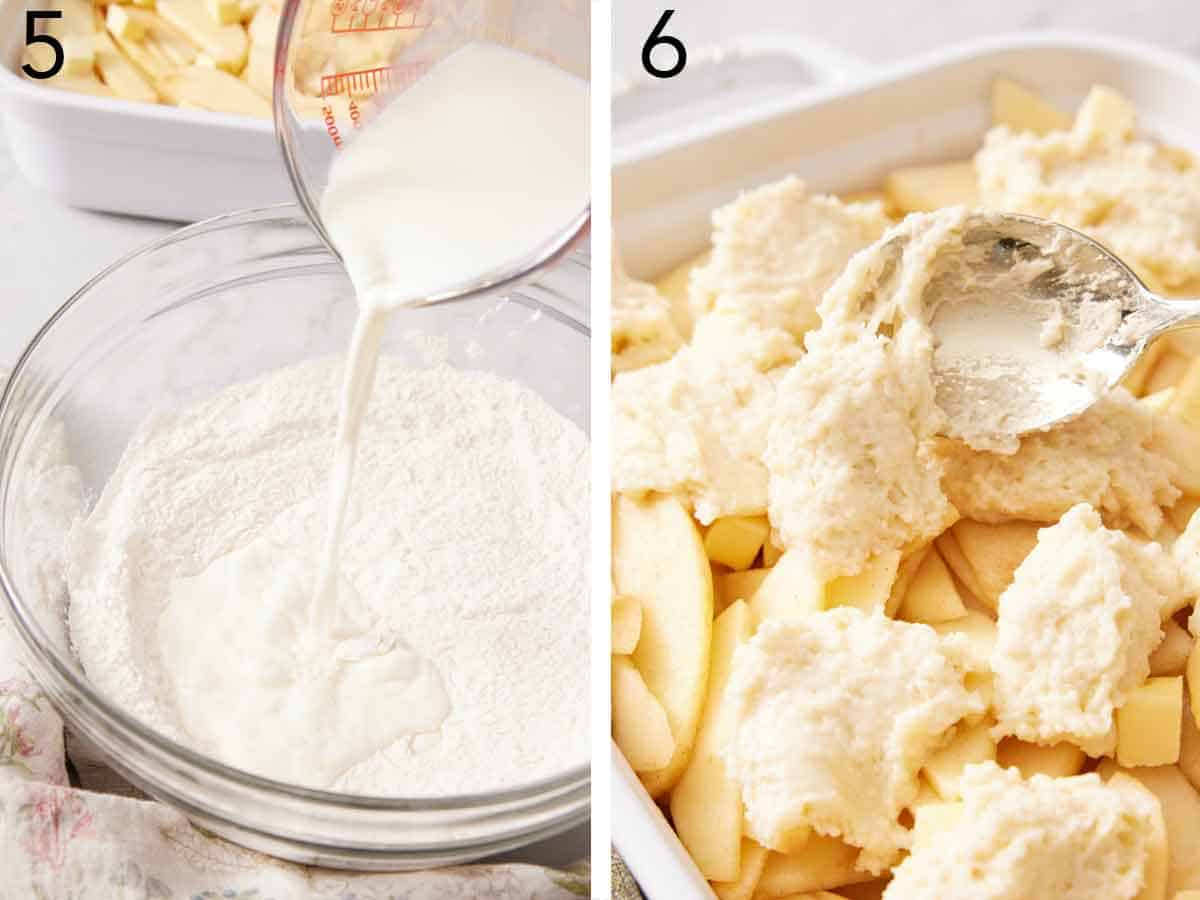
5. Add the milk and melted butter, and stir together just until the dry ingredients are fully combined with the wet ingredients. The batter will be thick.
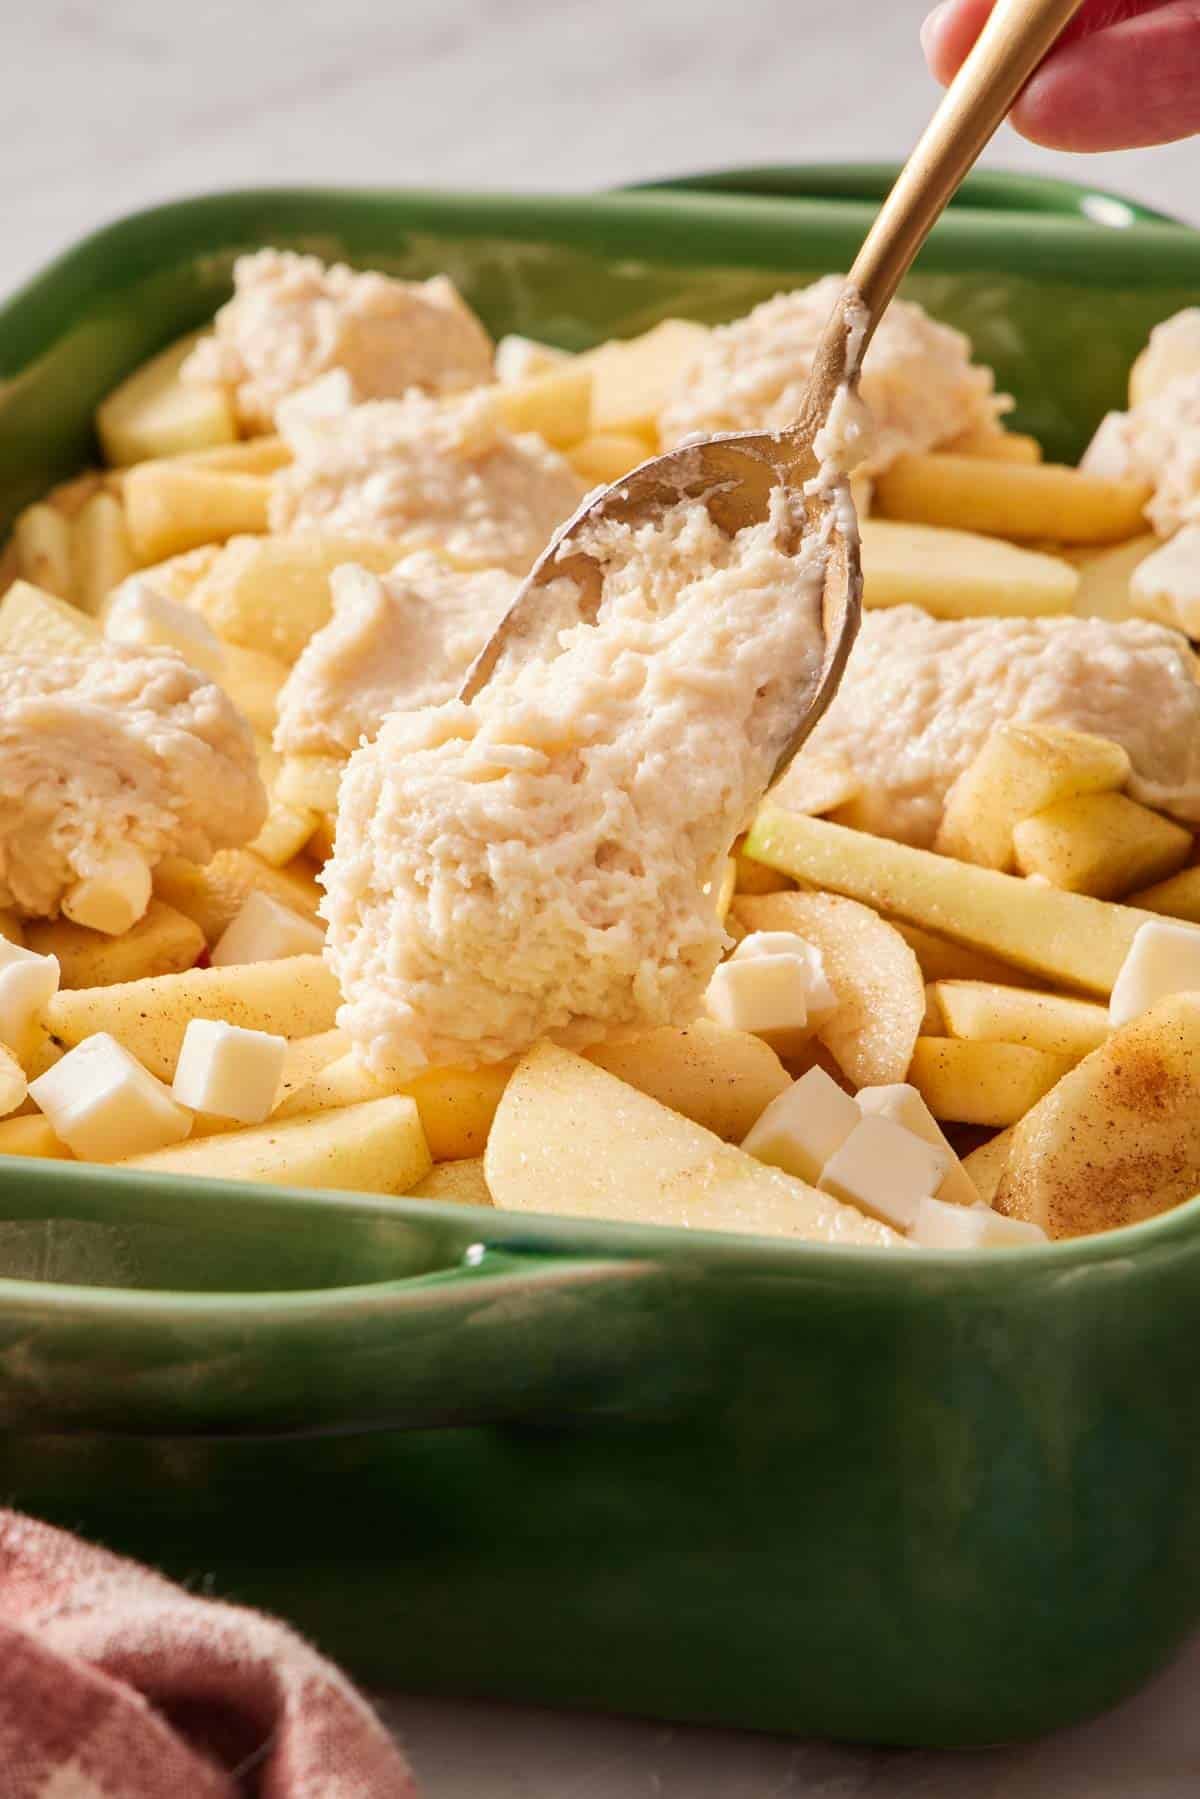
6. Bake the cobbler: Dollop the batter over the apples with a spoon. Keep in mind that it doesn’t need to completely cover the apples. It will spread as it bakes, and some gaps are good—they release steam so the filling isn’t too runny. Bake at 350°F for 45 minutes or until golden brown on top and bubbly around the edges. Then let cool for 10 minutes so the juices have time to firm up a bit.
Making It Ahead
You can assemble the whole thing, cover the dish, and refrigerate it up to 24 hours before baking. Take it out 30 minutes before it goes in, then uncover and bake at 350°F as directed, allowing closer to an hour rather than 45 minutes because it starts colder.
Some cobbler recipes tell you not to assemble it ahead of time on the grounds that the leavening agent starts working the moment it meets the milk. That may be true of other recipes that use baking soda and acidic ingredients. But my recipe uses baking powder (which mainly reacts in the oven heat) and regular milk, which isn’t very acidic. Plus, a thick biscuit dough holds up far better than a thin batter. This is just another reason I use one, and it is why this version survives a night in the fridge when others do not.
Can I Make It Gluten-Free?
Yes, you can substitute a gluten-free all-purpose baking blend for the flour in the topping. I tested this because it’s a very frequent reader question for this recipe, and I want you to have the exact swap! When I first mixed the topping batter, I measured the gluten-free flour by weight (like I normally would) using 240g—the batter was runny! Checking the box, the gram weight of 1 cup of King Arthur Gluten-Free All-Purpose Flour was much more than King Arthur’s regular AP flour (160g vs 120g per cup). When I added the gram difference, the batter turned to the right thickness. Gluten-free flour is a blend of starches, so it has a different density than wheat flour and absorbs liquid differently as well.
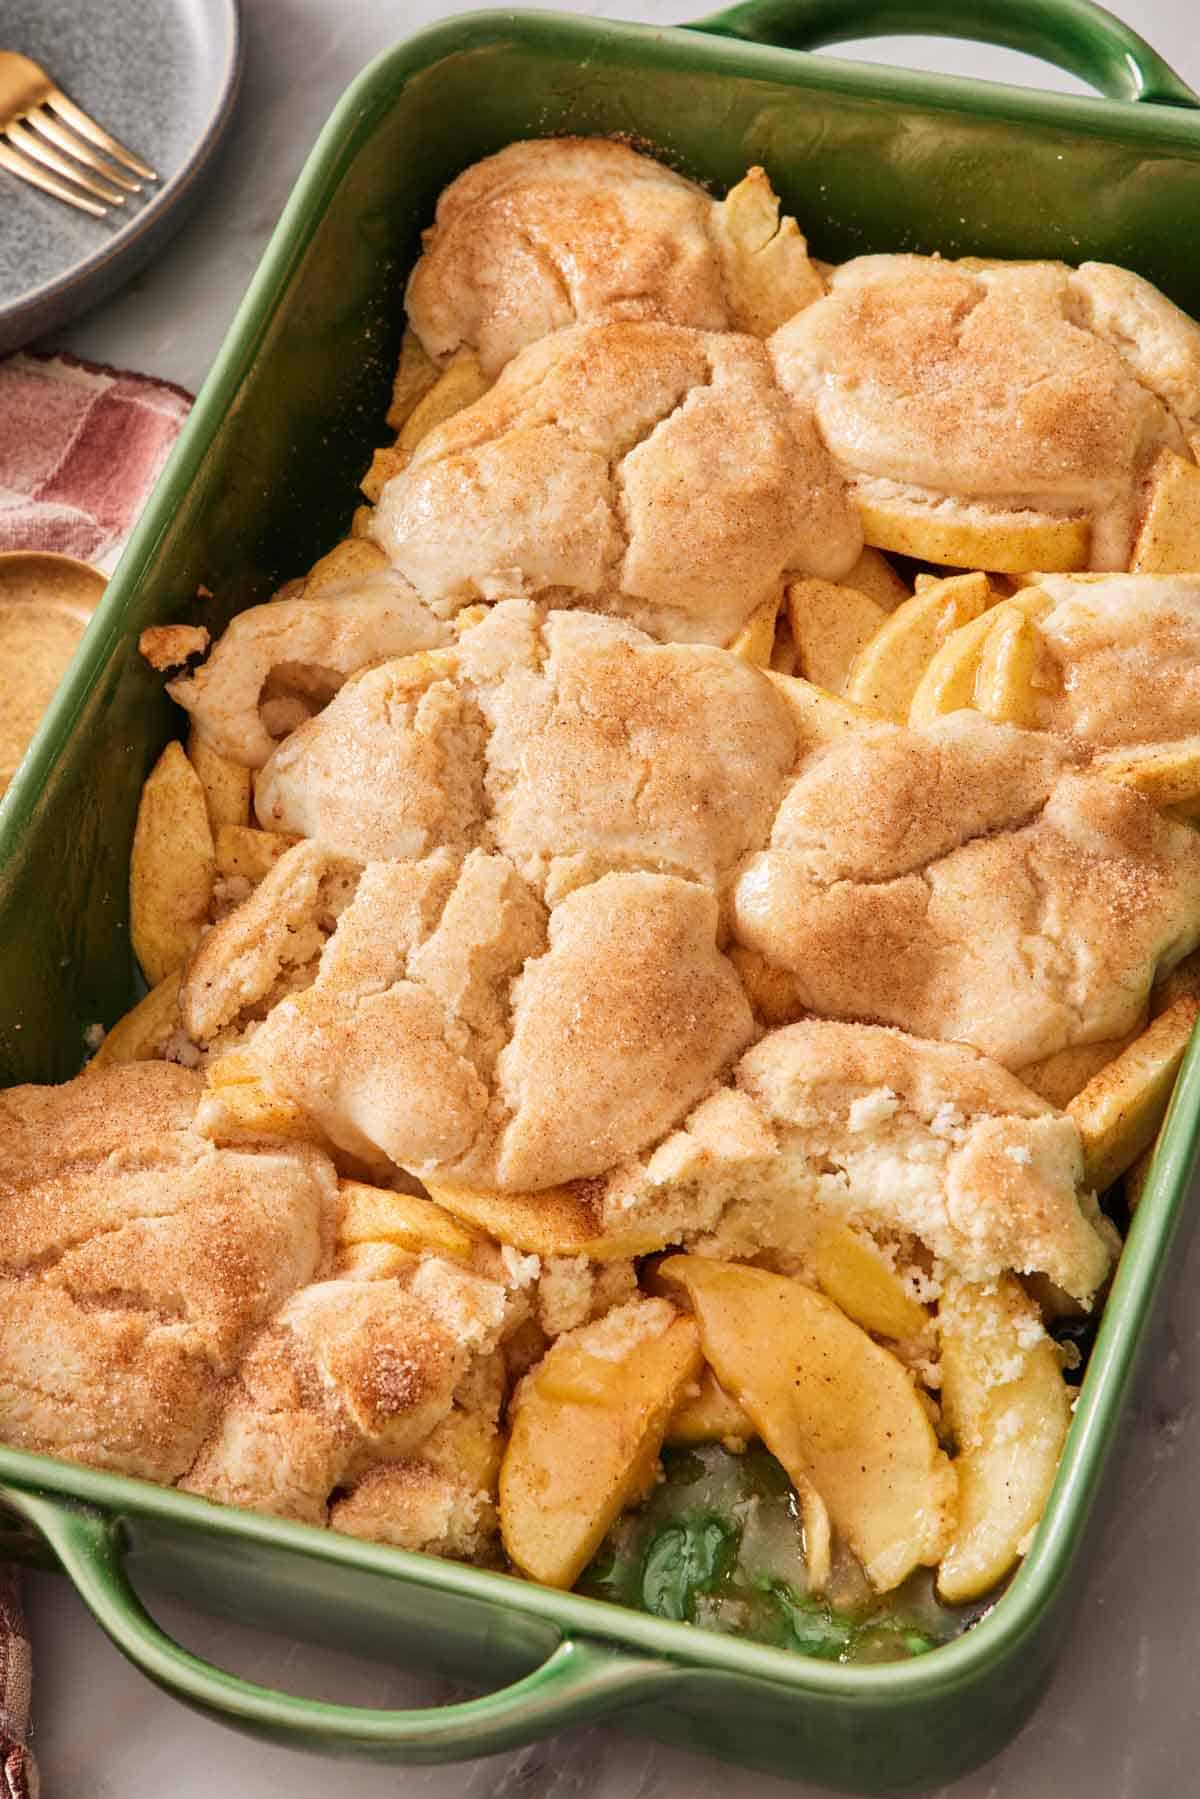
So, if you make the swap, measure by volume or use the gram weight for 2 cups according to the specific flour you are using. (Using King Arthur, that is 320g total for this recipe.) Adjust with more flour or more milk if it’s too thin or too thick based on your flour. The gluten-free apple cobbler (shown below) baked up in 45 minutes, looking almost identical to the normal recipe! I sprinkled it with some cinnamon sugar as the topping didn’t brown as much as the regular recipe.
Apple Cobbler Recipe
Equipment
- Mixing Bowls
- 9×13 baking dish
Ingredients
Apple Filling:
- 4 pounds apples peeled, cored, and sliced to ¼-inch thickness (1.8kg)
- 2 tablespoons fresh lemon juice
- ⅓ cup packed light brown sugar (73g)
- 1-3 tablespoons cornstarch
- ½ teaspoon ground cinnamon
- ¼ teaspoon ground nutmeg
- 1 teaspoon vanilla extract
- ¼ cup cold unsalted butter cut into small cubes (56g)
Topping:
- 2 cups all-purpose flour (240g)
- ½ cup granulated sugar (100g)
- 1 tablespoon baking powder
- 1 teaspoon salt
- ¾ cup whole milk (180ml)
- ¼ cup unsalted butter melted (56g)
Instructions
For the Apple Filling:
- Preheat the oven to 350°F.
- In a large mixing bowl, toss the apples with the lemon juice until well coated. Add the brown sugar, cornstarch, cinnamon, nutmeg, and vanilla extract and mix well to combine. (For a more syrupy cobbler, use 1-2 tablespoons of cornstarch. If you like a thick, jammy cobbler, use up to 3 tablespoons.) Pour the mixture into a 9×13-inch baking dish. Dot the top with the cubed butter.
For the Topping:
- In a large mixing bowl, whisk together the flour, sugar, baking powder, and salt. Add the milk and butter and stir together with a spatula until all of the flour is moistened. Scatter the topping over the filling. (It doesn’t need to completely cover the apples.)
- Bake for 45 minutes or until the topping is golden brown and the filling is bubbling around the edges. Let cool for 10 minutes. Serve topped with vanilla ice cream. Cover any leftovers and refrigerate for up to 5 days.
Notes
- Allow the cobbler to cool for a few minutes before serving. This gives time for the juices from the apples to set up slightly, so you have a luscious and velvety cobbler instead of a runny mess when you scoop into it.
- For a sugary crunch on the topping, sprinkle the dough with cinnamon sugar before baking. I usually mix 1 tablespoon of sugar with ¼ teaspoon of cinnamon for extra flavor.
- For more texture in the cobbler topping, you can swap ¼ cup of the flour with ¼ cup of quick-cooking oats.
- Serve with a dollop of vanilla ice cream, whipped cream, or a drizzle of caramel sauce!
Nutrition
Have you tried this recipe? Tag me today!
Mention @preppykitchen and tag #preppykitchen!
Storing, Reheating, And Freezing
Cover and refrigerate leftovers for up to 5 days. To reheat, cover with foil and warm in the oven at 350°F for 10 to 15 minutes.
To freeze, transfer the baked and cooled cobbler to a freezer-safe container and freeze for up to 3 months. If you know in advance you are freezing it, bake it in a freezer-safe dish and save yourself the transfer. Thaw overnight in the fridge before reheating.
Frequently Asked Questions
Yes. Halve every ingredient and use an 8-inch square dish or a 9-inch round cake pan.
The topping covers the fruit in patches rather than sealing it, and that is the point. Gaps let some steam escape so the filling thickens instead of turning soupy, and they are what give a cobbler its cobbled look. If you want more topping, make one and a half times the topping. Still leave some gaps when you dollop it on top, or you will trap too much steam and end up with a damp underside.
You can, but it changes the method. Drain canned apple slices well and mix with the other filling ingredients. If you are using a ready-made pie filling, it is already thickened and sweet, so leave out the sugar, spices, and cornstarch. My own apple pie filling works here too, and it is better than canned! Keep in mind both of these are already soft, and they will go even softer in the oven.
The topping is not apple-specific, but the fruit underneath is. Juicier fruit needs different sugar and cornstarch ratios. So rather than adapting this one, use the recipe made for it. I have separate cobblers for blueberry cobbler, blackberry cobbler, and cherry cobbler.
More Dessert Recipes To Try
Bake one of these fruit-filled dessert recipes next:
- Apple Crisp — same spiced apples with a crunchy oat streusel instead of biscuit.
- Peach Cobbler — the summer version, with a pourable batter that rises around the fruit.
- Apple Crumble Pie — a pie crust base under streusel, for when you want pastry.
- Apple Pie Filling — cooked and freezer-friendly, and a shortcut to this dish.
- Strawberry Cobbler — the highest-rated cobbler on the site, if you want a summer one.
If you’ve tried this apple cobbler recipe, then don’t forget to rate it and let me know how you got on in the comments below. I love hearing from you!





