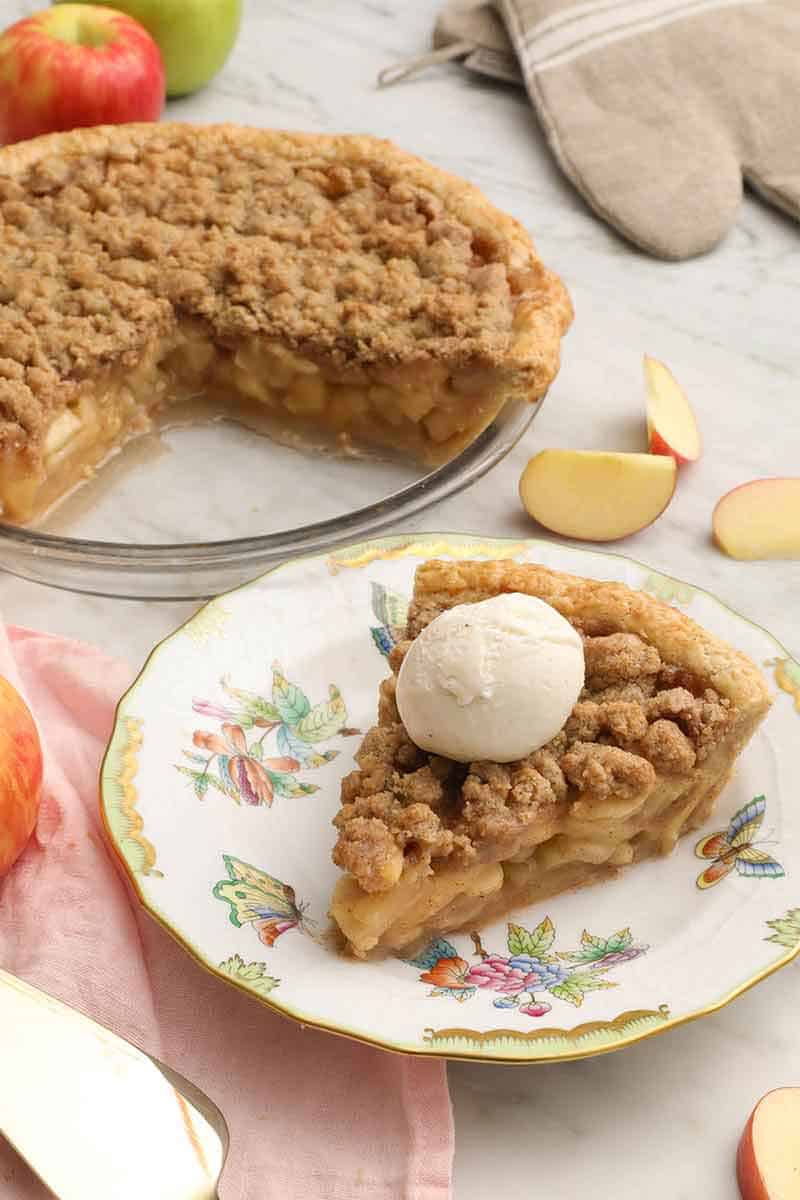
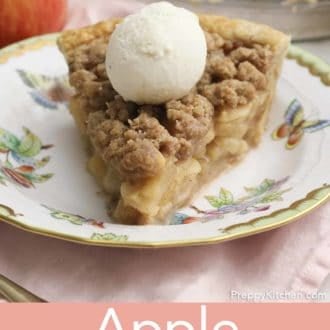
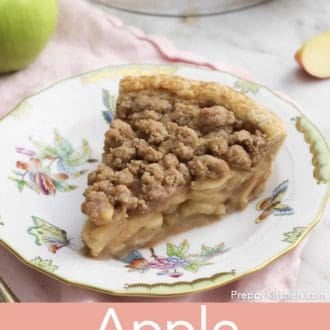
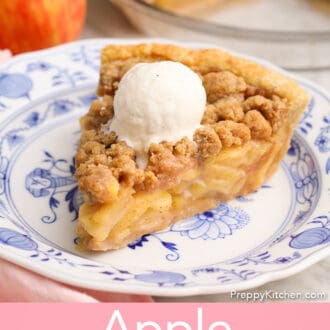
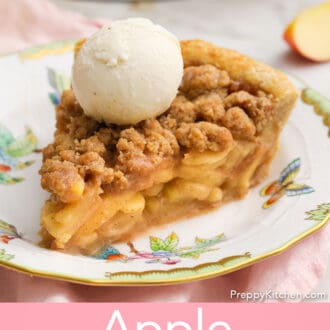
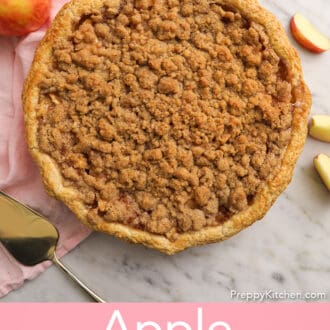
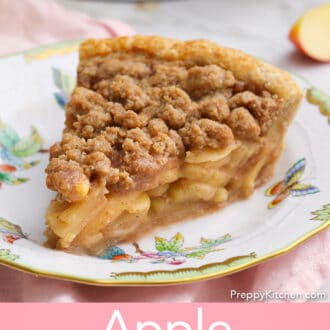
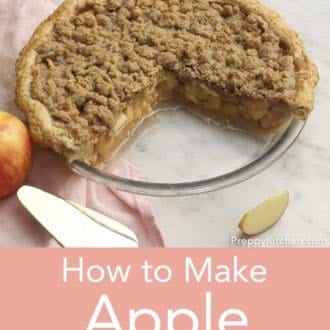
Apple crumble pie (also called Dutch apple pie and apple crumb pie) takes the best parts of apple pie and apple crumble or apple crisp and combines them into one show-stopping dessert! While traditional apple pie has pie dough for the top and bottom crust, this pie is instead topped with a simple streusel made of flour, cinnamon, sugar, salt, and butter.
You can use either store-bought or homemade pie crust for this pie; either works perfectly well though a homemade crust is hard to beat flavor-wise. If you’re looking to save some time, definitely opt for a premade pie crust. Otherwise, this recipe couldn’t be simpler to follow.
Prepare the luscious fresh apple filling and the sweet crumb topping, bake it until golden, and you’re good to go! Serve apple crumb pie with a large dollop of vanilla ice cream or whipped cream for dessert perfection. If you want to try some similar apple desserts, try my easy apple cobbler, homemade apple pie recipe, or apple crisp recipe.
What You Need to Make this Recipe
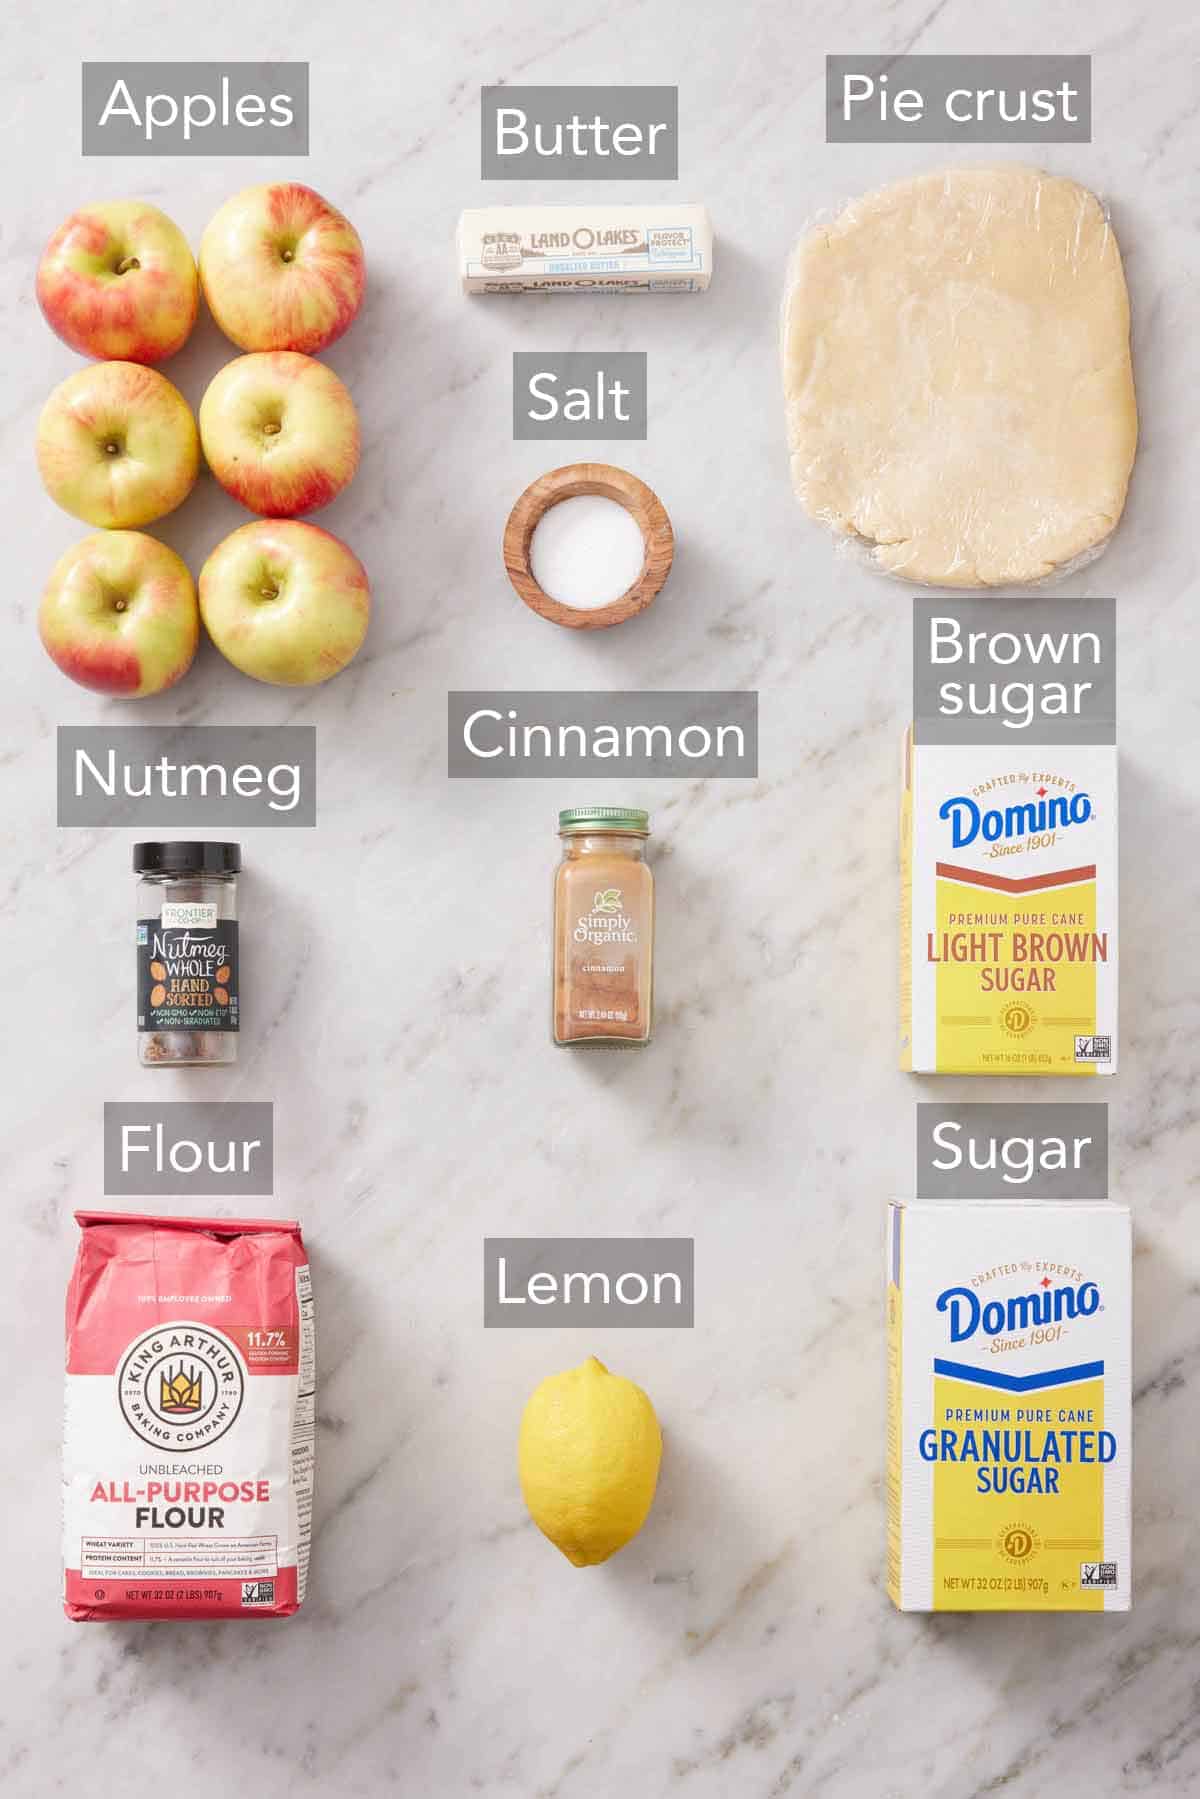
Pie crust — you need one unbaked pie crust, either store-bought or homemade pie crust.
Butter — for the crumble topping, you’ll need cooled melted unsalted butter. I like to melt the butter first, giving it time to cool while gathering and measuring out the other ingredients. If it’s too hot when stirred into the topping, the heat can start to melt the sugar and make the topping more of a paste than a crumble. Pop the topping in the fridge until it firms up if that happens.
Apples — I used a mixture of Granny Smith apples and Honeycrisp apples for the perfect balance of tart and sweet. For more sweetness, you can use Fuji apples, or use your favorite variety.
Lemon juice — fresh lemon juice immediately brightens the apple pie filling. You can make the pie without if you don’t have any, or use orange juice or even an alcohol like bourbon or rum in its place.
Spices — I used cinnamon and nutmeg for delicious warm fall flavors, but you could also use allspice, cardamom, or ginger.
How to Make Apple Crumble Pie
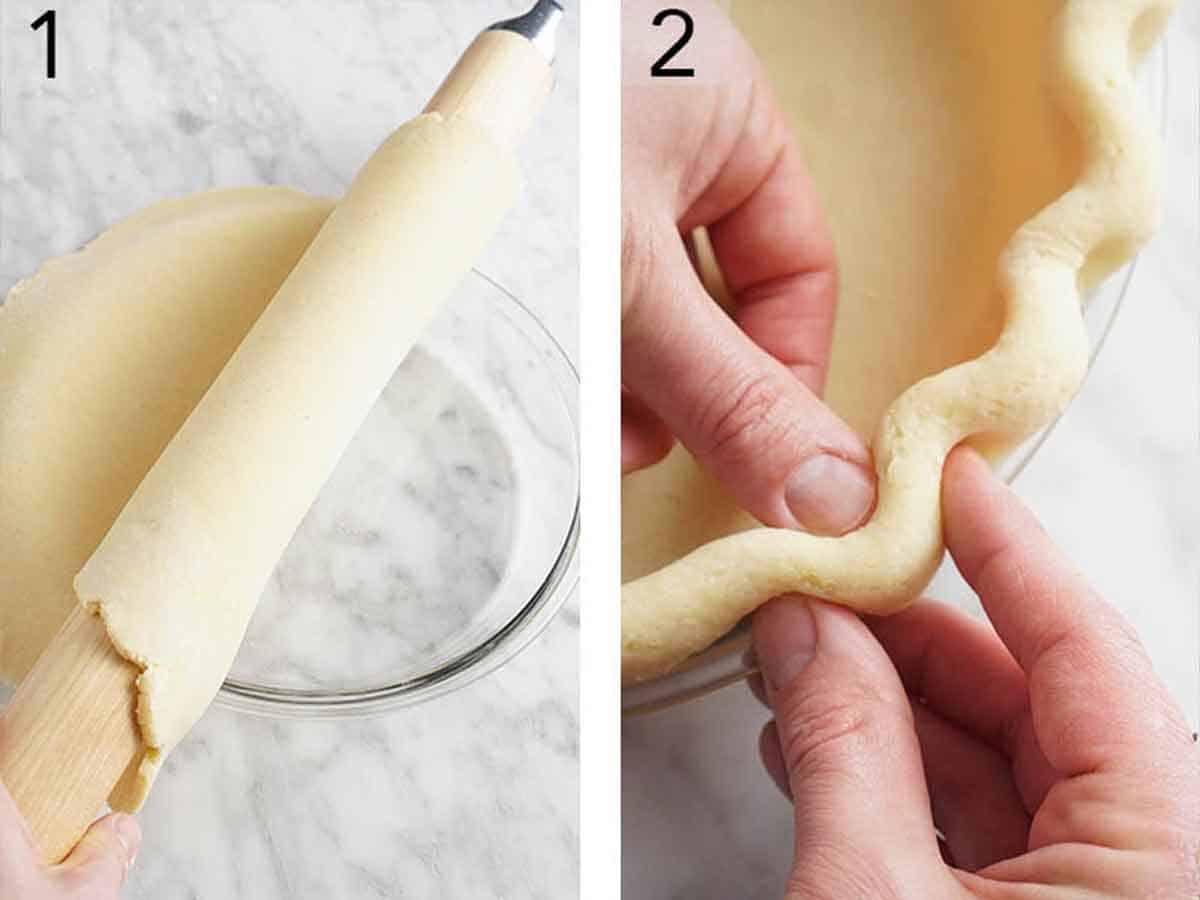
1. Roll out the chilled pie dough into a 12- to 14-inch circle and transfer it to a 9-inch pie plate.
2. Trim the edge of the dough so you have a 1-inch overhang. Fold the excess under. You can stop here, or for a prettier presentation, crimp the edges. Place the pie dish in the freezer while you prepare the crumb topping and apple filling.
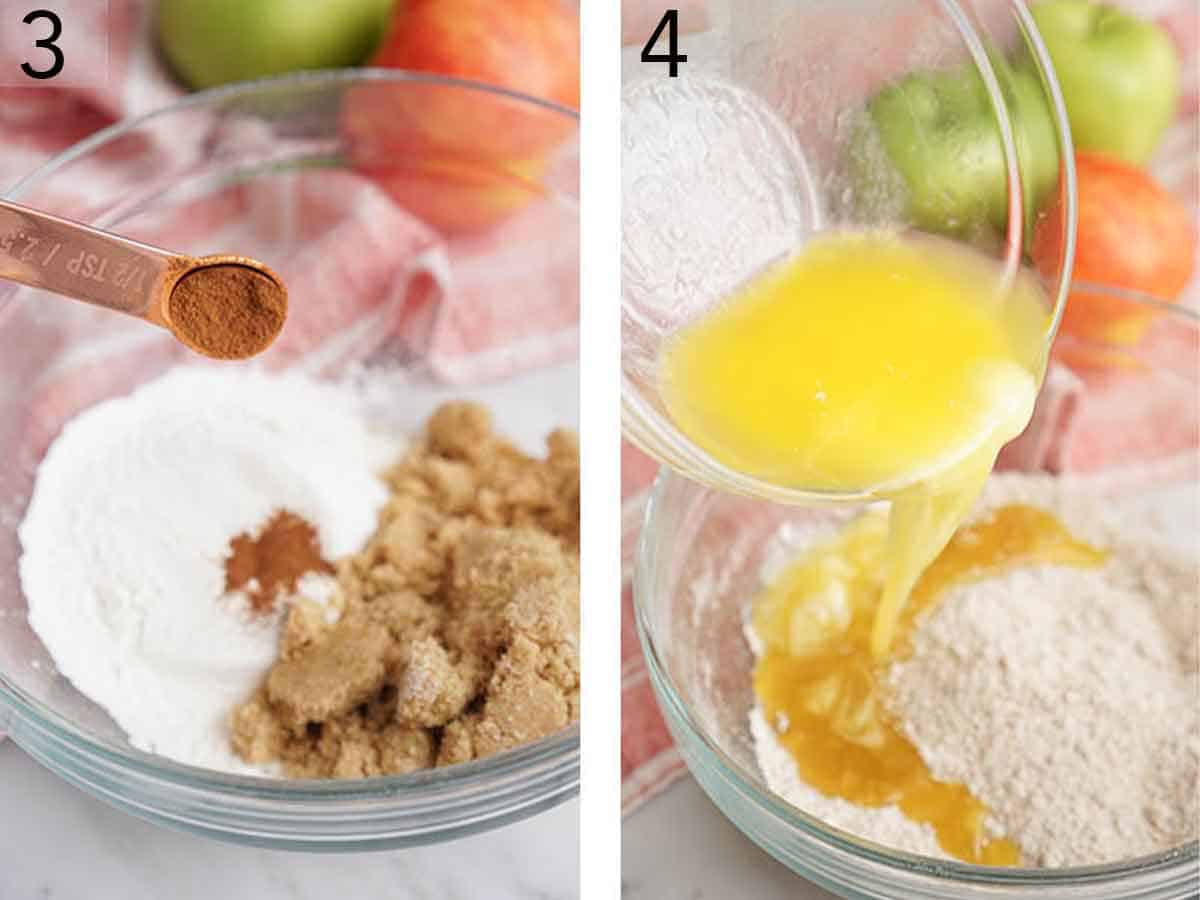
3. To a small or medium bowl, add flour, light brown sugar, and salt and combine.
4. Pour in the cooled melted butter and mix until clumps form. Set the streusel topping aside for now.
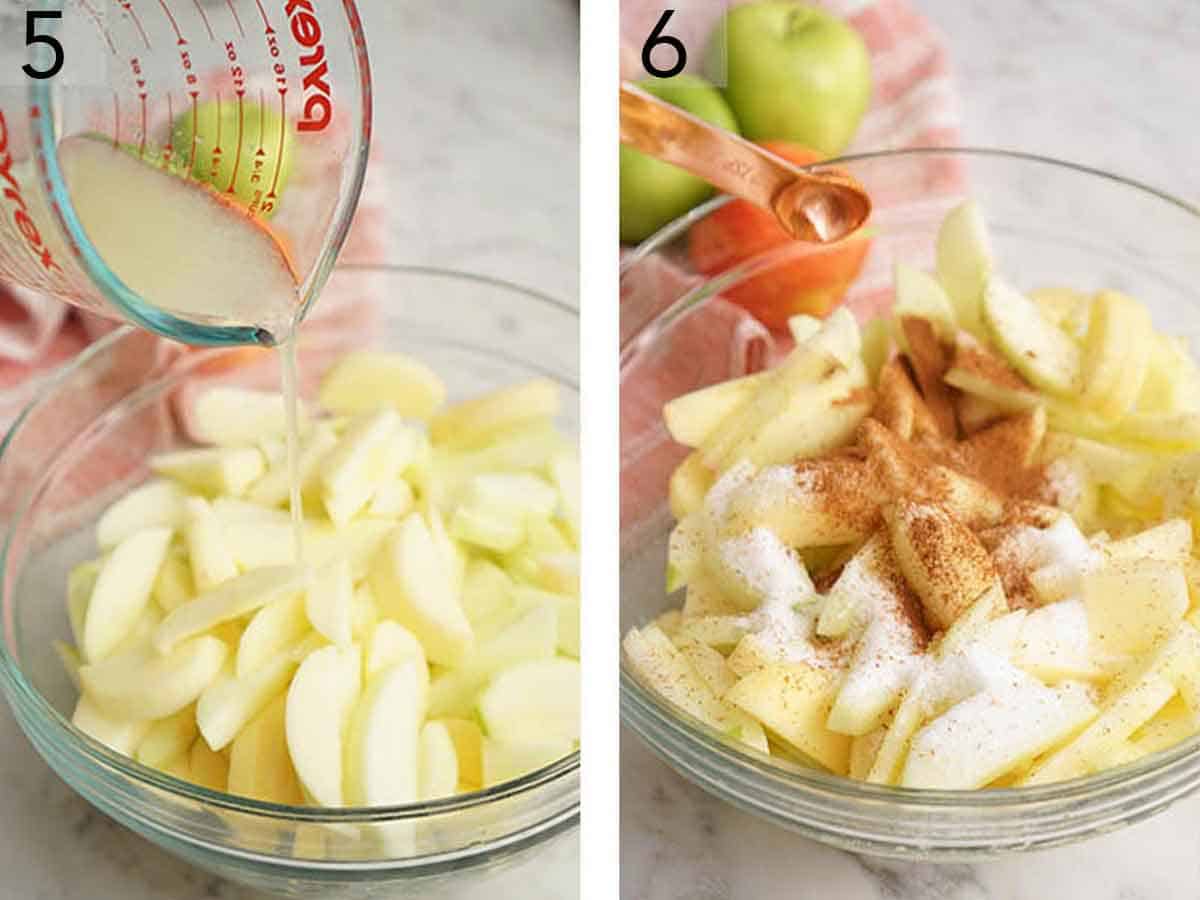
5. After peeling, coring, and slicing the apples, add them to a large bowl and toss with lemon juice.
6. Add sugar, flour, cinnamon, and nutmeg, and toss to coat the apples.
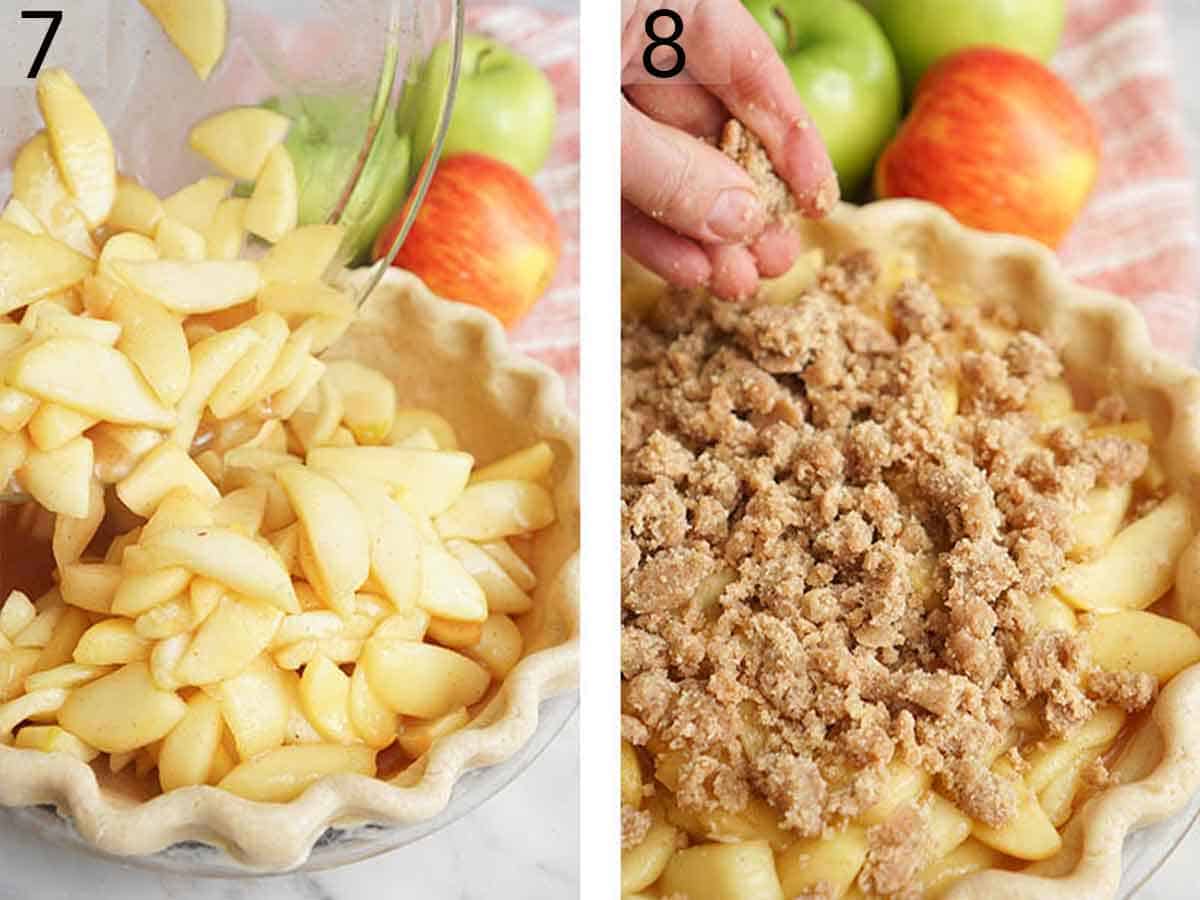
7. Grab your pie dish from the freezer and pour in the spiced apples. Press them down gently into the crust, and mound them in the center. Place the pie on a rimmed baking sheet and bake for 20 minutes at 400°F.
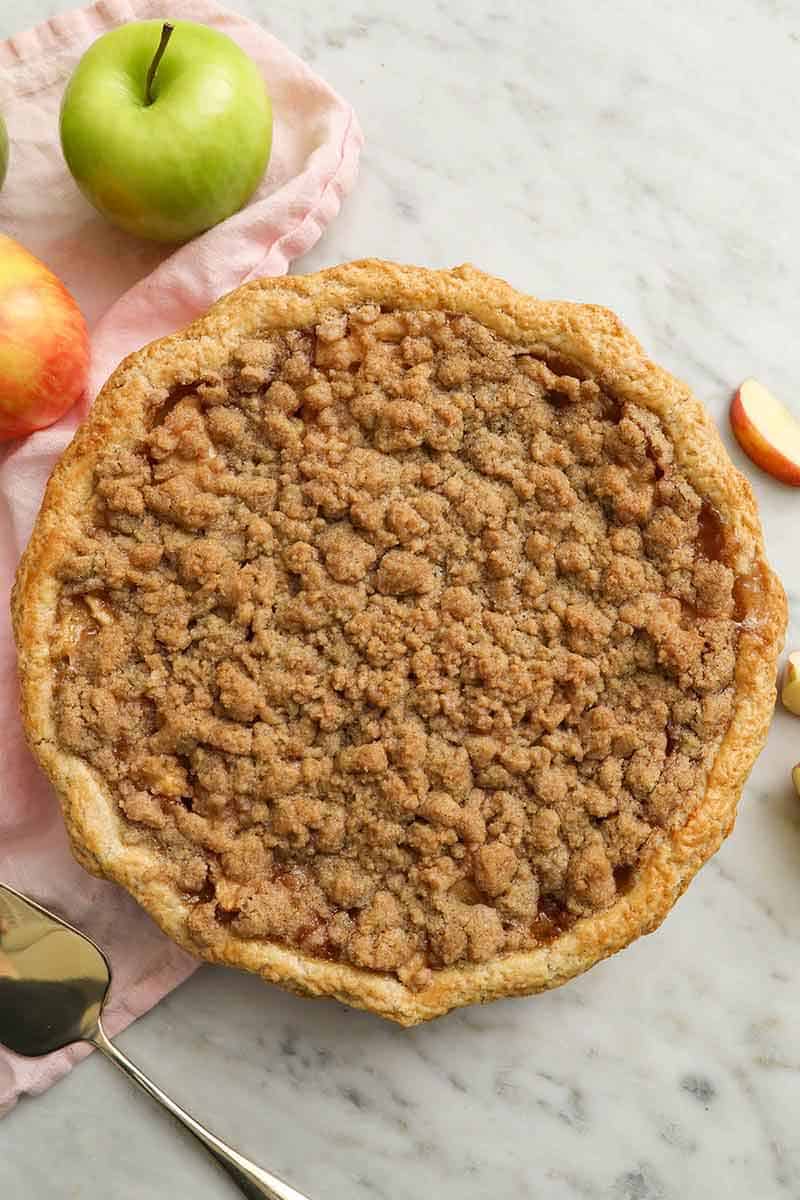
8. Once the 20 minutes are up, reduce the oven temperature to 350°F. Remove the pie from the oven and sprinkle the crumble topping generously over the apples. Bake for 1 hour more or until the crust is a gorgeous golden brown, the filling is bubbling, and the apples are tender (insert a skewer into the center to check). Let the pie cool completely, for about 4 hours, before slicing. Refrigerating the pie before slicing will give you neater slices.
Pro Tips for Making this Recipe
- Don’t skimp on the apples. Don’t be scared to pack the apples into a mound in the baking dish. They will settle as they bake and release their juices.
- Slice the apples evenly. If your apple slices are all different sizes, they won’t bake at the same speed…and you’ll end up with some that are really mushy, while others are still crisp. Slicing the apples into approximately ⅛- inch-thick pieces will yield tender baked apple slices that hold their shape.
- Use cooled melted butter to make the crumb topping. After melting your unsalted butter, allow it to cool to room temperature before starting to make the streusel topping. If the butter is too warm, it will dissolve some of the sugar and create a big blob instead of crumbles. If that happens, you can refrigerate the mixture for a few minutes and then crumble it up with clean hands or a fork.
- Place the pie dish on a baking sheet before you bake the pie. This will make it easier to handle, and the baking sheet will catch any juices that might bubble over.
- Protect the edges of the pie. Pie crusts cook quickly, and the long baking time can cause them to brown too fast. If you see the edges are becoming too brown, shield the edges with aluminum foil.
- Protect the crumble topping. If you notice that the topping is browning too quickly, place a square of foil over the middle of the pie to shield it.
- The type of pie dish you use will affect baking time. A glass baking dish, which is what I use, or ceramic will have a longer baking time compared to a metal one. If you use a metal dish, your pie will take approximately 5 to 10 minutes less to bake.
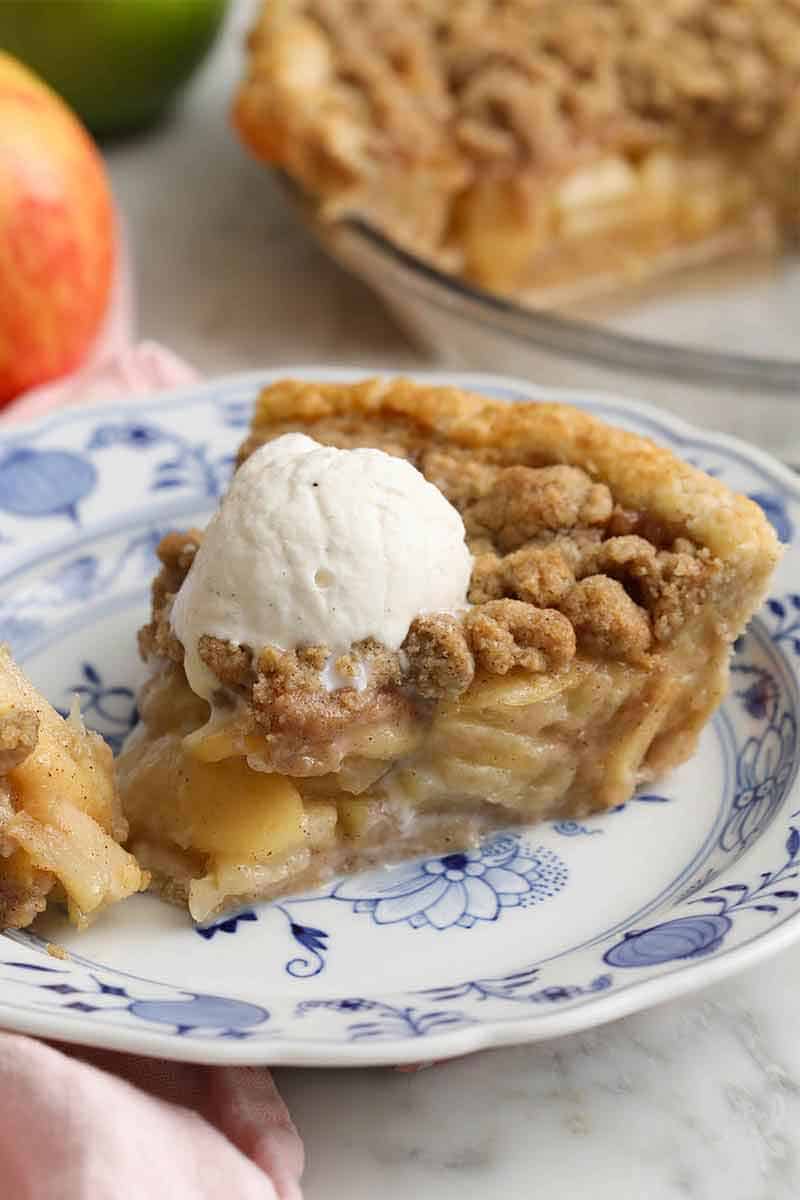
- For pretty, neat slices, refrigerate the pie before slicing. Cold pies are much easier and less messy to cut up! If you’re like me and prefer eating warm pie, just heat up individual slices (and add a big scoop of vanilla ice cream — trust me on that!
Frequently Asked Questions
While apple crumble pie keeps for a relatively long time, the crumb topping softens as the pie sits and loses its trademark crispness. So I recommend baking it as close to when you plan to serve it as possible.
You can’t go wrong with Granny Smith apples in Dutch apple pie. However, since there is a relatively small amount of sugar, I like to add a sweeter variety of apples to keep the filling from being too tart, especially since I add lemon juice to the filling. Honeycrisp is a slightly sweet apple that balances out tart Granny Smiths well. For an even sweeter apple filling, try Fuji apples.
Since apples can vary wildly in size, it’s easier to weigh them rather than guessing how many apples to use for pie. You’ll need 2½ pounds of whole apples for this apple crumble pie recipe, which yields about 8 cups or 1¾ pounds sliced apples.
The streusel topping couldn’t be easier to make! You just need to whisk together flour, brown sugar, cinnamon, and a little salt. Then pour in cooled melted butter and mix everything together until large crumbles form. An alternate method, similar to what I do in my apple crisp recipe, is to use cold cubed butter instead and work it into the dry ingredients with a pastry cutter well until crumbles form.
Dutch apple pie can be stored, covered, on your kitchen counter for about 2 days. To extend its lifespan to 1 week, cover it tightly in plastic wrap and refrigerate. Set it out on the counter for an hour or two before serving so it isn’t completely cold. I prefer warm, gooey pies, so I microwave individual slices for a few seconds to heat them up.
If you plan on saving this apple crumble pie for longer than a few days, consider freezing it. Remove the completely cooled pie from the dish and wrap it well with plastic wrap and aluminum foil. Store it in a freezer-safe container or freezer bag. It will keep for up to 2 months. Thaw it overnight before enjoying.
If you’ve tried this apple crumble pie recipe, then don’t forget to rate the recipe and let me know how you got on in the comments below, I love hearing from you!
Apple Crumble Pie
Video
Equipment
- 9” pie plate
- Mixing Bowls
- Rolling Pin
- Baking Sheet
Ingredients
- 1 pie crust unbaked
For the Crumble:
- 1¼ cups all-purpose flour (150g)
- ½ cup packed light brown sugar (110g)
- 1 teaspoon cinnamon
- ½ teaspoon salt
- ½ cup unsalted butter melted and cooled (113g)
For the Filling:
- ¼ cup lemon juice (60ml, about 1 lemon)
- 2½ pounds apples (I like Granny Smith or Honeycrisp) (1.13kg)
- ⅔ cup granulated sugar (133g)
- ½ teaspoon ground cinnamon
- ¼ teaspoon ground nutmeg
- ⅓ cup all-purpose flour (40g)
Instructions
- Preheat the oven to 400°F.
For the Crust:
- Roll out your chilled pie dough into a 12- to 14-inch circle. Transfer the dough to a 9-inch pie dish. Trim the edge of the dough to a 1-inch overhang, then fold the excess under and crimp the edge. Freeze while you make the filling.
For the Crumble:
- Combine the flour, sugar, cinnamon, and salt in a small mixing bowl. Pour in the melted butter then mix until large clumps form. (If the butter is too warm the mixture will form a glob instead of crumbles. Just pop in the fridge to chill a few minutes if needed and then break it up with your hands.)
For the Filling:
- Peel, core, and slice your apples, then toss with the lemon juice in a large mixing bowl. Add the sugar, flour, cinnamon, and nutmeg then toss to combine evenly. Pour the apples into the frozen pie crust, pressing them down into the crust and mounds them slightly in the center. Place the pie on a rimmed baking sheet.
- Bake for 20 Minutes. Reduce the oven temperature to 350°F.
- Remove the pie and sprinkle the crumble topping over the apples. Continue baking for 1 hour minutes or until the crust is golden brown, the filling is bubbly, and the apples are soft when a skewer is poked in the center. Tent the pie or crust with foil at any point if it appears to be browning too quickly. Let the pie cool completely at room temperature, about 4 hours, before slicing.
Notes
- Don’t skimp on the apples. Don’t be scared to pack the apples into a mound in the baking dish. They will settle as they bake and release their juices.
- Slice the apples evenly. If your apple slices are all different sizes, they won’t bake at the same speed…and you’ll end up with some that are really mushy, while others are still crisp. Slicing the apples into approximately ⅛- inch-thick pieces will yield tender baked apple slices that hold their shape.
- Use cooled melted butter to make the crumb topping. After melting your unsalted butter, allow it to cool to room temperature before starting to make the streusel topping. If the butter is too warm, it will dissolve some of the sugar and create a big blob instead of crumbles. If that happens, you can refrigerate the mixture for a few minutes and then crumble it up with clean hands or a fork.
- Place the pie dish on a baking sheet before you bake the pie. This will make it easier to handle, and the baking sheet will catch any juices that might bubble over.
- Protect the edges of the pie. Pie crusts cook quickly, and the long baking time can cause them to brown too fast. If you see the edges are becoming too brown, shield the edges with aluminum foil.
- Protect the crumble topping. If you notice that the topping is browning too quickly, place a square of foil over the middle of the pie to shield it.
- The type of pie dish you use will affect baking time. A glass baking dish, which is what I use, or ceramic will have a longer baking time compared to a metal one. If you use a metal dish, your pie will take approximately 5 to 10 minutes less to bake.
- For pretty, neat slices, refrigerate the pie before slicing. Cold pies are much easier and less messy to cut up! If you’re like me and prefer eating warm pie, just heat up individual slices (and add a big scoop of vanilla ice cream — trust me on that!







Laura says
Great recipe!
Alateishia says
I made this recipe today excellent and my children and husband luv it! Thank u for this recipe.
Mary says
I made this today and it was fantastic. The crust was the flakiest and most flavorful I’ve ever made and the crumb topping is delicious. This is my new go to Apple Pie recipe.
John Kanell says
So happy you enjoyed!
Veve says
I did this recipe with gluten free flour, and oat in a crumbs it was really good, especially the part about apples was perfect, not overcooked not raw, I will use this recipe, I did add more spices ground cloves, apple pie spice,….with vanilla ice cream it was delicious🍨 Thank you🙌
John Kanell says
So happy you enjoyed!
Trixie says
Hi John! I’ve been following your channel for a year now and since the pandemic struck, I’ve started doing more baking because we’ve been in lockdown since March.
I made this last night and it tasted so goooood! It was my first time to make a pie and my whole family loved it!
Although I did have a hard time keeping the butter cold while kneading it because we live in a tropical climate in the Philippines…
Kelly says
The pie looks DELICIOUS! I plan on making it for Thanksgiving.
John, I wanted to let you know that I just saw you on Chopped. You were awesome, or as you would say…ah-mazing! If I’m being honest, you looked nervous in the beginning, but seemed to get more comfortable as the show went on. I have so many questions, if you don’t mind. What was it like? I hear that the show takes about 8 hours to tape. Is that true? What are Maneet Chauhan and Scott Conant like? Did you learn anything? What were the tarantulas like? Would you ever compete on that show?
John Kanell says
Hello! It was a full day and everyone was so nice!
Ivana says
Hello,
I like your work and if you need more recipes with apples, more precisely two, it will be my pleasure to give them to you, to try them and to tell me if you like them … as my gratitude because you learned the metric system of measurement 😀
Susan says
Made this yesterday for my daughter and her family. Loved by everyone. I was quite impressed with the way it turned out. Beautiful and delicious. Not something you just “whip up “ because cutting and peeling apples takes TIME. But the recipe is easy to follow. Crust was delicious, even my picky 6 year old grandson loved it.
John Kanell says
Thank you Susan!
Trixie says
Hi John! I’ve been following your channel for a year now and since the pandemic struck, I’ve started doing more baking because we’ve been in lockdown since March.
I made this last night and it tasted so goooood! It was my first time to make a pie and my whole family loved it!
Although I did have a hard time keeping the butter cold while kneading it because we live in a tropical climate in the Philippines…
Roberta says
This looks delicious ?
Mina says
Hi, i would like to thank you for your wonderful work.
I followed your apple crumble pie recipe to the letter.
the result was good but in my opinion it could have been better with a little less sugar and butter.