
This post may contain affiliate links. Please read our disclosure policy.
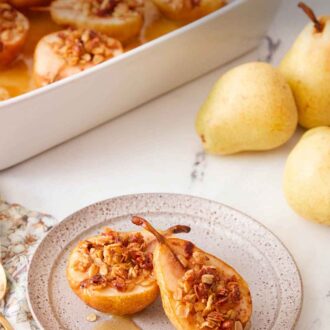
Made with a few simple ingredients, this Baked Pears recipe comes together easily. These lightly caramelized pears are cooked until warm and soft, making for a lovely light dessert or snack that’s perfect for any occasion. Topped with crunchy granola or served with some ice cream, these baked pears are so versatile, and everyone will reach for seconds.
You won’t believe how easy it is to make this baked pears recipe. Coated with some sugar, cinnamon, vanilla, and a drizzle of maple syrup, then baked to perfection, these buttery pears are always a hit. I love making this cooked pear recipe as they only take a few minutes to prepare, and then the oven does the rest of the work.
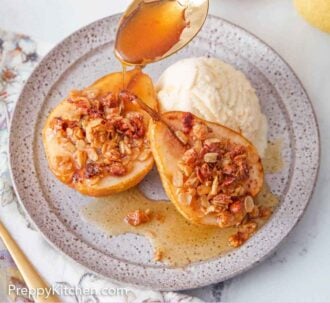
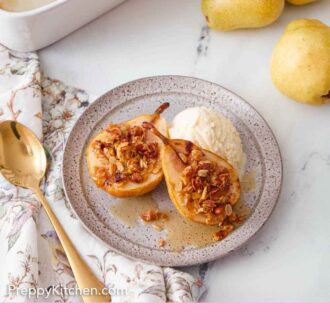
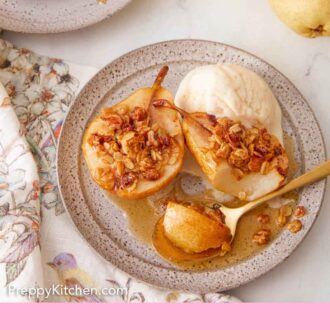
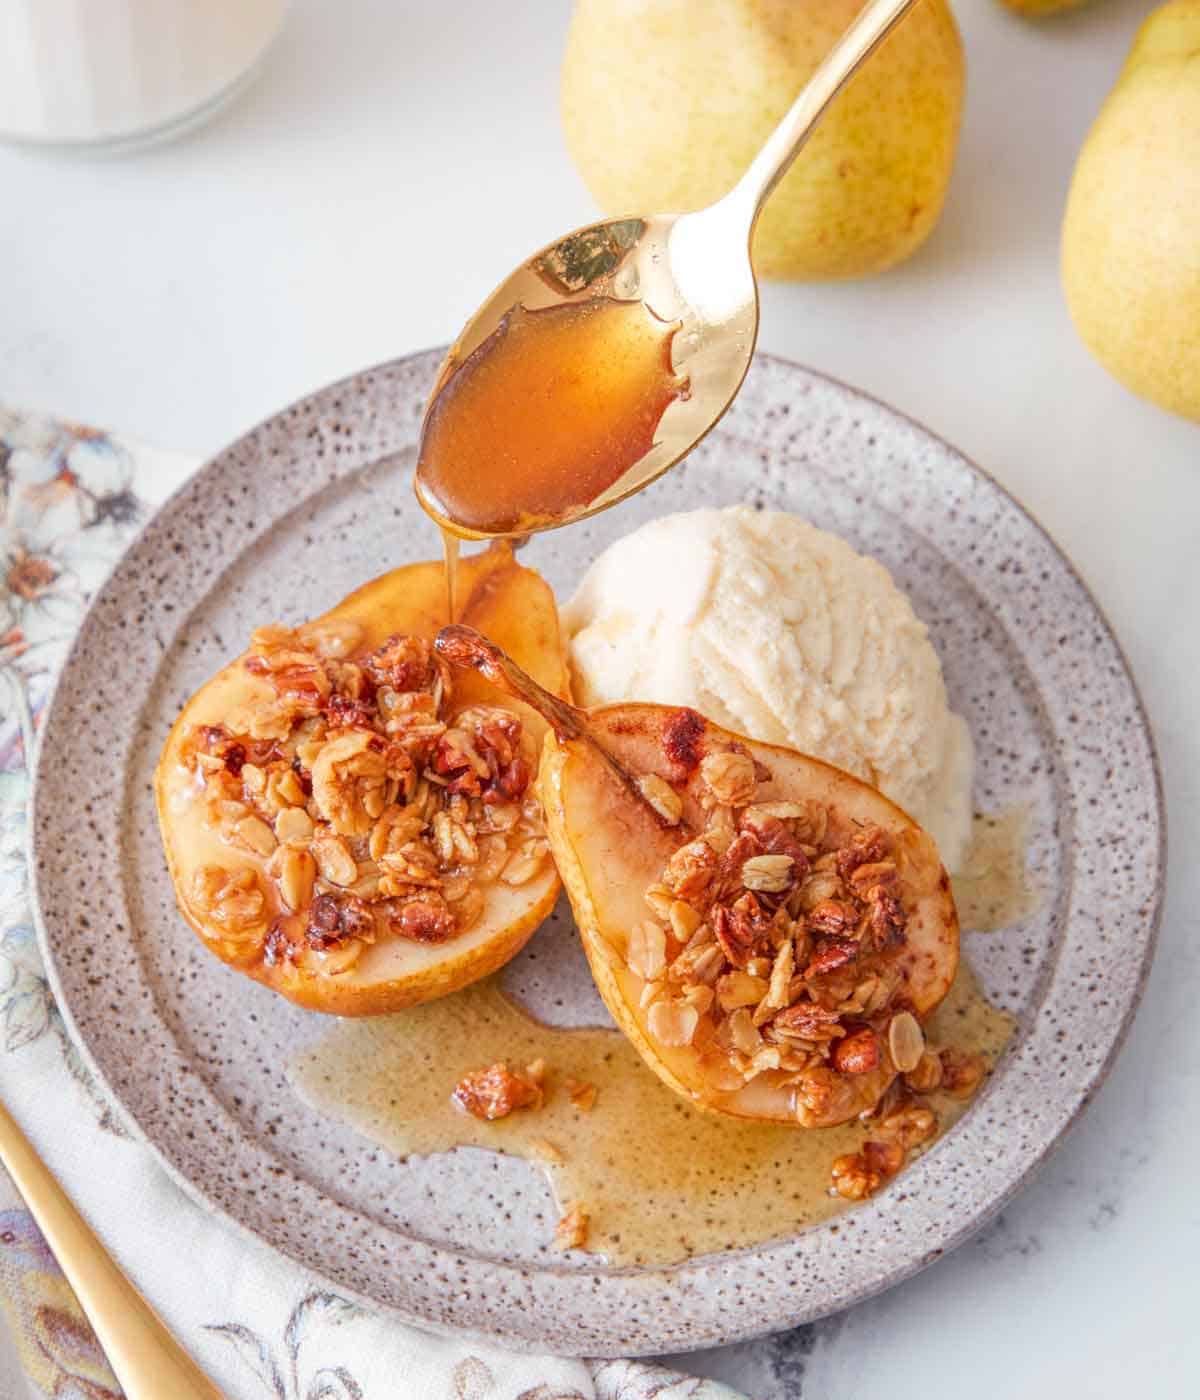
You’ll want to make these pears constantly, they’re perfect as a simple treat on a weeknight but also beautiful enough to serve when entertaining. Enjoy these delightful baked pears on their own with a scoop of vanilla ice cream or whipped cream. You can also serve the pears warm with some waffles, pancakes, oatmeal, or yogurt.
What You Need to Make This Recipe
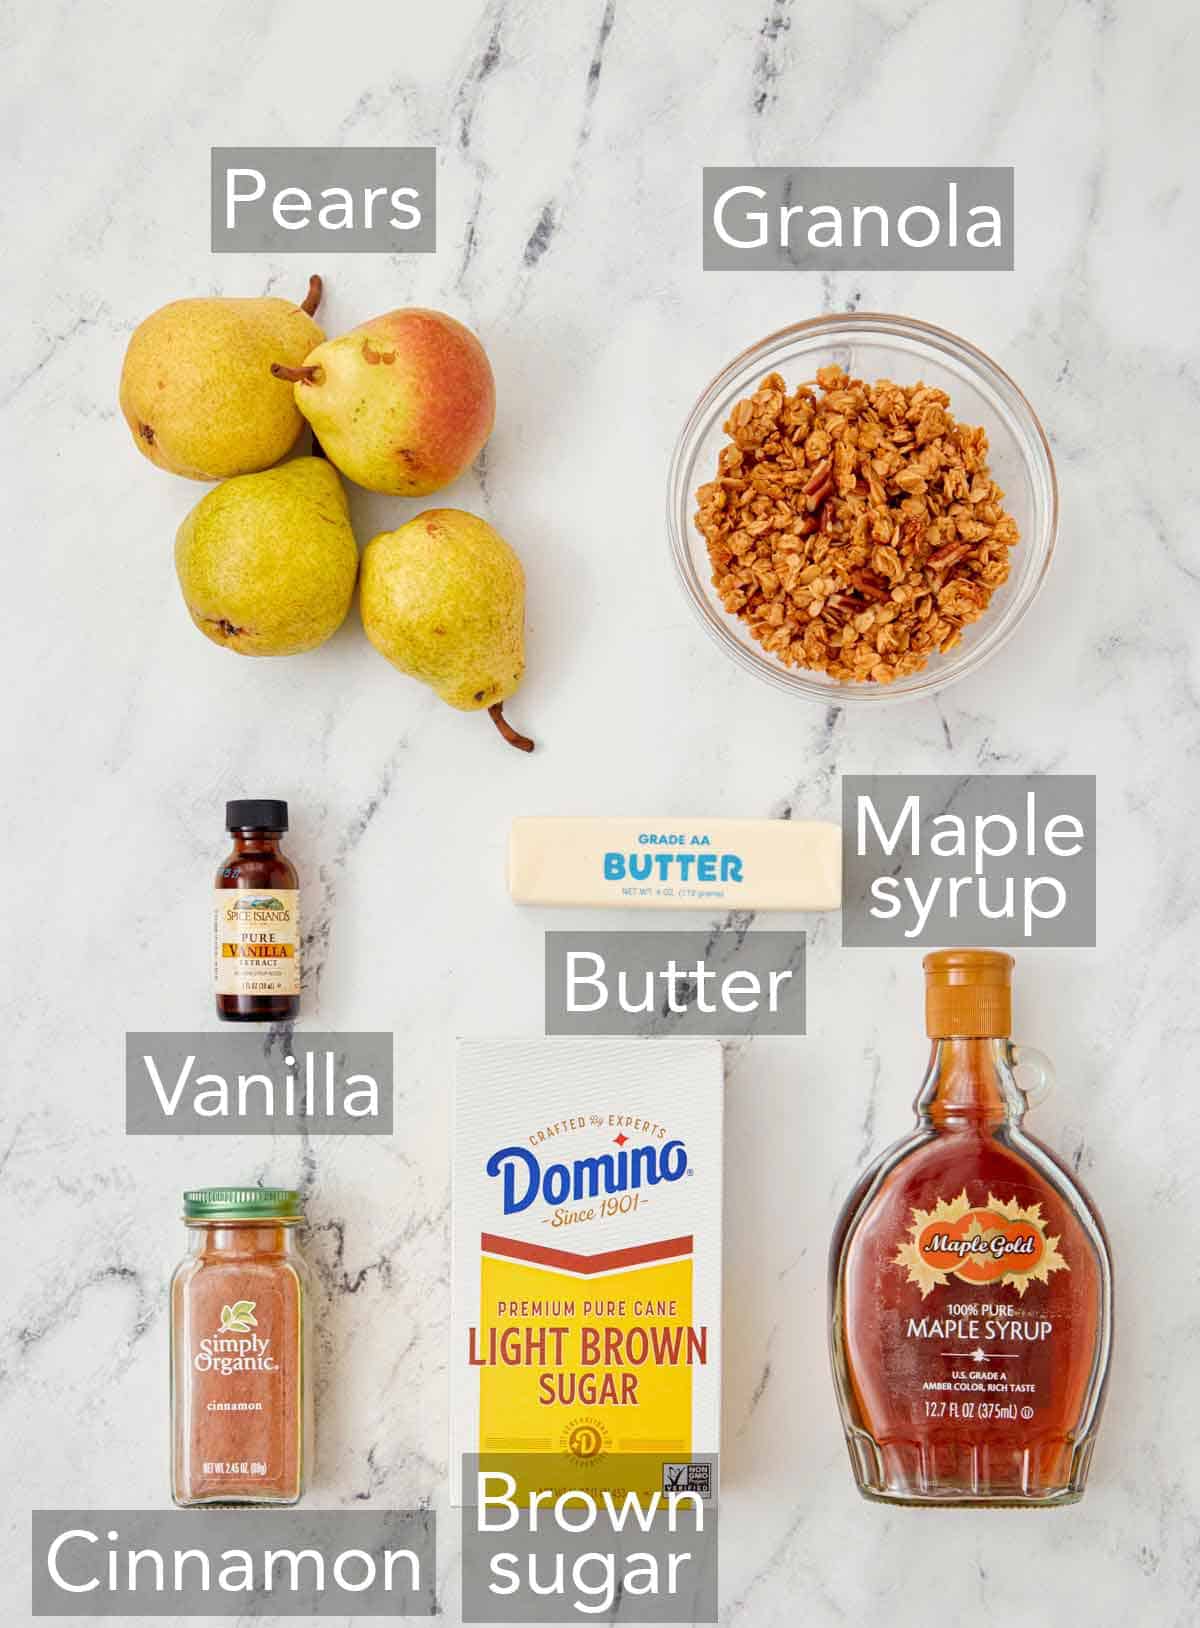
Pears — make sure your pears are similar in size so that the pears cook evenly in the oven. I recommend using Bartlett, Bosc, or Anjou pears. To tell if the pears are ripe, they should feel soft but still slightly firm. When selecting the pears, avoid any with blemishes on the skin or those with soft spots. If the pears are too ripe, I don’t recommend using them, as you’ll want them to be firm enough to hold up in the oven.
Cinnamon — I love the cozy touch that cinnamon gives the baked pears. The warm spice pairs very well with the sweetness of the cooked pears.
Maple syrup — the maple syrup caramelizes in the oven along with the sugar and adds additional sweetness to the pears. When buying syrup, make sure you are buying pure maple syrup, not pancake syrup.
Granola — I like adding a bit of granola or chopped nuts as it adds a nice crunchy texture to the baked pears, but if you’re not a fan, you can skip them. If you have the time, try my homemade granola recipe.
How to Make Baked Pears
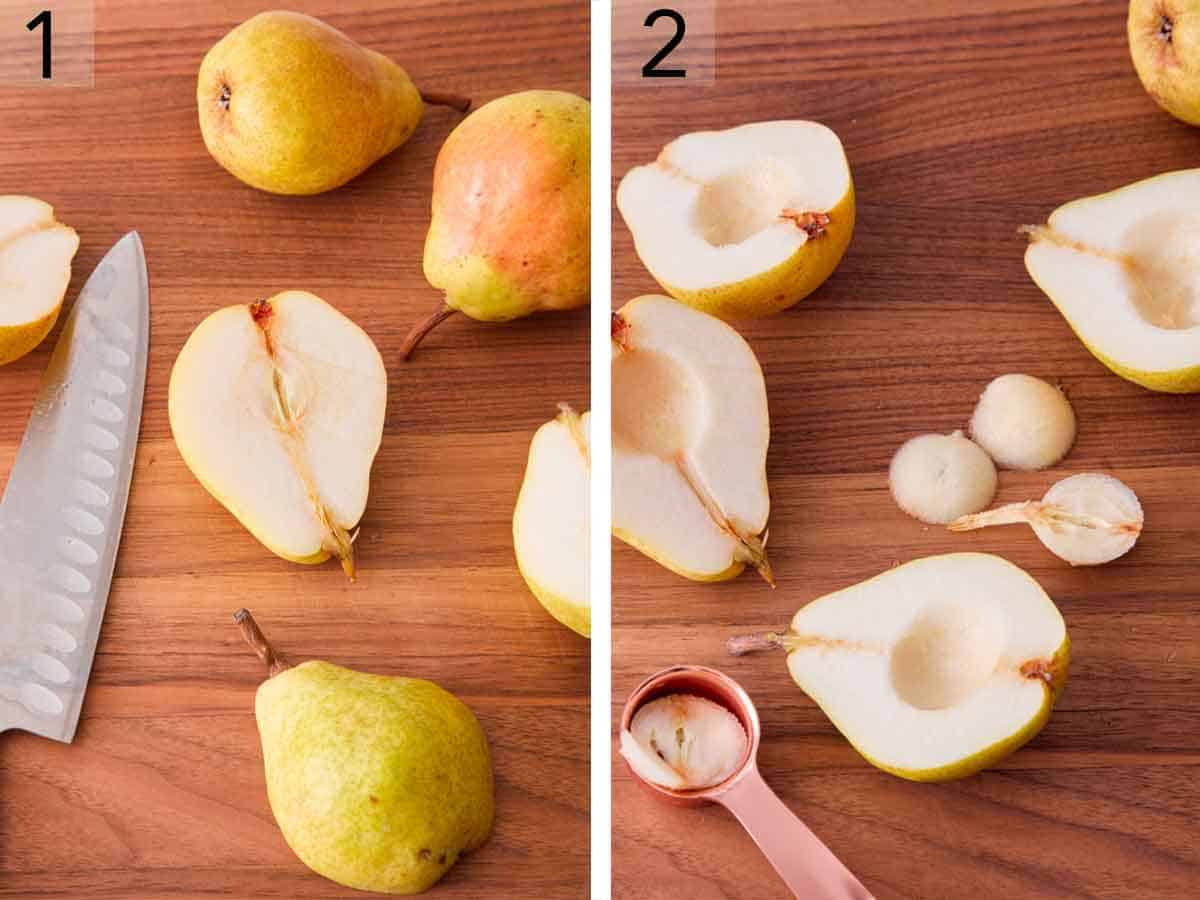
1. If using pears with firm skin like Bosc, peel them. Otherwise, leave the skin on. Cut the pears in half lengthwise, leaving the stems on for visual presentation if desired.
2. Use a melon baller or a small spoon to scoop out the cores.
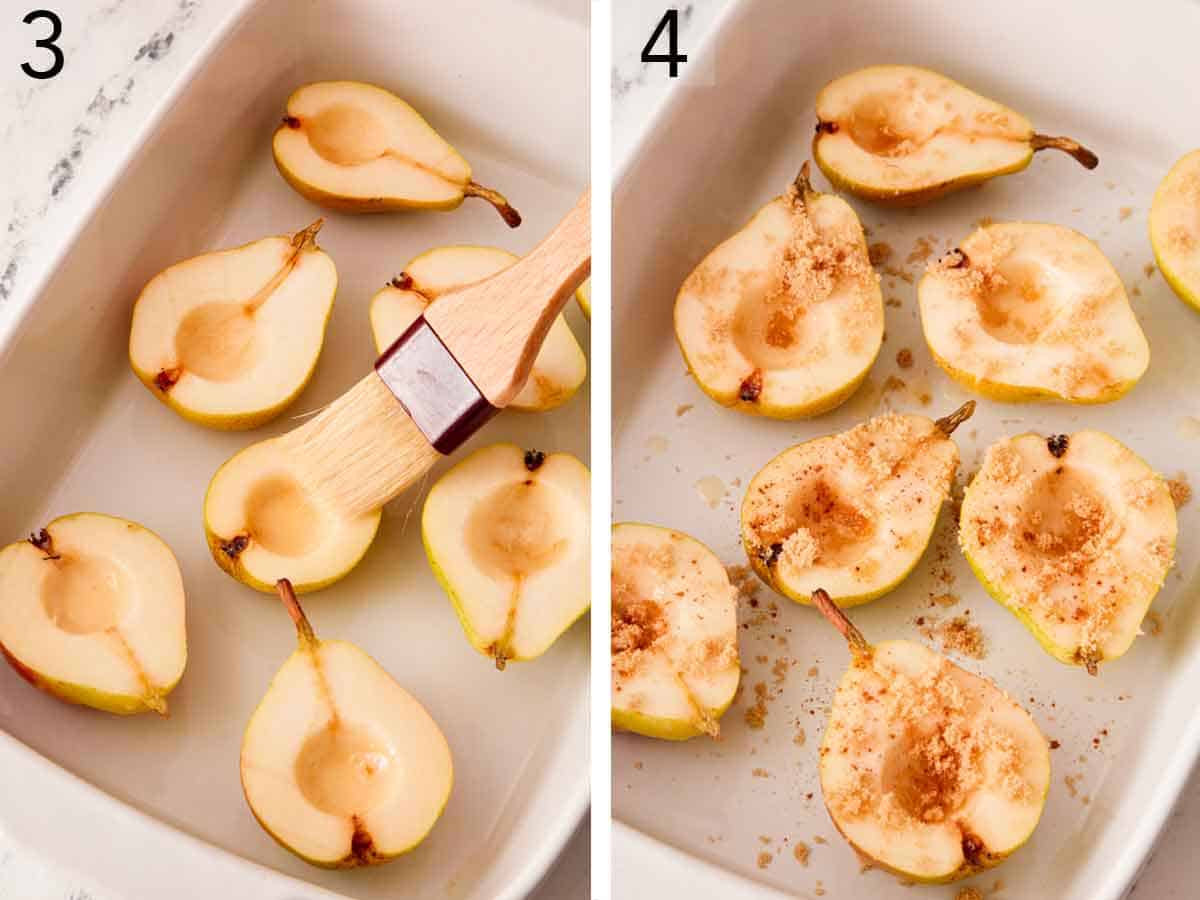
3. Place the pear halves in a buttered 9×13-inch baking dish and brush all over with the melted butter.
4. Sprinkle the cut sides evenly with sugar and cinnamon.
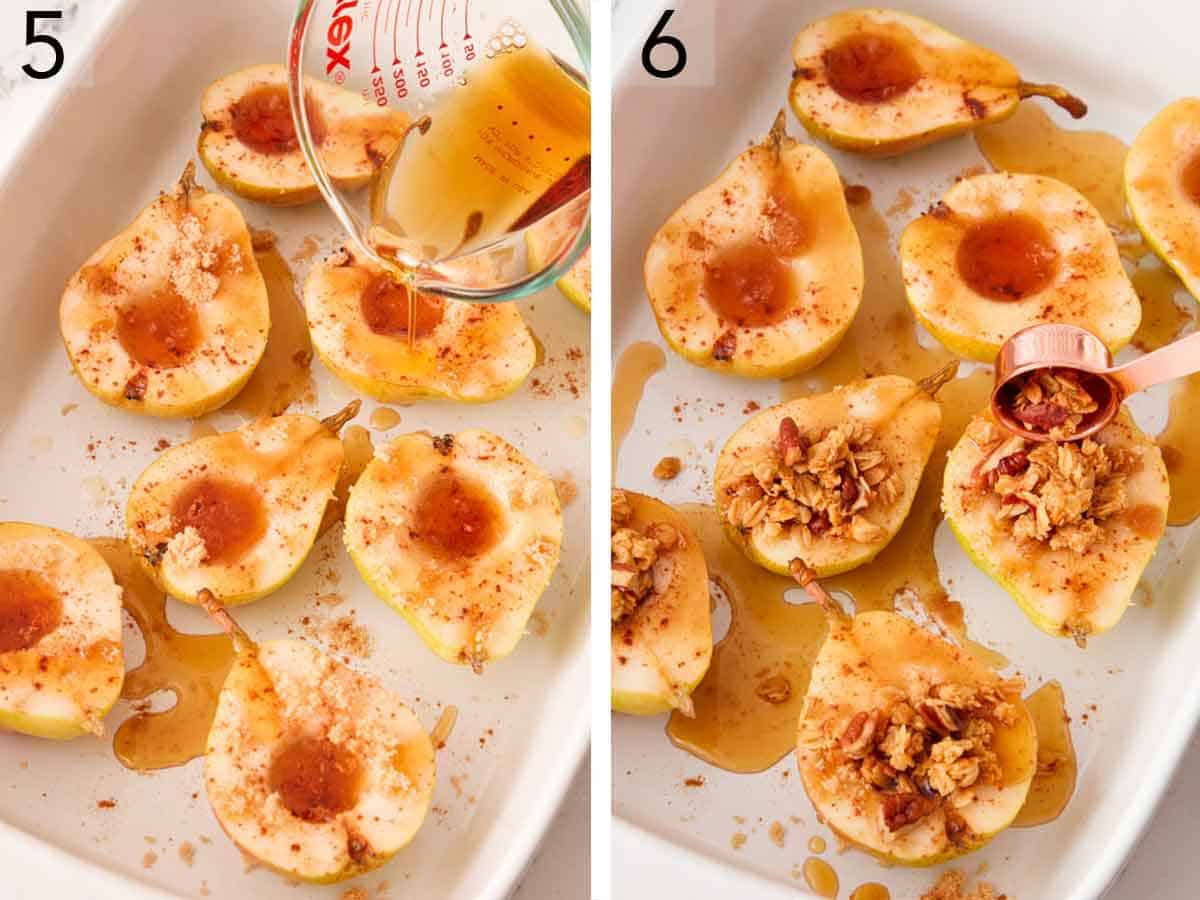
5. Stir together the maple syrup and vanilla and drizzle all over the pears.
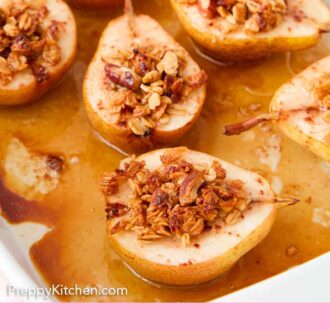
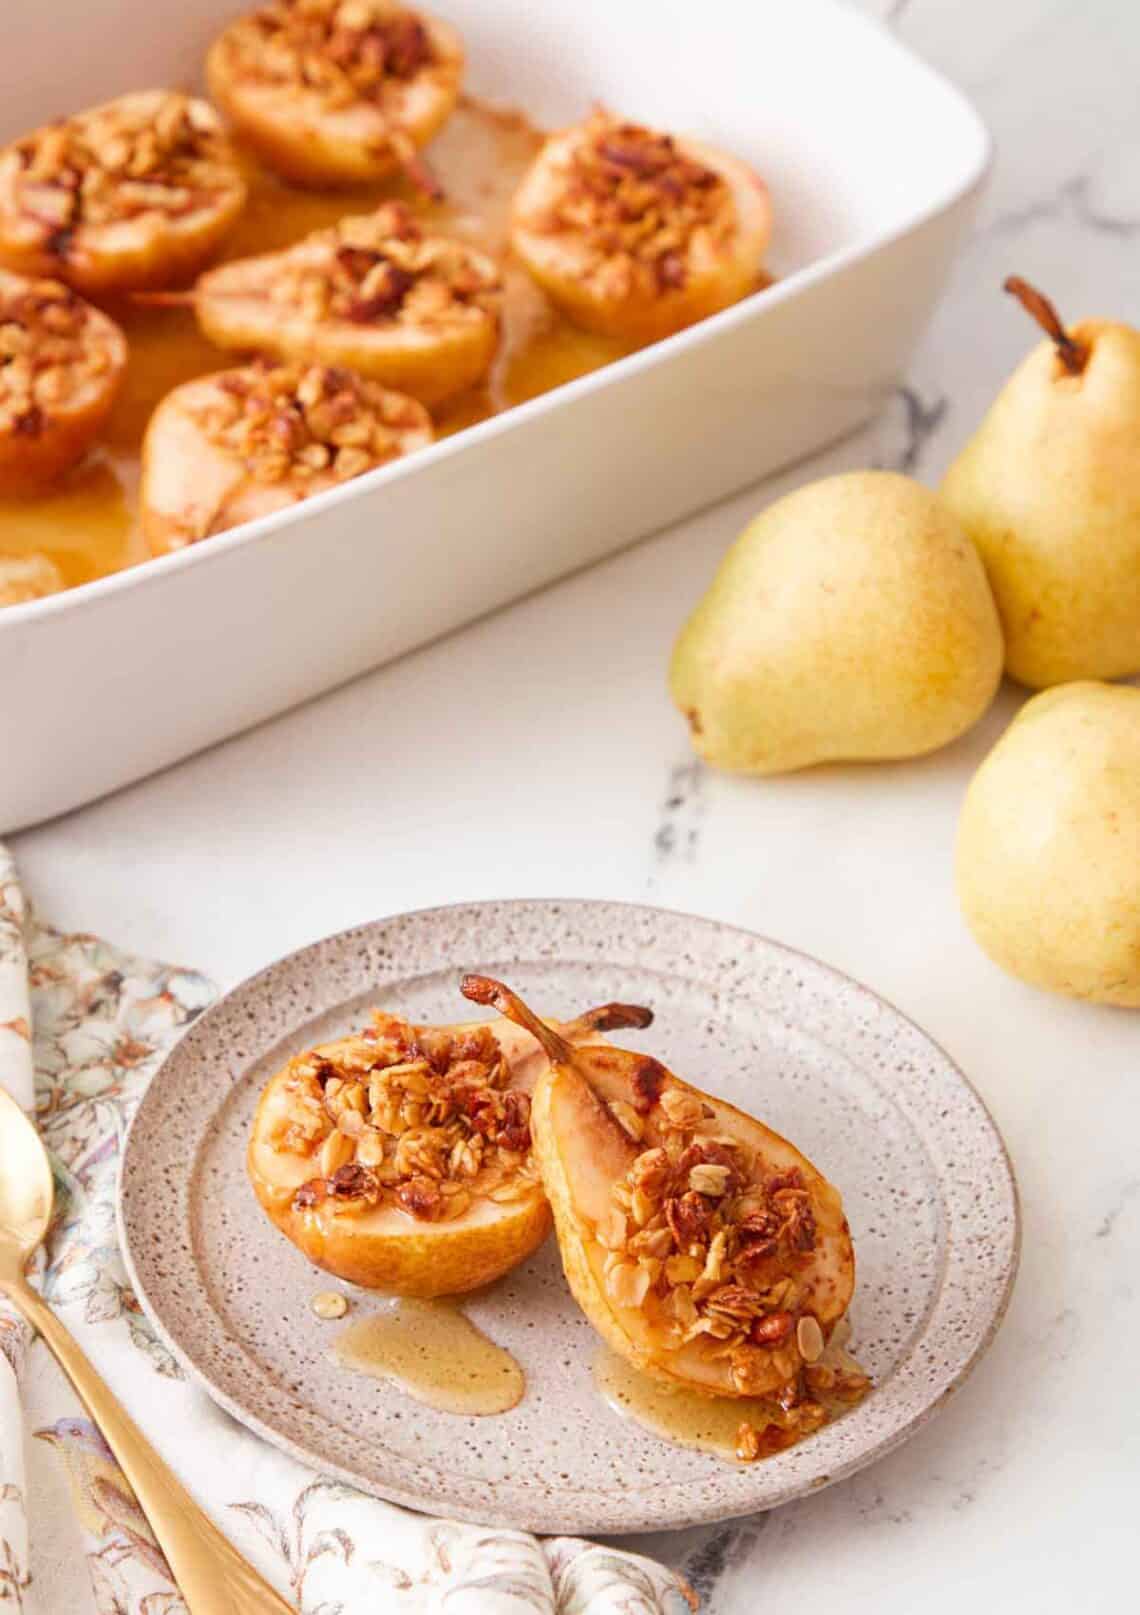
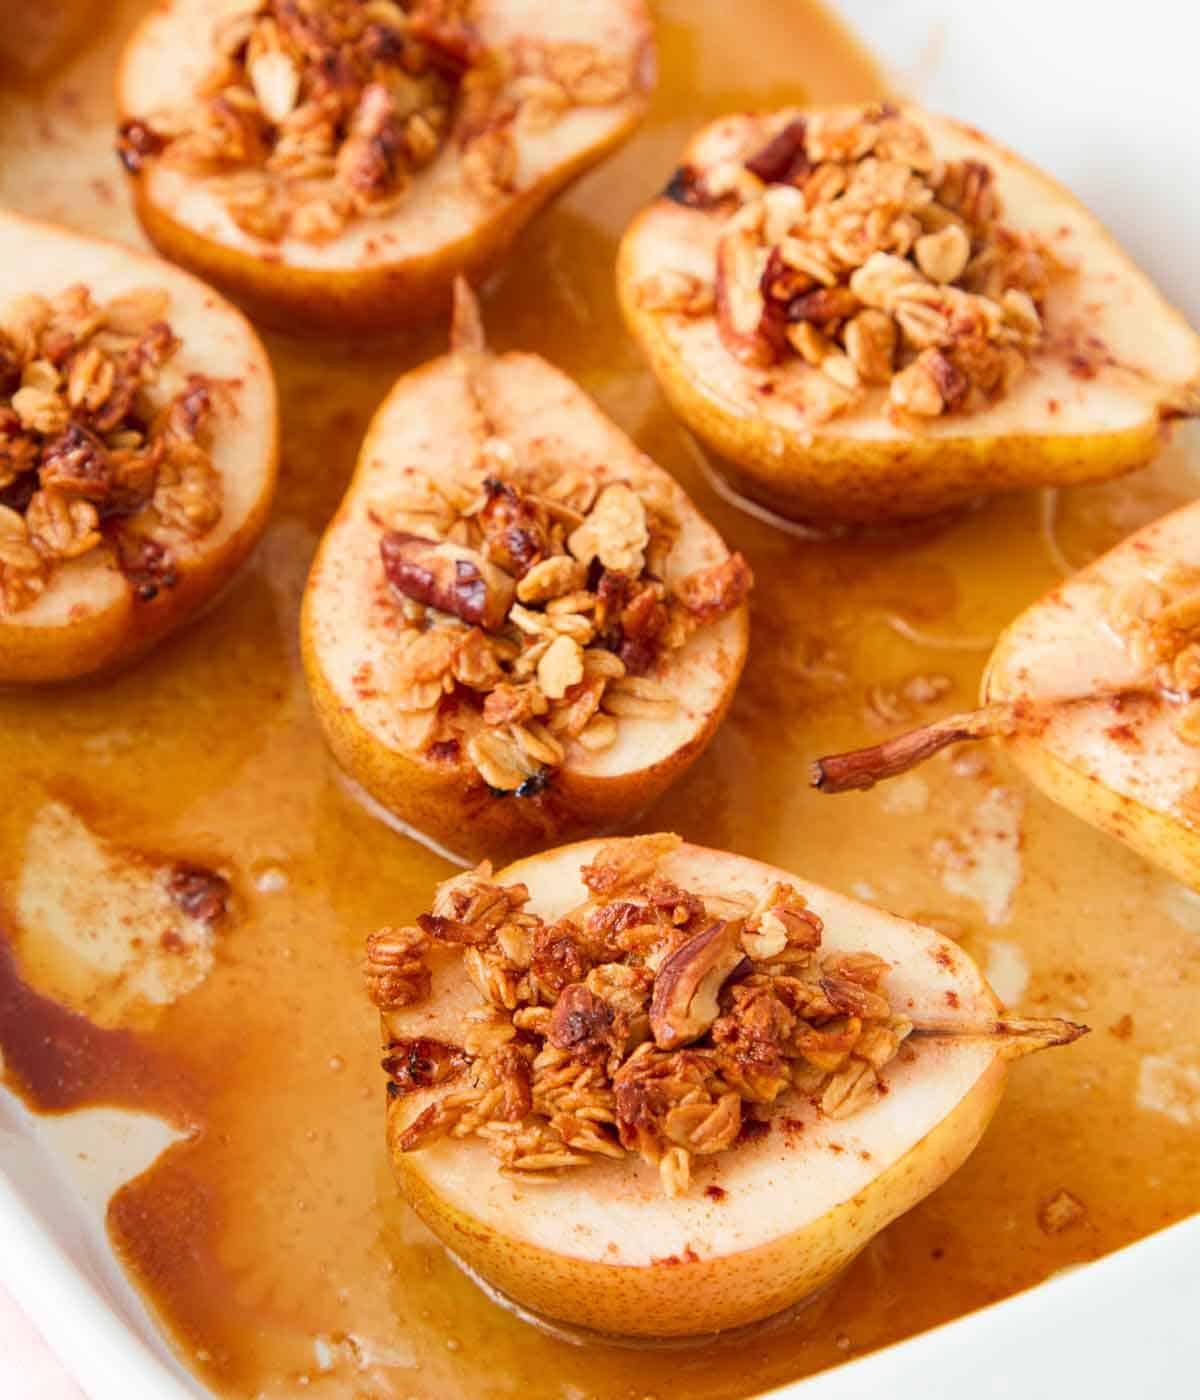
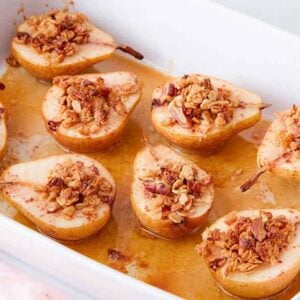
6. Fill the centers with granola if using. Bake for 25 to 30 minutes or until soft and the sugar has made a caramelized sauce in the pan. Serve the baked pears warm with vanilla ice cream, yogurt, or toasted nuts, and the caramel drizzled on top.
Pro Tips for Making This Recipe
- When preparing the baked pears, you can remove the pear stems or leave them on for a prettier presentation.
- You can use dark brown sugar instead of light brown sugar for deeper caramel and molasses flavors.
- Avoid using too small pears, as they shrink a little when they bake in the oven.
- You can line the baking dish with some parchment to make cleaning up easier.
- For extra caramelized fruit, once drizzled with maple syrup, flip the pears cut-side down and bake for 30 minutes, then flip and bake for another 5 to 10 minutes.
- Do not discard the liquid at the bottom of the baking dish! Drizzle it over your pears before serving.
Frequently Asked Questions
Bartlett is my favorite variety of pear to use in this baked pears recipe, but any kind of baking pear will work! The harder the pear, the longer the baking time, so just keep that in mind. I would avoid Asian pears or super crisp varieties for this recipe.
Place any leftover pears in an airtight container in the fridge for up to 4 days. You can reheat them in the oven or microwave or enjoy them chilled.
The pears should be soft when you pierce them with a fork and lightly browned on the edges.
No, you do not have the peel the pears before baking them. However, if the variety of pears you use have firm skin, I recommend peeling them as they won’t soften as much as other varieties.
If you’ve tried this Baked Pears recipe, then don’t forget to rate the recipe and let me know how you got on in the comments below, I love hearing from you!
Baked Pears
Equipment
- Baking dish
- Melon baller or small spoon
Ingredients
- 4 medium pears (such as Bartlett, Bosc, or Anjou)
- 2 tablespoons unsalted butter melted plus more for the pan
- 2 tablespoons light brown sugar
- ½ teaspoon cinnamon
- ¼ cup maple syrup (60ml)
- 1 teaspoon vanilla extract
- granola or chopped nuts (optional)
Instructions
- Preheat the oven to 400F. Lightly butter a 9×13-inch baking dish.
- If using pears with a firm skin like Bosc, peel them. Otherwise, leave the skin on. Cut the pears in half lengthwise, leaving the stems on for visual presentation if desired. Use a melon baller or a small spoon to scoop out the cores.
- Place the pear halves in the baking dish and brush all over with the melted butter. Sprinkle the cut sides evenly with sugar and cinnamon. Stir together the maple syrup and vanilla and drizzle all over the pears. Fill the centers with granola, if using.
- Bake for 25 to 30 minutes or until soft and the sugar has made a caramelized sauce in the pan. Serve warm with vanilla ice cream, yogurt, or toasted nuts, and the caramel drizzled on top.
Notes
- When preparing the baked pears, you can remove the pear stems or leave them on for a prettier presentation.
- You can use dark brown sugar instead of light brown sugar for deeper caramel and molasses flavors.
- Avoid using too small pears, as they shrink a little as they bake in the oven.
- You can line the baking dish with some parchment to make cleaning up easier.
- For extra caramelized fruit, once drizzled with maple syrup, flip the pears cut-side down and bake for 30 minutes, then flip and bake for another 5 to 10 minutes.
- Do not discard the liquid at the bottom of the baking dish! Drizzle it over your pears before serving.
Nutrition
Have you tried this recipe? Tag me today!
Mention @preppykitchen and tag #preppykitchen!


