
This post may contain affiliate links. Please read our disclosure policy.
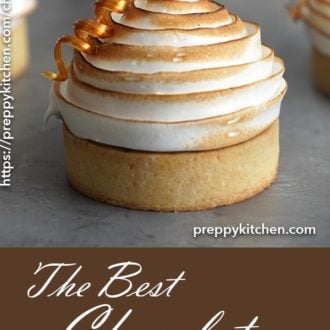
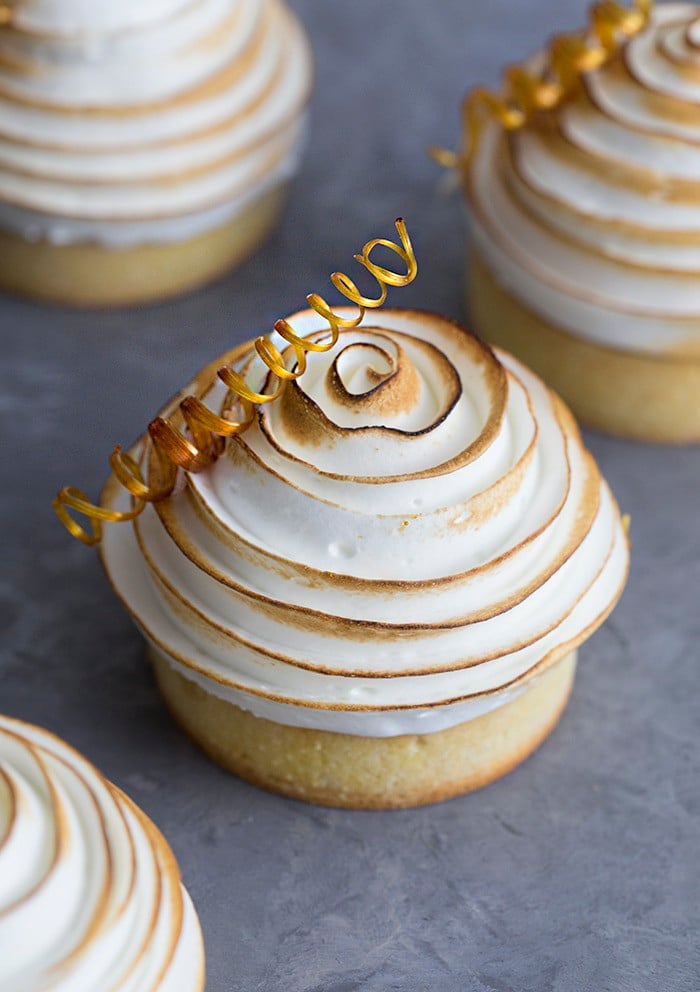
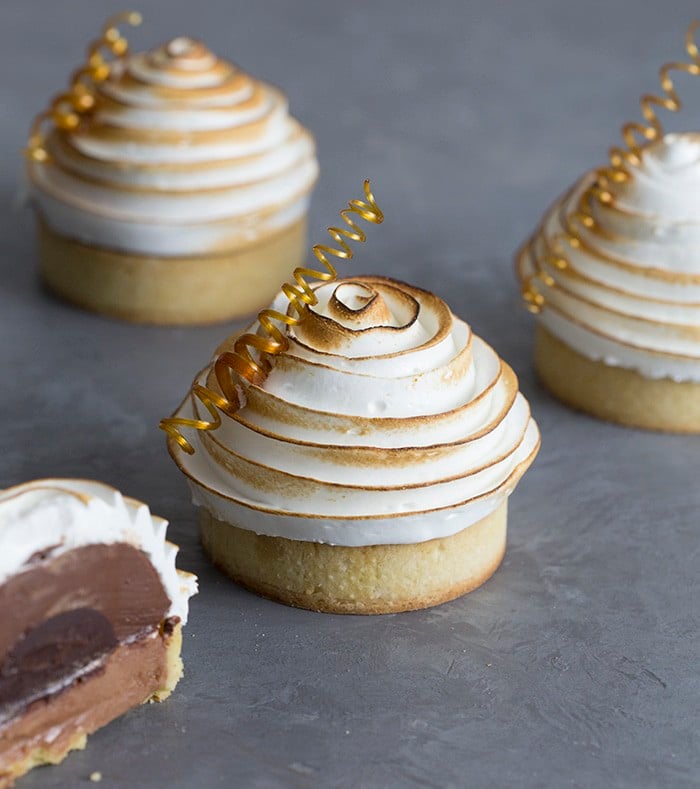
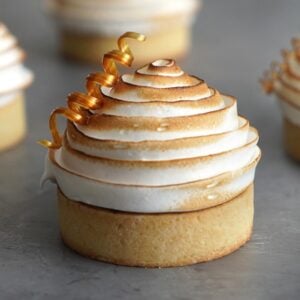
This delicious chocolate tart has it all! Toasted meringue tops a heavenly dome of chocolate custard, Nutella creme and a chocolate ganache center all supported by a perfect crisp pastry shell.
I’ve made chocolate tarts before but I was inspired to up my game by some of the amazing pastry chefs on Instagram like Aumaury Guichon and Topless Baker. I bought a couple moulds for nice domes and a set of perforated rings for baking the perfect tart shells. The whole process was so much easier than I imagines and I loved the result!
Those fancy french tarts you’ve seen around are much easier to make than you imagined! The best part is that they’re TOTALLY delicious and destined to impress your guests.
How do you make a perfect tart shell?
You don’t need all the fancy tools a professional baker has in order to make a beautiful tart shell. Here are some tips:
Roll your pastry to 1/8 an inch thick between two sheets of lightly floured parchment paper. Thin dough is VERY important.
Chill your dough for a few hours, make sure it’s completely covered so it doesn’t dry out.
After you form your tarts it’s time to freeze them. You can do this in advance if you’re busy and need to get out of the kitchen.
Those perforated rings are pretty impressive and basically necessary if you’re trying to make the perfect cylindrical shell, but they are not cheap. A regular tart shell can be used for delicious results but you’ll have to do some blind baling with beans/pie weights.
How do you make the chocolate dome?
I bought some silicone molds online but you can use any bowl with about the same diameter as your tart. Line the bowl with plastic wrap before adding the custard. Freeze and remove, and place on your tart. It won’t look perfect but it all gets covered in meringue anyways, so no one will know!
Steps to assemble this chocolate tart
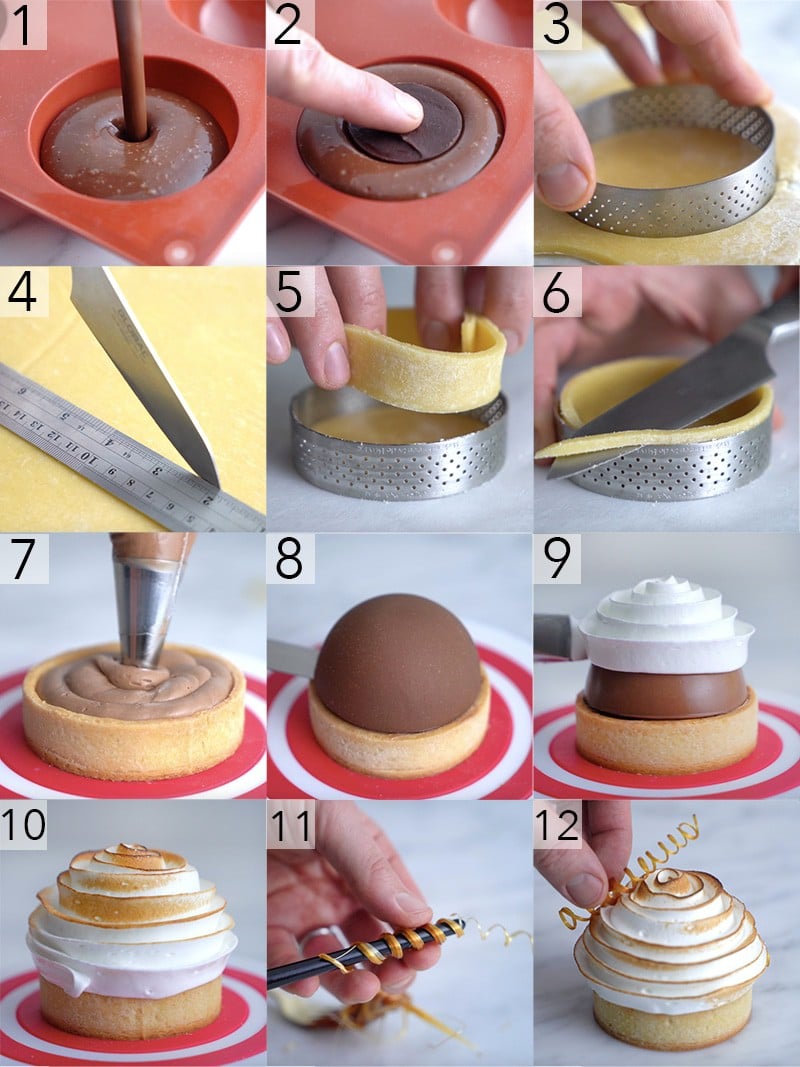
How do you assemble a chocolate tart?
- Start off by pouring the chocolate custard into the silicon disc molds.
- Carefully push the hardened ganache in the center of the chocolate custard filled molds, then freeze them for 3 hours.
- Cut out the circles of the chilled dough using your tart ring. You can re-roll the excess dough for another use if you need to.
- Using a sharp knife, cut long strips of dough about 7 to 8-inches long and 3/4-inch wide.
- Carefully lift the strips and place them on the inside of each tart ring. Press them against the sides so they are flush with the dough at the bottom.
- With a sharp knife, cut off any excess pastry hanging over the top of the tart rings. Place them in the freezer for 30 minutes to 1 hour then bake for 16 minutes at 320 degrees F.
- Once your tarts have finished baking and have had 10-15 minutes to cool, you can pipe in your filling then smooth it out.
- Now, carefully place your frozen, chocolate custard domes on top of the filling.
- Using a small petal tip, pipe the meringue on the dome starting at the top and spiraling down until you reach the tart shell.
- Go ahead and toast the meringue a bit by giving it a little torching action.
- You can top this tart with many things, I chose to make a sugar spiral. If you want; heat sugar up over medium heat until golden. Wait a bit until the sugar thickens up but is cool enough to touch. I used a long paint brush to twist the sugar around.
- Place your sugar spiral or whatever garnish you may choose; gently on top of the tarts and enjoy!
If you’ve tried this chocolate tart then don’t forget to rate the recipe and let me know how you got on in the comments below, I love hearing from you!
Chocolate Tart
Ingredients
INGREDIENTS
Tart shell
- 160 g confectioners sugar
- 6 Large Egg Yolks
- 1 tsp vanilla paste 5mL, not extract
- 1 lb plain flour 450g
- 1 cup unsalted butter 226g, cold & cubed
- ¼ tsp salt 1g, heaping
Filling
- 1 cup 2 sticks unsalted butter, room temperature 226g
- 2 cups powdered sugar 250g
- 2/3 cup Nutella or other chocolate-hazelnut spread
- 2 tablespoons heavy whipping cream 30mL
- 1 teaspoon pure vanilla extract 5mL
- Pinch salt
Ganache Center
- 1 cup Heavy Cream** 236g
- 1 1/2 Tsp Vanilla Paste 7mL
- 4.5 g Platinum Gelatin Powder
- 27 g Cold Water
- 60 g White Chocolate** Finely Chopped
- 2.5 Tbsp of Instant Coffee Granules
Chocolate Custard Top
- 1/4 cup Whole Milk** 60mL
- 200 ml Double Cream
- 175 g 70% Dark Chocolate
- 2 Large Eggs
- 1 Tbsp Caster Sugar
Swiss Meringue
- 5 egg whites at room temperature
- 1 ½ cups granulated sugar 300g
- 1 pinch kosher salt
- 1 tsp vanilla extract 5mL
Instructions
INSTRUCTIONS
For the Tart Shell
- Add the icing sugar, butter, vanilla & salt in the bowl of a stand mixer. You can also use a hand mixer.
- Beat the mixture on a medium speed for 2 minutes until it forms a paste. Scrape down the bowl after 1 minute.
- Add the egg yolks and mix until they're fully incorporated.
- Slowly add in the flour, and mix on low speed until it is just combined. The mixture should look crumbly but should not be a giant ball of dough.
- Pour the mixture on a lightly floured surface. Split the dough into three batches.
- Place a large piece of parchment paper down, lightly flour it, and place one batch of dough on top. Sprinkle the dough with flour and place another large piece of parchment paper over the top.
- Roll the dough out with a rolling pin to about 3mm and roughly into the shape of a circle. (be careful it’s not too thick).
- Check the thickness by lifting up the side of the parchment paper. Place the whole sheet of pastry in the fridge for 30 minutes. Repeat these steps with the second batch of dough.
- Once the dough has chilled, remove one sheet from the fridge. Peel off the top sheet of parchment paper, very lightly flour the pastry, then flip it over.
- Peel off the remaining sheet of parchment paper, lightly flour the dough again to prevent it from sticking. Lift the pastry onto a baking tray lined with a silicon mat.
- Using a 4.5" round perforated tart ring (or any tart ring you have) cut out 4 large circles of dough. Peel off the excess dough and you can re-roll this for another use.
- Remove the second sheet of dough from fridge. Using a sharp knife, cut long strips of dough about 7-8” long and ¾” wide.
- Carefully lift the strips and place them on the inside of the tart rings. Press them against the side so they line up with the dough at the bottom.
- Press the bottom of the dough gently with your fingers to mold it to the base of the dough.
- Cut off any excess pastry hanging over the top of the tart rings with a sharp knife.
- Place the tart shells into the freezer for 30 minutes to 1 hour.
- Pre-heat your oven to 320F. Place the tray with your tart shells in the oven. Bake for 16 minutes or until the shell is lightly golden.
- Remove tart shells from the oven and allow time to cool before piping so the filling does not melt.
For the Filling
- In a stand mixer, cream the butter for about 5 minutes using a paddle attachment. Add the salt. Slowly beat in the confectioner’s sugar.
- Add the Nutella and increase speed to medium. Mix until incorporated.
- Add the cream. You may add the optional vanilla at this step. Mix until you have a fluffy, even consistency.
For the Ganache Center
- Pour powdered gelatin into a small saucepan with the cold water. (It's important to use platinum gelatin and measure the water precisely). Allow it to sit in the pan for 10 minutes.
- Place cream into a medium saucepan with vanilla paste & coffee.
- Place the saucepan of gelatin over low heat to melt the gelatin, not boil it. Remove from heat once melted.
- Once the cream is hot and steaming (not boiling), pour the melted gelatin in. Whisk together quickly, then immediately pour the mixture over the finely chopped chocolate. Allow it to sit for 3 minutes then whisk until smooth.
- Cover cream with plastic wrap and chill in the fridge for 4 hours.
Chocolate Custard Top
- Finely chop the chocolate and put in a medium bowl with a sieve placed on top. Set it aside.
- Place eggs and sugar into a bowl and whisk for about 2 minutes, until the mixture is light and slightly thicker.
- Pour milk and heavy cream into a saucepan over medium heat. Once it starts to steam, slowly pour it over the eggs and sugar whisking constantly.
- Pour the entire mixture back into the saucepan on a medium heat and whisk it constantly until the mixture reaches an internal temperature of 167F. If you don't have a thermometer, whisk for about 45 seconds.
- Pour the mixture over the sieve, onto the chocolate. Whisk together until smooth and the chocolate has melted.
- Carefully pour the mixture into 4 x 4.5" Silicon Disc molds and freeze for 3 hours minimum.
For the Swiss Meringue
- Add egg whites, sugar and salt in a bowl.
- Give the mixture a brief whisk.
- Place the bowl over a pan of simmering water. Making sure the water does not touch the bowl.
- Whisk the egg whites occasionally while it warms up. When the mixture has warmed, whisk it constantly.
- Heat the mixture until it reaches an internal temperature of 160ºF or until it's not grainy between your fingers.
- Transfer to the bowl of a stand mixer with a whisk attachment. Whisk until you get room temperature glossy peaks.
Sugar Spiral
- Heat 1 cup or 200g of sugar up over medium heat until golden. Wait until the sugar thickens up but is cool enough to touch.
- I used a long paint brush to twist the sugar around but you can use any cylindrical tool that allows you to slide the spiral right off.
- Using a fork, wrap the sugar around the tool to create a spiral. Wait a moment then gently remove the spiral.
- Place your sugar spiral or whatever garnish you may choose; gently on top of the tarts and enjoy!
Notes
TART SHELL NOTE
- If you are using perforated rings you shouldn't need any baking paper or baking beans, but if not, it might be advisable to use baking beans to blind bake the tart.
- During the first few minutes of baking keep a close eye on the pastry - if any of the pastry starts to slip down the tart ring or fall out of place, just pull the pastry out of the oven and carefully press it back into place with your finger and it should stay there.
CHOCOLATE CUSTARD TOP NOTE
- If you don't have one, you can improvise by lining a tart ring with acetate and freezing it in that, or freeze the mixture in a large tray then cutting out circles once it is frozen - you might just need slightly more mixture if you do it this way though.
Nutrition
Have you tried this recipe? Tag me today!
Mention @preppykitchen and tag #preppykitchen!
Pâte Sablée adapted from toplessbaker.com
IF YOU LOVE THIS RECIPE TRY THESE OUT!


