

This post may contain affiliate links. Please read our disclosure policy.
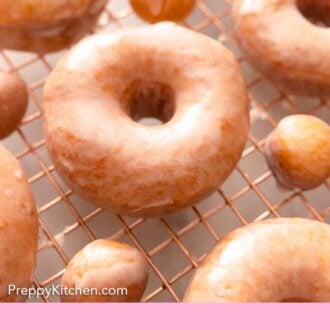
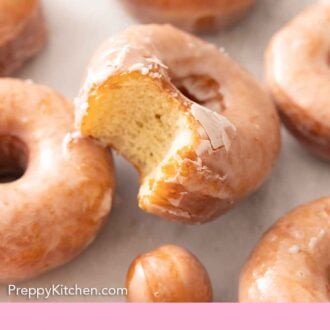


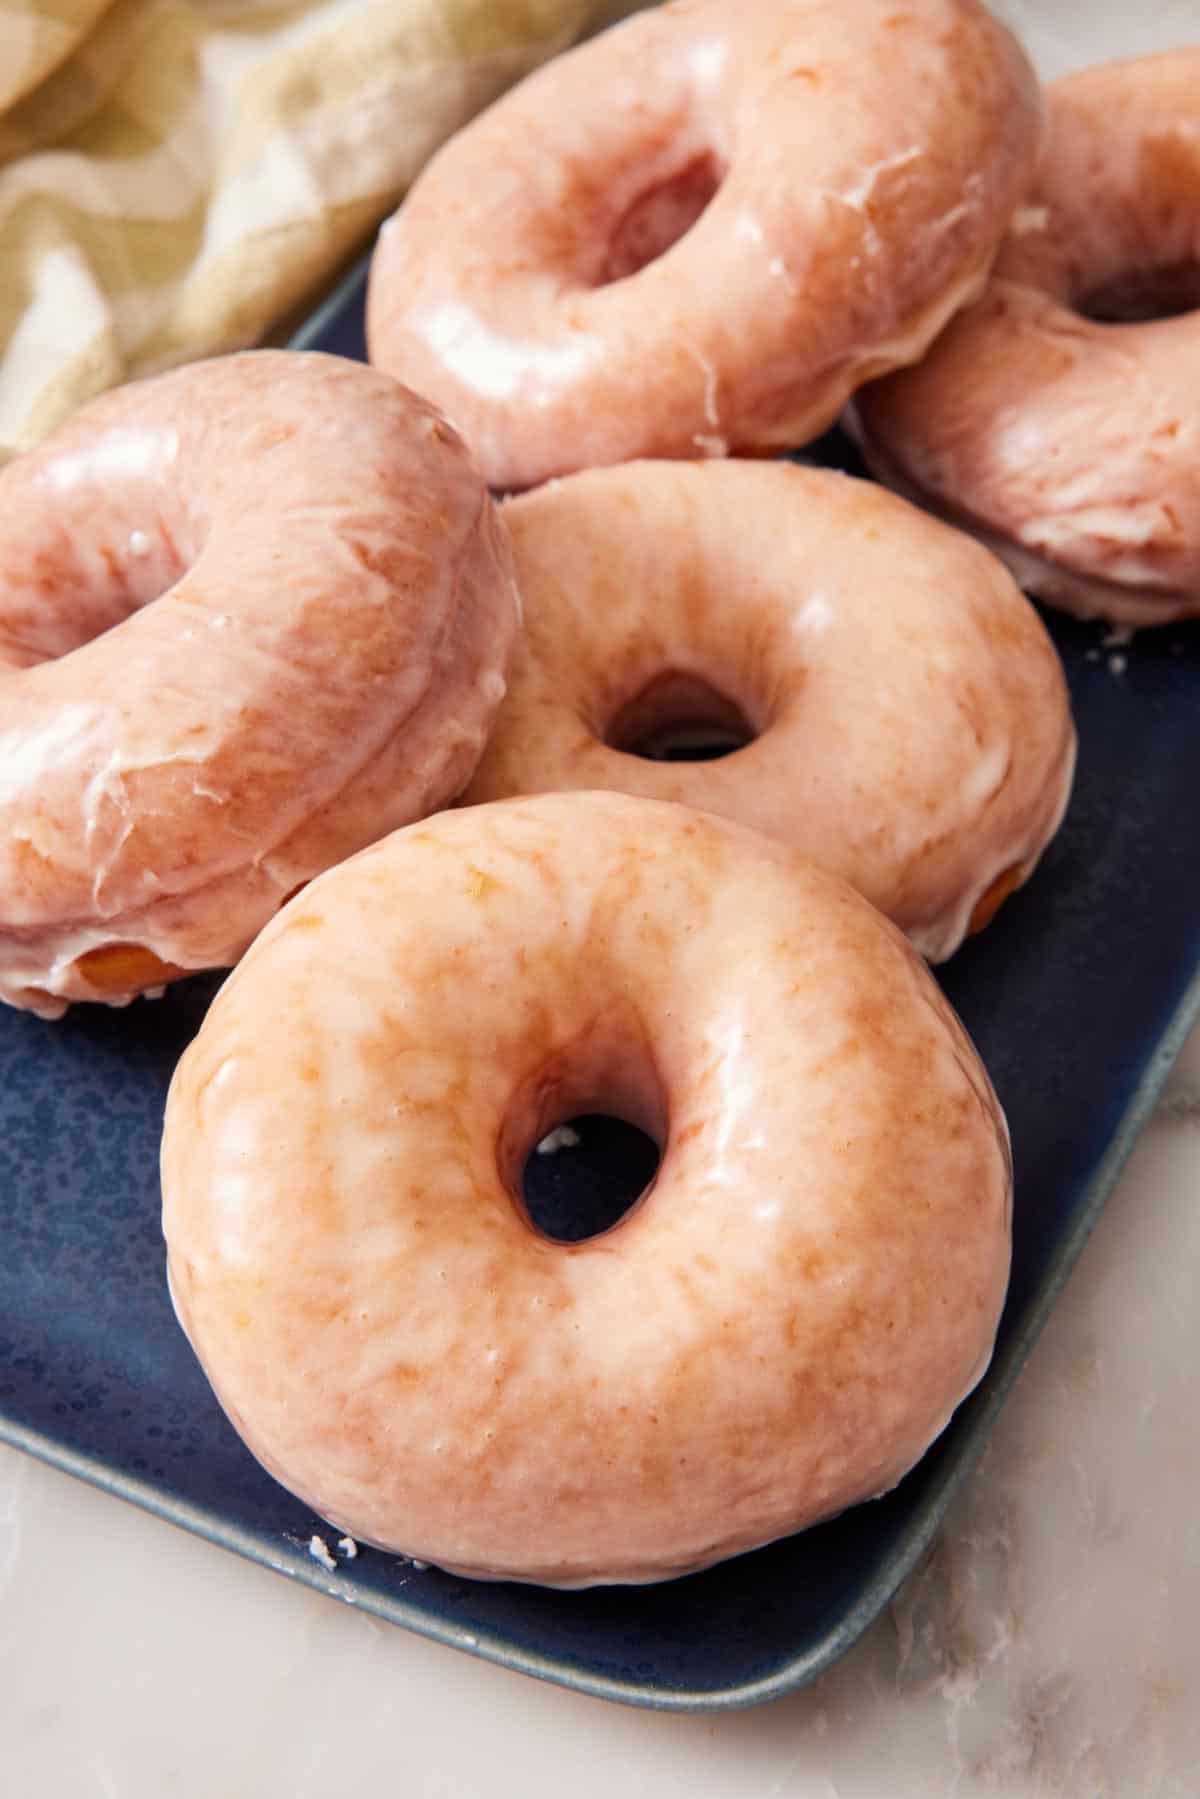
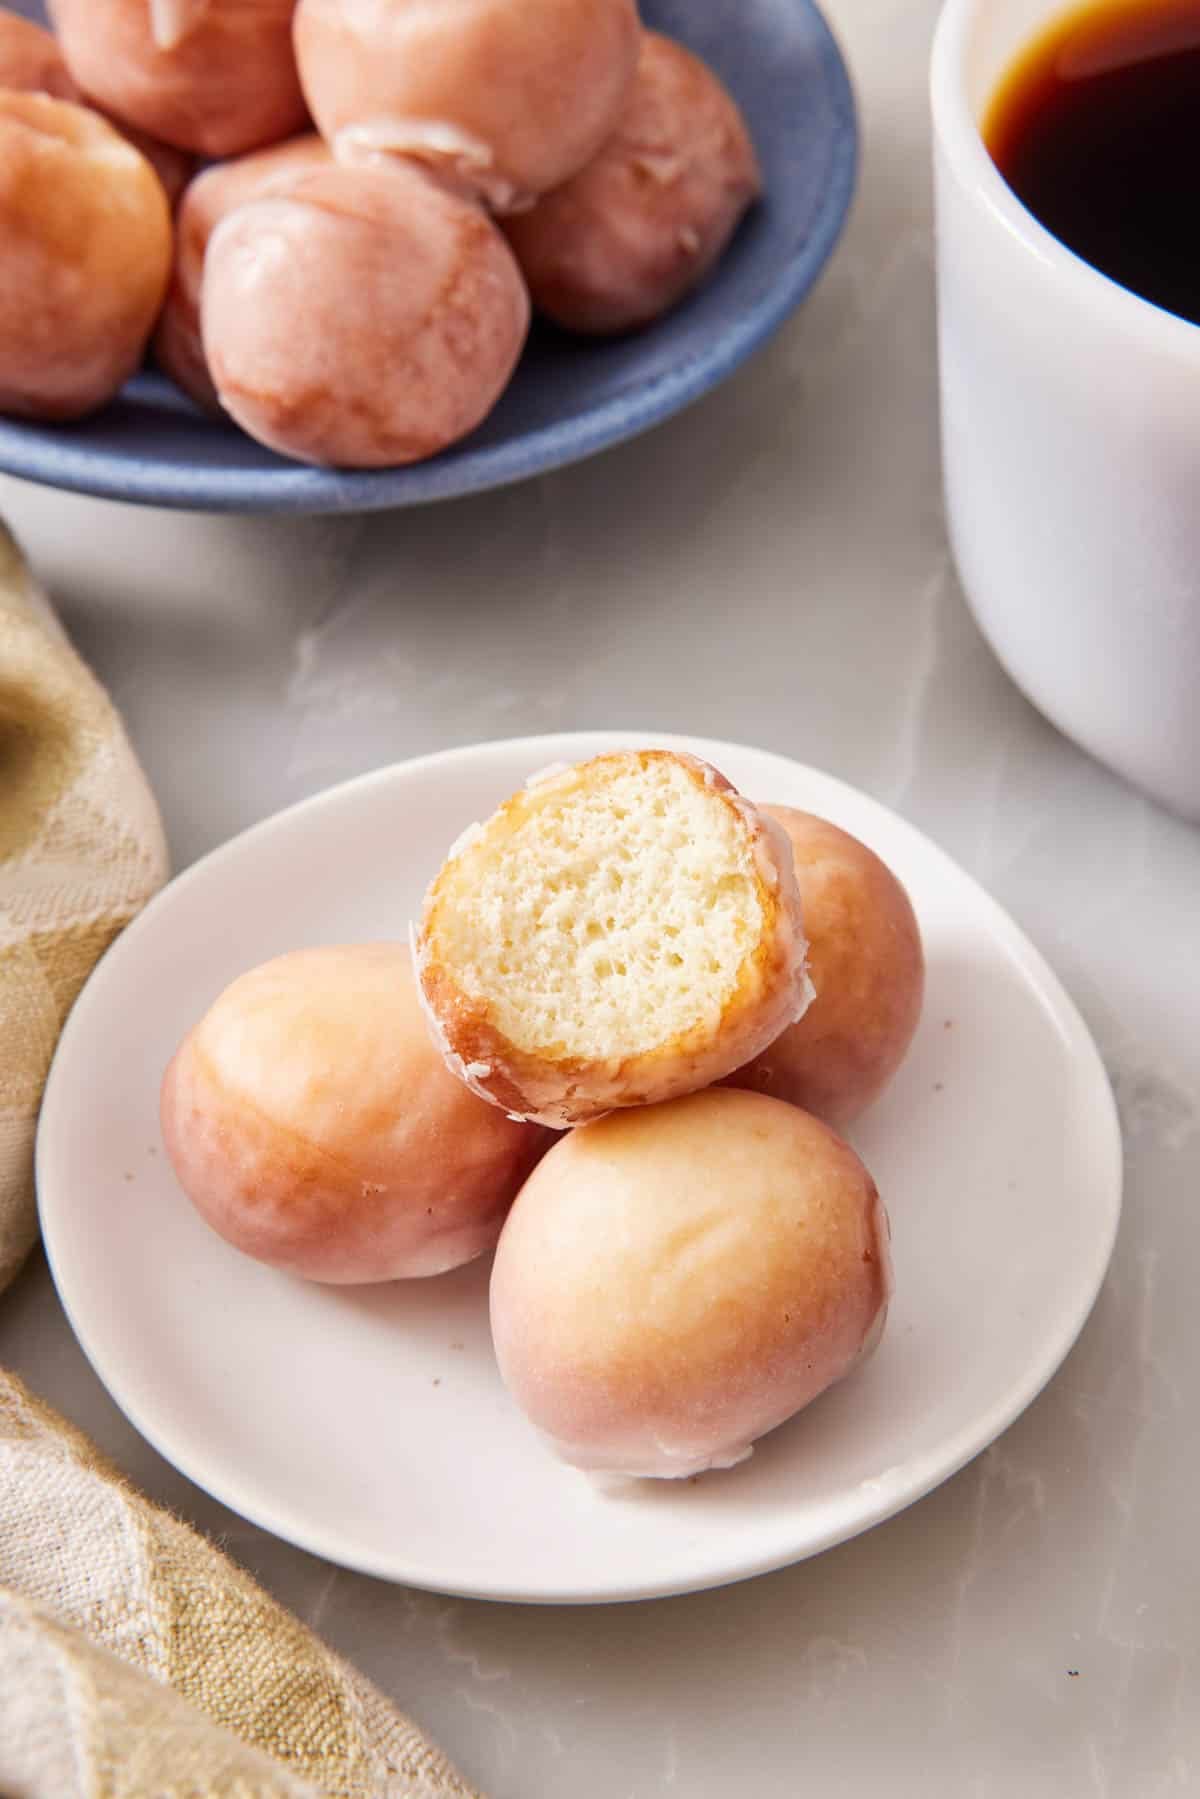
These glazed donuts are bakery-style, but fresh from your own kitchen! They are the perfect soft, pillowy yeast donuts, fried until golden brown, and dipped in a classic vanilla glaze.
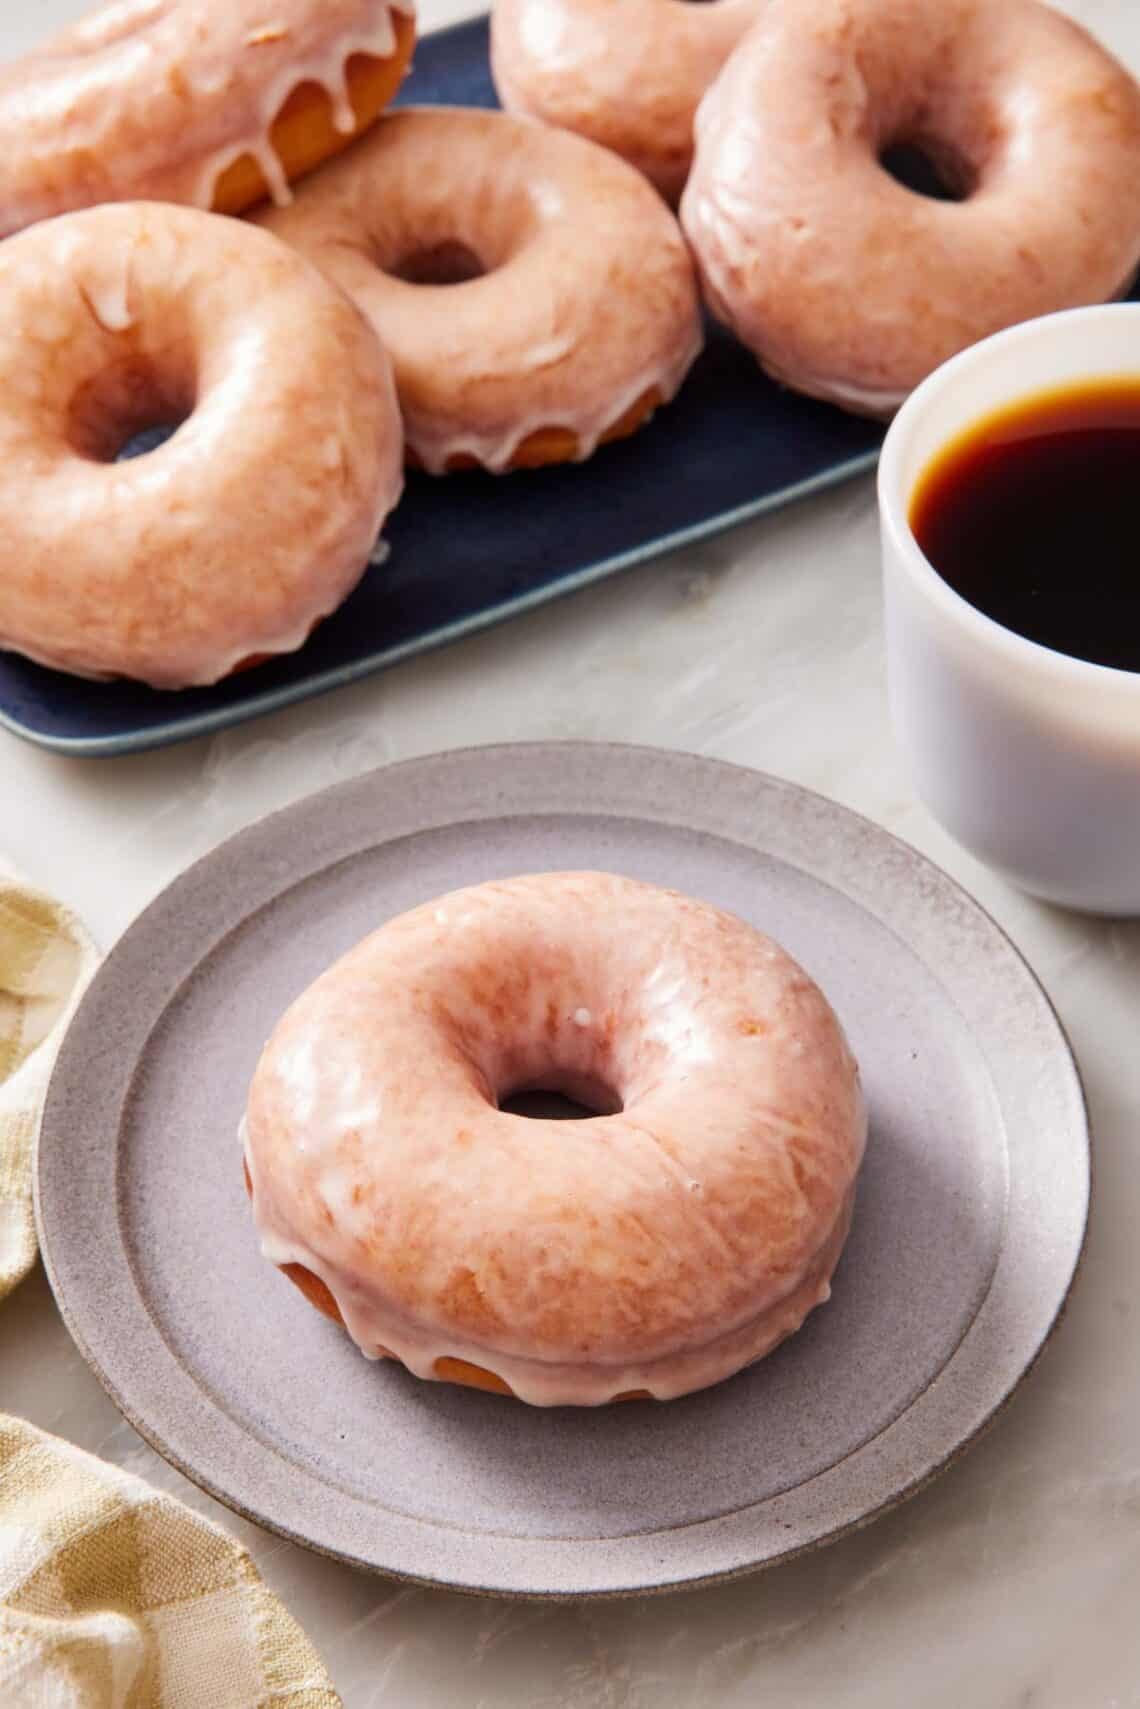
There’s nothing quite like a warm glazed donut—soft and pillowy inside, with a thin crackle of vanilla glaze on the outside. And when you make them at home, it’s as fresh as they get! My recipe is the classic version: a light yeast-raised dough, fried until golden, and dipped while still warm so the glaze sets into that signature shine that’s thin and crackly. It makes a dozen donuts plus a dozen donut holes!
If frying intimidates you, don’t let it. I tested this recipe many times and give you all of my pro-tips for the perfect donuts. It’s the same simple technique behind my beignets and churros. The dough does take a little patience (two rises), but most of that is hands-off waiting while the yeast does the work. I’ll walk you through the dough, the frying, and the glaze, plus the one mistake that makes donuts come out dense, and how to avoid it.
“These were so easy and delicious. My family ate them all in a day. So soft and fluffy”
Vaness
Key Ingredients
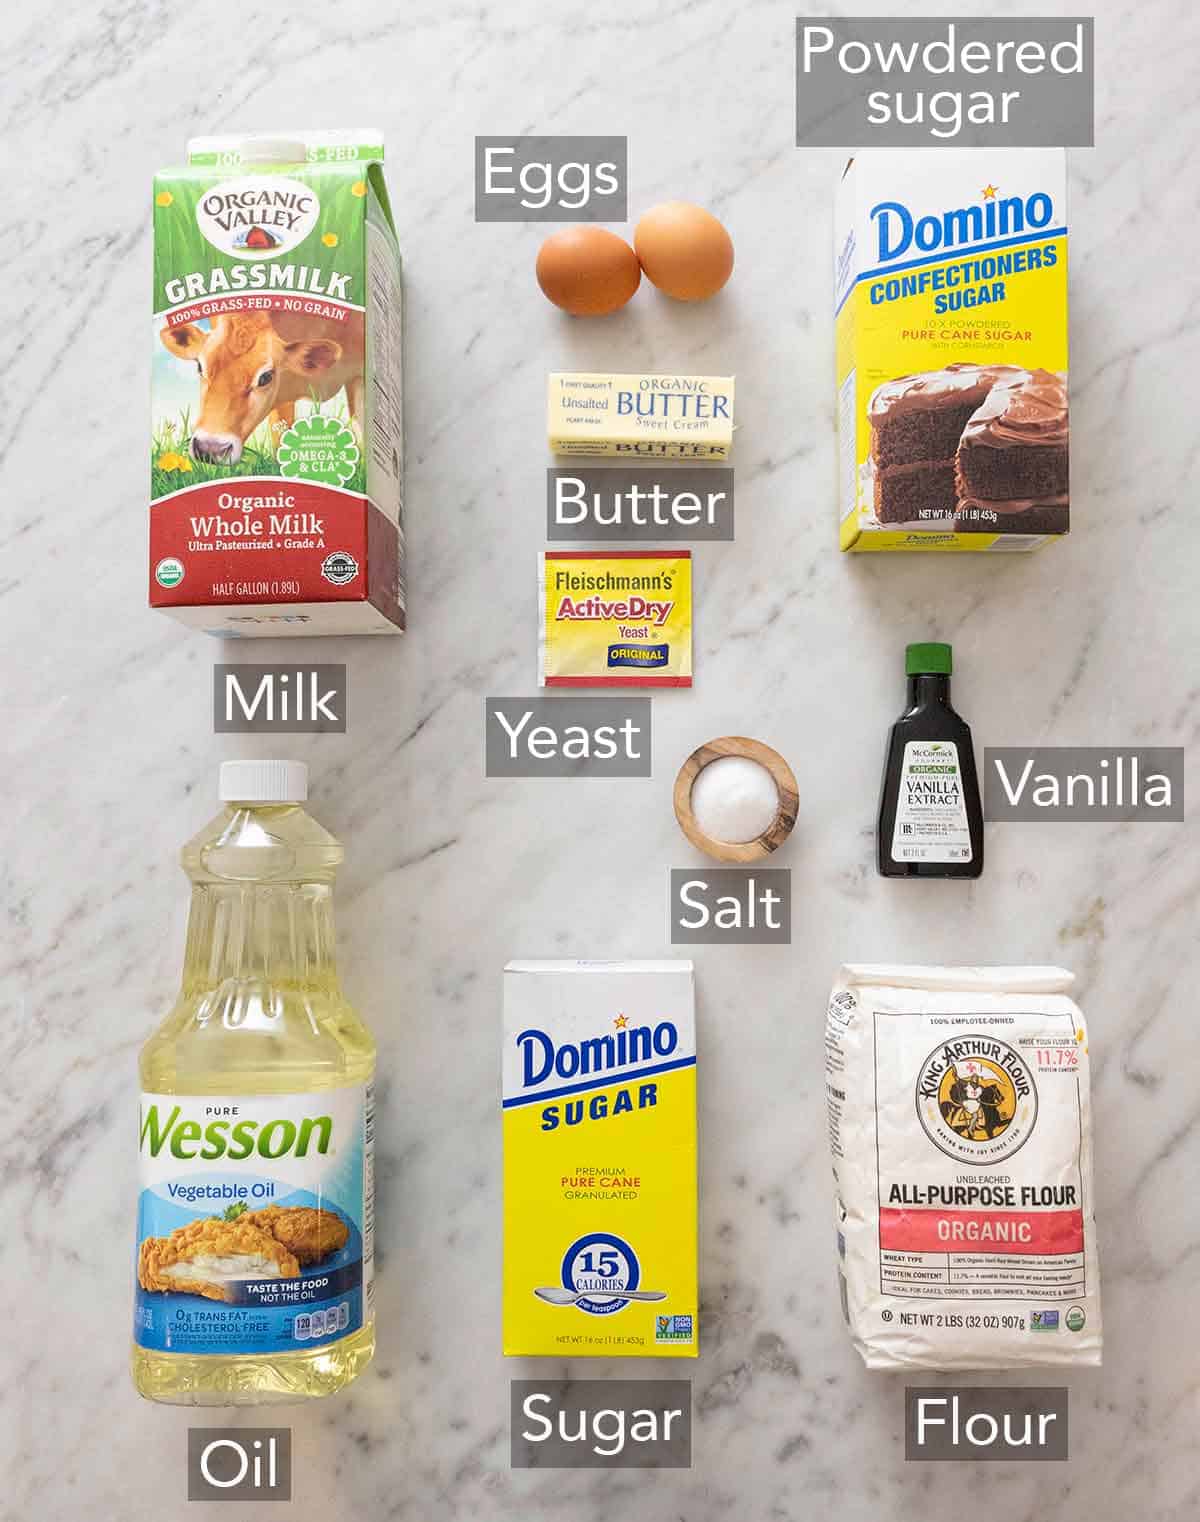
These are the main ingredients you need to make glazed donuts. You can find the full list of ingredients and measurements in the recipe card below.
Warm whole milk (105–110°F) — it blooms the yeast and, thanks to its fat and natural sugars, makes a richer, more tender dough than water would. Be sure the milk is warm, not hot—over about 120°F, and you risk killing the yeast.
Active dry yeast — one packet (2¼ teaspoons) is all you need. Check the expiration date to make sure it’s fresh, since old yeast won’t give you the best rise for light donuts. You’ll bloom it in the warm milk first so you can see it’s alive before you add the rest of the ingredients. (See FAQs for using instant yeast if you wish.)
All-purpose flour — no special flour needed. All-purpose flour has the right amount of protein for just enough gluten development to hold the airy structure produced by the yeast without making the donuts tough or too chewy. The key is measuring it correctly (see below). This is the single biggest factor in soft vs. dense donuts!
Melted butter and eggs — they make the dough rich and tender, similar to a brioche dough. Use unsalted butter so you control the salt. If you only have salted butter, reduce the added salt by ¼ teaspoon, and read my Academy lesson: Salted vs Unsalted Butter to understand why the type of butter you use matters.
Confectioners’ sugar, milk, and vanilla — these are the only three ingredients you need to make the perfect donut glaze. Milk is better than water because it gives the glaze body, so it forms a thin crust on the outside. Water makes it a bit too thin, and it can melt into the warm donuts.
Vegetable oil, for frying — this is a neutral, high-smoke-point oil perfect for frying, so it won’t burn or flavor the donuts. You can also use sunflower or peanut oil if you’d like.
The #1 Tip: Don’t Add Too Much Flour
If you take one thing from this recipe, make it this: the most common reason homemade donuts turn out dense is too much flour. The dough should stay soft and just slightly tacky. It’s tempting to keep adding flour until it stops sticking, but that’s exactly what makes donuts heavy instead of pillowy. When I first tested this recipe, my donuts turned out dense because I used too much flour. I reduced the amount slightly, and now they fry into the perfect, fluffy texture.
Measure by weight if you can, to eliminate the risk of overpacking the flour. If you’re using cups, fluff the flour, spoon it into the cup, and level it off rather than scooping it directly from the package. Learn the exact technique in my Academy lesson: How to Measure Ingredients Correctly, where I walk you through each step. Keep extra flour on your hands and surface for kneading, but resist working much more into the dough itself.
How To Make Glazed Donuts
Below, I’ve highlighted portions of the recipe in step-by-step process images along with instructions for making homemade glazed donuts. You can find the full set of instructions in the recipe card below.
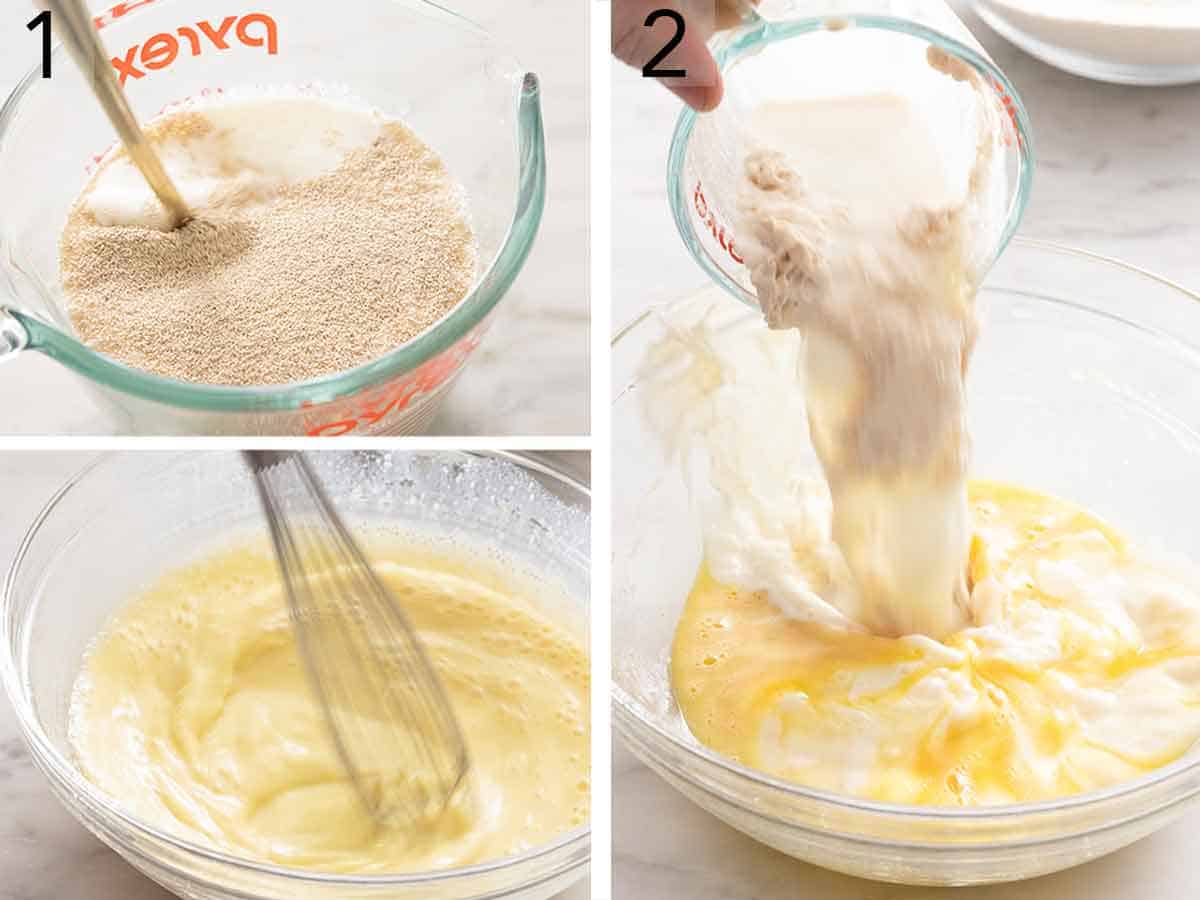
1. Bloom the yeast. Whisk the warm milk, yeast, and 1 teaspoon of sugar in a small bowl or measuring cup. Let it sit for 5-10 minutes until bubbly—the foam that forms on top confirms the yeast is alive. If this doesn’t happen, start over with new yeast.
2. Combine the wet ingredients. Use a large bowl, and whisk the melted butter, eggs, and remaining sugar until smooth, then stir in the foamy yeast mixture.
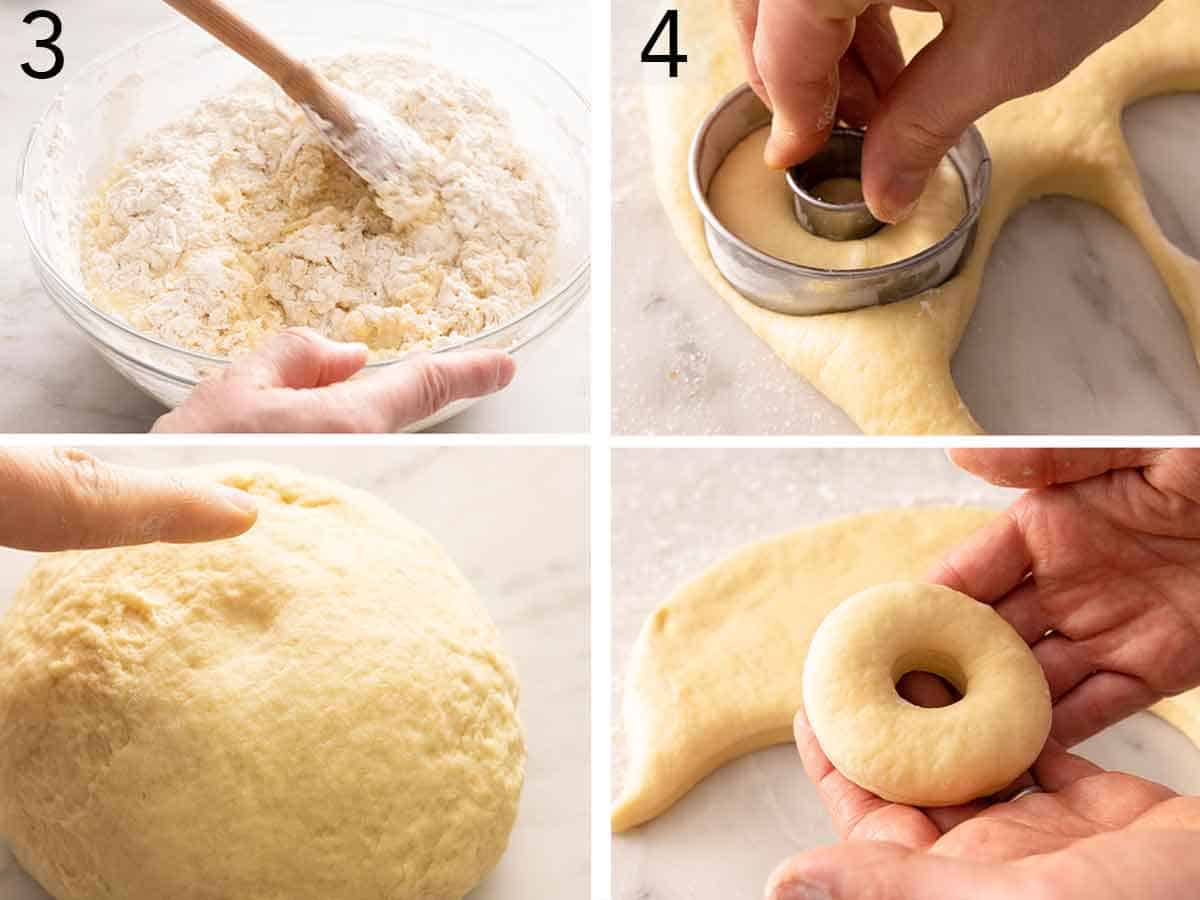
3. Mix the dough, knead, and rise. Add the flour and stir to make a shaggy dough. I use a spatula for this part. Once the dough comes together, turn it out onto your clean counters and knead it for about 5 minutes, or until smooth and elastic. (You can use a stand mixer with a dough hook, too, if you prefer.) The dough will stay slightly tacky. Shape the dough into a smooth ball, place it in an oiled bowl, cover, and let rise in a warm spot until doubled, about 1 hour.
4. Cut and second rise. Punch down the risen dough and roll it ¾-inch thick on a floured surface. Cut 12 donuts and 12 holes with a donut cutter (or with a 3-inch and 1-inch round cutter). You can re-roll scraps as needed. Set the cutout donuts and holes on parchment-lined baking sheets, cover loosely, and let rise until doubled in size, about 40 minutes.
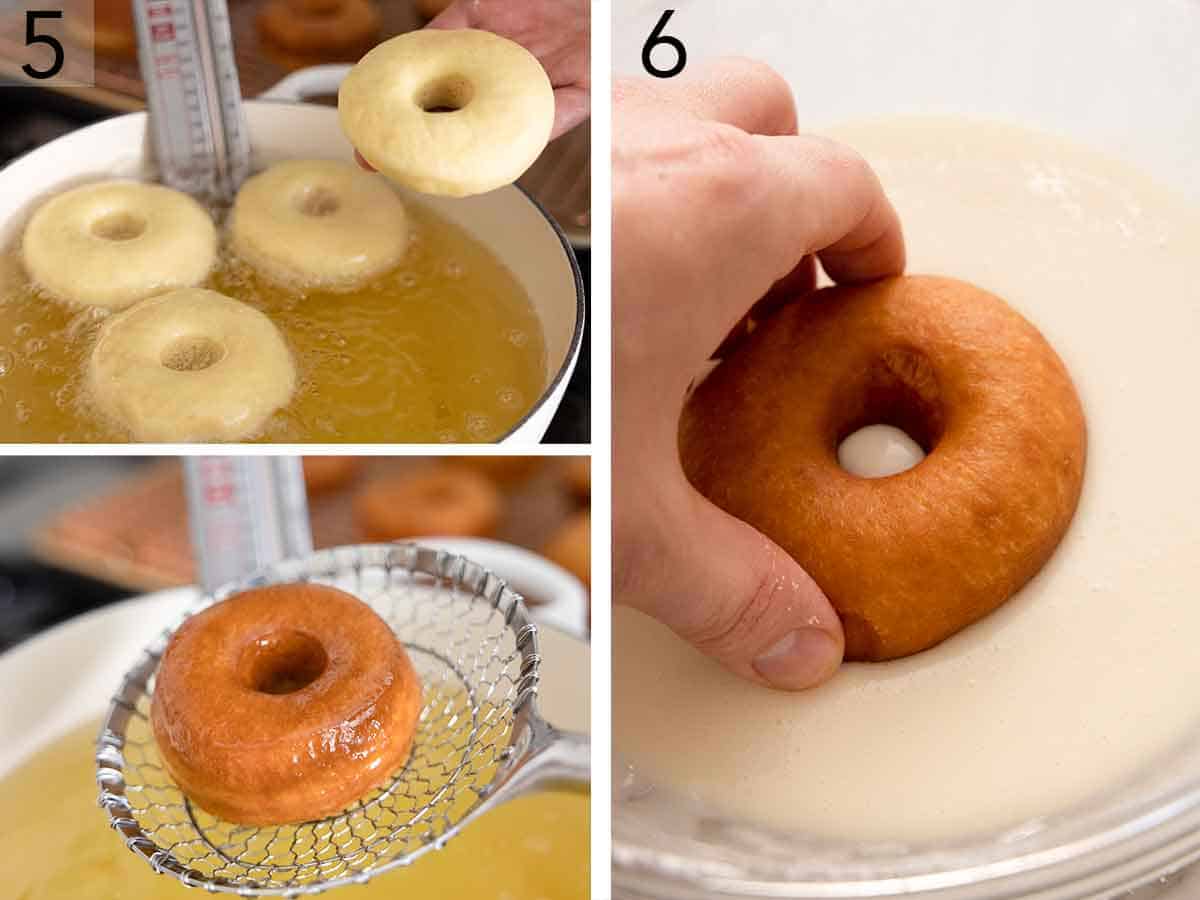
5. Fry the donuts. Fill a Dutch oven with 2 inches of oil and heat over medium until a deep-fry thermometer reads 350°F. Fry just two or three at a time so the oil temperature doesn’t crash and the donuts have room to puff. Flip after about 1 minute per side for the large donuts, and 1 minute total (stirring constantly) for the donut holes. You are looking for each side to turn a lovely amber-like golden brown on the outside. Drain on a wire rack.
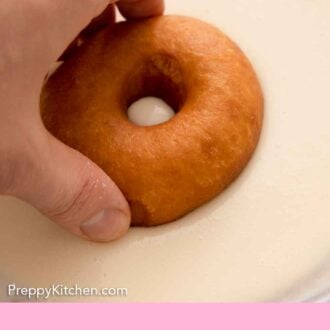
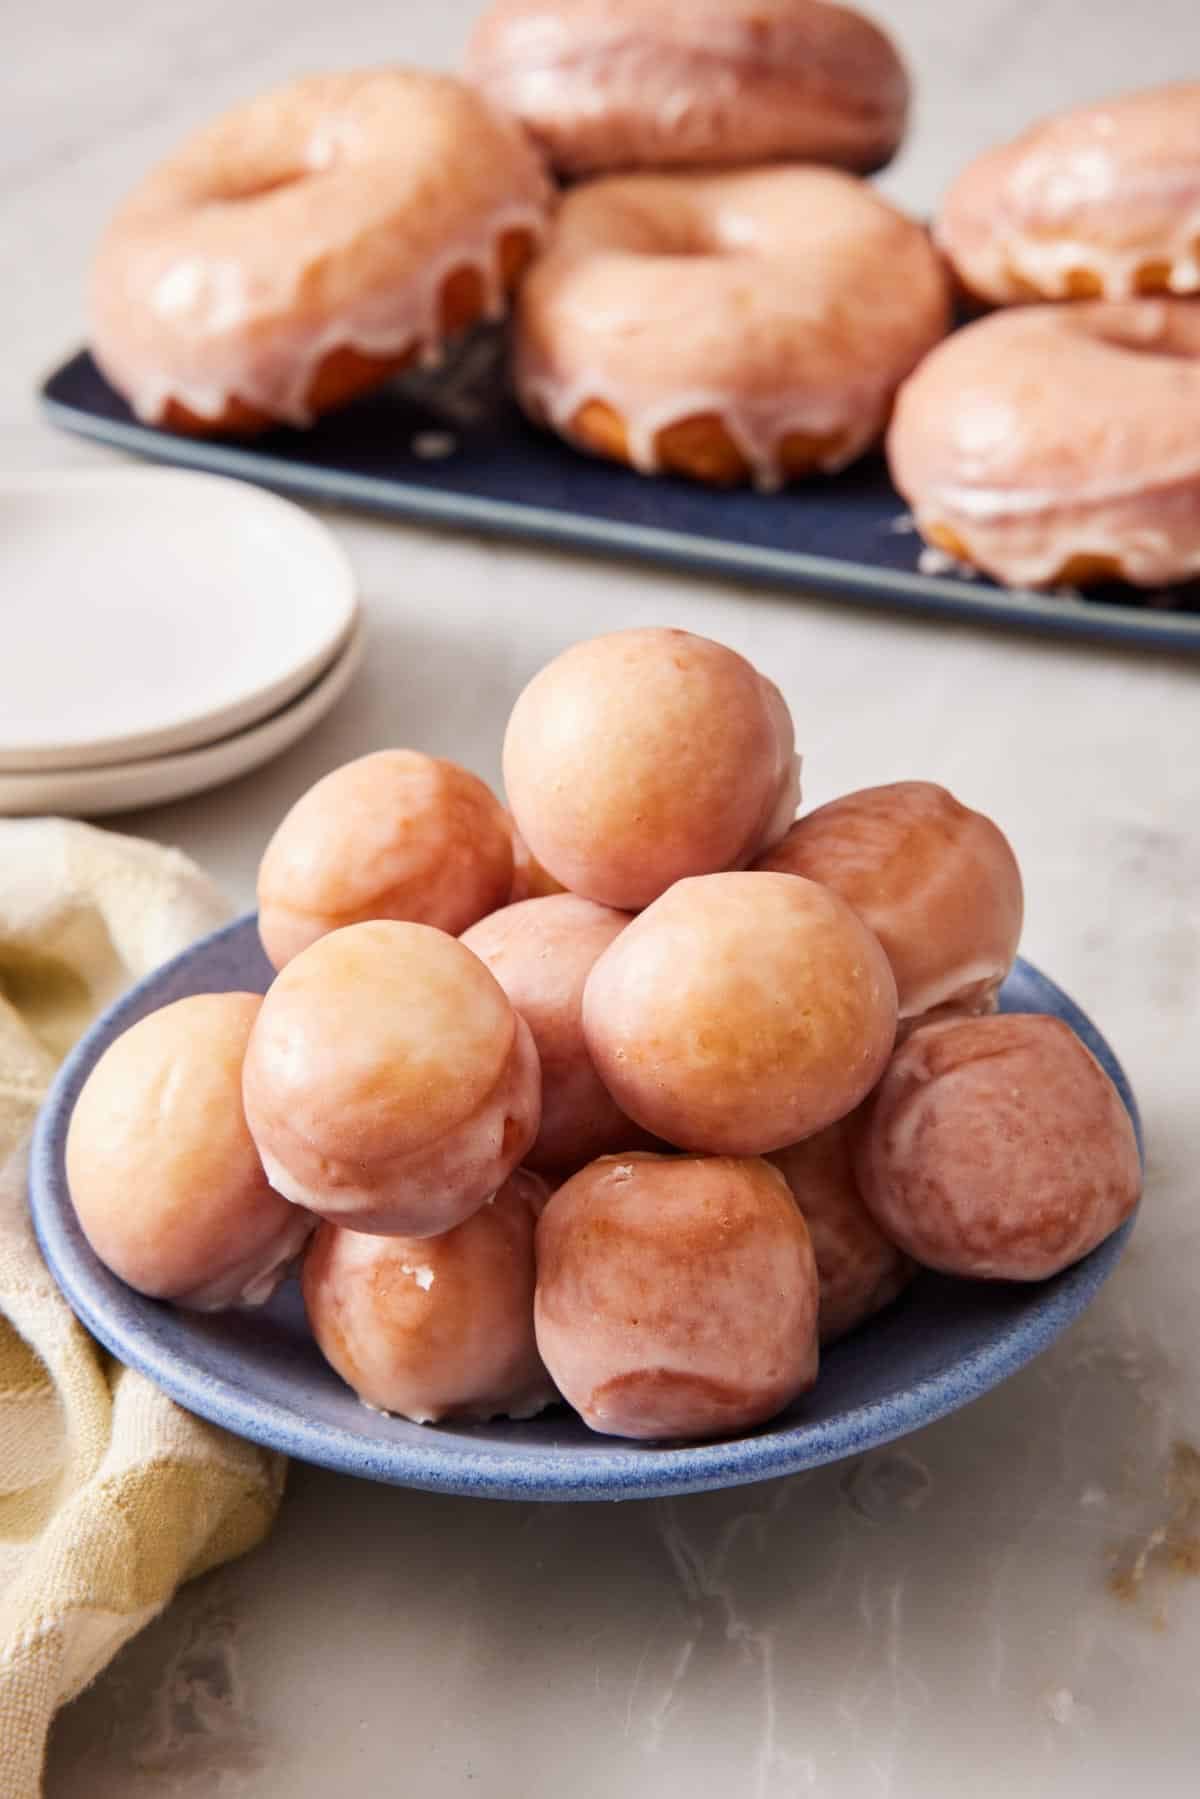
6. Glaze the donuts. The glaze couldn’t be simpler: whisk the powdered sugar with the milk and vanilla until smooth. Dip the donuts and holes while they’re still warm—the warmth helps the glaze form a smooth coating and set into that thin, glossy shell. Let the donuts sit on the wire rack for a few minutes for the glaze to set and finish dripping off any excess. These are delicious if eaten while they are still warm!
Frying Donuts: Keep A Watchful Eye
I have tested this recipe multiple times, and my best tip for frying perfectly golden donuts is to keep an eye on each batch the whole time. The oil temperature needs to be around 350°F to fry donuts that are golden and fluffy, but not oily or burned. If the oil is too cool, the donuts sit in the oil absorbing it, turning tough and greasy; too hot, and they brown before the inside cooks.
I recommend testing one first. If the donut darkens very fast, reduce your heat just a bit (down to 340°F), which will still produce great donuts. If it fries very slowly, warm it a bit more before you continue frying. You may need to adjust the burner as you cook each batch as well. So, keep an eye on how the donuts are frying and not just the thermometer.
Troubleshooting: Dense, Hard, or Greasy Donuts
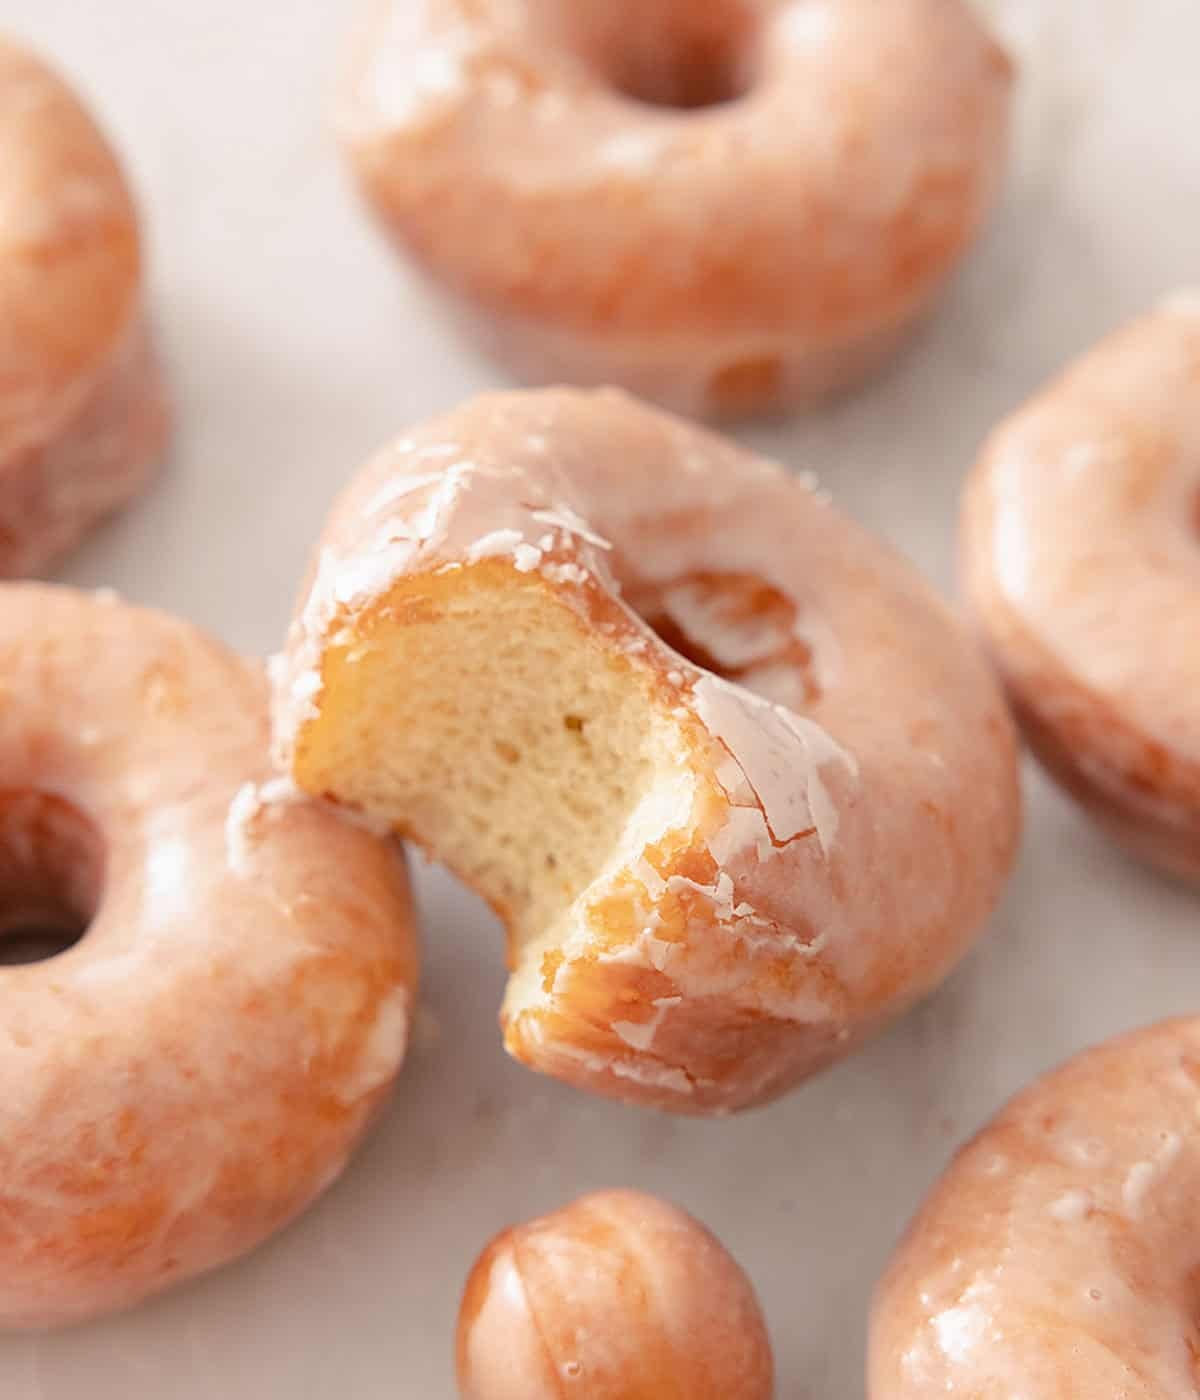
Dense donuts almost always come down to too much flour or yeast that didn’t fully activate. Measure the flour with a scale (as mentioned above), and make sure the yeast has foamed in the milk. This recipe uses a single packet of yeast, which proofs the dough at the right pace; rushing or over-proofing the rises can also cause the dough to collapse and turn dense.
Hard or bready donuts usually mean the dough was over-kneaded or didn’t rise enough. Knead just until smooth and elastic, and don’t add too much flour during the process—it should be tacky. If the dough isn’t allowed to rise enough during the first and second rise, the donuts can turn hard because there isn’t enough carbon dioxide from the yeast throughout the dough to make them light and fluffy.
Greasy donuts are an oil-temperature problem. If the oil dips too far below 350°F, the donuts absorb it instead of frying crisp. 340-350°F is a safe range; any lower and you risk soggy donuts. Fry in small batches and let the oil come back up to temperature between them.
Very dark donuts are also an oil-temperature problem. I made these donuts for a video one time, and my first batch turned dark within 10 seconds of hitting the hot oil. I slightly reduced the heat on my burner, and the rest of the batch turned out great. Small variations in the dough temperature, how high your burner is, or how long the oil sat heating back up between batches, can all affect how they cook—use a thermometer as your first guide, then let the color of the donuts guide you through the process.
Pro Tips For Making This Recipe
A pair of chopsticks or long wooden skewers is the perfect tool for donut frying. They easily slip into the hole of each donut, so you can flip them more easily or lower them into the glaze. Use 1 to flip the donuts in the fryer and the other to help glaze the donuts. Doing so will keep your hands mess-free!
Want to change up the glaze? Swap the vanilla for citrus juice, replace some of the milk with a splash of bourbon or rum, add some cocoa powder, or use a different extract to flavor the glaze however you like. (No confectioners’ sugar on hand? Here’s how to make powdered sugar from regular sugar.)
Glazed Donuts Recipe
Equipment
- Dutch oven
- Candy thermometer
Ingredients
For the Dough:
- 1 cup warm whole milk (105-110°F/ 240ml)
- 1 (0.25-oz/7g) packet active dry yeast (2¼ teaspoons)
- ¼ cup plus 1 teaspoon granulated sugar divided (54g)
- 4½ cups all-purpose flour plus additional for dusting (540g)
- ½ teaspoon salt
- 6 tablespoons unsalted butter melted (85g)
- 2 large eggs room temperature
- vegetable oil for frying
For the Glaze:
- 3 cups powdered sugar (360g)
- 6 tablespoons whole milk (90mL)
- ½ teaspoon vanilla extract
Instructions
For the Dough:
- In a small bowl, whisk together the warm milk, yeast, and 1 teaspoon sugar. Let sit until bubbly, 5 to 10 minutes.
- In a large bowl, whisk together the flour and salt. In another large bowl, whisk together melted butter, eggs, and remaining ¼ cup (50g) sugar until smooth. Stir in yeast mixture until combined. Stir in flour mixture until a shaggy dough forms. On a lightly floured surface, knead the dough until smooth and elastic (dough may be slightly tacky), about 5 minutes. (you can also do this in a stand mixer with the dough hook.) Place the dough in a large, lightly oiled bowl. Cover and let rise in a warm place until doubled in size, about 1 hour.
- Line two large, rimmed baking sheets with parchment paper.
- Punch down the dough. On a lightly floured surface, roll the dough into a ¾-inch-thick rectangle. Using a donut cutter or 3-inch and 1-inch round cookie cutters, cut 12 rounds and 12 holes in each round, re-rolling scraps as necessary. Place the cutouts on the prepared baking sheet as you work. Loosely cover and let rise in a warm place until doubled in size, about 40 minutes.
- While the donuts are rising, place a wire rack inside a rimmed baking sheet. Fill a Dutch oven with 2-inches of oil. Heat over medium heat until a deep fry thermometer registers 350°F.
- Working a few at a time, fry donuts in the hot oil until golden brown, about 1 minute per side for large donuts and 1 minute, stirring constantly, for the donut holes. Transfer to the wire rack to drain.
For the Glaze:
- In a medium bowl, whisk together confectioners’ sugar, milk, and vanilla until smooth. Dip warm donuts and donut holes into glaze and return to the wire rack to set.
Notes
- No 1-inch cutter for the holes? Use the base of a large piping tip! Press straight down with firm pressure and use a toothpick to push out the dough from the tip.
- Use a large enough pot. The donuts expand as they fry, and you don’t want the oil overflowing. A 5-7-quart Dutch oven works great!
- Avoid adding too many donuts at once to the oil. More donuts will lower the oil’s temperature. The donuts will also need room to expand, and it’s easier to flip when there’s space.
Nutrition
Have you tried this recipe? Tag me today!
Mention @preppykitchen and tag #preppykitchen!
How to Store and Freeze
Glazed donuts are at their absolute best warm, within minutes of frying, or at least the same day they’re fried. Leftovers keep in an airtight container for a few days (the glaze will harden). A few seconds in the microwave softens the glaze and revives them. Or pop them in the air fryer at 325°F for 3 minutes.
To freeze, cool completely, wrap well, and freeze for up to 3 months. I recommend freezing them without the glaze, then reheating and glazing them just before serving. Thaw overnight in the fridge and reheat in the air fryer or oven at 350°f for a few minutes before dipping in the glaze.
Frequently Asked Questions
No, this yeast dough is made for frying and won’t bake up with the same light and fluffy texture. If you want baked donuts, try my baked donut recipe or pumpkin donuts instead. I also have an excellent air fryer donut recipe!
A neutral oil with a high smoke point, like vegetable, canola, peanut, or sunflower oil. Avoid low-smoke-point oils (and extra-virgin olive oil), which can burn and give the donuts a rancid or sharp taste.
You can slow the first rise in the fridge overnight, then bring the dough to room temperature, cut out the donuts, do the second rise, and fry. Donuts are always best fried fresh, so this is the best way to get ahead, but still enjoy the most delicious results.
More Fried Treats To Try
Try one of these other donut-style recipes:
- Beignets — pillowy New Orleans-style fried dough under a blanket of powdered sugar.
- Churros — crisp, cinnamon-sugar-coated fried dough made for dipping in chocolate.
- Apple Cider Donuts — spiced fall donuts made with apple cider reduction.
- Old Fashioned Donuts — cakey, crinkly-crusted sour cream donuts with a classic glaze.
- Apple Fritters — craggy fried fritters packed with cinnamon apples and glazed.
If you’ve tried this glazed donut recipe, then don’t forget to rate it and let me know how you got on in the comments below. I love hearing from you.






