In no time at all, you can have a perfect poached egg for your breakfast or brunch meal. There are so many opinions and methods for how to poach an egg, it can get downright confusing! So I rigorously tested them for you to find just the right water temperature and the best tips and tricks for flawless poached eggs. It mainly comes down to one essential ingredient: vinegar! In this updated post, I also share why fresh, cold eggs make the best poached eggs, how to poach multiple eggs at once for a crowd, and even how to prepare them ahead of time. You’ll be making the perfect poached eggs for eggs Benedict or for jazzing up your morning avocado toast!
A reader, Teirna, says: “This was the first time I have ever made poached eggs, and I was very nervous, but with this recipe it turned out PERFECT!! I was very surprised to see how easy this recipe made it!” ★★★★★
Table of Contents
You Only Need Two Ingredients
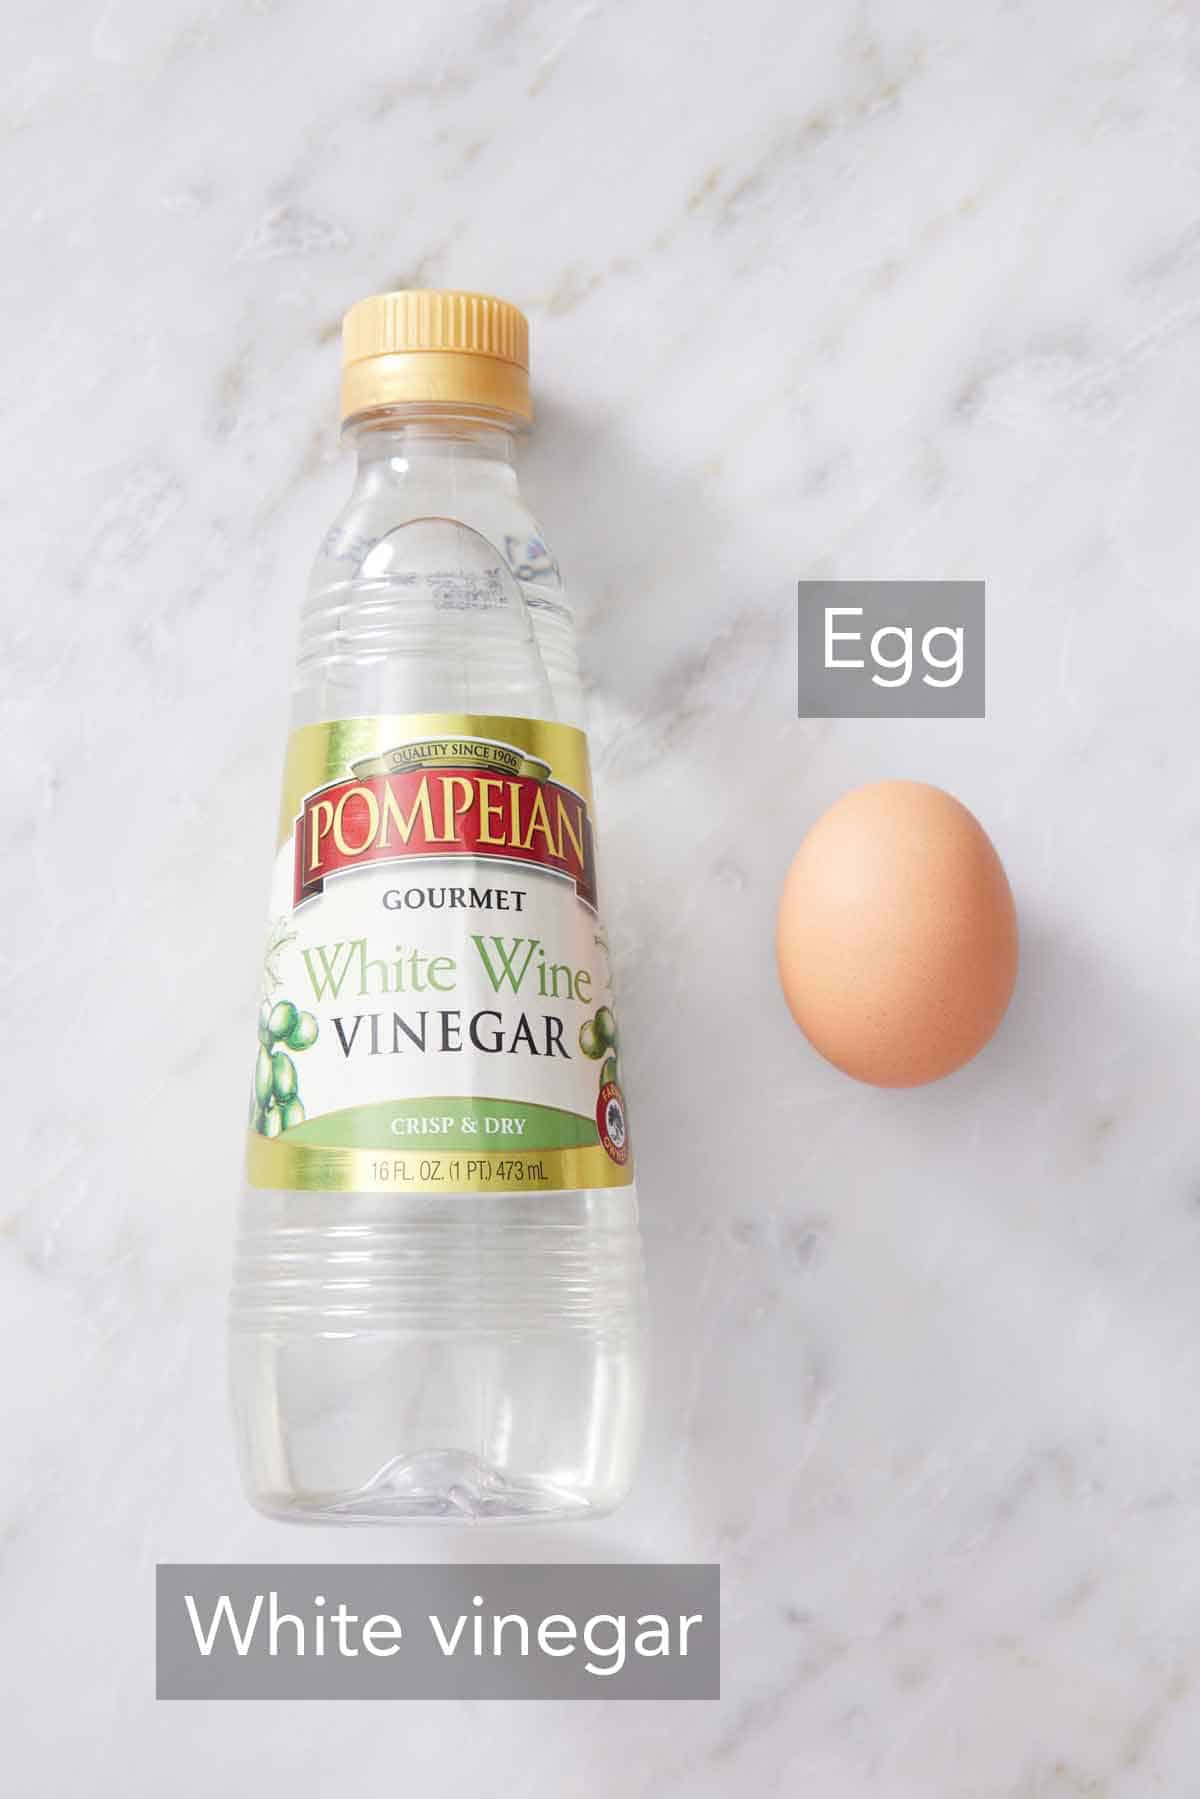
You only need two ingredients and a pot of water to make a poached egg. You can find measurements and full instructions in the recipe card below.
Egg — fresh eggs are key for perfect poached eggs. They will have firmer whites, while older eggs tend to have runny whites. Runny egg whites can cook up as stringy and wispy in the hot water. (This won’t affect the flavor, but the eggs just won’t look as pretty.) Check the expiration date on your carton of eggs and make sure it’s at least a month away.
Vinegar — the acid in white vinegar helps the eggs hold their shape in the water (more details just below!). You can swap the distilled white vinegar for white wine vinegar or lemon juice with great results. The vinegar won’t flavor the egg at all, so you don’t need to worry about that!
Vinegar: The Essential Ingredient
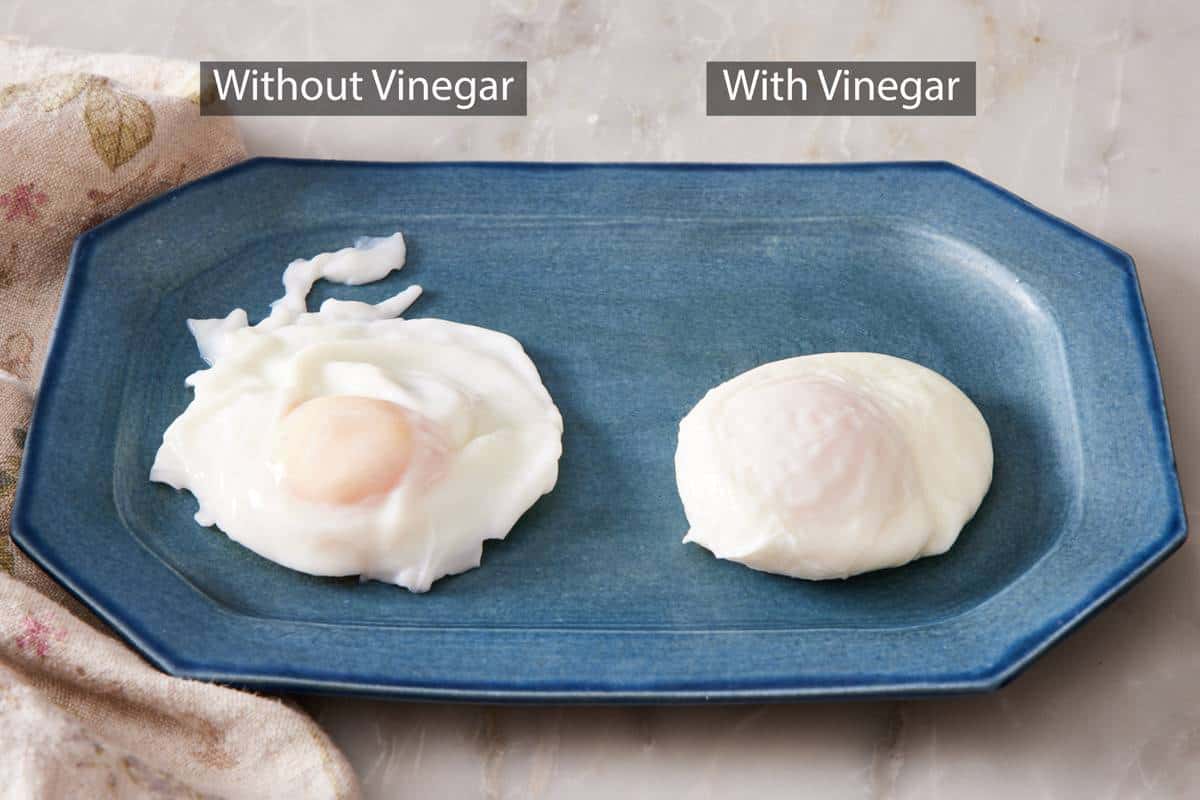
This simple ingredient is the key to making poached eggs that hold their shape nicely. Acid forces the egg proteins to denature and coagulate (solidify). So by adding acid to the hot water, it forces the proteins in the eggs to coagulate on contact when they hit the water.
This faster action means the poached eggs turn out with a smoother, more rounded shape and less wispy egg whites floating off into the water. My team tested poaching eggs in plain water and with vinegar added to the water. You can see in the image below, the egg on the right, cooked in vinegar, poached perfectly smooth. The one poached in plain water spread and became shaggy-looking. The lesson—don’t skip this key ingredient!
Pro Tips For Making The Perfect Poached Egg
Use cold eggs. A cold egg will have a firmer white than room temperature eggs, and will hold its shape better when it goes into the water.
Don’t break the egg directly into the water. Placing it in a ramekin first helps you gently glide the egg into the water without splashing any hot water. Plus, you don’t risk adding an egg with a broken yolk to the water, as you can make sure it’s intact beforehand. Cracking the egg into a bowl first also makes it more convenient to remove any pieces of eggshell that may fall in. A small cup or bowl also works great for this.
If your eggs have runny whites when you crack them open, strain them in a fine mesh strainer for about a minute before you add them to the water. This will remove the runnier, more liquidy parts of the egg white. Transfer the strained whole egg to the ramekin and continue poaching as directed.
Make sure the water is at the proper temperature. It needs to be just barely simmering at around 180-190°F. You should see bubbles on the bottom of the pot, but there should be no bubbles breaking at the top (rapidly bubbling boiling water can break the fragile egg). If the water is too hot, your poached egg will split. Adjust your stove as necessary to maintain barely simmering water.
Swirl the water to make a vortex before adding the egg. Creating this tornado-like swirl in the water helps to hold the egg together to get the quintessential poached egg shape as the outside of the whites cooks and solidifies. It also prevents the egg from sinking directly to the bottom of the pot and sticking.
Can I Poach More Than One Egg At A Time?
You can cook more than one egg at a time! While the eggs won’t have the lovely, neat poached egg shape, they will taste fantastic. (The vinegar will still help here, though!) Make sure you choose a pan or pot large enough to hold your eggs while leaving a couple of inches between each one. (A deep, 12-inch skillet works well.)
Skip swirling the water and place your eggs in the hot water one at a time when the water is barely simmering. I typically only do 3 to 4 eggs at a time to avoid overcrowding the water and the eggs touching.
FAQs and Troubleshooting
No. Salting the water makes it denser, causing the eggs to float. This makes the whites spread and produce more wisps in the water and on your eggs. Salting the water also doesn’t really add any flavor to the eggs, so just season your poached eggs once they’re on your plate or as you serve them!
No, you may be able to smell it in the water, but you can’t taste the vinegar! The amount used in this recipe is just enough to lower the pH of the water, but not enough to change the flavor of the eggs.
Yes! Store the poached eggs, submerged in a container of cold water, in the fridge for up to 24 hours. To reheat, bring a pot of water to a simmer and add each egg for 1 to 2 minutes, just to warm them through. Briefly place them in a paper towel-lined plate to remove excess water, then enjoy!
How To Poach Eggs
Below, I’ve highlighted portions of the recipe in step-by-step process images along with instructions for making easy poached eggs. You can find the full set of instructions in the recipe card below.
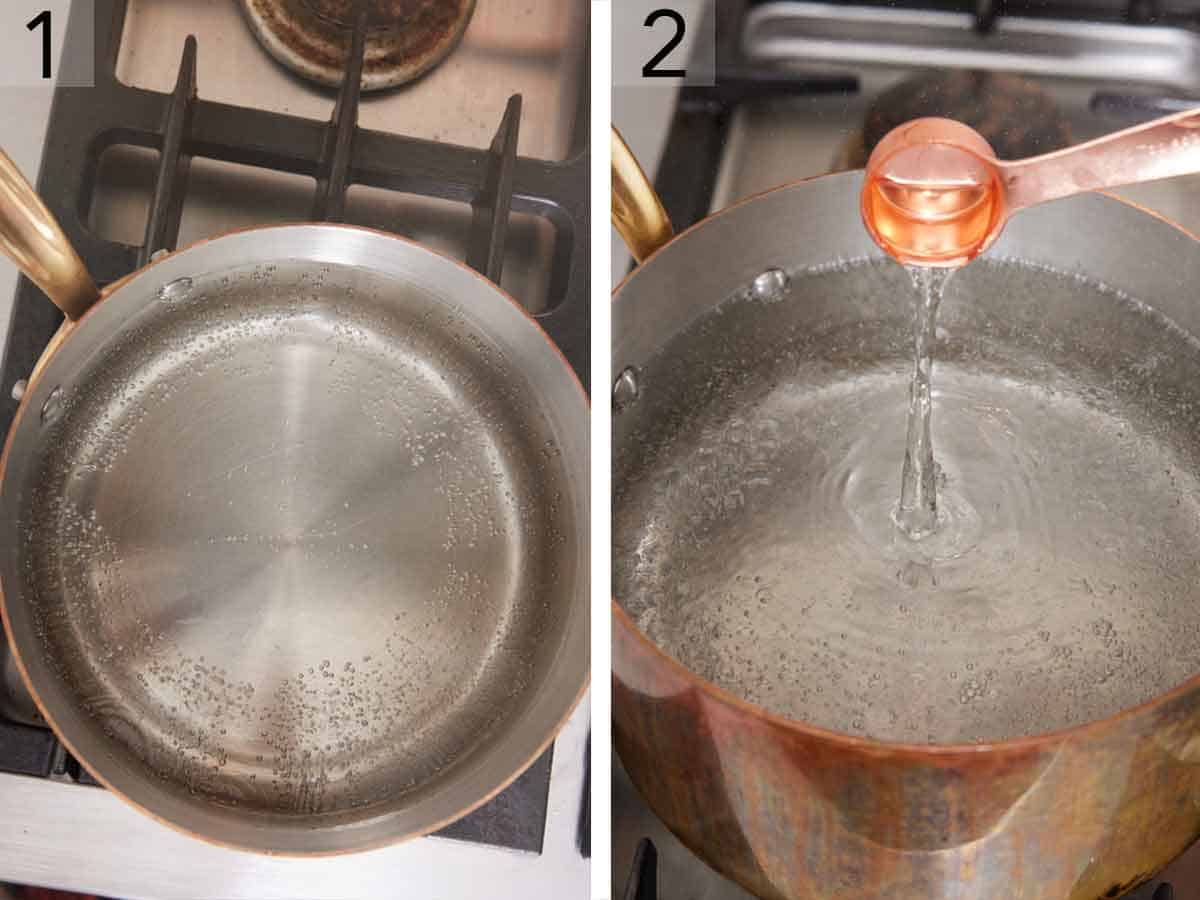
1. Fill a wide, large saucepan with 2 inches of water and place it over medium-high heat. First, bring the water to a boil, then reduce the heat so the water is barely simmering, with bubbles on the bottom of the pan but none breaking the surface.
2. Crack the egg into a ramekin, making sure the yolk is intact, and set aside for the moment. Stir the vinegar into the pan of water.
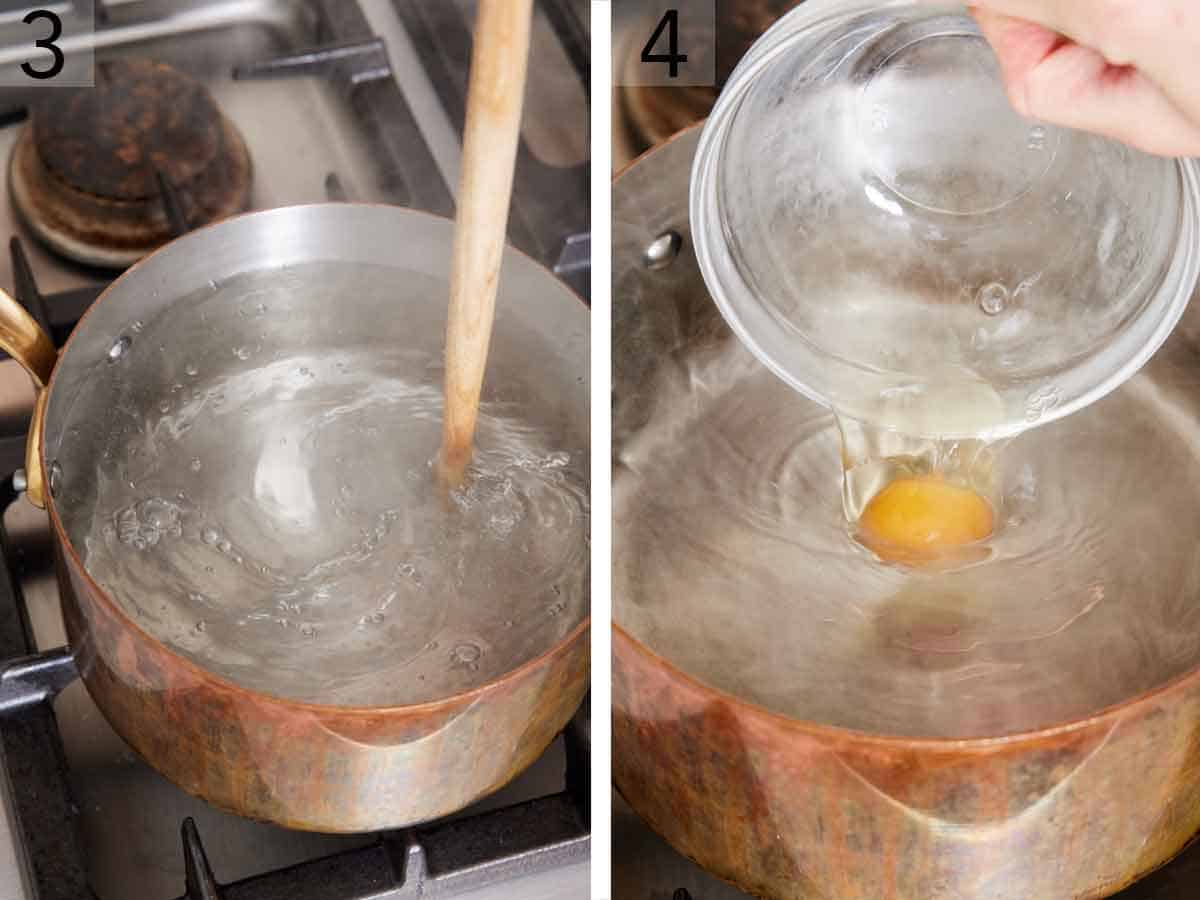
3. Use a spoon to stir the hot water in a circular motion to create a tornado-like swirl in the water.
4. Gently place the egg into the center of the water and let it cook, undisturbed, for about 3 minutes.
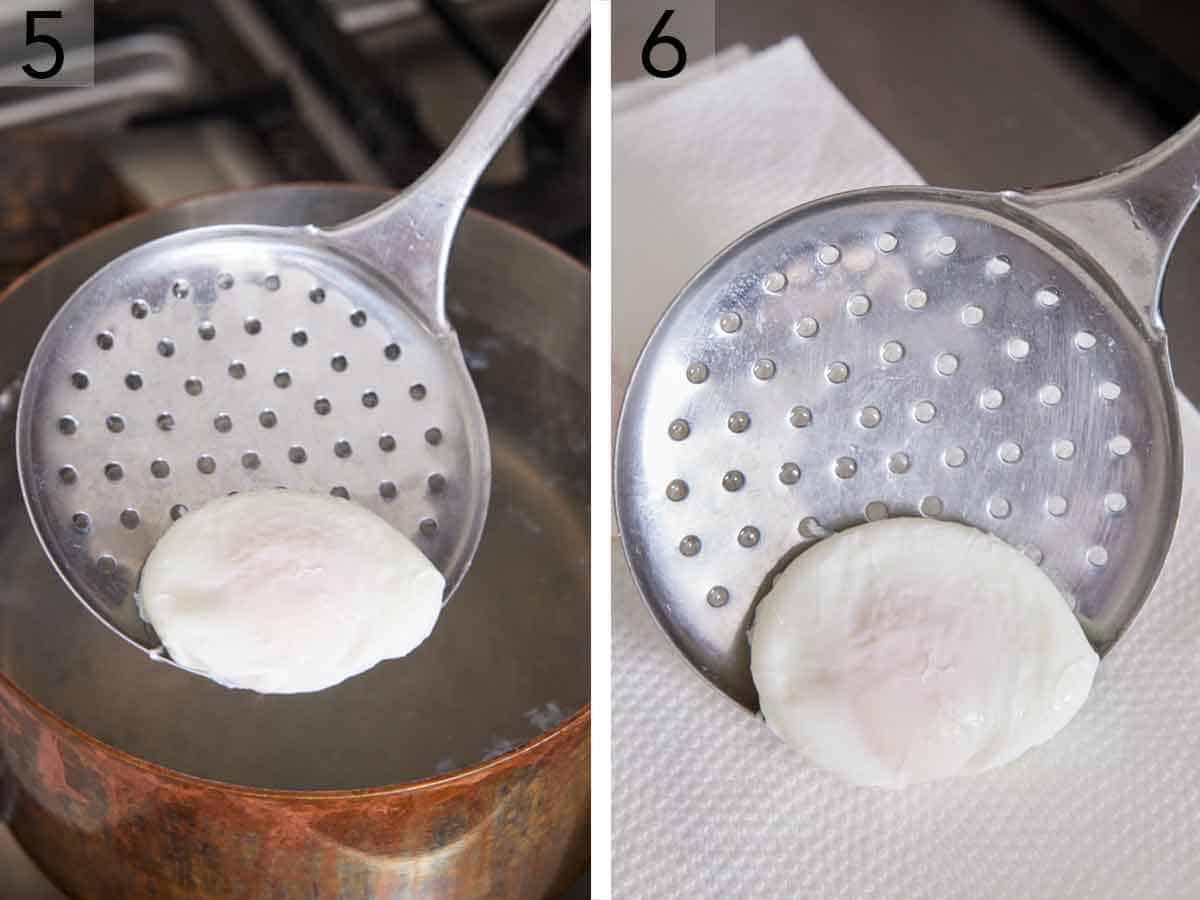
5. Remove the poached egg with a slotted spoon and allow the excess water to drip back into the saucepan.
6. Place the egg on a plate lined with a paper towel so the rest of the water is absorbed, then serve, seasoned as desired.
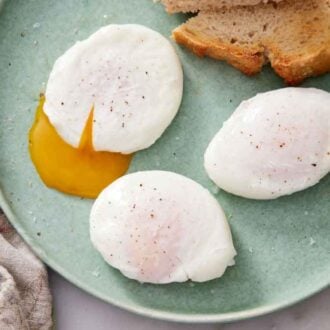
Poached Egg Recipe
Video
Equipment
- Large saucepan, pot or skillet
- Small bowl or ramekin
- Slotted spoon
Ingredients
- 1 large egg cold (or as many as you like!)
- 1 tablespoon distilled white vinegar
Instructions
- Fill a wide, large saucepan with water 2 inches deep. Place over medium-high heat and bring it to a boil, then reduce the heat so it is barely simmering. (You should see bubbles on the bottom of the pan, but the water shouldn’t be boiling or bubbling up to the top. It will be about 180-190°F.)
- When you’re ready to cook, prep the egg by cracking it into a small bowl or ramekin. Stir the white vinegar into the hot water.
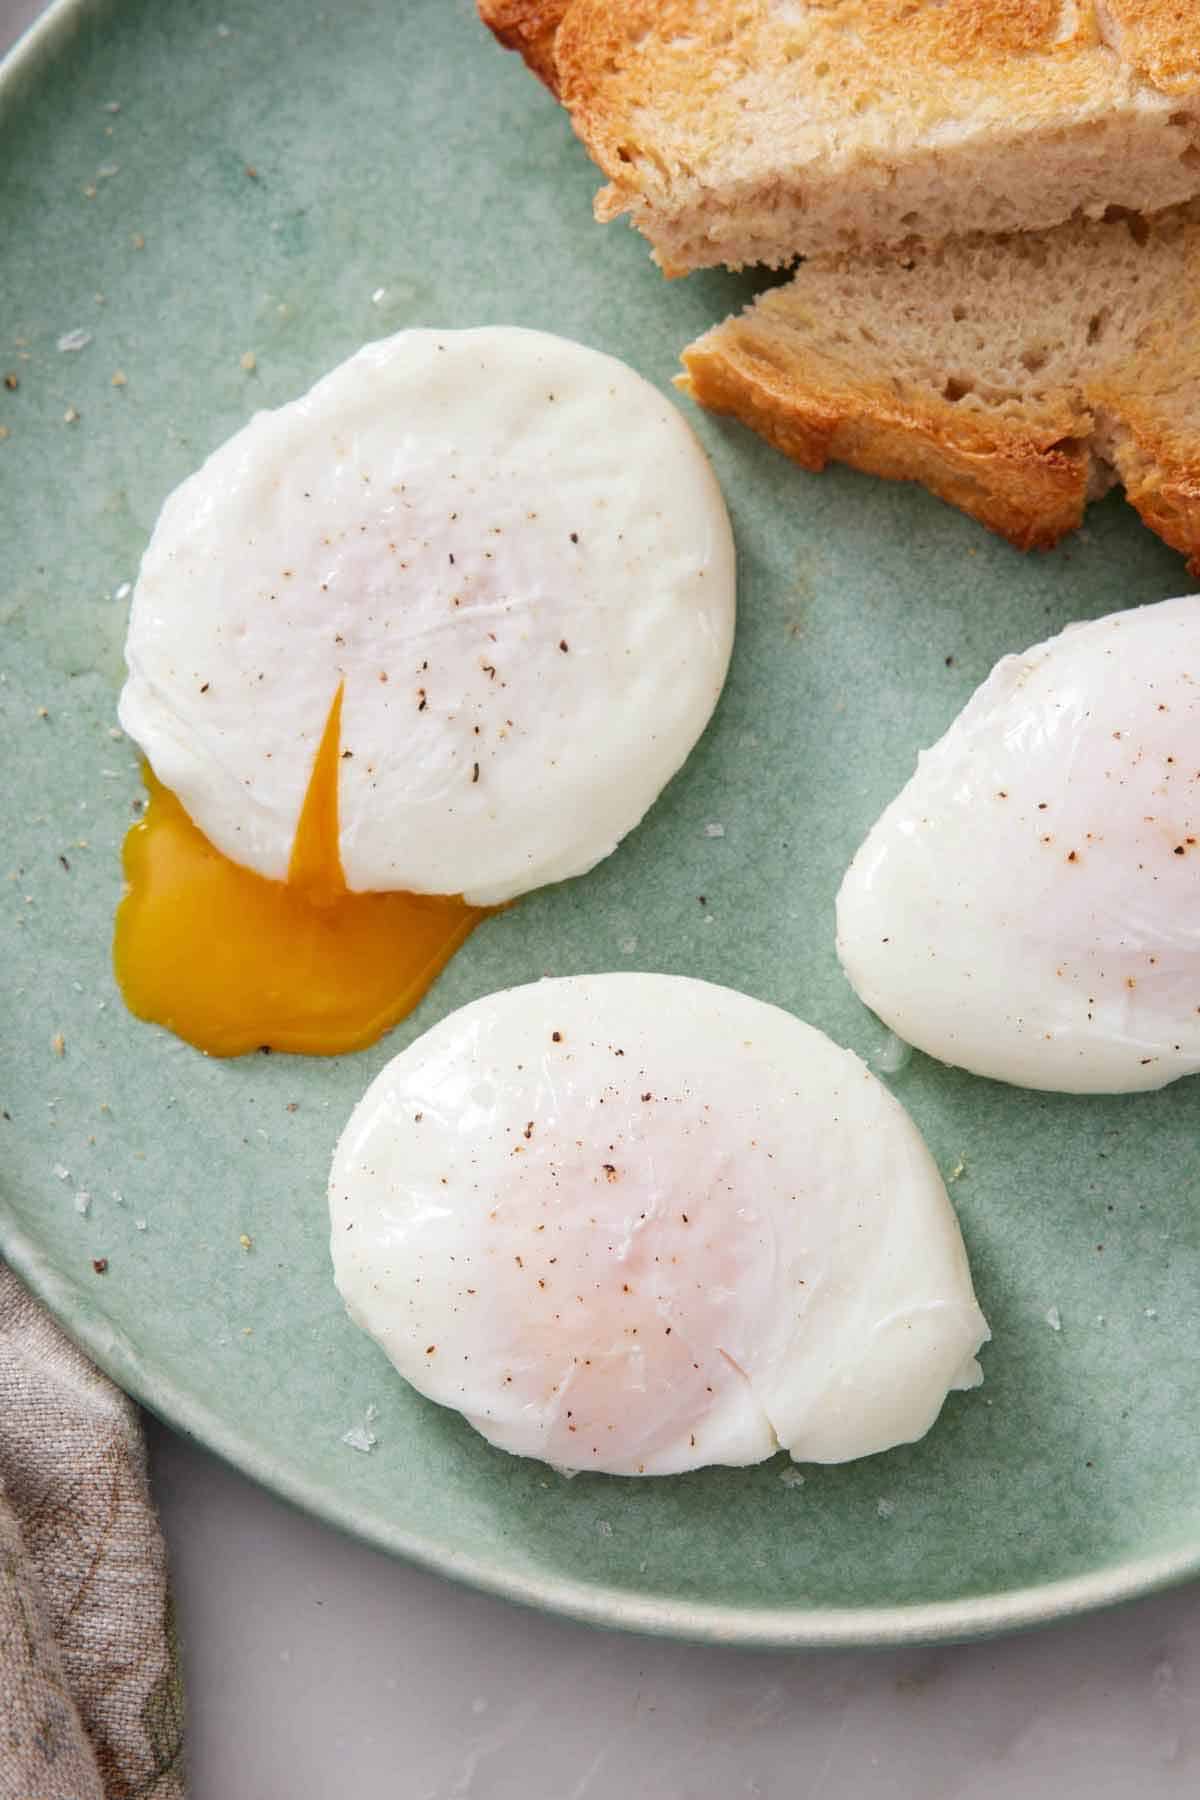
- Using a spoon, stir the water in a circular motion to create a vortex or tornado-like movement in the pan. Carefully pour the egg into the center of the swirling water, and cook, undisturbed for about 3 minutes. When the egg is properly poached, the egg whites should be opaque and firm, but it should give when gently pressed with the back of a spoon. This ensures the egg yolk is still runny in the center.
- Use a slotted spoon to carefully remove the egg, letting excess water drip back into the pan. Place on a paper towel-lined plate to absorb the extra water. Continue poaching eggs, adding more water if needed to keep the depth around 2 inches. Serve hot as desired or simply sprinkled with salt and pepper.
Notes
- Watch the temperature of the water as you are cooking. It needs to be just below a full simmer. If the water is too hot and starts bubbling or boiling, the bubbles can break the egg, causing it to split open. Adjust your stove as necessary to maintain barely simmering water.
Nutrition
Serving Suggestions
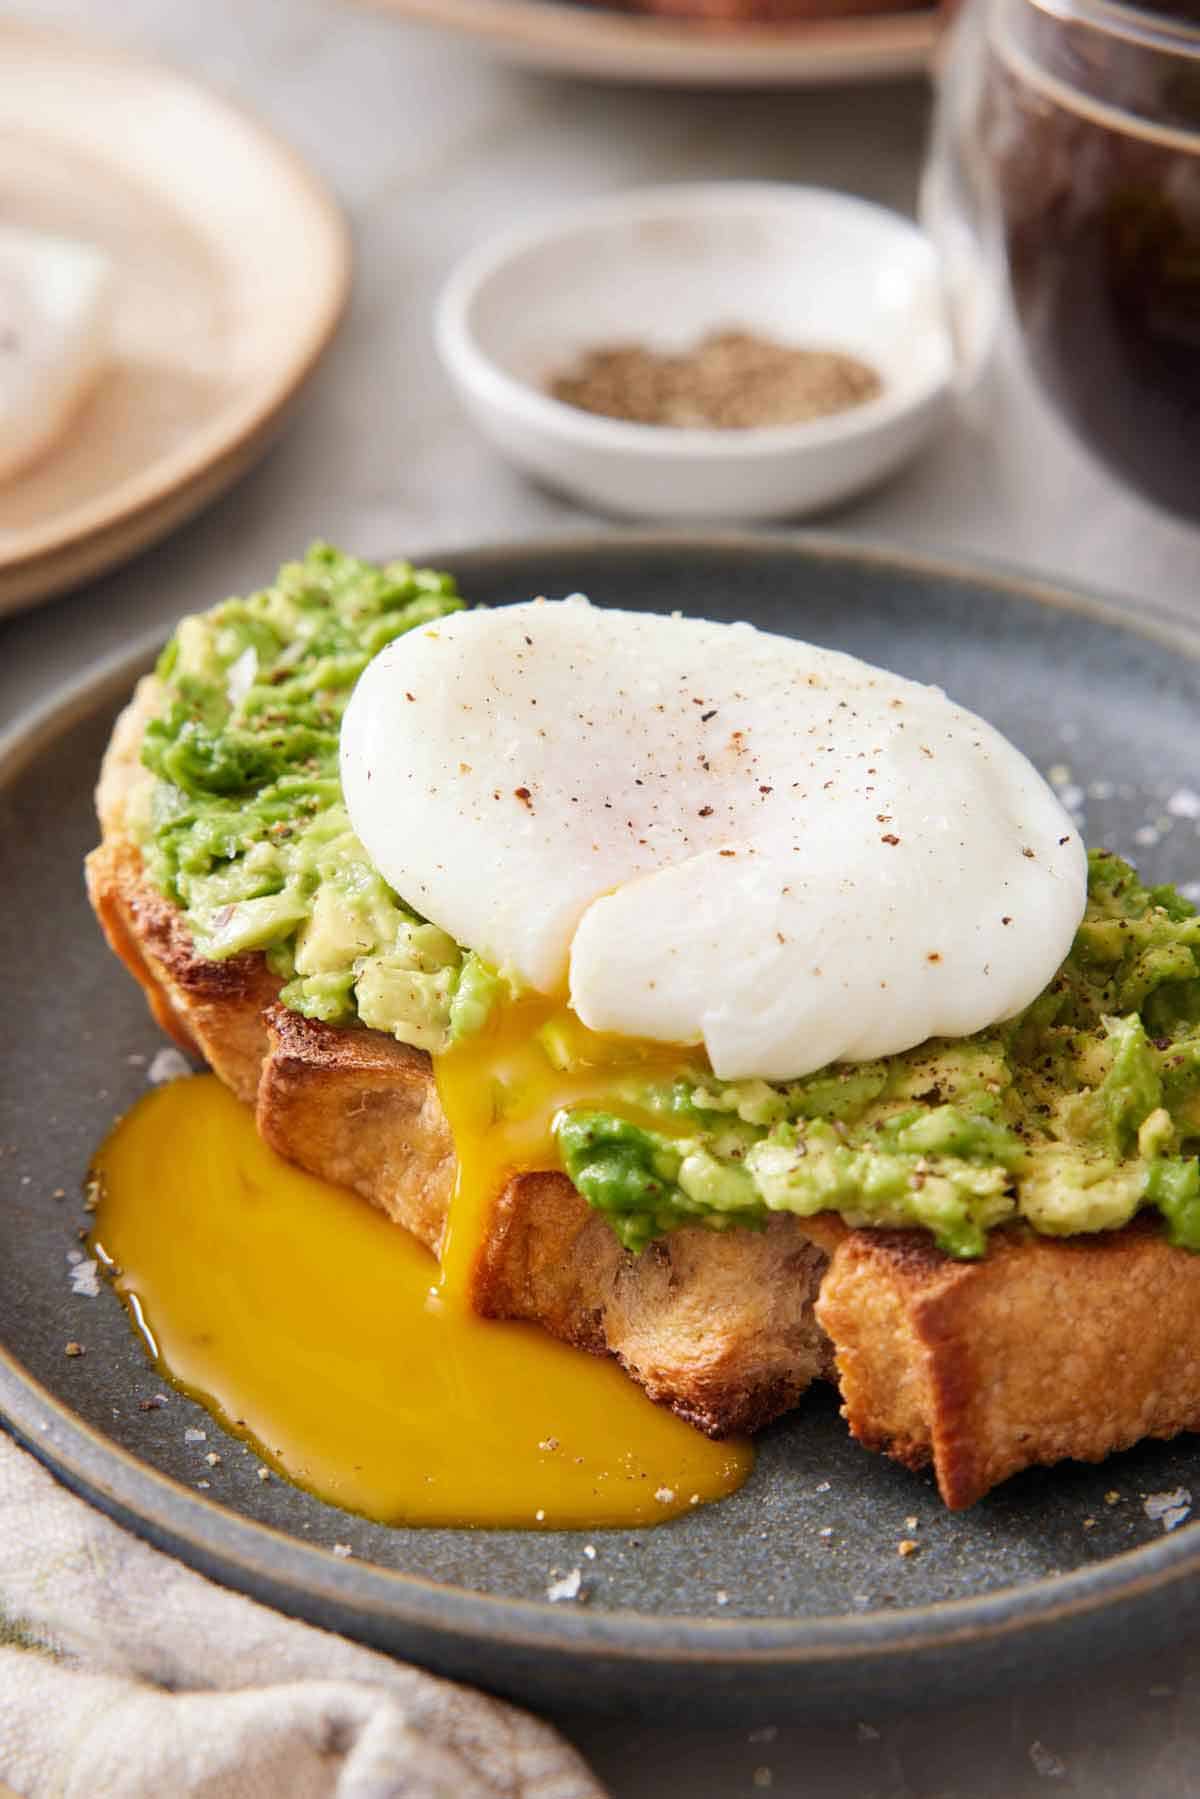
Create a classic Eggs Benedict with English muffins, perfect poached eggs with runny yolks, bacon, and creamy hollandaise sauce. Use it to level up your avocado toast! Place mashed avocado on a slice of toasted artisan bread and top with a poached egg, then season and enjoy!
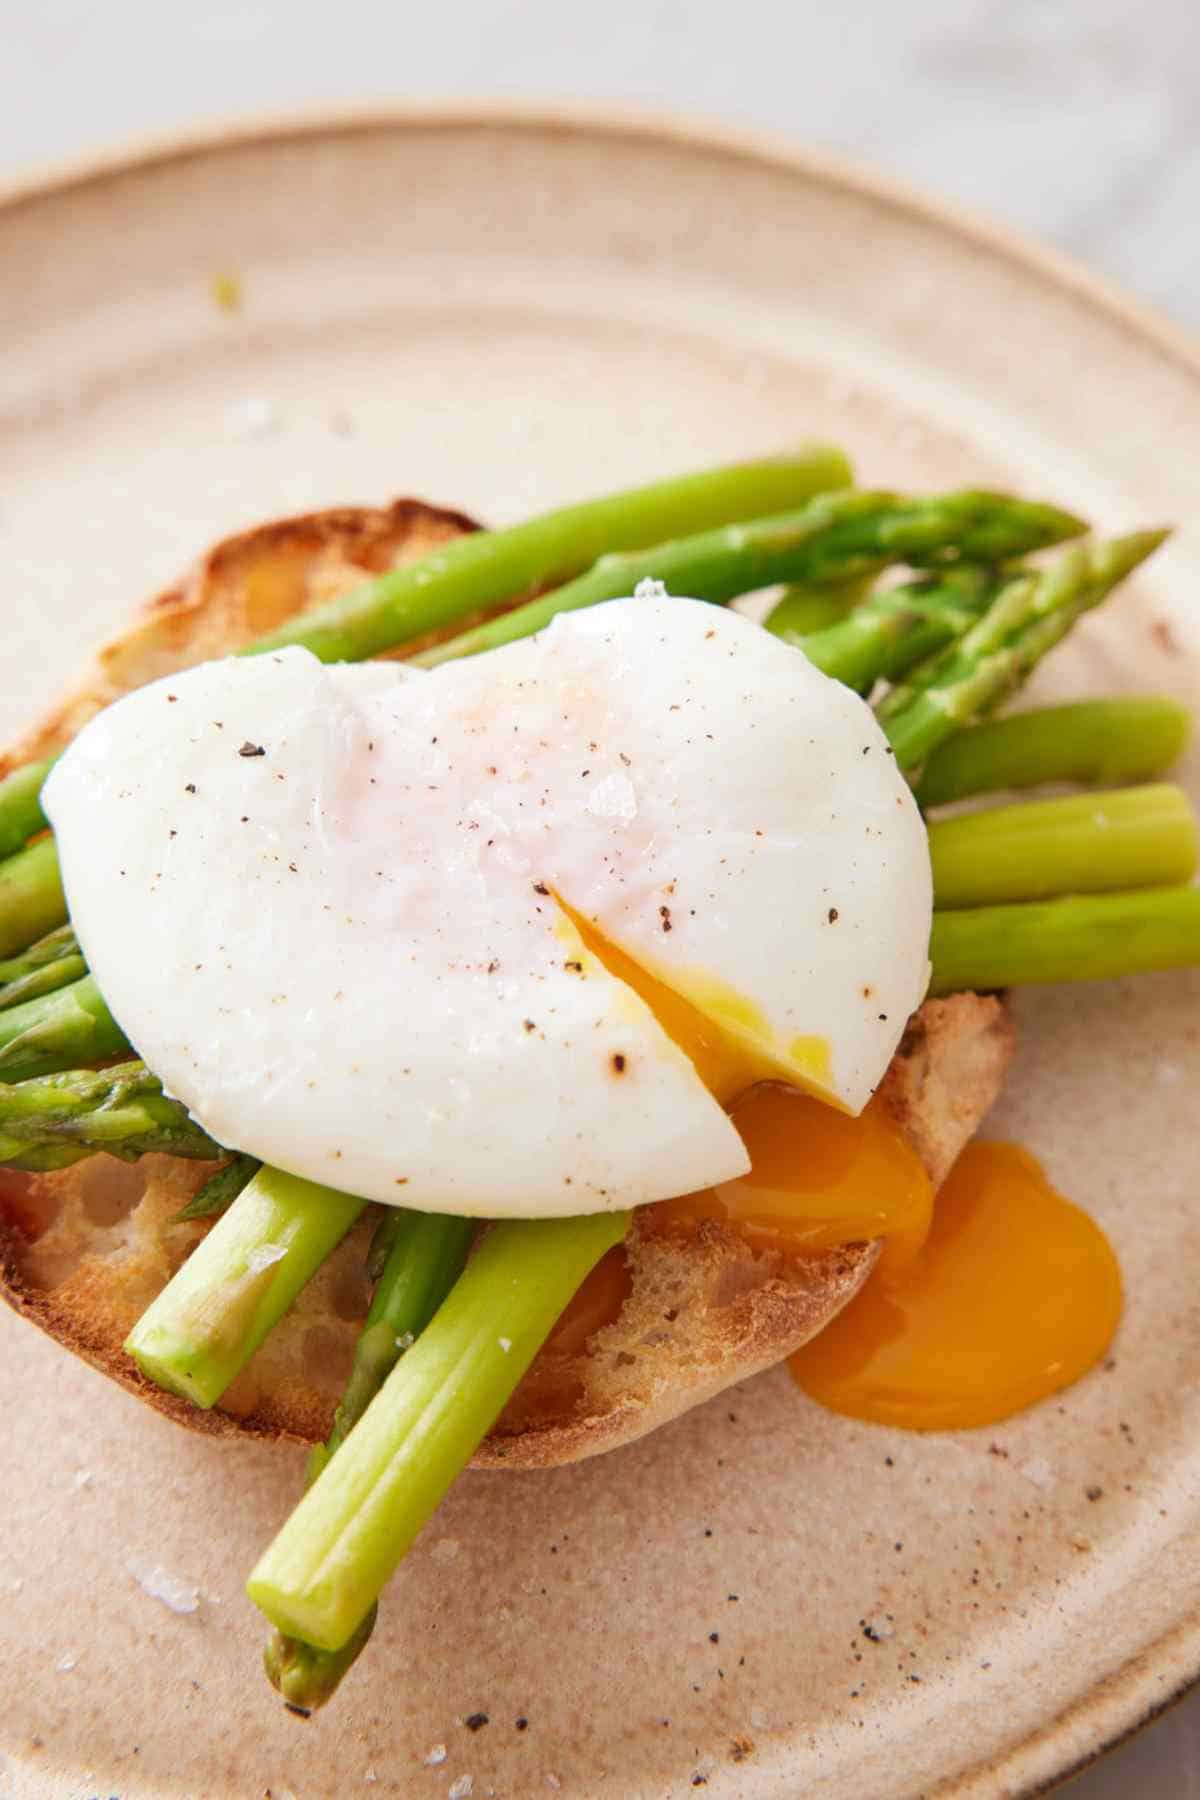
Poached eggs and asparagus are a surprisingly delicious pairing. One of my favorite ways to enjoy poached eggs is to place one on a slice of simple asparagus tart. I also love quickly whipping up some blanched asparagus to serve alongside my poached eggs for a light lunch.
More Breakfast Recipes To Try
Want to try more classic breakfast recipes? Give these a try!
A hearty breakfast casserole made with sausage, egg, hashbrowns, and cheese is an excellent start to the day! With a generous yield, it’s wonderful for feeding a crowd.
My foolproof frittata recipe turns out perfect every time: firm and sliceable, and never watery or rubbery! Make it your own with different veggies, meats, and cheeses.
I love making a quiche Lorraine for brunch with friends. Your loved ones will love the salty bacon, creamy eggs, and cheese cooked in a crisp crust.
If you’re looking for the perfect French toast, look no further than my recipe. I share 3 secrets for fluffy, flavorful results every time.
My easy waffle recipe is ready in a flash! Top these fluffy waffles with butter and maple syrup, or get creative with fruit jams, whipped cream, and fresh fruit!
If you’ve tried this poached egg recipe, then don’t forget to rate it and let me know how you got on in the comments below. I love hearing from you!


Tierna says
This was the first time I have ever made poached eggs, and I was very nervous, but with this recipe it turned out PERFECT!! I was very surprised to see how easy this recipe made it!
John K. says
Hi Tierna,
I’m so happy to hear that! Thanks for the positive feedback.
Best,
John
elyse says
THANK GOODNESS for this post! I also watched the full YouTube video which really helped. Thank you!
Donna B Oliphint says
I tried the swirl technique several times and just couldn’t get it right. Then I saw America’s Test Kitchen’s tecnique (https://www.americastestkitchen.com/recipes/9473-perfect-poached-eggs), and it works every time!
Also, wanted to let you know that I made your painted cake for a friend to give to her hair dresser for her birthday. It got RAVE reviews, and my friend thinks I will get a lot of orders now for birthday and smash cakes. I’m making them to make money for an orphanage in Kenya and the school they’re building. Thanks so much for your beautiful cake tutorials. They are great.