
This post may contain affiliate links. Please read our disclosure policy.


A favorite during the holiday season, peanut butter blossoms are as easy as they are delicious. The soft, chewy cookies surrounding a perfectly sweet chocolate kiss add a beautiful festive touch to your holiday cookie platters or your next cookie exchange! I know they’re a classic Christmas cookie, but I actually bake peanut butter blossoms all year round! I can’t resist making them whenever the mood strikes. Peanut butter blossoms (also called peanut butter kiss cookies) are a delightful, creative, visually striking combination of peanut butter and chocolate that is hard to resist.
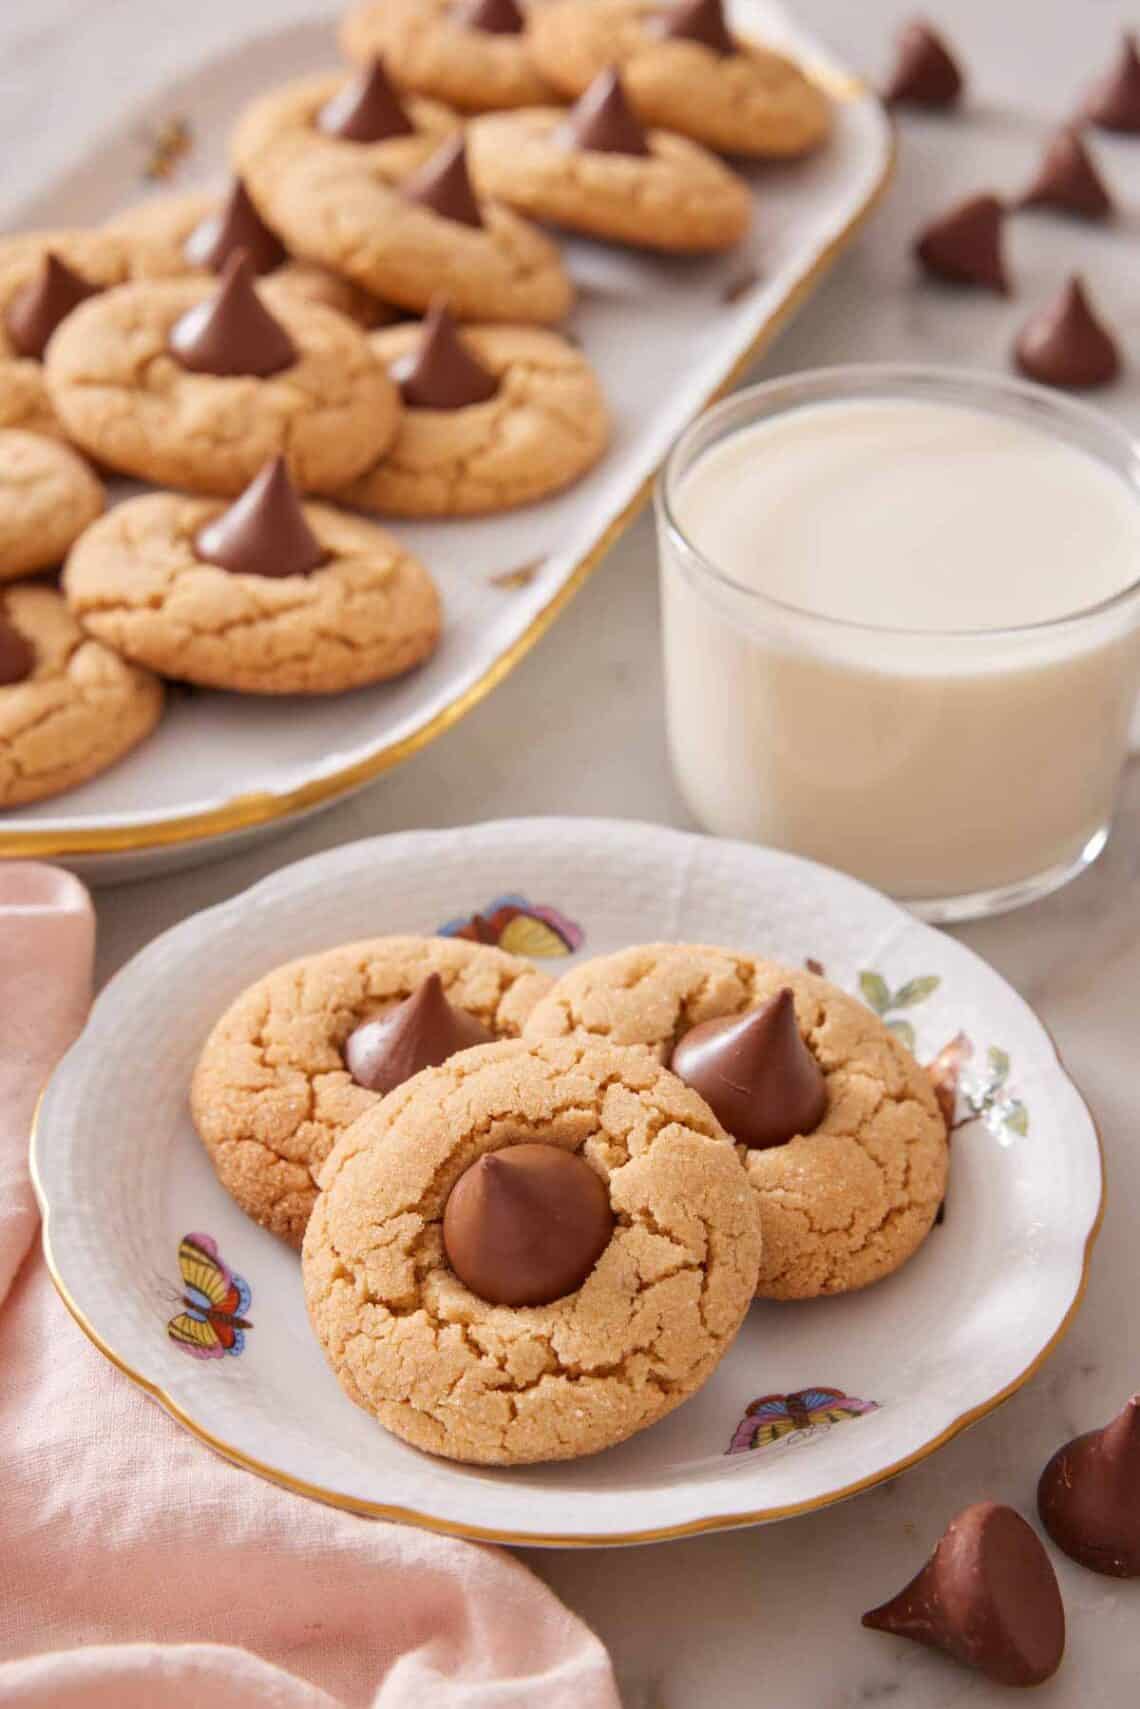
There’s nothing fussy about my peanut butter blossom recipe: You’ll start by baking soft, sweet, and salty peanut butter cookies. Then, when they’re hot out of the oven, press a chocolate kiss into their center. It’s really that simple! Add these chewy cookies to your dessert spread to share with your family (or don’t — no judgment here!). And if you’re in the mood for more festive Christmas cookies, then check out my Andes mint cookie recipe, Grinch cookies recipe, and snowflake cookies recipe.
What You Need to Make This Recipe
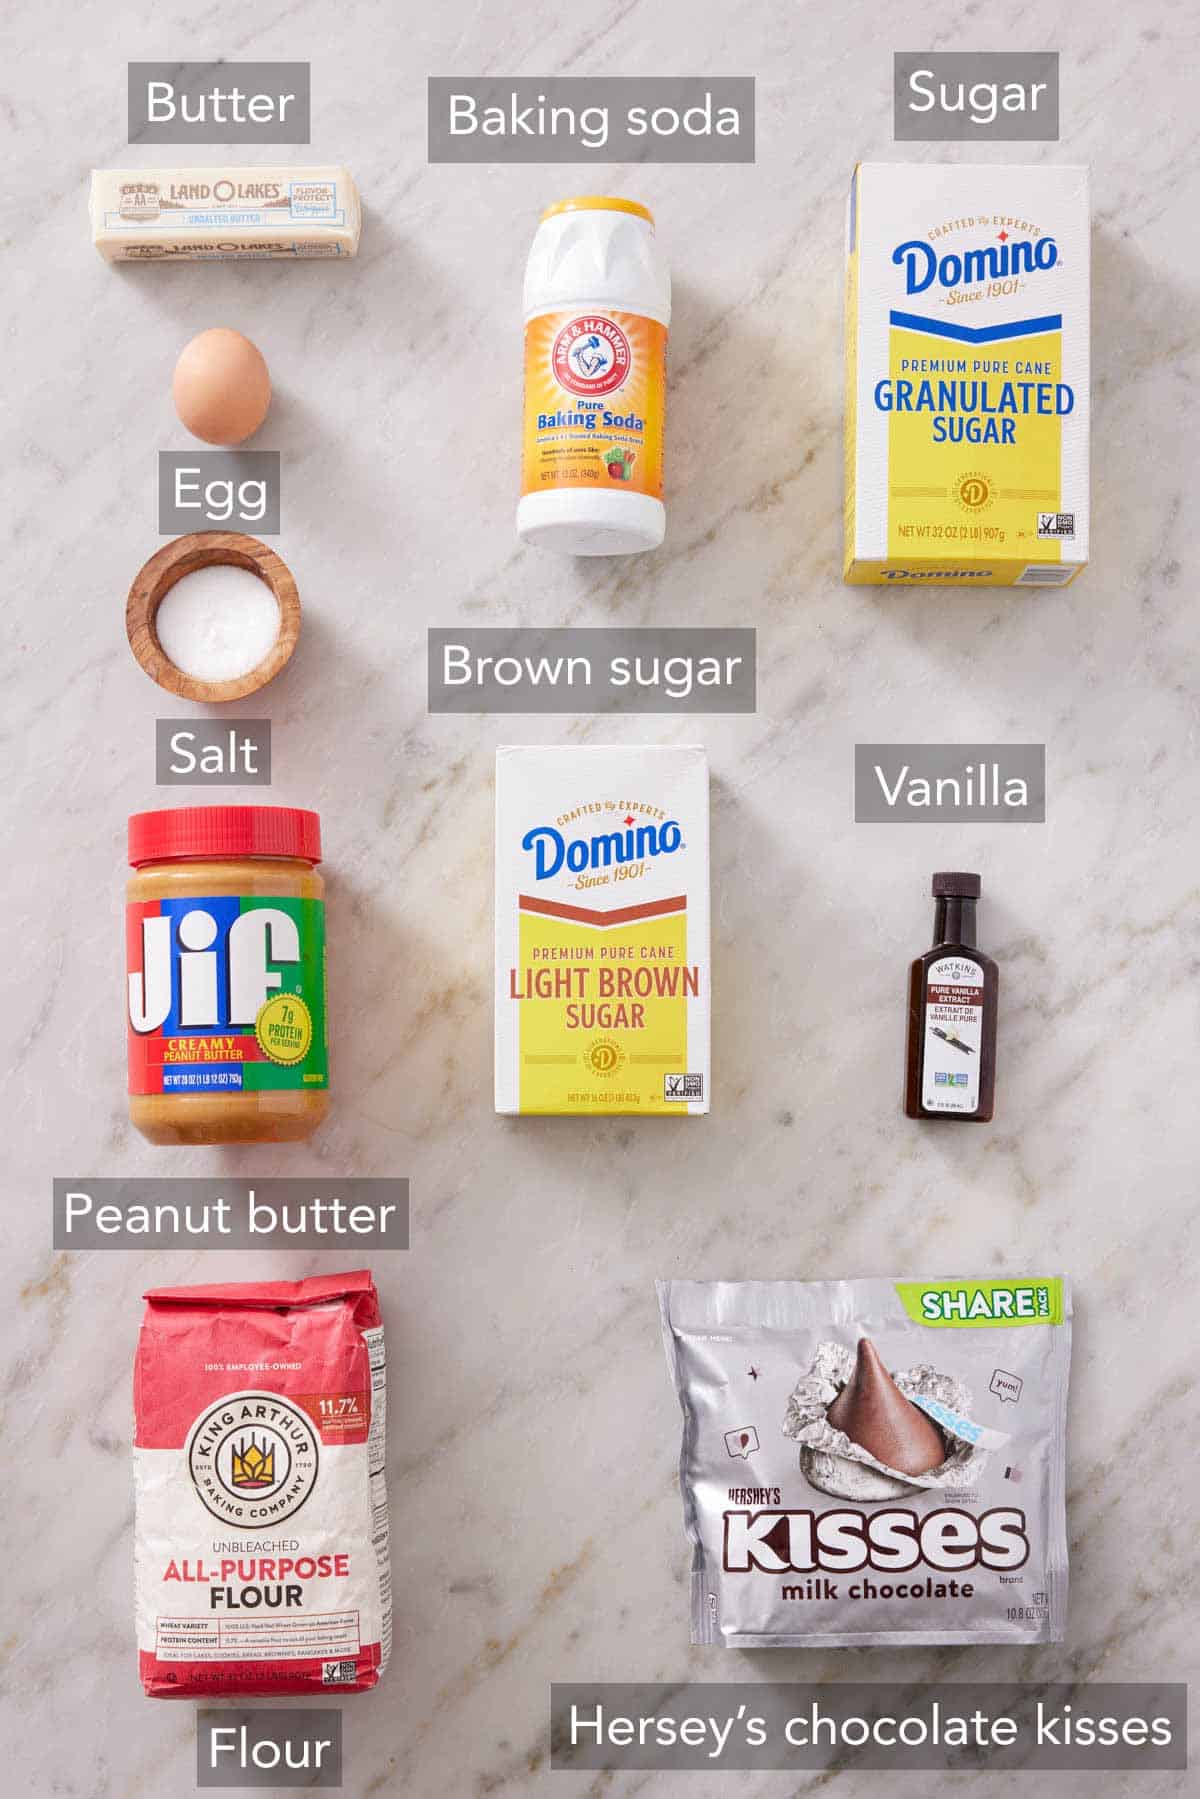
Peanut butter — use a creamy no-stir peanut butter, not a peanut butter that will separate. Most natural peanut butter, unfortunately, won’t work in this recipe. If you love peanut butter then make sure to check out my buckeye ball recipe!
Butter — you need softened unsalted butter. If you only have salted butter on hand, use ¼ teaspoon less salt in the cookie dough.
Sugar — granulated sugar goes into the cookie dough, and you’ll also roll the cookie dough balls in it before baking. You’ll also need light brown sugar. Its rich flavor works really well in these peanut butter blossoms
Egg — ensure that the egg is at room temperature so it incorporates more easily.
Hershey’s kisses — in this recipe, I used dark chocolate kisses, but milk chocolate kisses are the more classic choice.
How to make Peanut Butter Blossoms
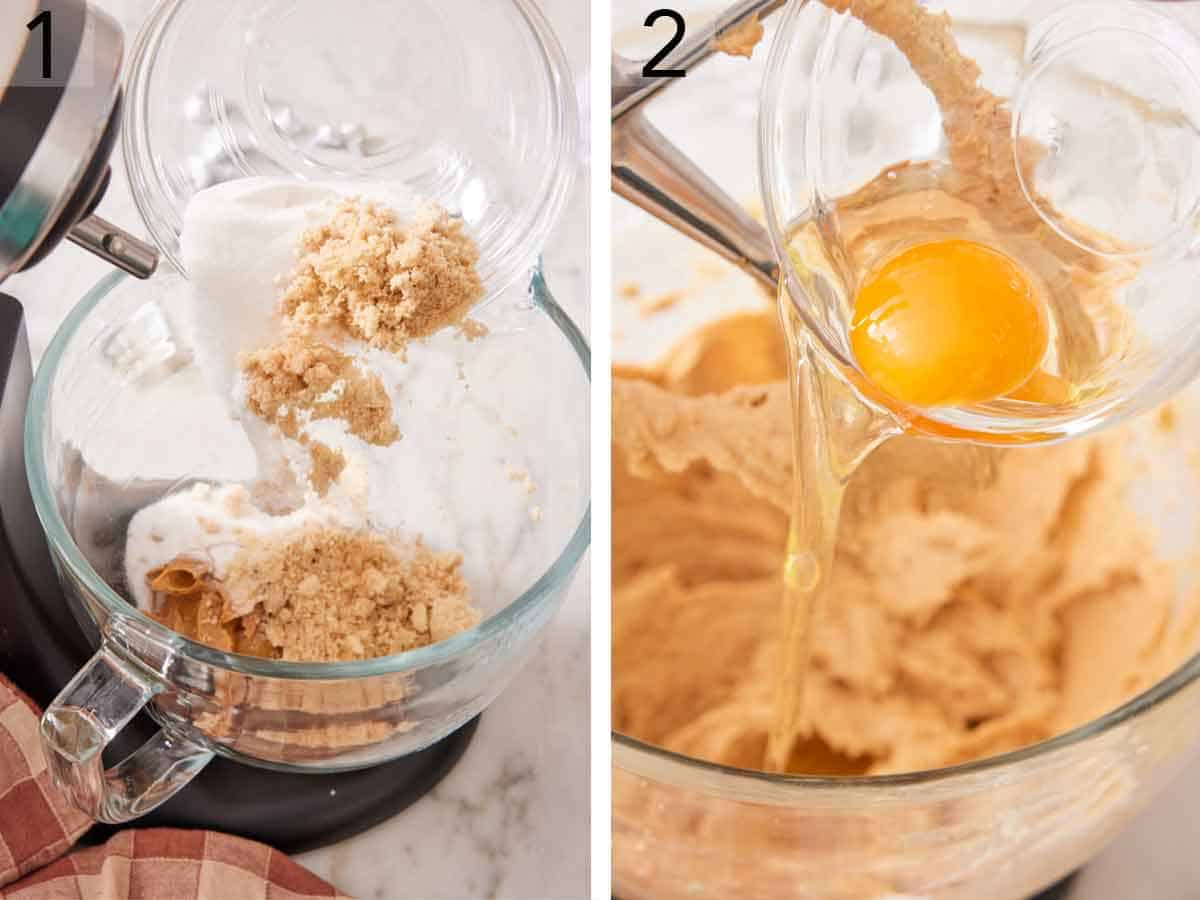
1. Add peanut butter, softened butter, granulated sugar, light brown sugar, and salt to the bowl of a stand mixer fitted with the paddle attachment or a large bowl if using a hand mixer. Beat on medium speed until creamed well.
2. Add the egg and vanilla extract to the peanut butter mixture and beat once again, scraping down the sides of the bowl once or twice.
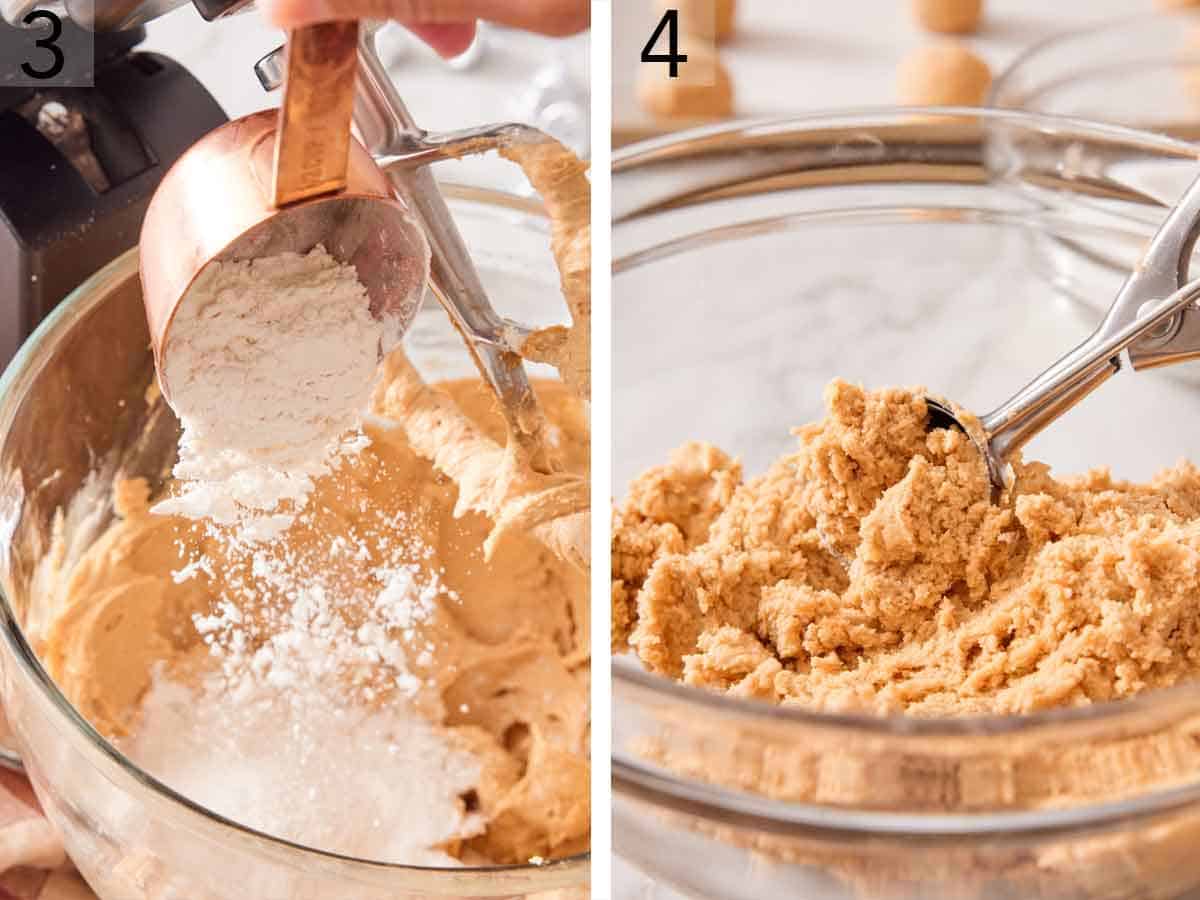
3. Add the dry ingredients to the wet ingredients and beat on low until just combined. At this point, you should have a nice malleable cookie dough.
4. Using a cookie scoop, scoop up the peanut butter cookie dough and roll into a ball. I used a slightly mounded #100 scoop for roughly 1-inch balls. They weighed about 18g each. But you can definitely use a bigger scoop for bigger cookies. I wouldn’t go much bigger than a #60, though.
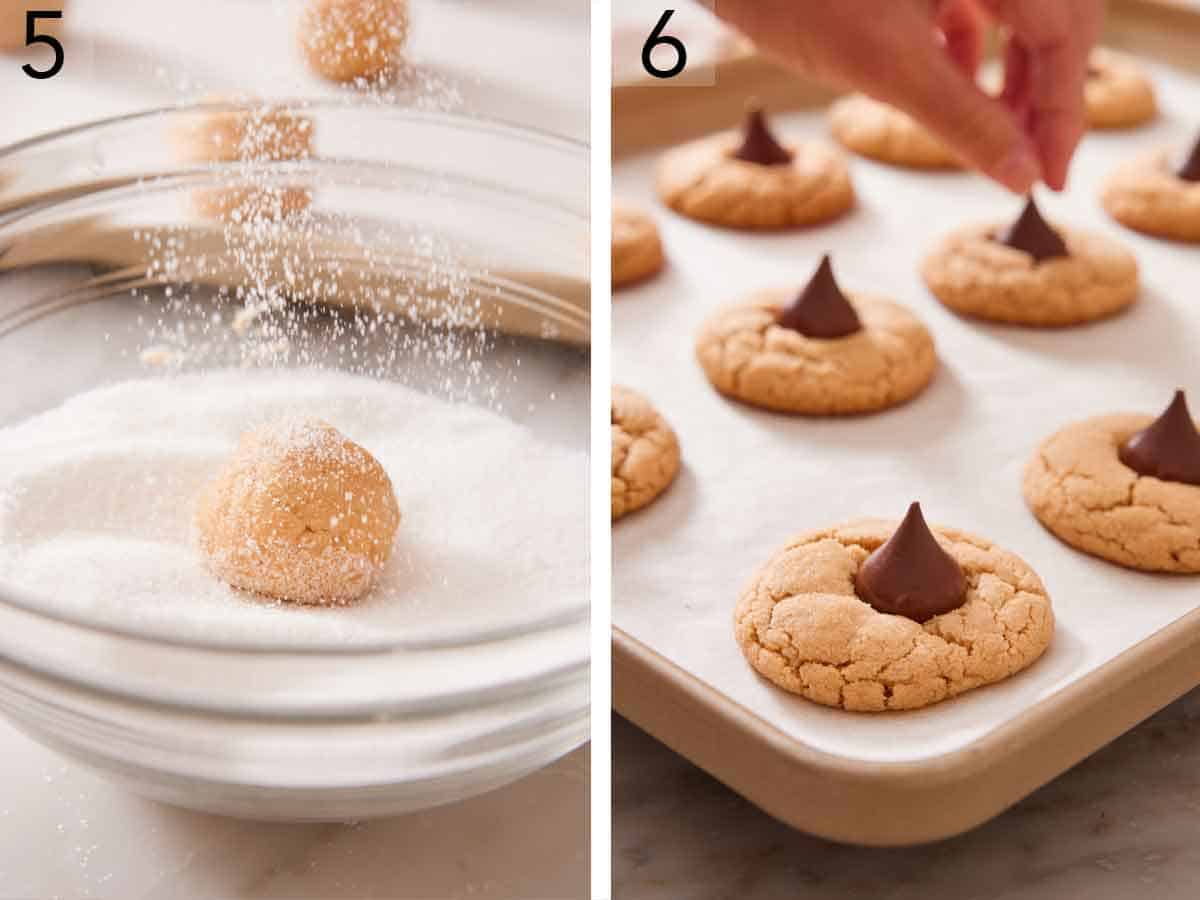
5. Add more granulated sugar to a medium bowl and roll each cookie dough ball in the sugar so it is coated all around. This is an optional step, but I do think the sugar adds crunch and sparkle, which complement the soft and chewy peanut butter cookie. You can also use colorful sanding sugar for a pop of color!
6. Line cookie sheets with parchment paper. Place the peanut butter blossom dough balls on the prepared cookie sheet 2 inches apart. Bake in a 375°F heated oven for 8 to 10 minutes, until the cookies are puffy and slightly cracked, with lightly golden brown bottoms. Immediately press a chocolate kiss into the center of each cookie. You will notice that the soft peanut butter cookie will crack, and that’s exactly what you want to see! Leave the cookies to cool completely on the cookie sheet on a wire rack.
Pro Tips for Making This Recipe
- Use a room temperature egg. It will incorporate more easily into the cookie dough.
- Measure the flour. If you often end up with dry cookies, using too much flour is a likely culprit. The best way to get the right amount of flour is to use a kitchen scale. You’ll need 180g of all-purpose flour. If you don’t have a scale, fluff up the flour in its bag or container, and spoon it into the measuring cup. Don’t pack it in. Level off the top with a knife.
- Use a no-stir creamy peanut butter. While some people prefer natural peanut butter, it does not work in this recipe because it separates. You need the typical big grocery store peanut butter that contains stabilizers.
- If you’re worried about the Hershey’s kisses melting, freeze them. I’ve never had an issue using room temperature chocolate kisses in my peanut butter blossoms as they have never melted too much or lost their shape. But if this is a concern, freeze the chocolate for about 10 minutes before you press them into the cookies. This will help them keep their shape.
- Let everyone help! Enlist your household to help unwrap the Hershey’s kisses (this is the task I usually assign my boys!) and roll the cookie dough balls in sparkly sugar to make things go a little quicker.
Frequently Asked Questions
Yes, this cookie dough lends itself well to preparing ahead! You can freeze all the dough in an airtight container. Thaw it overnight in the refrigerator before rolling into balls and baking. Or, you roll the cookie dough into balls and then freeze. Be sure to separate layers with parchment paper so they don’t stick together. When you’re ready to bake them, let the frozen cookie dough balls sit at room temperature for a while before baking. (You may need to bake them for an extra minute or two.
Hershey’s chocolate kisses are the classic choice for peanut butter blossoms. If you aren’t a fan of the dark chocolate kisses that I used in this recipe, you could use the milk chocolate ones instead. Hershey’s Kisses also come in other festive flavors that you can try! Or ditch the chocolate kisses altogether and use small peanut butter cups, candied pecans or walnuts, or roasted peanuts for a wonderful crunch!
Store peanut butter kiss cookies in an airtight container at room temperature for 3 days, or in the fridge for up to 2 weeks.
You can freeze leftover cookies in a freezer-safe container for up to 2 months. Wrap them in plastic wrap to keep them safe from freezer burn.
If you’ve tried this recipe then don’t forget to leave a rating and let me know how you got on in the comments below, I love hearing from you!
Peanut Butter Blossoms

Ingredients
- ¾ cup creamy peanut butter (188g)
- ½ cup unsalted butter softened (113g)
- ½ cup granulated sugar plus more for rolling (100g)
- ½ cup packed light brown sugar (110g)
- ¼ teaspoon salt
- 1 large egg room temperature
- 1 teaspoon vanilla extract
- 1½ cups all-purpose flour (180g)
- ½ teaspoon baking soda
- 36 Hersey’s chocolate kisses unwrapped
Instructions
- Preheat the oven to 375°F. Line cookie sheets with parchment paper.
- In a large mixing bowl or the bowl of a stand mixer fitted with the paddle attachment, combine the peanut butter, unsalted butter, sugars and salt. Cream together by beating on medium speed until well combined. Add the egg and vanilla. Beat until well combined. Scrape down the bowl. Add the flour and baking soda and beat on low speed just until combined.
- Scoop the dough and roll into 1-inch balls. Coat in additional granulated sugar if desired. Place on a prepared baking sheet 2 inches apart.
- Bake for 8 to 10 minutes or until the cookies look puffy and cracked and the bottom just start to turn brown. Immediately press a chocolate kiss into the center of each cookie. (The cookies will crack and that’s okay!) Allow the cookies to cool completely on the pan, until the chocolate is set. Serve or store in an airtight container for up to 1 week.
Notes
- Use a room temperature egg. It will incorporate more easily into the peanut butter blossom cookie dough.
- Measure the flour. If you often end up with dry cookies, using too much flour is a likely culprit. The best way to get the right amount of flour is to use a kitchen scale. You’ll need 180g of all-purpose flour. If you don’t have a scale, fluff up the flour in its bag or container, and spoon it into the measuring cup. Don’t pack it in. Level off the top with a knife.
- Use a no-stir creamy peanut butter. While I typically eat natural peanut butter, it does not work in this recipe because it separates. You need the typical big grocery store peanut butter that contains stabilizers.
- If you’re worried about the Hershey’s kisses melting, freeze them. I’ve never had an issue using room temperature chocolate kisses in my peanut butter blossoms as they have never melted too much or lost their shape. But if this is a concern, freeze the chocolate for about 10 minutes before you press them into the cookies. This will help them keep their shape.
- Let everyone help! Enlist your household to help unwrap the Hershey’s kisses (this is the task I usually assign my boys!) and roll the cookie dough balls in sparkly sugar to make things go a little quicker.
Nutrition
Have you tried this recipe? Tag me today!
Mention @preppykitchen and tag #preppykitchen!


